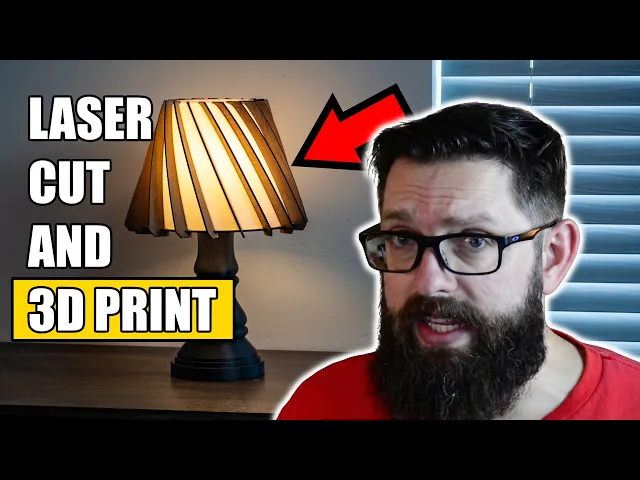


Helix Spiral Table Lamp - Mid-Century Modern Desk Light
While the lamp in the photos was made using 3D printing and laser cutting, I'm providing the STL files to be able to print everything.
This lamp utilizes this light cord.
In the files provided, you'll find files that will allow you to laser cut all the wood you see in the photos along with files that will allow you to 3D print what you need.
Don't have a laser cutter? No worries! You can still 3D print what you need!
Printing Instructions:
Important!! Make sure you follow instructions for printing Diffuser.stl
Everything except Diffuser:
- Supports: None
- Layer height: 0.2mm
Diffuser:
- Print in vase mode with 17 bottom layers (That is not a typo. You MUST print seventeen bottom layers)
- Wall thickness: 0.6mm
About the cutting mold
If you do not have a table saw, simple ignore printing this and don't print the ring that lines the bottom of the lamp. The lamp will still look good without it.
The cutting mold was explicitly designed for laser cut slats and is only useful if you have a table saw.
When sandwiching your wood-cut slits into the jig, make sure you really squeeze the top and bottom together to sandwich the slat in there.
The mold has an angle designed in it to help angle your table saw blade at the right angle.
Set your table saw fence to 8" for your first cut. Generally, blades are about 1/16" thick. and the slot is 1/8" thick. So you'll need to make two cuts per slat. Make the first cut at 8" and the second cut at 8-1/16".
I recommend carefully raising the table saw blade height with the mold placed over the blade. As soon as the blade touches the top of the slot, back it off just a tiny bit and the height is set.
Thank you for your time and consideration on this matter.
Feel free to join my discord for additional support, questions, or suggestions!
Helix Spiral Table Lamp - Mid-Century Modern Desk Light

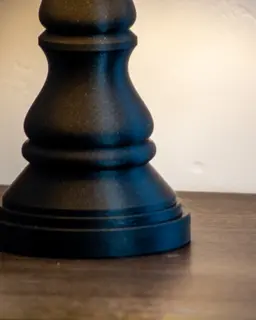
Lamp 003 Base.stl

Cup 004 - Spiral Ribbed Desk Organizer / Modern Vase / Pencil Cup

Cup 003 - Chiseled Organic Vase / Pencil Holder

Glowing Castle Lamp & Tabletop Fortress

Birdhouse 002 - Mid-Century Modern Birdhouse & Succulent Planter
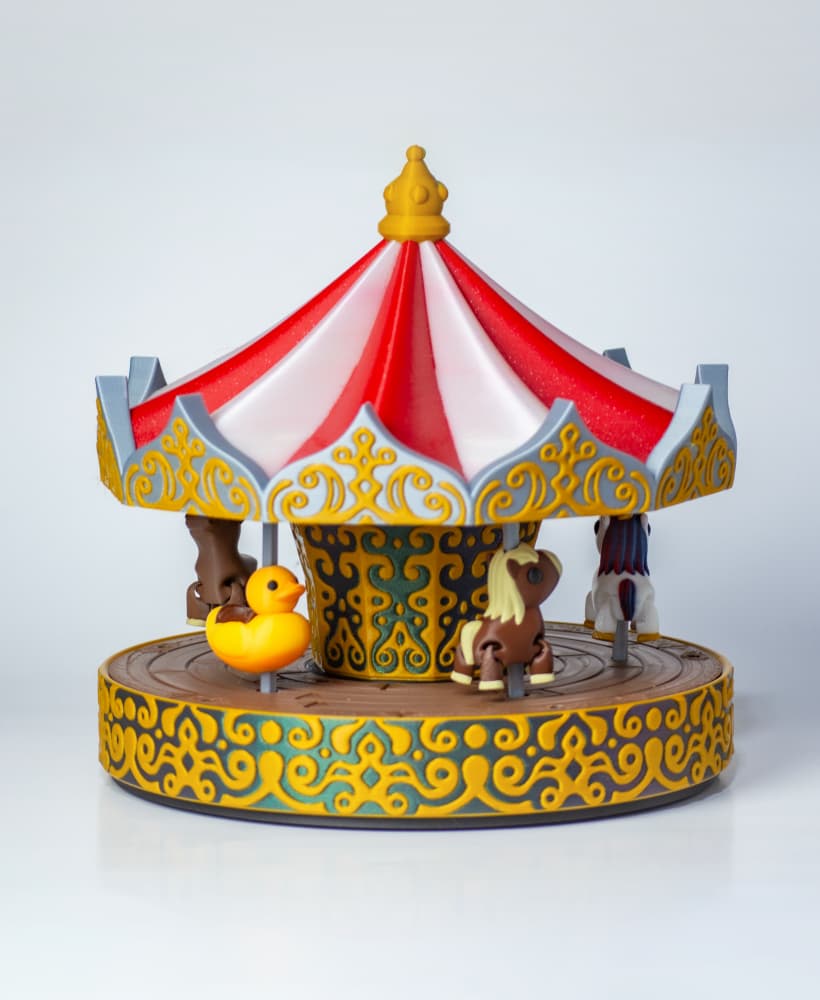
Carousel - Motorized merry go round

Bird House 001 - No AMS or other multi-color printer required

Floppy Stroopwafel

Dragon Egg

Twisty Egg Lamp

Dragon Egg Lamp

Egg Lamp 2.0

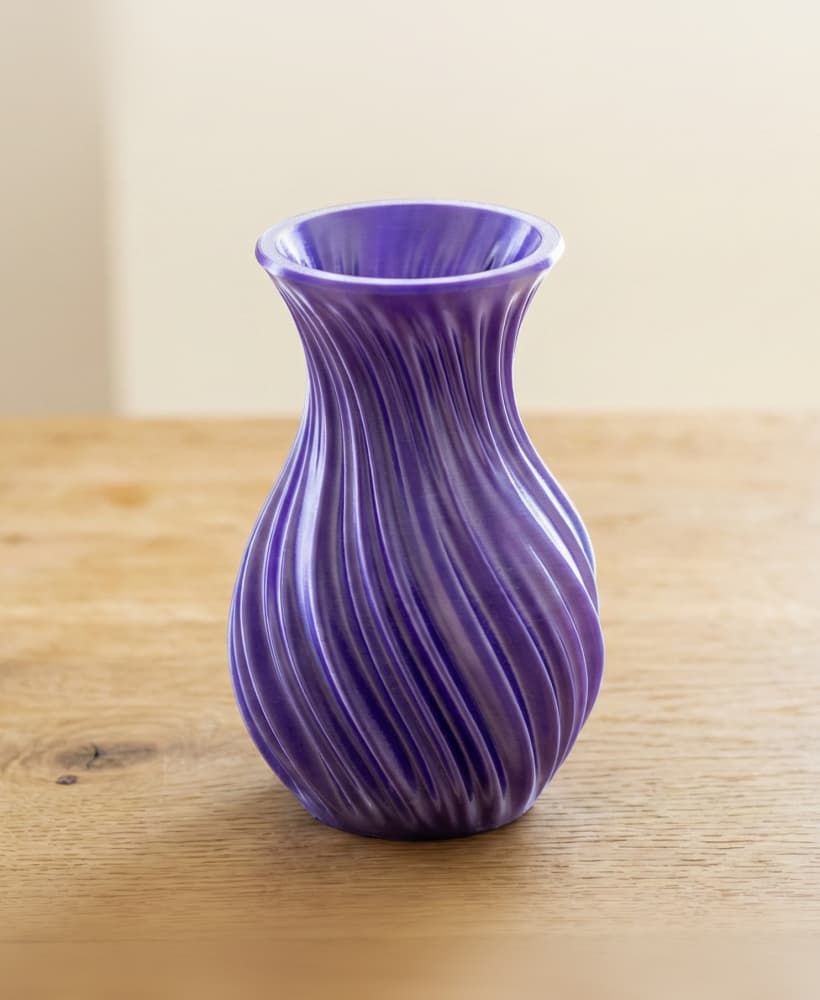
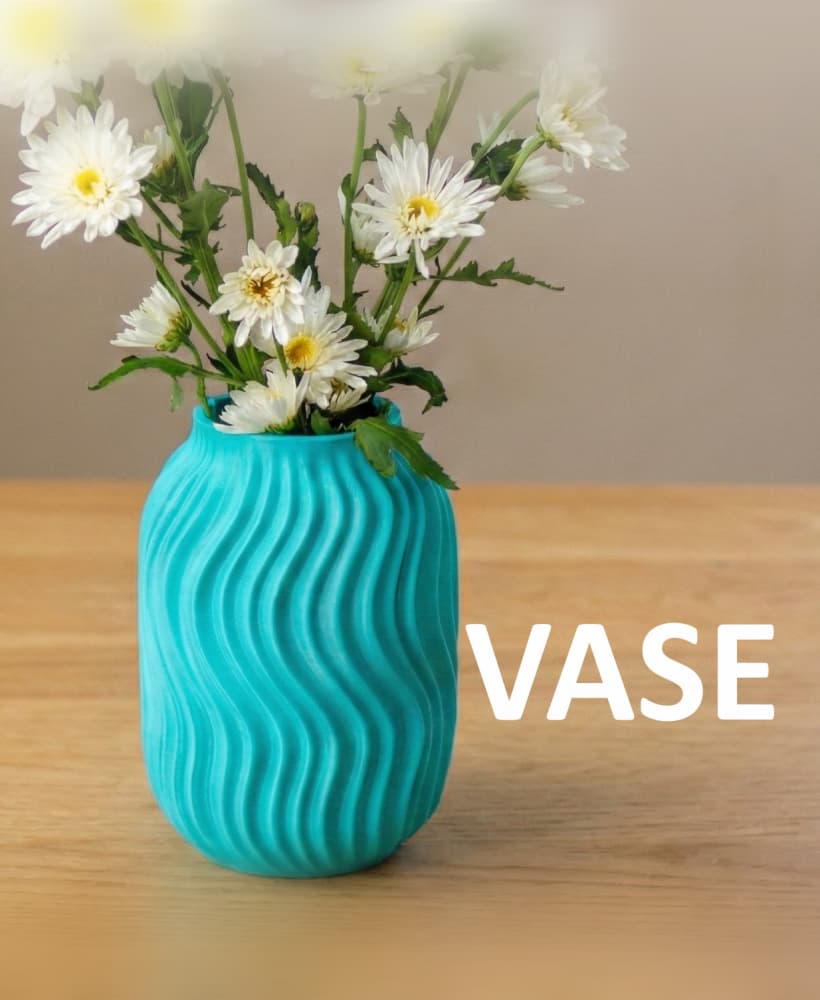
Vase 004

Cup 002

Bowl 003

Floppy Guitar Fish

Lamp 002
Vase 003

Flower Pen