


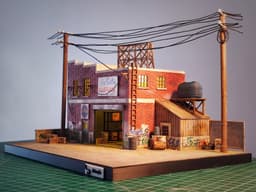
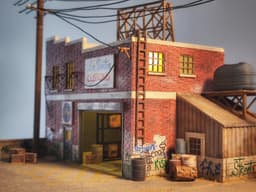
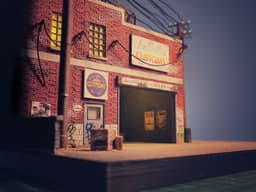
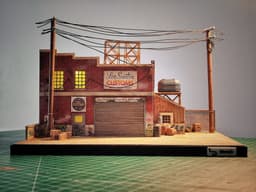


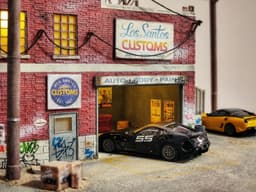

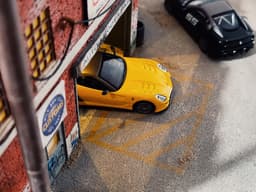


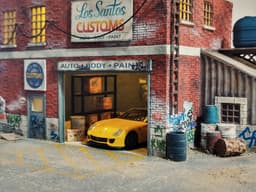


GTA 5 Los Santos Customs Diorama for Hot Wheels and 1:64 Diecast Cars & Figure
Hi,
I'm a local designer who creates diorama designs and produces and sells these designs as physical products. I design new diorama models regularly every month, so don't forget to follow me to be notified of these designs!
I'm very happy to present you with a detailed diorama of Los Santos Customs, one of the most iconic locations in the GTA game series.
1:64 Scale Diecast Diorama – Perfect for Hot Wheels, Mini GT, and Matchbox!
Bring your 1:64 diecast car collection to life with this highly detailed, professional diorama design. Perfect for photography, display shelves, and showcasing your favorite cars!
Assembly: Most parts feature an easy snap-fit design. However, using a small amount of superglue on certain joints is recommended for a much sturdier and permanent build.What's
Included: The ZIP file contains all the necessary individual parts organized and ready for 3D printing.
📐 3D PRINTING SETTINGS & RECOMMENDATIONS:
Printer Compatibility: Designed and tested on a 256x256mm build plate (Creality Hi / Bambu Lab size). The largest single part in this design is 250x180mm, making it compatible with almost all standard 3D printers!
Supports: 100% SUPPORT-FREE design! The main body and components print perfectly flat on the build plate.
Layer Height: 0.2mm layer height with a standard 0.4mm nozzle provides excellent detail.
Infill: 10% - 15% infill is more than enough for a strong structure.
I also divided the design into many parts so that it would be suitable for color printing. This way, you can either focus solely on assembling it by doing color printing, or you can easily paint and assemble the parts.
Inside the compressed files you'll also find a printable A4 size label pack and many diorama accessories such as barrels, a water tank, and an electrical pole.
You can use sandpaper for asphalt and black string for electrical wires.
I've simplified everything as much as possible; all you have to do is use your imagination.
⚠️ NOTE: This is a DIGITAL STL FILE for 3D printing; it is NOT a physical product. The die-cast vehicles shown in the images are NOT included.
⚠️ The photos show products that I personally produced and hand-painted using acrylic paint and brushes. For some of my projects, I used materials such as fiberfill and shredded colored foam (or colored sawdust) to create trees and vines. I used static grass for the lawns and natural materials for soil textures. Using sandpaper is the easiest method for creating asphalt. I tried to keep the model's production process as simple as possible; the rest is up to your imagination and skills. Unfortunately, returns are not accepted for digital products. Please feel free to contact me if you encounter any issues.
💼 COMMERCIAL LICENSE NOTICE:Want to print and sell physical versions of this diorama in your own Etsy/Amazon shop? Join my Thangs Membership (Commercial Tier) for just $14.99/month or $119.99/year to get the legal rights to sell physical prints of this and all my other designs!
GTA 5 Los Santos Customs Diorama for Hot Wheels and 1:64 Diecast Cars & Figure
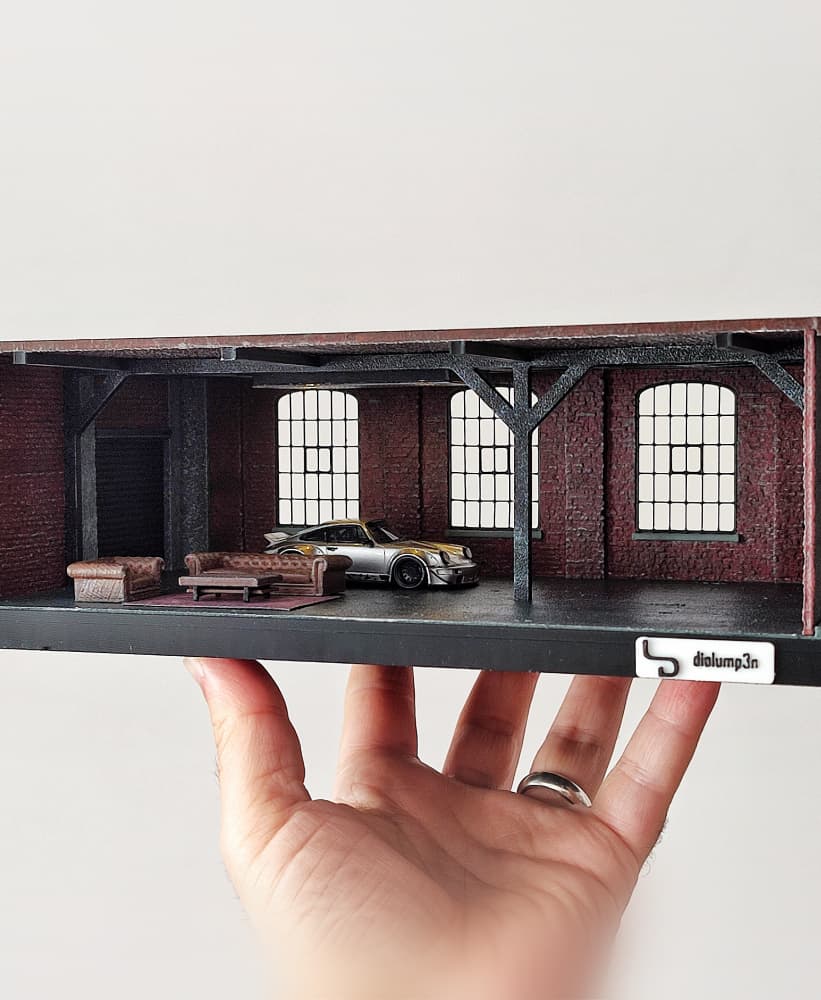
Industrial Home and Office Garage Diorama for Hot Wheels and 1:64 Diecast Cars & Figure

Nurburgring Karussell Diorama for Hot Wheels and 1:64 Diecast Cars & Figure

Open Parking Lot and Street Diorama for Hot Wheels and 1:64 Diecast Cars & Figure

Japanese-Style Open Parking Lot Diorama for Hot Wheels and 1/64 Scale Diecast Cars & Figure

Your Name Kimi No Na Wa - Suga Temple Stairs Diorama for Hot Wheels and 1:64 Scale Diecast Cars
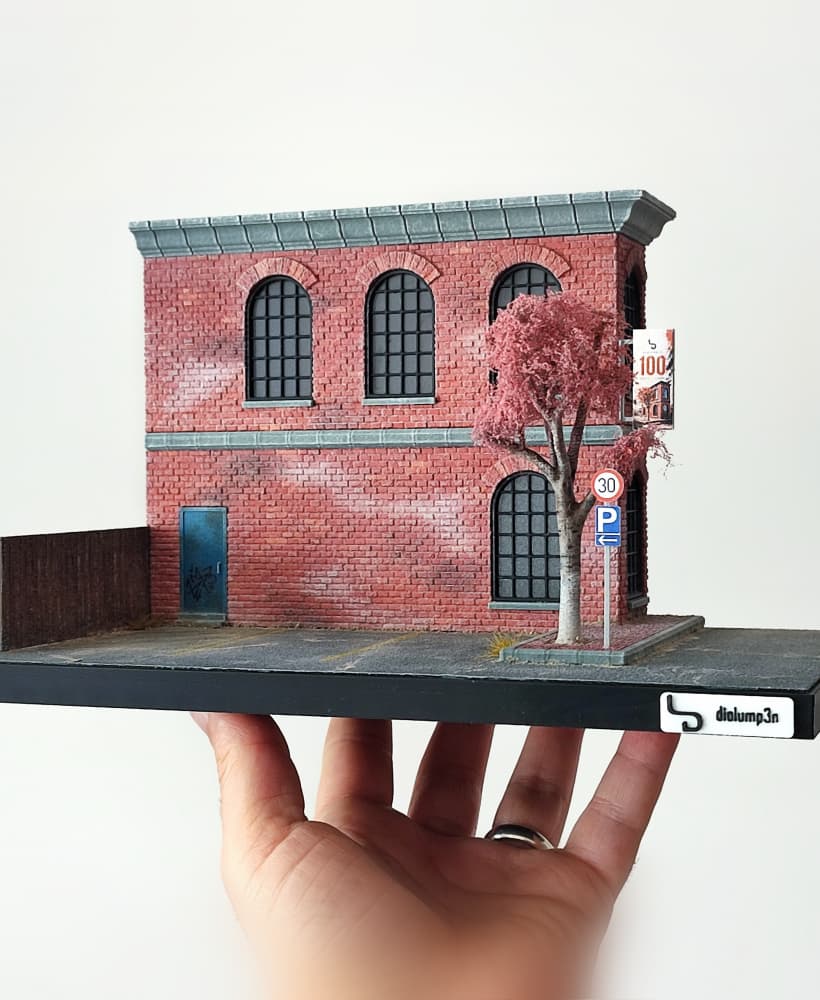
Two-Story Brick Building and Parking Diorama for Hot Wheels and 1:64 Scale Diecast Cars & Figure

Mountain and Parking Diorama For Hot Wheels and 1/64 Diecast Cars & Figure

Construction Site, Concrete Building Diorama for Hot Wheels and 1:64 Scale Diecast Cars & Figure

Dying Light Style, Post-Apocalyptic Diorama for Hot Wheels and 1:64 Diecast Cars & Figure
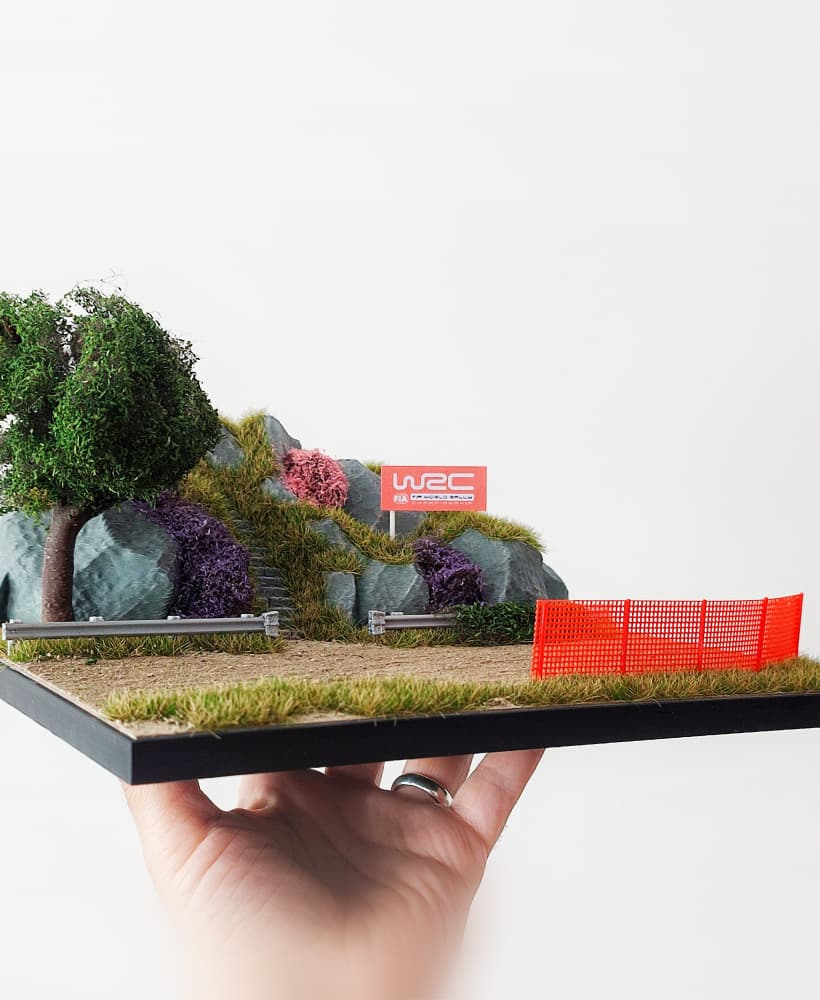
WRC Rally and Mountain Road Diorama for Hot Wheels and 1:64 Cars & Figure

Tunnel and Mountain Diorama V2 for Hot Wheels and 1:64 Diecast Cars & Figure

LA Dodger Stadium Diorama for Hot Wheels and 1:64 Diecast Cars & Figure

Route 66 Diorama V2 for Hot Wheels and 1:64 Diecast Cars & Figure

Fast and Furious Toretto's Market Diorama for Hot Wheels and 1:64 Diecast Cars & Figure

Two-Floor Bridge and Road Diorama for Hot Wheels and 1:64 Diecast Cars & Figure

Australia and İstanbulpark Formula 1 Racetrack Diorama for Hot Wheels and 1:64 Diecast Cars & Figure

Fast and Furious Toretto's Market Diorama for Hot Wheels and 1:64, 1:43 Diecast Cars & Figure

Melbourne Formula 1 Racetrack Diorama V2 for Hot Wheels and 1:64 Diecast Cars & Figure

Melbourne Formula 1 Racetrack Diorama for Hot Wheels and 1:64 Diecast Cars & Figure

Hello, do you have any recommendations on the color of the consumables for printing this model? Which color would be suitable for coloring. Thanks
Hi, I'm using Creality Hyper PLA, and the colors I use are white, gray, and black. I use gray filament for the gray parts and black filament for the black parts. I generally use white for the other colors. The color I'm using for painting is terracotta.
Thank you very much. Is the house made of white consumables. Is 400 grit sandpaper used for ground asphalt? Is the entire sandpaper fixed to the foundation and excess removed.
You're welcome. 180 or 200 grit sandpaper provides a better texture. You can wear the sandpaper down a bit. You can glue it to the surface and cut off the excess.
Thank you, what is the long stick in the fifth plate used for. Is it glued to the wall to fix the roof? If so, do we need to find a fixed location ourselves
I had to make that part separately so that the diorama pieces could be printed without support. You can attach it to the corner to the right of the garage door to provide support for the roof.
Okay, I made grooves in the garage door and another wall, and made a widened long stick to fit into the groove to support the roof. Do you have a social media account
Yes, my Instagram account is also diolump3n