.jpg&w=3840&q=85)
.jpg&w=256&q=75)

.jpg&w=256&q=75)
.jpg&w=256&q=75)
.jpg&w=256&q=75)
.jpg&w=256&q=75)
.jpg&w=256&q=75)
.jpg&w=256&q=75)
.jpg&w=256&q=75)
.jpg&w=256&q=75)
.jpg&w=256&q=75)

.jpg&w=256&q=75)
.jpg&w=256&q=75)
.jpg&w=256&q=75)
.jpg&w=256&q=75)
.jpg&w=256&q=75)
.jpg&w=256&q=75)
.jpg&w=256&q=75)
.jpg&w=256&q=75)
.jpg&w=256&q=75)
.jpg&w=256&q=75)
.jpg&w=256&q=75)
.jpg&w=256&q=75)

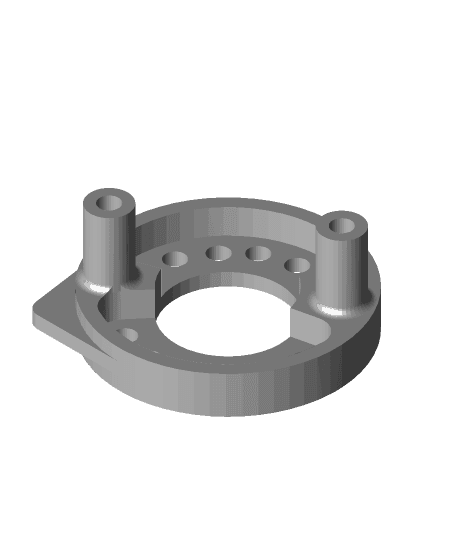
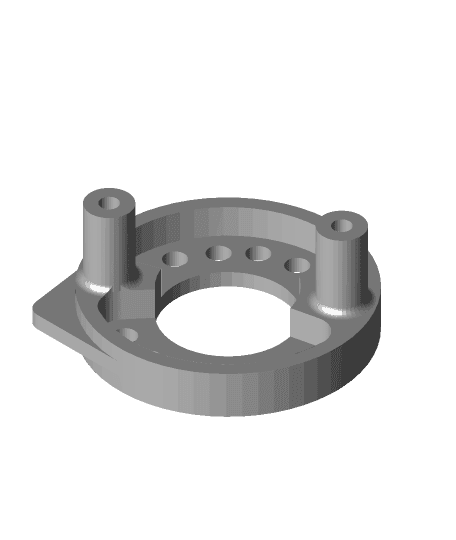
Tamiya TT02 Toyota Yaris WRC
This is a complete chassis replacement for the popular Tamiya TT02. It is designed to be a very scale model of the Toyota Yaris WRC. Specifically, the WRT/GR.
I used many reference photos in the design process to capture as many details as possible so this looks like a model but can also perform excellent. Using suspension/drivetrain from a reputable manufacture with outstanding parts availability make this a pretty easy to maintain model and upgrade as well.
I used a suspension kit from eagle racing for the TT02, and it is a very nice kit that comes with everything you need so this handles like a true rally car. Stock TT02 suspension can also be used.
The wheels and aero covers are not designed by me. They were created by the very talented Patrick Vizconde! he can be found on Facebook. https://www.facebook.com/patrick.vizconde.1
The seats were created from another excellent designer. They can be found here. https://cults3d.com/:2916936
The Figures were designed by another fantastic artist and can be purchased off of his page once he has the listing posted. Ill update this with the exact link to the file at that time. This file is optimized for resin printing but can be FDM printed as well obviously at a lower quality.
UPDATE*** the figures are now live on Martins page!!! here is the link! https://cults3d.com/en/3d-model/game/rally-driver-co-driver-figures-tt02-toyota-yaris-wrc
If you have any issues, please contact me!
I used PLA+ but please use whatever you wish. If using PLA, please be aware that it could deform if left in too high of a temperature.
I used regular manufacturer settings in the slicer for almost all of the printing. The small parts benefit from a .08-layer height. They look even better with a .2 nozzle but it's not necessary.
Printing the roll cage please make sure that your supports are touching the majority of the tubes to get the best results and use 100% infill. I used 49 degree threshold and ran my printer on silent mode which is basically a slow mode. It adds time but trust me, it helps.
Minimum build plate size 220x220. If you have a 256x256 the roll cage can be printed whole.
There are some basic instructions included as well.
You will need some basic tools to complete this other than your typical screw drivers and hex drivers. The steering posts will need to be put into a drill and either sandpaper or a file used to slightly remove material so the steering posts fit in. There may be other ways to do this as well. Cutting tool to cut M3 rod.
Various drill bits may need to be used to clean up some holes.
Standard size electronics fit.
Parts list: Everything was purchased from Amazon.
Screws: M3x8mm button head X72 M3x8mm counter sunk screw X42 M3x12mm socket cap X5 M3x12mm counter sunk
M3 All thread rod. M3x150mm X2 these will be cut down.
Tamiya TD4 steering arms. Aftermarket ones are cheap; amazon has them for like 10 bucks. Picture listed in the instructions.
M3x35mm aluminum standoffs for drones, you want the ones that are completely round. Preferably anodized.
If using stock suspension you WILL NEED TT02 length turnbuckles. 2 M3 rod ends needed to connect the steering arms together.
Aluminum motor mount. YOU MUST use the one with infinite adjustability. NOT the one that has predetermined holes for pinion tooth size.
Tape: The skid plates are secured by a very thin double-sided tape. It measures 6mm wide and is .2mm thick. I got a roll of it off amazon https://a.co/d/euLifDA
Battery:
this uses a 2S lipo battery 73x34x18.5mm a stubby one

Tamiya TA01/02 Celica rally chassis

Toyota - Yaris GR Rally 23 Wall Art

Toyota - Yaris GR Wall Art

Toyota Yaris - 70mai 1S dash cam mirror mount
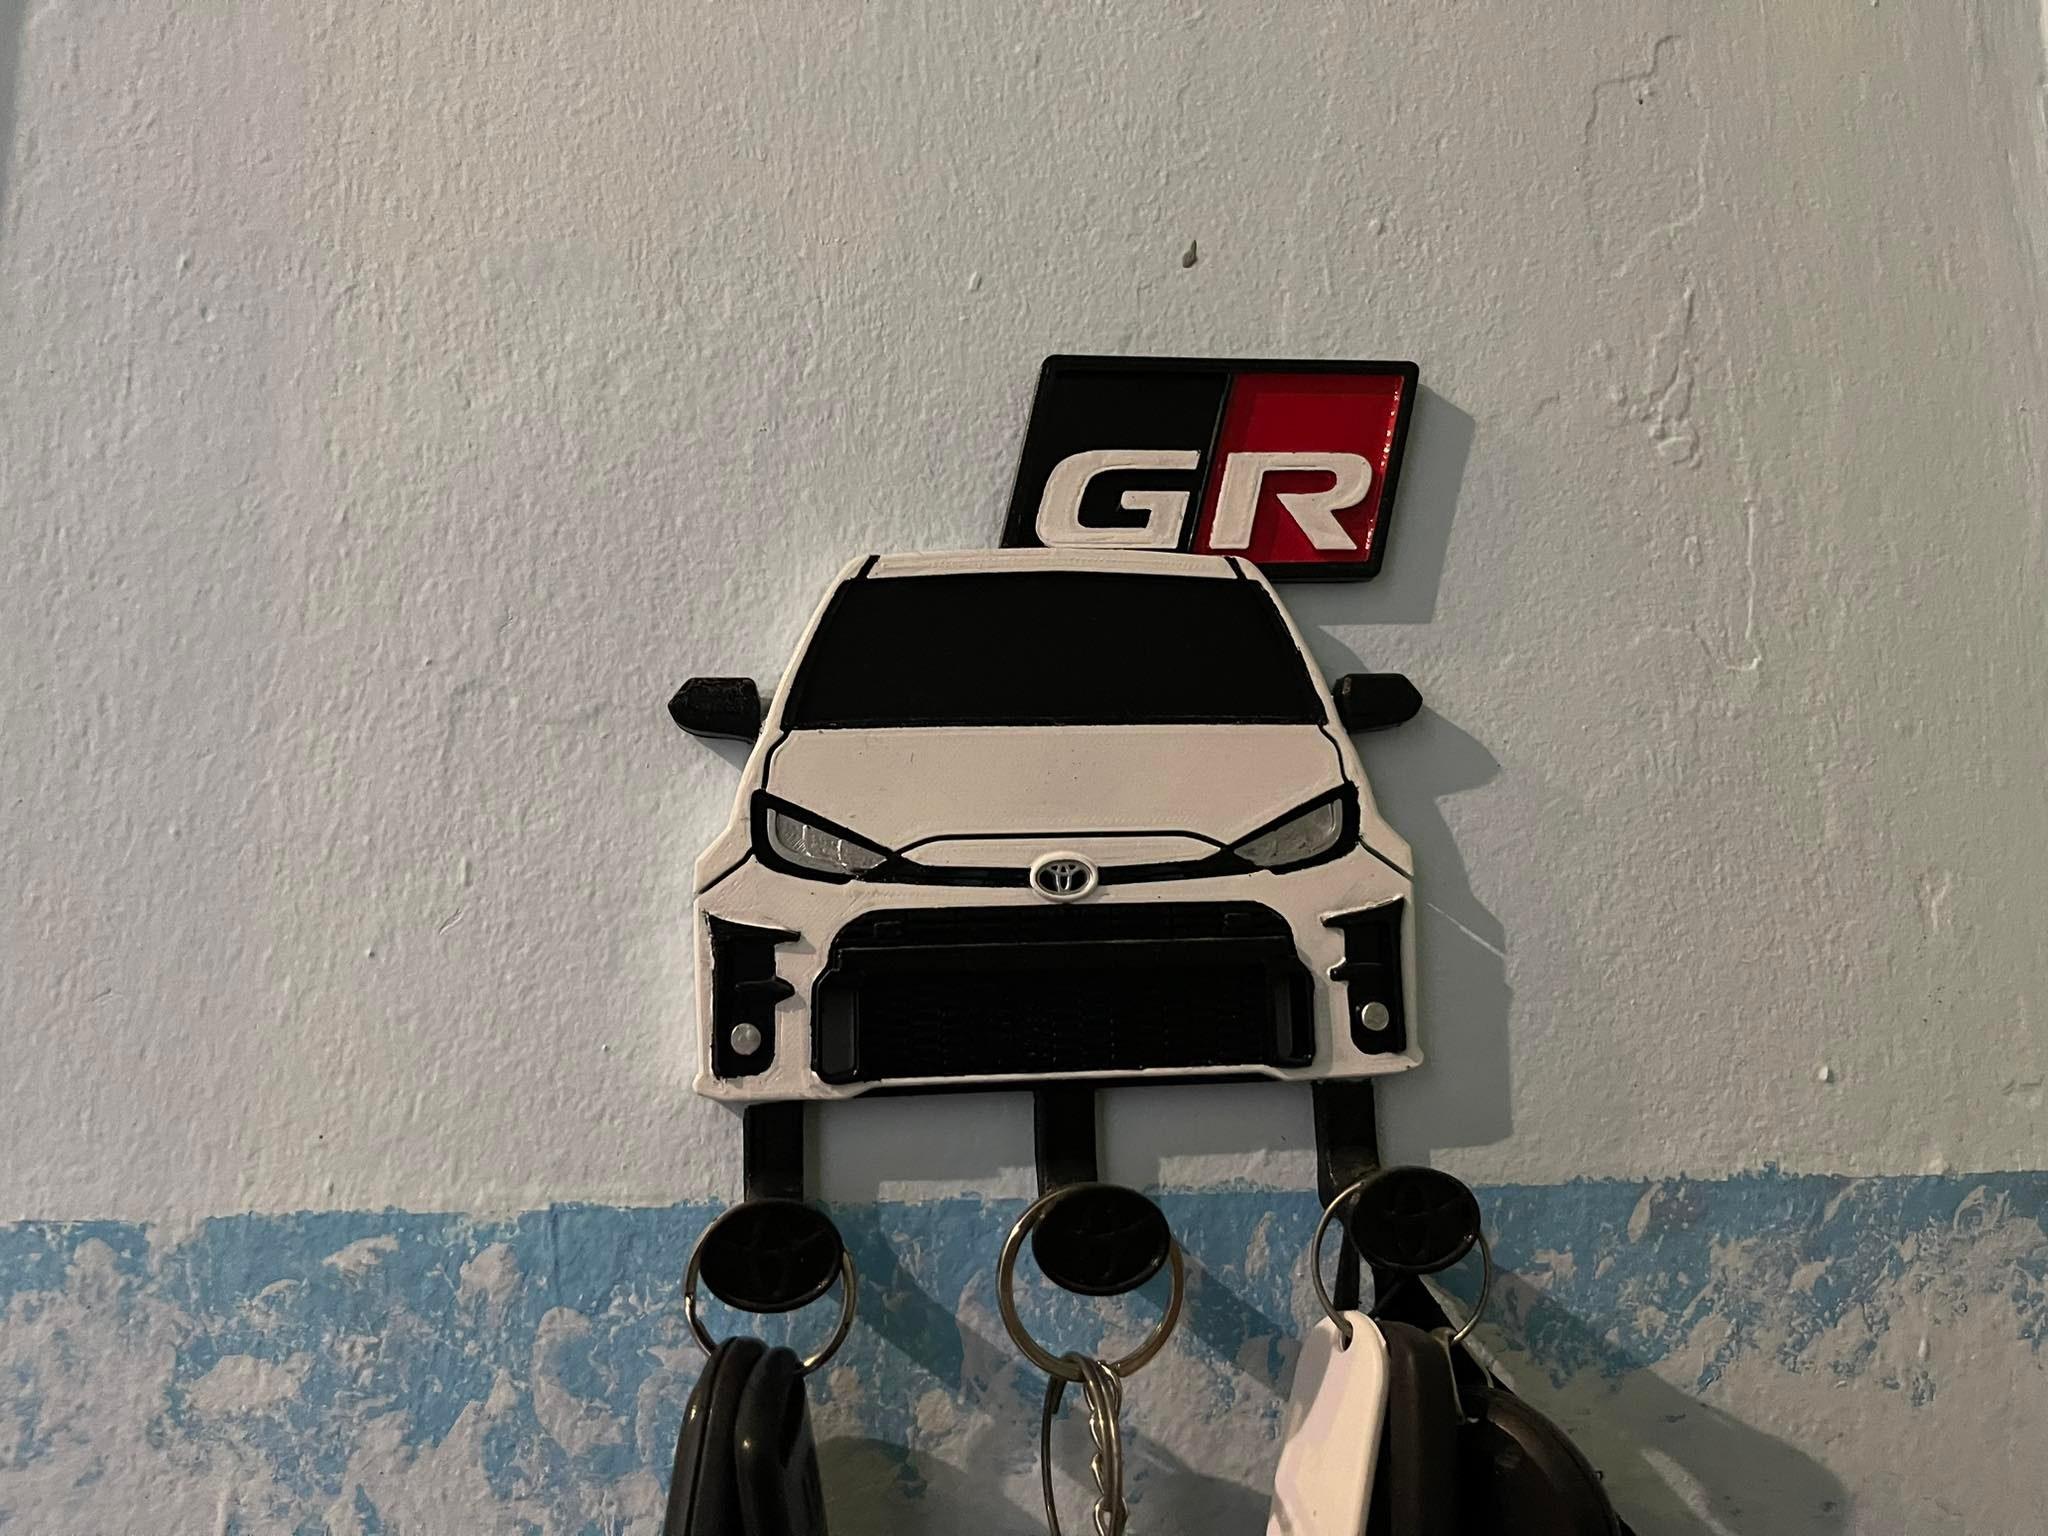
Toyota Yaris GR Key Hanger

Tamiya 58028 Toyota Hilux Working Tail Light Panel

RC4WD Mojave & Tamiya Bruiser Toyota Hilux Ultra Scale Tail Lights
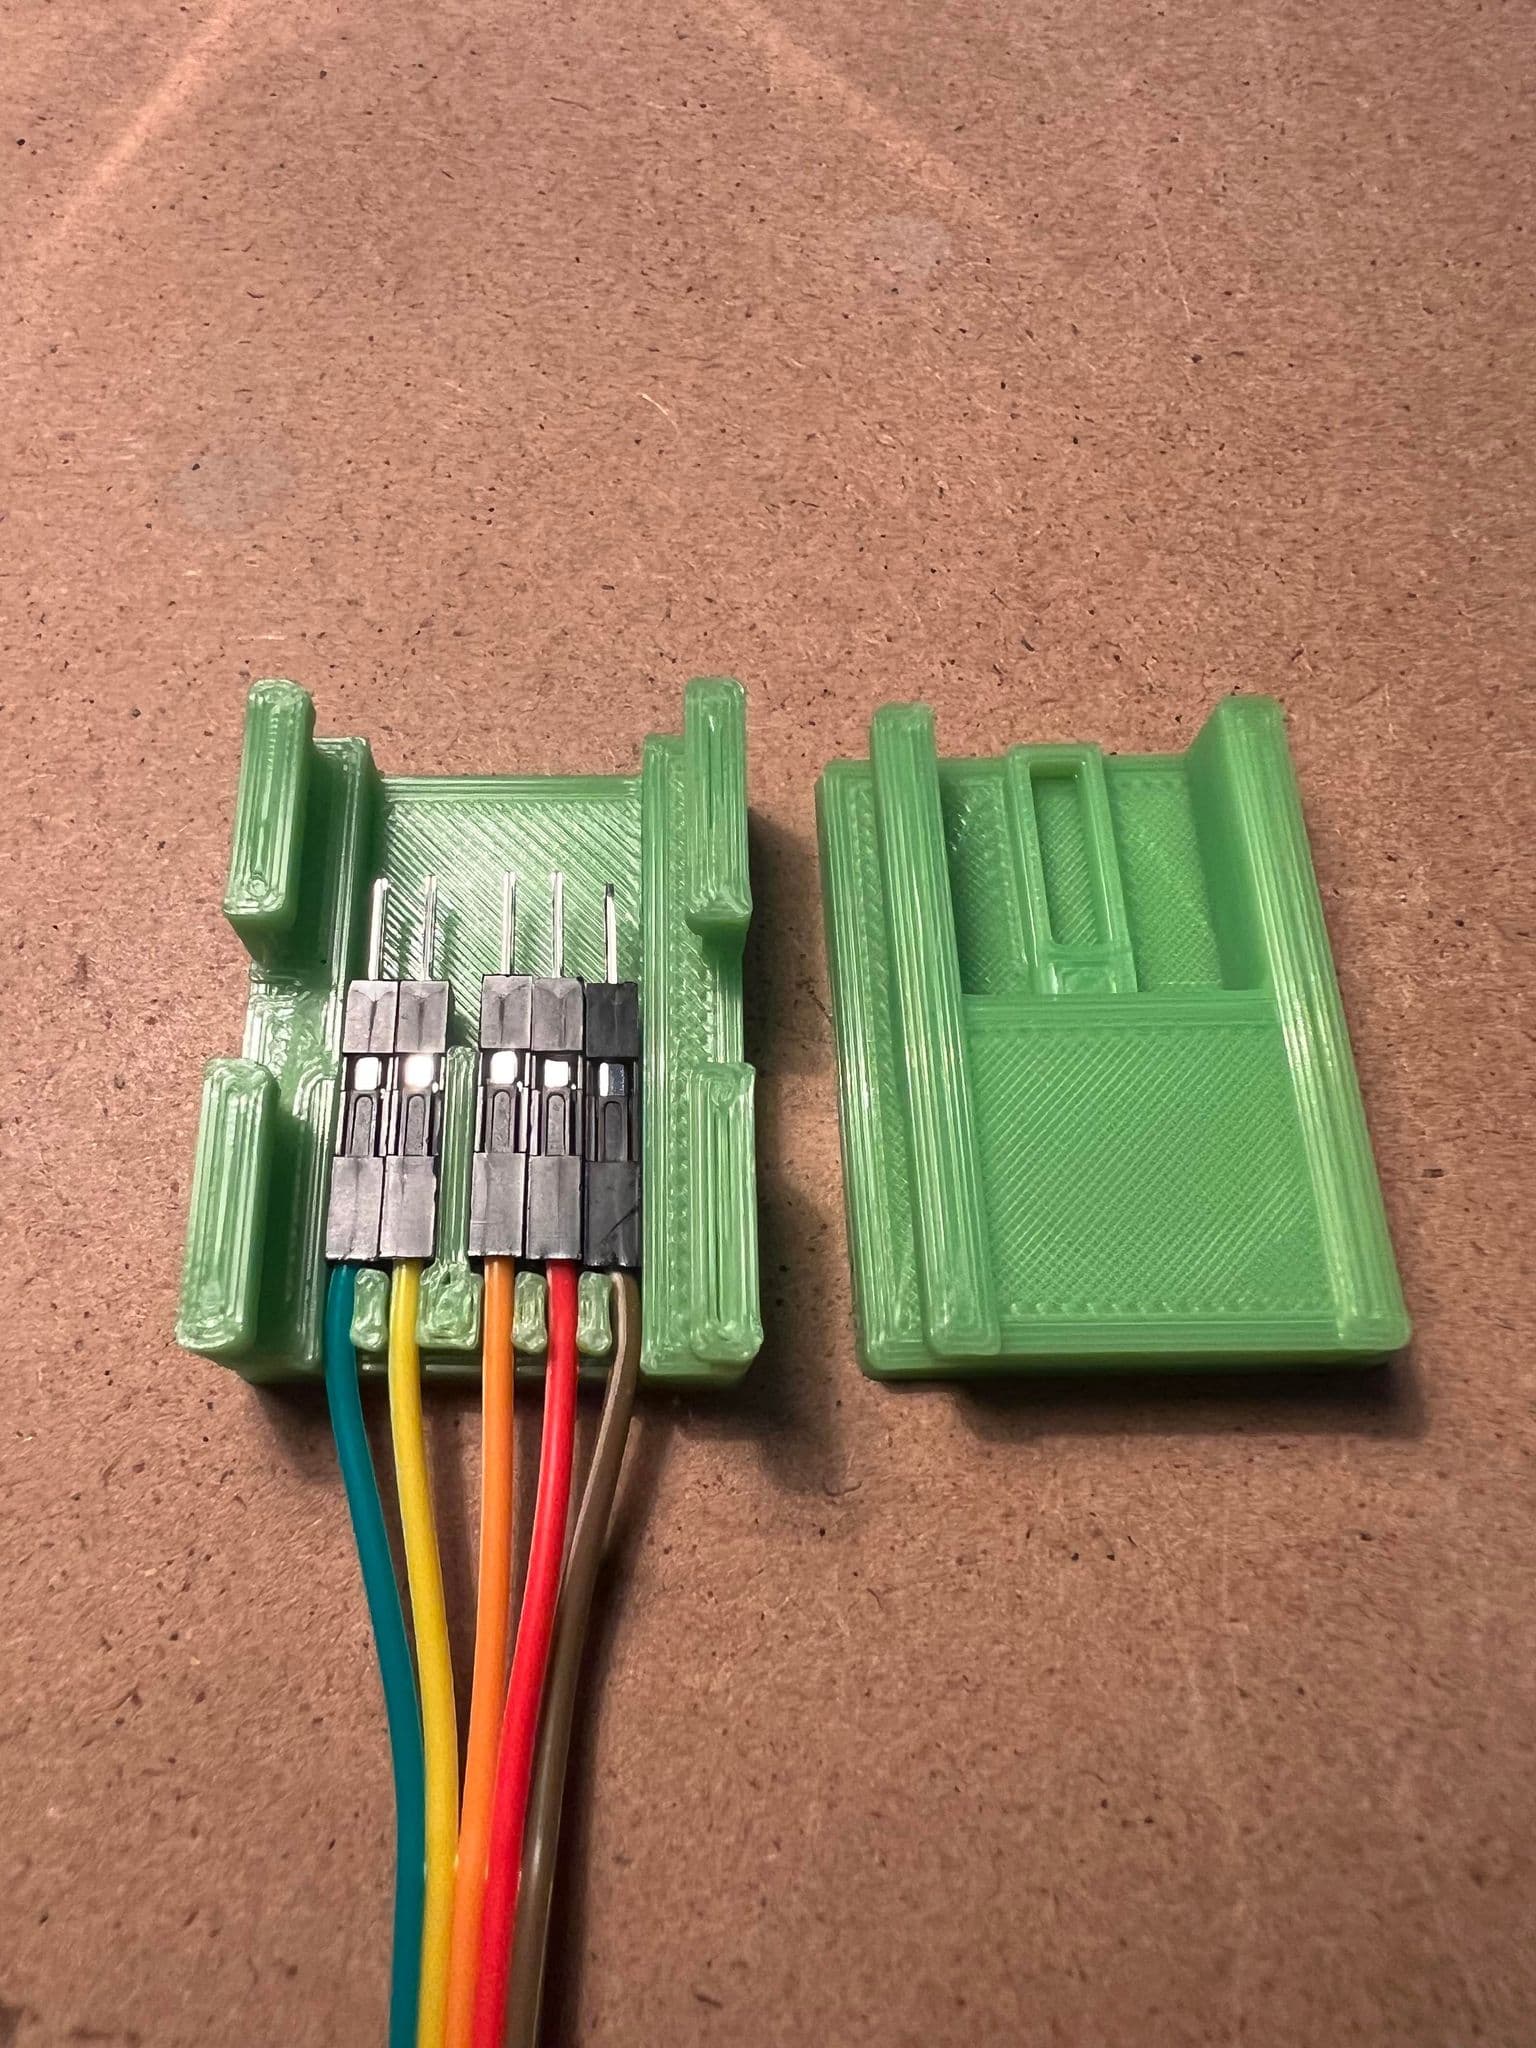
Toyota cable accessory

Toyota port tool
back plug grabber
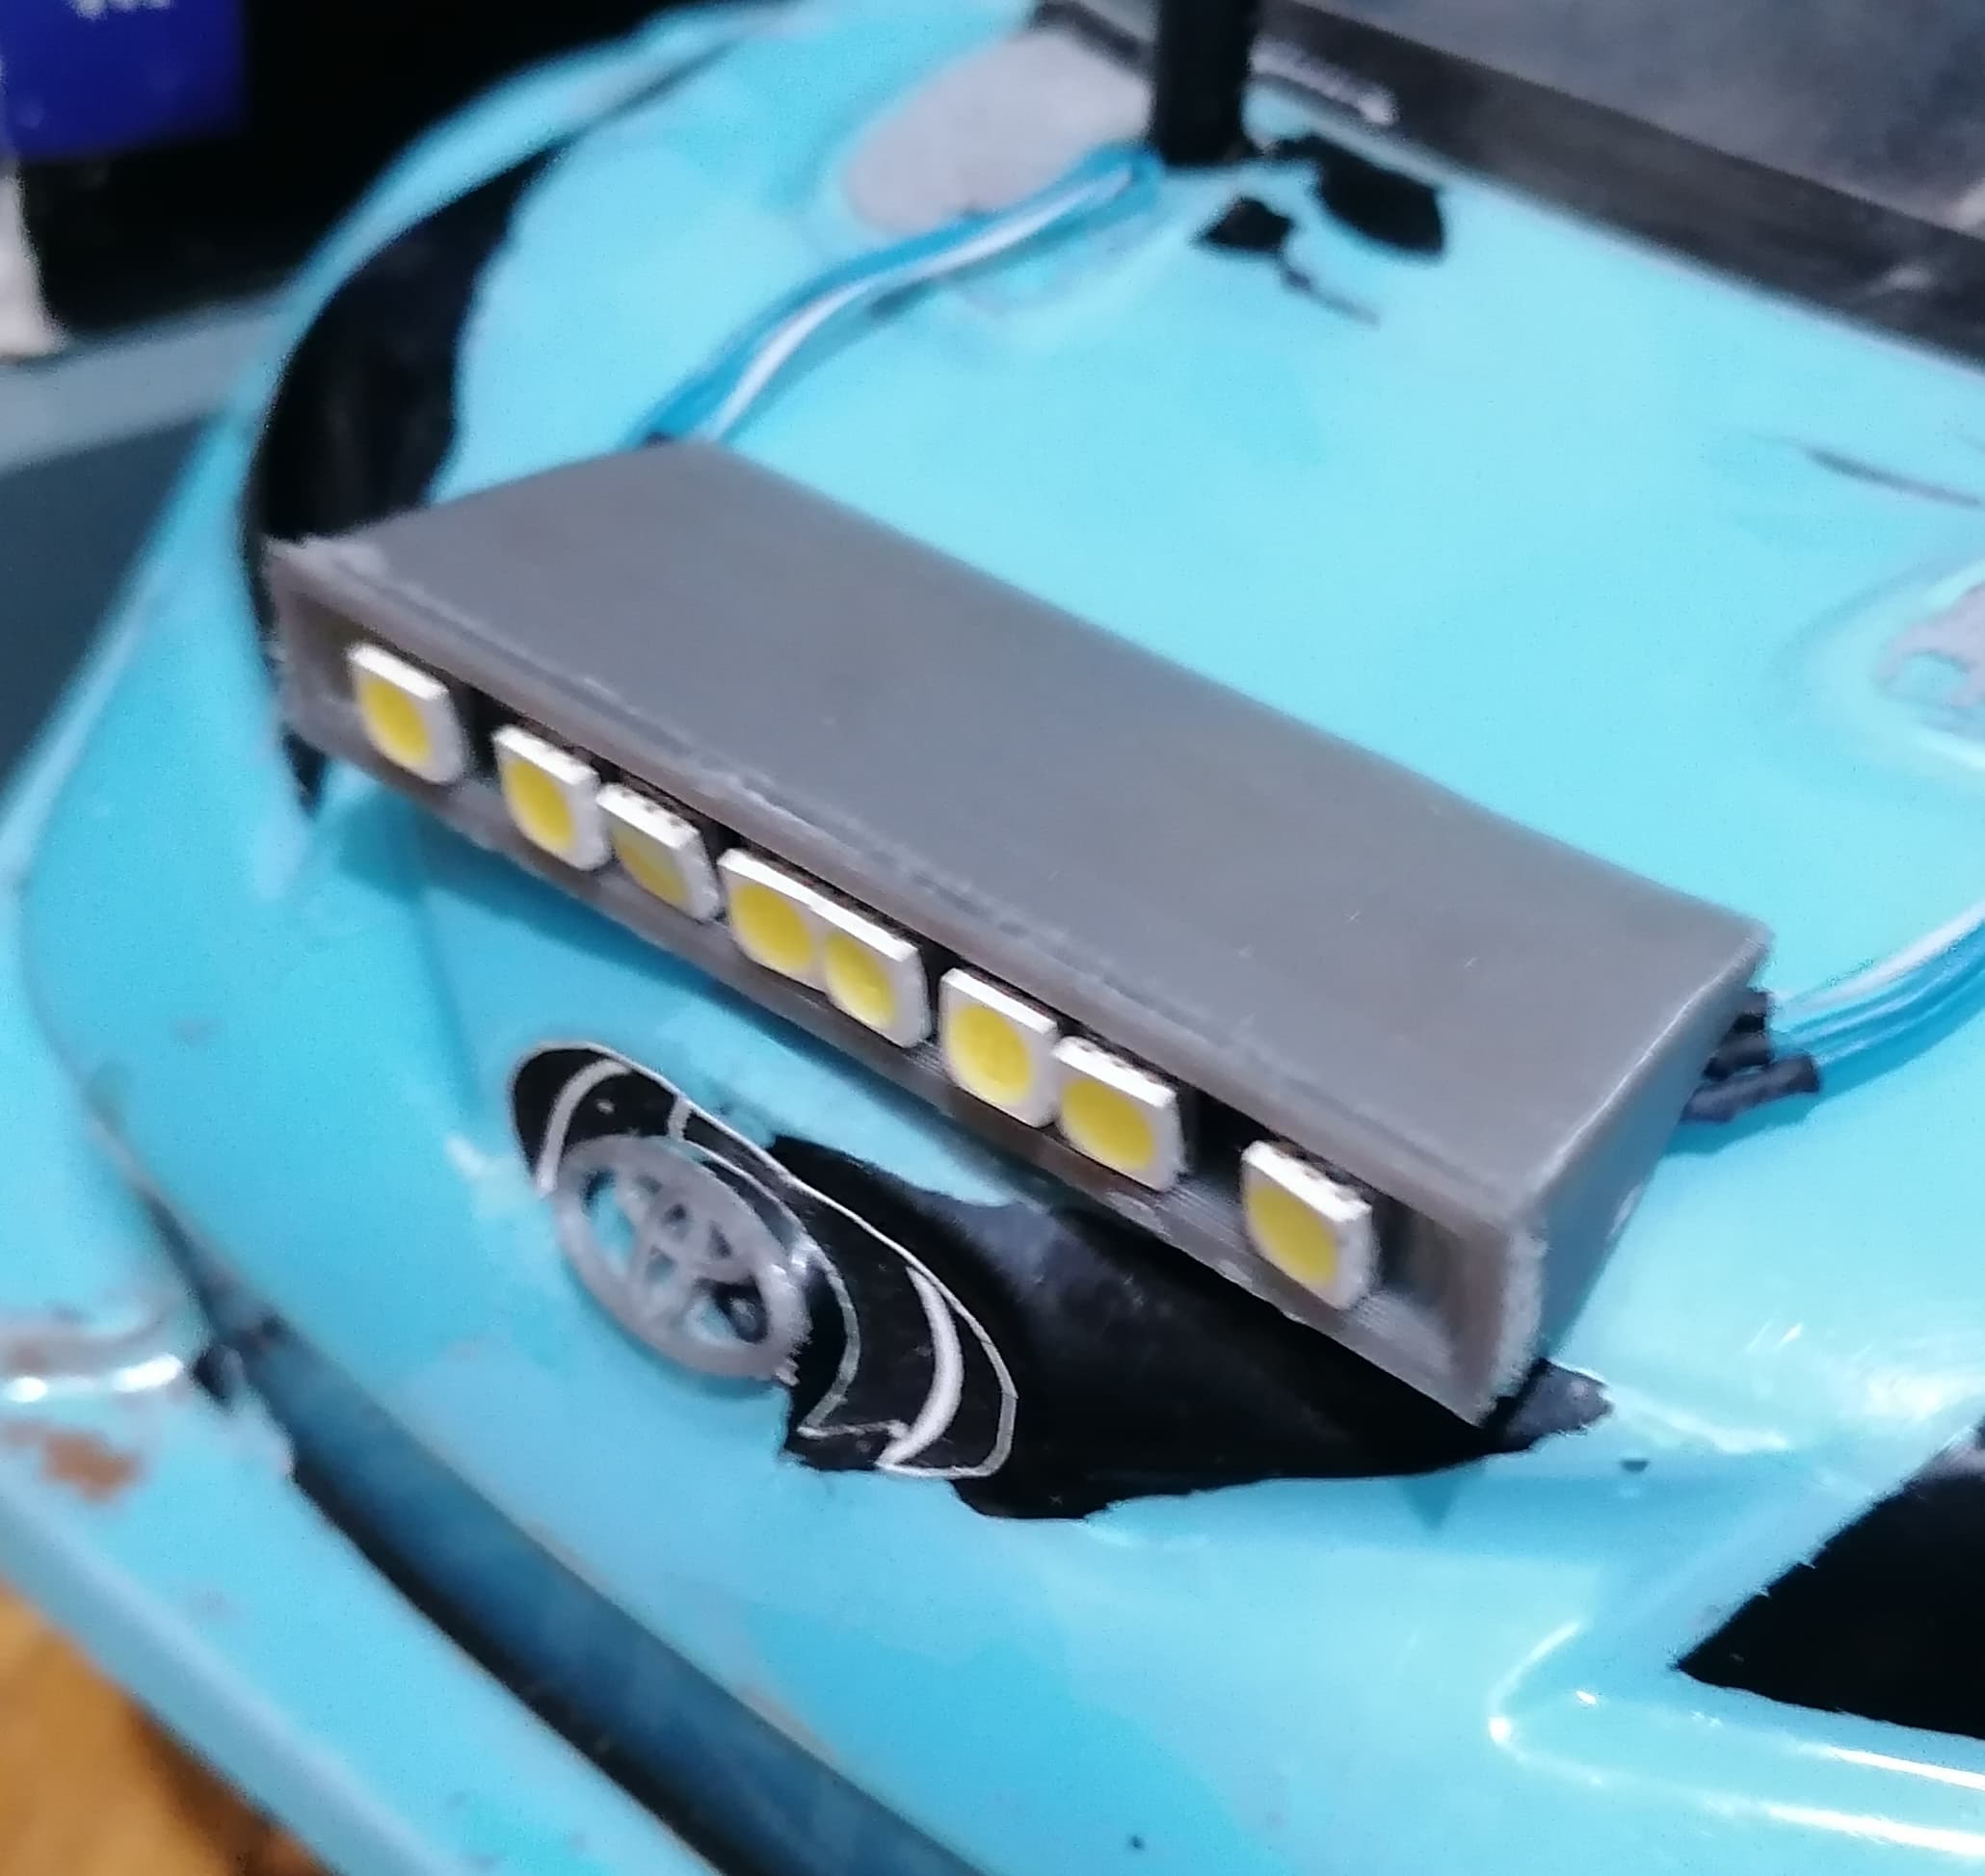
Led Headlights kit for rc 1/10
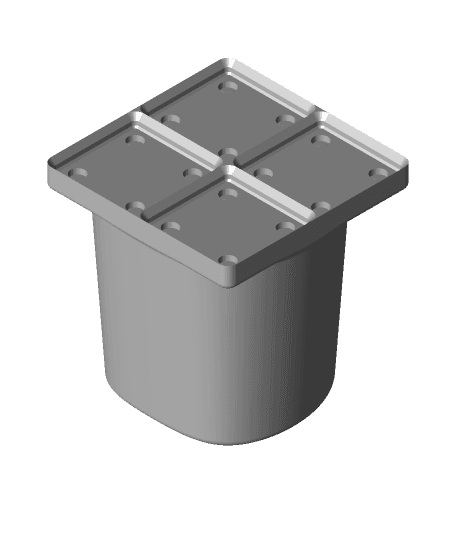
Gridfinity Baseplates for Yaris P1

Tamiya Nissan KingCab Knuckle and Upright
motormount versie2.STL
motormount versie 1.STL
Tamiya Mini 4WD Body on a Kyosho Mini Z chassis

Tamiya High Lift Transmission Lift Set

Tamiya Kingcab & Monster Racer Rear Suspension Set with Swaybar Mount
.jpg&w=3840&q=75)
Tamiya Bruiser and HG P407 Front Wheel Spacer
