

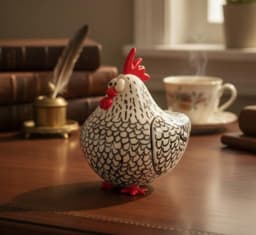


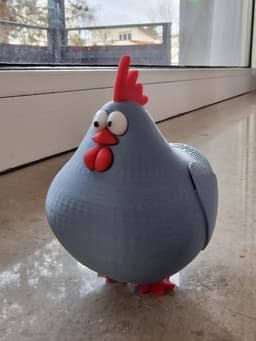


Chonky Chicken - High Detail Multi-Part Kit
Bring some "Chonky" joy to your space! This chicken isn't just a model; it's a meticulously designed piece of art optimized for the best possible 3D printing experience.
By separating the parts, you can achieve a stunning, multi-color look with zero bleeding, even if you don't have a multi-material printer (like AMS or MMU).
**[ 📂 Included STL Files ] **Body.stl – The main "Chonky" frame.
Legs.stl – Sturdy base for your chicken.
Comb.stl – The top crown.
Eyes.stl – Designed for a perfect "pop" look.
Beak.stl – The cute little nose.
Wattle.stl – The signature detail under the beak.
Full_Chicken_OnePiece.stl – [NEW] The entire model as one solid piece for single-color printing or AMS/MMU users.
[ 🛠️ My Pro Print Settings ] I printed this on my Bambu Lab X1-Carbon to achieve a retail-quality finish:
Resolution: 0.08mm (Extra Fine) – For that smooth, injection-molded feel.
Walls: 3 Loops – Ensures strength and a flawless surface.
Infill: 5% Honeycomb – Lightweight but structurally sound.
Supports: * For Multi-Part Kit: Minimal. Only required at the base of the body.
For One-Piece File: Required under the base and under the wings to ensure a clean print.
[ 🧩 Assembly Instructions ] This is a Glue-up assembly kit (unless printing the One-Piece file):
Each part has its designated spot.
Apply a tiny drop of Super Glue to the Legs, Eyes, Beak, Comb, and Wattle.
Press into the Body for 10 seconds.
****Optimized for Bambu Lab Users: 🚀 ****In addition to the STL files, I have included .3mf files specifically for Bambu Studio users. These are pre-configured with the ideal orientation and print settings, so you can just drag, drop, and start printing immediately!
Tip: Use a glossy filament for the eyes to make them look alive!
[ 💖 Support My Work ] If you love this design, please share your makes! I’d love to see your "Chonky" creations in different colors. Don't forget to follow for more upcoming designs!
Chonky Chicken - High Detail Multi-Part Kit

Astra - High-Detail Minimalist Starfish

Marea - Seahorse Sculpture
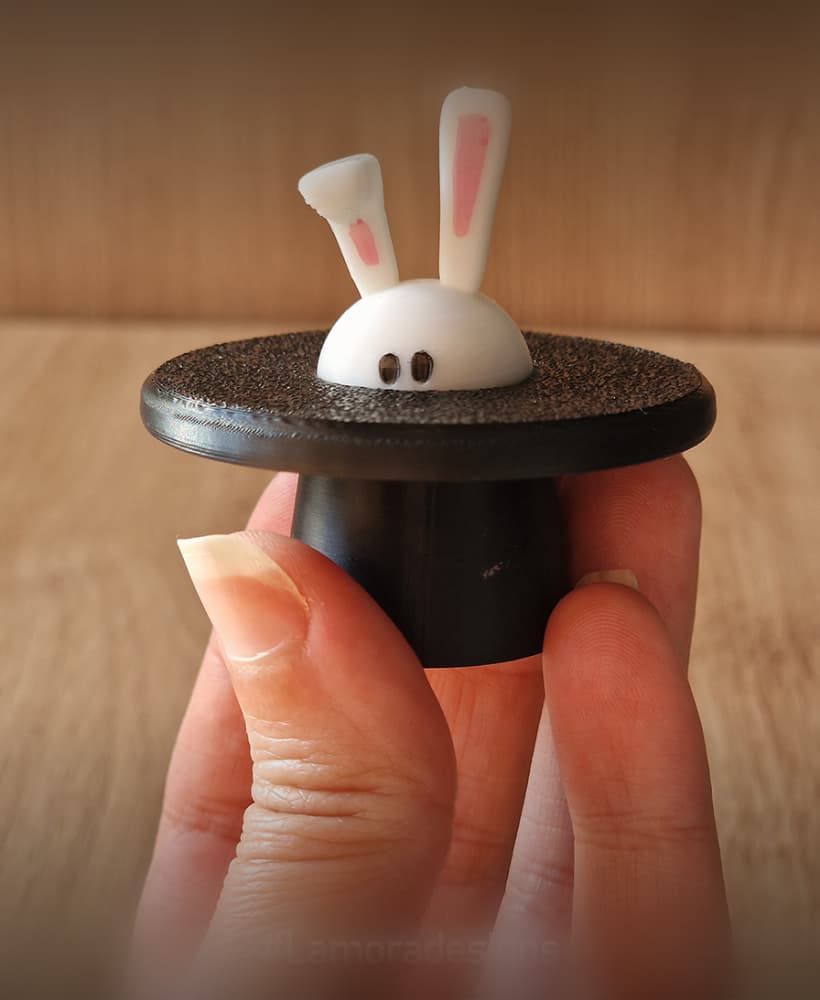
Pop-a-Boo Magic Bunny Fidget Clicker

Big Head

The "Balance" Vase

Coco the Chicken

Chunky in a Frame!

Blinky the Mouse

Luna Vase - Minimalist See-Through Design

The Angry chicken Grampette

Bugyz.3mf

L'amora Origami Swan

Noodle-The long dog

Pebble Dog - Minimalist Stone-Look Sculpture

Bloom Bunny - Floral Desk Companion

Mini Balaboo

Balaboo Pen-Pal

Kaake Kaak – The Most Adorable 3D Printed Duck!

El Otta : The Cat with the Glowing Balloon
