.gif&w=3840&q=85)
.gif&w=256&q=75)
.gif&w=256&q=75)

3D-printable Valentine’s gadget / fidget
Giveaway: Get the chance to win discount vouchers for Bambu Lab products by joining my Discord channel! 🎁 🔹🔹I invite you to join my discord server: (Entries are limited - don't miss the opportunity): https://discord.gg/pUW67mEFrb 🔹🔹
Thank you for visiting my page! If you can, please consider supporting my art with a subscription. Members will unlock ALL of my designs as well as the commercial rights to sell physical prints for as long as they are members.
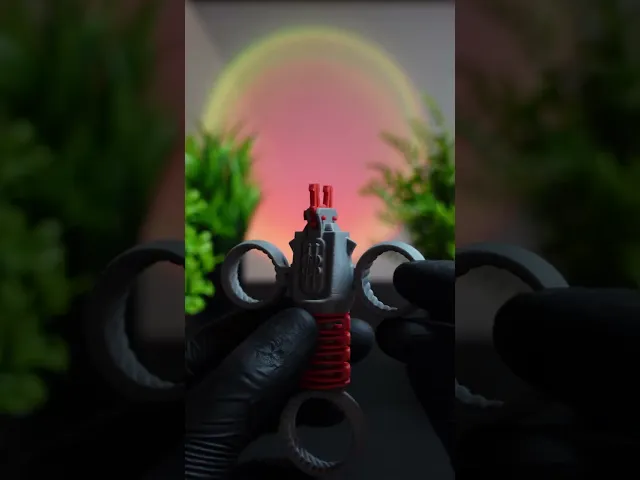
A playful 3D-printable Valentine’s gadget
This cheeky little accessory is fully 3D printable and designed as a fun, tongue-in-cheek gift for Valentine’s Day. Featuring a stylized hand with circular fingers and a bold gesture, it playfully suggests intimacy without taking itself too seriously. Lightweight, customizable, and easy to print, it’s perfect as a novelty desk toy, gag gift, or conversation starter for couples who enjoy humor with a wink.
Cute, ironic, and unapologetically playful. 💘
Do not change the orientation of the parts.
I printed with PLA at 0.2mm/layer.
Use high-quality PLA - avoid matte PLA as it is not very flexible, especially for the spring. -
Let the parts cool down well before assembling everything
Recommended settings:
- Layer height: 0.2 mm
- Supports: NOT required
- Infill: standard
- Quality profile: standard Bambu Lab
Warning: The content in question is protected by a Creative Commons license that does not allow the creation of derivative works or remixes. This means that it is not permitted to modify, transform, or further develop the material in any form. Make sure to comply with the terms of the license to avoid copyright violations.
How do I take such high-quality photographs? Here's my equipment:
Camera: https://amzn.to/3RPDj2c Lightbox: https://amzn.to/4btNvV0 Tripod: https://amzn.to/3L51fuT
3D-printable Valentine’s gadget / fidget
.gif&w=3840&q=75)
Shy Fingers - mechanical hand gesture - fully 3d printable
.gif&w=3840&q=75)
JAWDRIVE – Talking Heads Series #1 - Donald Trump

print-in-place planetay gear clamp

Mechanical Dice Gun Spinner
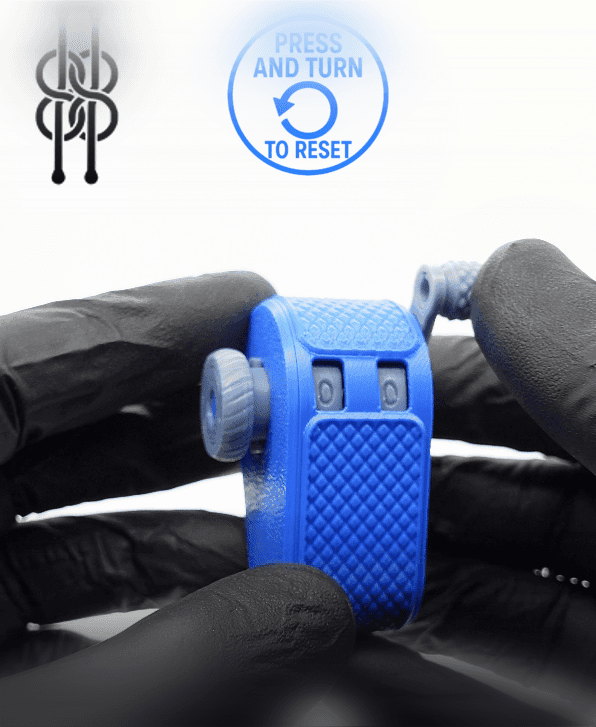
Small Mechanical Counter - Fully 3d printable
.gif&w=3840&q=75)
Clapping Hand Syringe

Rock Syringe - Fully 3d printable

Go Away - Mechanical Italian Gesture - Fully 3d printable
.gif&w=3840&q=75)
Italian mechanical gesture – fully 3D printable fidget toy

Mechanical counter - Naked version
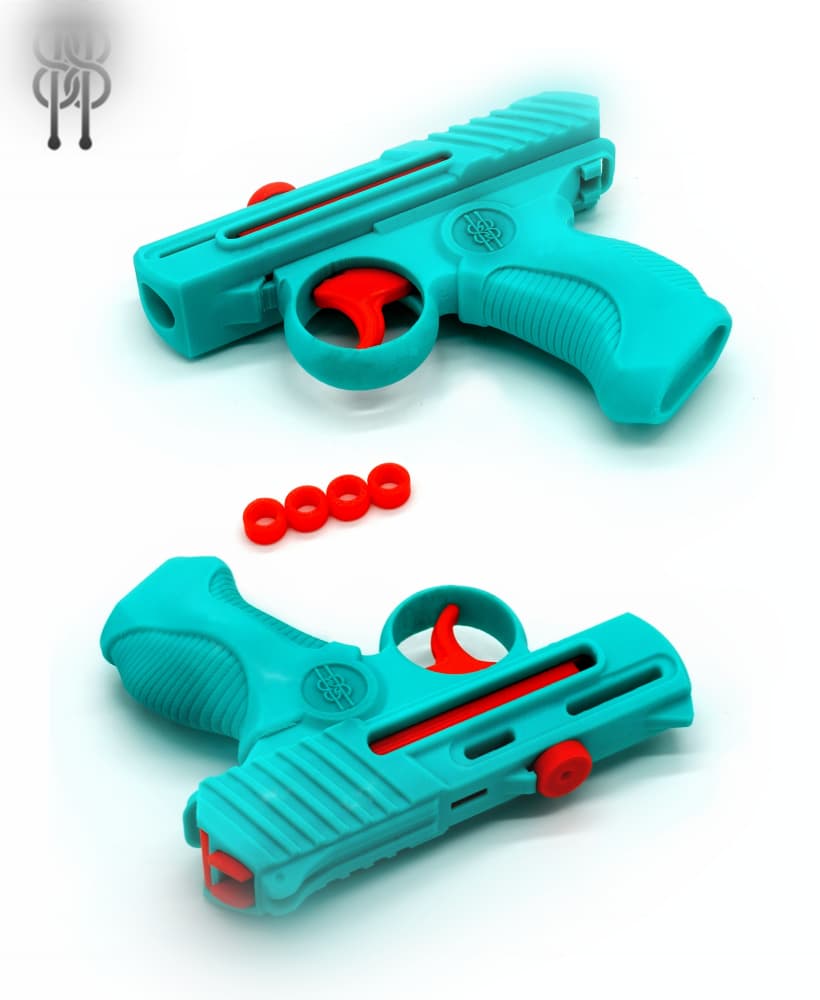
Fully 3D Printable Tiny Toy Gun - (x4 Round - semiauto) - v2

Fully 3D Printable Tiny Toy Gun - (x6 Round - semiauto) - v2 EXTENDED
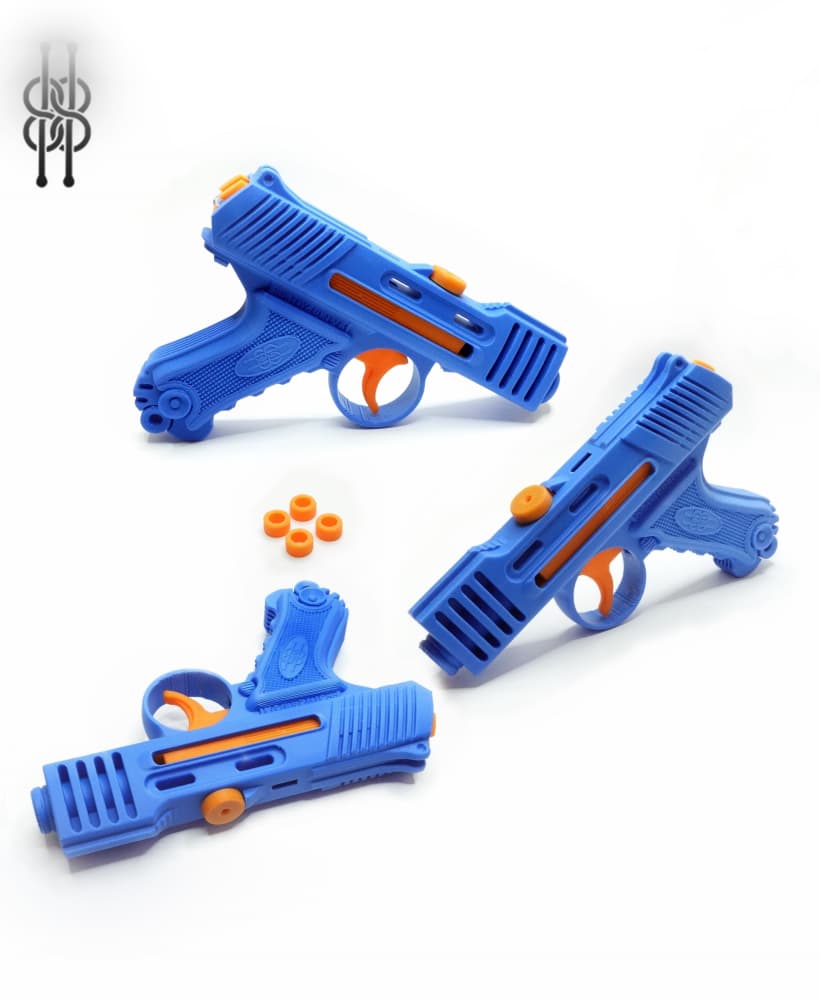
Tiny Toy Gun - (x4 Round - semiauto) - EXTENDED BARREL VERSION

PREDATOR GRABBER v1

Fully 3D Printable Tiny Toy Gun - (x4 Round - semiauto) - COMPACT VERSION
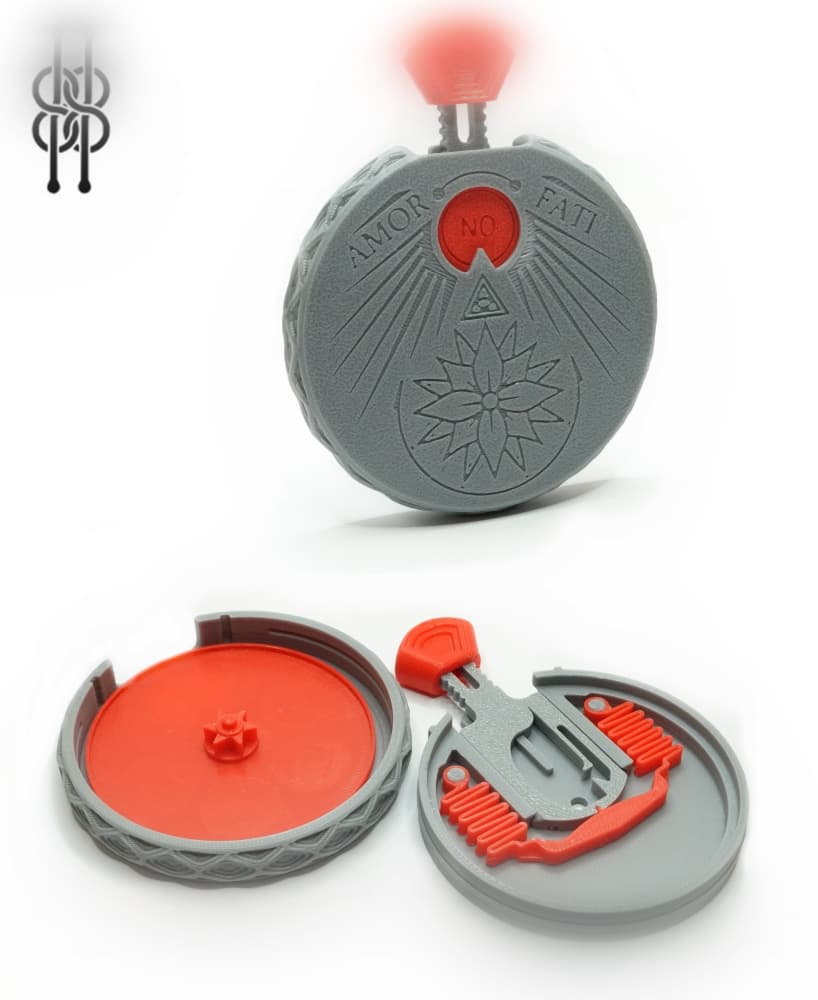
Yes/No Spinner - Amor Fati - Fully 3d printable "I don't love you anymore"
.gif&w=3840&q=75)
Mechanical Dice - fully 3d printable - no external parts

Mechanical Iris Container - Compact and stackable version
.gif&w=3840&q=75)
Mechanical Creepy Eye-Ball Ring
.gif&w=3840&q=75)
Although it is relatively easy to follow assembly from the video, some instructions would be nice.
Comments have a character limit. For more detail on step 3, apply tension so the rack is at or below the top of the body. Place the connectors at a 30-45 degree angle, with the tooth touching the edge of the body on the outside. This is the max travel distance. Once the holes are lined up, place in the lock. It will spring back to neutral position, touching each other.