


XL Easter Bunny - for larger build plates
91 downloads · 6 months ago · XL Easter Bunny - for larger build plates
XL Easter Bunny: Assembly Guide
Welcome to the Not So...
This model is restricted by licensing terms.
View license.
XL Easter Bunny - for larger build plates
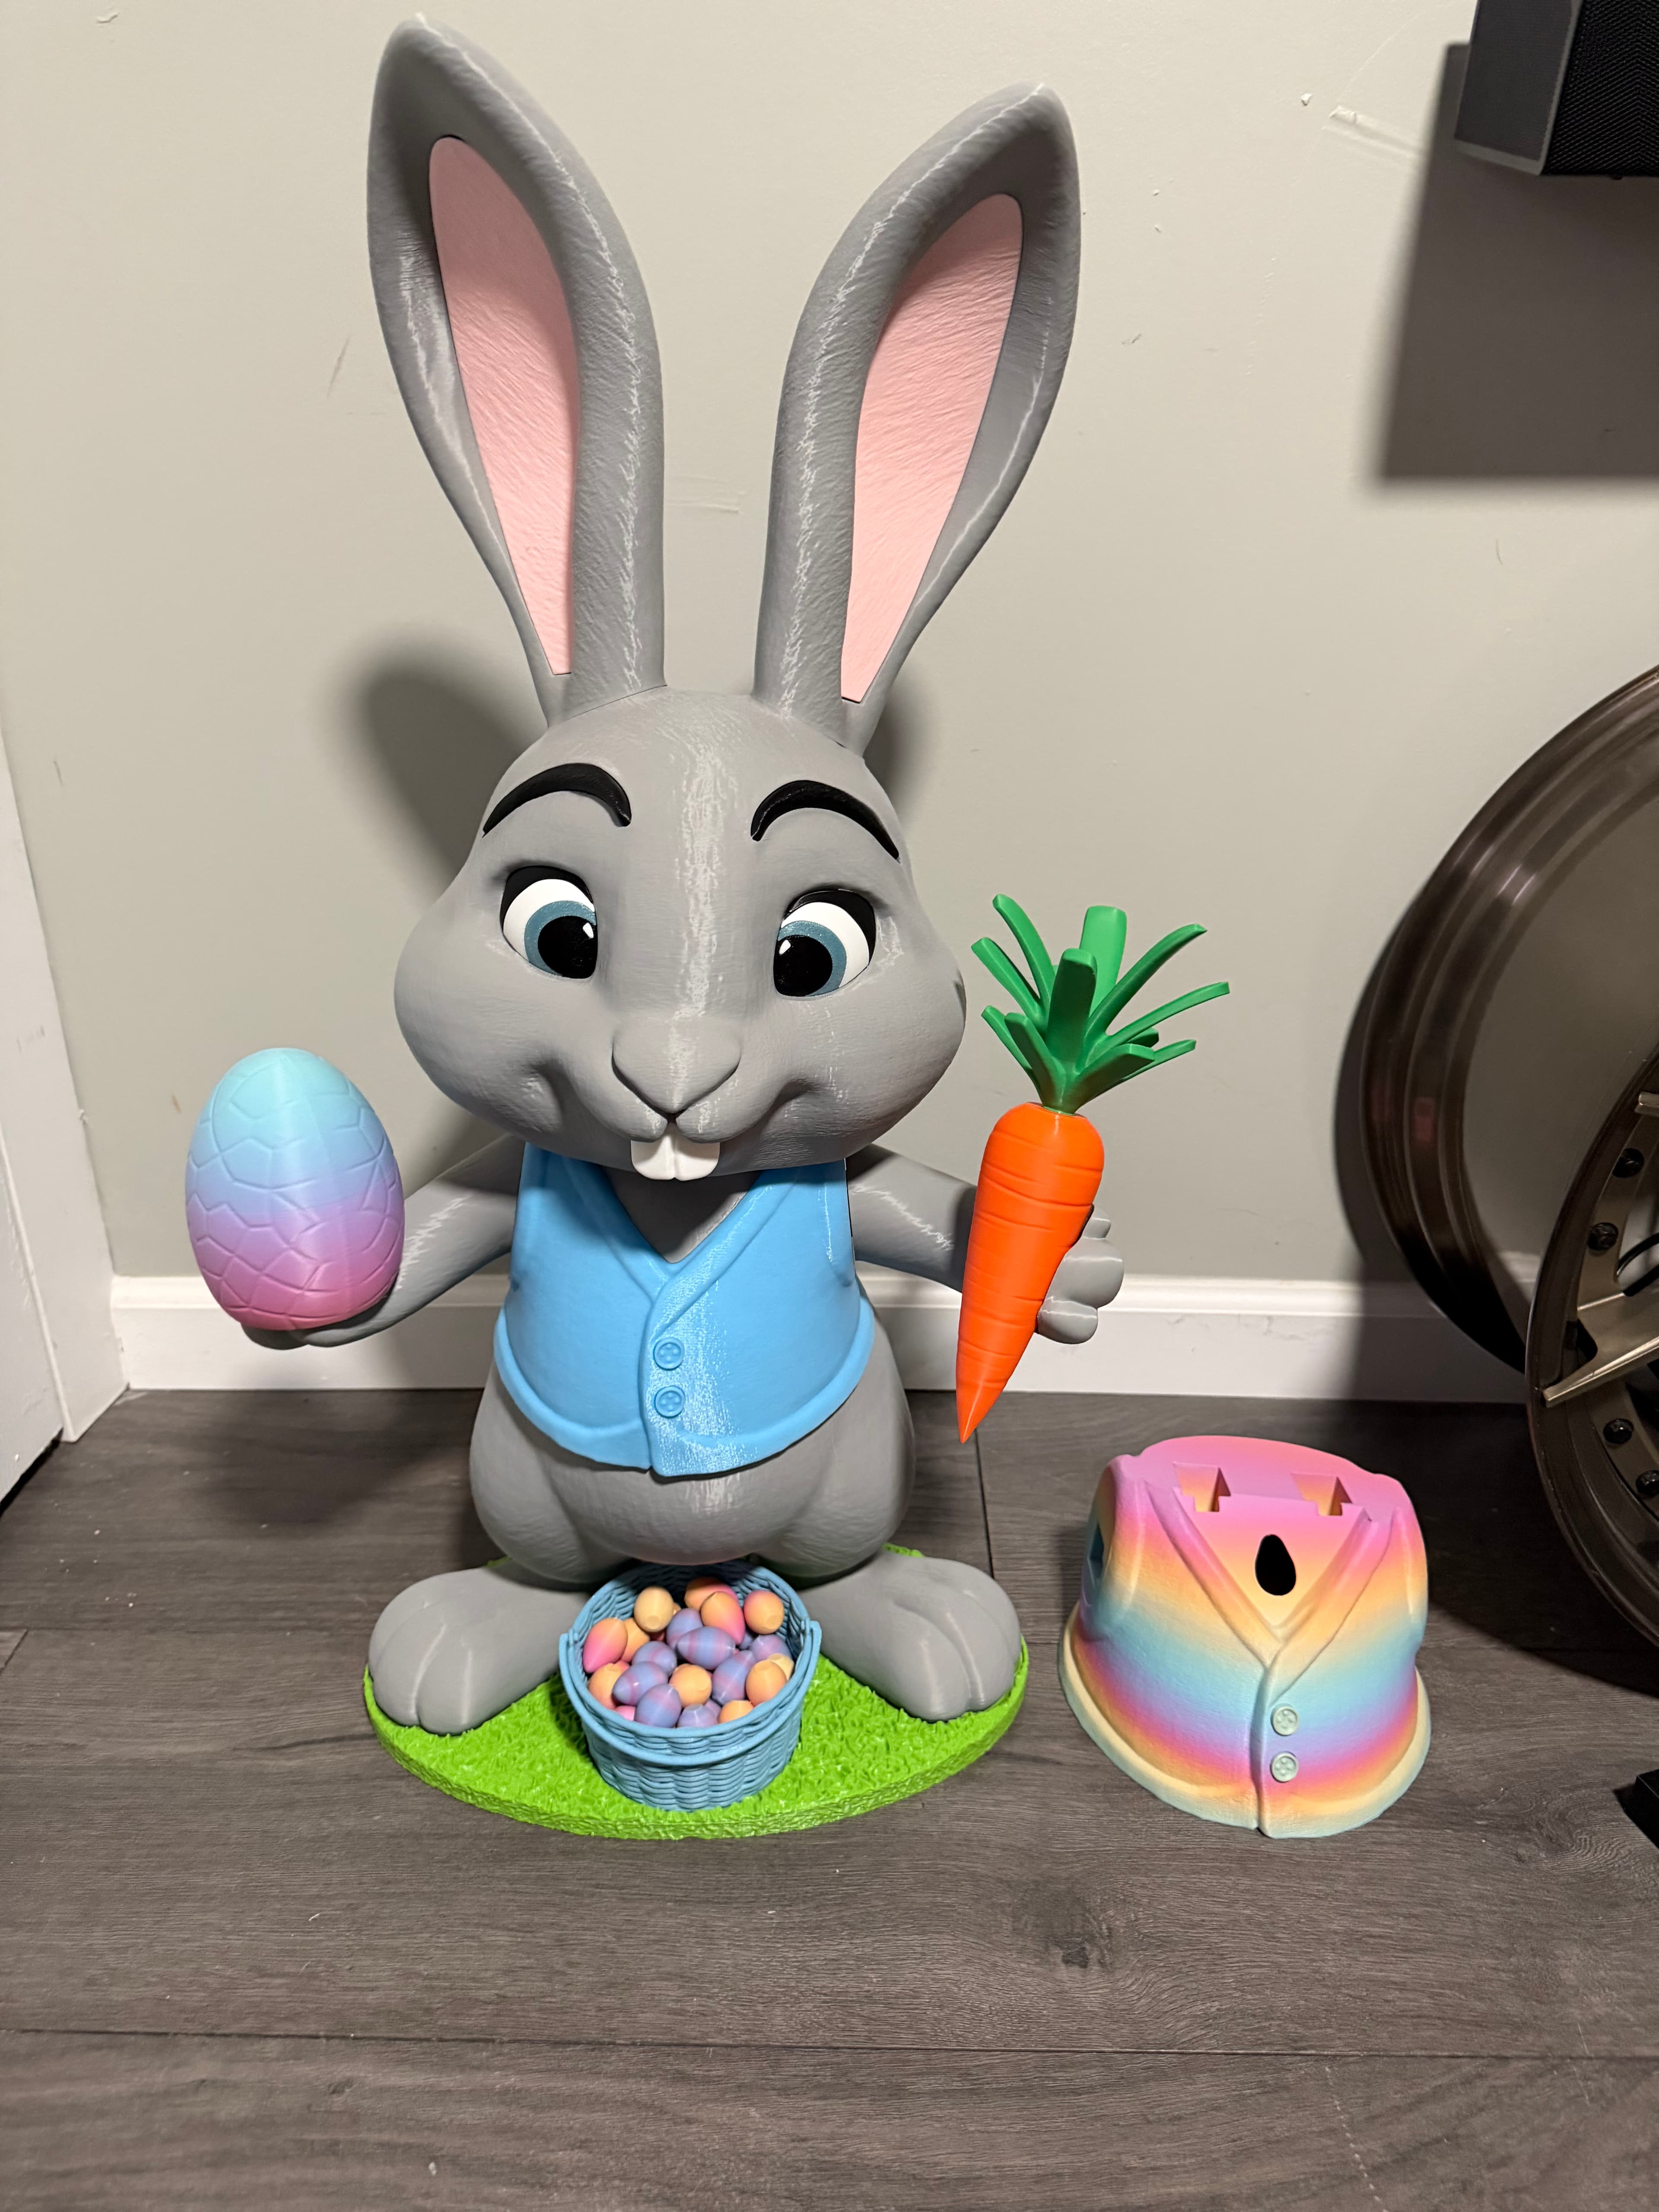
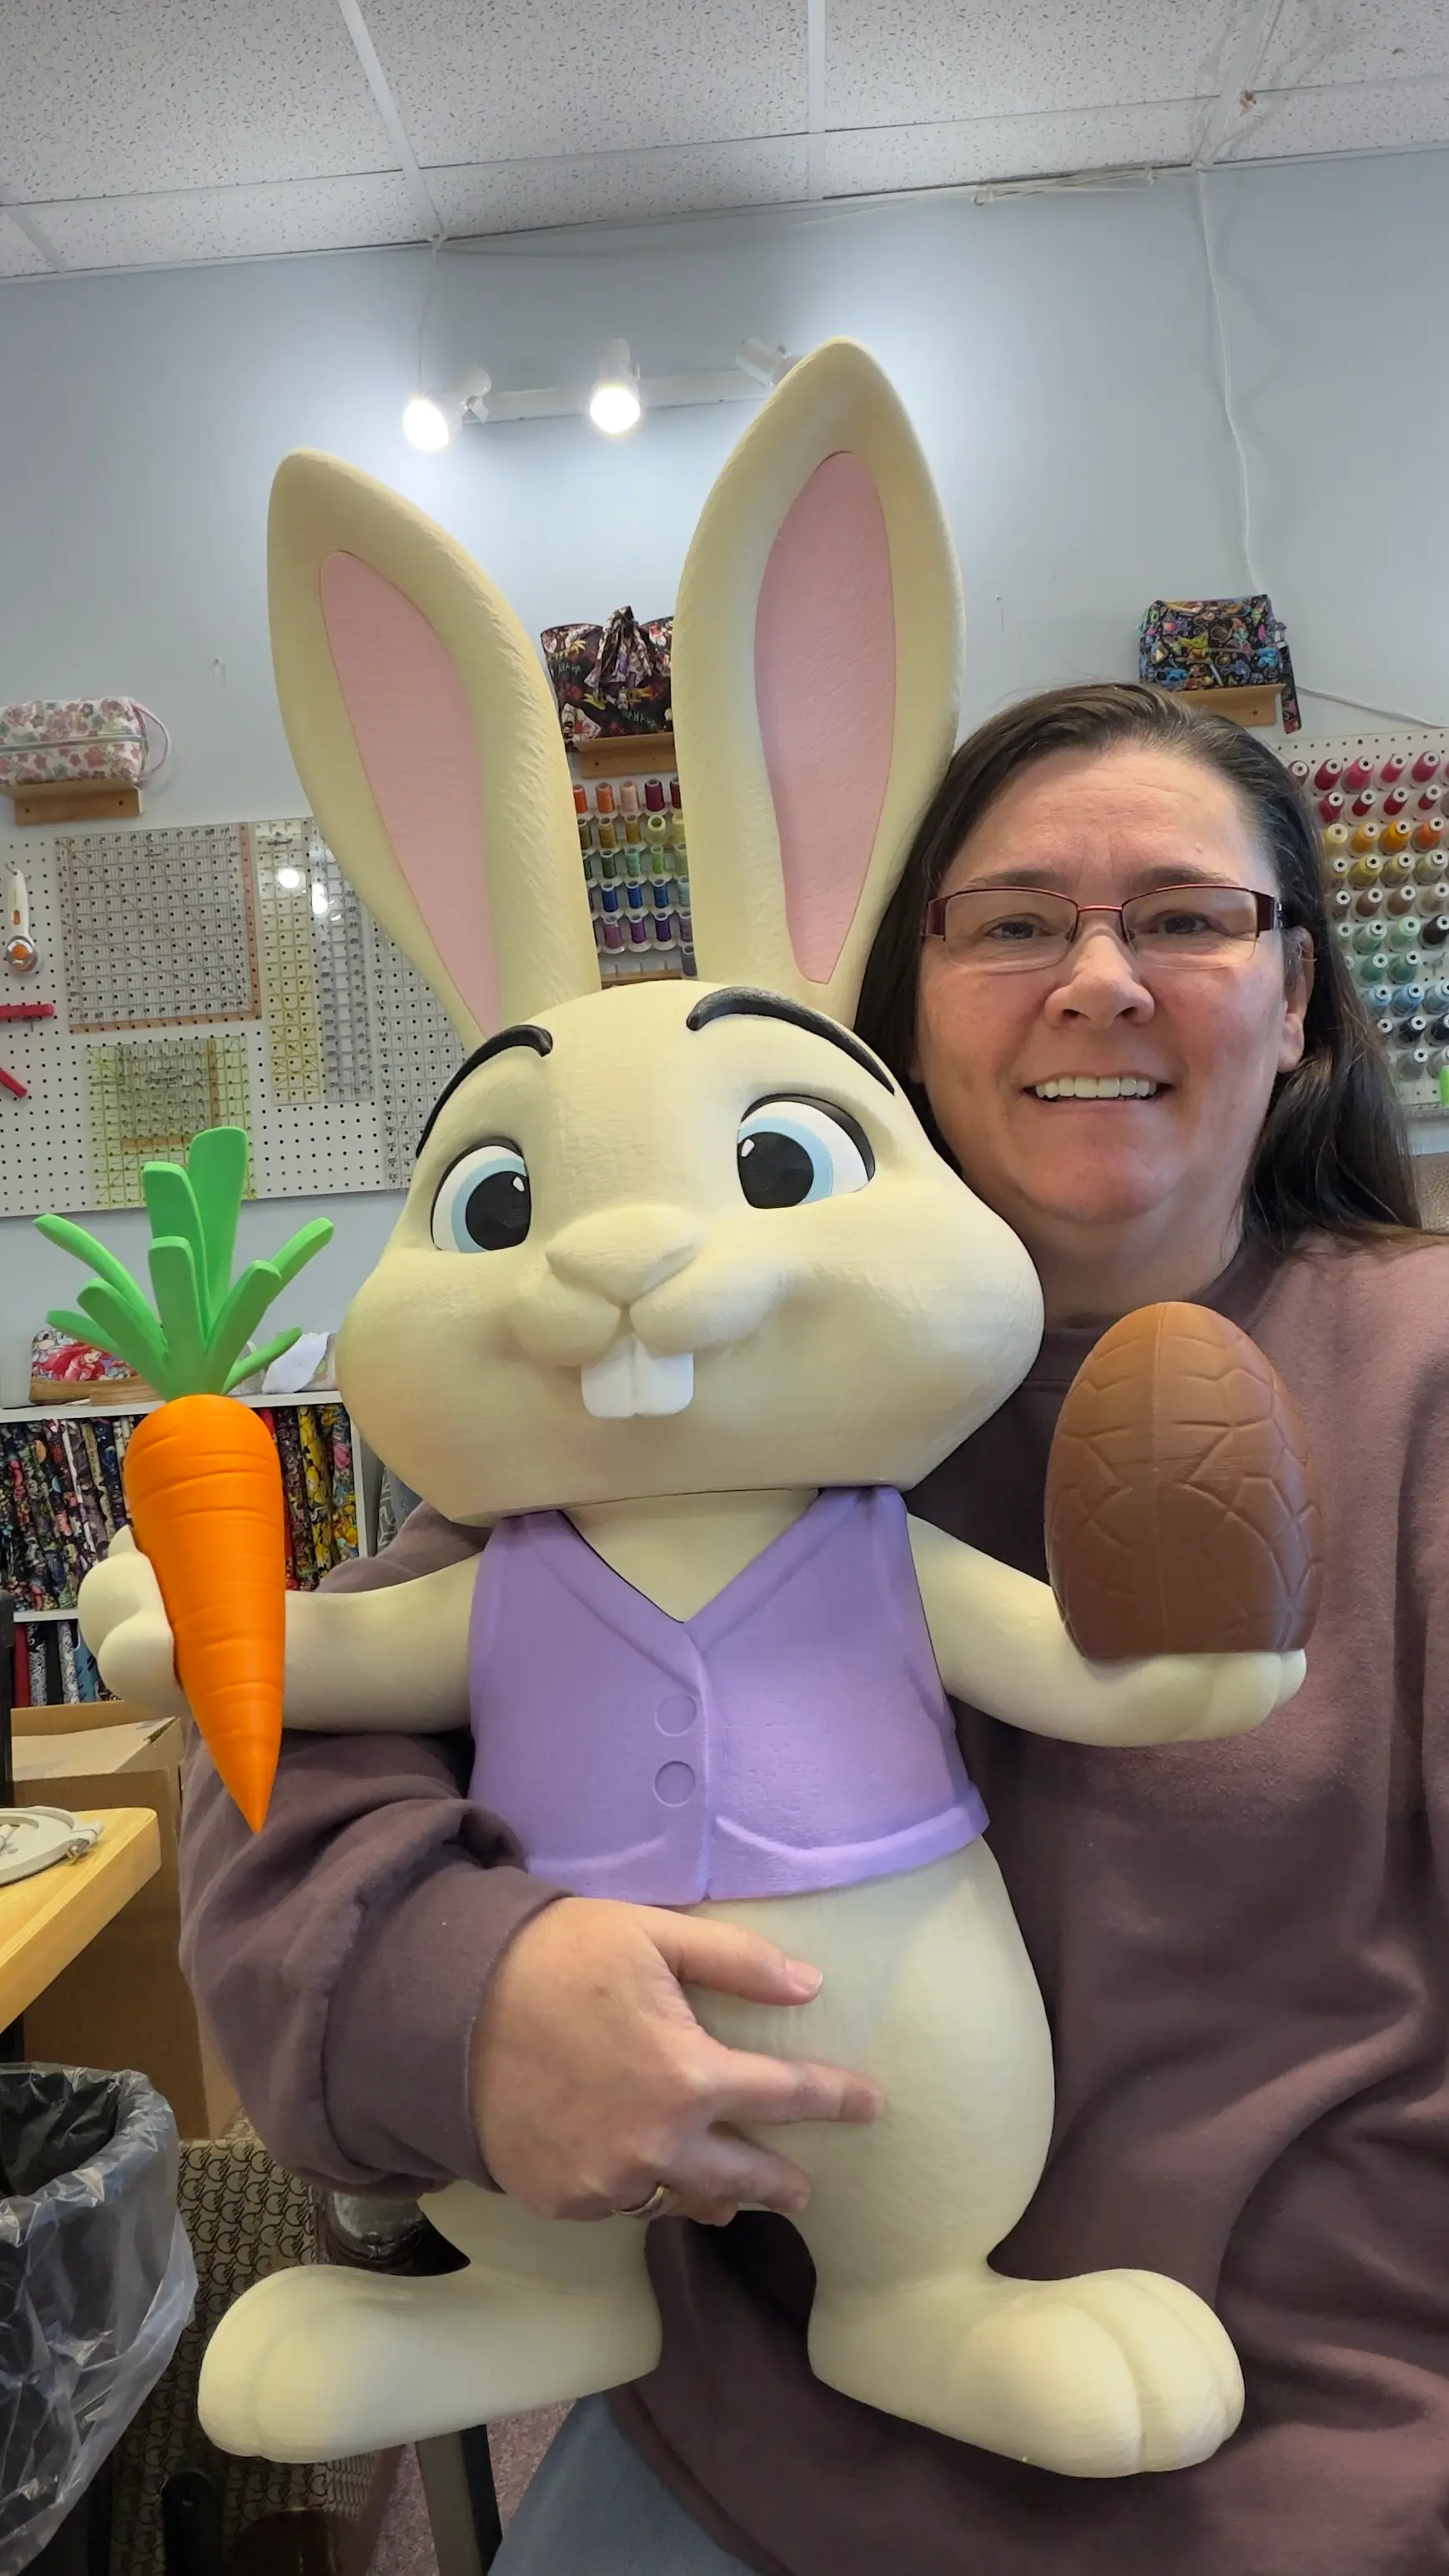
XL Easter Bunny: Assembly Guide Welcome to the Not So... XL Easter Bunny build! This specific version is designed for larger build plates (320x320x320 mm or above) and features tolerances specifically adjusted for printing at this scale. Note: This is the Standard Version. Additional upgrades, such as the long-sleeve outfit and the grass-textured base, are available as separate files.
Before You Print & Assemble
- Printing Requirements: This model prints in parts and requires glue for most assembly steps. However, the chocolate egg and carrot are designed to fit into the hands without adhesive.
- Supports: Supports are necessary. We recommend setting your threshold angle to 26 to minimise cleanup. Advanced users may prefer to paint on supports only in critical areas.
- Tolerances: Every effort has been made to ensure a perfect fit. However, due to variations in printers and filaments, we highly recommend a "dry fit" (assembling without glue) before final bonding. Assembly Steps
- The Foundation
- Base: Insert the Base-to-Foot connectors into your chosen base.
- Feet & Legs: Place the feet onto the connectors, then insert the Foot-to-Leg connectors and slide the legs into place.
- The Body
- Waistcoat: Insert the Leg-to-Waistcoat connectors and slide the waistcoat over the legs.
- Arms & Head Prep: Insert the connectors for both arms and the two Waistcoat-to-Head connectors.
- Upper Body: Attach the head and the left and right arms. Finally, place the neck piece into the front cavity.
- Facial Features
- Eyebrows: Attach the left and right eyebrows.
- Eyes: Assemble the eyes in this specific order:
- Outer Black… 2. White… 3. Blue… 4. Inner Black… 5. Reflection.
- Once assembled, insert them into the eye cavities.
- Nose & Teeth: Insert the nose into its cavity, then slide the teeth upward into position.
- The Ears
- Insert the Ear Connectors into the top of the head.
- Slide on the left and right ears.
- Ear Inserts: To fit these, slide the flat end in first at an angle, then snap the top into place. Accessories
- Chocolate Egg: This container uses a twist-lock mechanism. Once assembled, it clips onto the right hand.
- Carrot: Insert the carrot top into the carrot body. This slides easily into the left hand.
- Decorative Eggs: We’ve included several small eggs to fill your basket! Congratulations! You have successfully assembled your Not So... XL Easter Bunny.
Filaments Used Bambu Basic Ash grey, white, black Bambu matte turquoise, yellow, pink for the chocolate egg, overture chocolate. Carrot, Bambu pumpkin orange, mistletoe green
donellelaws6 months ago

PrinterBambu Lab H2D
Puff5 months ago
Can't say enough good things about this model. First thing I do is break this bad boy out when someone questions my need for 2 full size printers :).jpg&w=256&q=75)
PrinterBambu Lab H2S
XL Easter Bunny - for larger build plates
91 downloads · 6 months ago in and
This model is restricted by licensing terms.
View license.
Bundle

Not So XL Reaper
Bundle

XL Reaper
Bundle

Melted Round Pumpkin
Bundle

Melted Long Pumpkin
Bundle

Kevin the Snail
Bundle

Double indent Pain sensory fidget
Bundle

Witches Hand with Cauldron
Bundle

Not So XL Scarecrow (for smaller build plates below 300x300x300)
Bundle

XL Scarecrow (for larger build plates above 320x320x320)
Bundle

Monsterpus
Bundle

Zebra Pot
Bundle

Contemporary Bird House
Bundle

Wenwan, Fidget Walnuts
Bundle

Heart Payment Wand End
Bundle

Zombie Dragon Bust
Bundle

Triple Clicker pain sensory fidget
Bundle

Happy Planter
Bundle

World Cup Trophy Replica
Bundle

Plain Goose update pack
Bundle
