


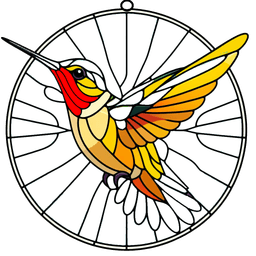


Hummingbird, Stained-glass Commercial Access, PETG 150x150 mm
[Free non-commercial use version downloadable at Makerworld and printables]
This stained-glass styled Hummingbird print is in TWO parts developed with HueForge's Lithophane Blending Type. The first part has just the blues and black of the Hummingbird foreground. The second part blanks out the foreground and blue parts of the hummingbird and provides the reds and yellows for the bird.
I printed this model in PLA, initially, but switched to PETG to make it more resistant to warping in strong sunlight. But PLA can be used, if the model is kept out of strong sunlight. Both parts have very thin base layers, so special care is needed to remove them from the build plate. It is probably best to cool them completely before trying and maybe to use glue stick as a releasing agent.
The two parts are printed as mirror images so that the flat sides can be mated together when assembling the model. When joining the parts be sparing with the adhesive, especially in the lighter parts. The adhesive will change the colors if it is not behind the darkest parts. If spread very thin and uniformly, it should not show too much.
If substituting filaments, pick ones with the similar TD values (+/-1). Use a transparent or natural white, if possible. Otherwise, pick the one with a TD > 15 to minimize the color change it will cause.
The 3mf file was created using Bambu Studio which has the swaps defined already. If necessary the STL files can be used in other slicers with the swap information provided below.
Filaments and Swap Instructions:
Part 1: Blues
Project: Hummingbird_Stained_Glass_Part_1_PETG.hfp Print at 100% infill with a layer height of 0.08mm with a base layer of 0.16mm
The Model is 150x150mm in size You may print at higher layer heights below the Base Thickness of 0.24mm The Max allowed Thickness is 1.2mm and the Actual Thickness is 1.04mm
Filaments Used: PETG GeeeTech Transparent Transmission Distance: 100 PETG PolyLite PolyMaker Teal Transmission Distance: 3 PETG Kaaber Blue Transmission Distance: 3.3 This print uses 3 unique filaments
Swap Instructions: Start with Transparent At layer #3 (0.32mm) swap to PolyMaker Teal At layer #6 (0.56mm) swap to Blue for the rest.
Part 2: Yellow/Red
Project: Hummingbird_Stained_Glass_Part_2_PETG.hfp Print at 100% infill with a layer height of 0.08mm with a base layer of 0.16mm
The Model is 150x150mm in size You may print at higher layer heights below the Base Thickness of 0.16mm The Max allowed Thickness is 0.88mm and the Actual Thickness is 0.8mm
Filaments Used: PETG GeeeTech Transparent Transmission Distance: 100 PETG Bambu HF Yellow Transmission Distance: 4 PETG Kaaber Red Transmission Distance: 6.5 This print uses 3 unique filaments
Swap Instructions: Start with Transparent At layer #2 (0.24mm) swap to Yellow At layer #5 (0.48mm) swap to Red for the rest.

Woodpecker in Two Parts, PETG, 150 mm

Peaqcock 1 Two Part PETG 150 mm
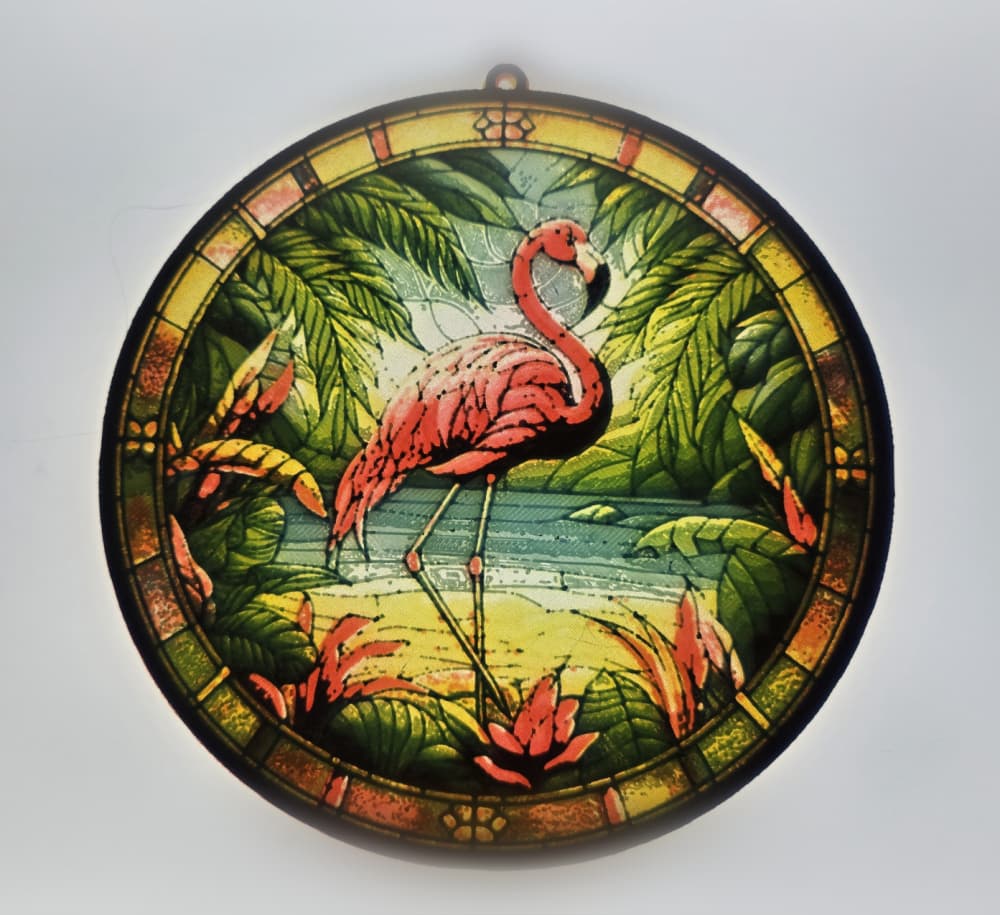
Flamingo Lithophane in Three Parts, PETG, 150 mm

Butterfly3 Three-Part PETG 150x149 mm

Macaw 2 Part PETG 150x167 mm

Cardinal Stained-Glass Styled Two Part Lithophane

Spooky Halloween 2024 Series: Stained-Glass Effect Black Cat!

Spooky Halloween 2024 Series: Stained-Glass Effect Spider

Virgin Mary Stained Glass Light Box

Deadpool Stained Glass Light Box

Wolverine Stained Glass Light Box
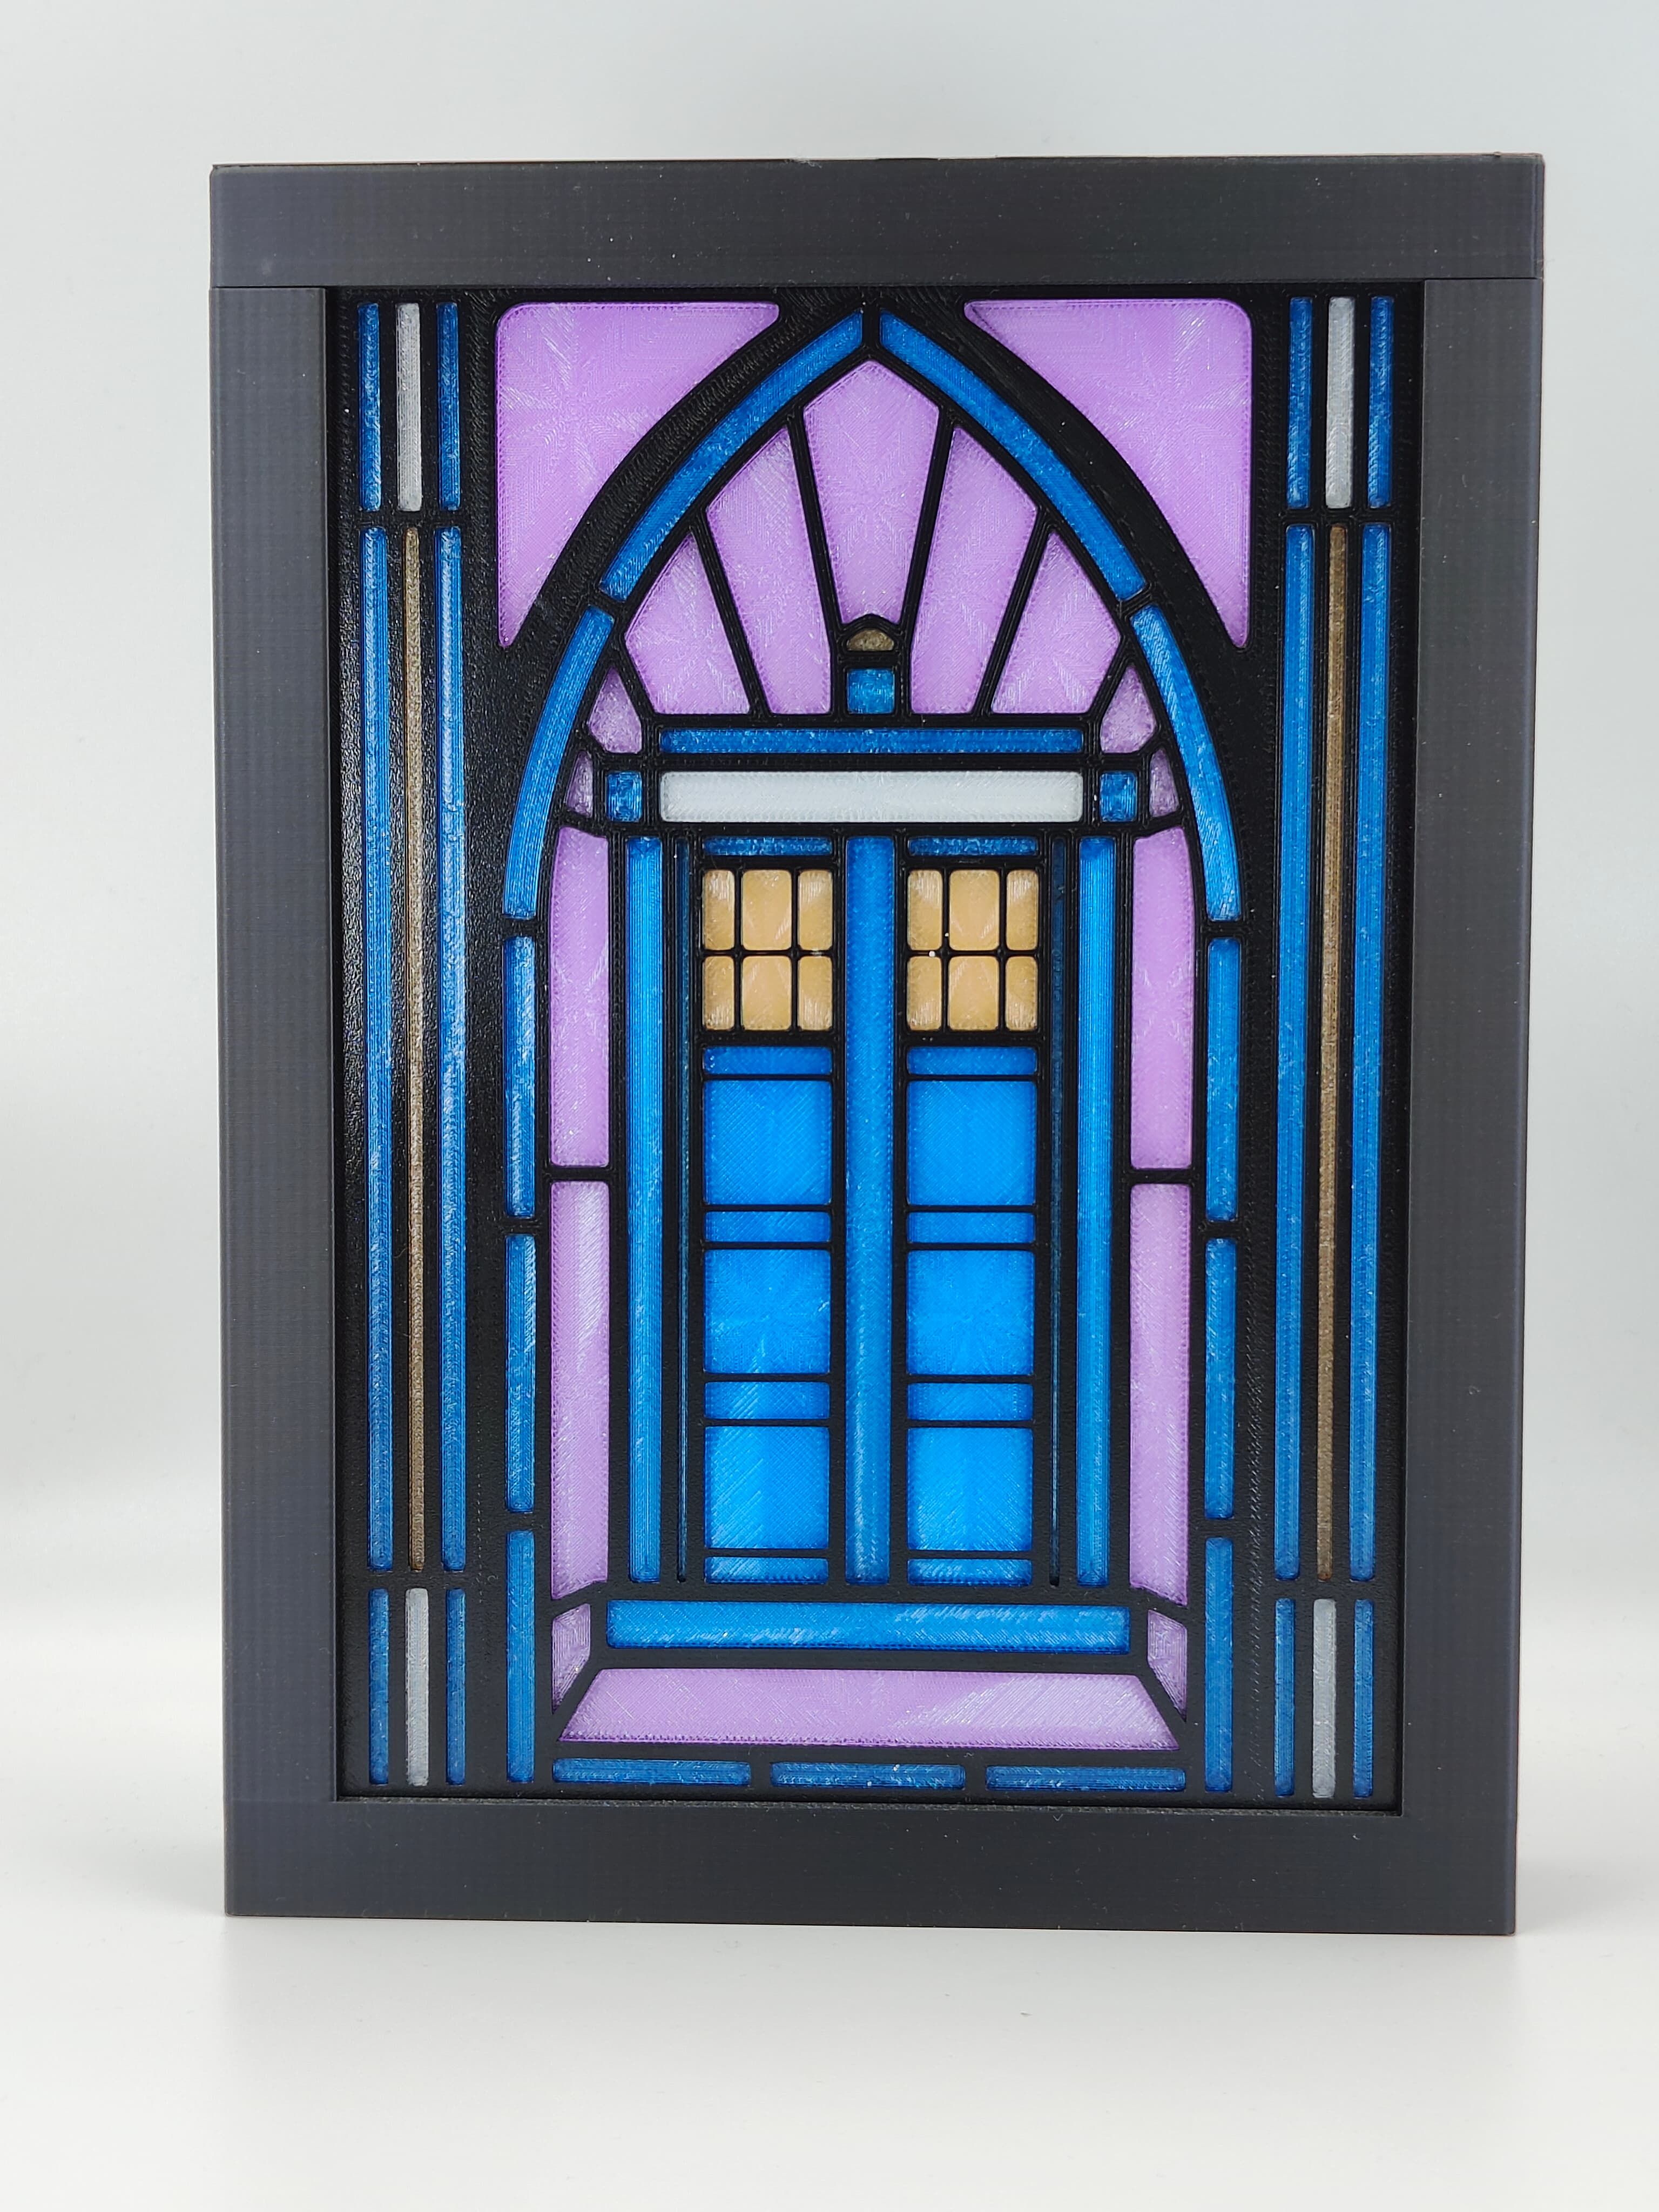
Doctor Who's TARDIS Stained Glass Light Box
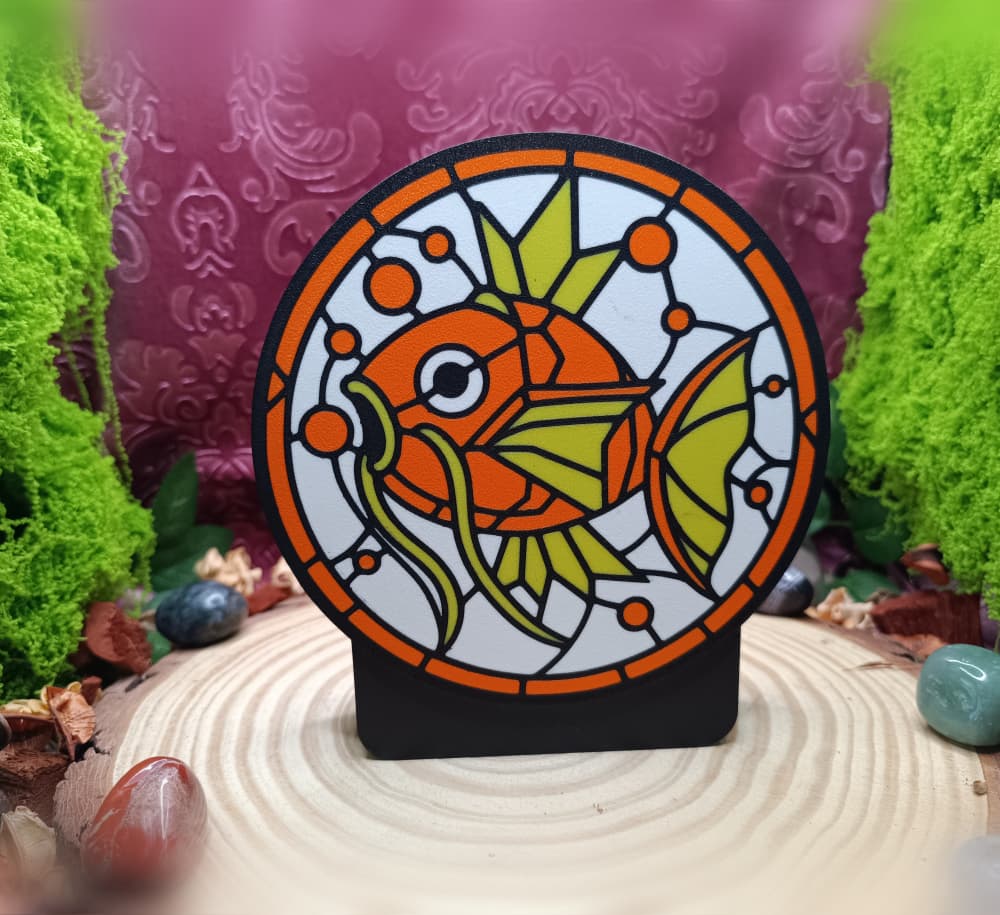
Magikarp – Stained Glass Lightbox Front

Firefly Serenity Stained Glass Light Box

Spiderman Stained Glass Light Box

Gothic Cathedral Tealight Holder STL – Stained Glass Church Candle Decor
Stained Glass
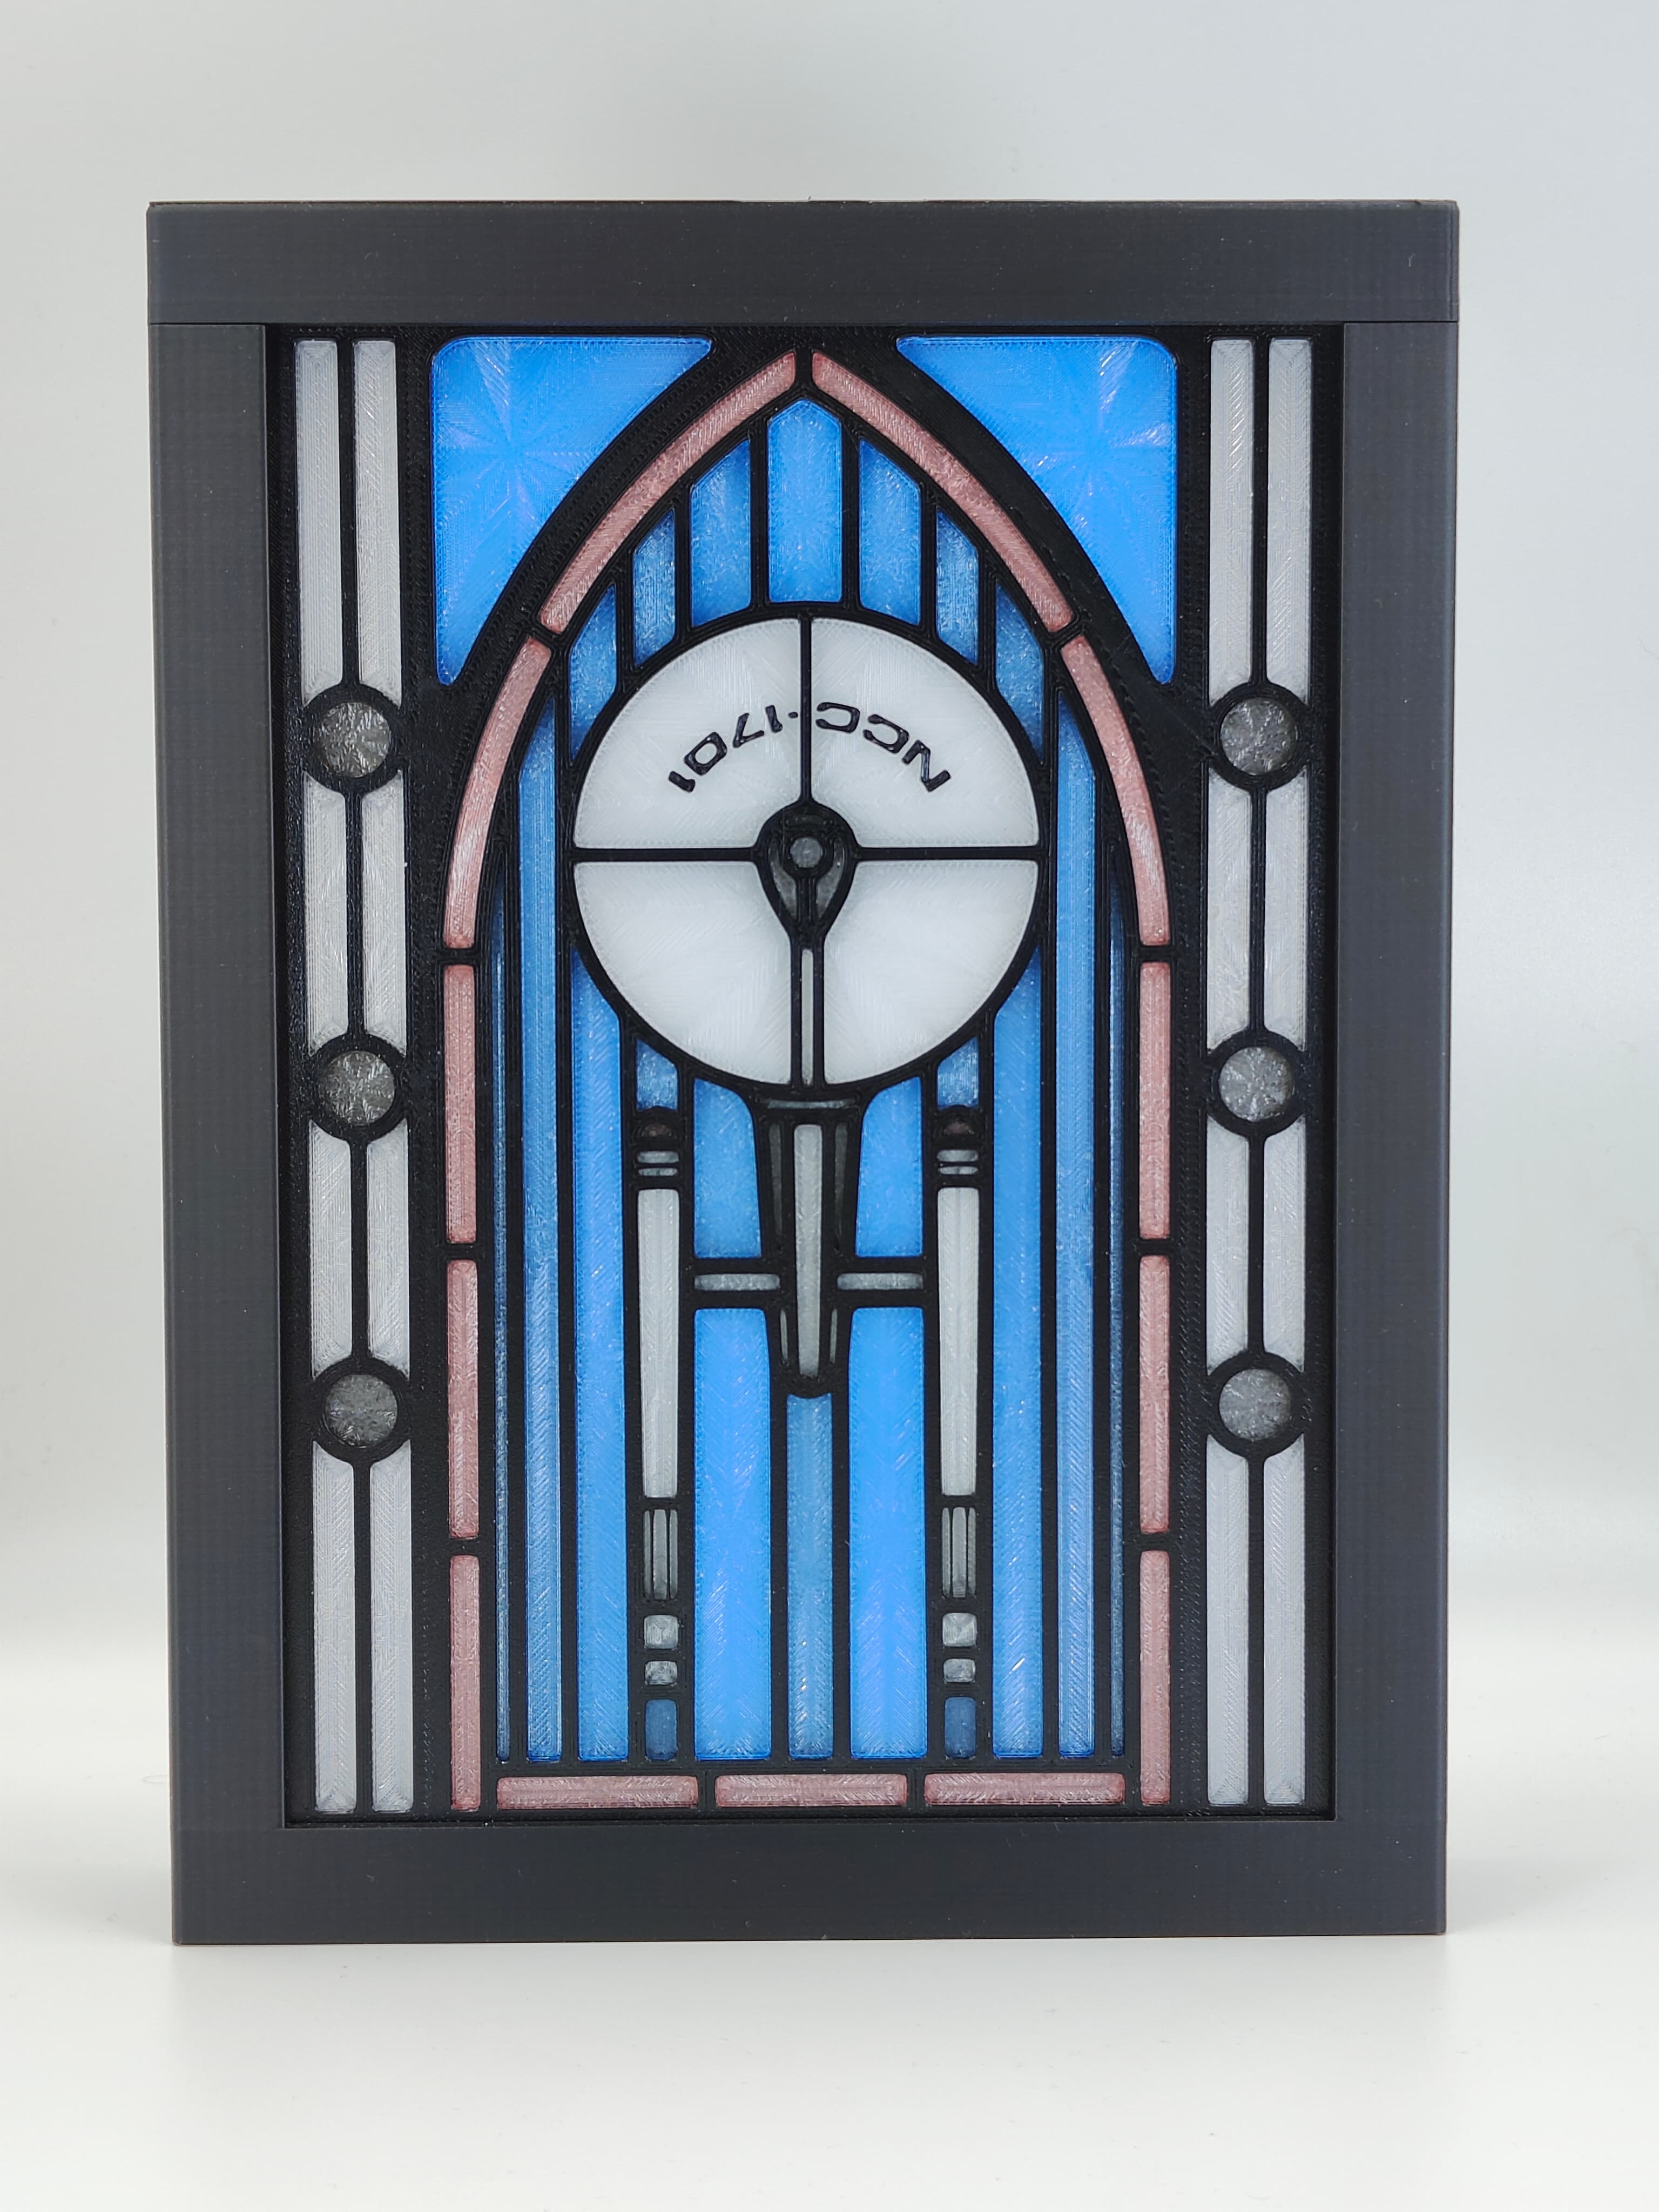
Star Trek Enterprise Stained Glass Lightbox
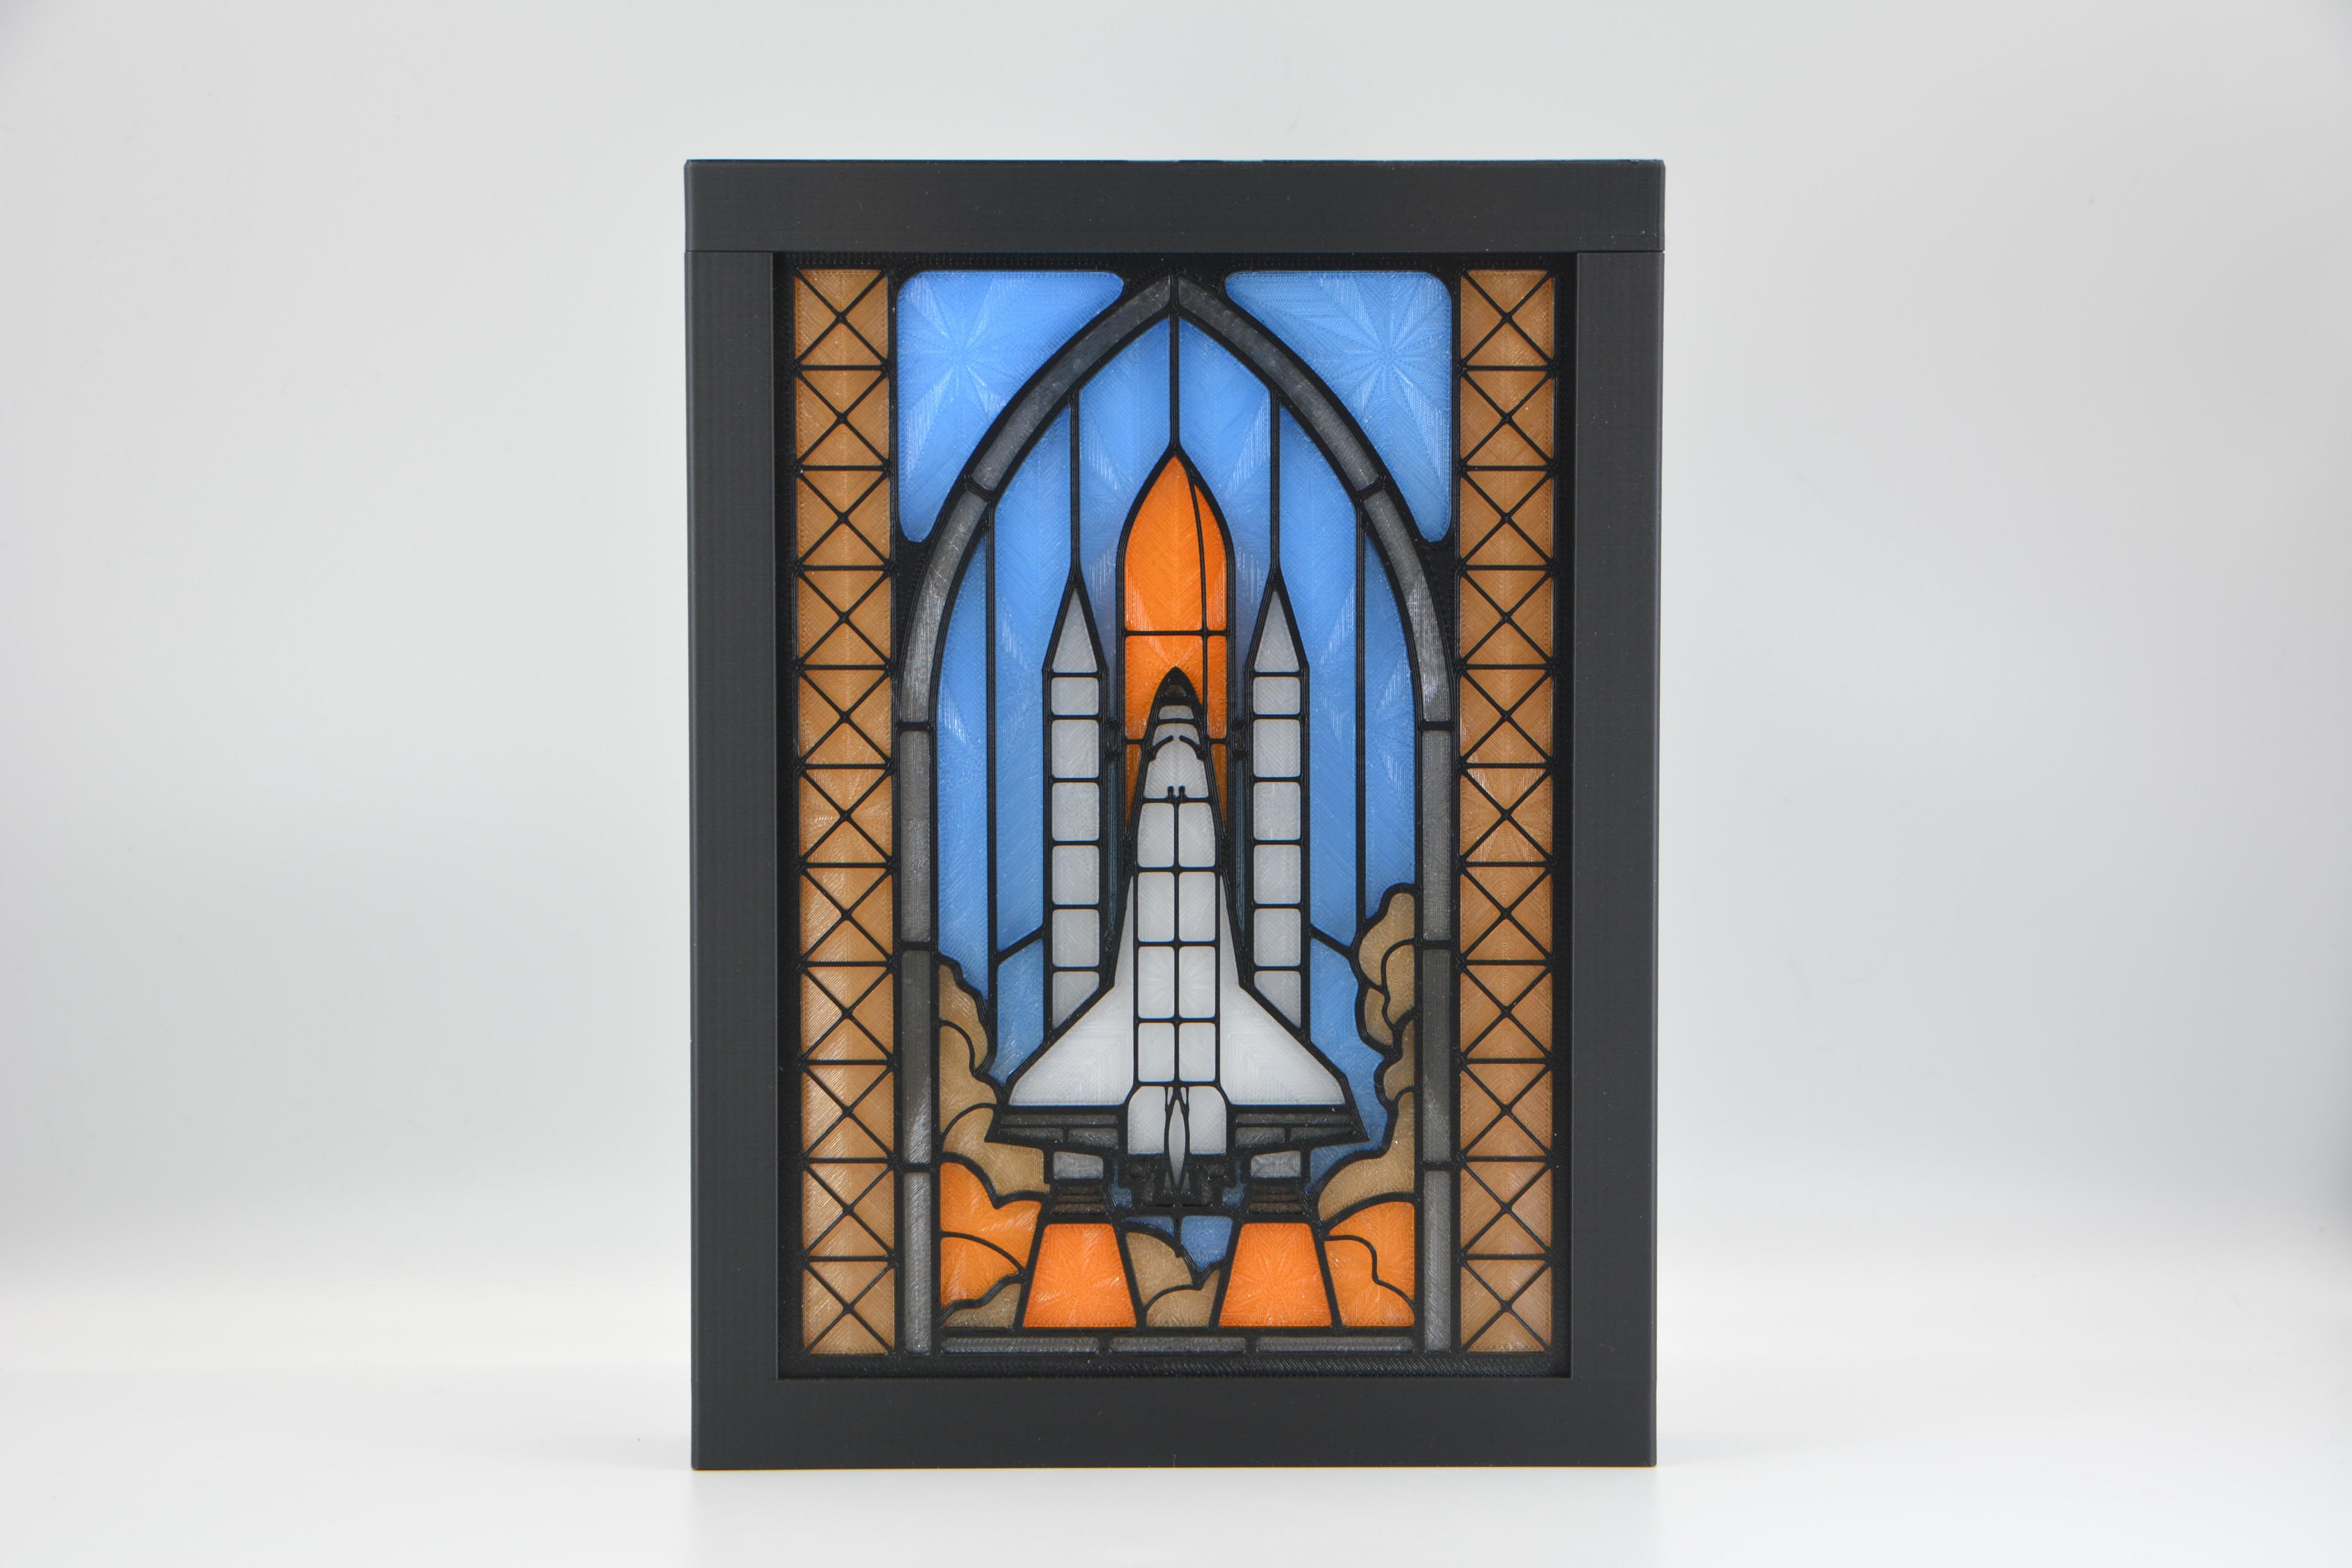
Space Shuttle Stained Glass Lightbox
