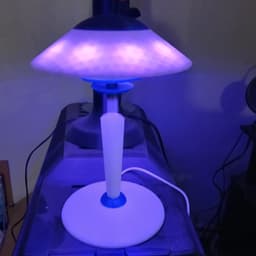


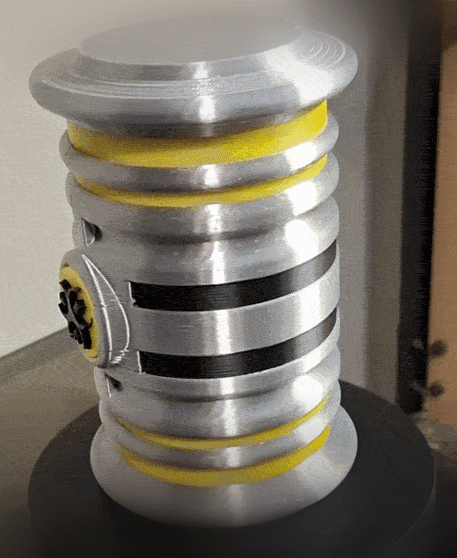
Space Port Alpha Lamp — A Beacon from Tomorrowland
Step right into the atomic age of adventure, where chrome dreams and cosmic optimism lit up every living room. The Space Port Alpha lamp is a stellar relic of the 1960s space age, reimagined for the modern star traveler. With its flying saucer silhouette and rocket-thruster base, it captures the era’s fascination with interplanetary possibility—and gives it a technicolor twist.
Features:
-
Powered by a Monster Smart LED strip with integrated IC technology
-
Shifts through a vibrant spectrum of colors with ease
-
Includes multiple dynamic light modes: pulse, strobe, fade, and beyond
-
Music reactive: dances in sync with your favorite tunes for that ultimate mod party vibe
The lamp isn’t just decor—it’s a retro-futuristic experience. Whether you're sipping Tang under its glow or decoding interstellar messages (we won't tell), the Space Port Alpha brings tomorrow’s ambiance to your pad today.
So flip the switch, cue the bossa nova, and beam yourself into the future—where mood lighting is groovy, and the stars are just a dial away.
3D printing settings:
Resolution: 0.16mm to 0.2mm Infill: 18% - triangular Outer Wall Speed: 65mm/s Support: Yes, organic. Skirt: Recommended, 5 loops
Assembly:
-
Print the parts.
-
Assemble the base accent and Body A by Putting the base accent part on the end of Body A the is keyed to the base. The Base Accent is also keyed to match Body A. The accent should wedge on to Base A with the keyed end of Base A protruding from the Base Accent flat bottom. put some glue around the keyed pegs and on the flat bottom of the Base Accent and press into the Lamp Base. Allow to dry.
-
Assemble the Lamp Body Shaft and Body A by putting some glue around the outer diameter of the shaft where the plain end goes into Body A (mind not to get glue in the wire shaft hole). The end with various length slots should be facing upward.
-
Assemble accent discs. The small disc goes first in the slots in the shaft that are the longest using the pegs in the disc center. The larger disc goes on second into the slots that are the second longest and are also keyed.
-
Assemble Light ring. The light ring, like the discs go in the next longest slot and is also keyed. Gluing is optional.
-
Install LED light strip. Cut the USB end of the light strip off leaving excess to reattach the USB after assembly. Strip the outer insulator on the end of the light strip cable still attached to the light strip exposing the two inner wires some. Feed the end of the wire backwards through the light ring, down the shaft, and out the base. Finally, solder the USB back on to the cable using heat shrink tubes to separate the wires and a larger one to finalize the insulation of the reconnected wire. Pull the adhesive protective film from the LED strip and put around the Light Ring. Cut off excess LED strip.
-
Assemble light shade. Glue the two Shade Accent Spacers into the Lamp Shade Accent. Put some glue around the flat part of the accent to attach to the lamp shade. Press together so that the spacers go into the matching slots of the lamp shade. Finally place the shade onto the lamp, it should balance.
-
Enjoy!
Space Port Alpha Lamp — A Beacon from Tomorrowland

Garden Fairy Bird‑Bath & Decorative Statue

Trophy Set

Aviator Effects Box – 3D Printable Storage Case

Everything is FINE Incense Cone Burner

Dumpling Critter - FREE

Arcadia Model 30 - Bluetooth Speaker Stereo
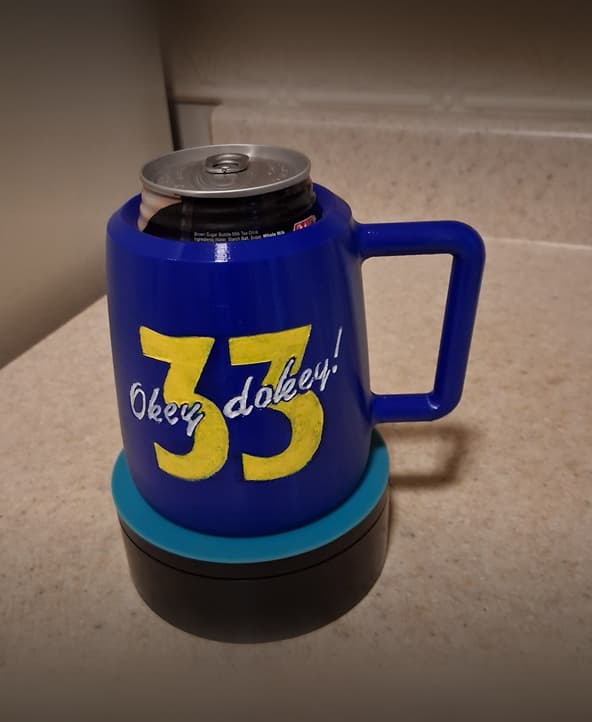
Fallout Okey Dokey Mug Can Holder

Sunset Sarsaparilla Sheriff Can Holder

The Skyline Scribe Tower

Art Deco Fan Desk Organzier - Noir Edition

ModuStack Drawer System
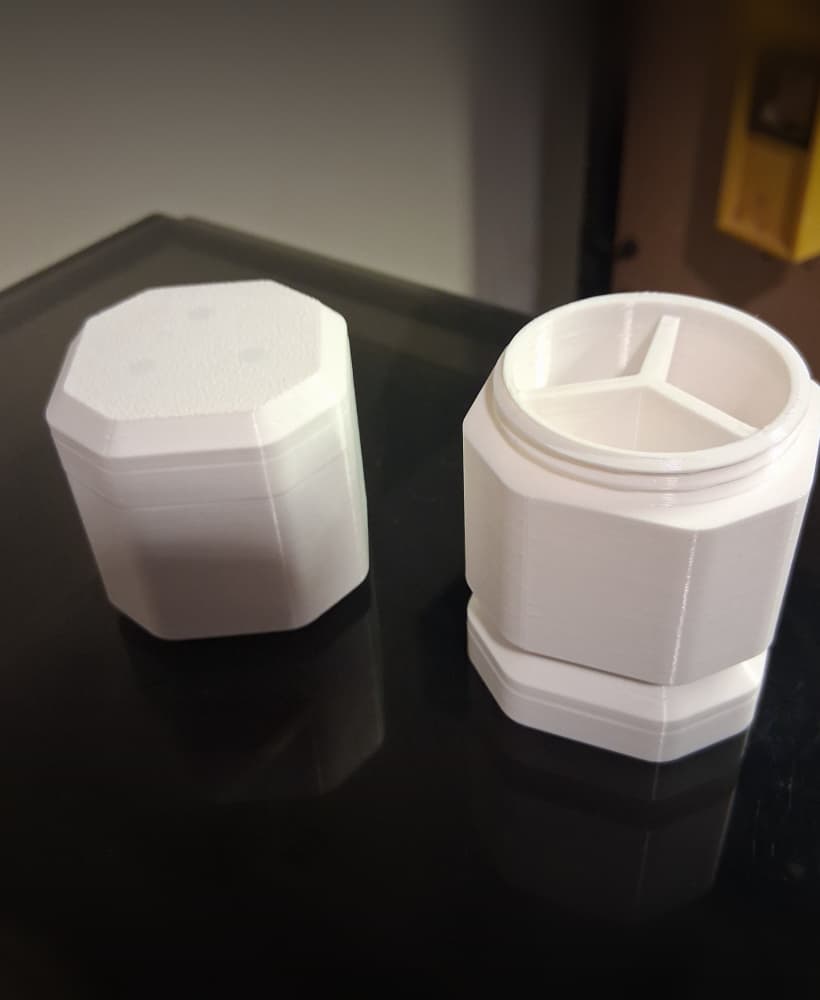
Stackable Magnetic Medicine Container
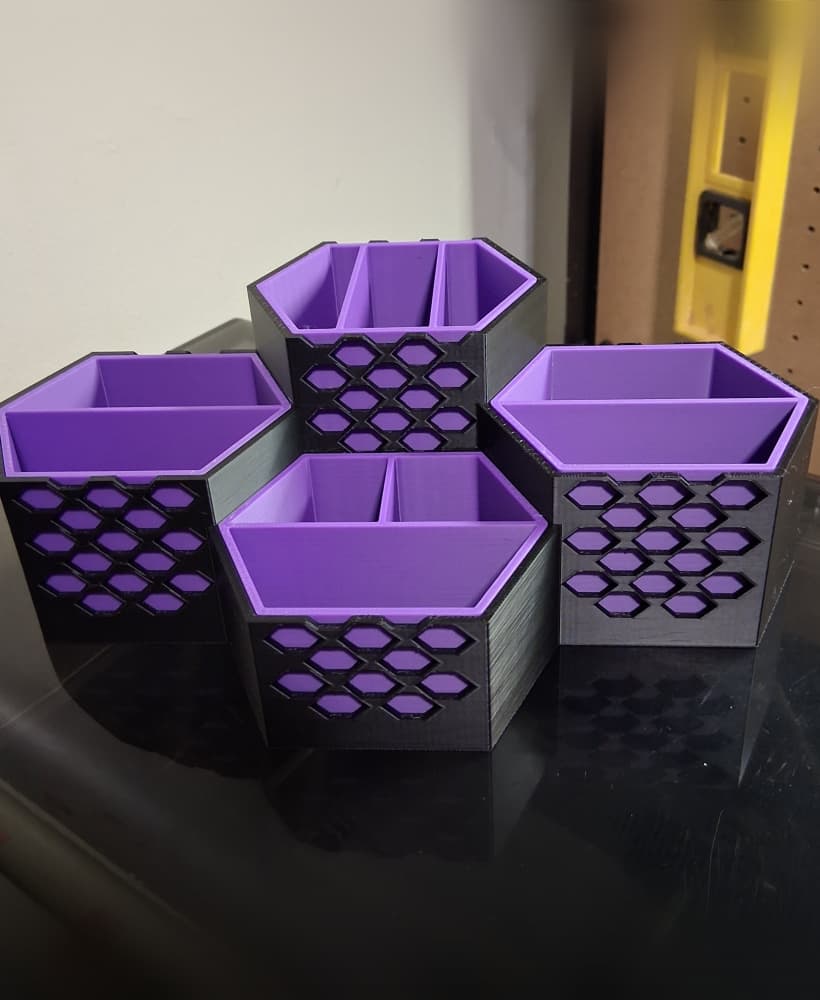
Hex Desk Organizer
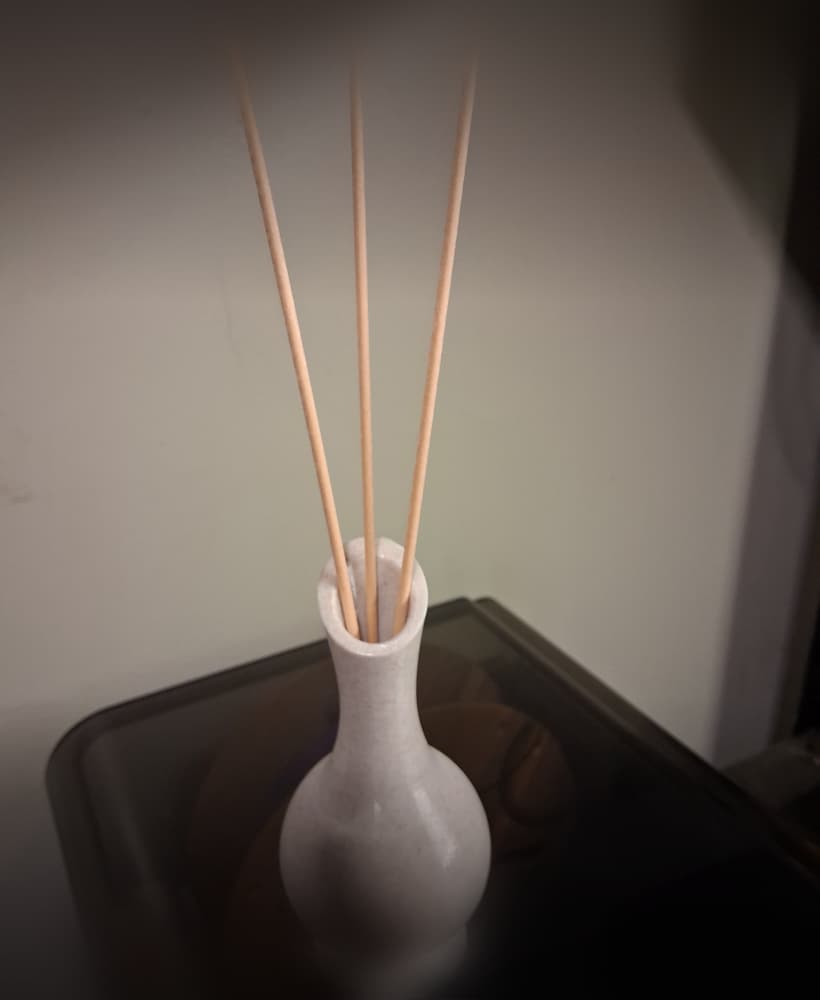
Art Deco Essential Oil Diffuser Vase
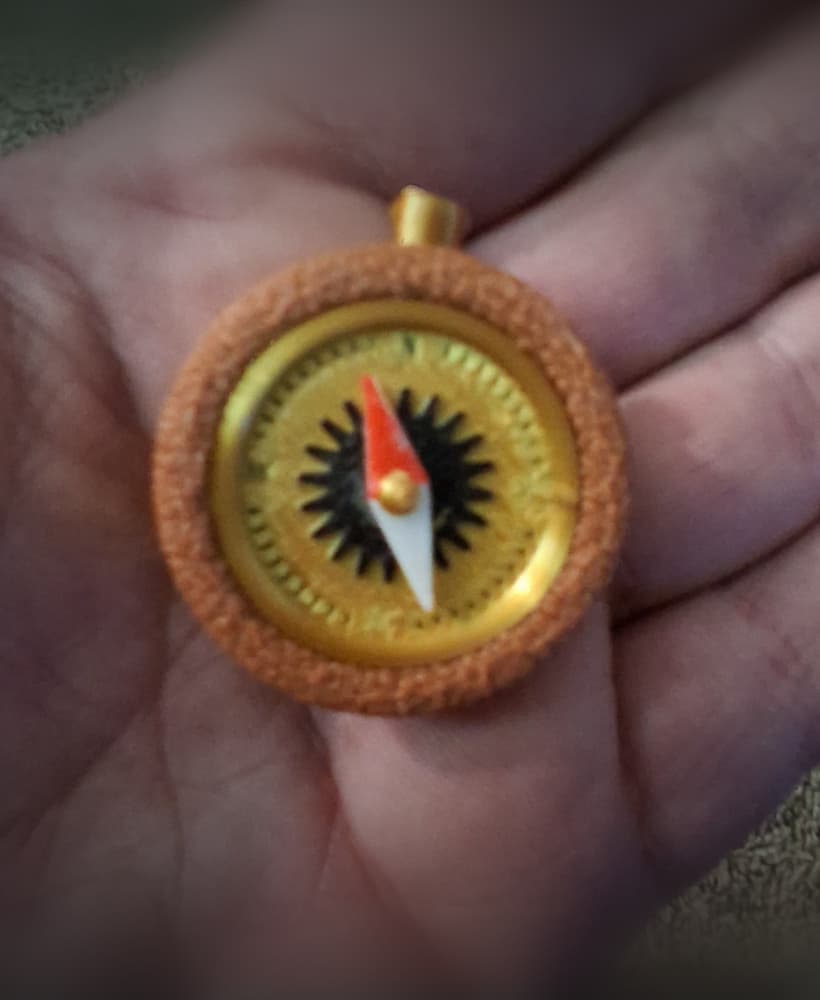
Fallout Rip Daring Adventure Compass – 3D Printable Prop
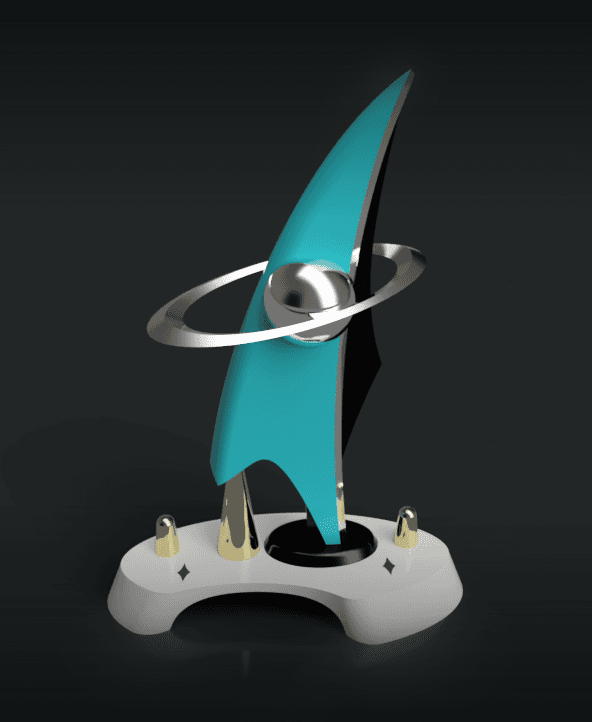
Googie Rocket Wing Desk Totem (Ornament)
1950s Art Deco Star Burst Wall Mirror
Cracked Fallout FEV Canister - Fallout 3

Alien Reactor Light