


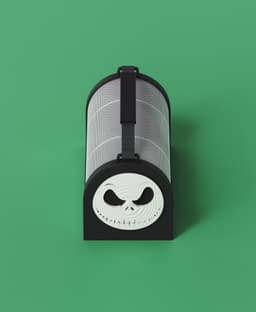


The Best Bug Catcher, Jack Skellington (edition)
5 downloads · 1 year ago · The Best Bug Catcher
Created for a friends 4 year old son whose obsessed with The Nightmare Before
The Best Bug Catcher
Created for a friends 4 year old son whose obsessed with The Nightmare Before Christmas.
File includes 7 parts
- Front, Back and Bottom panel, the Screen, Faceplate / door, and anchor pin.
- Assembly required (see Instructions)
Hardware (Not included)
- (1) #6 x 3/8" inch coarse thread
- (1) #10 x 1/2" washer
INSTRUCTIONS
1. The Door Assembly
- Glue the Face Plate to the Door. Glue the Anchor Pin (hole facing toward back panel) to the Face Plate/Door.
- Fasten the Face Plate/Door to the front panel with the hardware.
2. Screen and Back Panel
- Fit the screen into the Back Panel between the built in tabs. Place small beads of super glue into the corners from the inside. Make sure Screen and Back panel align along the edges before gluing.
3. Screen and Front Panel
- Fit the screen into the Front Panel between the built in tabs. Place small beads of super glue into the corners from the inside. Make sure Screen and Fack panel align along the edges before gluing. There shouldn't be any bending or warping in the screen. Glue the corners.
4. Final Step
- Align the new Top assembly to the bottom Panel. Place glue on the flat tabs where the panels interface. Connect and set.
**Note: ** Make sure all screen edges are aligned before gluing.
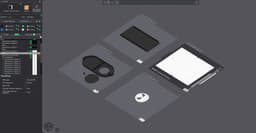
3D PRINTING / SLICER NOTES
The mesh screen can be tricky to setup in the slicer. The screen is composed of two bodies. The framing body and the screen infill body. The infill body is only 2 layers thick with 0 bottom or top layers, and set to 25% rectilinear infill. Overlap set to 25% or above. (see images for part settings)
Have fun and happy bug catching!
The Best Bug Catcher, Jack Skellington (edition)
5 downloads · 1 year ago in and

Surfboard Hanger
Jack Skellington

Voronoi Halloween Pumpkin | Jack Skellington Style with a Twist

Halloween Pumpkin Pen Holder – Jack Skellington Inspired

Spooky Pumpkin Spinner - Jack Skellington Pencil Topper 🎃

Nightmare Before Christmas Jack Skellington Art - Halloween Art
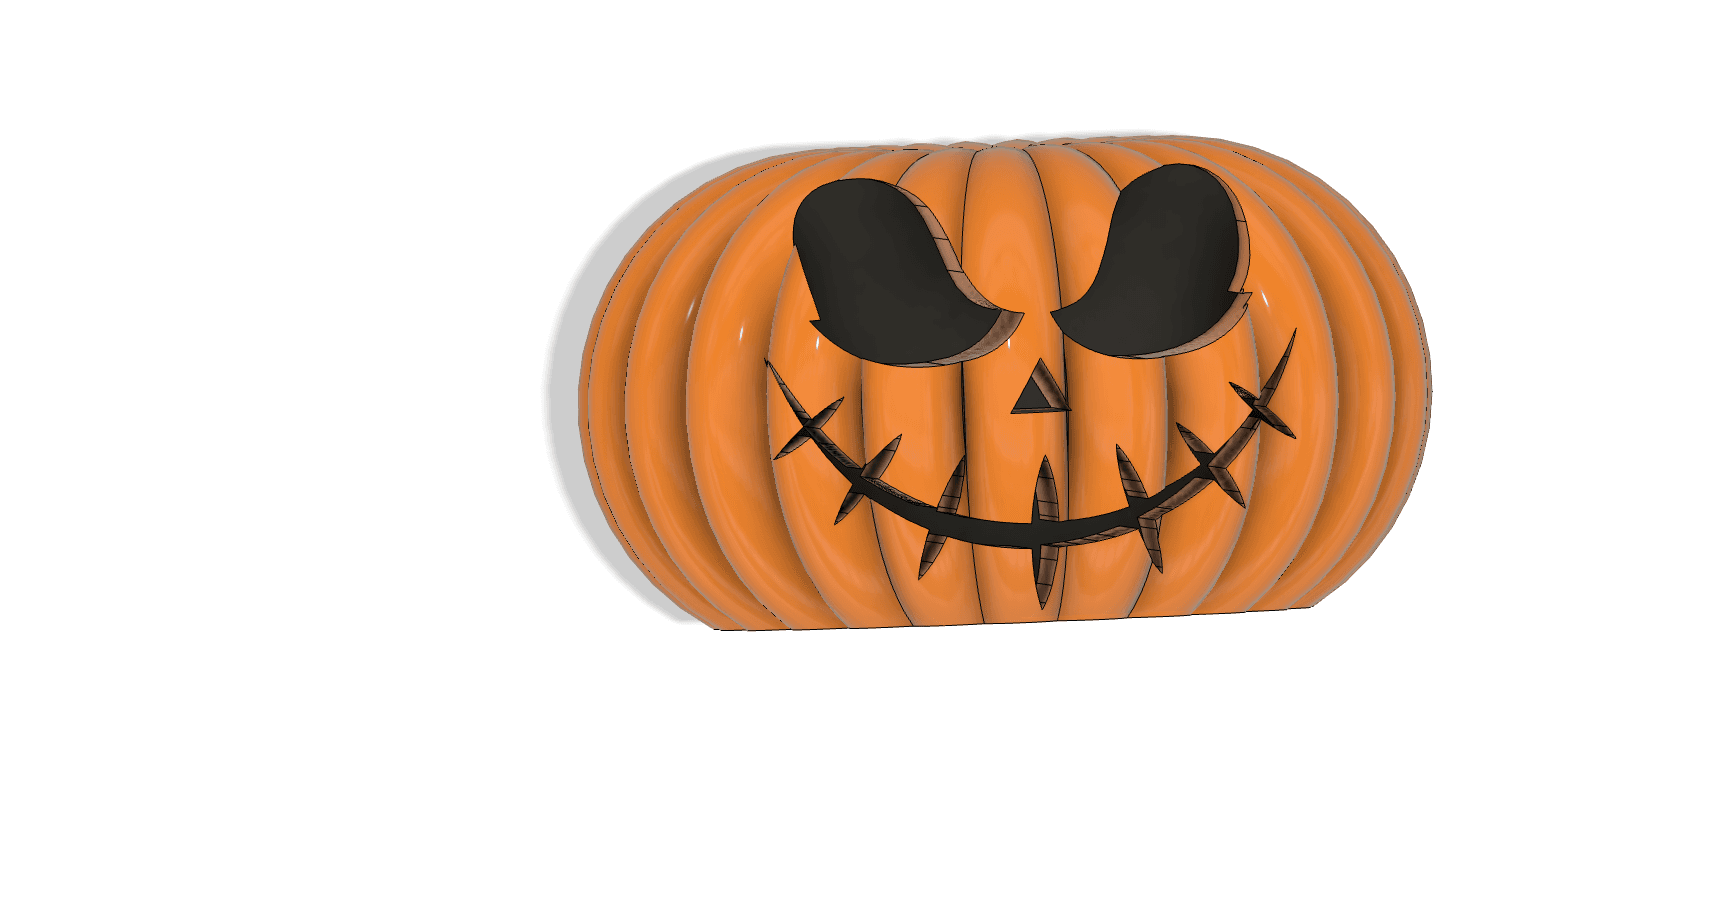
Jack Skellington Pumpkin
FRIGHTENING FRIENDS - Jack O Lantern #10, NIGHTMARE, BEFORE, CHRISTMAS, JACK SKELLINGTON, CAT FACE,

Jack Skellington Santa Christmas Ornament

Jack Skellington
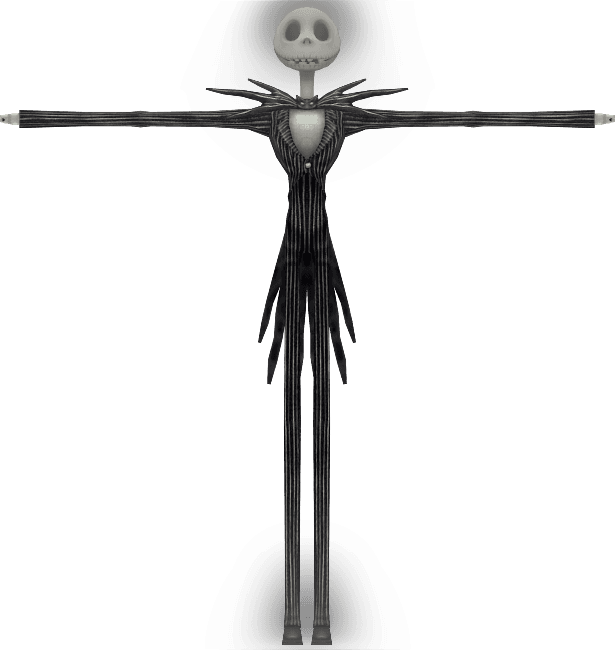
Jack Skellington

Jack Skellington Pumpkin Halloween Keychain

Jack Skellington Pumpkin – Halloween Decor & Candy Bowl
.JPG&w=3840&q=75)
#hairify Jack Skellington
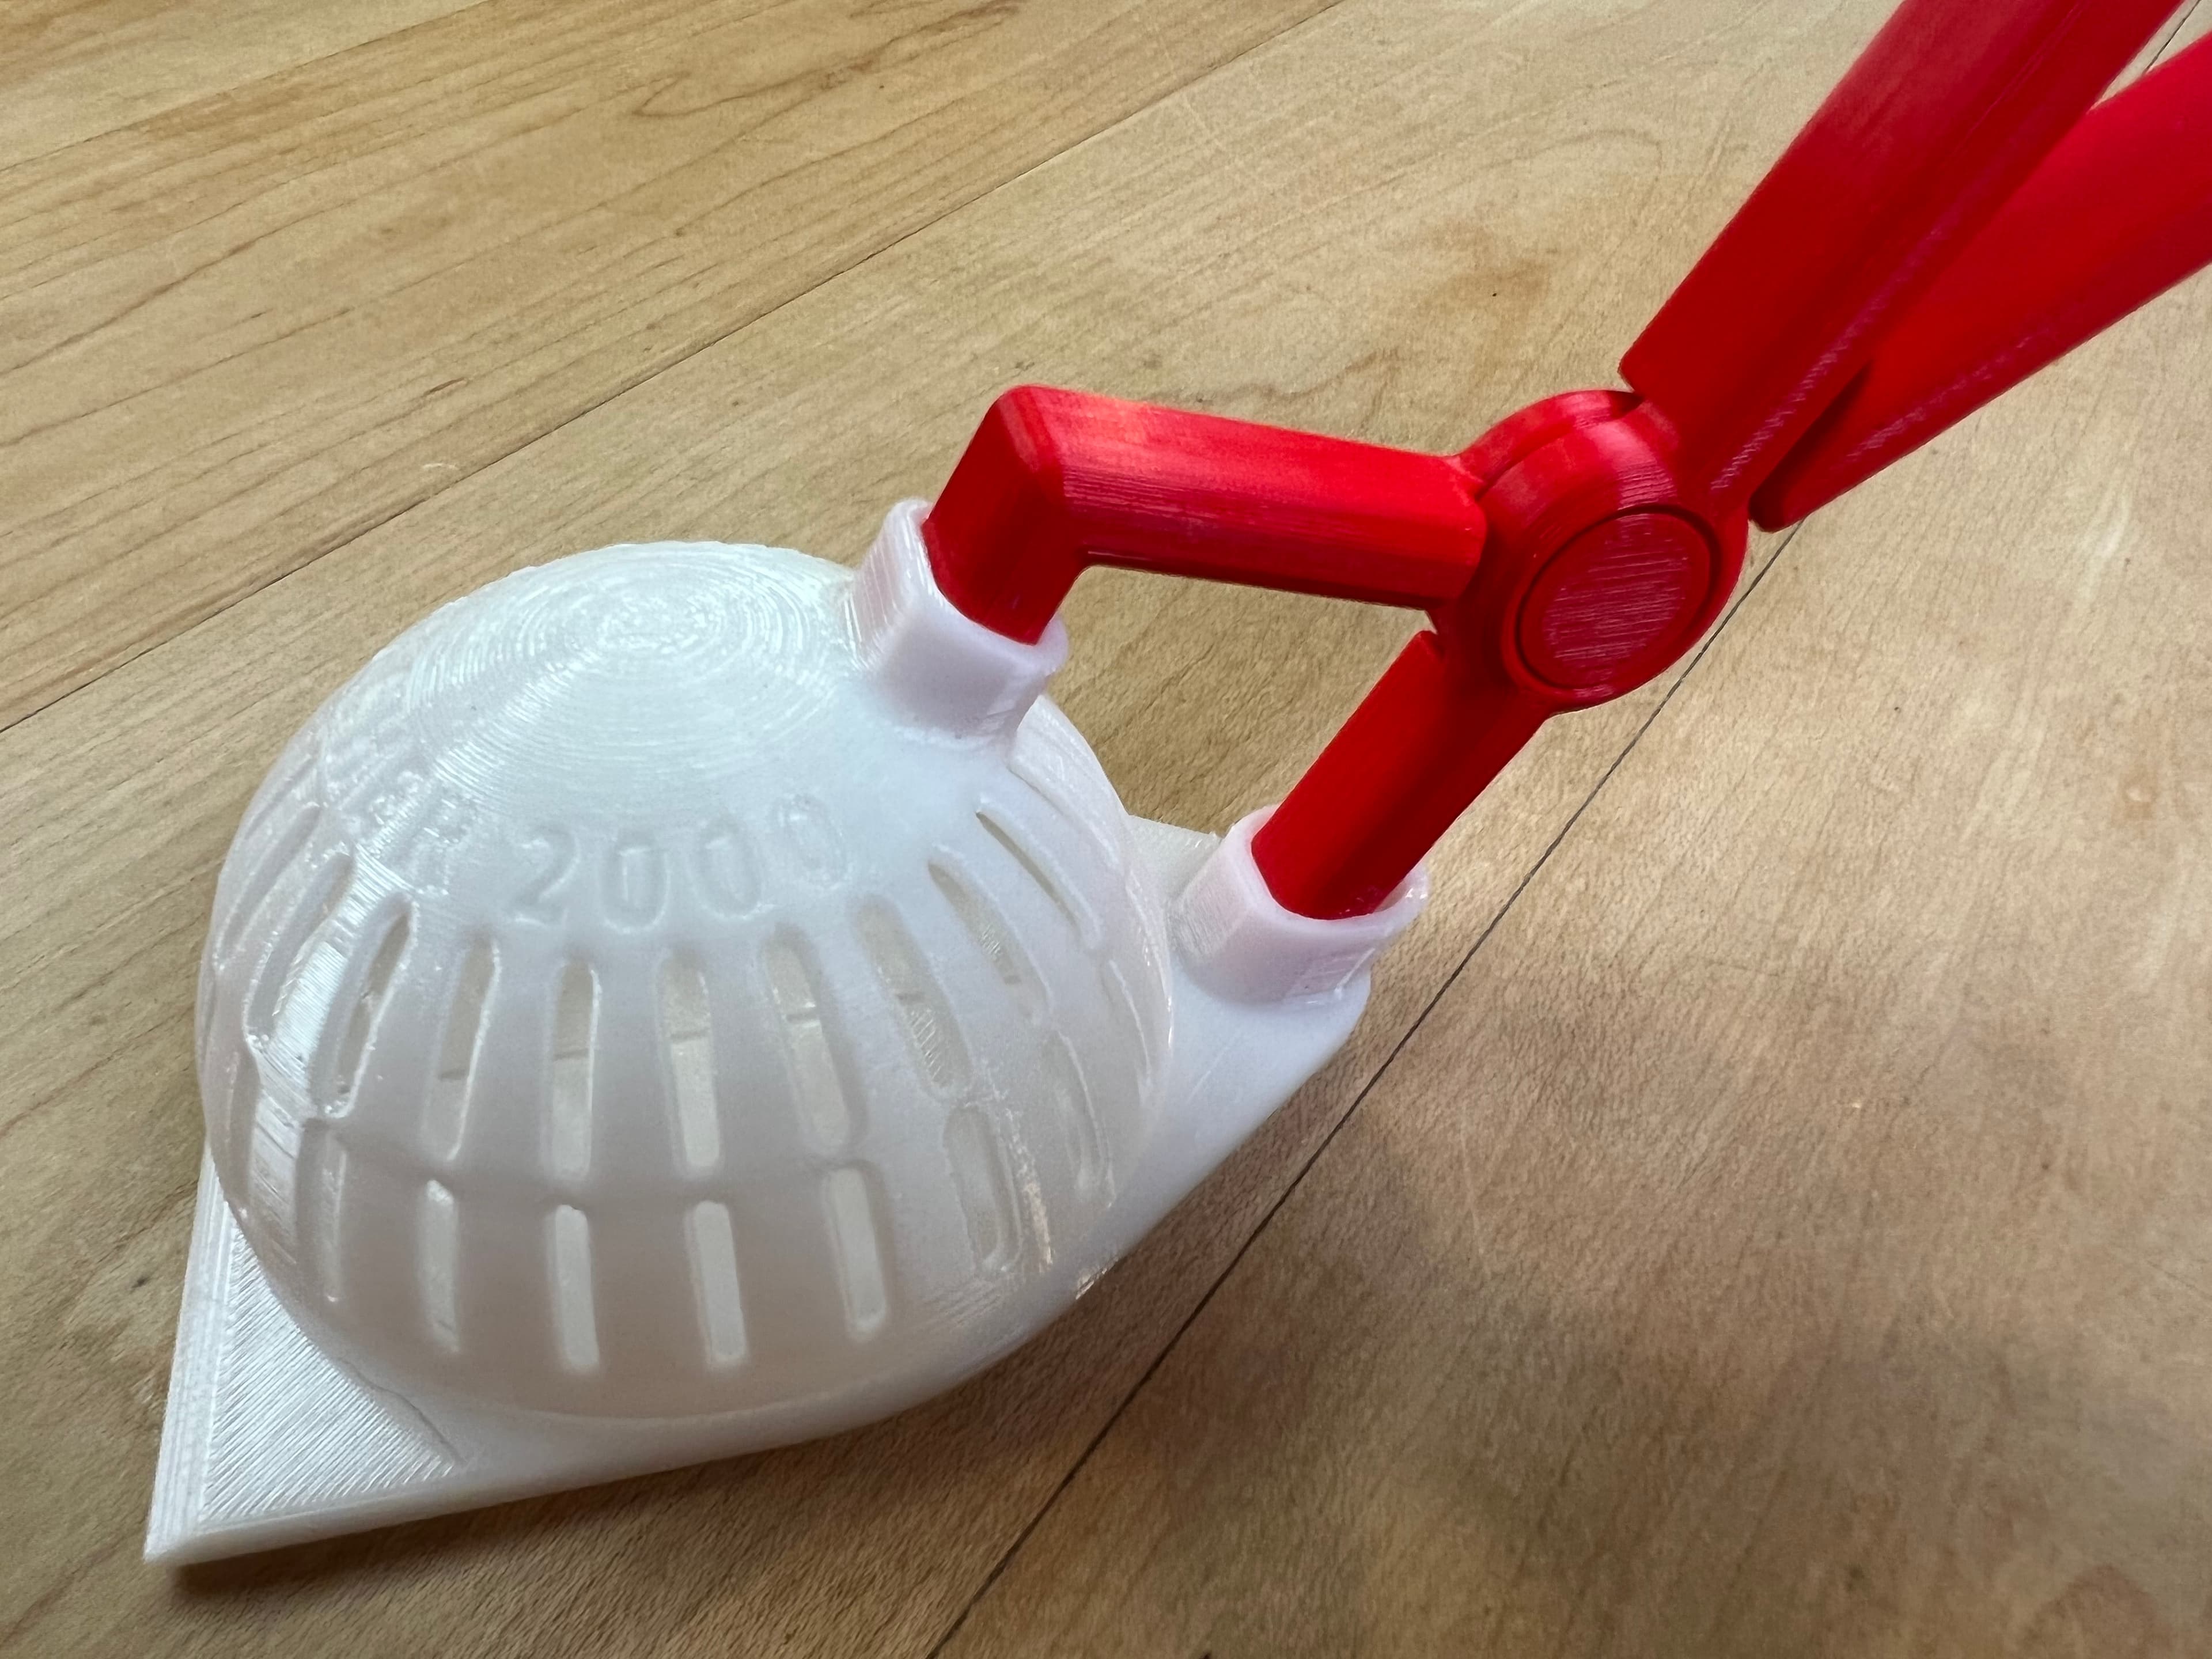
Bug Catcher 2000 - PNP Arms

Flexi Baby Jack Skellington

Jack Skellington Halloween Pumpkin Emblem Chain Link
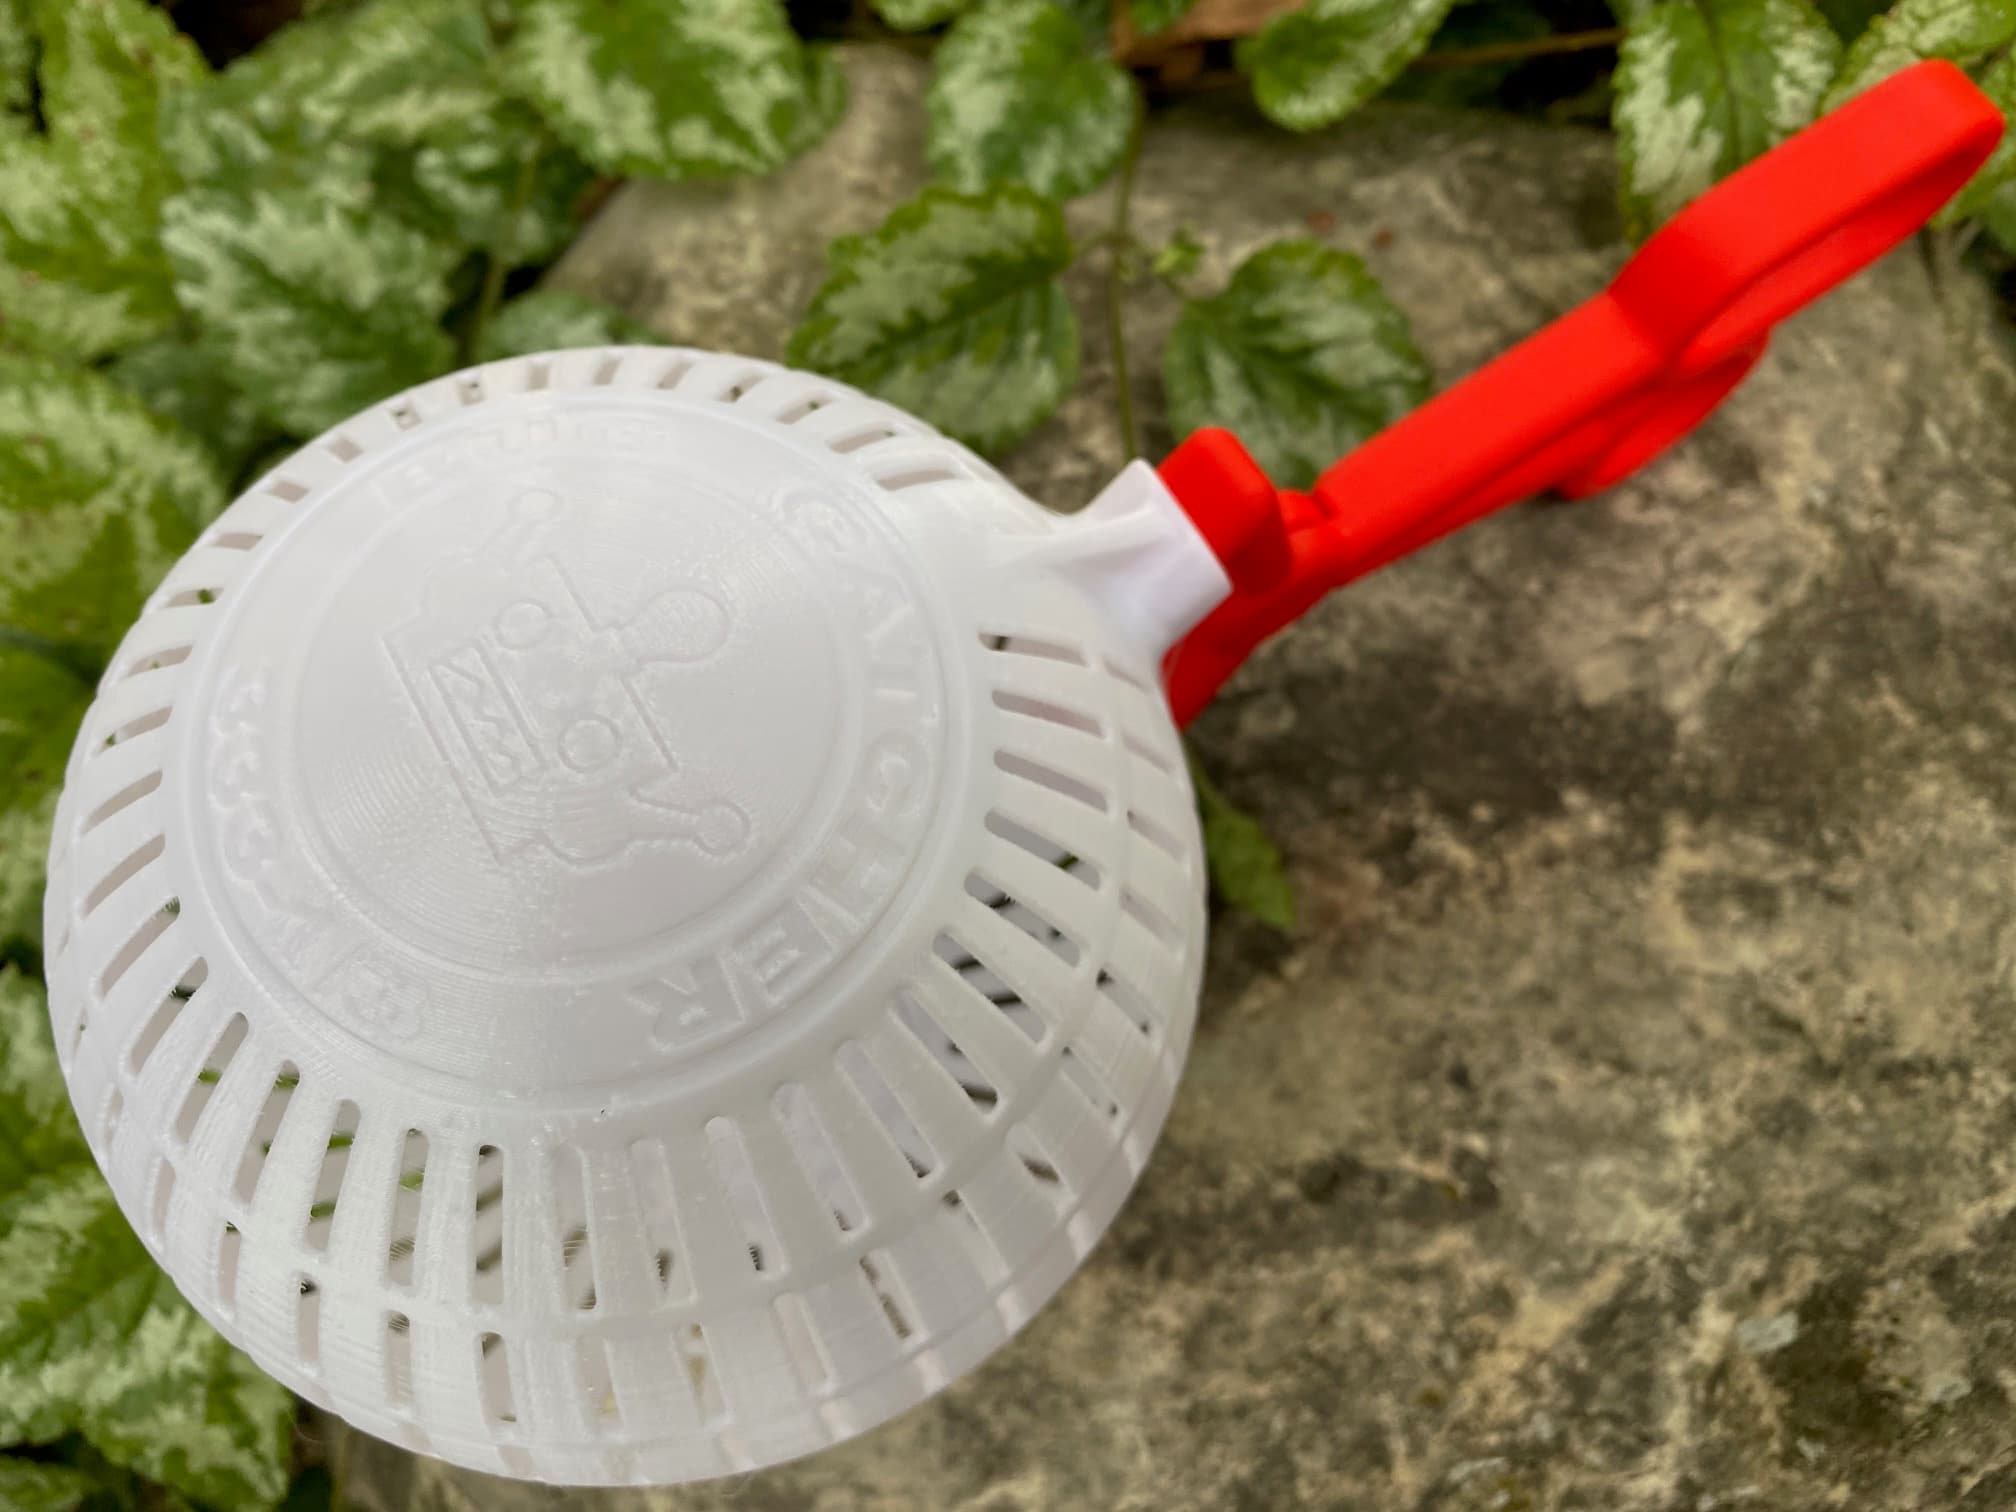
Bug Catcher 333.333
Bundle

Jack skellington
