


Hextraction Combo Briddge Tiles - Lil and Big
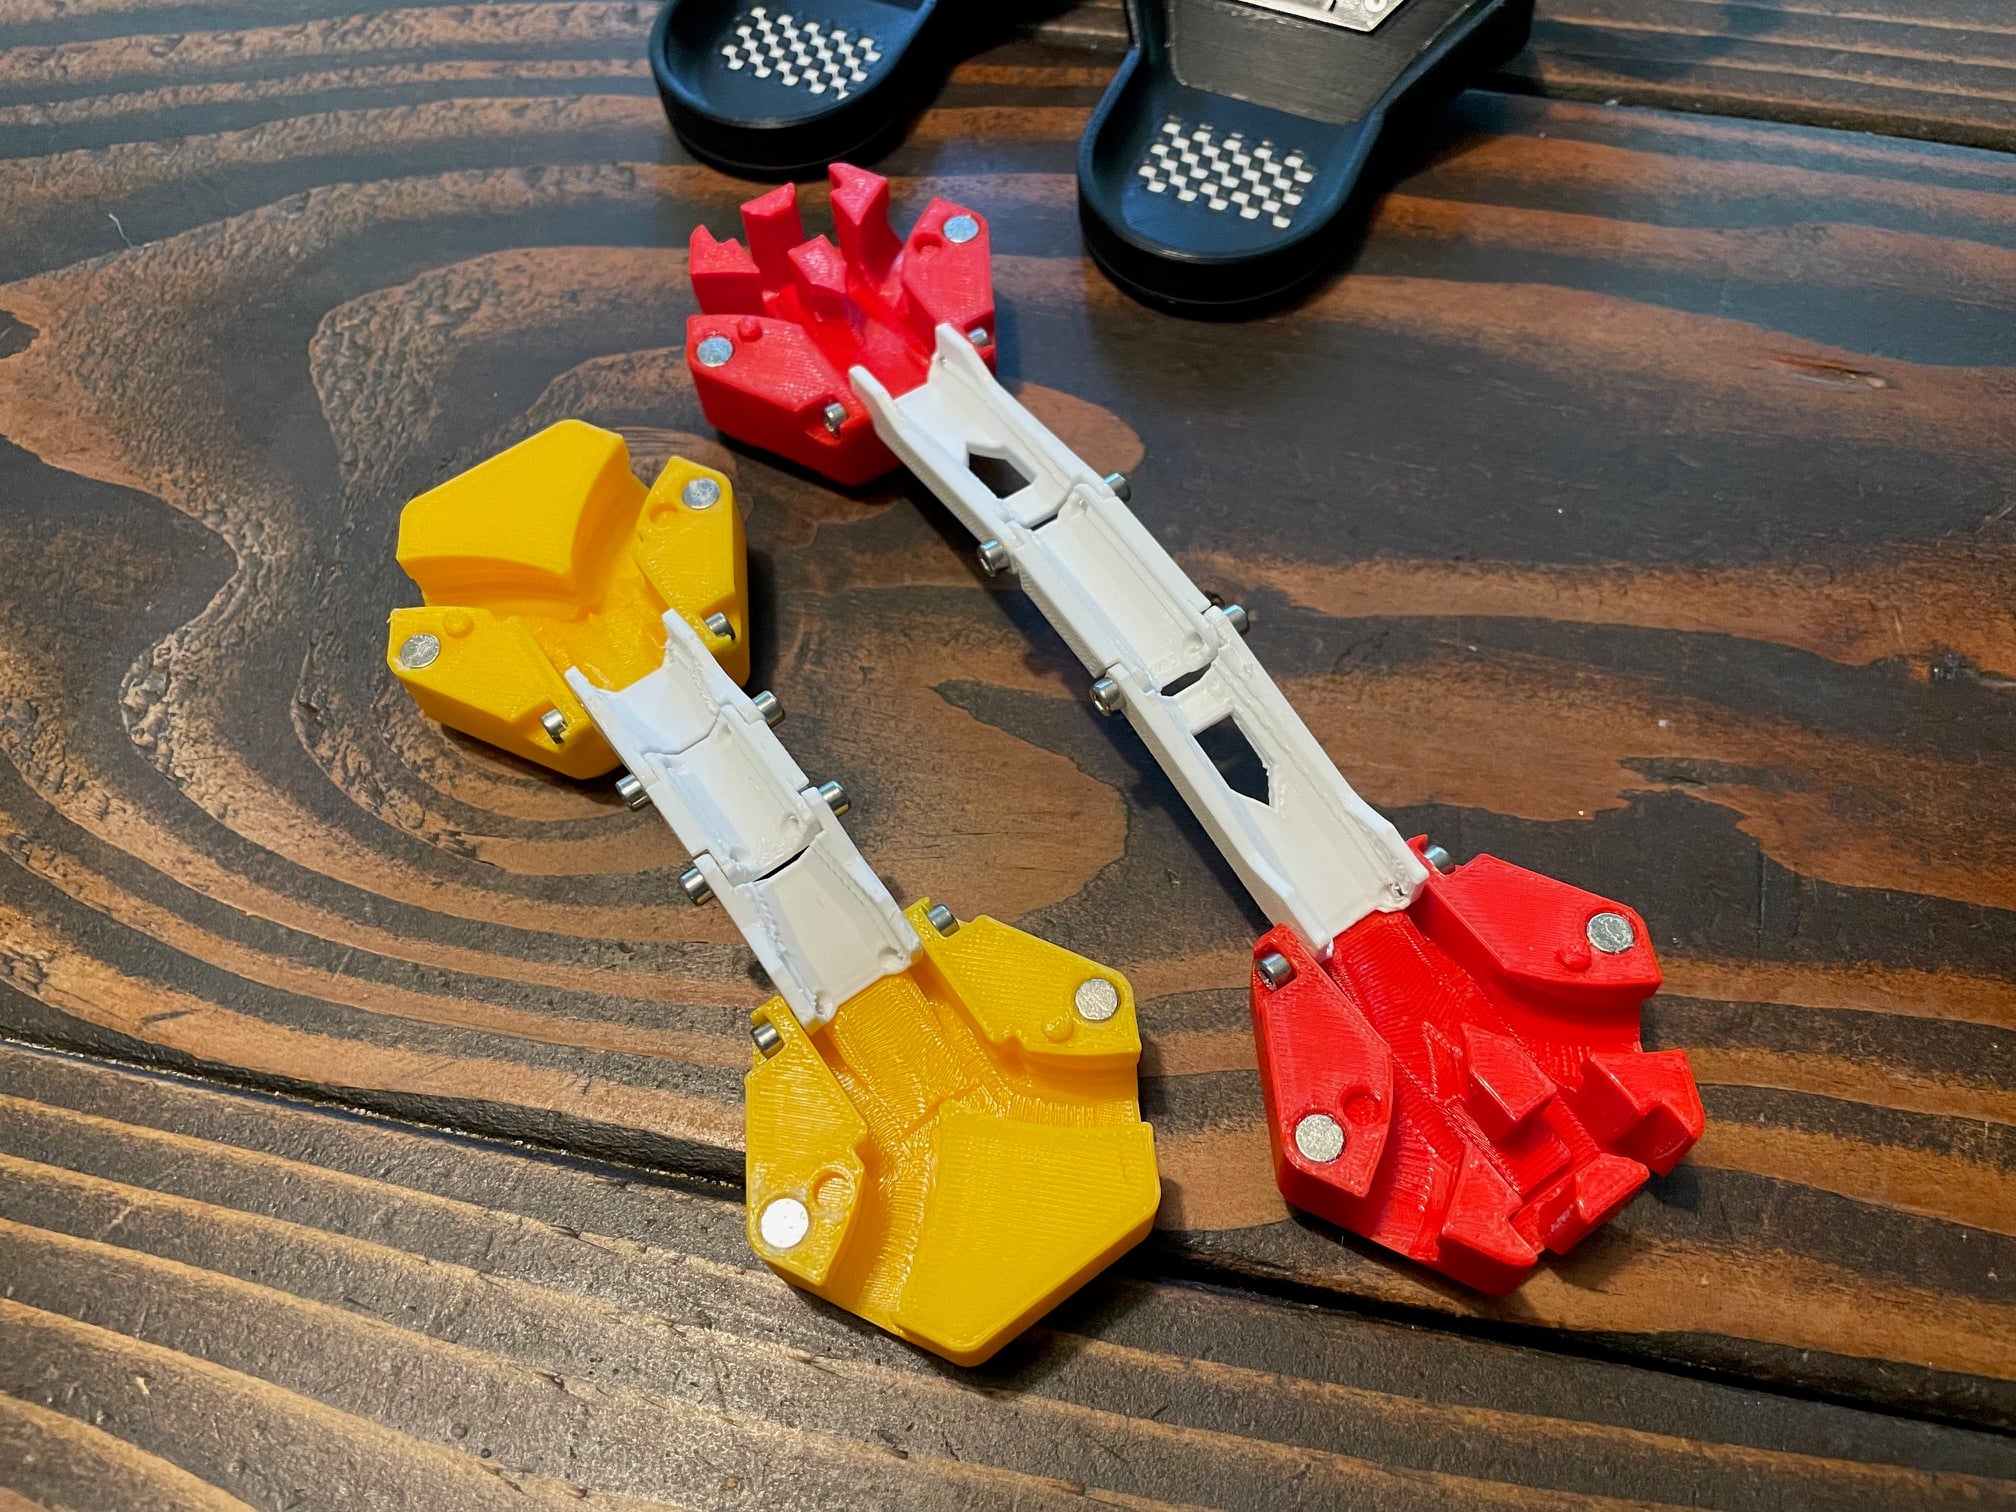
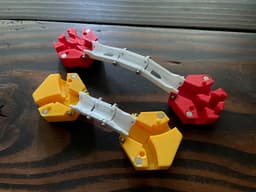
Take the high road with these folding bridges for Hextraction! They're sure to get you up and over your competition. The Lil Bridge spans one slot and the Big Bridge spans two.
Notes:
- These require just the right amount of speed. Too slow, and the ball won't make it up the bridge; too fast, and it will ramp off the board. Experiment!
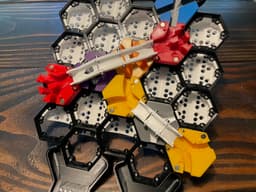
- The bridges will clear standard height tiles (15mm). This is not the solution to getting a ball over a Pinata.
- Decide with your group if it's ok to lift a bridge slightly to play a tile below. I say yes, so long as you don't knock a ball loose.
Printing: Print two tiles, two bridge ends, and one bridge middle. Print the bridge pieces standing on their sides using organic/tree supports. This orientation gives the best strength around the holes and the smoothest trackways.
Hardware: 4x M3x4mm screws - socket cap or button head 4x M3x6mm screws 4x 6x2mm magnets
Assembly: You may need to clean out the screw holes in the tiles and bridge ends with a 2.5mm drill. Attach the bridge ends to the middle with M3x4mm screws. Attach the bridge to the tiles with M3x6mm screws. Test that the tile can fold and unfold. Glue in four magnets, alternating polarities to match the + and - symbols in the holes. Allow glue to fully cure before closing the tile.
Hextraction Combo Briddge Tiles - Lil and Big
.png&w=3840&q=75)
Hextraction Teleport Tile
Hextraction Portal Tile: Special RMRRF 2023 Edition!

Hextraction - Teleport tile - Easy Fit

Hextraction World Serpent Tile
Hextraction Ball-Catcher & Mount

Hula Outfit // Lil'Hats'N'Stuff

Hextraction Skyrail Tile

Hextraction Gear Train Tile

Hextraction Triple Lane Tile

Hextraction Nut And Bolt Tile

Hextraction Folding Latch Tile

Hextraction Skybridge Tile

Hextraction Necronomicon Tile

Hextraction Riptide Tile

Hextraction Double Lane Tiles

Remix of Hextraction Skyrail Tile
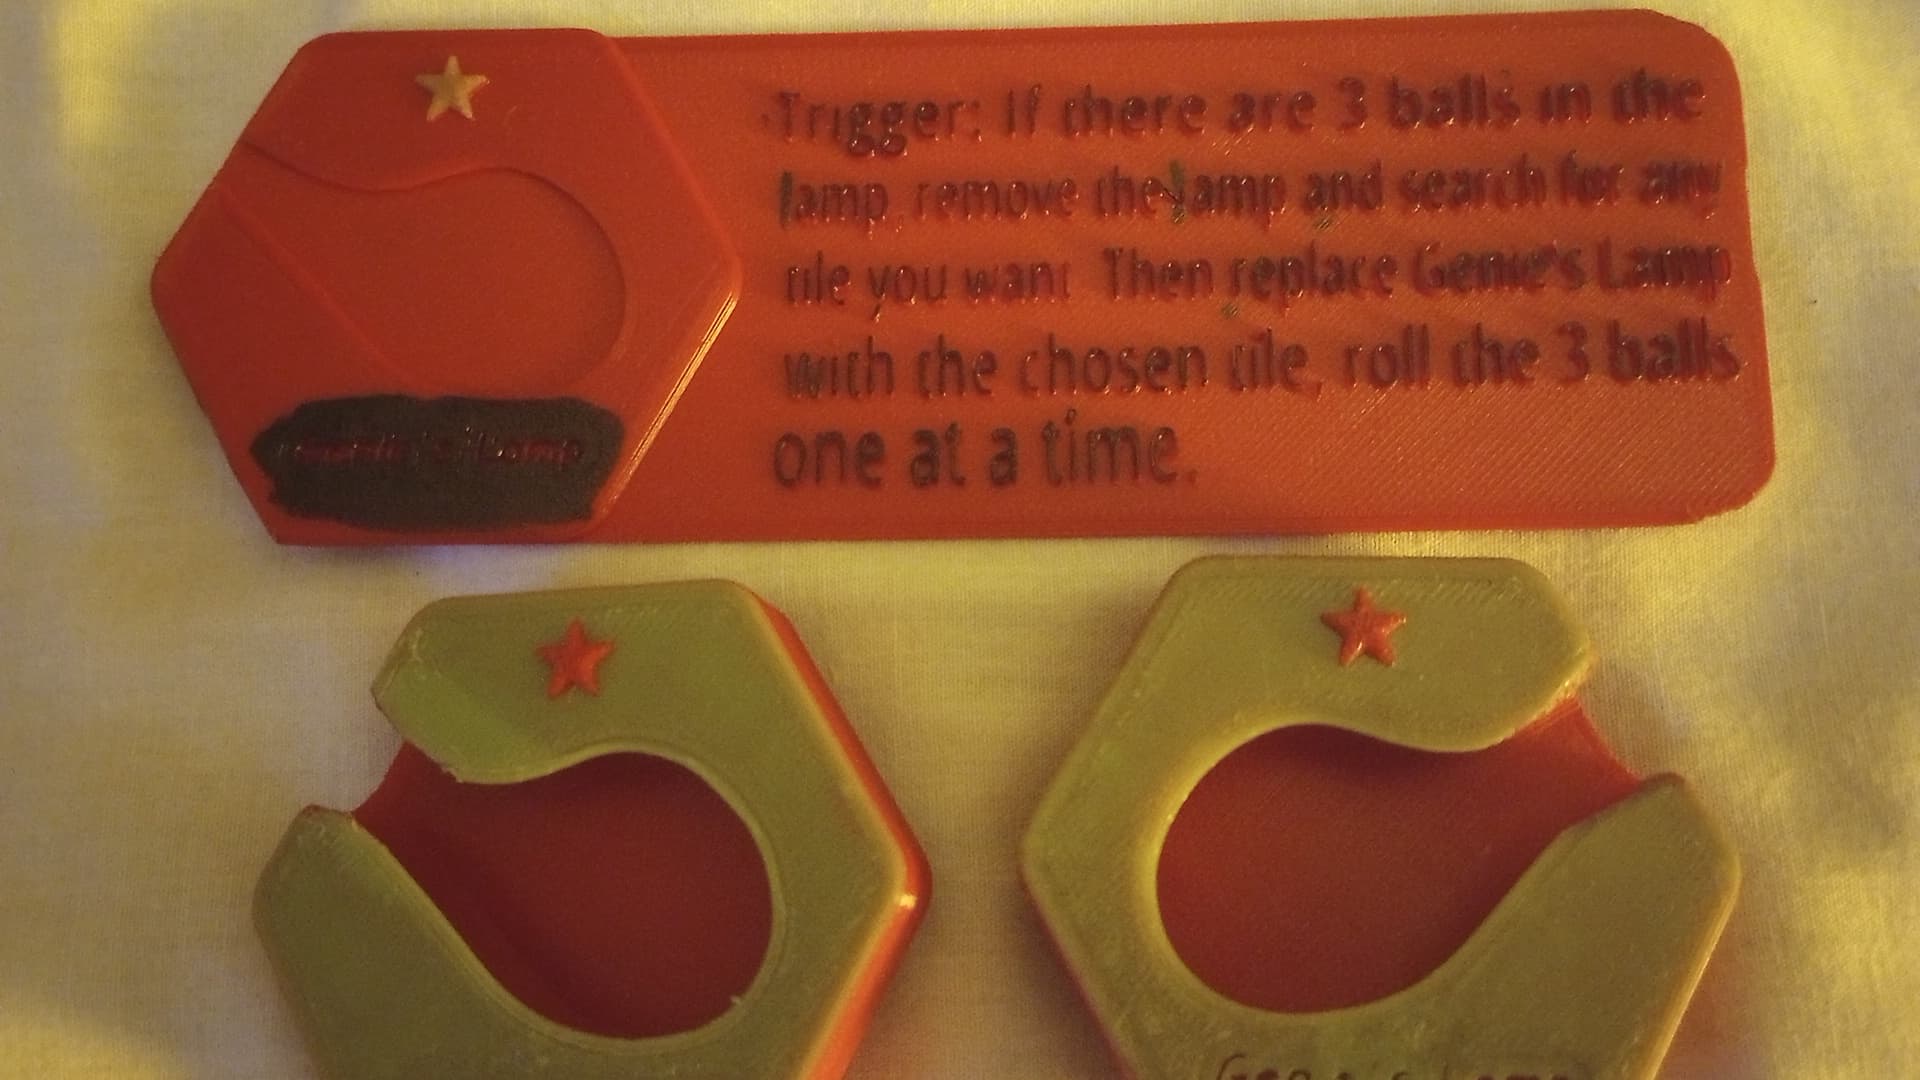
Hextraction Tile- Genies Lamp(Improved Final version)

Bee Flexi and Hive

Hextraction Snek
