


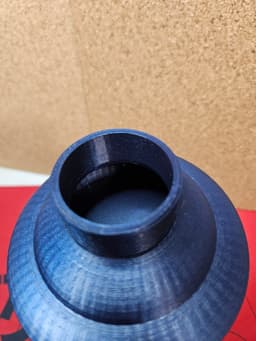


Nanashi Mumei's Lantern
Fill this vessel with light, may it guide your path…
It's dangerous out there! Here is Nanashi Mumei's Lantern to light your way to glorious BATTLE! ADVENTURE! And, the occasional midnight trip to the bathroom. We've all been there and stubbed our toe.
An official replica was released for a limited time, but that was a long time ago. This model is for those that could not get one at the time or want to make their own custom version. (Or don't want to pay scalper price, who does?)
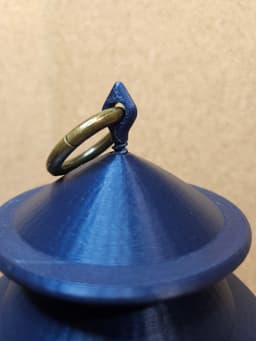
The KEYCHAIN PIN screws on top of VENT CAP and can use a key ring UP TO 4mm thick. Gravity and inertia made the horizontal layers a stress point that could break off. Instead, its printed laying down as part A and B. The vertical-oriented layers, perpendicular to gravity, improves its rigidity.
The CAP has some storage space inside for a spare submersible light or some cough drops. DO NOT FORCE ITEMS INSIDE THE CAP. Some items may get stuck inside due to the abnormal shape of the storage space.
The GLOBE is the simulated glass of the lantern. It's recommended to use a translucent color for better lighting. Print this part in vase mode with ZERO top/bottom layers. A brim is optional to keep part secured during printing, but not required.
Manual tree supports are recommended for:
- GLOBE FRAME (top inside of LED hole, top bridge of GLOBE windows)
- VENT CAP (flat disk bottom overhang, underside of ball bearing details, center-top inside of VENT CAP).
You have two options for lighting: led tealights or submersible twist lights. You can find these at your local art craft store or online. Place your choice on one of the included SPARK PLUGS.
- For Tealight: Rest light switch inside one of the three holes on top of its SPARK PLUG. Screw both in from the bottom of lantern. If there is enough friction, the switch will flip ON when the SPARK PLUG bottoms out inside the lantern.
- For Submersible light: Attach LED to its SPARK PLUG by the clip and screw both in from bottom of lantern. When they reach the top, the sides of the octagonal hole will catch on the LED shell, and twist the light ON/OFF. Lights found online thru Michaels https://www.michaels.com/product/submersible-lights-by-ashland-10183937 and Amazon [https://a.co/d/8WssMSi .
- For Remote Tealights: Turn ON and use the SPARK PLUG for tealights to hold it inside the lantern.
- (Arguably, you can make your own lighting solution if you have the electronics know-how. Always be careful when working with any kind of electrical current. Be safe!)
Printed here in Polymaker Dark Blue PLA [Equivalent: Metallic Blue PLA Pro] and Protopasta Candle Light White HTPLA.
(Original design and reference art by Azure-Sensei: https://x.com/azure_0608_sub )
Nanashi Mumei's Lantern

AZKi's Microphone Lightsaber (HO58)

Nanashi Mumei's Rune Hairpin and Broach

Nanashi Mumei's Dagger and Sheath

Sunraku's Ducusram
Mint Fantôme Challenge Coin

VShojo's Gecko Ball Token
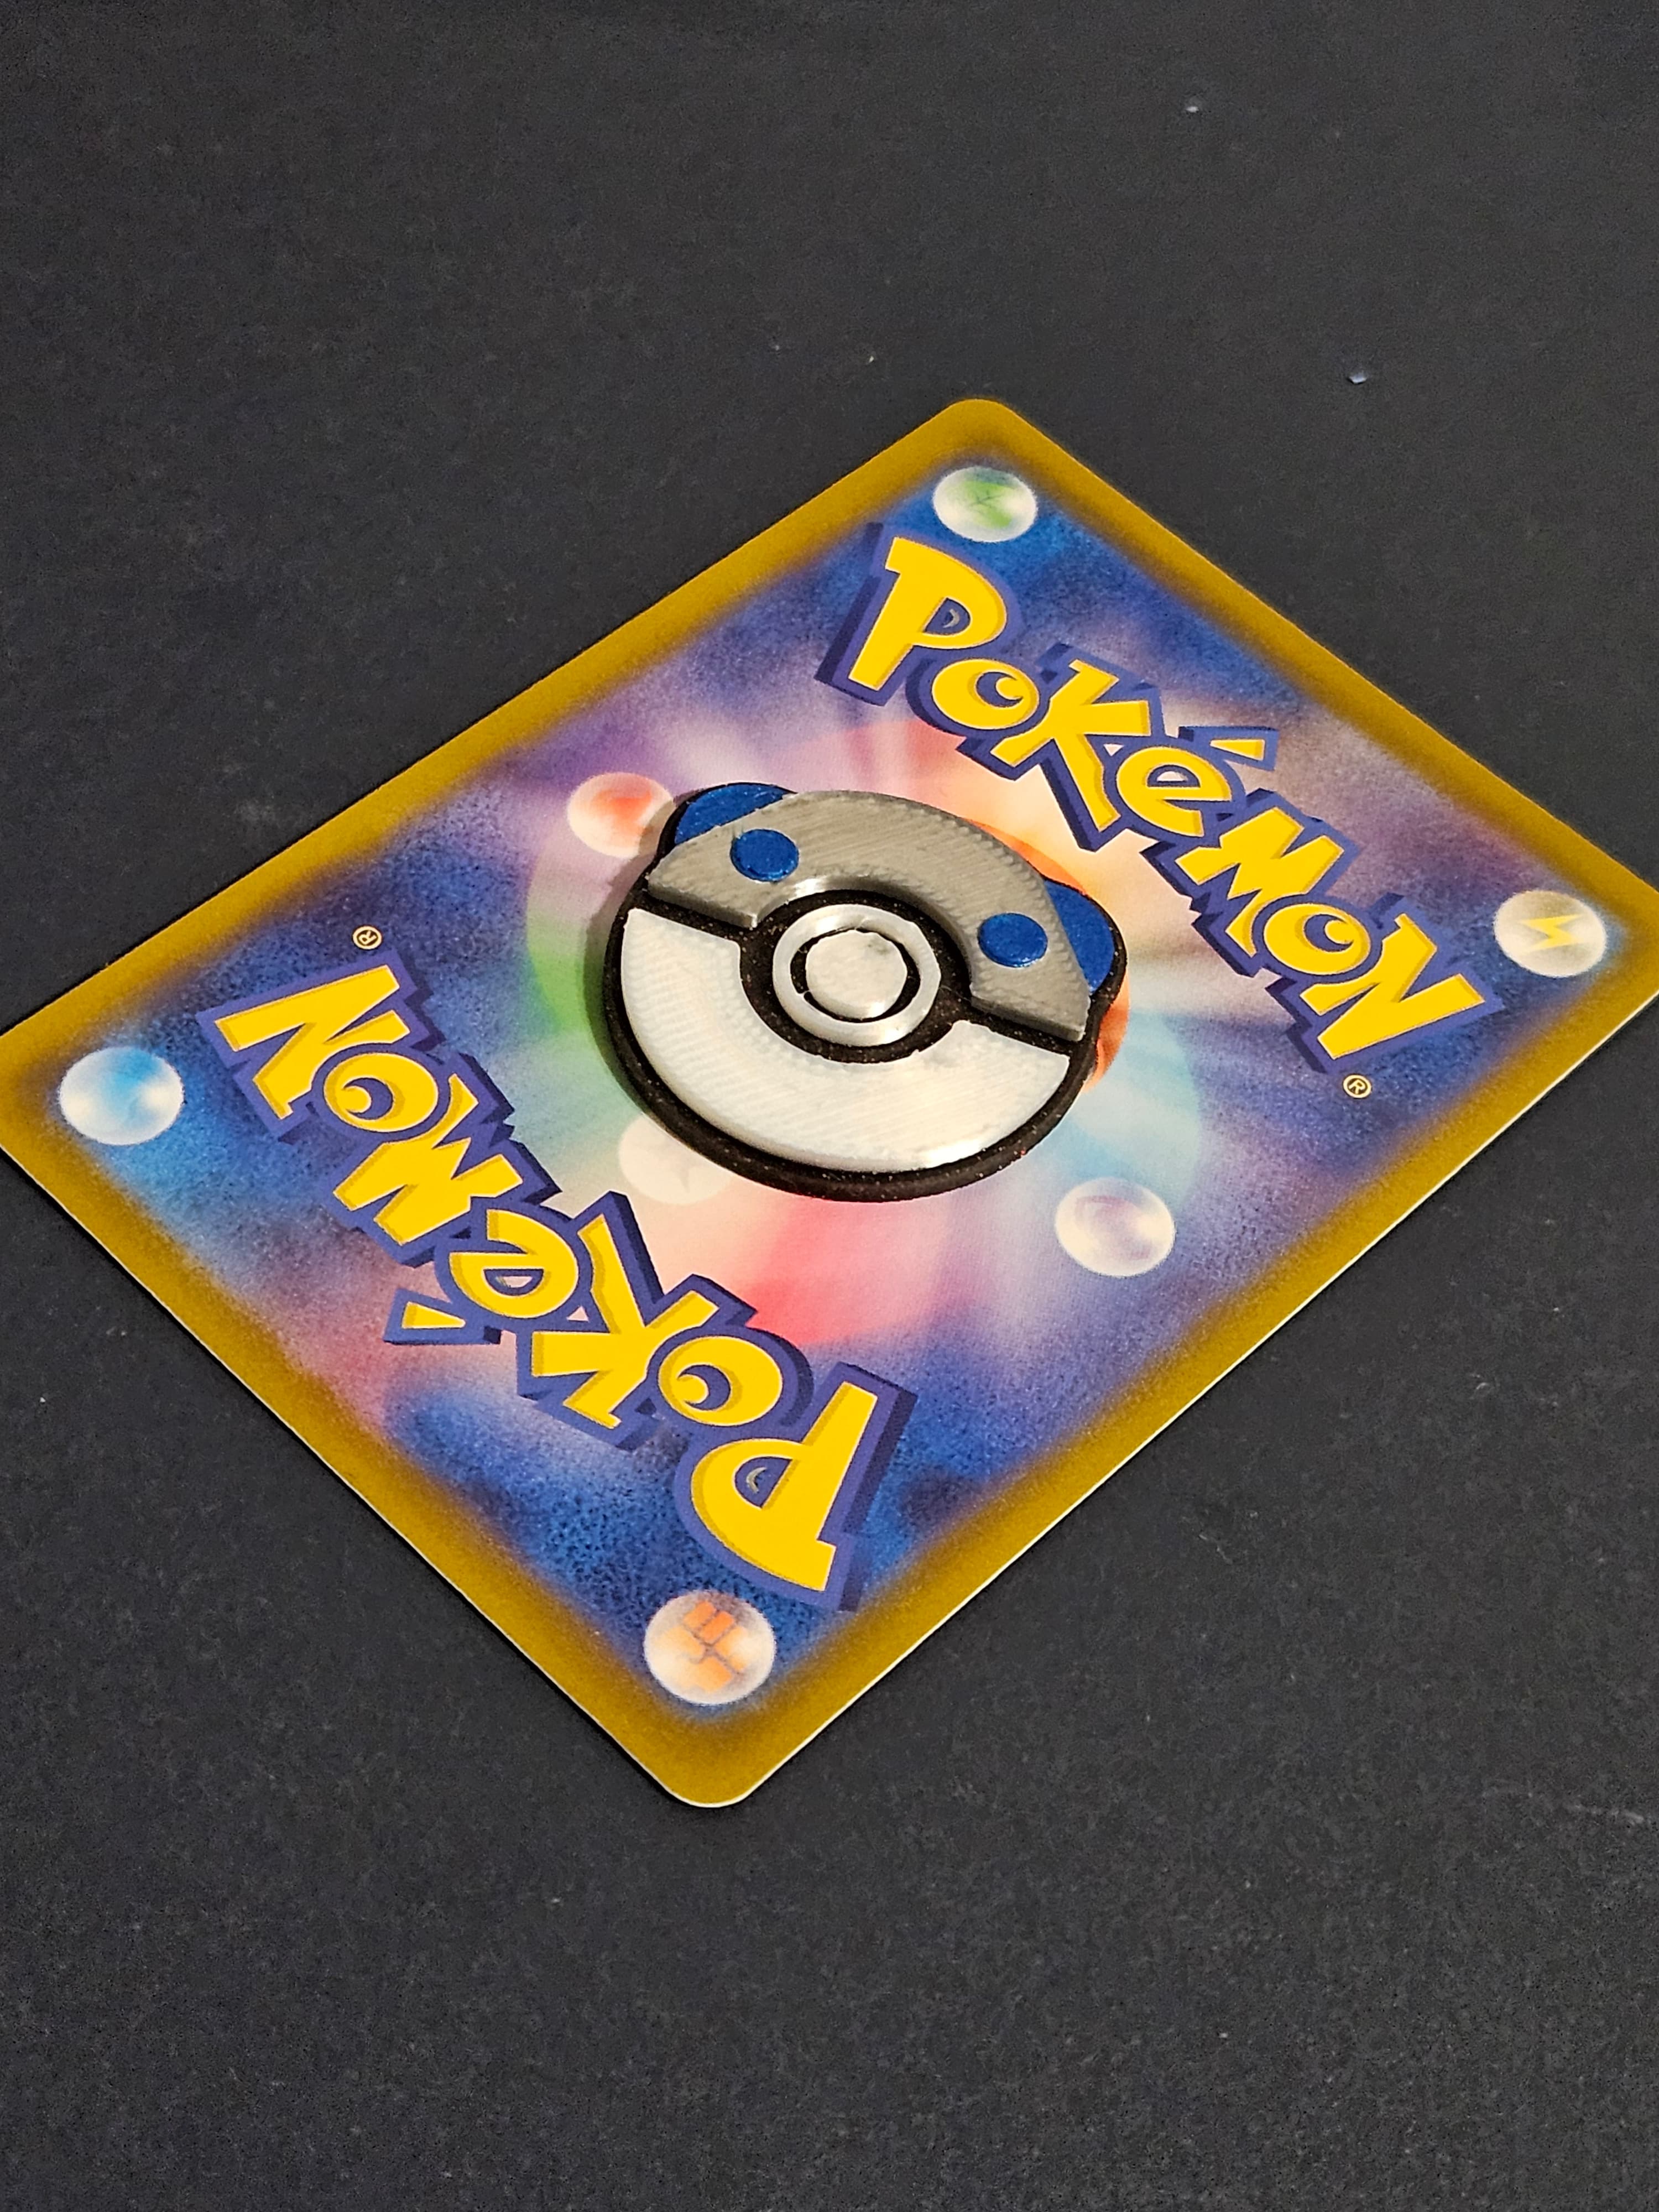
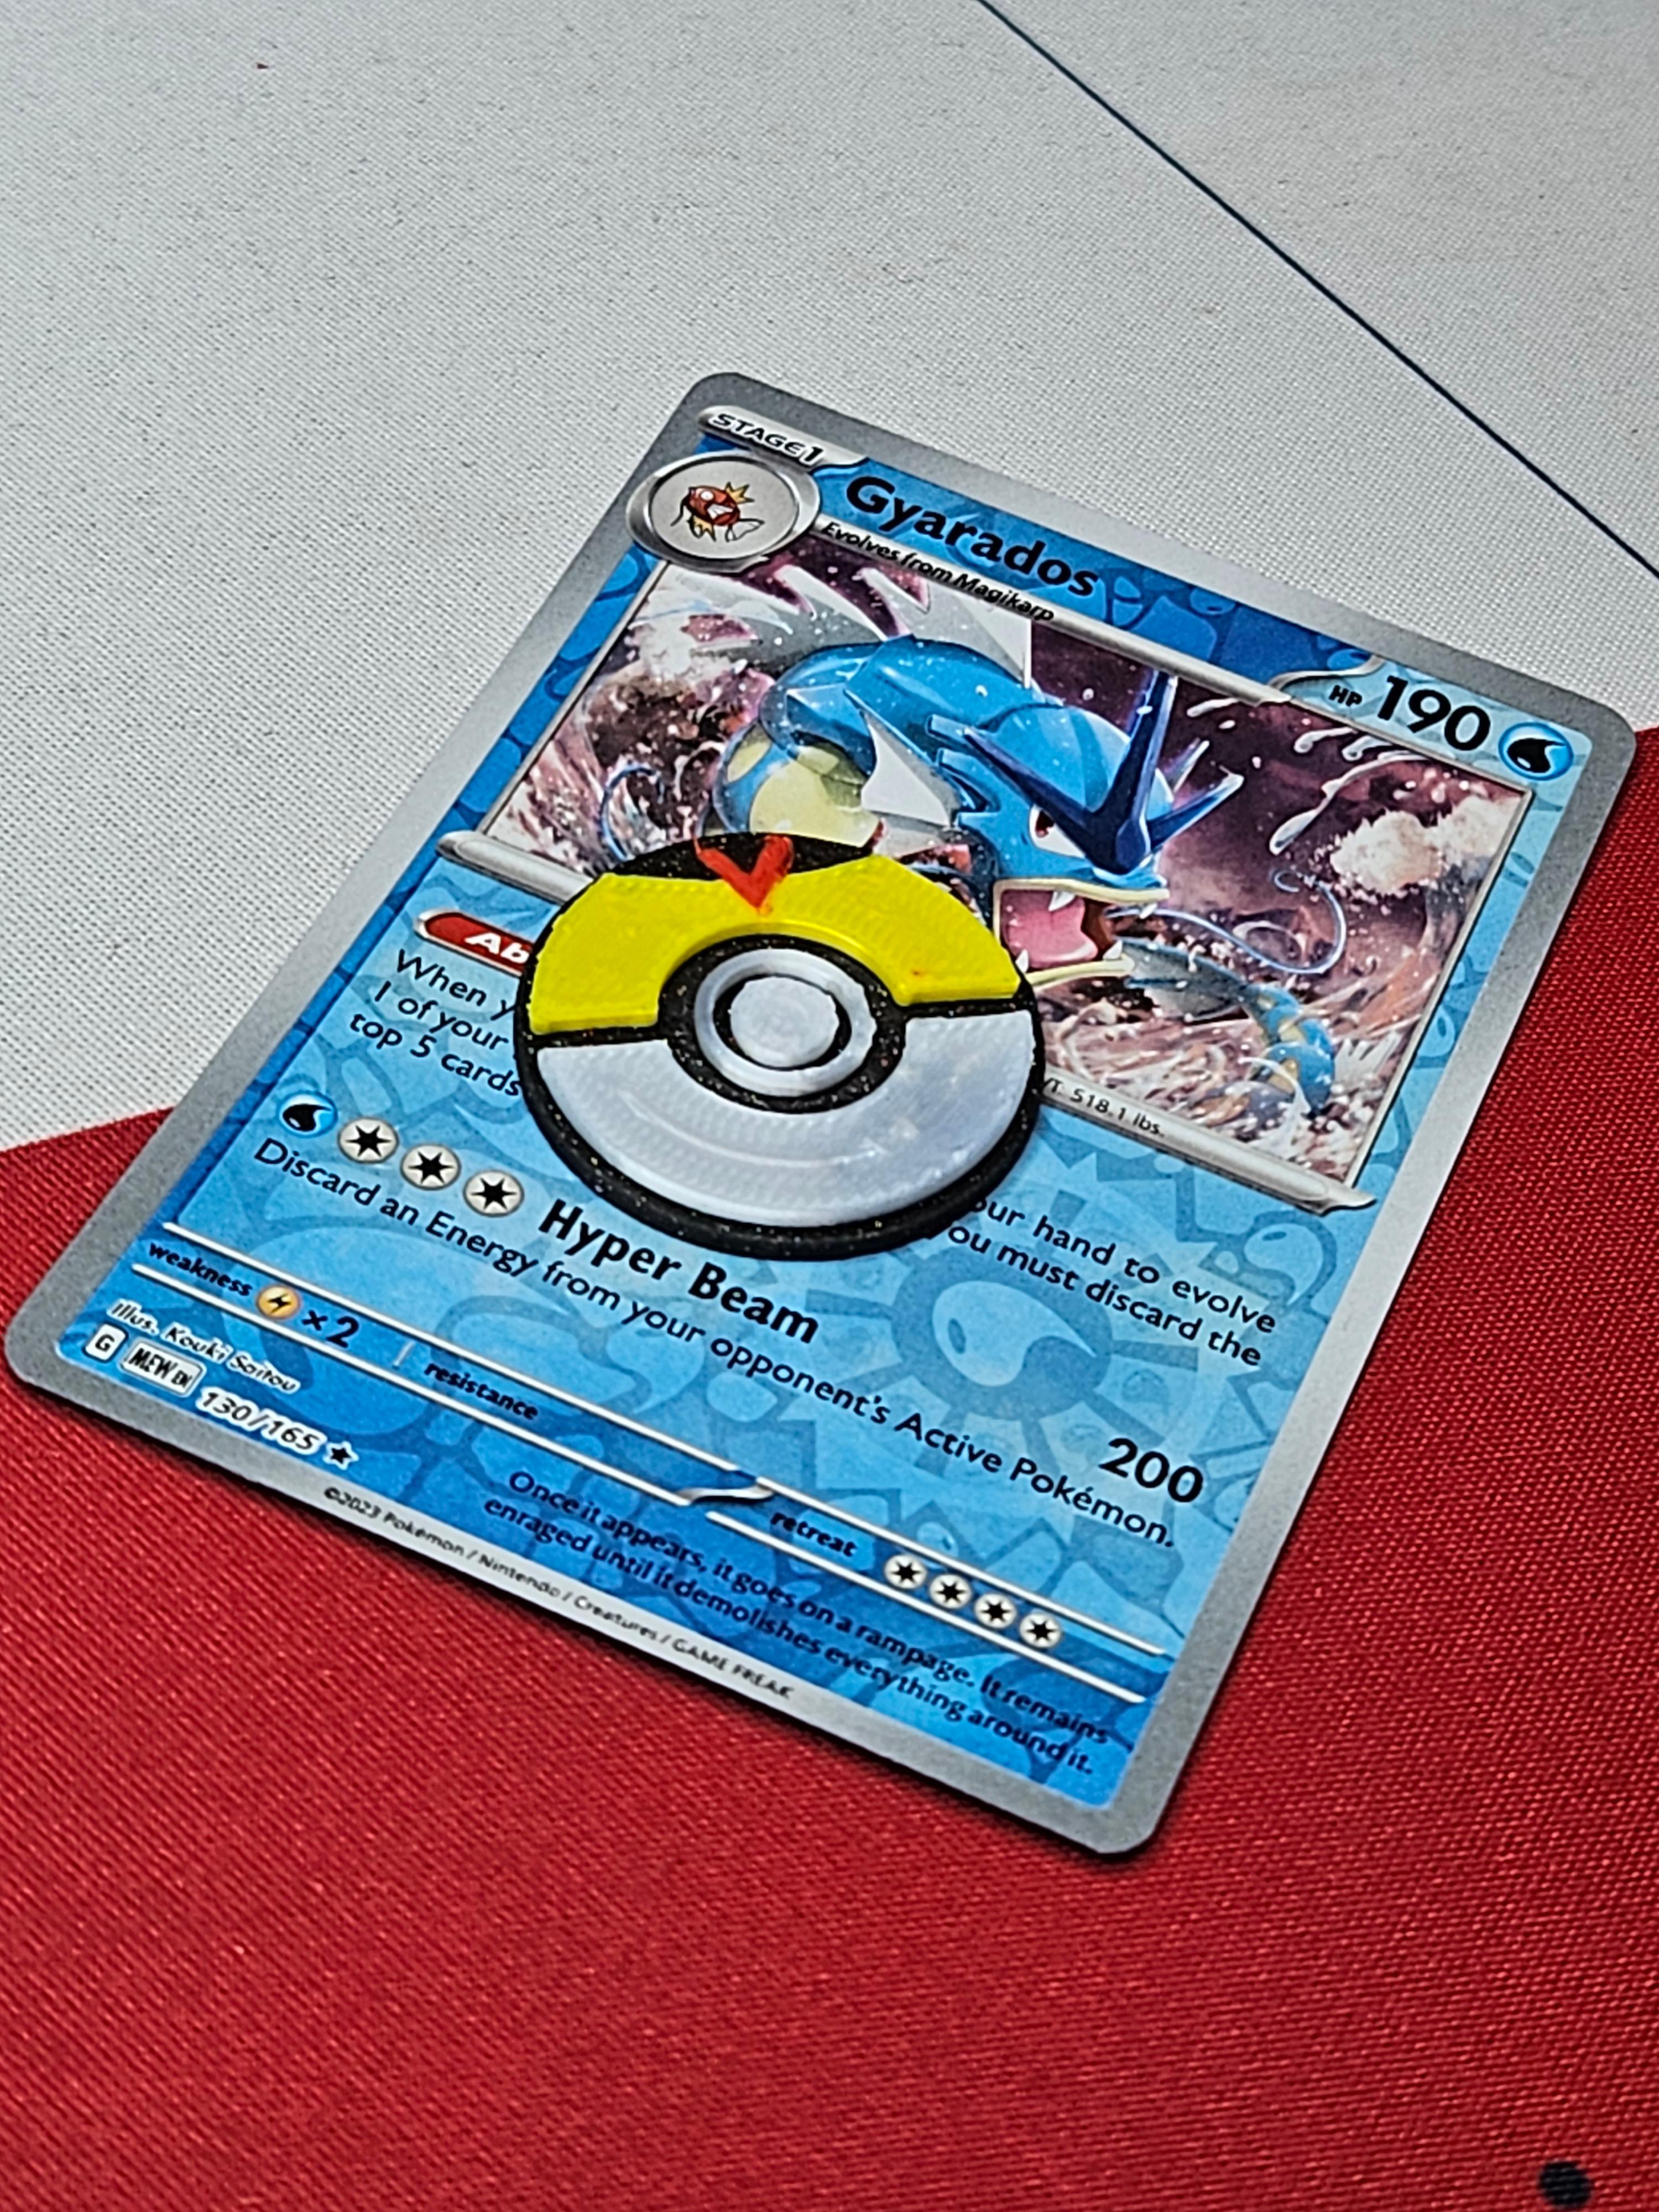
GS Ball Token
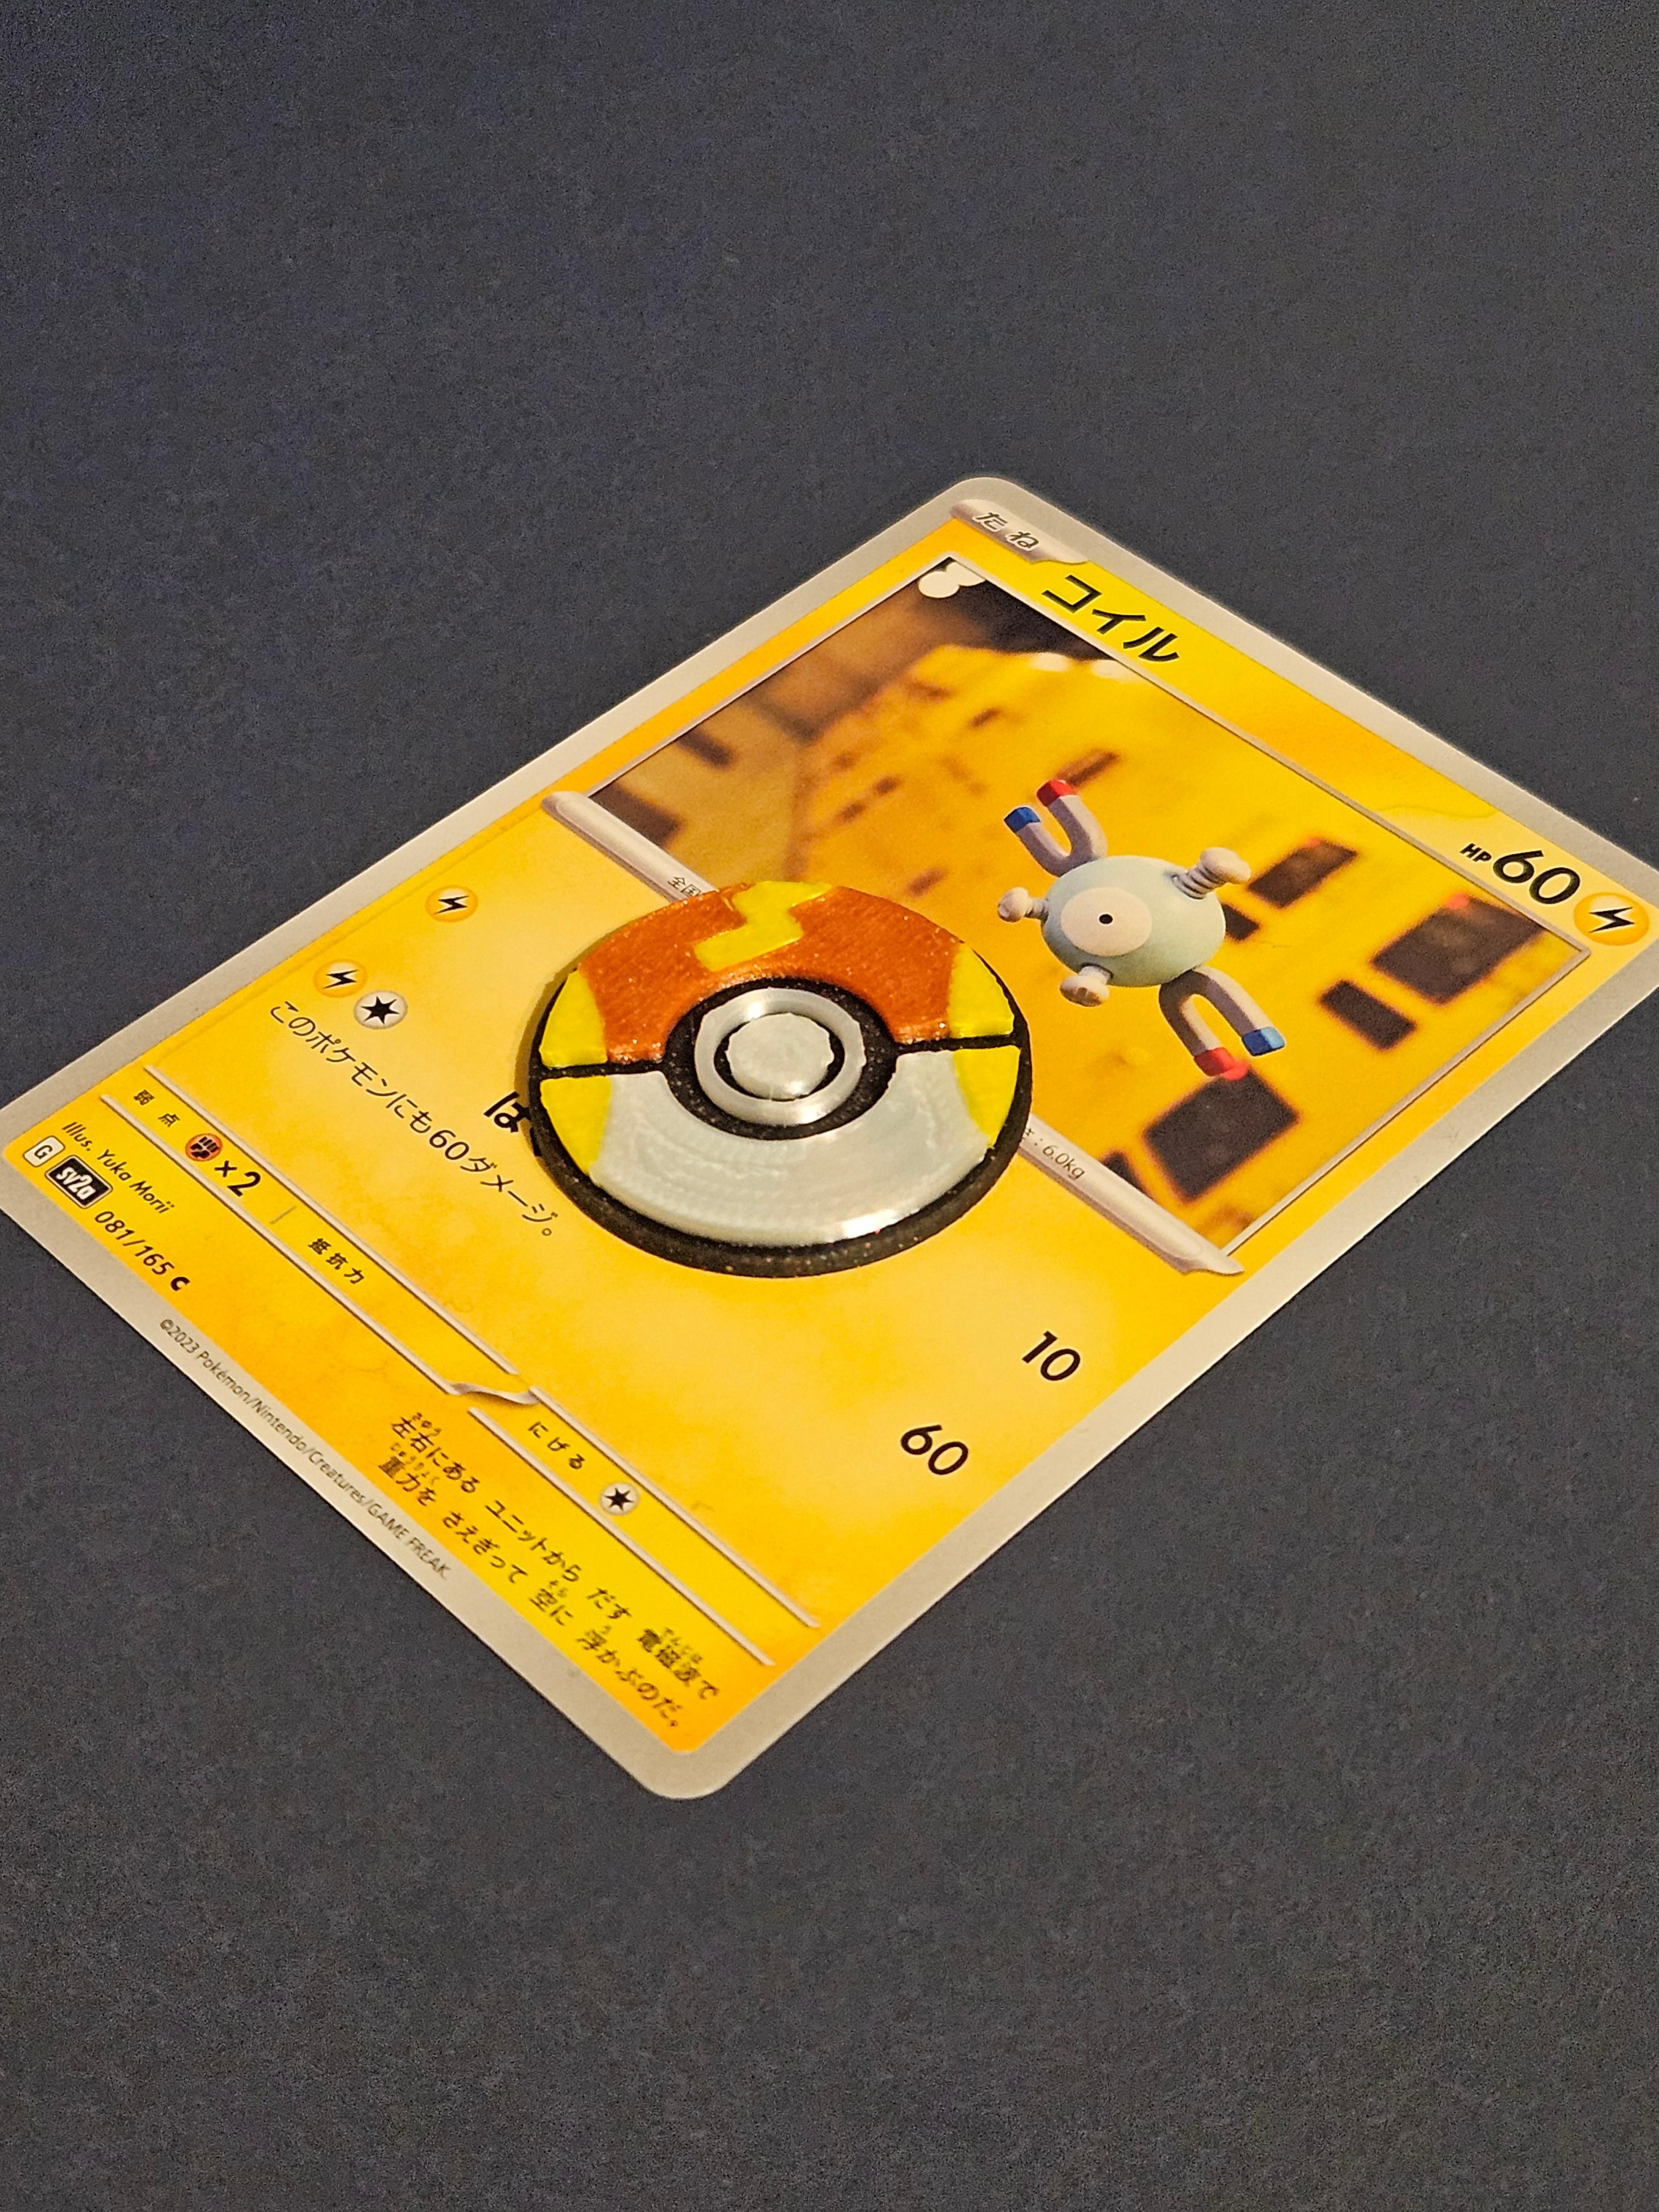
Heavy Ball Token
Lure Ball Token
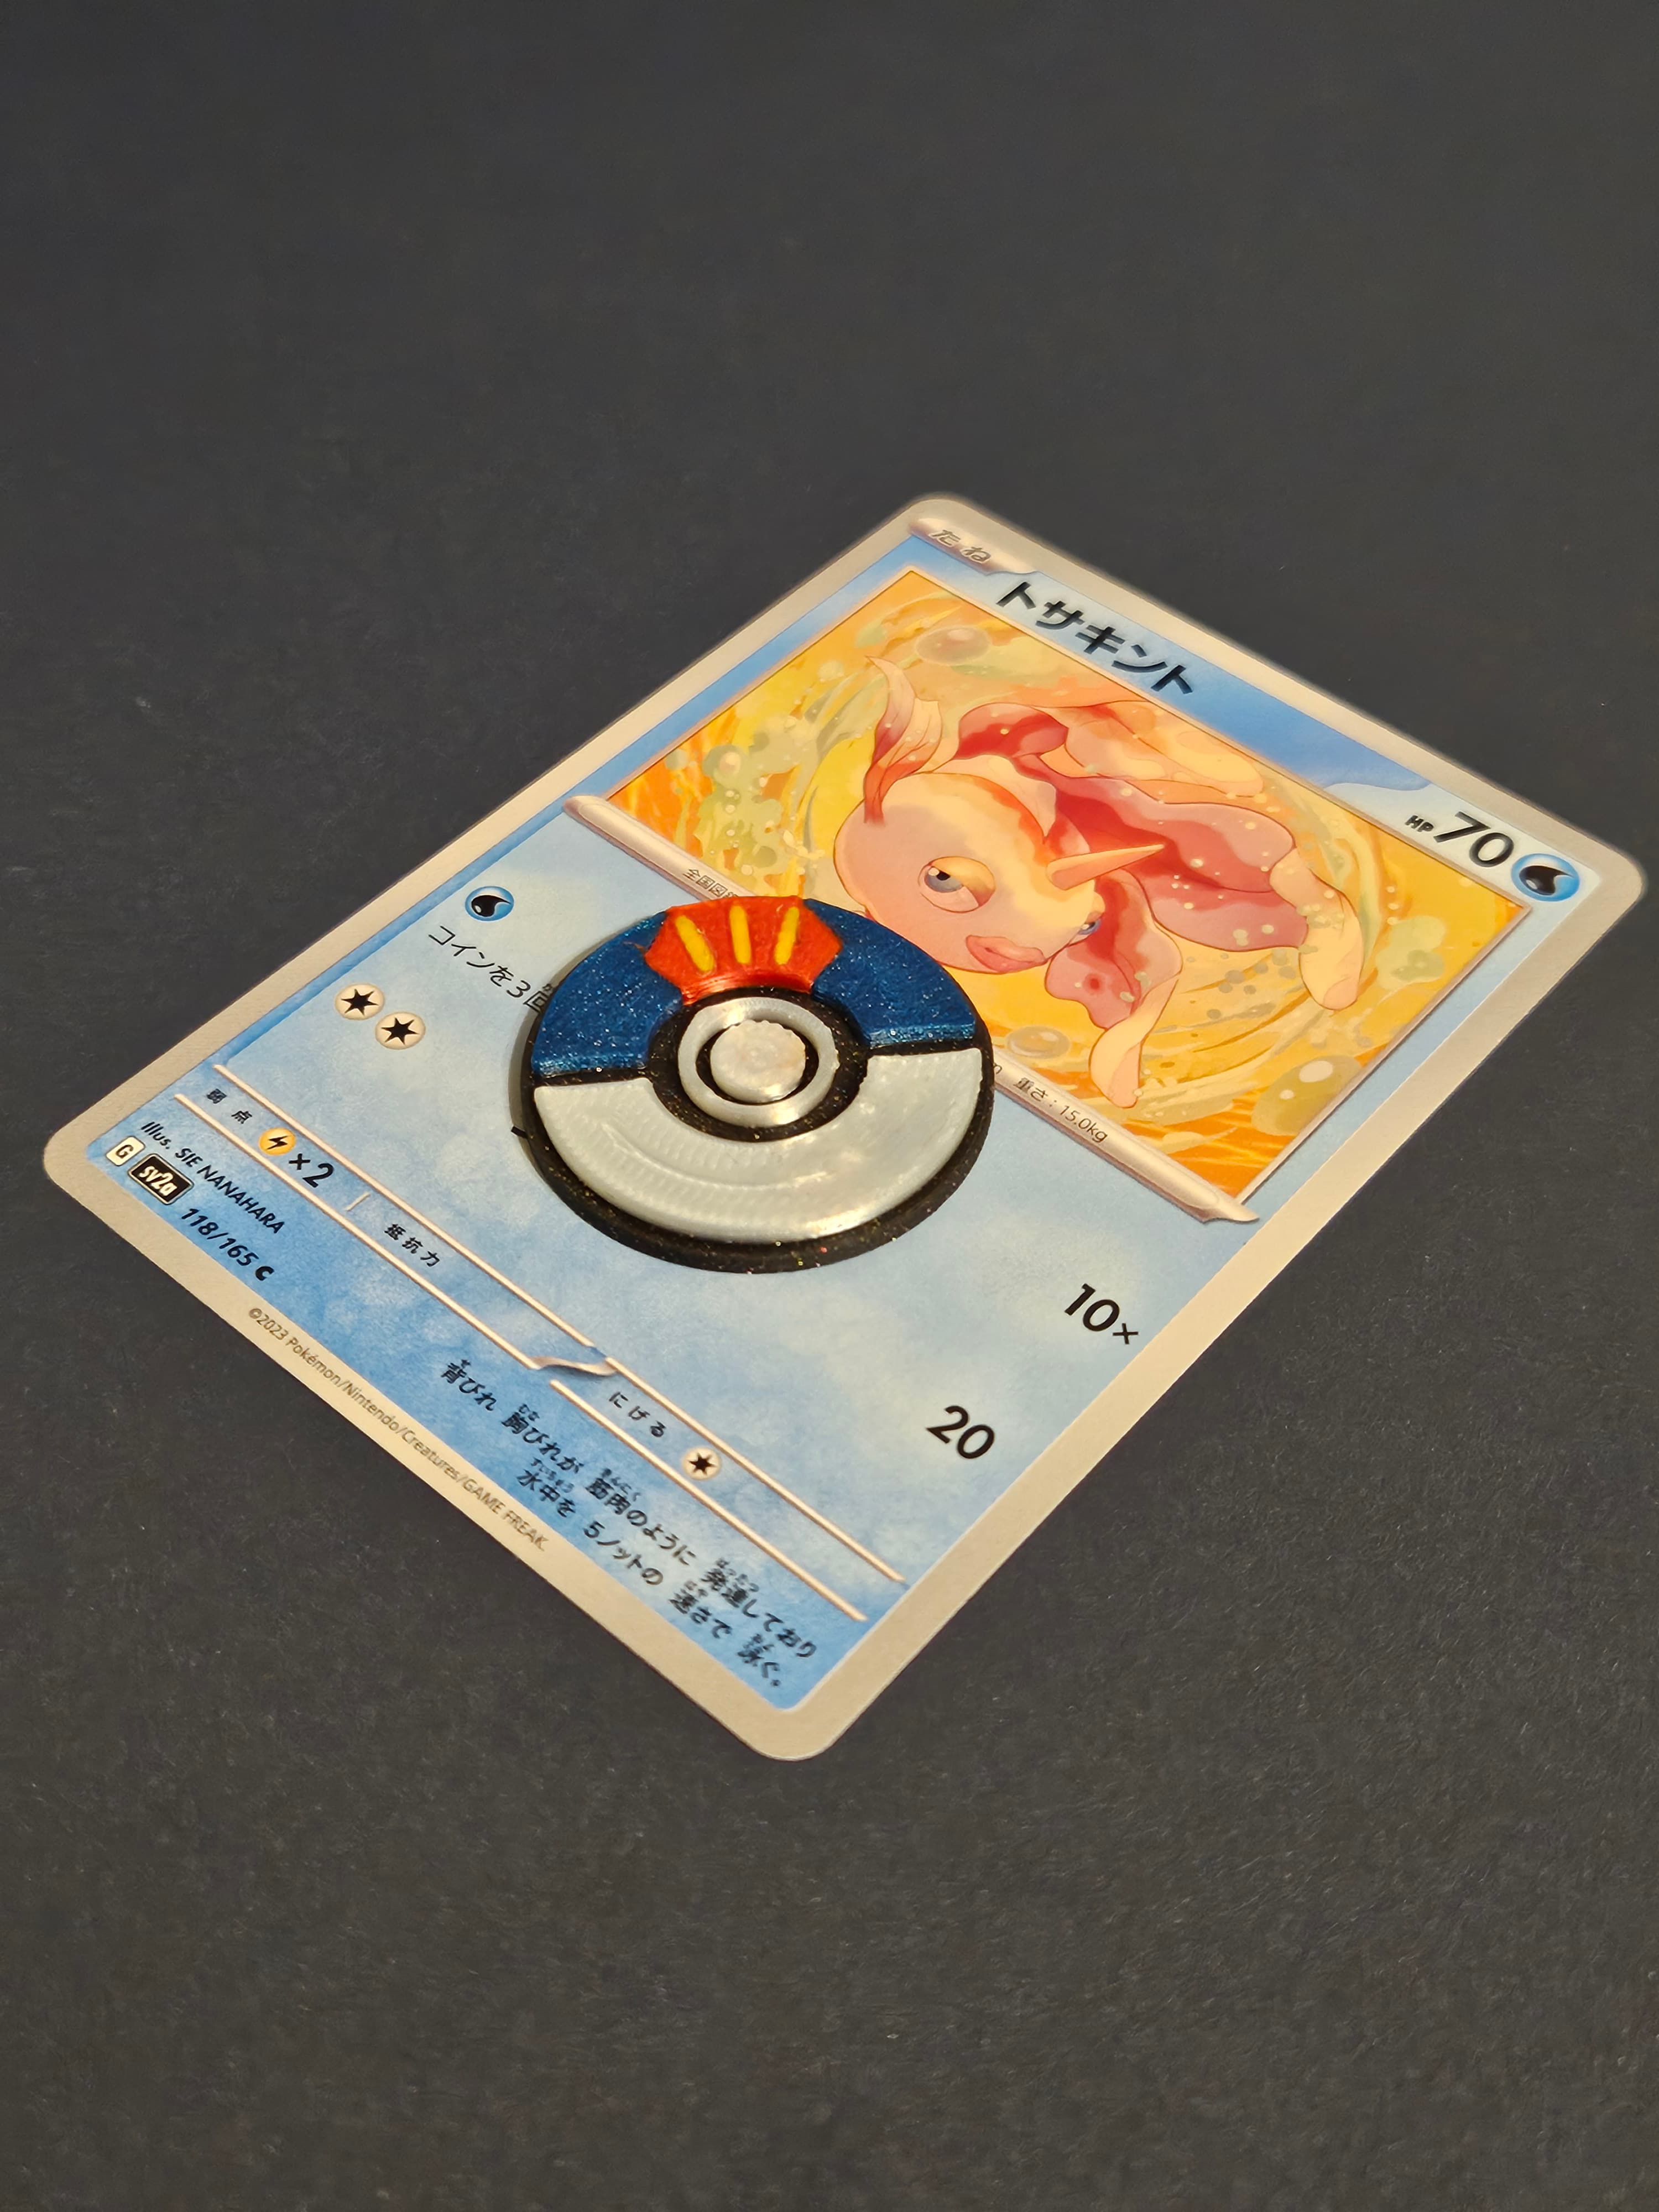
Fast Ball Token
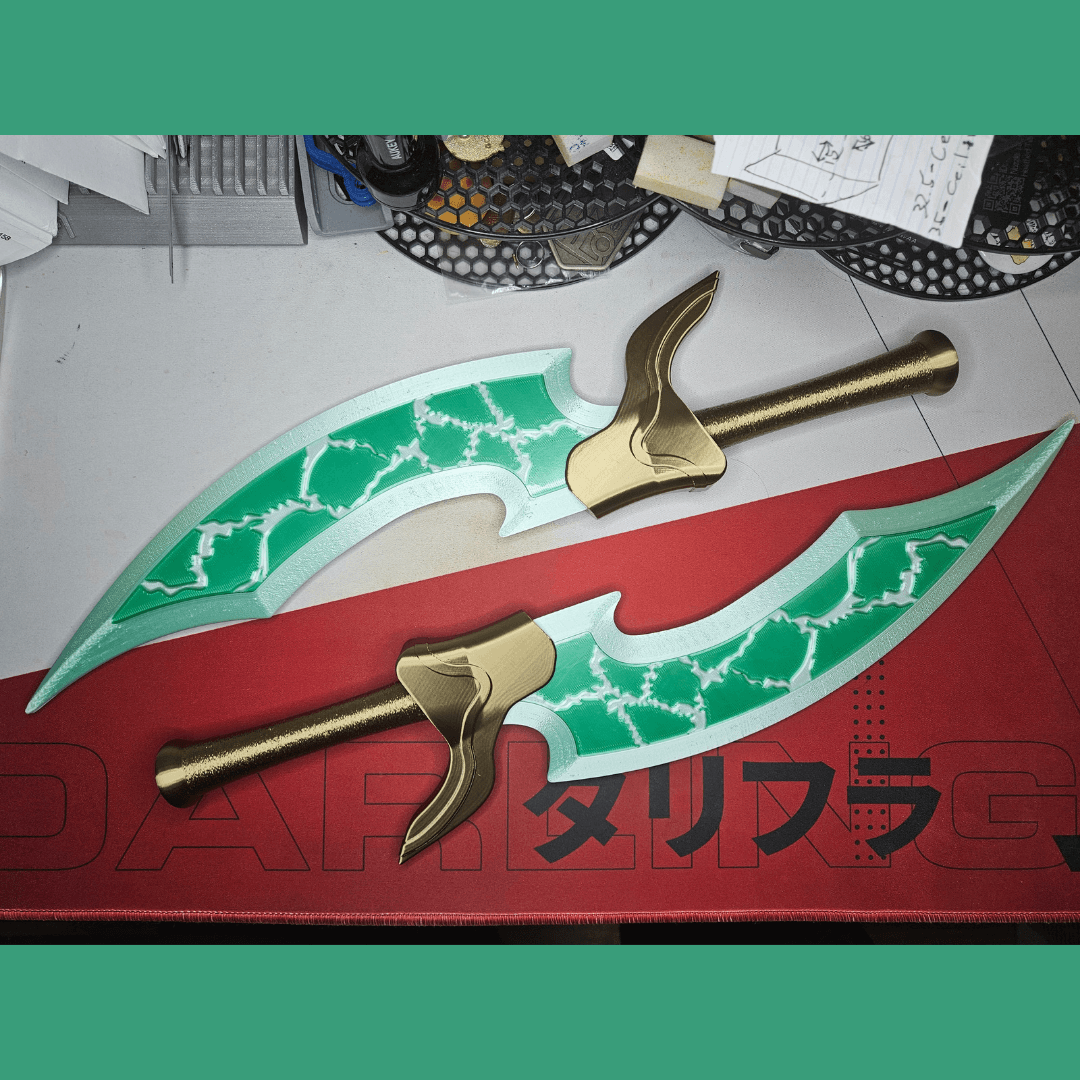
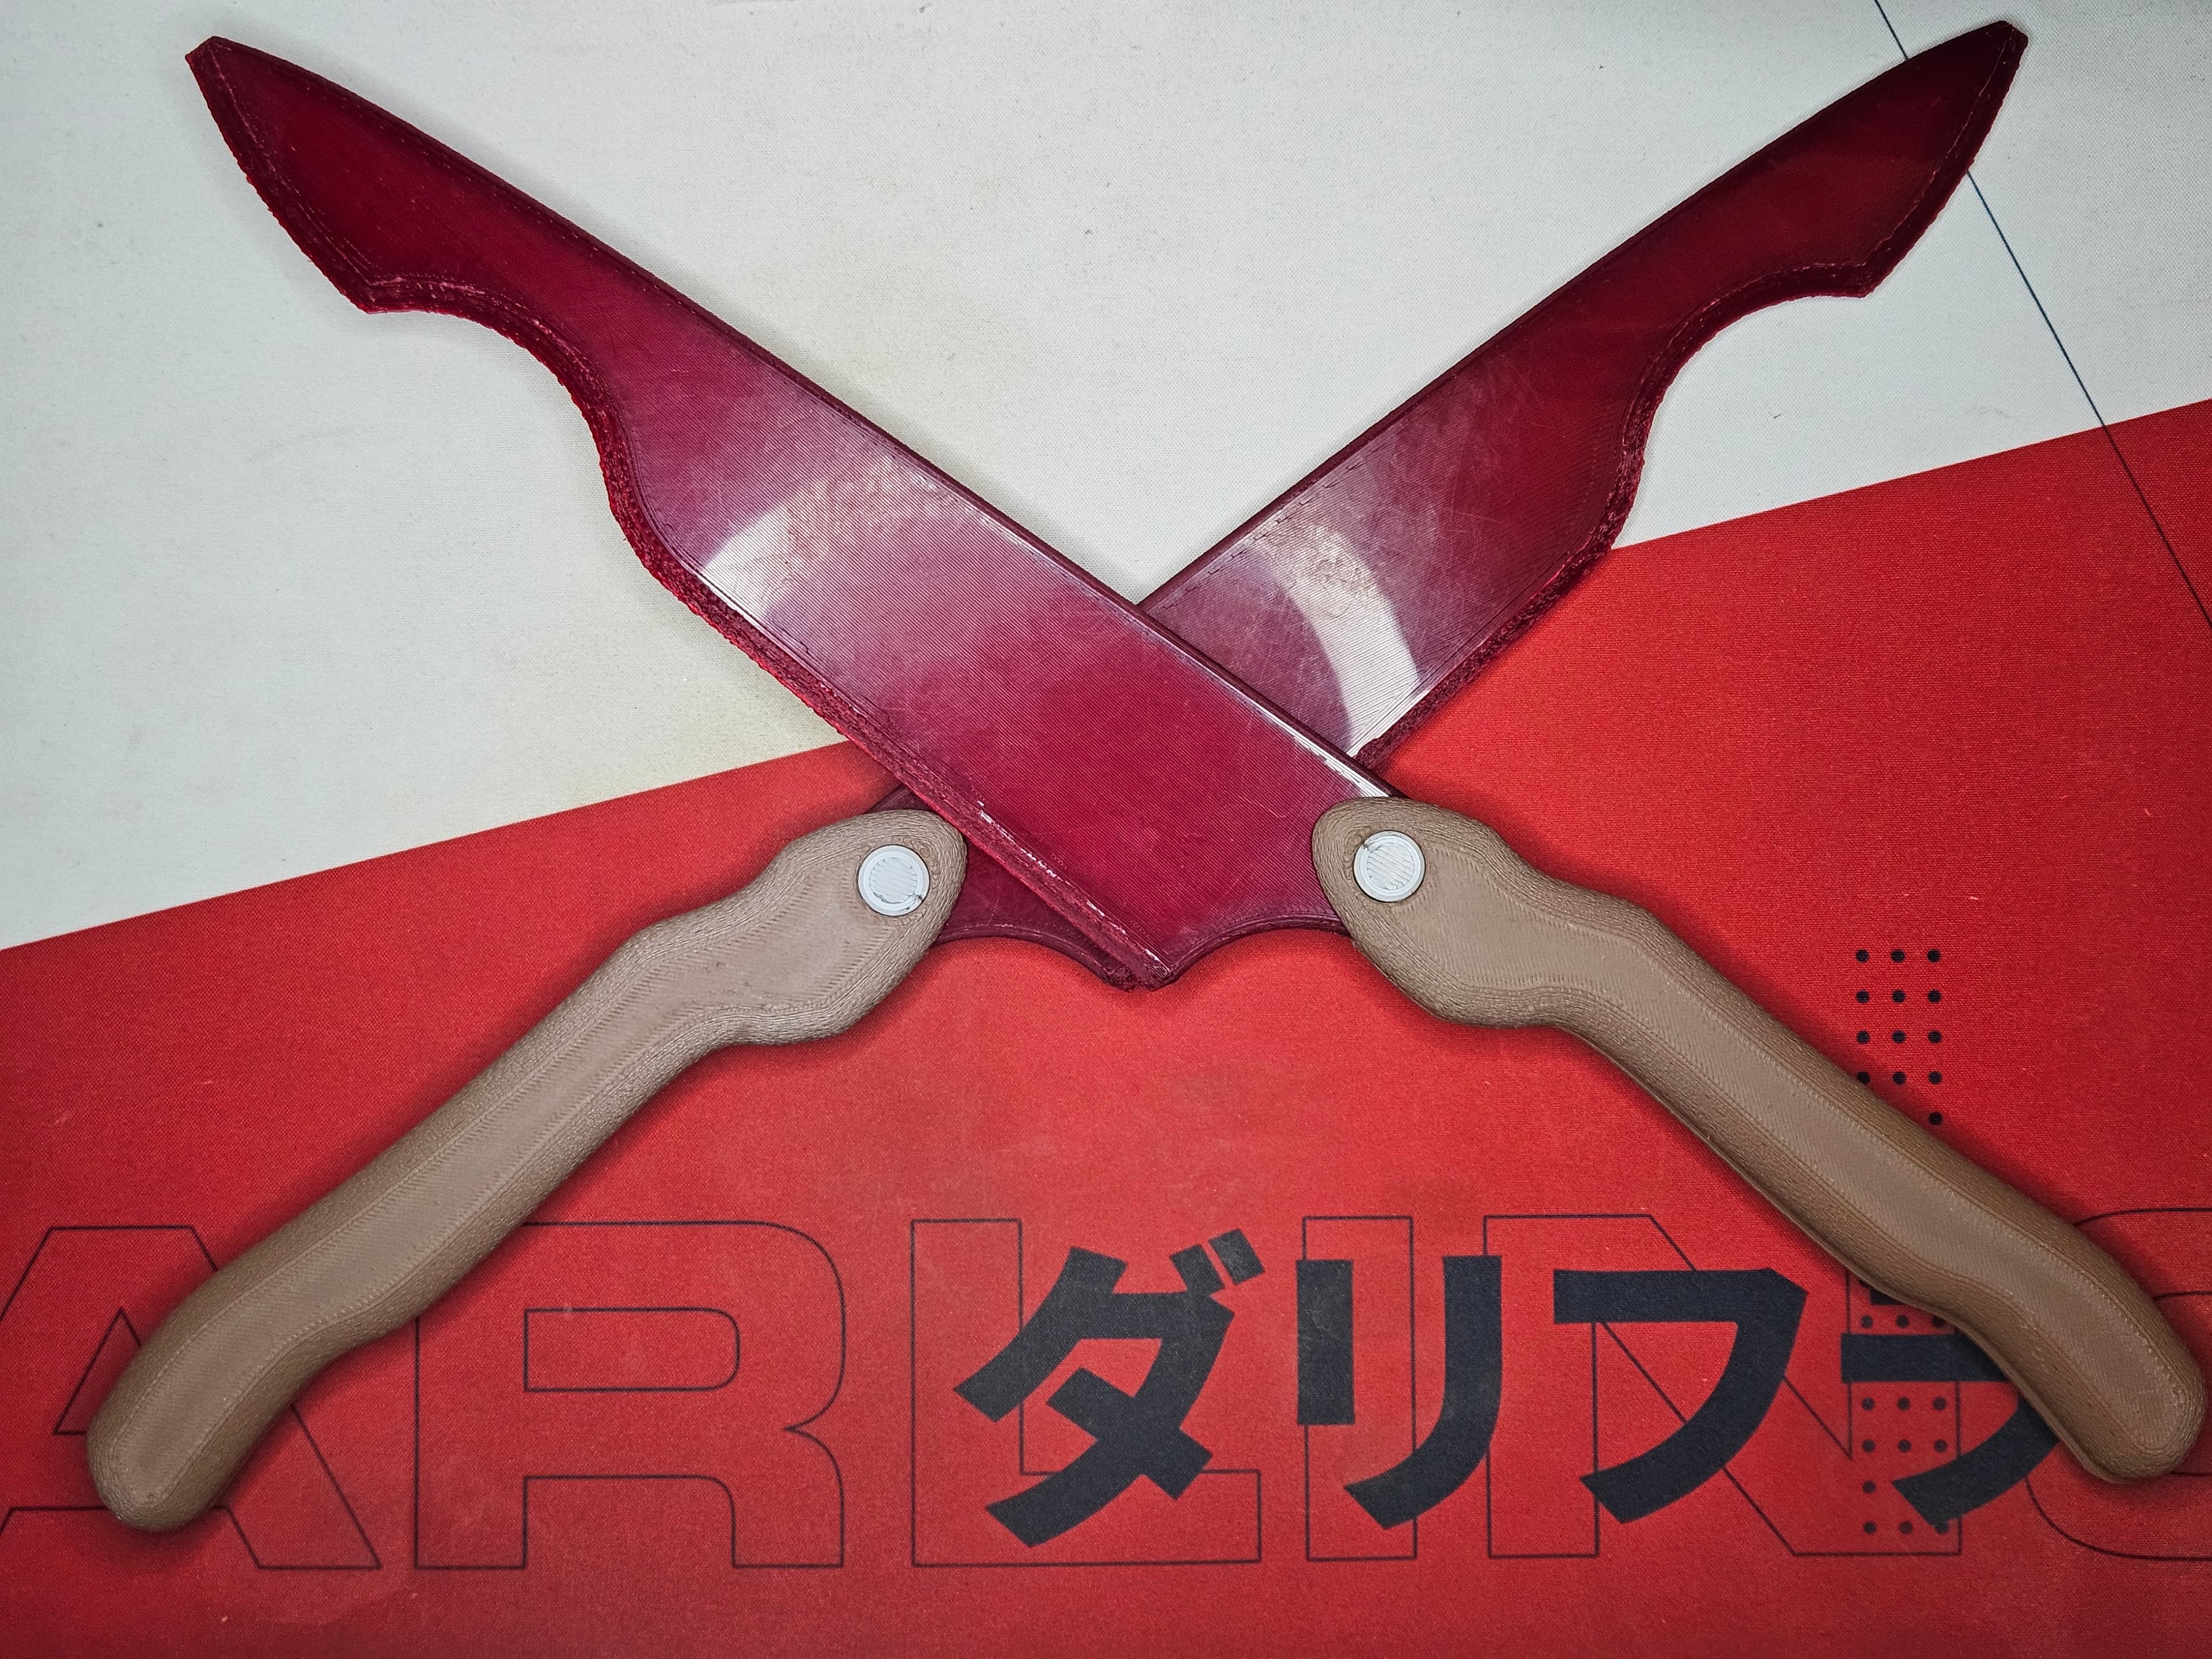
Sunraku's Marsh Daggers V3
Luvdisc Token
Friend Ball Token
Love Ball Token
Moon Ball Token
Level Ball Token
Sunraku's Vorpal Choppers
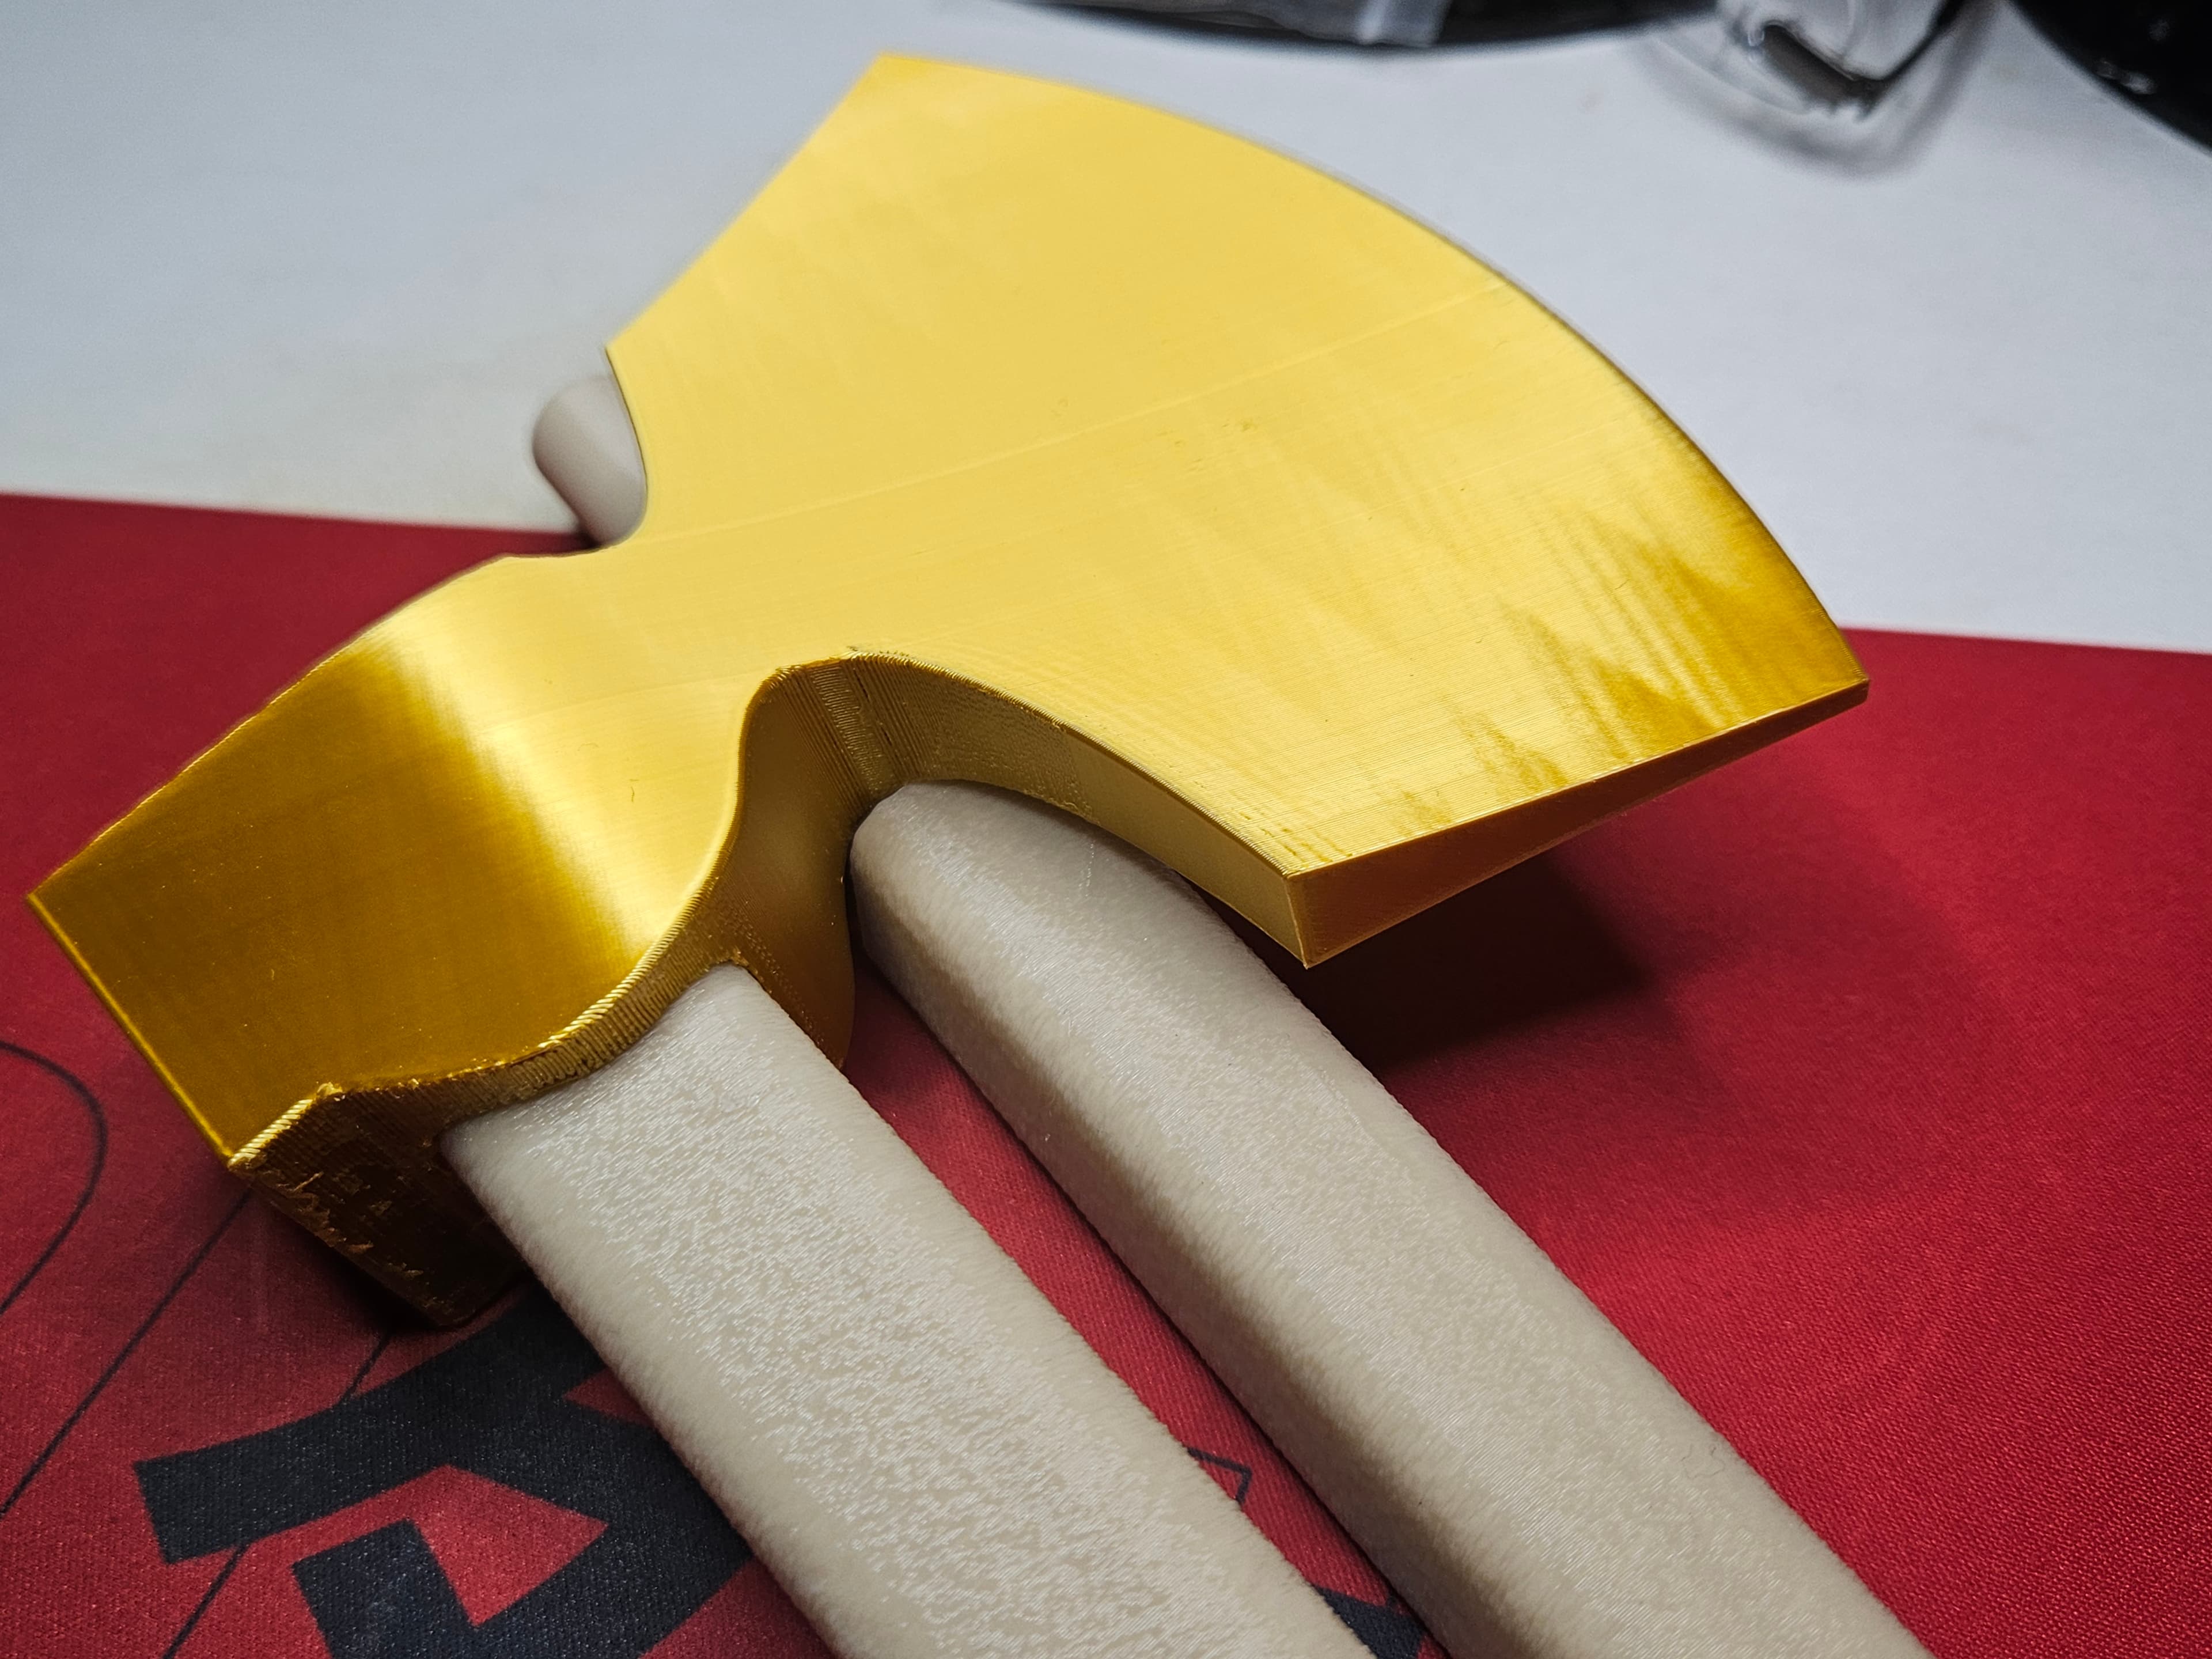
Suisei Hoshimachi's Project Winter Golden Axe
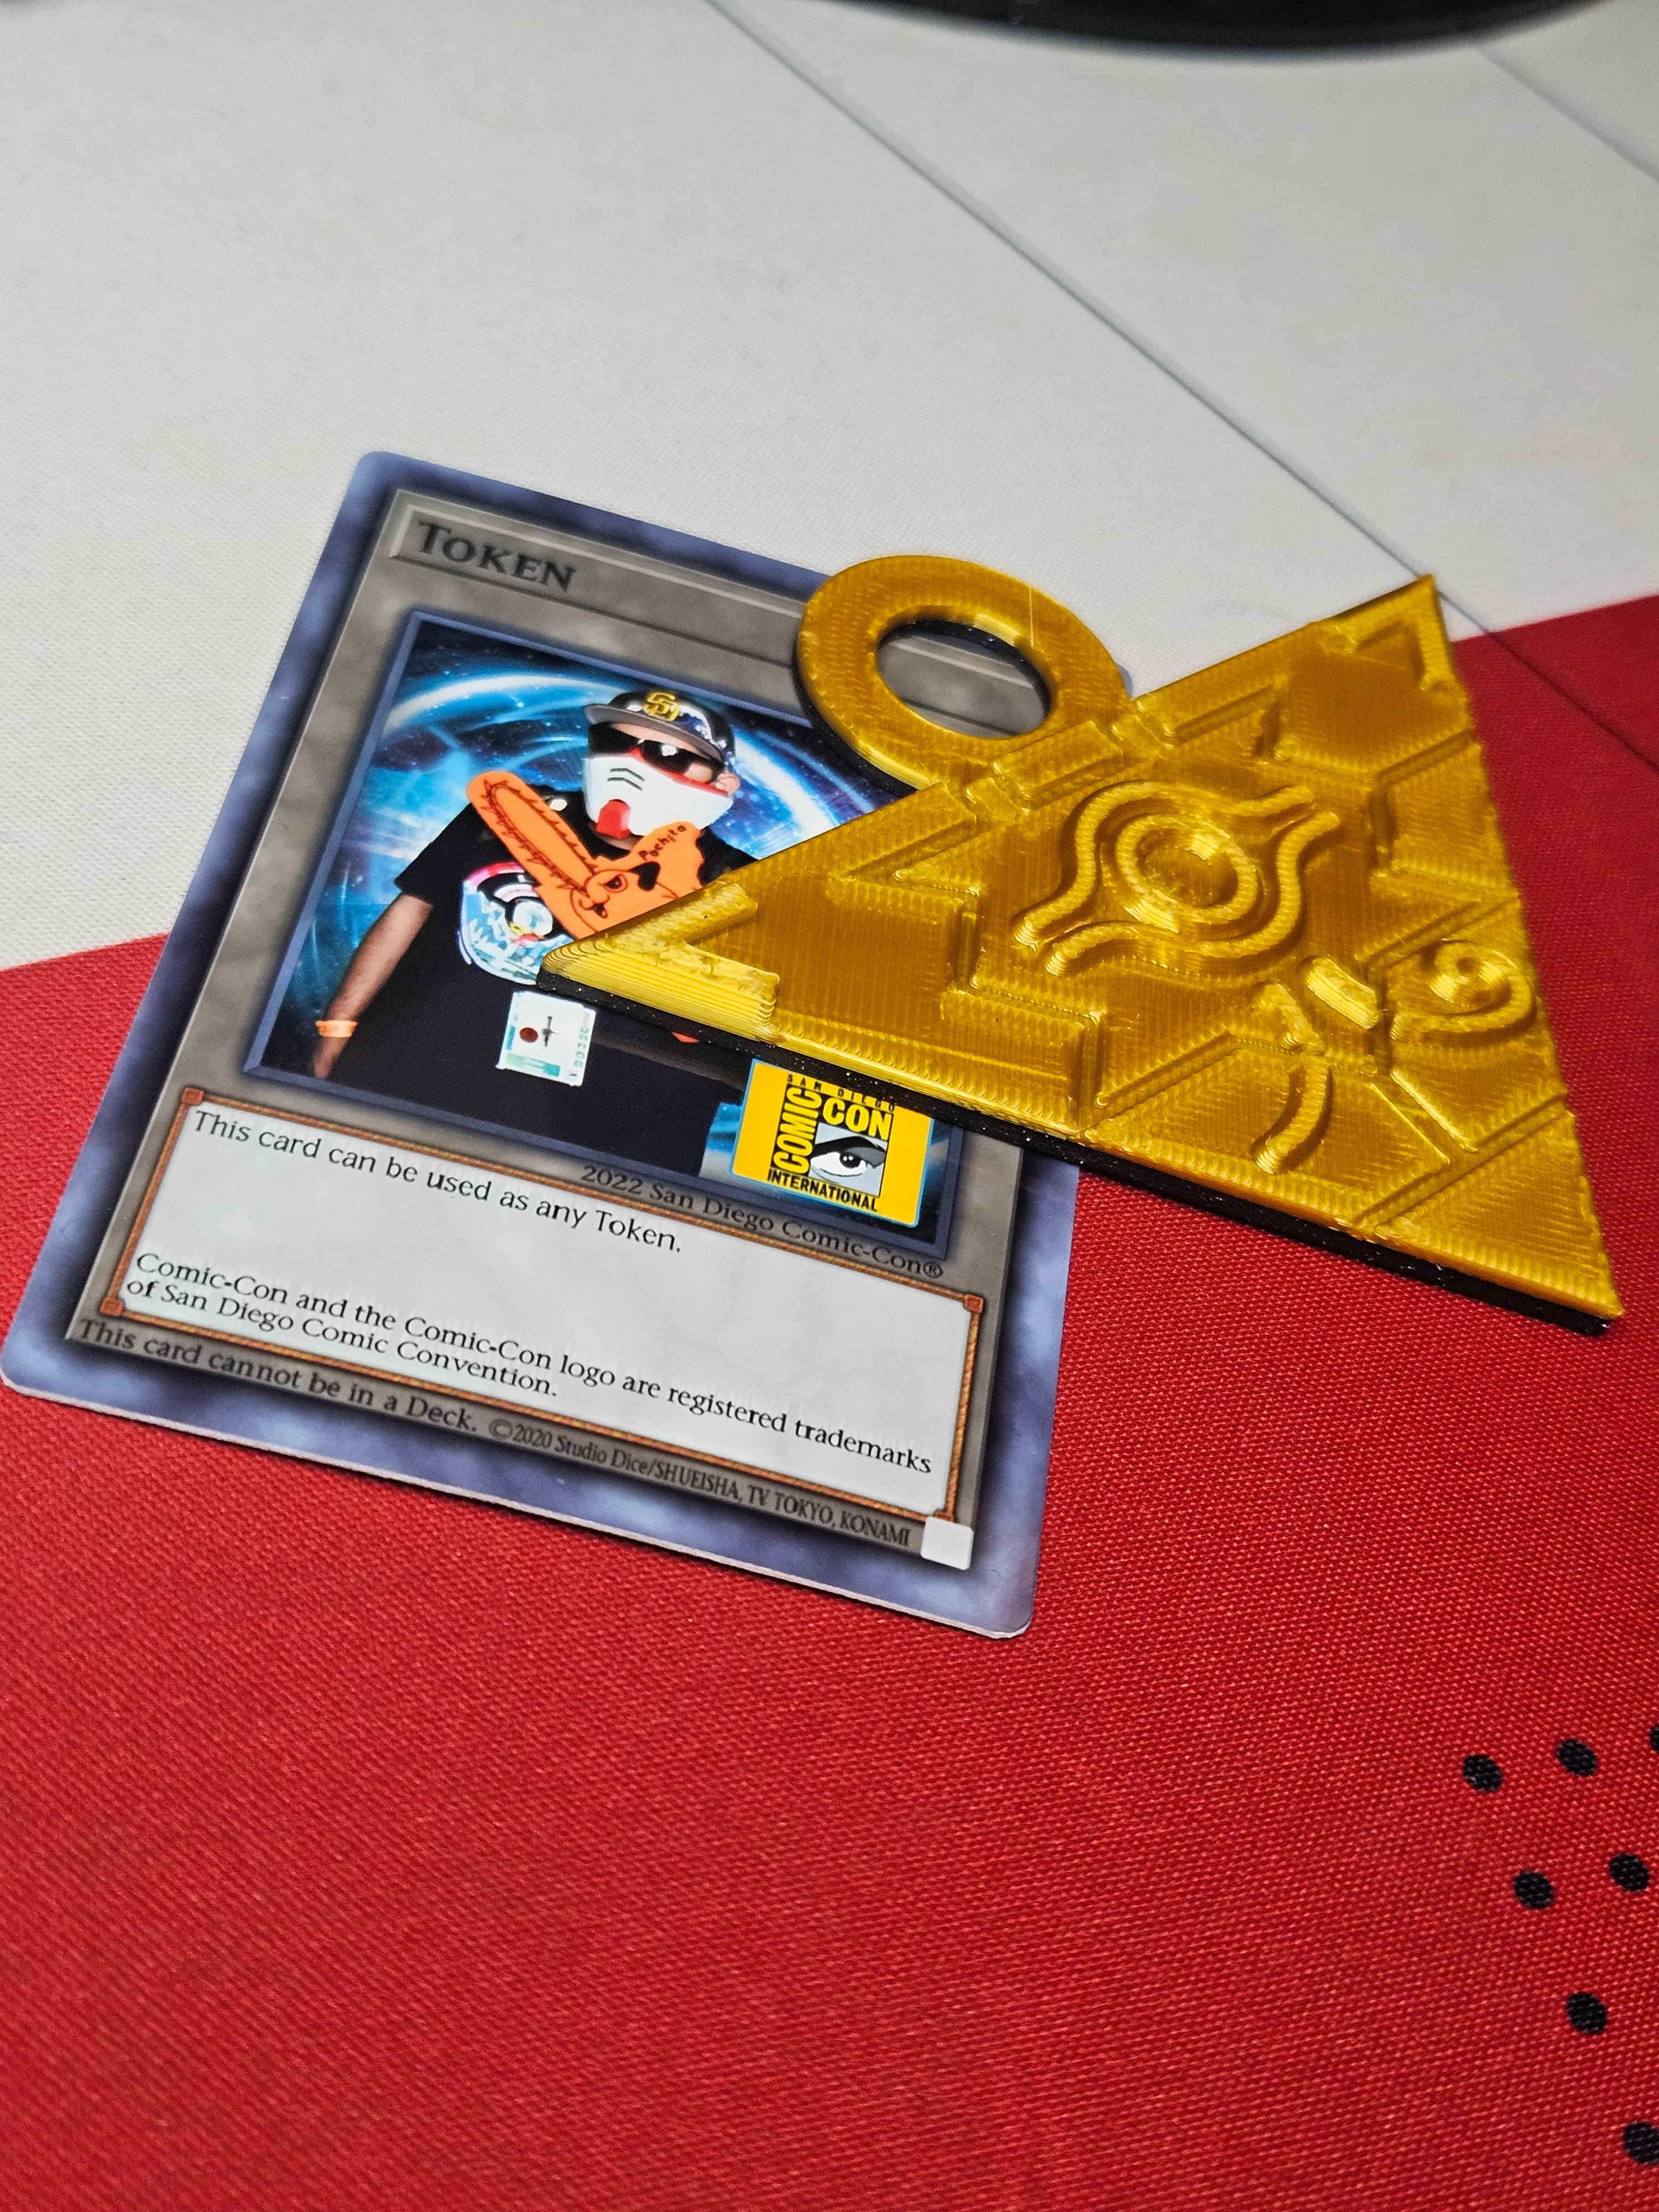
Millennium Puzzle Token
I noticed that this model is a bit low poly, and is quite noticeable on the print. Any plans on making it smoother? It would be appreciated, thanks.