


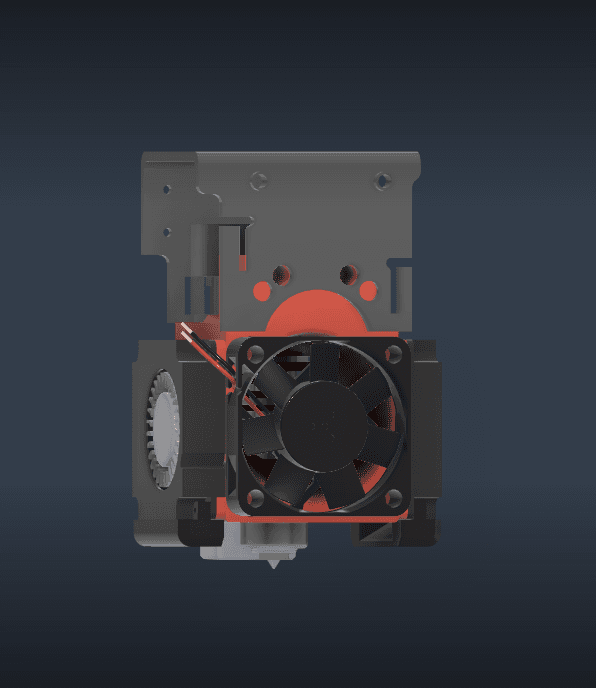
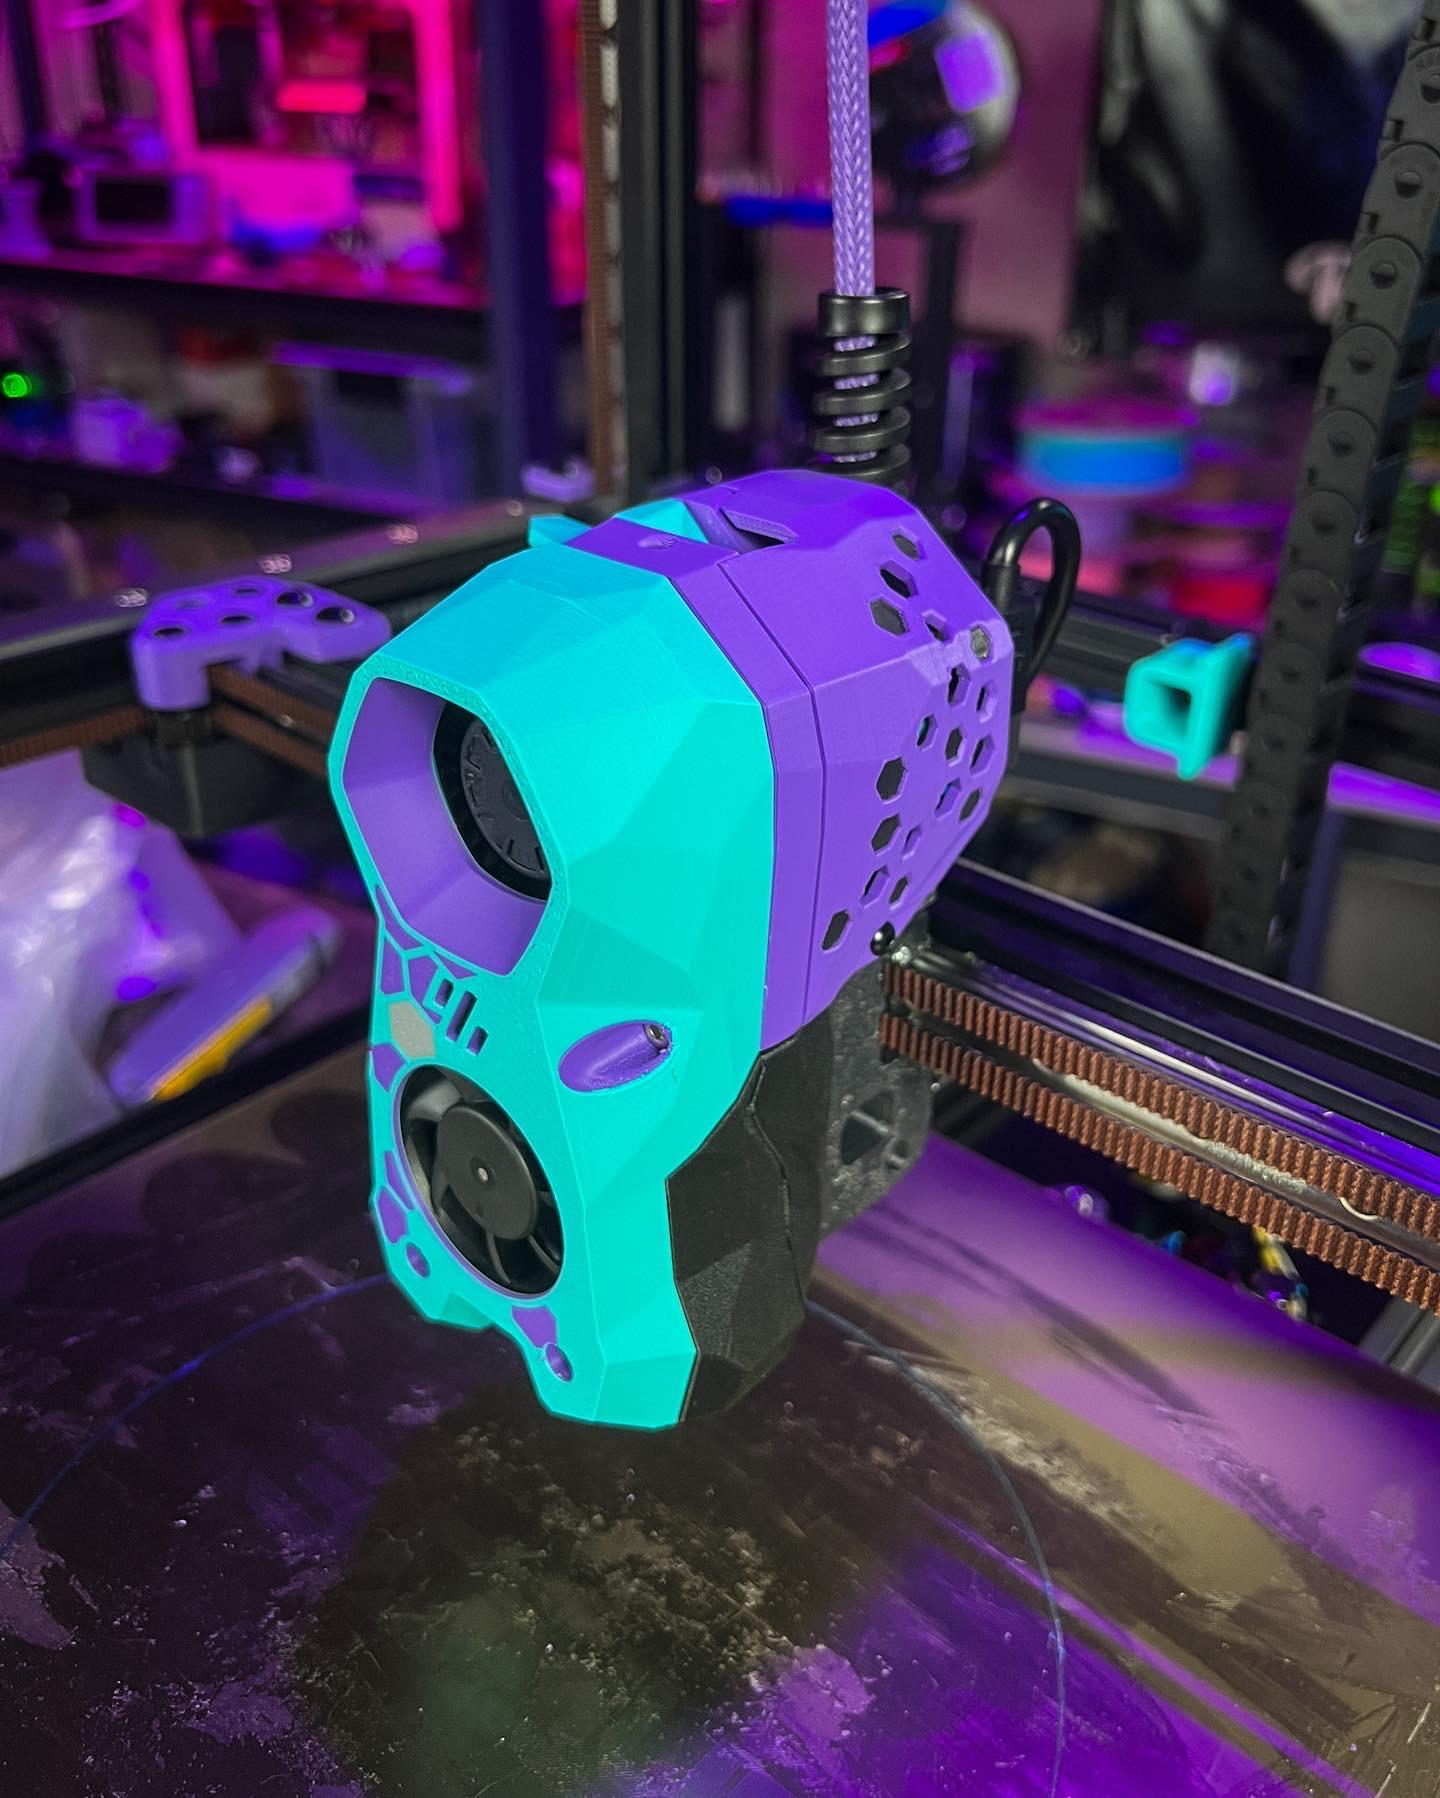
K1 D3vil Booty Burner + BTT Eddy Mount + Beacon Mount
This is a fairly simple mod that joins the BTTEddy Mount remixed by @anavrin72_1904362 and joins it to the K1 D3vil Burner & Booty Burner cover by @MzTechnology_2076066
I have also now uploaded a Beacon Probe Mount.
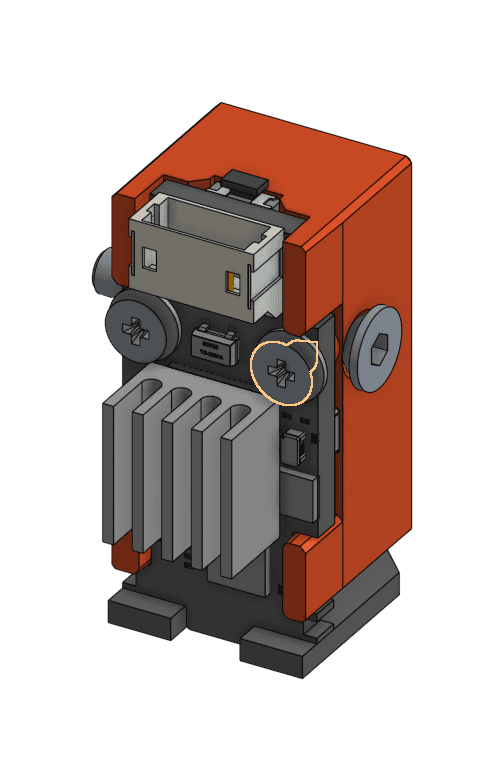
The BTTEddy or Beacon Mount attaches to the Toolhead Cover via 2x 2mm self-tapping screws, making it essentially a semi-permanent addition to the Cover. You'll notice that I have deleted the left mounting hole on the Cover, that is by design as the screw that mounts the BTTEddy Mount will be holding the entire assembly in place. The whole reason I did this was to simplify the process of removing the Toolhead Cover when doing maintenance/nozzle changes, as you no longer need to remove the BTTEddy from the Toolhead first to gain access to the left screw of the Toolhead Cover.
I have also made some other tiny changes to the Toolhead Cover. I have slightly changed the geometry of the front vents, slightly increasing the air intake for the fan. I have also shrunk the front opening to give the Knomi screen a little more support, as well as hopefully improved the pressure fitting. I reinforced the hole for the right screw, as it was very easy to break if you accidentally over-tightened. Finally, I slightly enlarged the spacing of the cable cutouts on the inside of the tool head to better accommodate thicker cables between the LEDs and the Knomi.
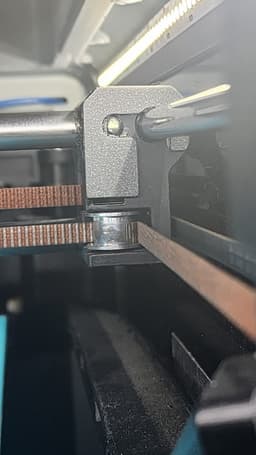
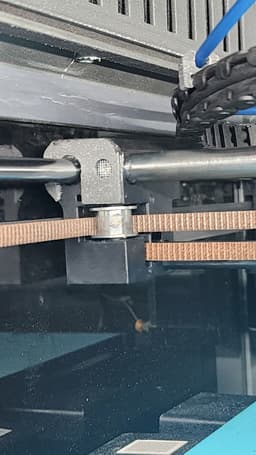
The v2 now does hit the glass door on homing, due to the thicker bezel. I have included some spacers that will need to be taped/glued to the x-axis blocks. You'll also want to go into your printer.cfg file and find the section [stepper_y] and change the position min from -2 to 0.
[stepper_y] position_min: 0
Note: This is in Klipper. I don't know how to do this on OEM firmware.
Now your printhead will stop hitting the glass and will home correctly!
The BTTEddy Mount also has some slight changes to the geometry, allowing for the use of the Eddy Duo(some slight snipping of the interior of the mount may be required to make it sit right). The hole for the cable has been slightly modified as well to give the cables a bit more space.
Please check out the original model pages for printing instructions:
Creality K1 D3vil Burner & Booty Burner Knomi V2 by @MzTechnology_2076066
BTTEddy Creality K1 K1C & K1 Max mount by @anavrin72_1904362 See below for Eddy to Lidar wiring guide.
Update 3/4/2025
I have uploaded a newer version of the toolhead cover. The only difference is a slight change to the front, which should allow the Knomi to seat a little better when installed. In particular, it should also allow the installation of a Knomi v1 without the need to remove the USB port. Just don't wrench the fan down too hard. I also thickened the bezel at the front a little to improve print quality slightly and to prevent warping/breaking when printing in an MJF or SLM printer.
The v2 now does hit the glass door on homing, due to the thicker bezel. I have included some spacers that will need to be taped/glued to the x-axis blocks. You'll also want to go into your printer.cfg file and find the section [stepper_y] and change the position min from -2 to 0.
[stepper_y]
position_min: 0
Note: This is in Klipper. I don't know how to do this on OEM firmware.
Now your printhead will stop hitting the glass and will home correctly!
Update 4/21/2025
Removed the updated eddy mount as the original works fine with eddy-ng!
Also, if you don't need/want a knomi I have included a cover that will fill up the space while keeping good airflow. You'll want to glue or tape it in place.
Update 4/26/2025
Reuploaded the experimental eddy-ng mount for further testing.
Update 7/3/2025
Uploaded a Beacon Probe Mount. Wiring diagram to follow.
Please see the terrible wiring diagram I uploaded for connecting your eddy to the lidar port. Make note of how the connectors are facing! You'll want a 4-pin 1.25mm JST on the eddy side, and a 5-pin 1.25mm JST for the lidar port.
K1 D3vil Booty Burner + BTT Eddy Mount + Beacon Mount

BTT Eddy and SFS Mount – Sprite Pro (Right Side)

BTT Eddy Mount – Creality Sprite Pro (Right Side)
BTT Eddy SV08 Mount

BTT Eddy mount for Exoslides with a Smart Orbiter V3
.png&w=3840&q=75)
TwoTrees SP5 Upgrades
Ethx Toolhead for Sapphire SP5 V3

EBB36 Sherpa Mini Mount.stl

Kevin the Corgi Ice Cream Pint Holder

Witch Incense Burner
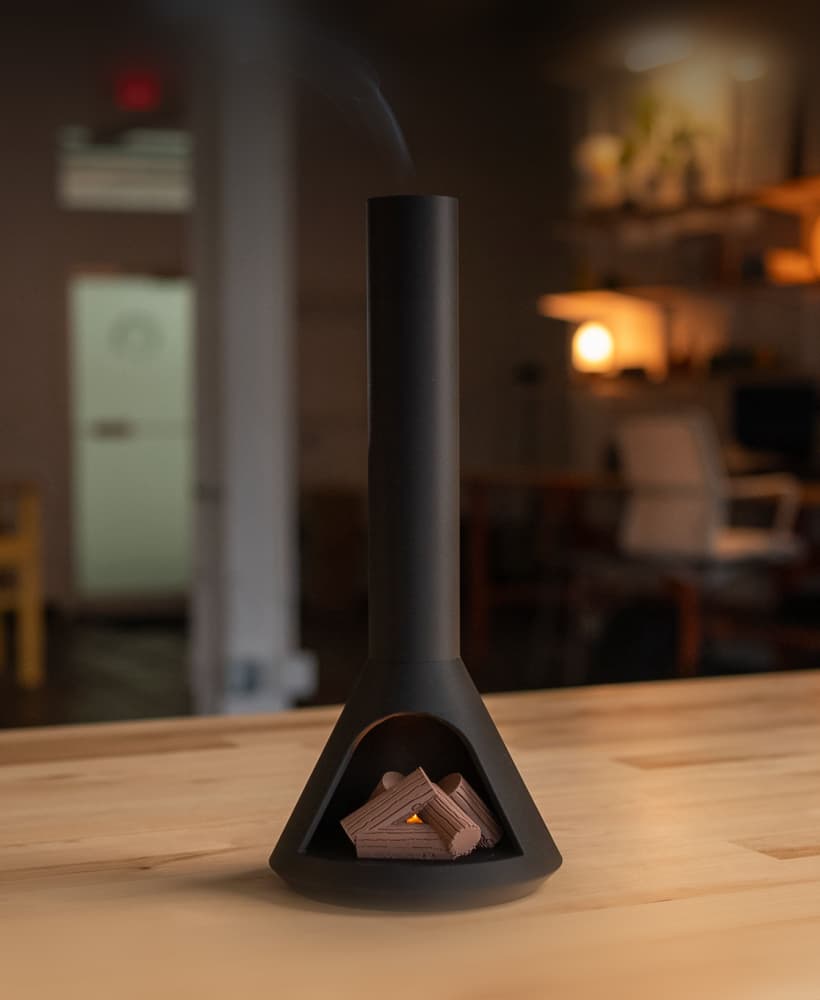
MCM Incense Fireplace

Draco Incense Burner
Hex Cable Door for BigTreeTech SB2240 / 2209 StealthBurner PCB
~2.png&w=3840&q=75)
PeekaBoo- NOMz

Nurse Goose Gear Outfit for Porch Goose

Doctor Goose Gear Outfit for Porch Goose

Teapot Incense Burner / No Supports

Nightmare Before Christmas - Fountain Lamp / Incense Holder
.png&w=3840&q=75)
Big Booty Ghost Planter/Pot

Xenomorph Egg Incense Burner / 3MF Included / No Supports