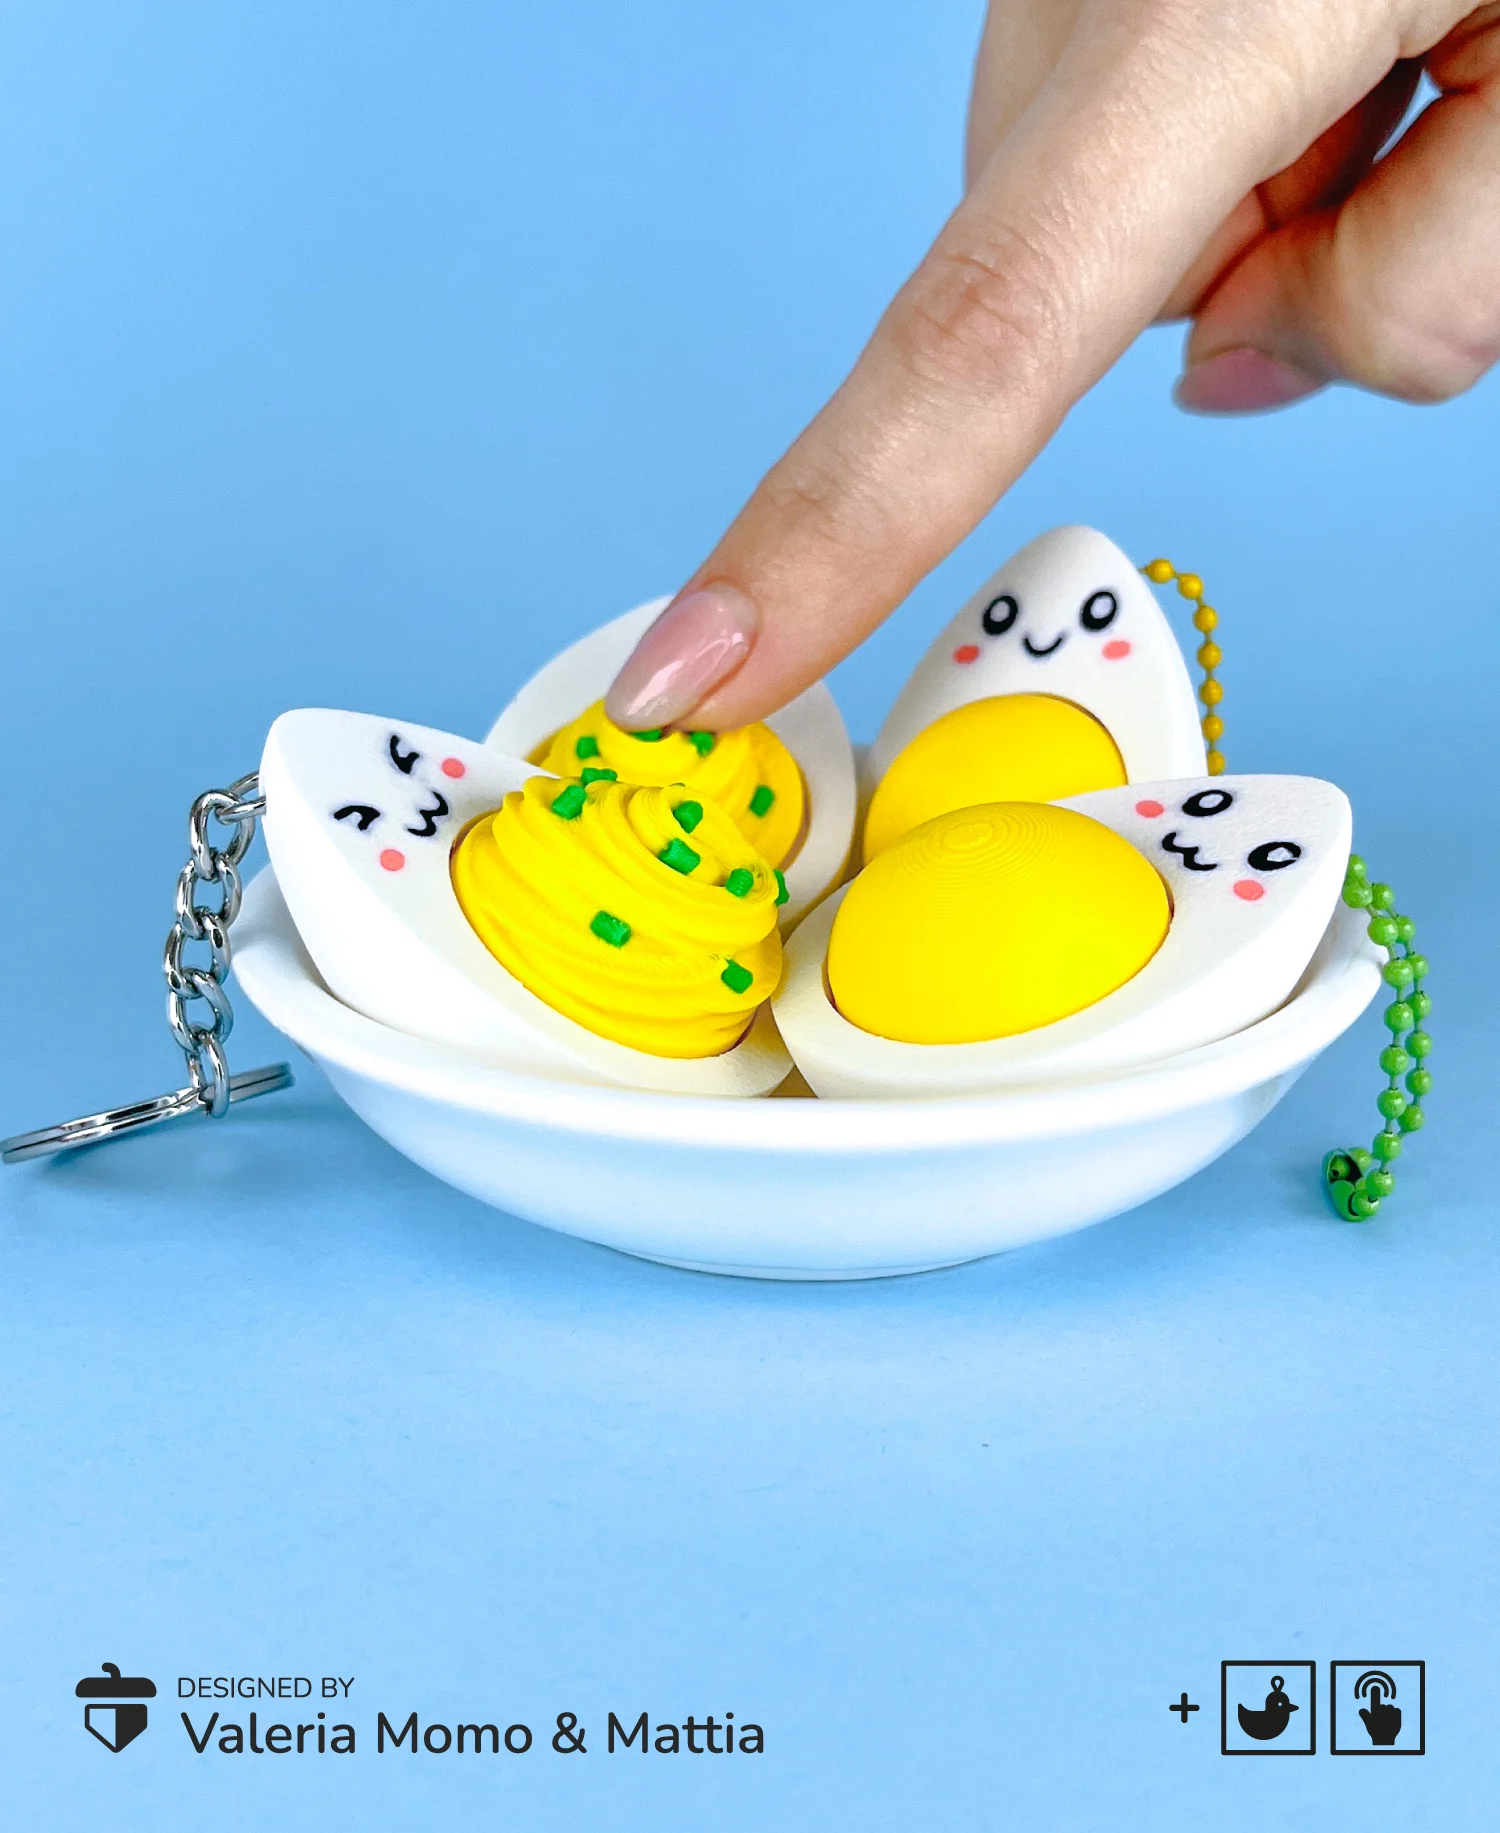


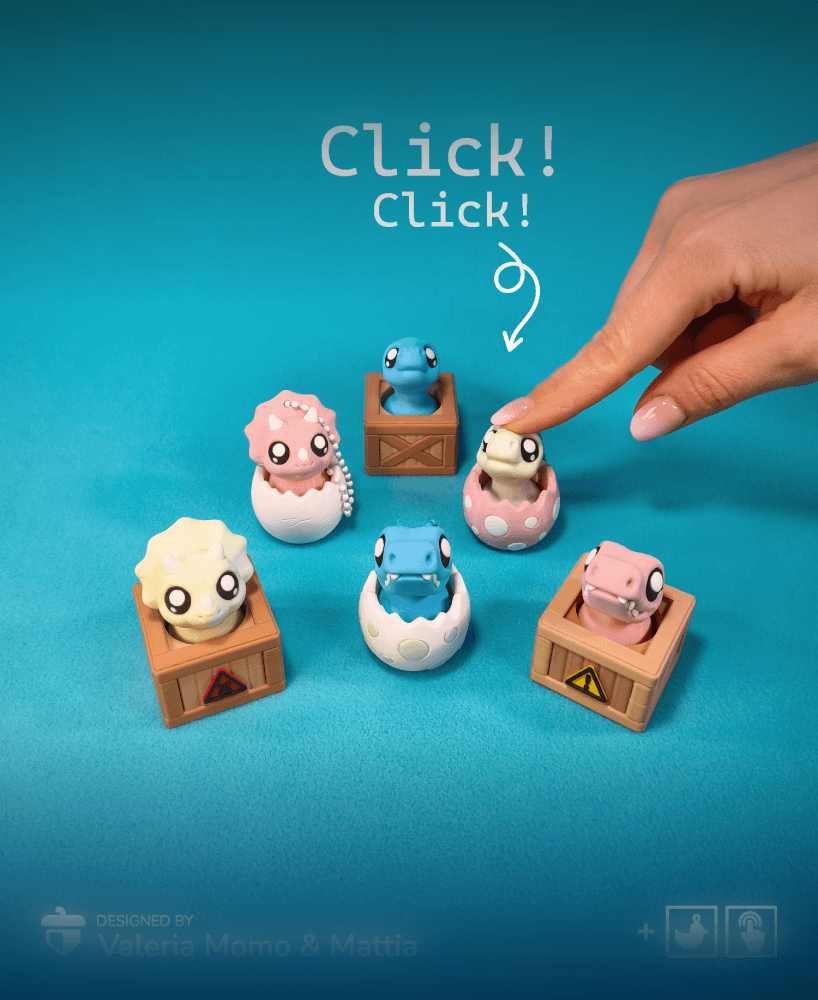
Clicker Egg Keychain with Smiley Faces, Fun Fidget
77 downloads · 1 year ago · Hello dear supporters! 🥚✨ These new **clicker egg** keychains are fun, fidget-friendly, and packed
This model is restricted by licensing terms.
View license.
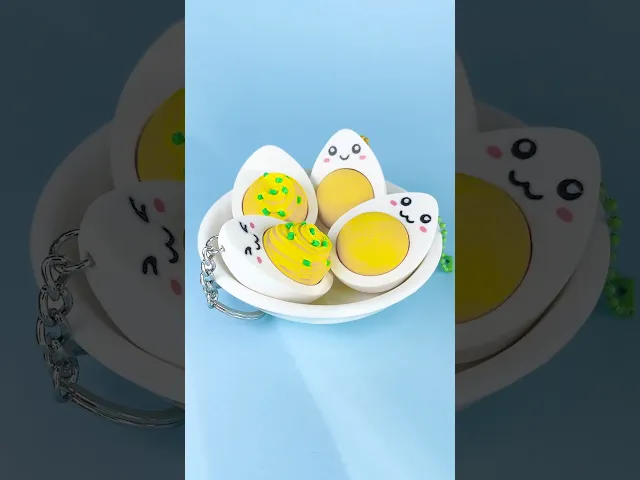
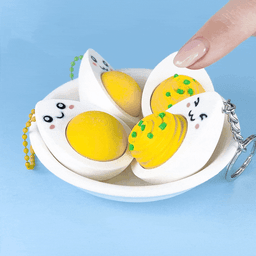
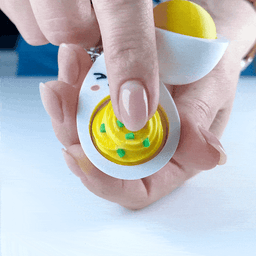
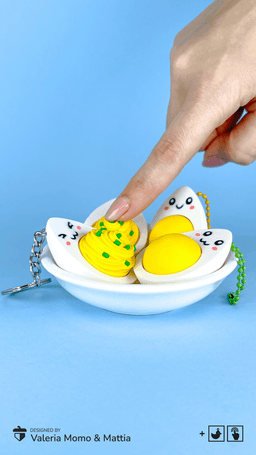
Hello dear supporters! 🥚✨ These new clicker egg keychains are fun, fidget-friendly, and packed with personality! Each one features a cute smiley face to brighten your day. 😊 🔊🎥 Check out the video on YouTube!
Why you'll love them:
- 🏆 Satisfying click mechanism
- 😆 Adorable expressions
- 🏠 Easy to print at home
Files available 📂
- Optimized 3MF files for Bambu Lab, Creality, and Anycubic for an effortless print experience!
- STL files for all printers
Printing recommendations ✨
- If you're wondering: we have used the default nozzle (0.4mm) of our Bambu P1S printer and we’re amazed by the level of detail you can achieve! 🤩✨
- Secure the components & the clicker with a drop of glue (Amazon), to secure the pieces together and to withstand day-to-day use.
Not 3D Printed Parts 🛠️ The "clicky" component is created using a small, affordable part found in mechanical PC keyboards.
- Simply search for “Clicky Mechanical Switches” on Amazon o similar shop.
- While you wait to get a "real" clicker, you can also 3D print a "dummy" one.
We believe in true love, especially when it's 3d printed ❤️✨
Cheers! Valeria & Mattia
Clicker Egg Keychain with Smiley Faces, Fun Fidget
77 downloads · 1 year ago in and
This model is restricted by licensing terms.
View license.
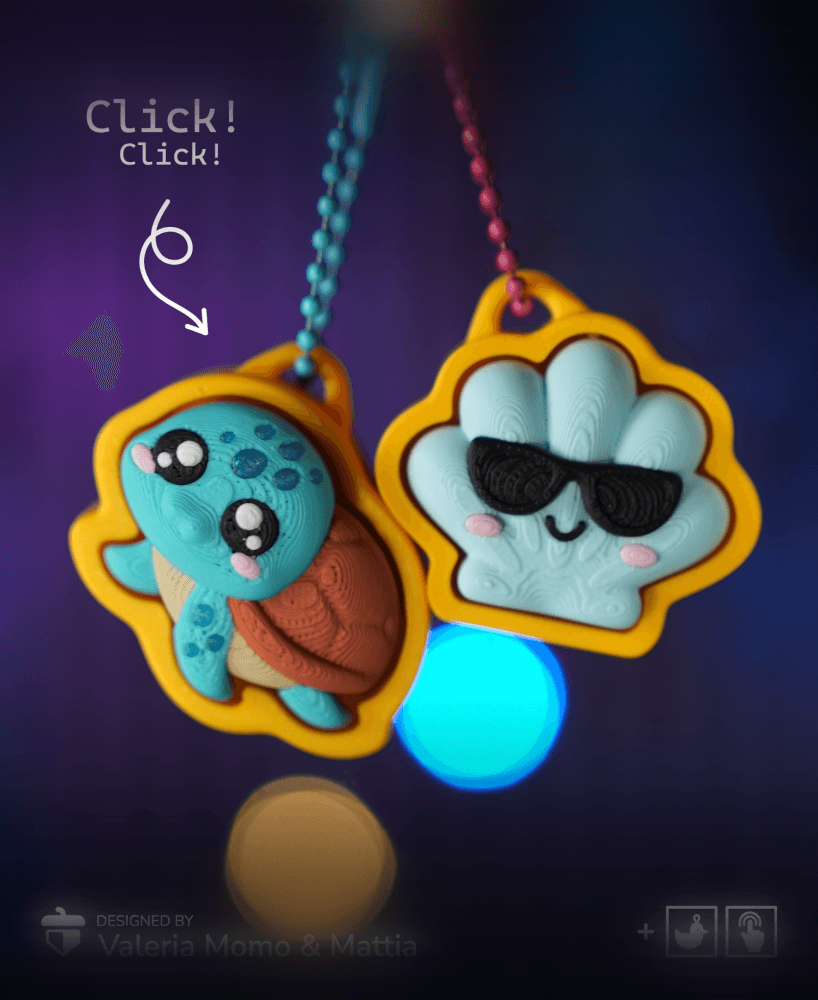
Turtle Clicker Pack (Turtle, Tortoise, Sun, Shell/Wave)

Cute Flexi Dolphin + Cute Flexi Maker Access

Shell Diorama Container
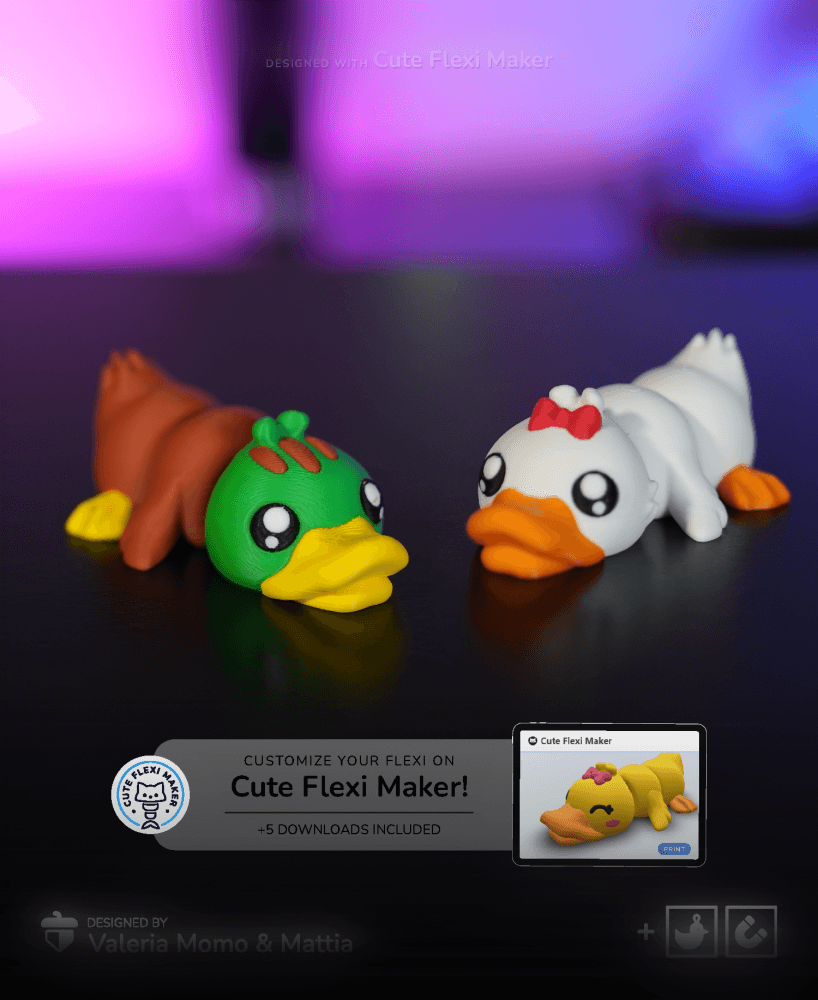
Cute Flexi Duck + Cute Flexi Maker Access

Cute Flexi Starfish (Toy, Keychain, Magnet) + Pirate versions!

Llama Clicker Pack (Clicky Fidget Keychain)

Cat Paw Pointer

Clicker Cat Box Pack

Cute Flexi Dragon + Cute Flexi Maker Access

Cute Flexi Eagle + Cute Flexi Maker Access
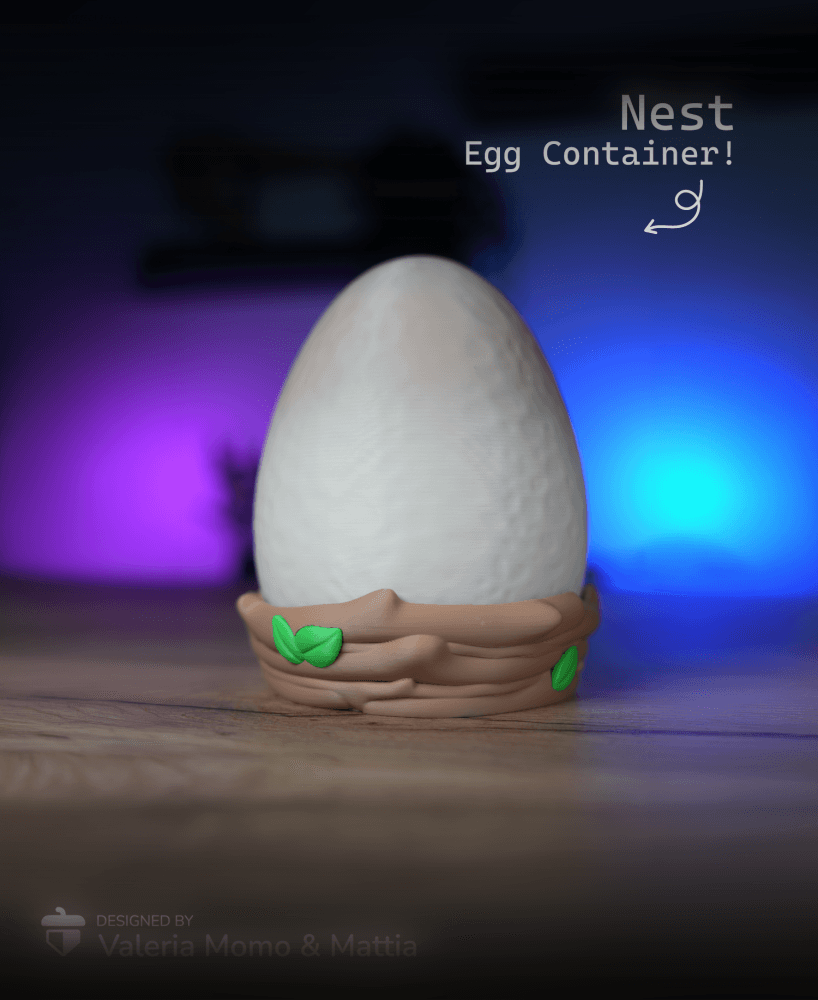
Nest Egg Container
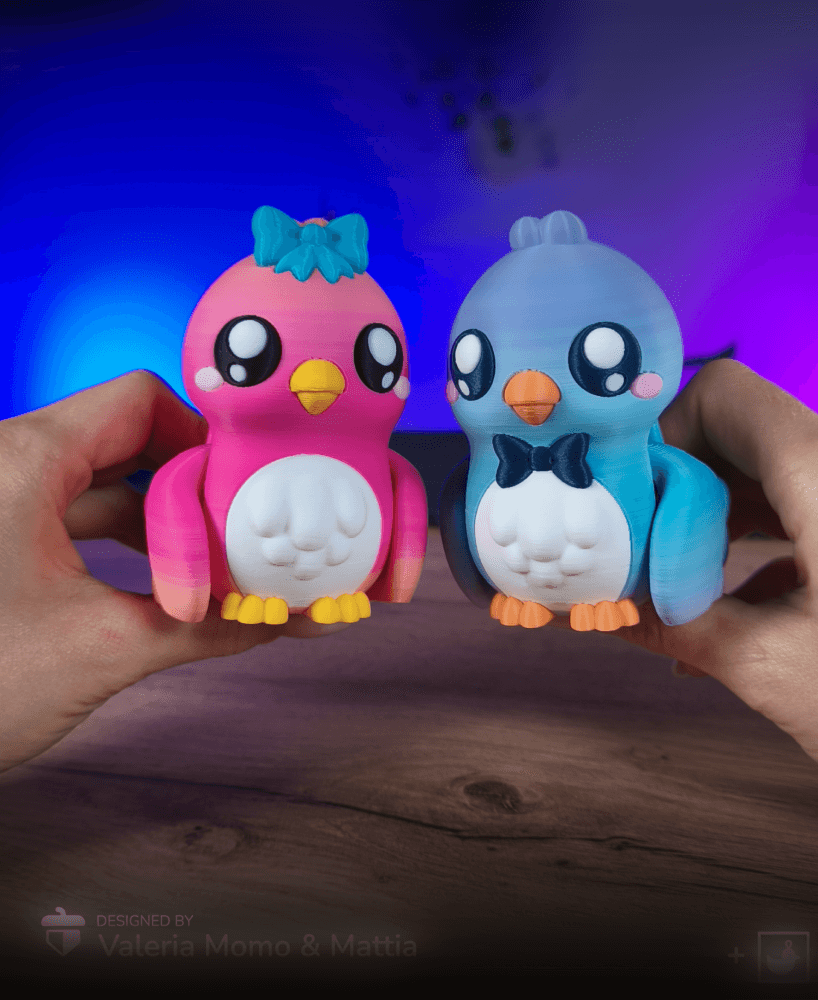
Cute Flexi Birds (Toy, Keychain)
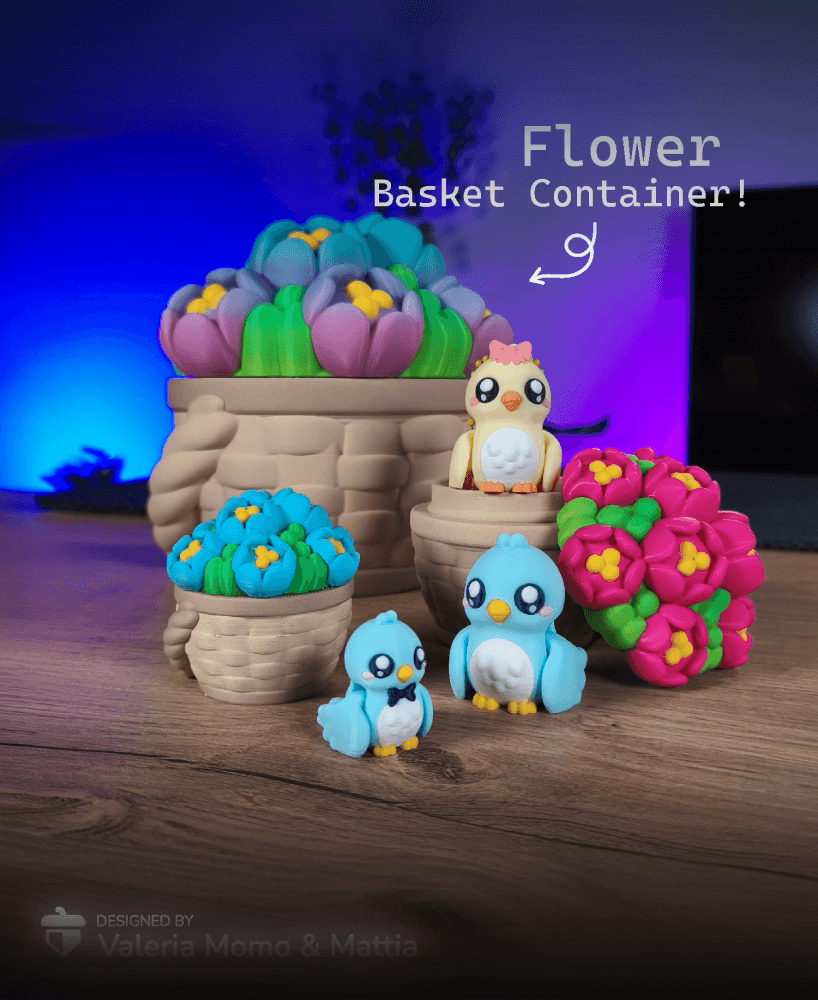
Flower Basket Container (Diorama for Cute Flexi Birds)

T-Rex Volcano Container
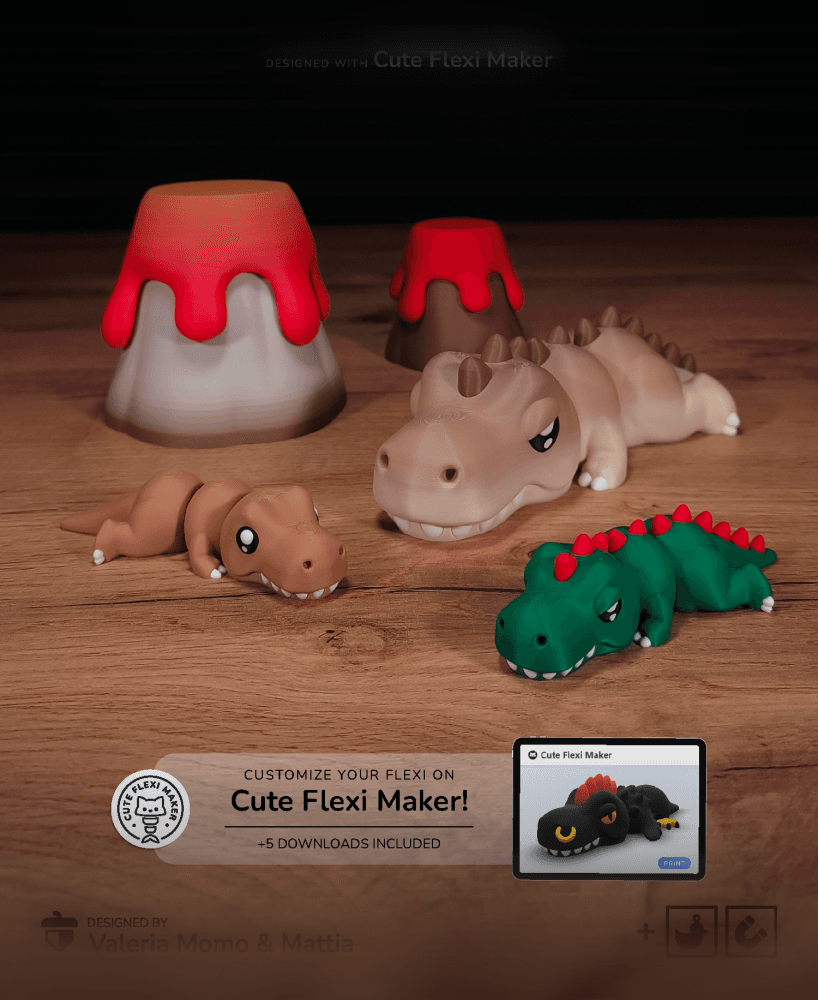
Cute Flexi T-Rex + Cute Flexi Maker Access
Clicker Dino Egg Pack (T-Rex, Brachio, Trike)

Better Together, Horse Frenzy Pack (Pony, Unicorn, Pegasus), Magnet Keychain

Rainbow Tablet Stand (Cute Flexi Maker)

Cute Flexi Parrot + Cute Flexi Maker Access
I love these models. Have you considered making a swirled yolk that doesn't have chives? Or one where the green chives are separate pieces that can be glued on? The amount of flushing required on the swirled yolks is honestly shocking: 11m total filament and 2m of model filament when printing a single swirled yolk.
Thank you so much ClickyPlastic for the feedback! We'll definitely keep it in mind for future models. As for this one, if we haven't simplified the piece, it might still be possible to separate it into parts and "erase" the chives directly in the slicer. Thank you again!