

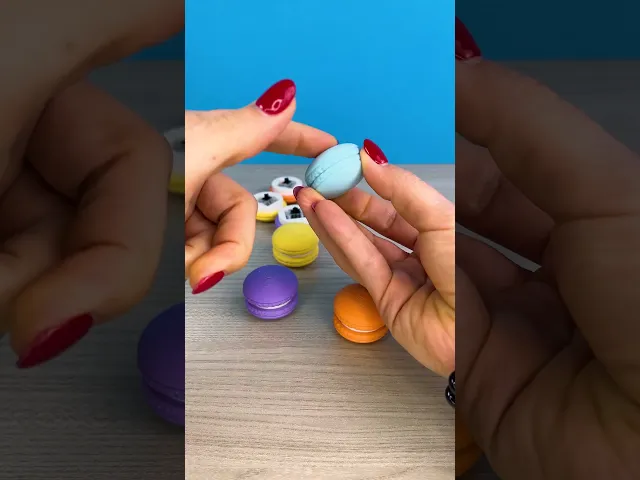
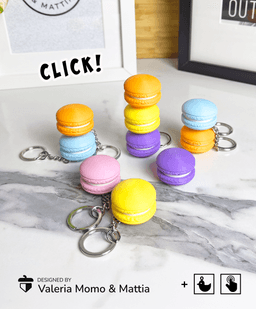


Clicky Macaron Keychain, Clicker Toy
Playful Macaron Keychain – A Sweet and Interactive Treat! 🍬✨
Add a delightful touch of whimsy to your daily essentials with the Playful Macaron Keychain. This charming and interactive design is perfect for those who enjoy a dash of sweetness and a bit of tactile fun in their day!
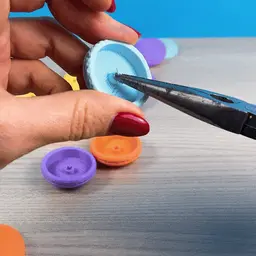
No 3D Printed Parts The "clicky" component is created using a small, affordable part found in mechanical PC keyboards. Simply search for “Clicky Mechanical Switches” online or repurpose switches from an old keyboard you no longer use. Some switches include extra components that can be easily removed, as shown in our video tutorial!
For this model we recommend adding a drop of glue on the white part (the macaron's cream). 💧
Commercial License 🍬✨ Want to sell prints of this delightful model? Join the Commercial License Thangs3D plan and unlock the opportunity to share this design with your customers.
Get ready to click, laugh, and share the joy with the Clicky Macarons Keychain! 🍬✨
Clicky Macaron Keychain, Clicker Toy

Sea Turtle Flexi Clicker (ClickerFactory friendly)
Dog House Diorama

Cute Flexi Flat Face Dogs + Cute Flexi Maker Access

Clicker Heart Path (Customizable & Mix-and-Match)

World Cup Clickers Pack (Made with ClickerFactory.com)
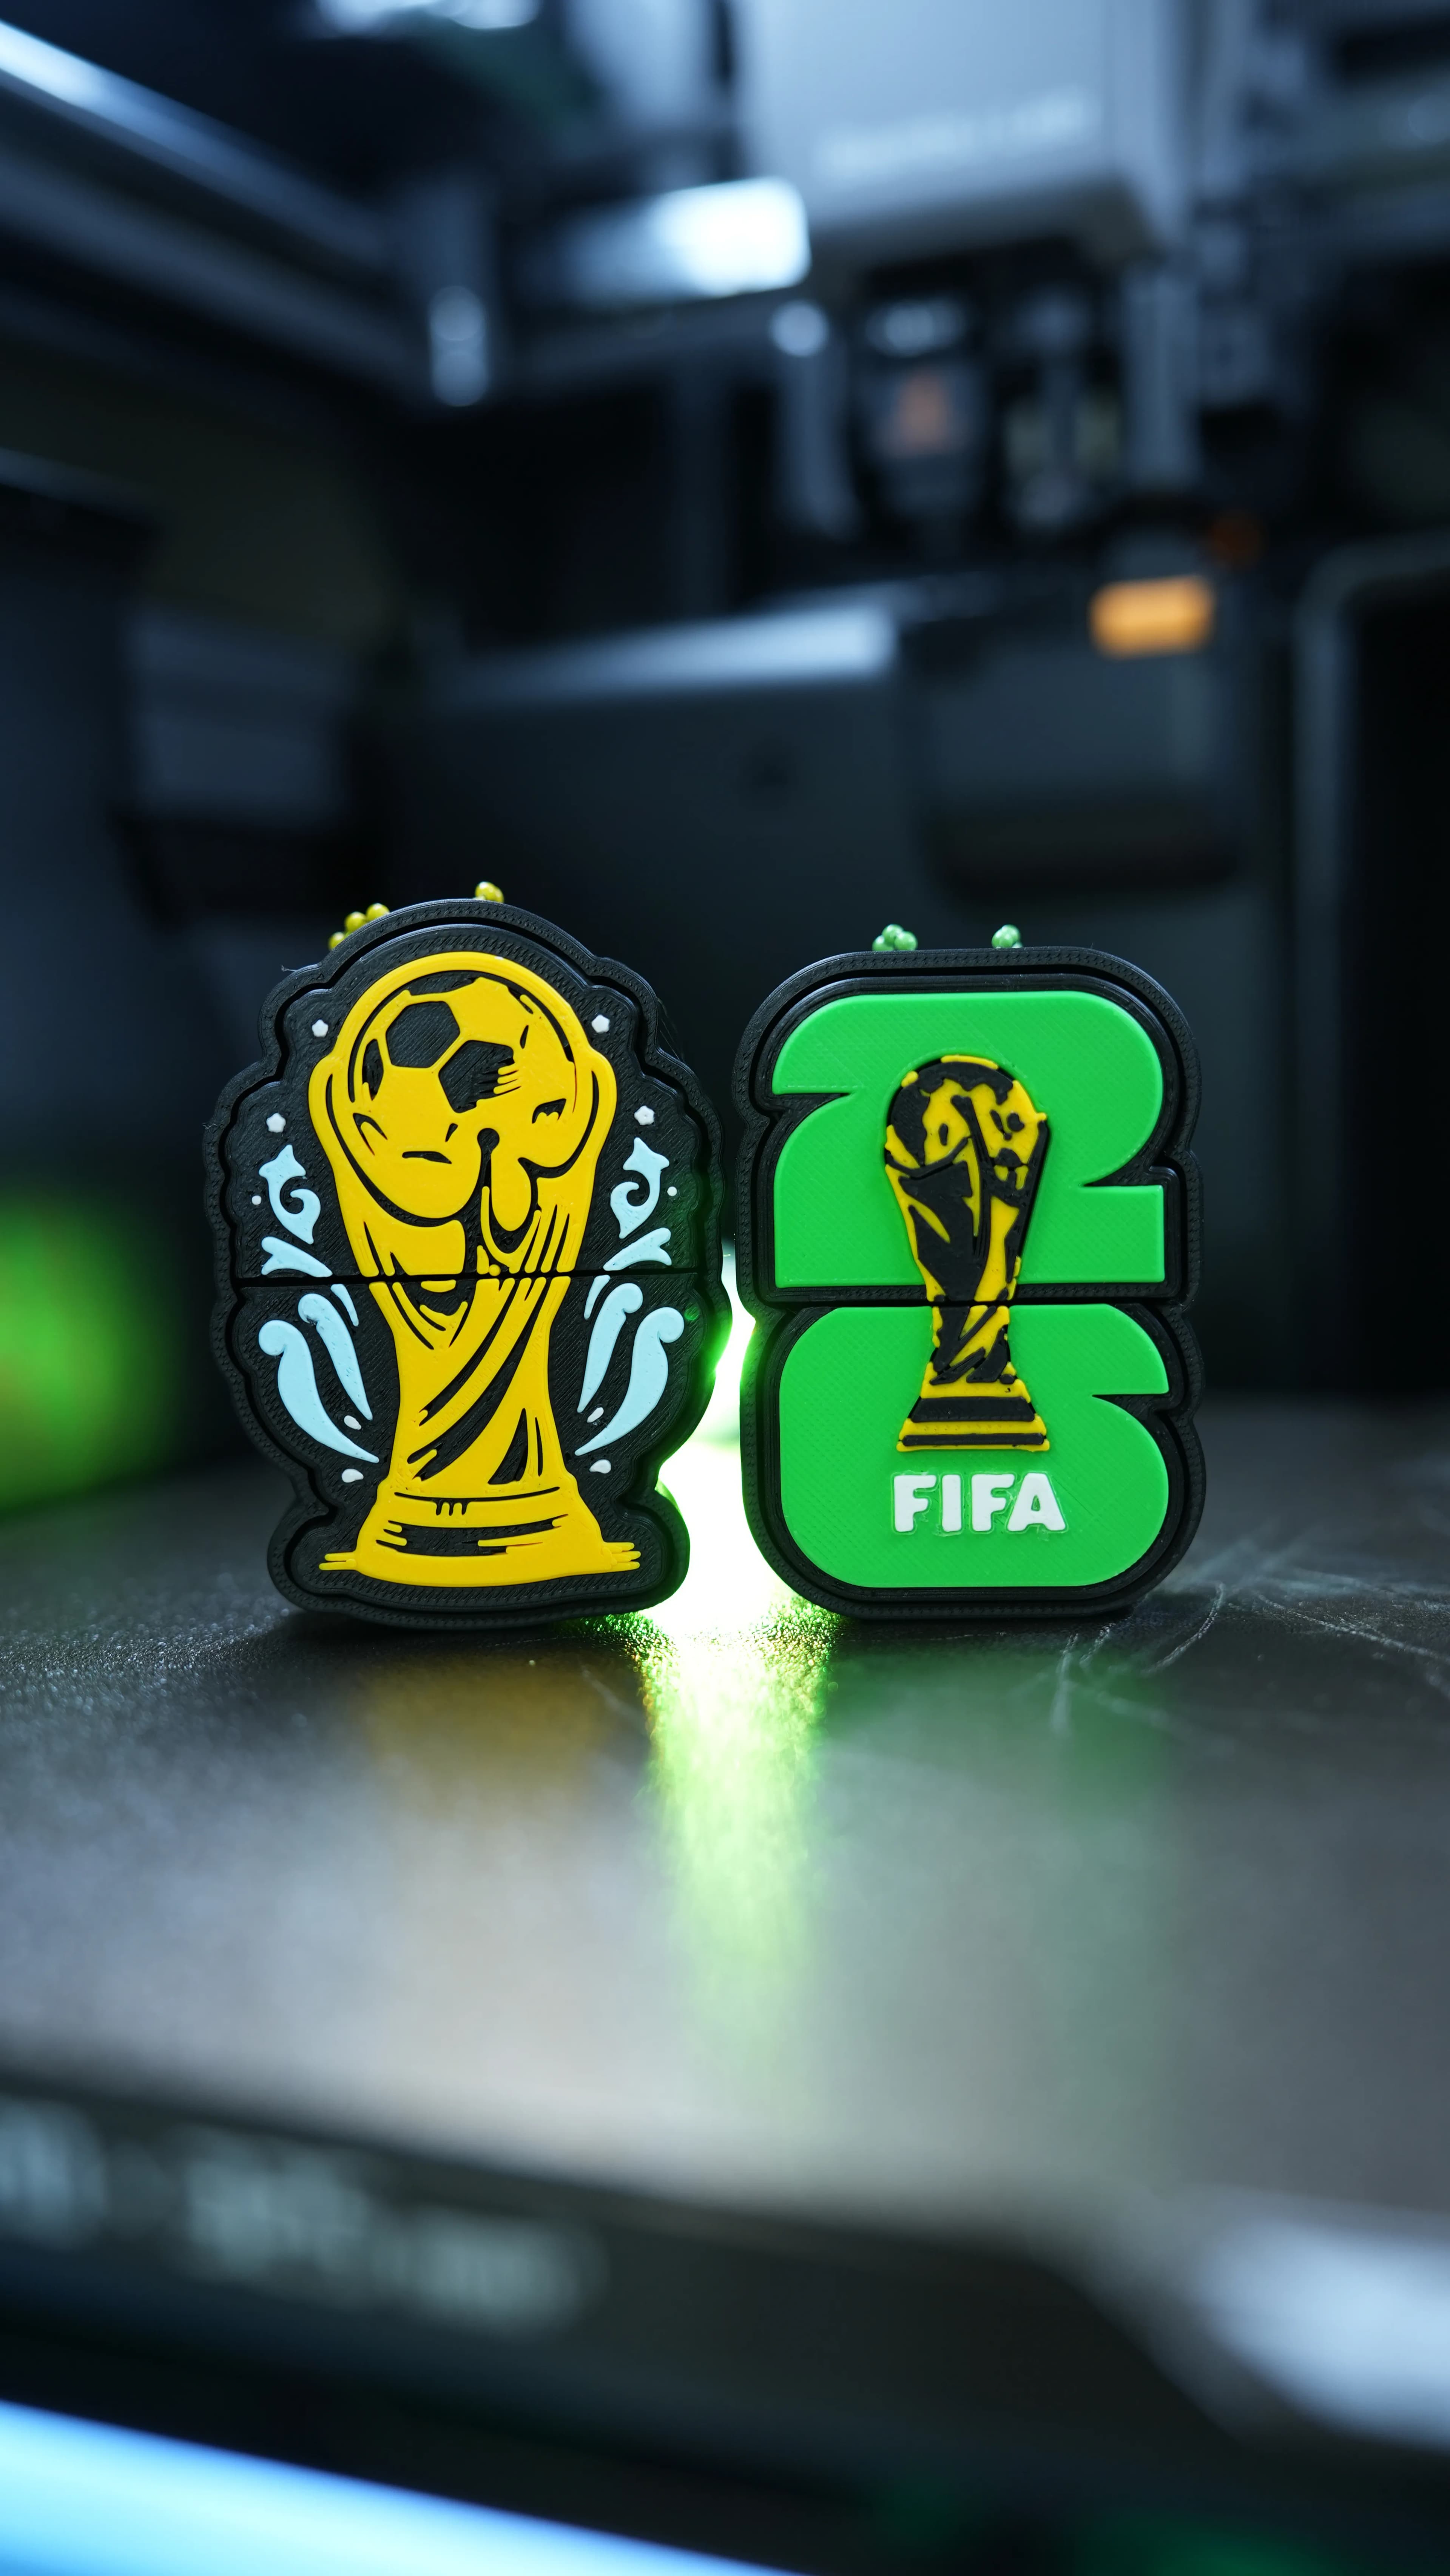
Fifa World Cup 2026 Clickers (Made with ClickerFactory.com)

Cute Flexi Sea Turtle (Toy, Keychain, Magnet)

LLama Clicker (Made with ClickerFactory.com)

Bee Happy Clicker (Made with ClickerFactory.com)

Email Warrior Clicker (Made with ClickerFactory.com)

Dog Bulldog Dachshund Poodle (Made with ClickerFactory.com)

Axolotl Head Clicker (Made with ClickerFactory.com)

Jurassic Dino Clicker Pack (Made with Clicker Factory)

Avocado Sushi Clicker Pack (Made with Clicker Factory)

American Breakfast Clicker Pack (Made with Clicker Factory)

Clicker Dog Pack Cocker Bulldog Corgi (Made with ClickerFactory.com)

Cute Clicker Ice Cream Pack (Keychain & Fidget)
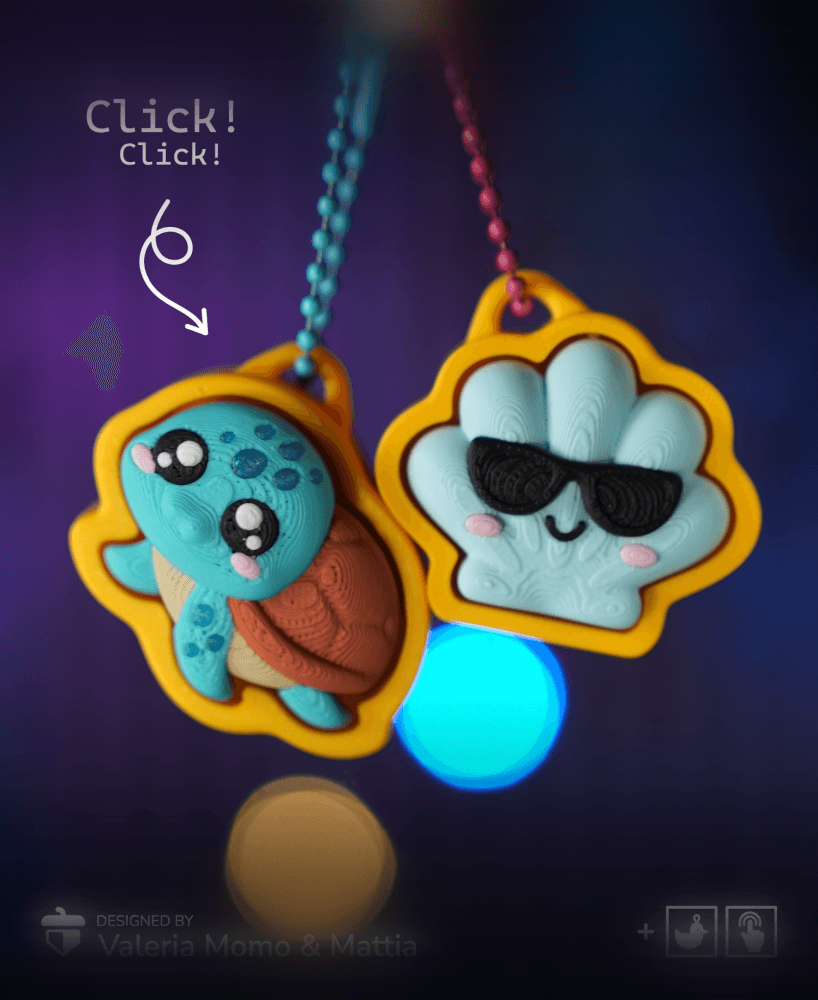
Turtle Clicker Pack (Turtle, Tortoise, Sun, Shell/Wave)

Cute Flexi Dolphin + Cute Flexi Maker Access

Hi! I love your designs :). I'm not able to get this work smoothly, it seems that white piece is grazing with top piece :(. Any suggestions? Thanks!
Hi, sorry for the delay in replying, did you solve it?
I'm having a hard time printing the top of the macaron. My printer will start to print the rim but when it gets to the center, the filament just gets dragged around and doesn't go anywhere. Any tips or a better file?
hi, maybe a bit of brim could help (5mm is enough), as well as reducing the speed (reduce it to 50%) :) let us know if worked. bye!
the keychain hole prints closed so i cant get a ring through
hi, the keychain hole is both in the stl and in the 3mf - can you kindly post a photo of the issue? thanks
Hi, I am very new to this. How do I print these on my bambu lab?.
hi, use the 3mf :) not the stl
I can't seem to get my keyring to go through the hole, how have you attached them in yours? I can't really see in any of the photos. Otherwise is a great print
hi! I used these keychains.
Which ones did you use? can you send me some photos, to understand better? thank you!
Hi Valeria,
Thanks for the update, I used these ones. The claw won't fit through the gap, I guess my bad for not really thinking through my purchase :P
I'll have to buy one more like the one you sent. Thanks
eh eh anyway there is a solution/ workaround but it is not very friendly: you could add a torus in your slicer - as a negative part - and "widen" the hole. But it requires some printing testing
Hi. these are awesome. But when I print them I kind of see a extra line like on the print, I see that when I slick it too. Can you help me in that?
Hi, I replied you via another channel! Sorry I missed this message 🙈