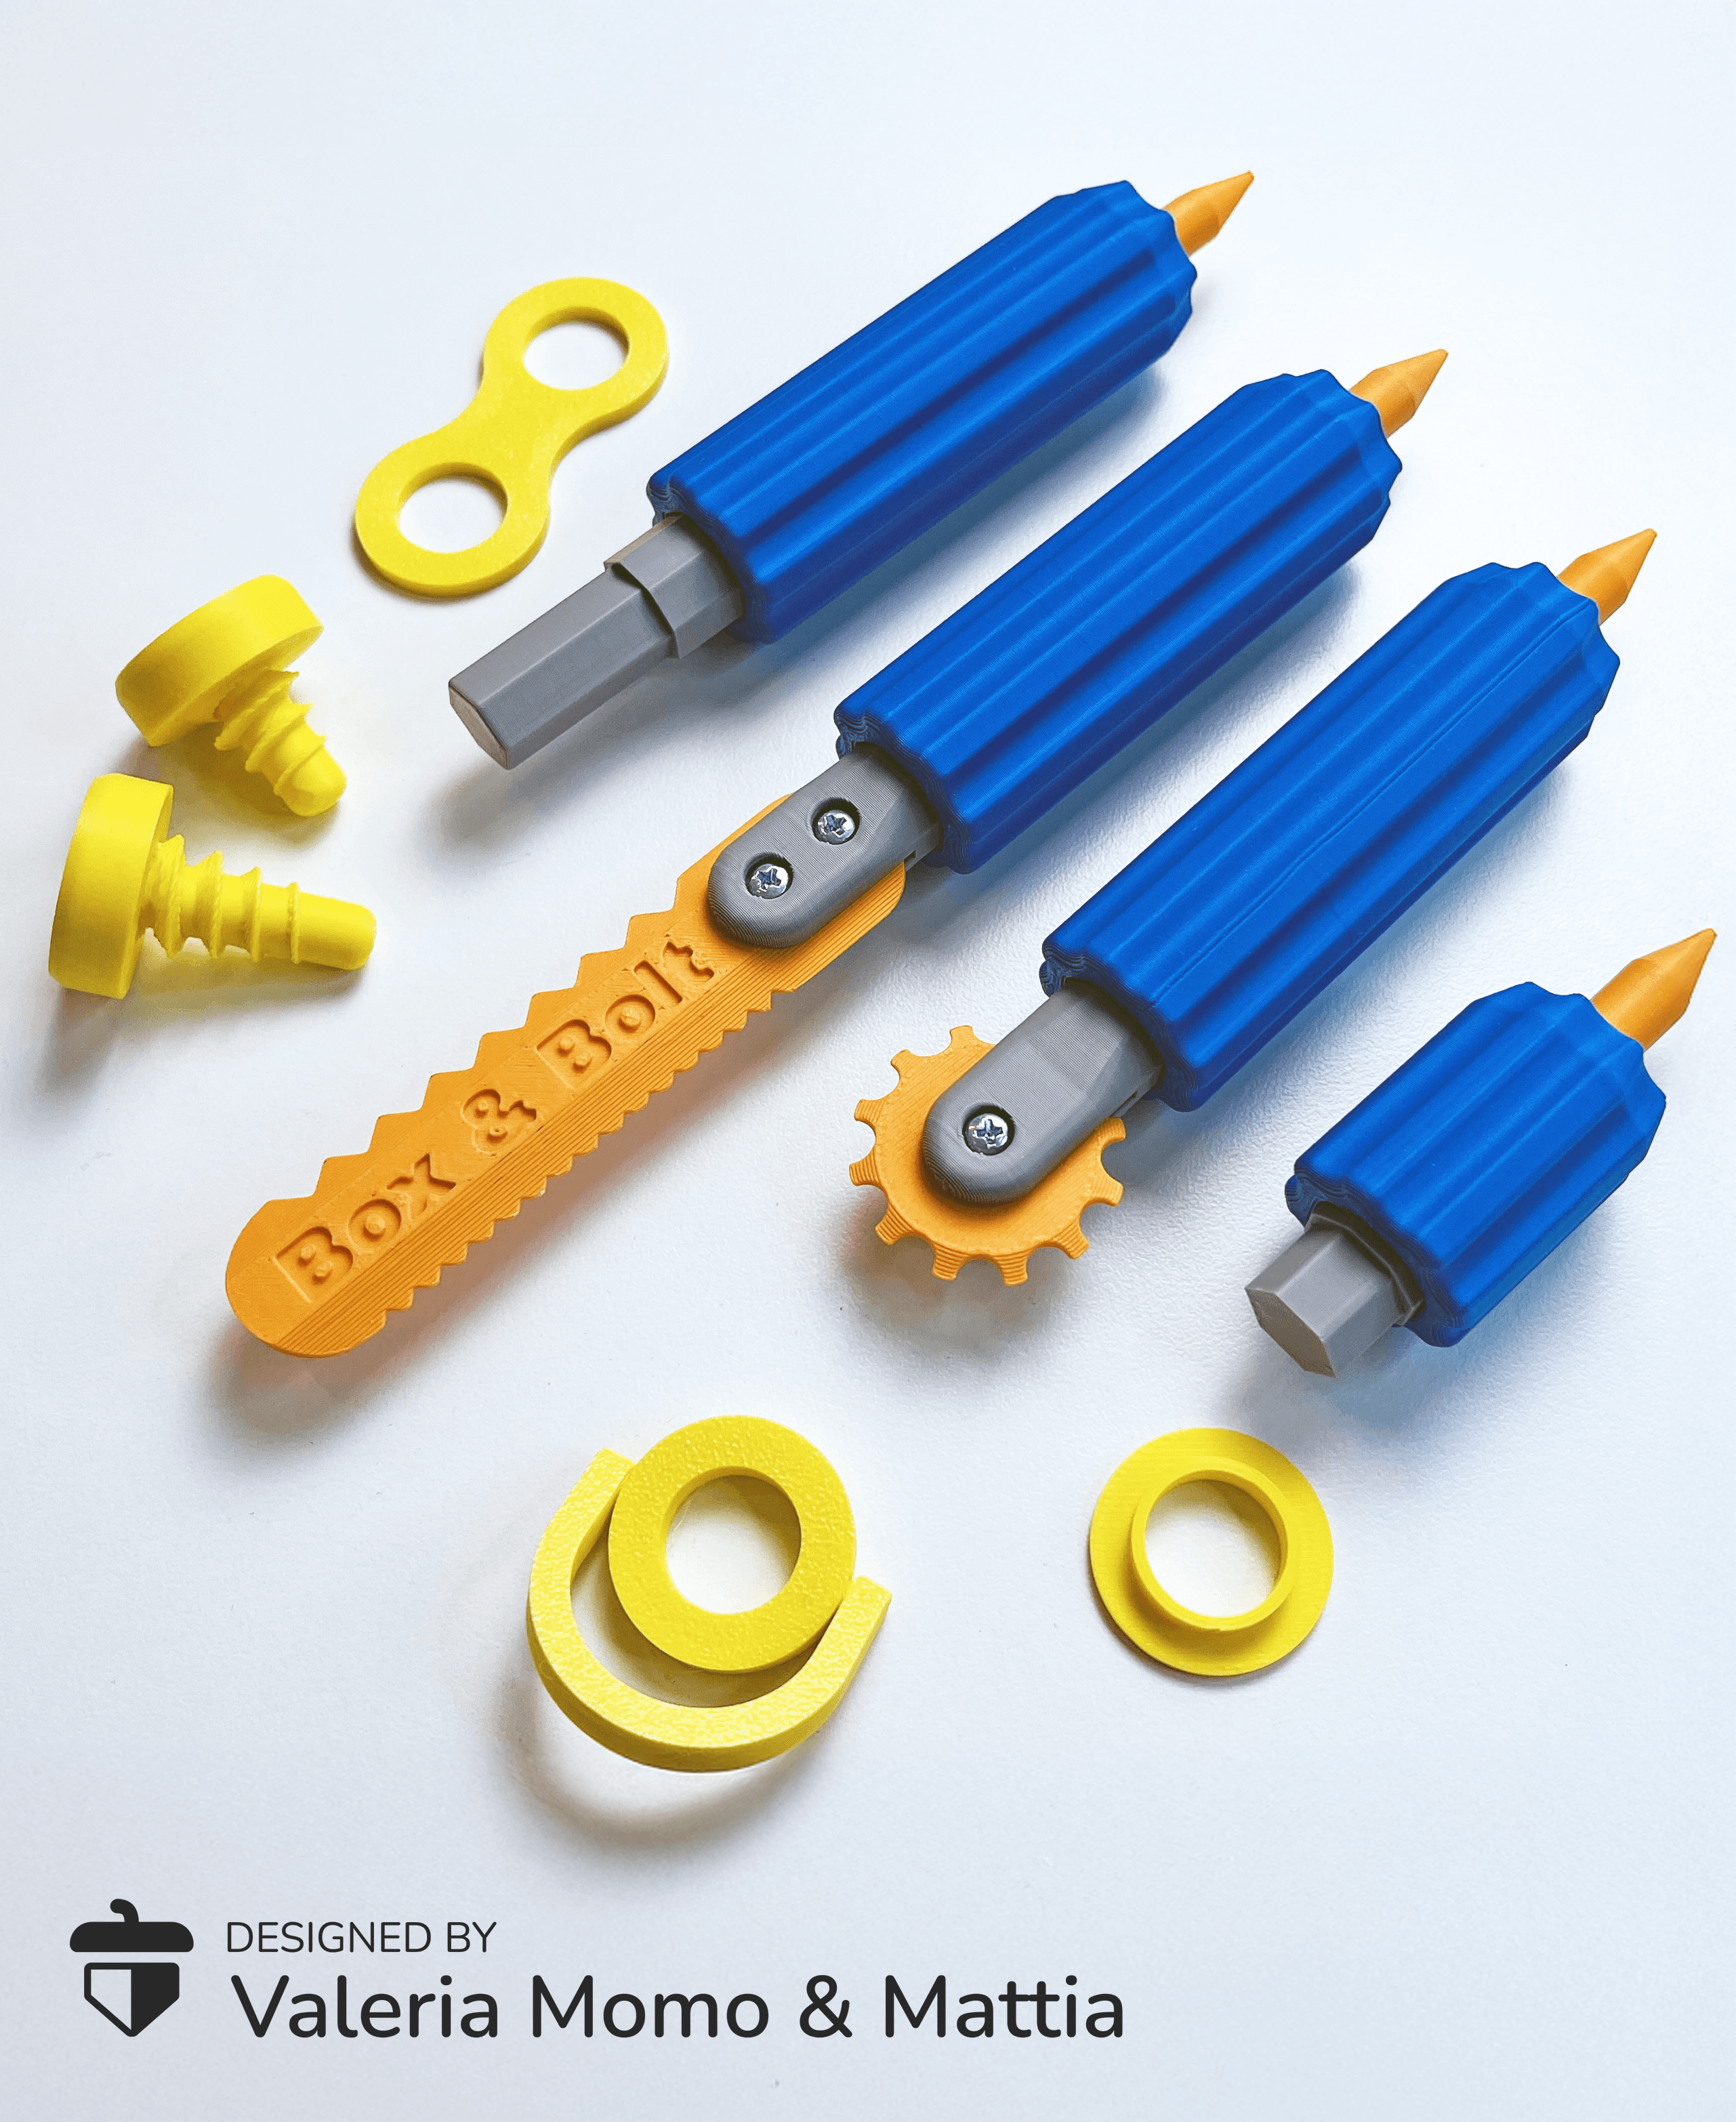


Box & Bolt, Cardboard Crafting Tools
Box & Bolt, Cardboard Crafting Tools Inspired by the Makedo project, we developed this tool kit for kids, to unleash their imagination and create anything starting from cardoboard! 📦 The kit includes various accessories for cutting, sewing, joining and folding cardboard! Warning: any squirrels 🐿️ in the video are not included.
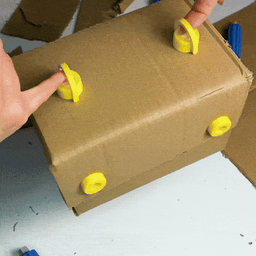
How To Play 👐 Check our Youtube promotional & how to play video!
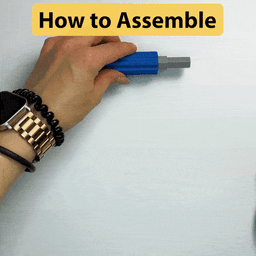
How To Assemble 🛠️ Check our full How To Assemble Youtube Guide!
Kit contents 📦 The kits include:
- A saw, only cut the cardboard, not the fingers!
- A cutter, to make folding easier
- Two screwdrivers (one large and one small)
- An accessory to pierce the cardboard and facilitate the entry of the screws
- 2 sizes of screws (normal and long), print so many!
- A screw accessory for passing elastic bands and threads
- A screw accessory in the shape of an "8"
- A screw accessory for hanging
Satefy for Children 🧑🧑🧒🧒 We have paid great attention to ease of printing (no supports, no multi-color required) and, above all, safety for children. The saw and cutter are safe and pose no risk of cutting a child’s skin, and the accessory for piercing cardboard to ease the screw’s entry is less pointed than a regular pencil. However, we always recommend supervising children while they play, especially younger ones.
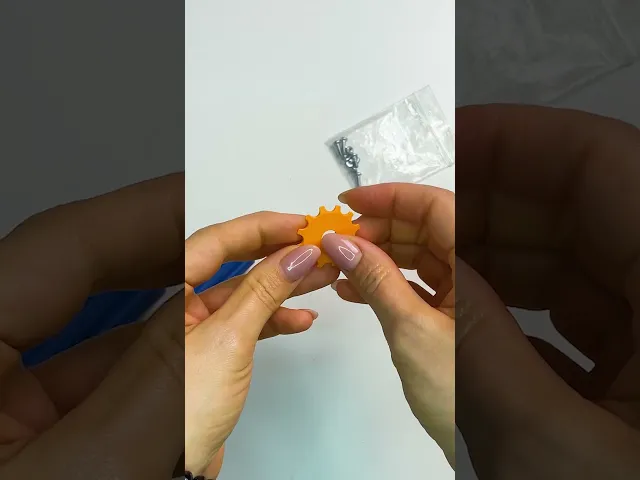
Non-3D Printed Parts 🔩 To make the mechanism more solid and safe, standard parts that can be easily found in any hardware store are necessary:
- M2.5 Stainless Steel Hex Nut, x 3
- M2.5x8 SHCS Machine Screw, x 3
Commercial License 🪛🔩 For commercial rights to sell physical prints I invite you to join our Commercial License level of Thangs3D! 🤗
Box & Bolt, Cardboard Crafting Tools

Sea Turtle Flexi Clicker (ClickerFactory friendly)
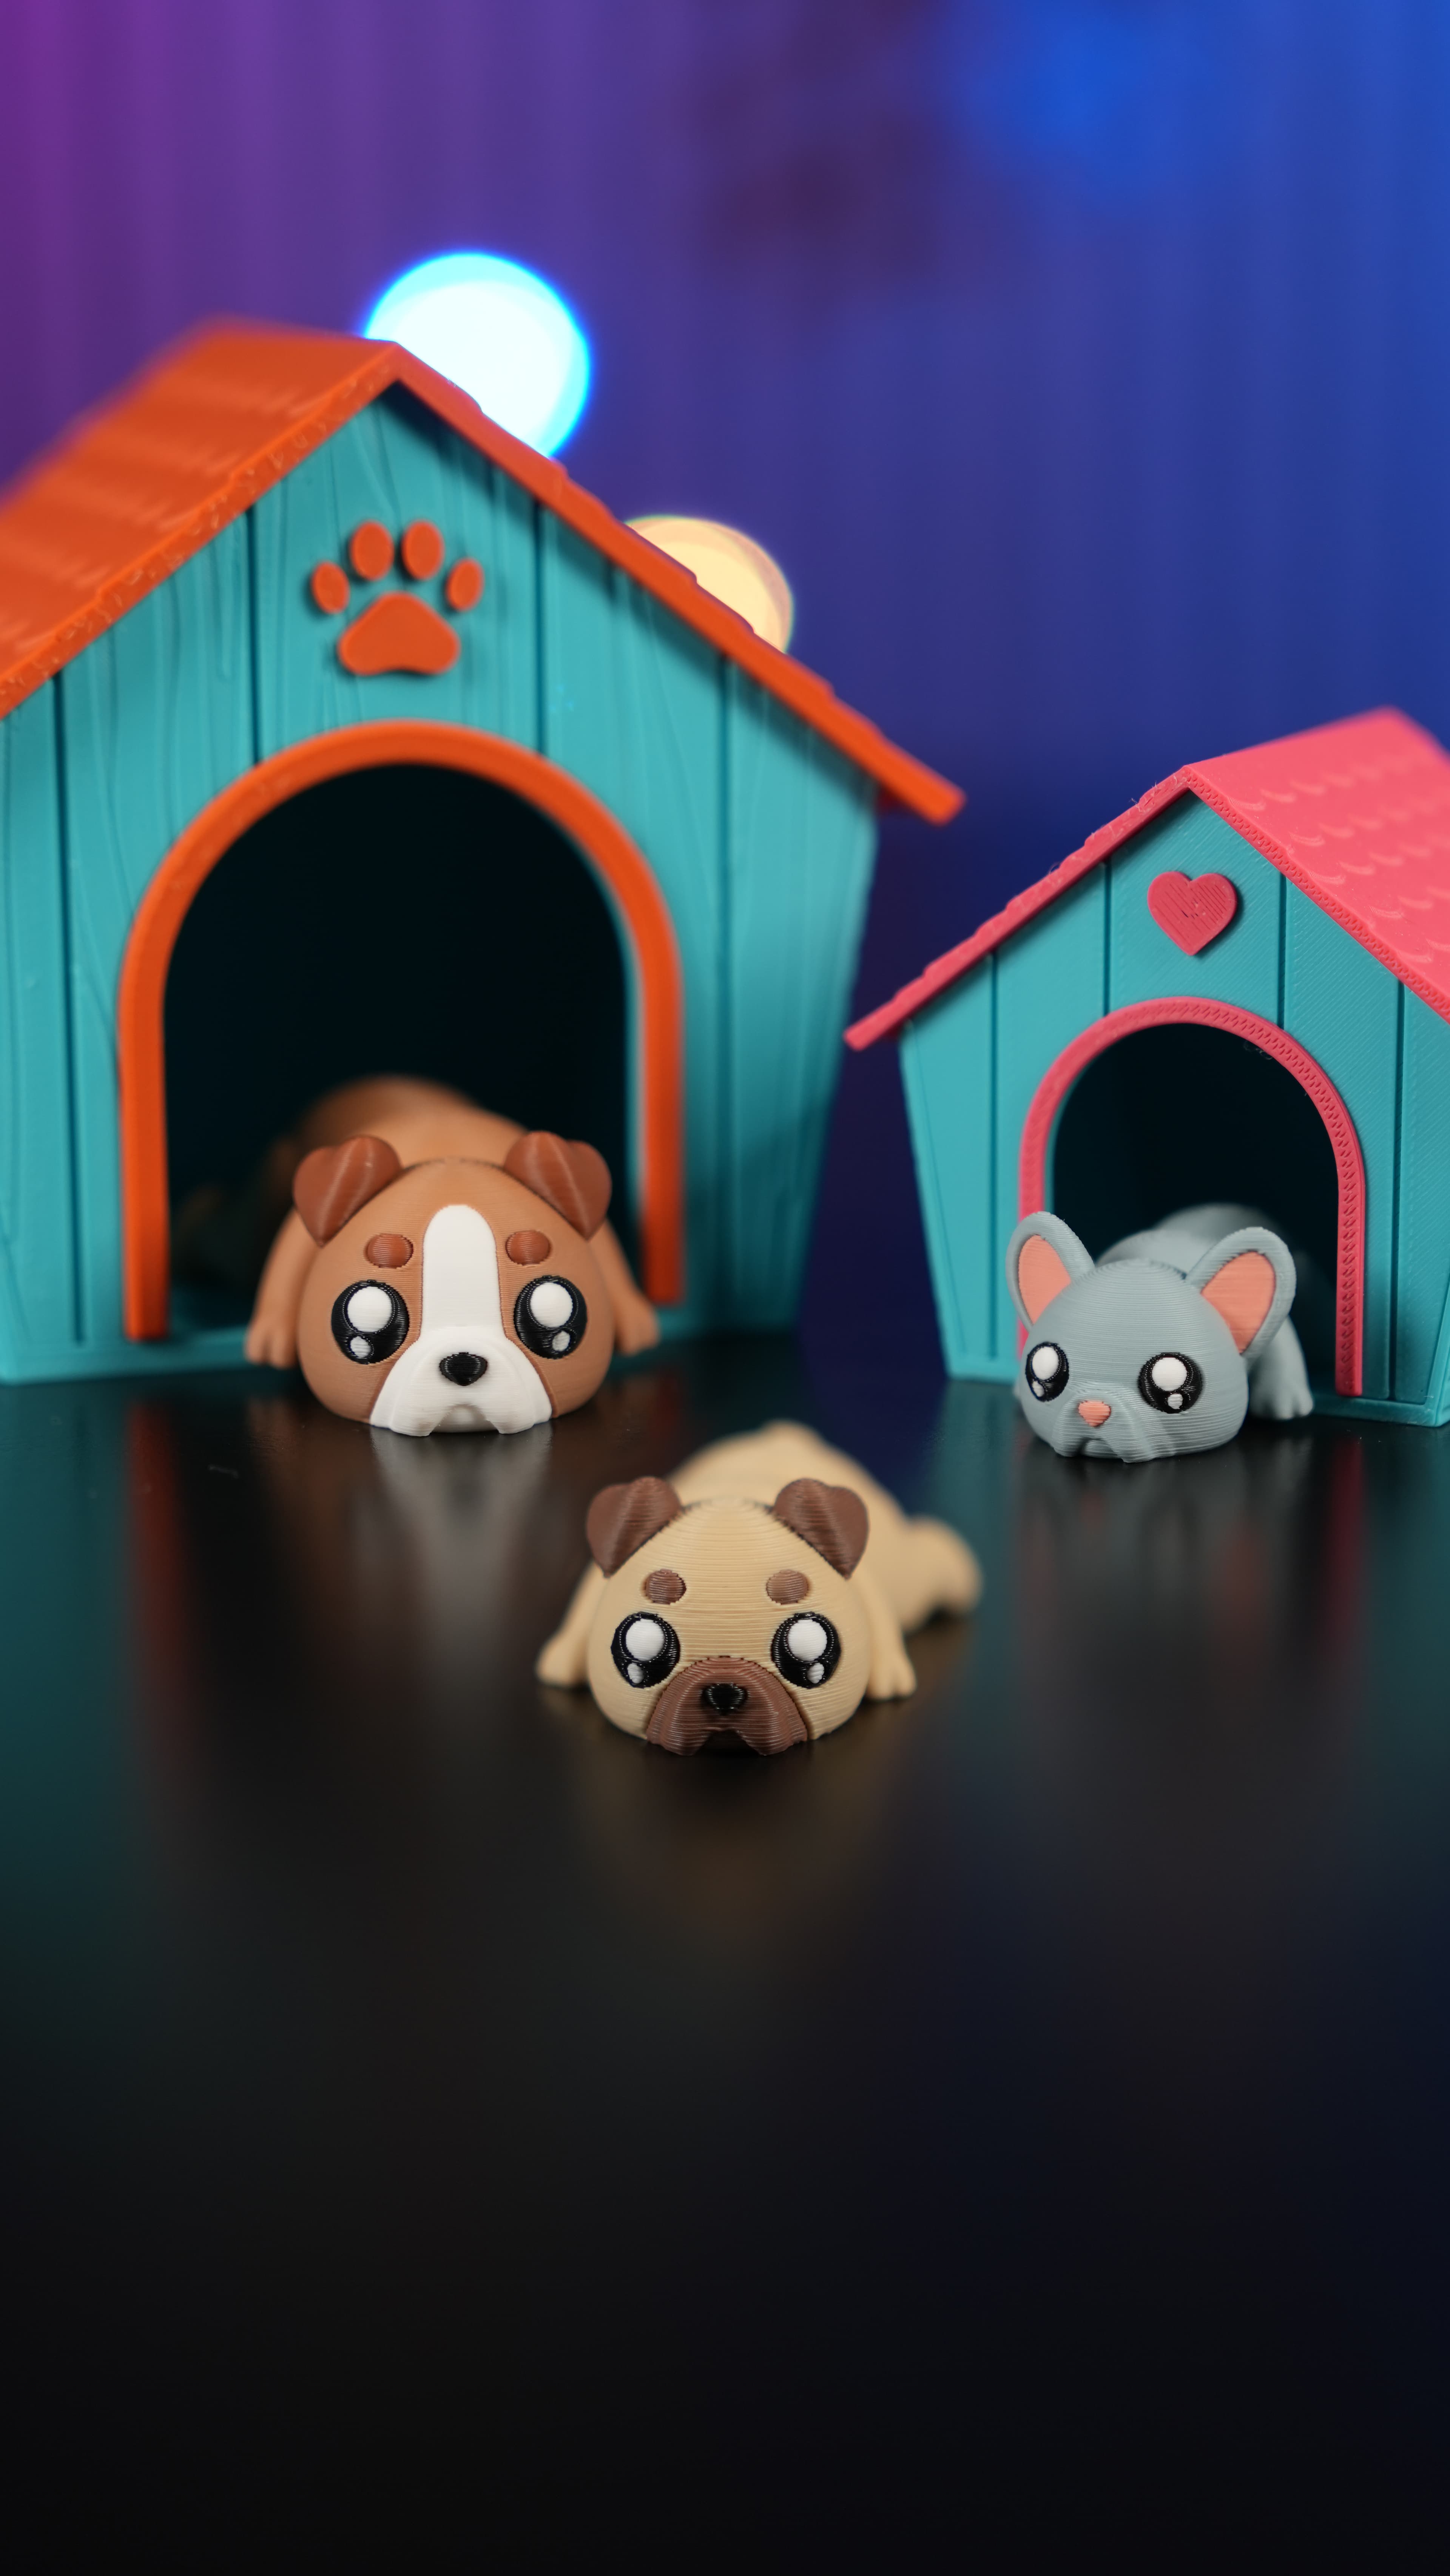
Dog House Diorama

Cute Flexi Flat Face Dogs + Cute Flexi Maker Access

Clicker Heart Path (Customizable & Mix-and-Match)

World Cup Clickers Pack (Made with ClickerFactory.com)
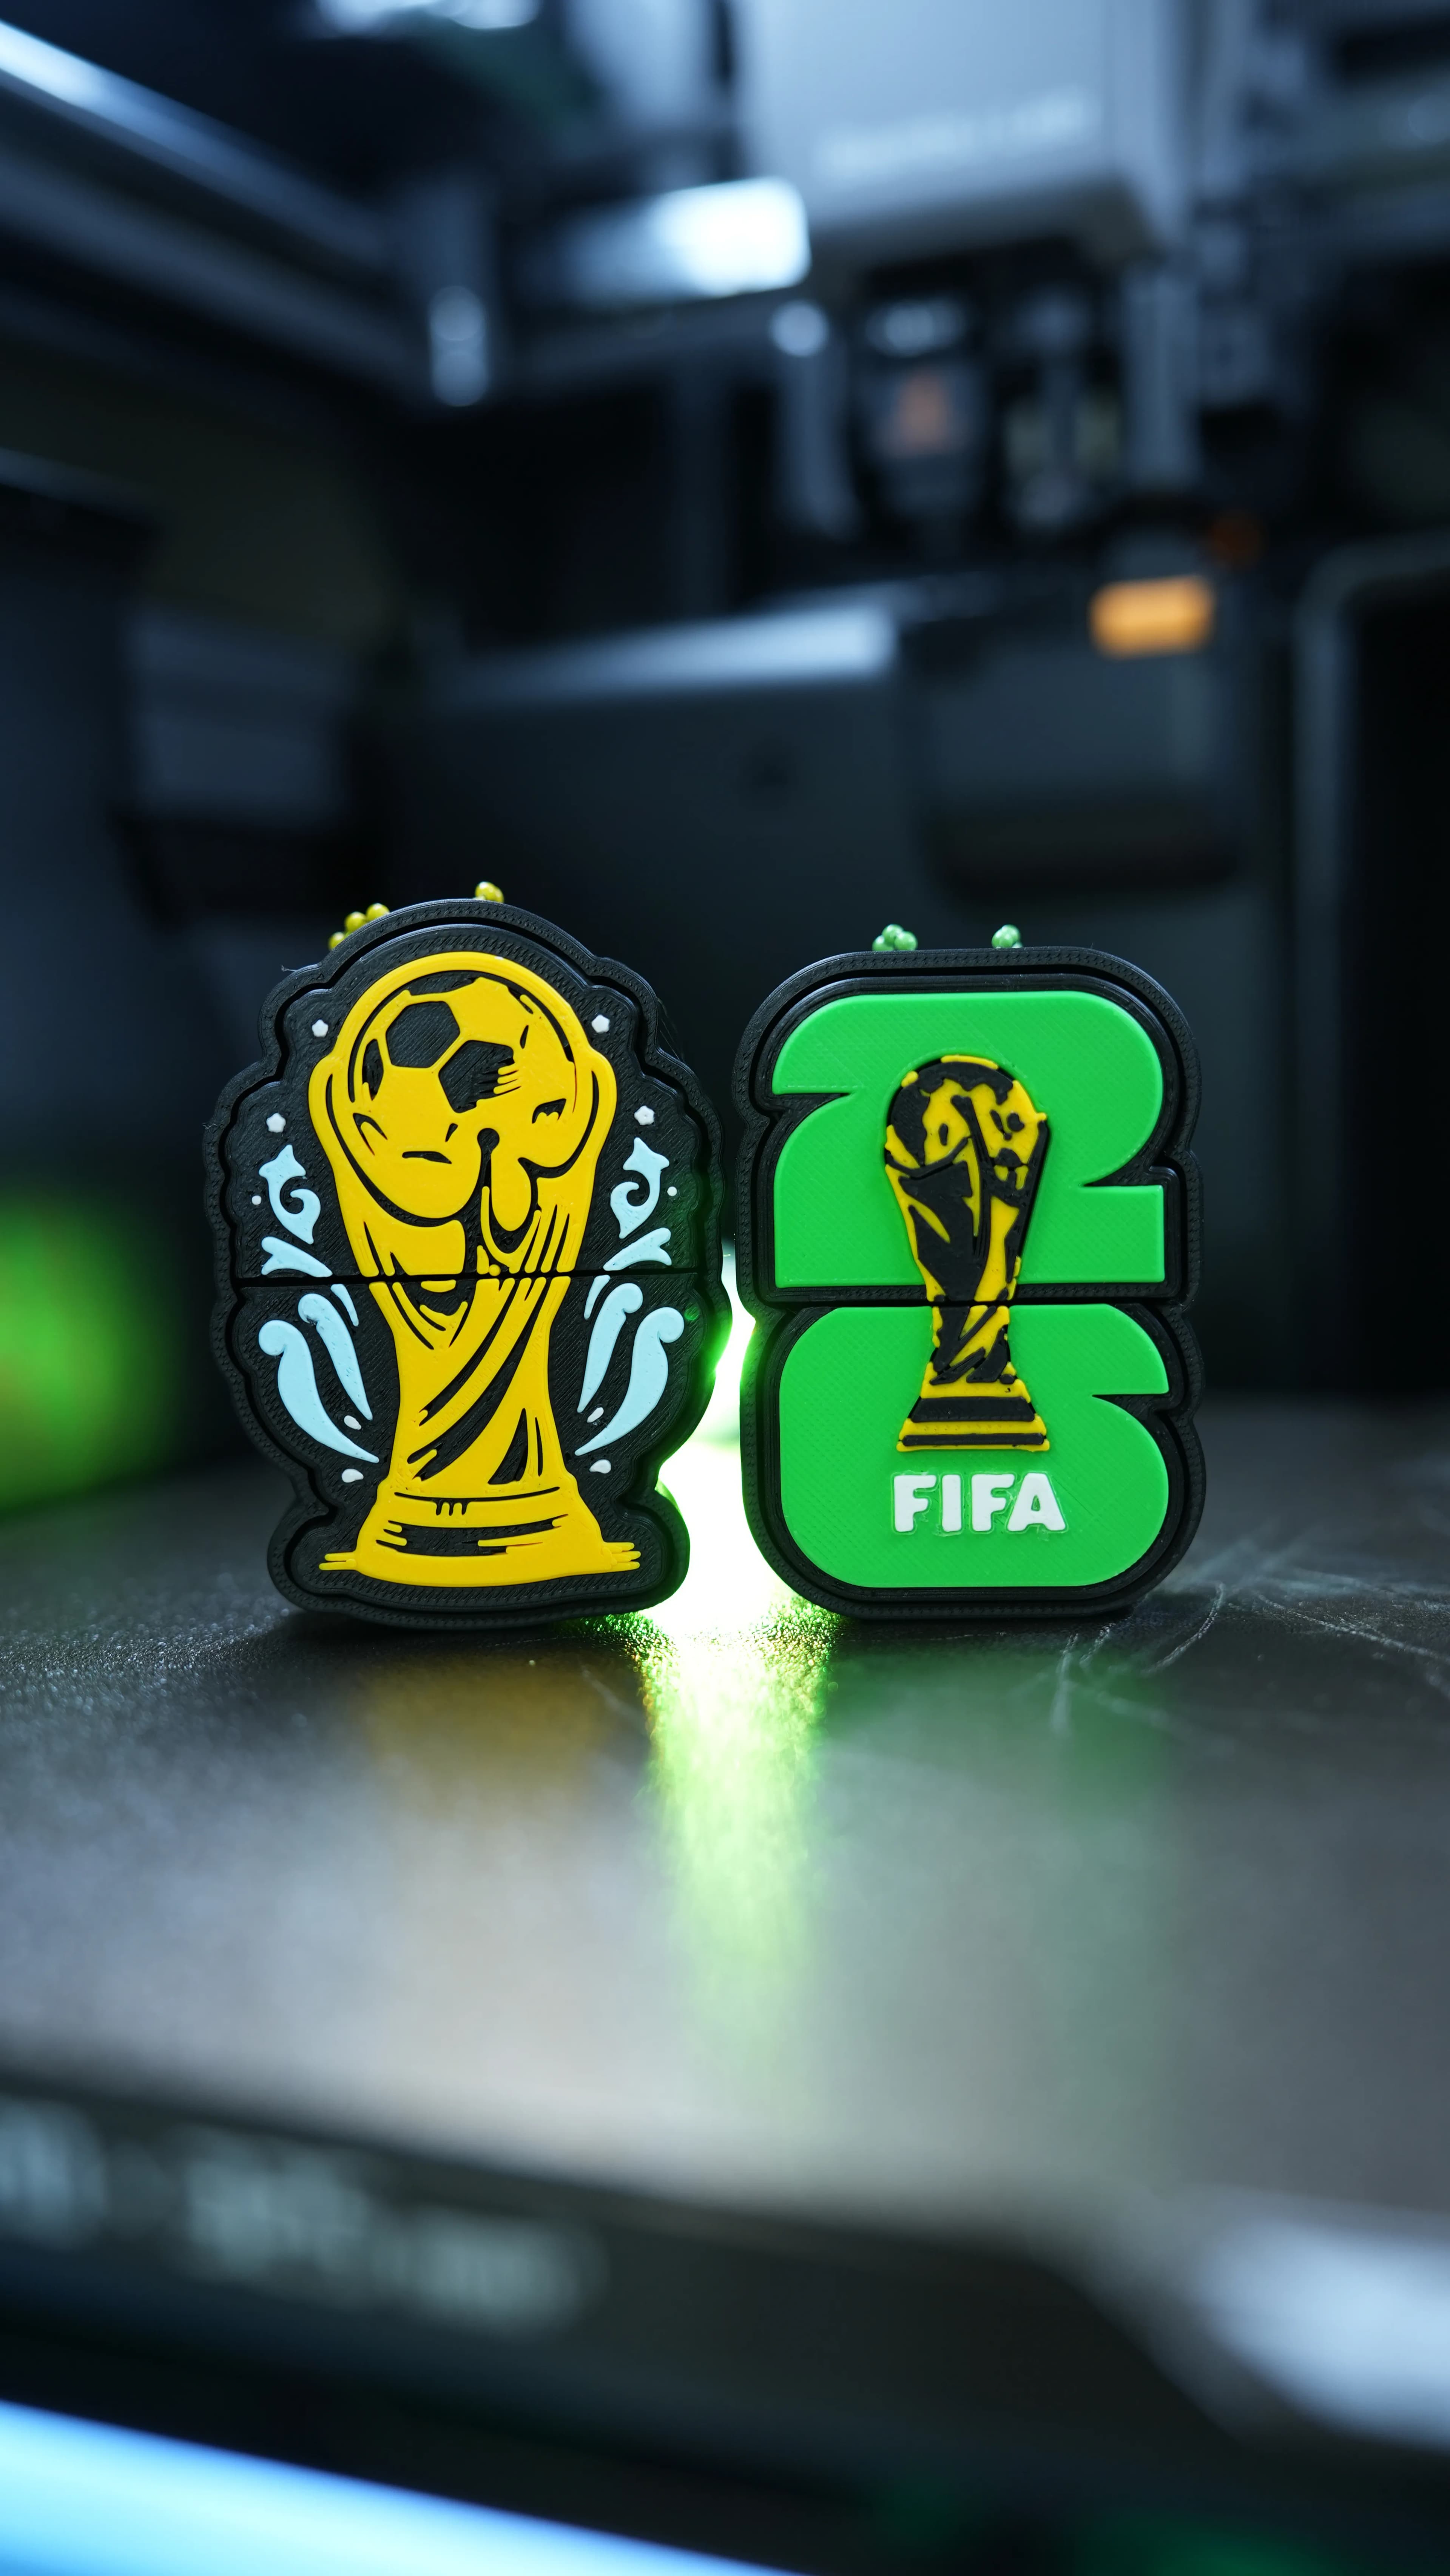
Fifa World Cup 2026 Clickers (Made with ClickerFactory.com)

Cute Flexi Sea Turtle (Toy, Keychain, Magnet)

LLama Clicker (Made with ClickerFactory.com)

Bee Happy Clicker (Made with ClickerFactory.com)

Email Warrior Clicker (Made with ClickerFactory.com)

Dog Bulldog Dachshund Poodle (Made with ClickerFactory.com)

Axolotl Head Clicker (Made with ClickerFactory.com)

Jurassic Dino Clicker Pack (Made with Clicker Factory)

Avocado Sushi Clicker Pack (Made with Clicker Factory)

American Breakfast Clicker Pack (Made with Clicker Factory)

Clicker Dog Pack Cocker Bulldog Corgi (Made with ClickerFactory.com)

Cute Clicker Ice Cream Pack (Keychain & Fidget)
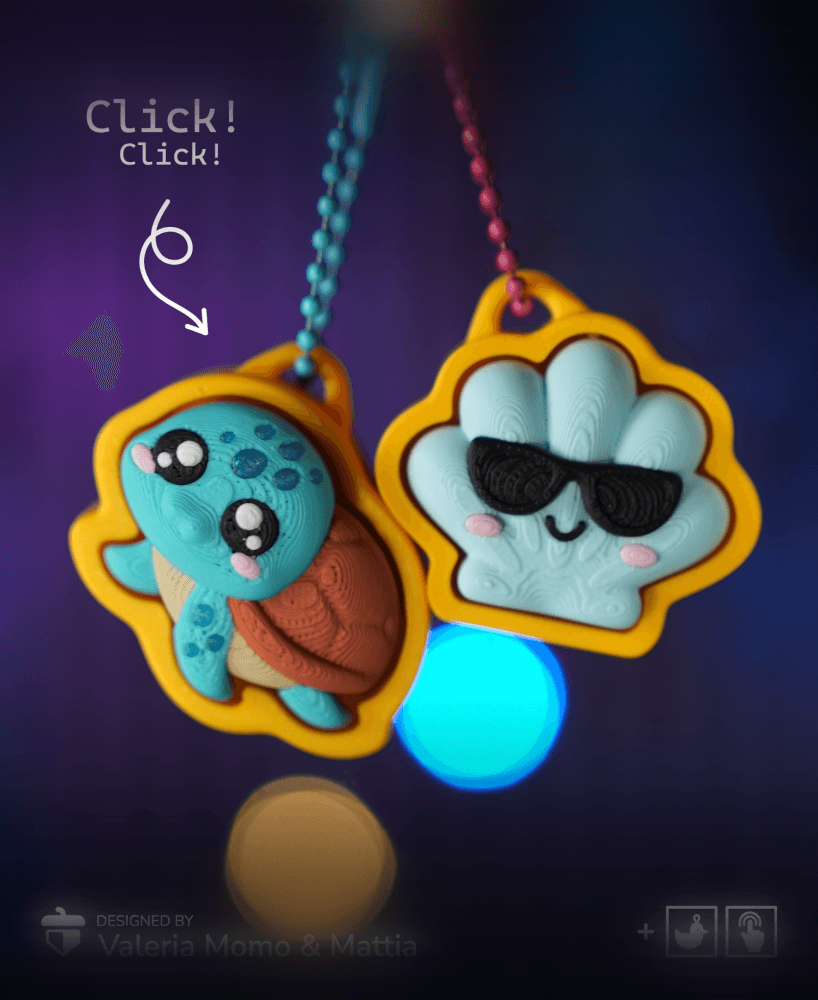
Turtle Clicker Pack (Turtle, Tortoise, Sun, Shell/Wave)

Cute Flexi Dolphin + Cute Flexi Maker Access

Maybe I'm just stupid, but the screw accessory for hanging does not print at all like shown in the video. It prints flat and does not stick up perpendicular to the screw head.
What size are the screws?
What size are the screws?
how do you get it not to stick together while printing in place? Yours shows different colors and in pieces, how do I get those stl files?
PART 2
I found it problematic using the supplied STLs to explode them properly. The Creality Print wouldn't let me do it.... so I used the pre-fabricated plates in the Bambulab.3mf file.
It will import as a project just fine.
I might say that this project is excellent. I've printed off two sets of tools and 50 bolts for the grandkids :)
Hi! I found the models uploaded correctly on their account on BambuLab: makerworld[.]com/en/models/842393-cardboard-crafting-tools-box-bolt-3d-printed#profileId-788880
@segordon2424, for the colours, one must manually make up different plates in the Creality Print tool (or whatever slicer you use).
Place what you want onto the displayed plate and generate the printing GCODE for just those desired objects.
Put the coloured filament in that you wish for that print job.
OR, put in the filament and print the whole lot, change the colour and print it all again! Make several copies and then mix-and-match.
On the objects, need "exploding" before they are printed.