


K1 Max Vented Riser W Improved Filament Guide - Sensor Bypass*
This is a lot to unpack so it bears some explanation. Like most K1 Max owners, I didn't like the Bowden tube constantly rubbing against the glass lid so I printed this riser:
https://www.printables.com/model/545370-creality-k1-k1-max-riser
and this corner piece with filament hole:
https://www.printables.com/model/665955-creality-k1-max-riser-improved-filament-path-k1-ad/files
All credit goes to the original designers - thank you for making great files.
I remixed the front and back panels to be vented, so problem solved. (They also make a great light show in a dark room!)
Then I tackled the poor design of the Bowden tube placement. The Bowden tube passes through the guide and then the cap locks onto the back. *I decided to bypass the filament sensor. I print a lot so I'm always aware of the amount of filament I need for each print - so I stuck a piece of filament in the sensor and bypassed it altogether. I removed two of the three Bowden tube clips that came with the printer and left one as seen in the photo. The small Bowden tube channel is glued in to place - I use superglue activator and high-viscosity superglue. No problems since. Rock on.
K1 Max Vented Riser W Improved Filament Guide - Sensor Bypass*

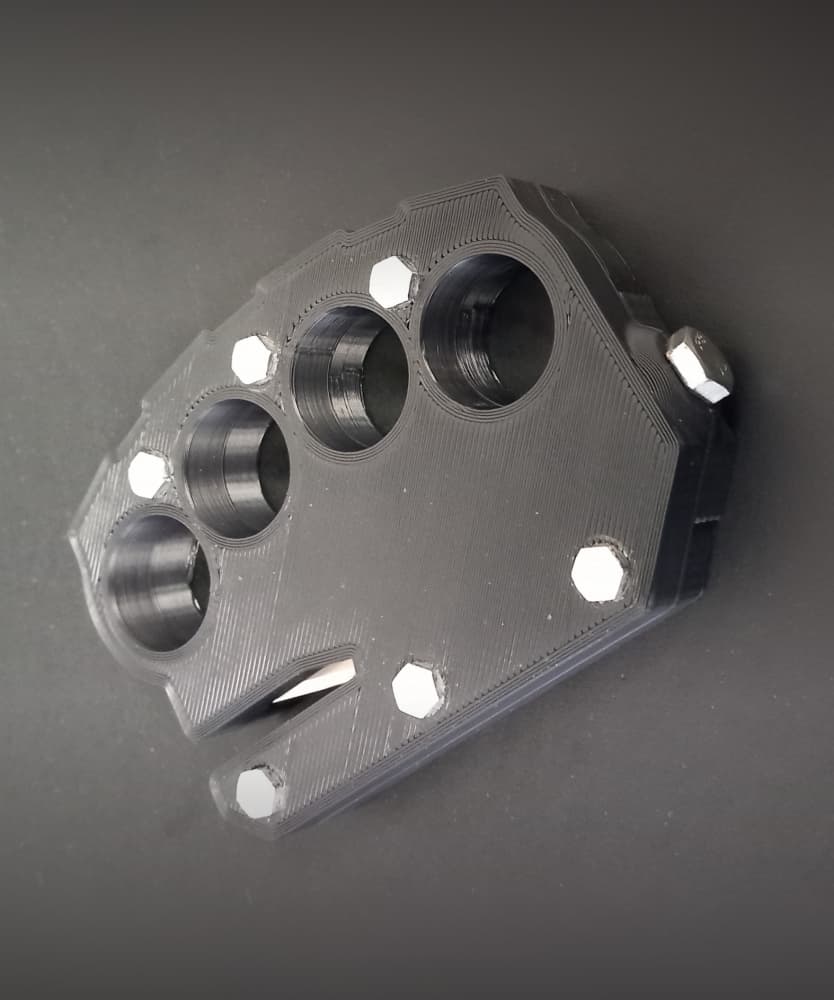
Self-defense Knife

Alfa Romeo Wheel Coin Box
Emergency Seatbelt Cutter / Glass Breaker - Car Escape Device

Thin Wire Stripper

Avocado Pit Germinating basket

Bomber Coaster Kit - US Army - w DXF files for laser cutting & engraving

50mm Keychain Kit - Smiley Face, Shock Hazard, Exclamation Point & Blank

Lil' Lupo Rotary Tool Drill Press Accessory - Leather Sanding Rig

Lil' Lupo Rotary Tool Drill Press Accessory - LED Kit

Lil' Lupo Rotary Tool Drill Press Accessory - Material Clamp Kit
Lil' Lupo Rotary Tool Drill Press Accessory - Vacuum Port Kit

Lil' Lupo Rotary Tool Drill Press Accessory - Safety Shield

Lil' Lupo Rotary Tool Drill Press Accessory - Precision Sanding Rig

Leather & PLA High-Vis Shock Bracelet + DXF Laser File

Lil' Lupo Rotary Tool Drill Press Accessory - Grab & Carry Handle
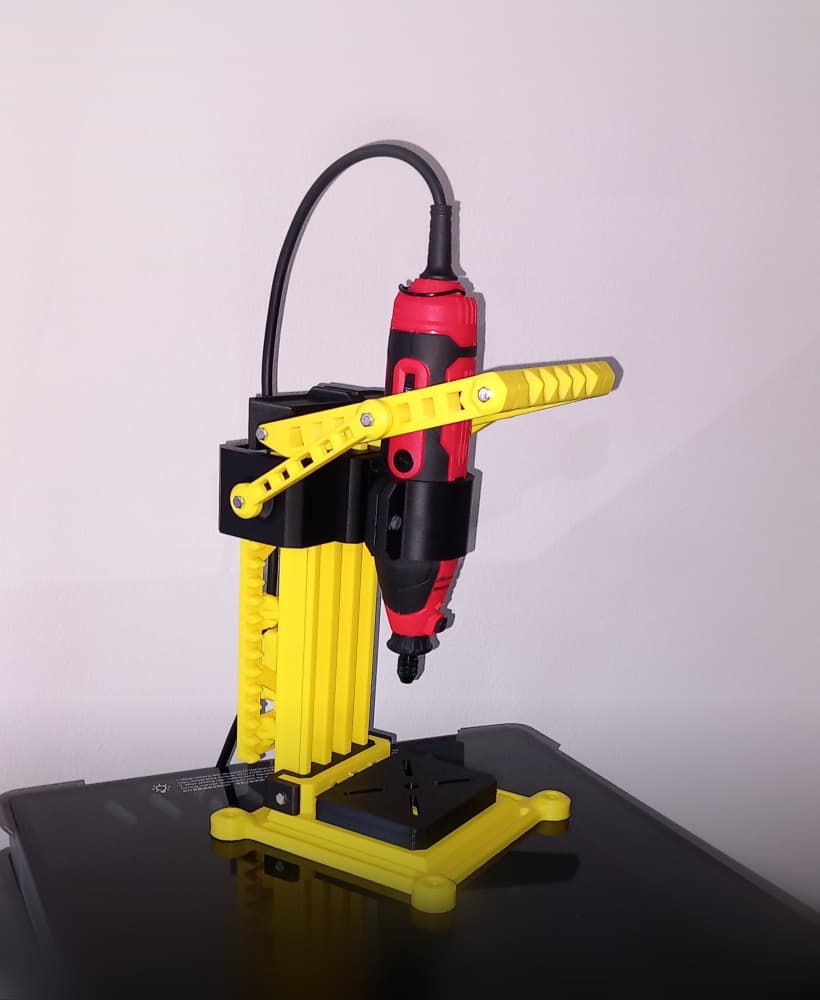
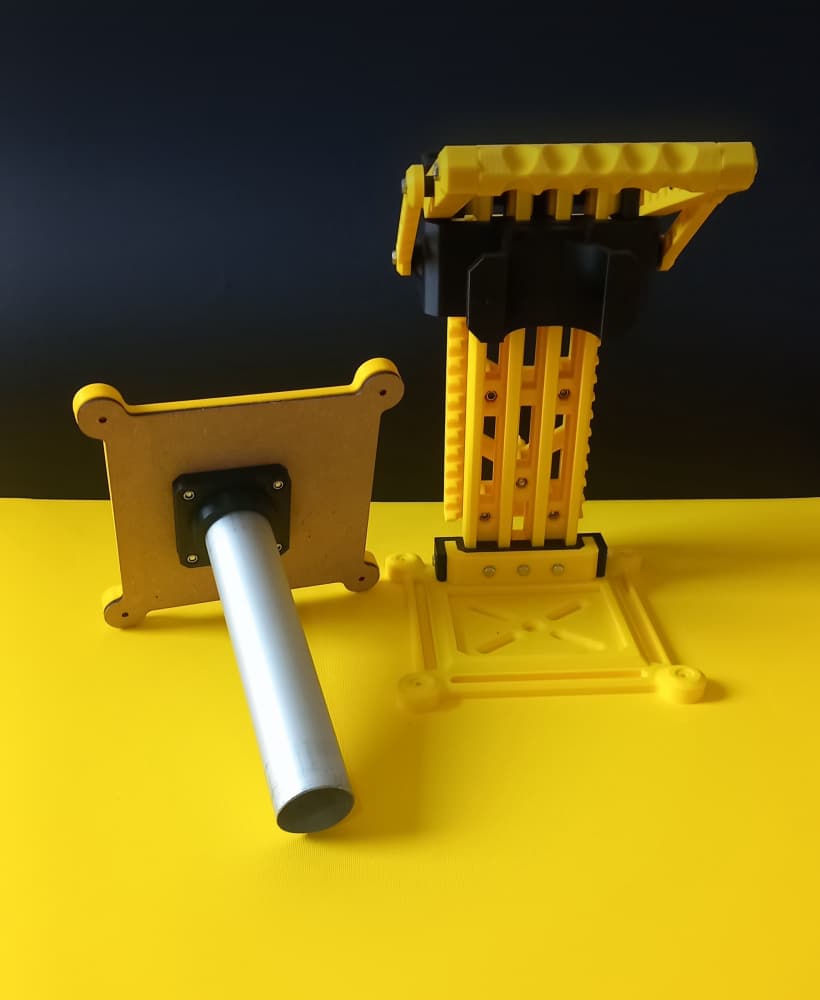
Lil' Lupo Rotary Tool Drill Press w Modular Accessories

Mini Caliper Case

US Half Dollar Keychain - TPU

Stanley Utility Knife Case + Razor Storage
