


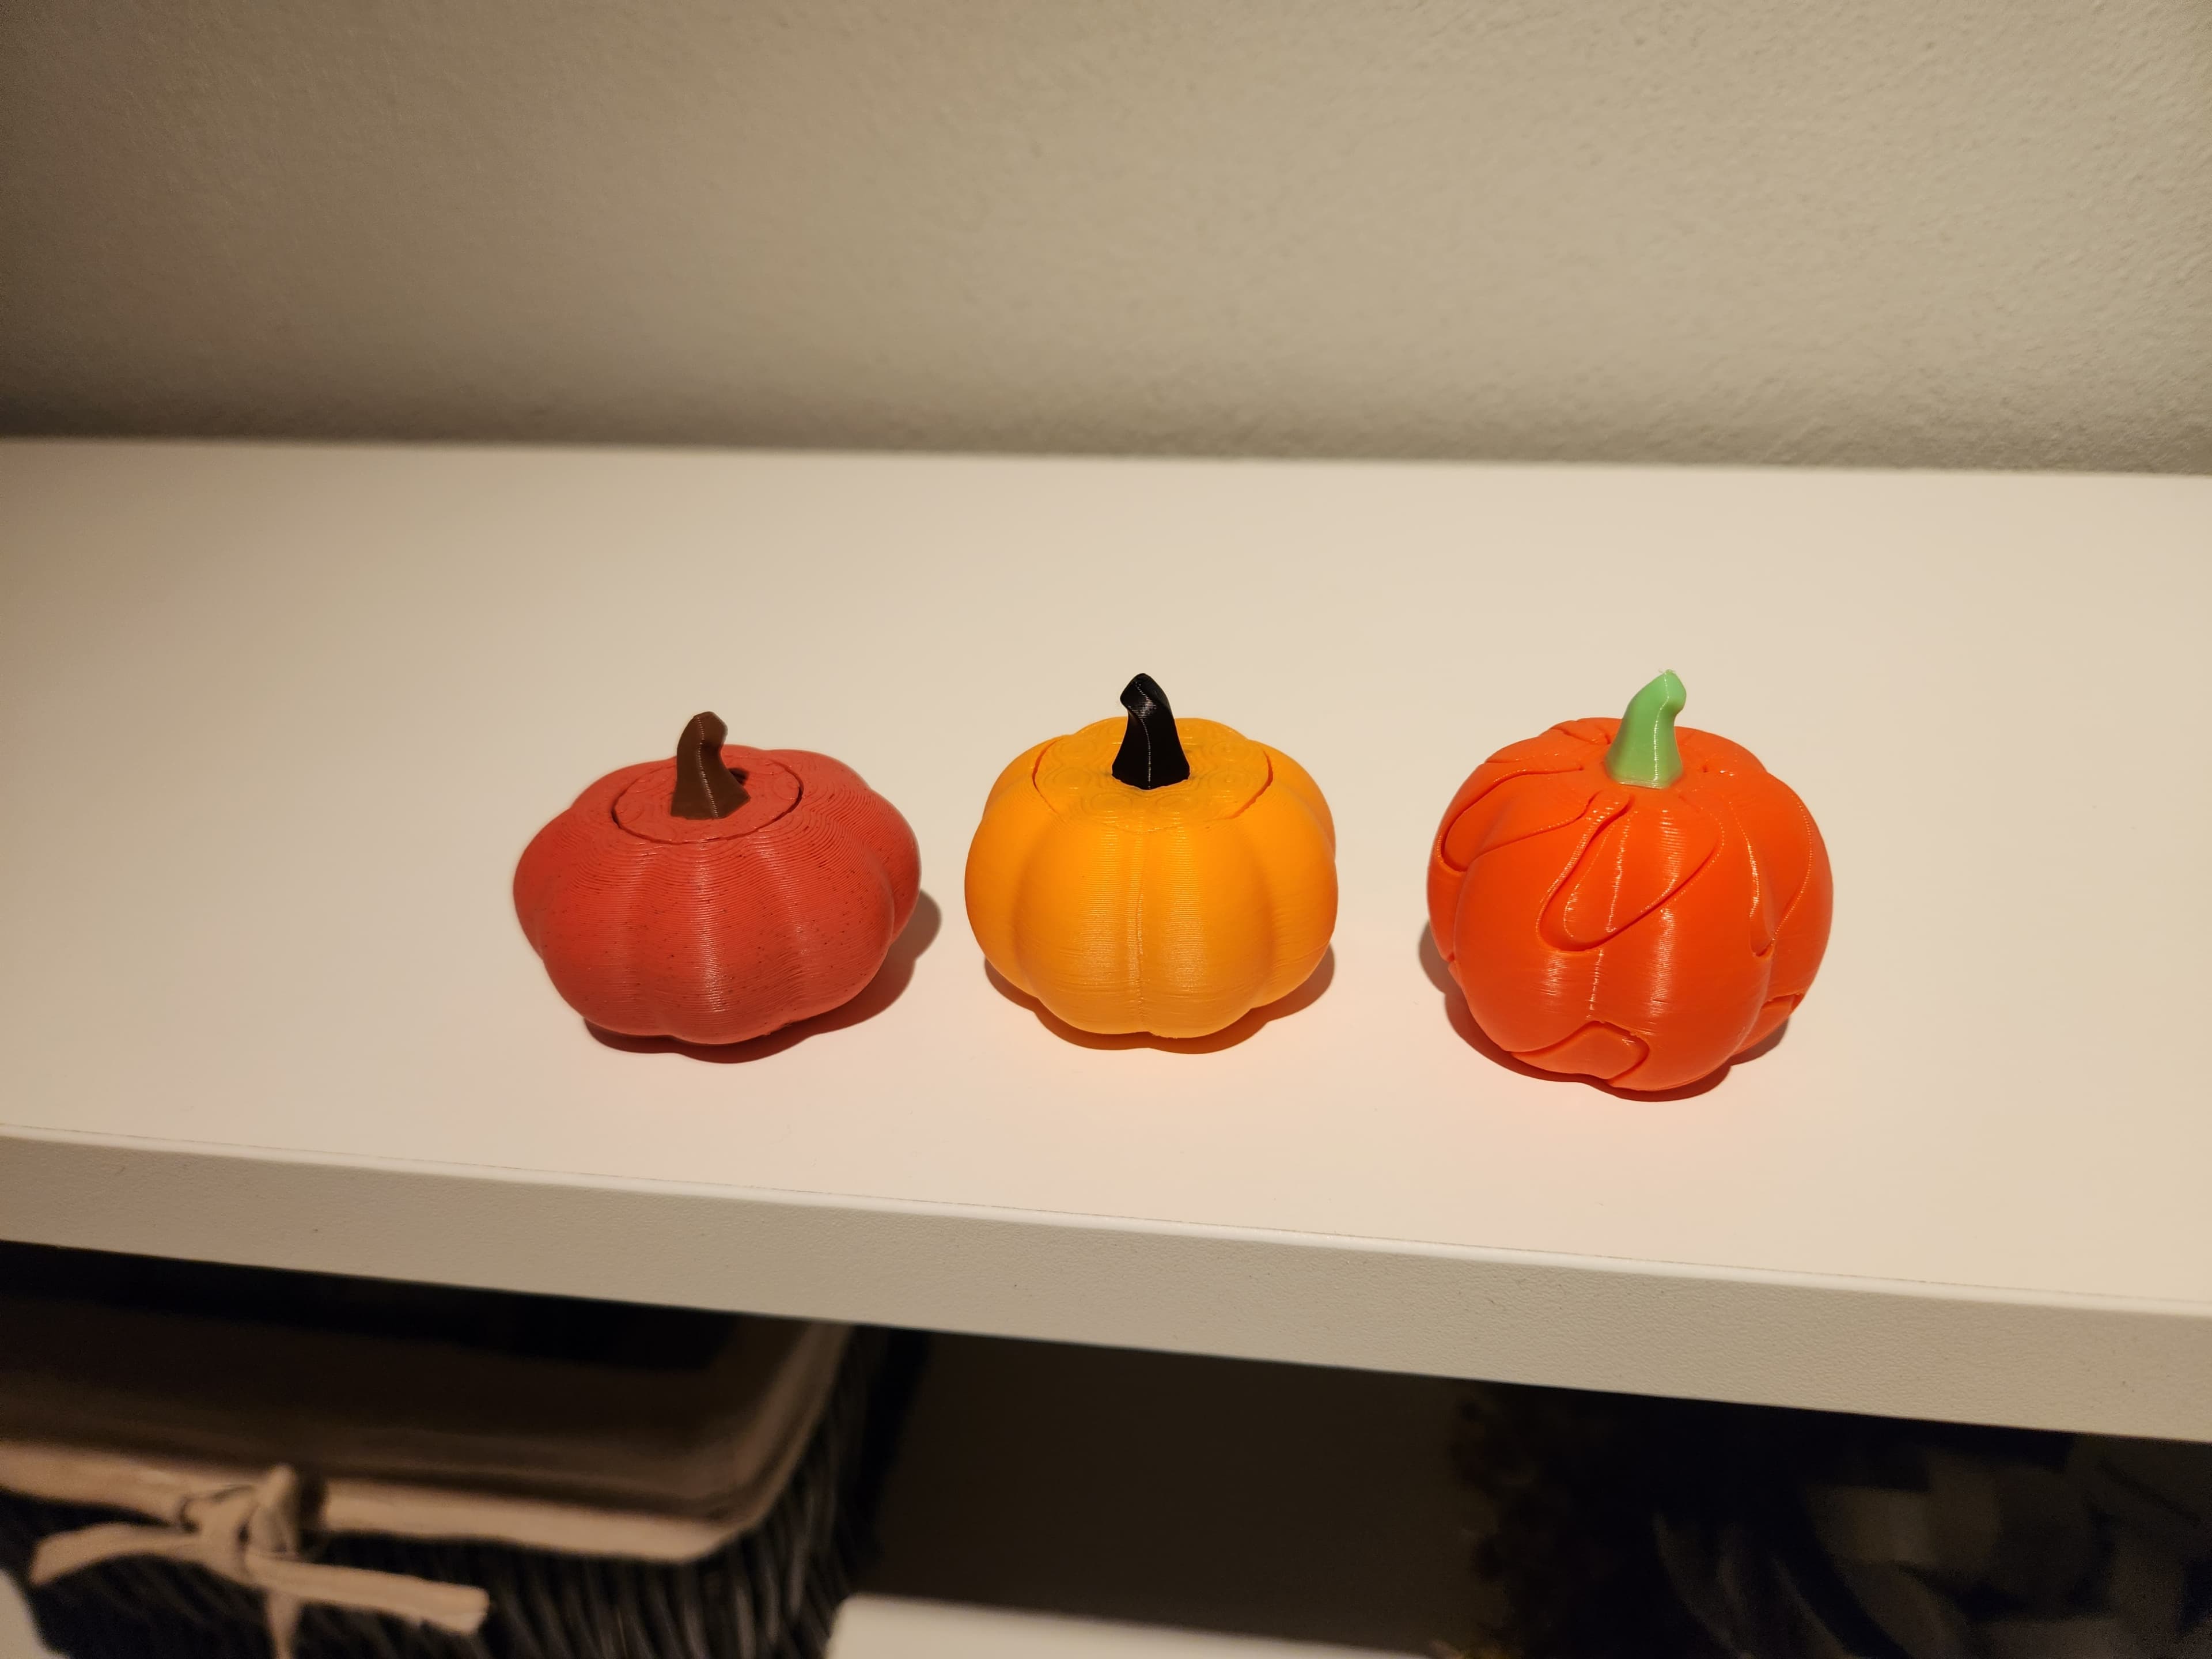
Fall Fidgets - Mini Pumpkin Fidget - Fidget Spinner, Clicky Fidget, Passthrough Spiral
Instructions Hardware Filaments
Fall Fidgets - Beginner I've designed a bunch of functional plants in the past, and even some small fidget toys! But I never made a pumpkin before. There are 3 types of fidgets in this collection. A Spinner, A Passthrough, and a Clicker!
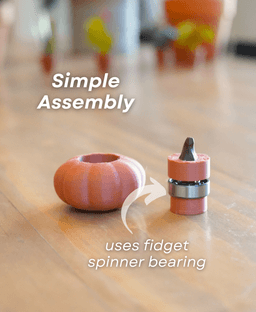
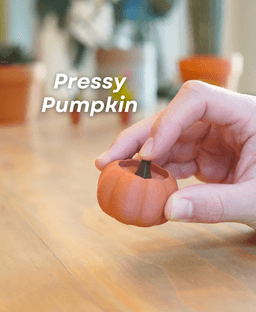
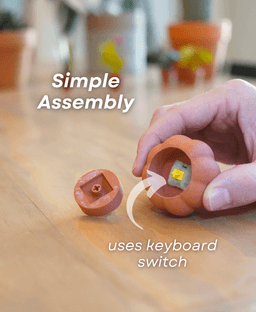
But how do they work? The spinner pumpkin has a fidget spinner bearing inside. Its designed to spin super fast, and long! The Pressy Pumpkin has a keyboard switch inside, so you can click the top, just like a keycap fidget. And the Passthrough Pumpkin is designed to spiral through itself!
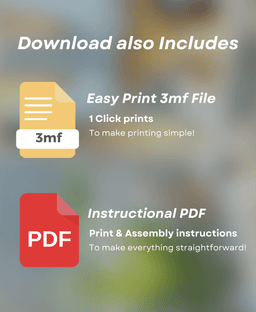
Quick and Easy Printing This print is super fast, and super easy. Nothing takes more than a few hours to print. And they use up very little filament. Print using a multi-color printer for best results. and make sure to use the Easy Print 3mf if you have a bambu printer!


Fall Fidgets - Mini Pumpkin Fidget - Fidget Spinner, Clicky Fidget, Passthrough Spiral

PlayBook'd Zoo are you?
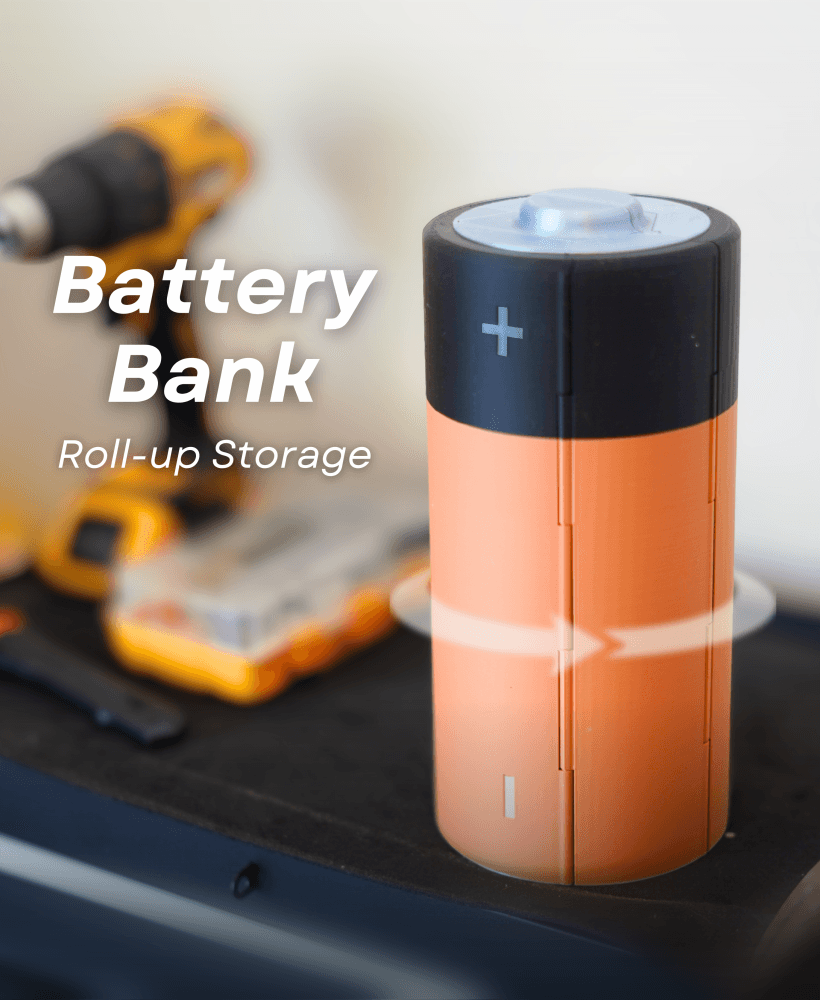
Battery Bank

PlayBook'd LUDO

Cactus Cluster

PlayBook'd Tic Tac Toe

Lucky Bamboo Mahjong

PlayBook'd - Go

Telephones Booth

Spinny Succulents - Pack III

Desktop Golf Gen 2
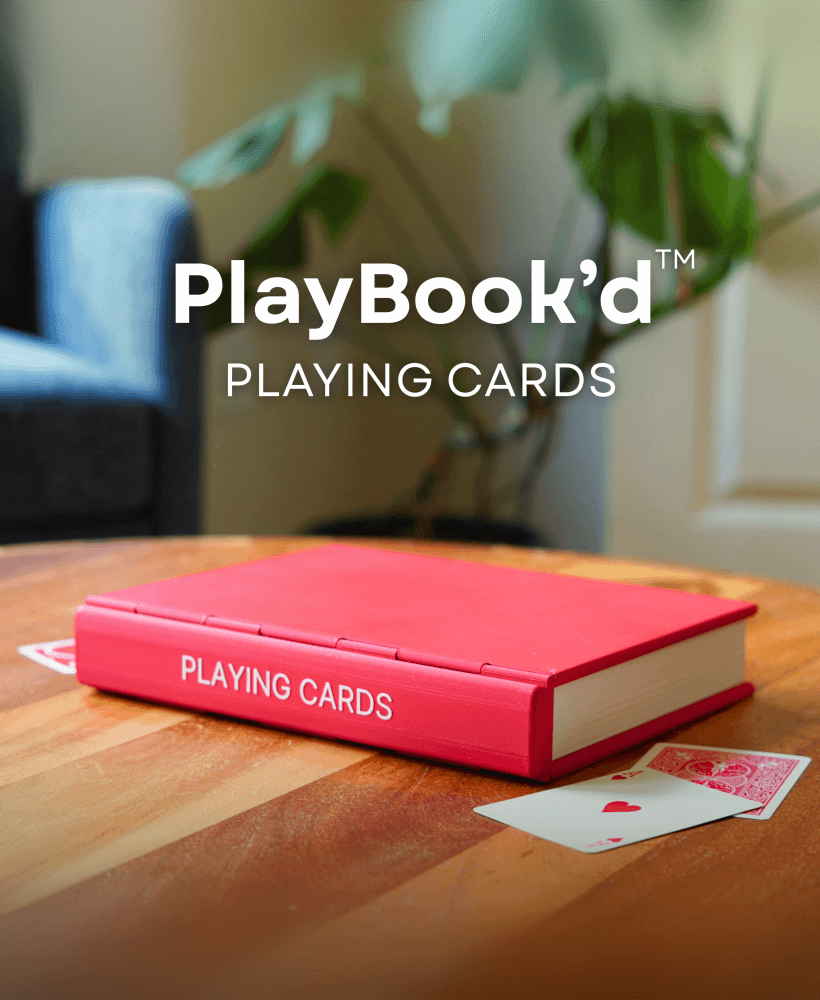
PlayBook'd - Playing Cards

Desktop Dumpster

PlayBook'd Cribbage

PlayBook'd Crosswords

Snack Attack - Gen 2

PlayBook'd Snakes and Ladders
.png&w=3840&q=75)
Date Night Daisy

PlayBook'd Settlers' Storage
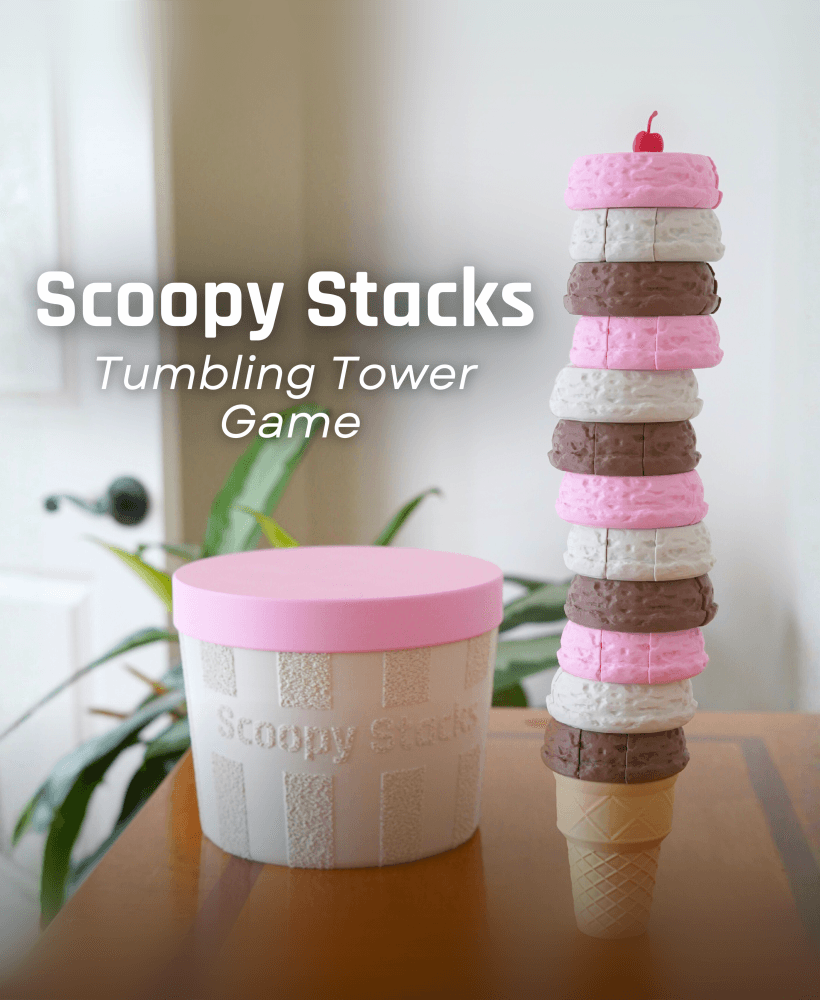
Scoopy Stacks

What paint do you use?
Very nice! Thanks for sharing!
in Bambu Studio when I have the spinny pumpkin file up, all of the settings are filled in but there is one that I do not understand. On the settings panel on the left, there is a box with '0.200 mm Standard@Elegoo Neptune 3P' in it. It is right above the tabs for quality, strength, support, and others. What does this mean and it is correct?
Bambu Studio had an option for my printer which is a Elegoo Neptune 3 Pro.
I could not get these to print on my Elegoo Neptune 3. I installed and used the Bambu Studio program. The files did load right up in the software but I must not have the settings correct because it did not adhere to the bed. I must have a height setting wrong or something. I went back to my Elegoo Cura software, loaded the stl file and sliced like I have been for printing other downloads (mostly from thingiverse). This worked better but the pumpkin on the right would not adhere either. :(
Hi, I'm sorry to hear you are having trouble with the print adhering to the build plate. I can definitely help trouble shoot this. A few suggestions I have would be to wash your build plate with warm water and dish soap It will clear any oil or residue from the plate and give you the best surface to work with. I Also add a bit of Glue to my PEI plate to help with adhesion if I continue to have issues.
You will then want to slow the first later down to 20mm/s or slower for the initial layer and 50mm/s or slower for the initial layer infill, This will help ensure everything is laying down correctly for the first layer and should also hemp with adhesion. My last suggestion is to add a brim if you continue having issues. I hope all of this helps!
I really appreciate your help. 99% of the problem is probably my inexperience. Let's see, I cleaned my bed as directed. I did not add glue. I checked the speed (took a while to find the setting) and it was already set at 20 mm/s for the whole print. I found the settings for a brim and added that too. There were settings - I think I chose 2 mm. Lastly I followed my own procedure of calibrating the height of the extruder head with a piece of paper under it fitting just snug...
However, the end result of all this was complete failure. None of the filament was stuck to the bed. I really think this has to do with the Bambu studio software - not that it is bad, I just think I have a setting wrong somewhere. Clicking the file is supposed to set everythign correctly, right. However I did have to tell it my printer type. Am I missing some other major setting like bed height or some such?
It should have all of the print settings ready to go. Did you have to create a custom printer profile or was your printer already set up in Bambu Studio? This will help me determine what could be going on. Also what printer are you using?
I have an Elegoo Neptune Pro 3. There was an option for this in Bambu. There is one setting I do not understand. It is a box on the left in Bamboo that says '0.2mm Standard@Elegoo Neptune3P' It is right above the tabs for Quality Strength Support, etc. Also, I am using Elegoo PLA+ 1.75mm filament. I bought orange filament, bearings and keyboard clickers specifically for this project... :)
The '0.2mm Standard@Elegoo Neptune3P' is the default layer height for your printer. This is just how far from the print bed/ from each layer that the nozzle prints; so each layer is .2mm. I hope this makes sense.
For settings, check the print bed temperature to make sure it is between 55-65°C. You can find this under the Project filaments -> (...)3 dots next to the filament you have selected -> 'edit' -> scroll down to the bed temp from the type of plate you are using and set it to the recommended temp from the filament brand.