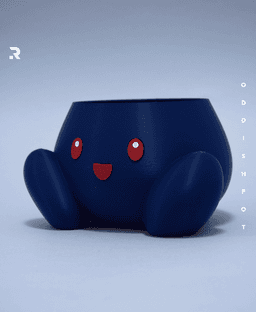
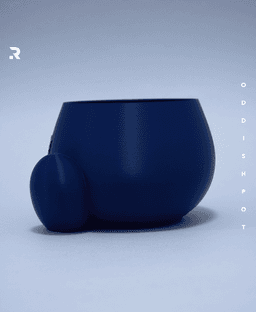


Oddish Pot (No Supports) - Pokémon Planter *by RNDM3D*
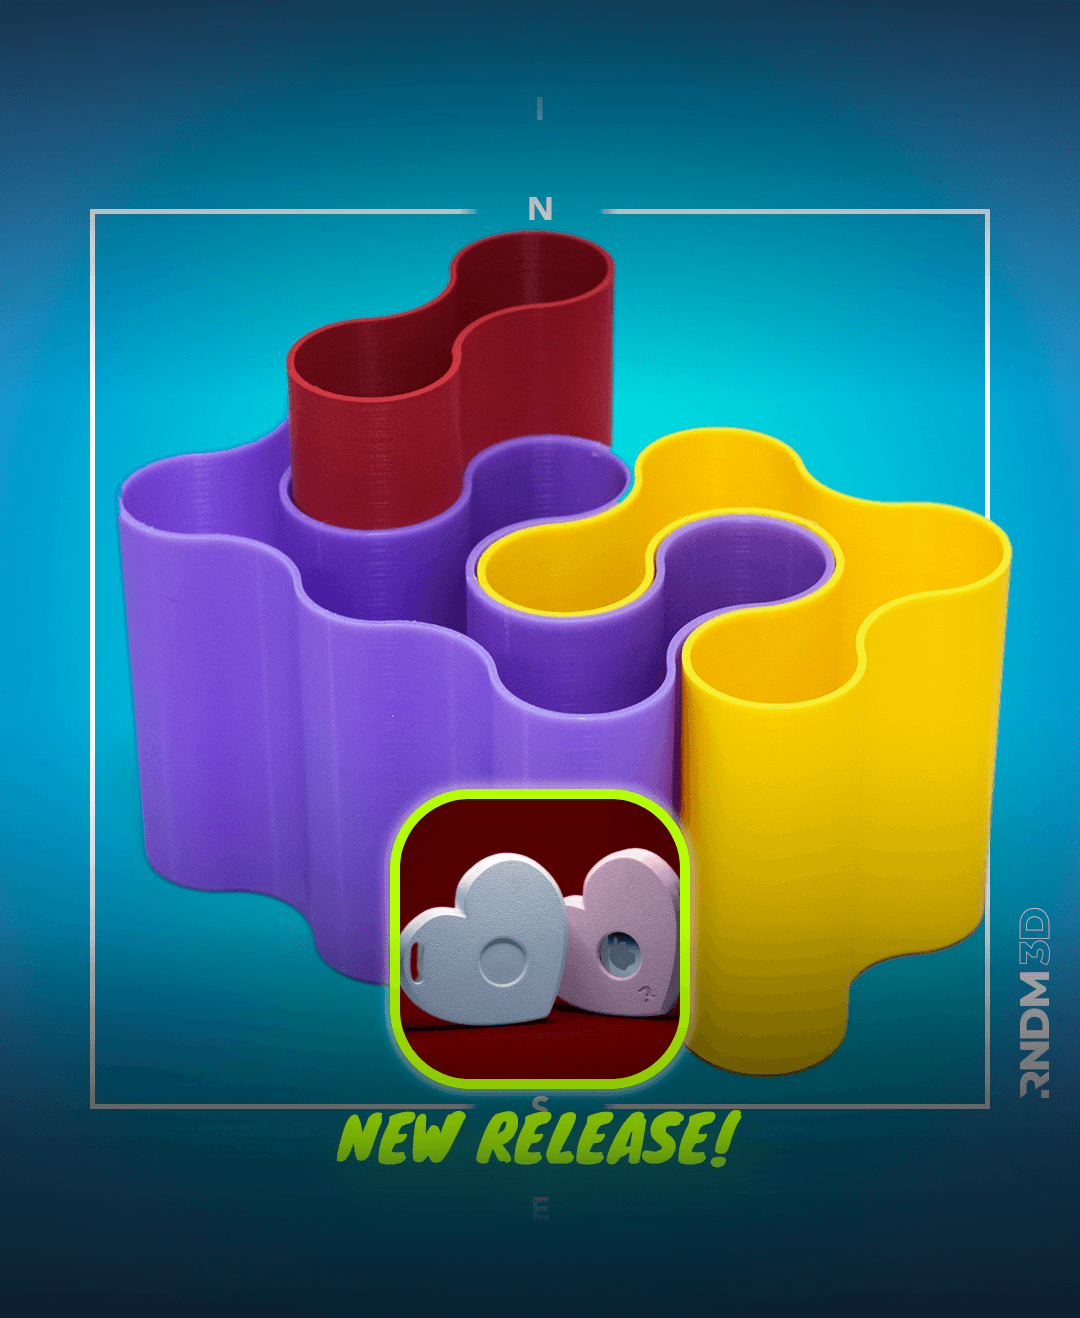
Check this new model MyTagHeart - by RNDM3D
INCLUDED
- 1 x _Assembly_OddishPot_v1.0
- 1 x OddishPot_BODY_v1.0
- 1 x OddishPot_FACE_v1.0
- 1 x OddishPot_Instructions_v1.0
DESCRIPTION
🔧 Purpose and Use: support-free plant pot for various indoor and outdoor plants.
💡 Why It's So Great: Adds fun Pokémon nostalgia to your plant display. Designed for pots up to 90mm in diameter and 85mm in height.
🌈 Easy to print: prints without supports, face details are printable separately for optimal customization and detailing.
HOW TO USE
- Print.
- Glue FACE details.
- Enjoy!
SHARE ON SOCIAL
Express your appreciation by sharing your creations with me on social:
Join the community and inspire others.
PRINTING SETTINGS
Material: [PLA] or [PETG] Nozzle size: [0.4mm] Layer Height: [0.2mm] Infill: [10%, gyroid] Perimeters: [2] Support: [disabled]
OddishPot_BODY Object Size: [X 146mm x Y 120mm x Z 85.6mm]
OddishPot_FACE Object Size: [X 38.6mm x Y 14.4mm x Z 0.8mm]
UPDATES
v 1.0
- upload .stl file
⚙️ P.S.: I'm still working on this project and would appreciate your feedback. If you encounter any issues, please let me know. Stay updated on the latest news and upgrades by following me on social media.
LICENSE
This work is licensed under [CC BY-NC-SA 4.0] (https://creativecommons.org/licenses/by-nc-sa/4.0/)
✅ PERSONAL USE: [always]
❌ COMMERCIAL USE: if you wish to use this content for commercial purposes, please contact "RNDM3D" to discuss licensing options.

Oddish Pot (No Supports) - Pokémon Planter *by RNDM3D*

Stars&Eagle - Thanksgiving LightBox *by RNDM3D*

BOO.MARK - Halloween Fun Bookmark by RNDM3D

TEXTURED Maze Vase - Modular Organizer System *by RNDM3D*

MyTag Oreo - Oreo AirTag Holder *by RNDM3D*

Maze Vase - Modular Organizer System *by RNDM3D*
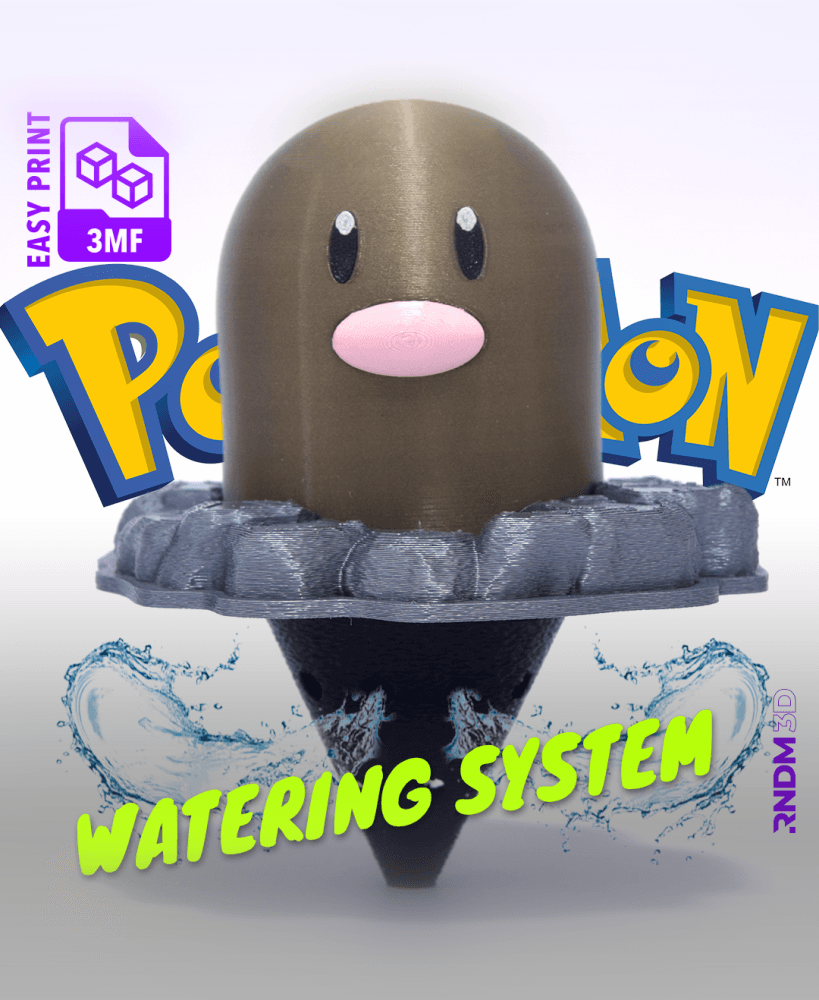
Diglett Funnel (Easy Print .3mf) - Watering Plants *by RNDM3D*
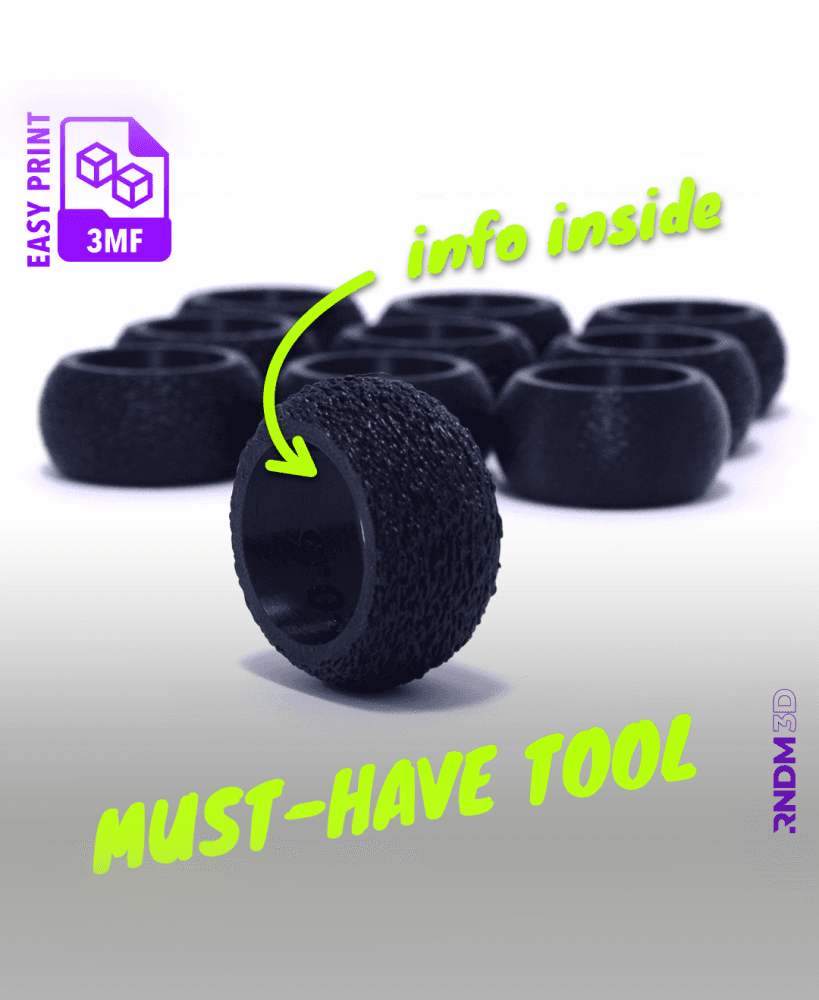
FuzzyRing (Easy Print .3mf) - Fuzzy Skin Sample *by RNDM3D*
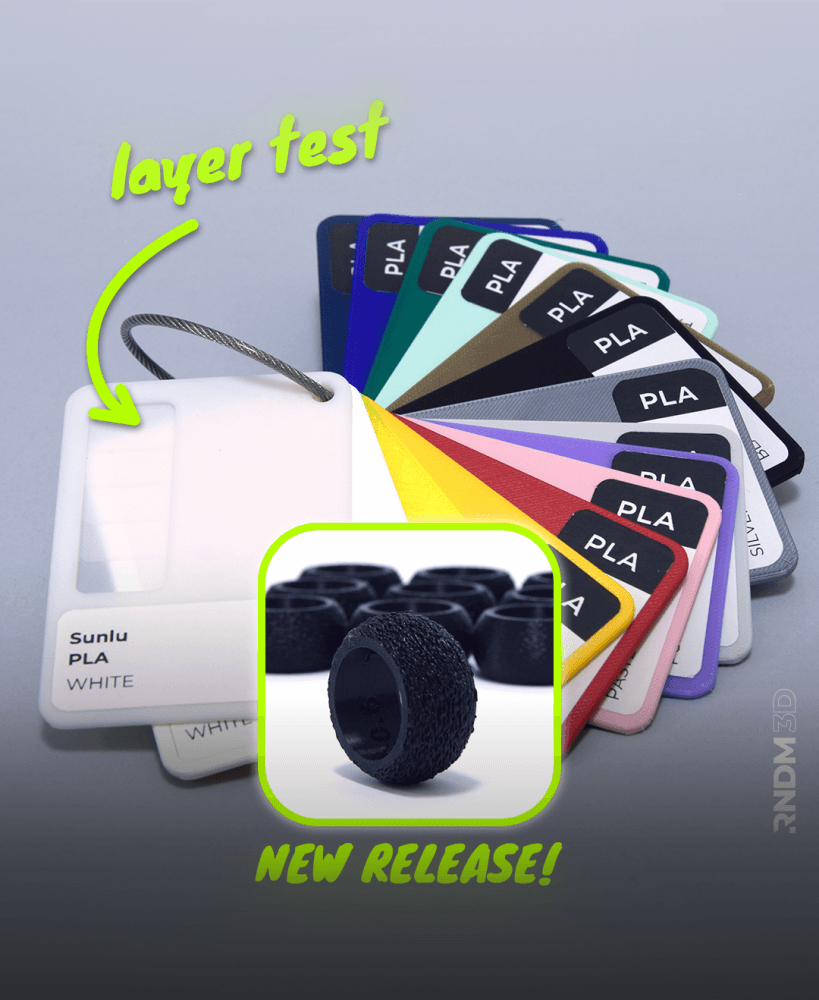
ColorSample - Filament Physical Database *by RNDM3D*
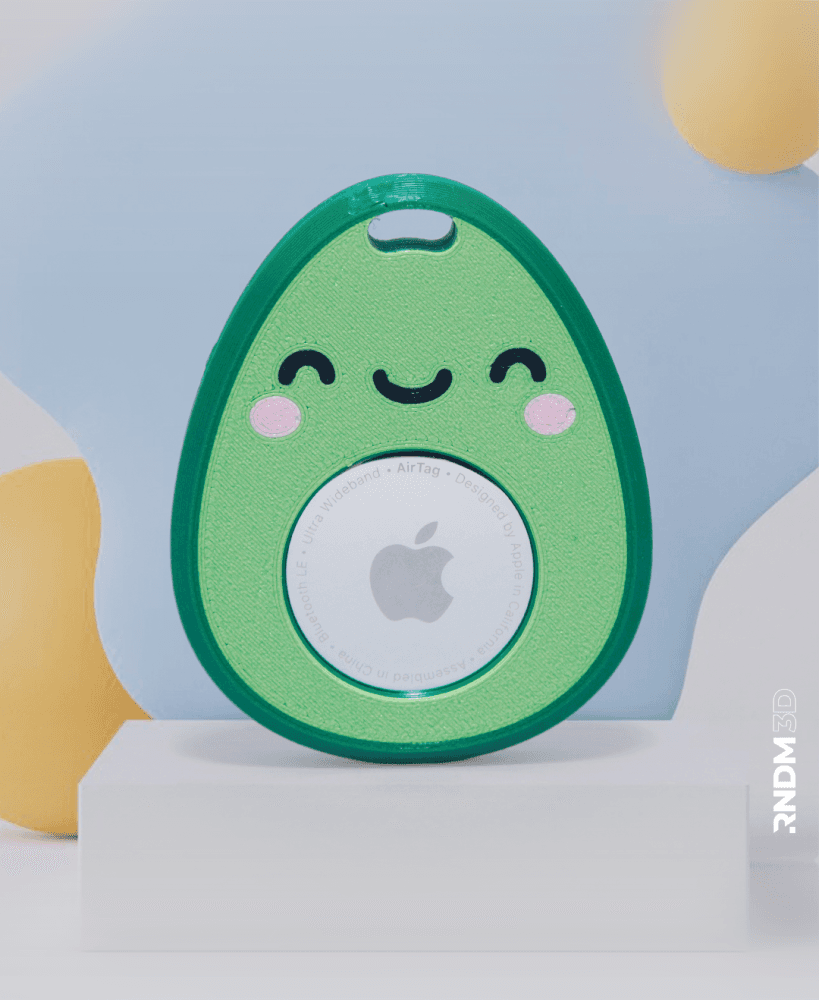
MyTagAvocado (Easy Print Multicolor)- AirTag Holder *by RNDM3D*
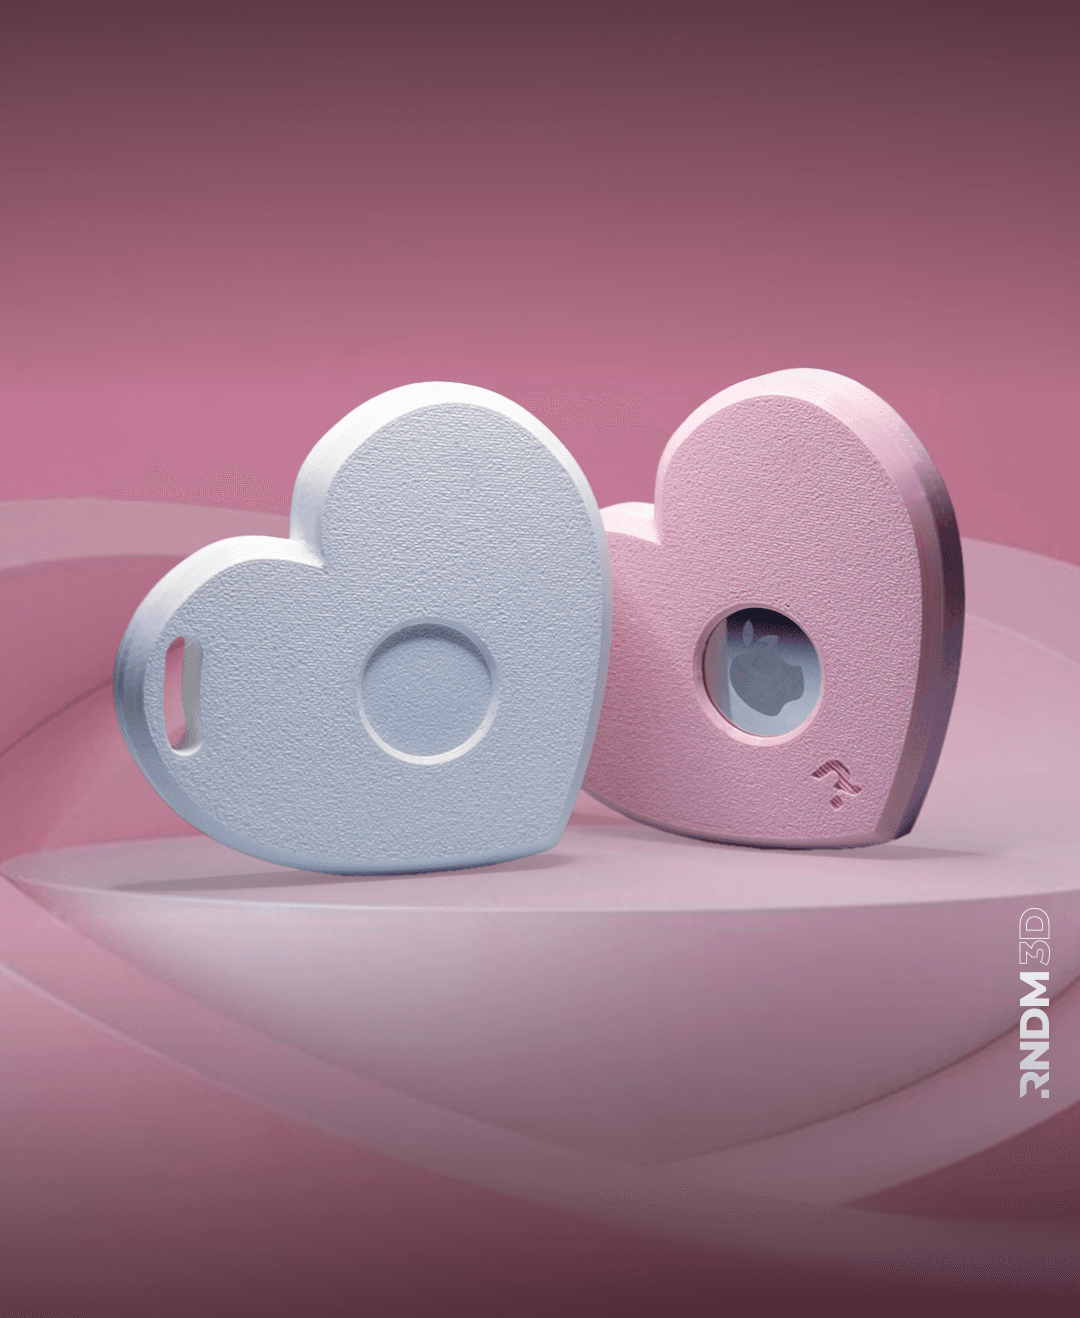
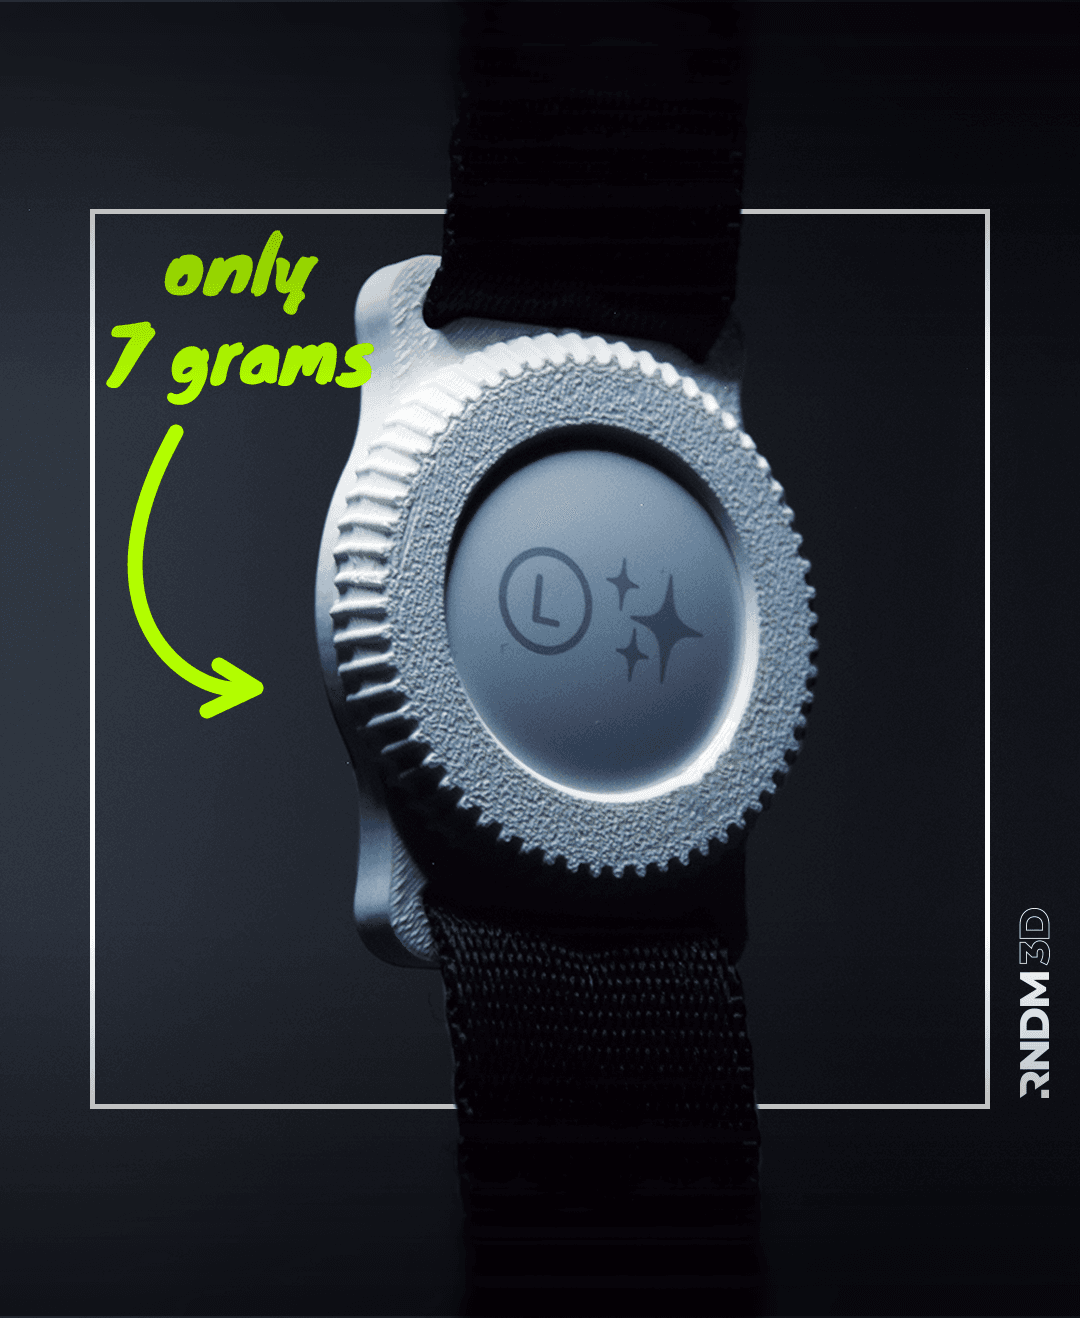
MyTagHeart - AirTag Holder *by RNDM3D*
Infinity Vase (No Support)- Modular Vase System *by RNDM3D*

Grippy - Compliant Gripper *by RNDM3D*

LuggageTag - Travel Info Card *by RNDM3D*
MyTagPack - AirTag Holder *by RNDM3D*
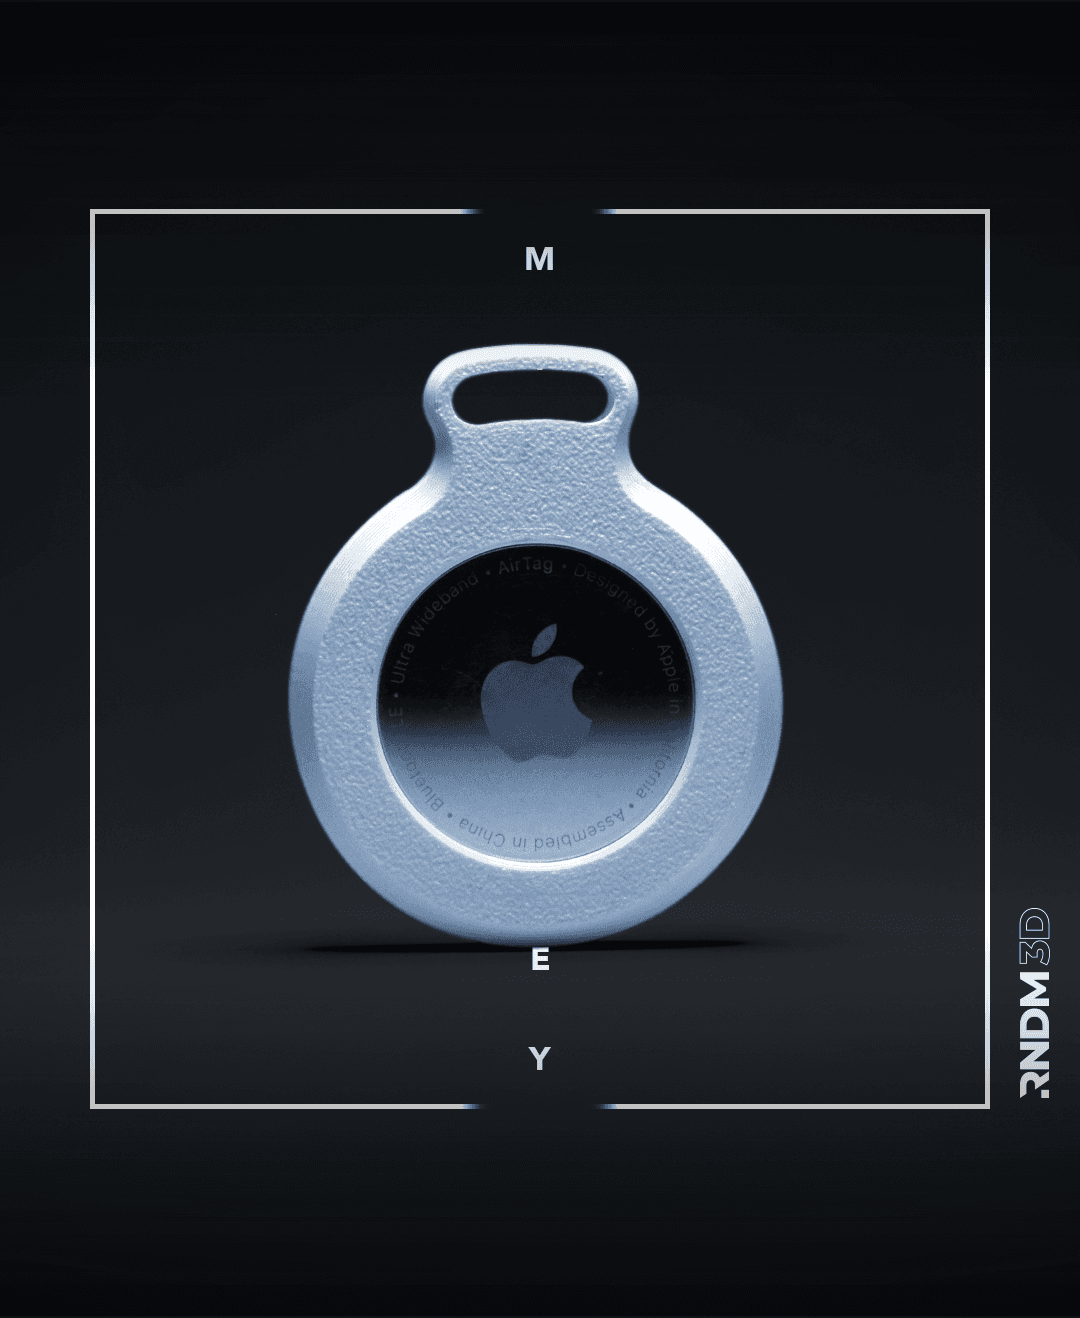
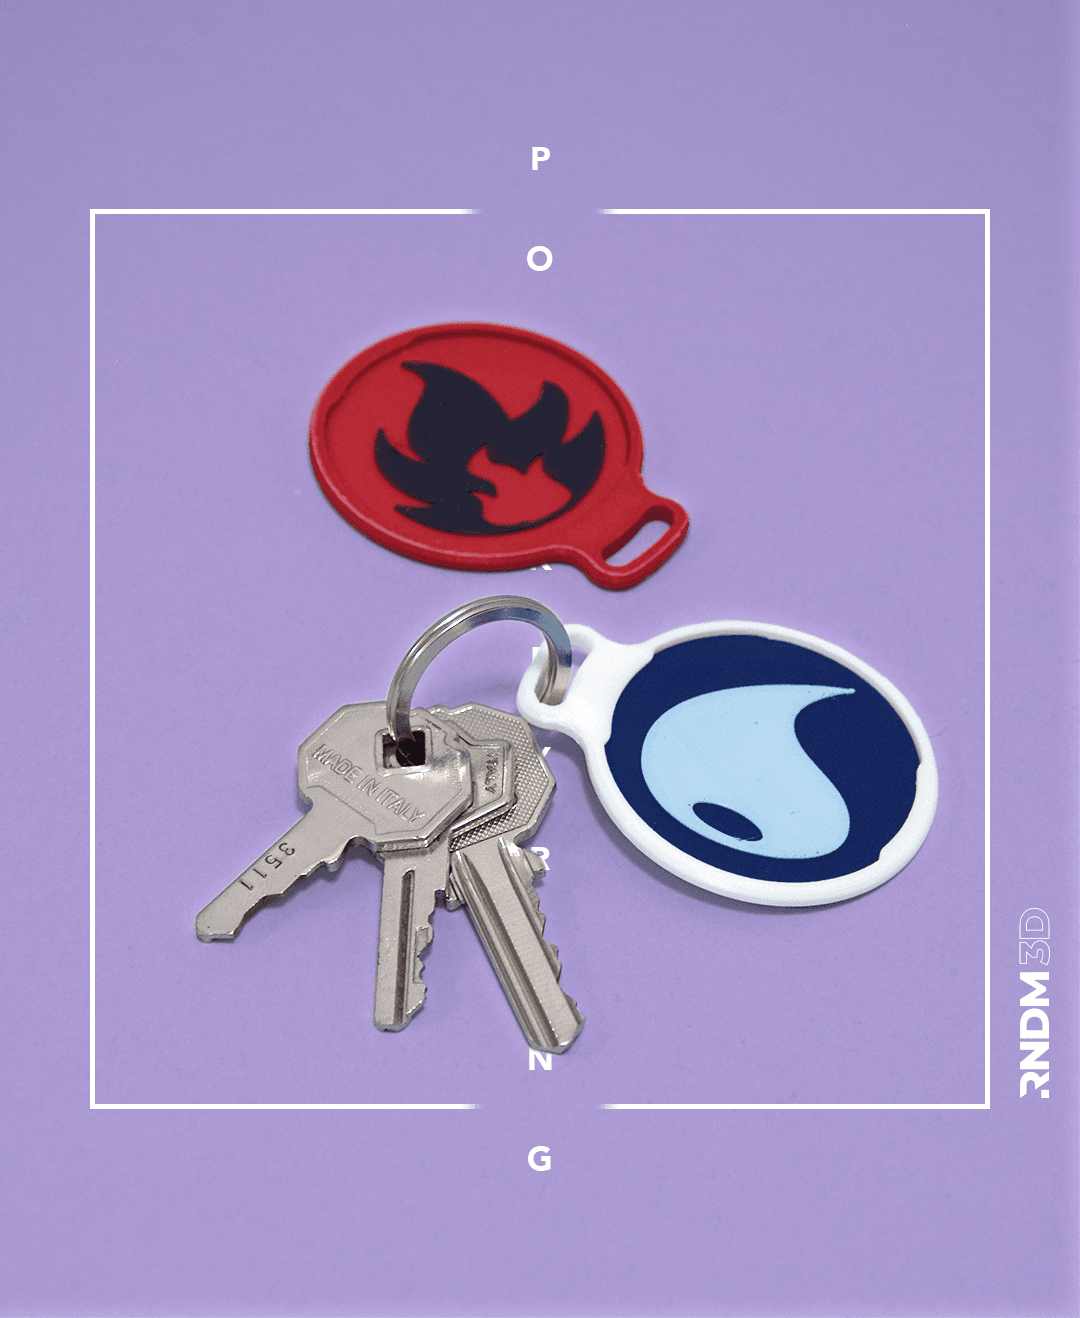
MyTagKey - AirTag Holder *by RNDM3D*
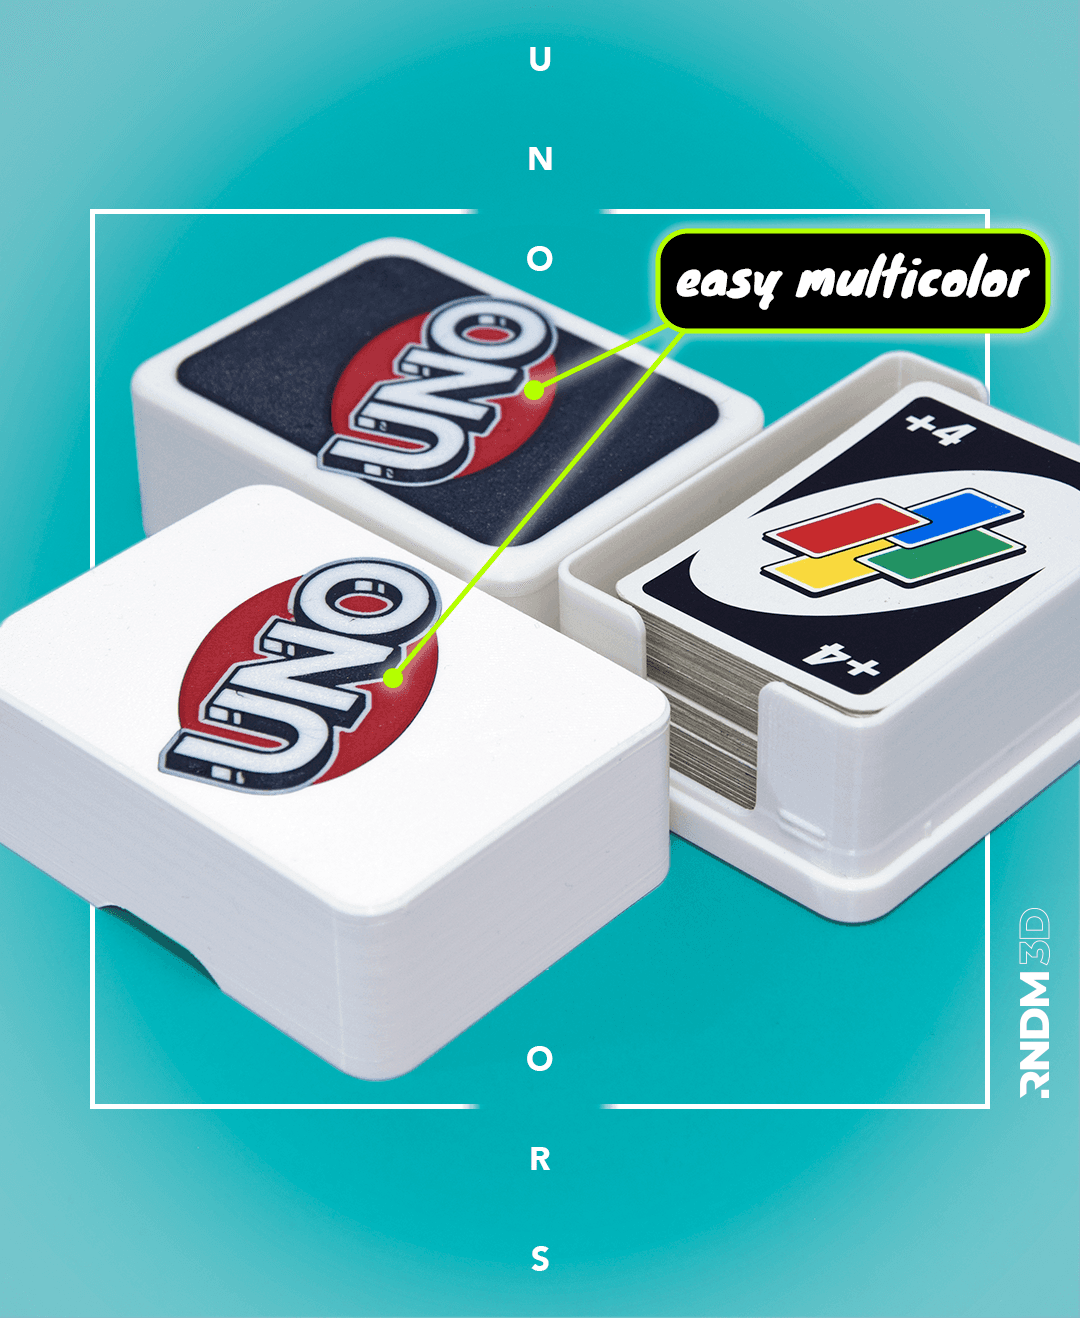
UNO BOX COLORS - Multipart StorageBox *by RNDM3D*

UNO - StorageBox *by RNDM3D*
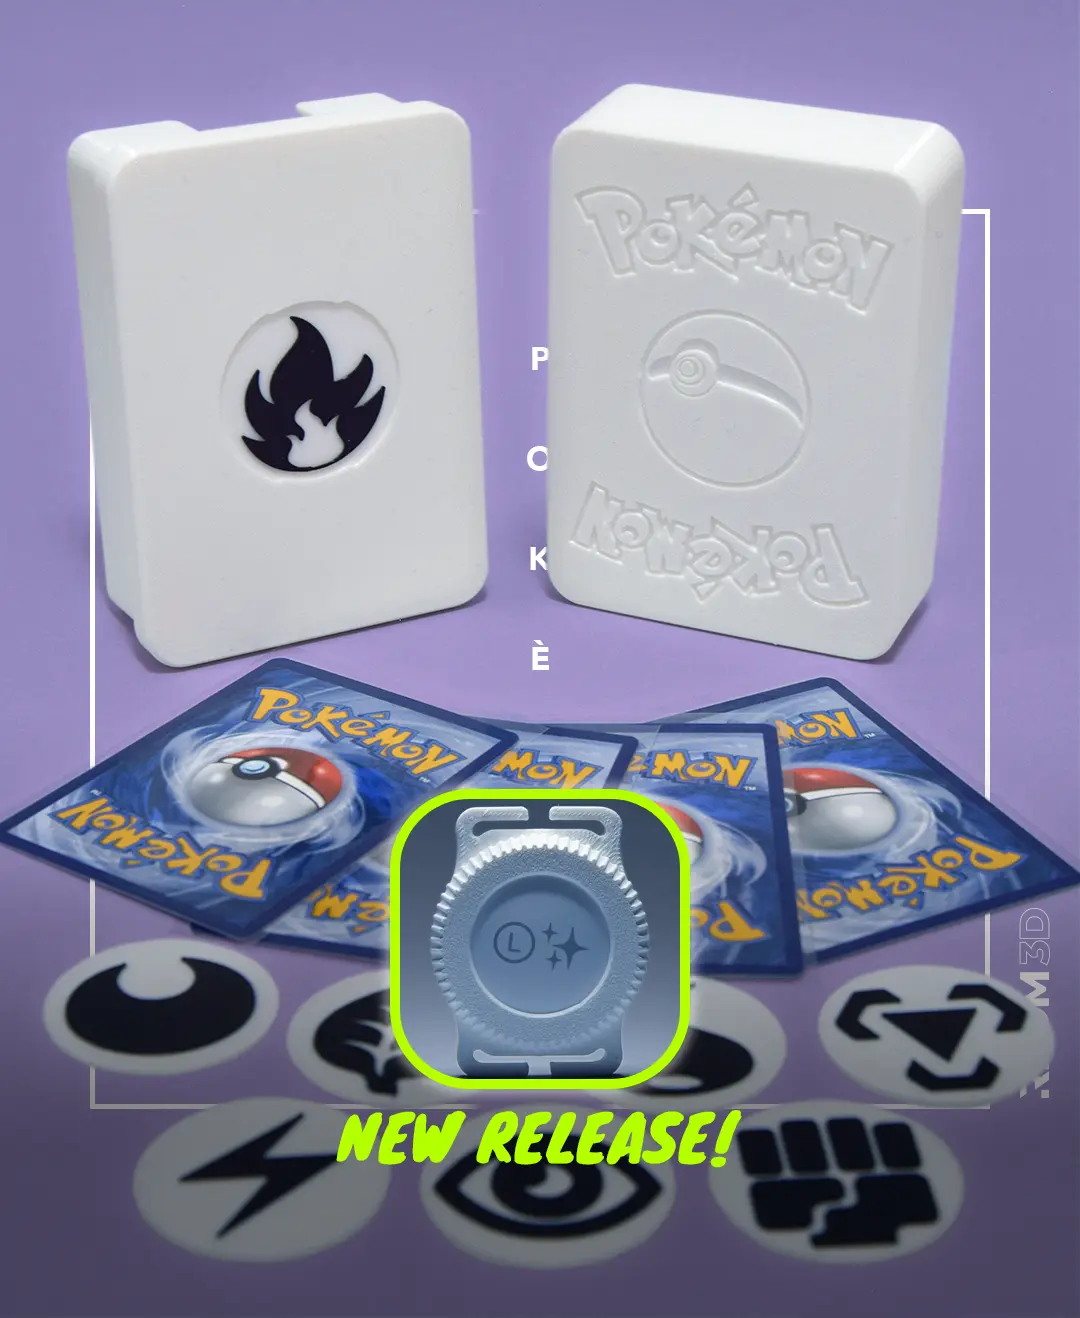
POKÈBOX - StorageBox TCG *by RNDM3D*
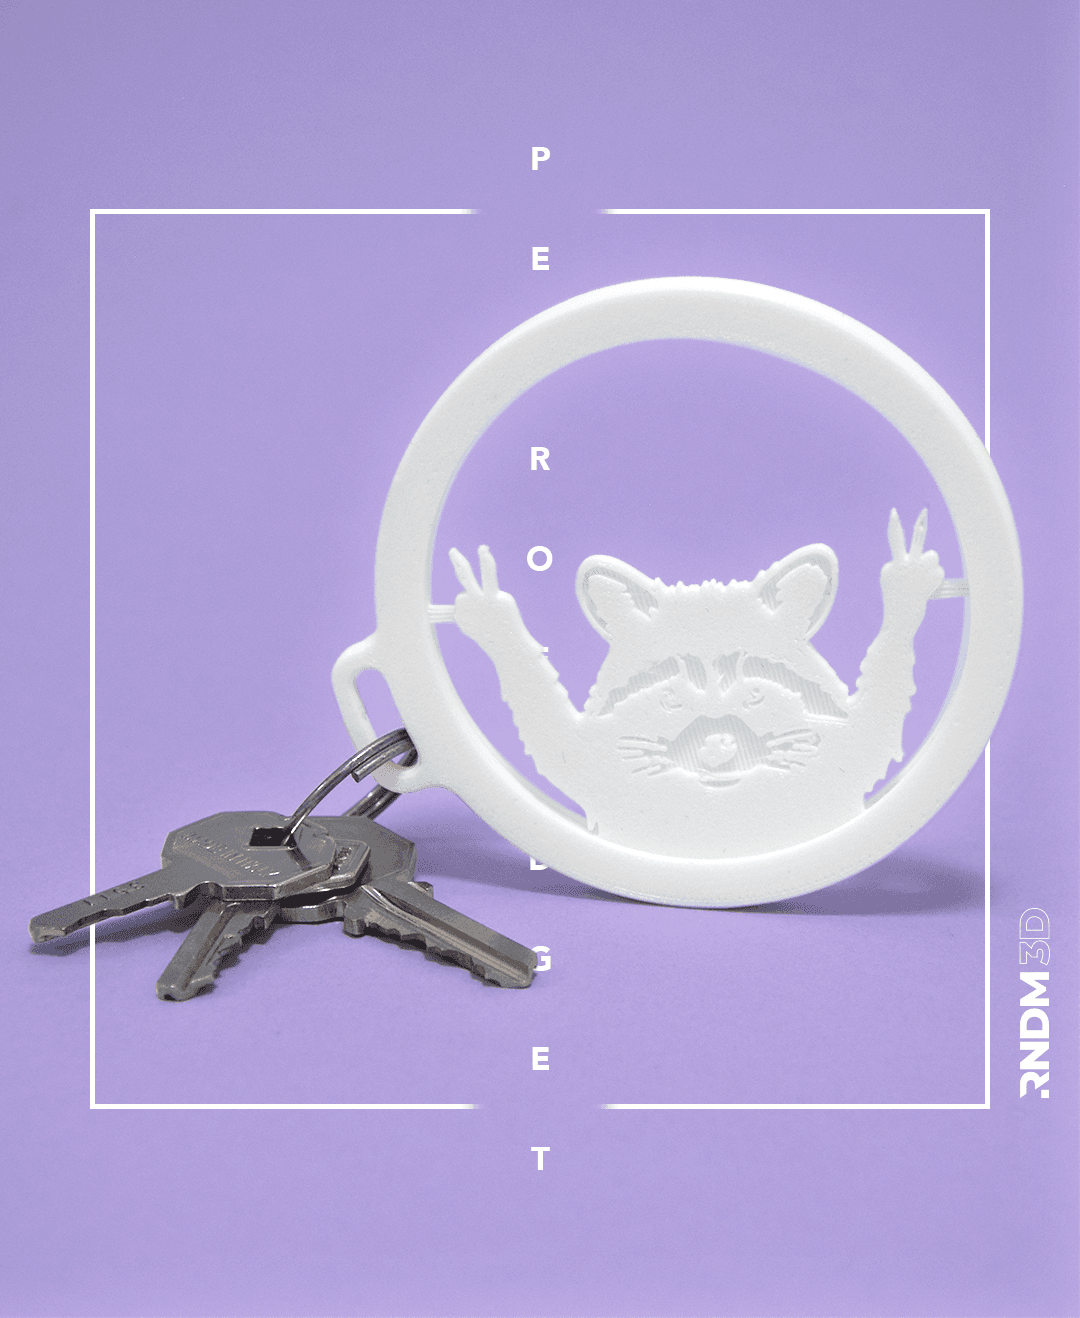
PEDRO - Fidget Raccoon *by RNDM3D*