


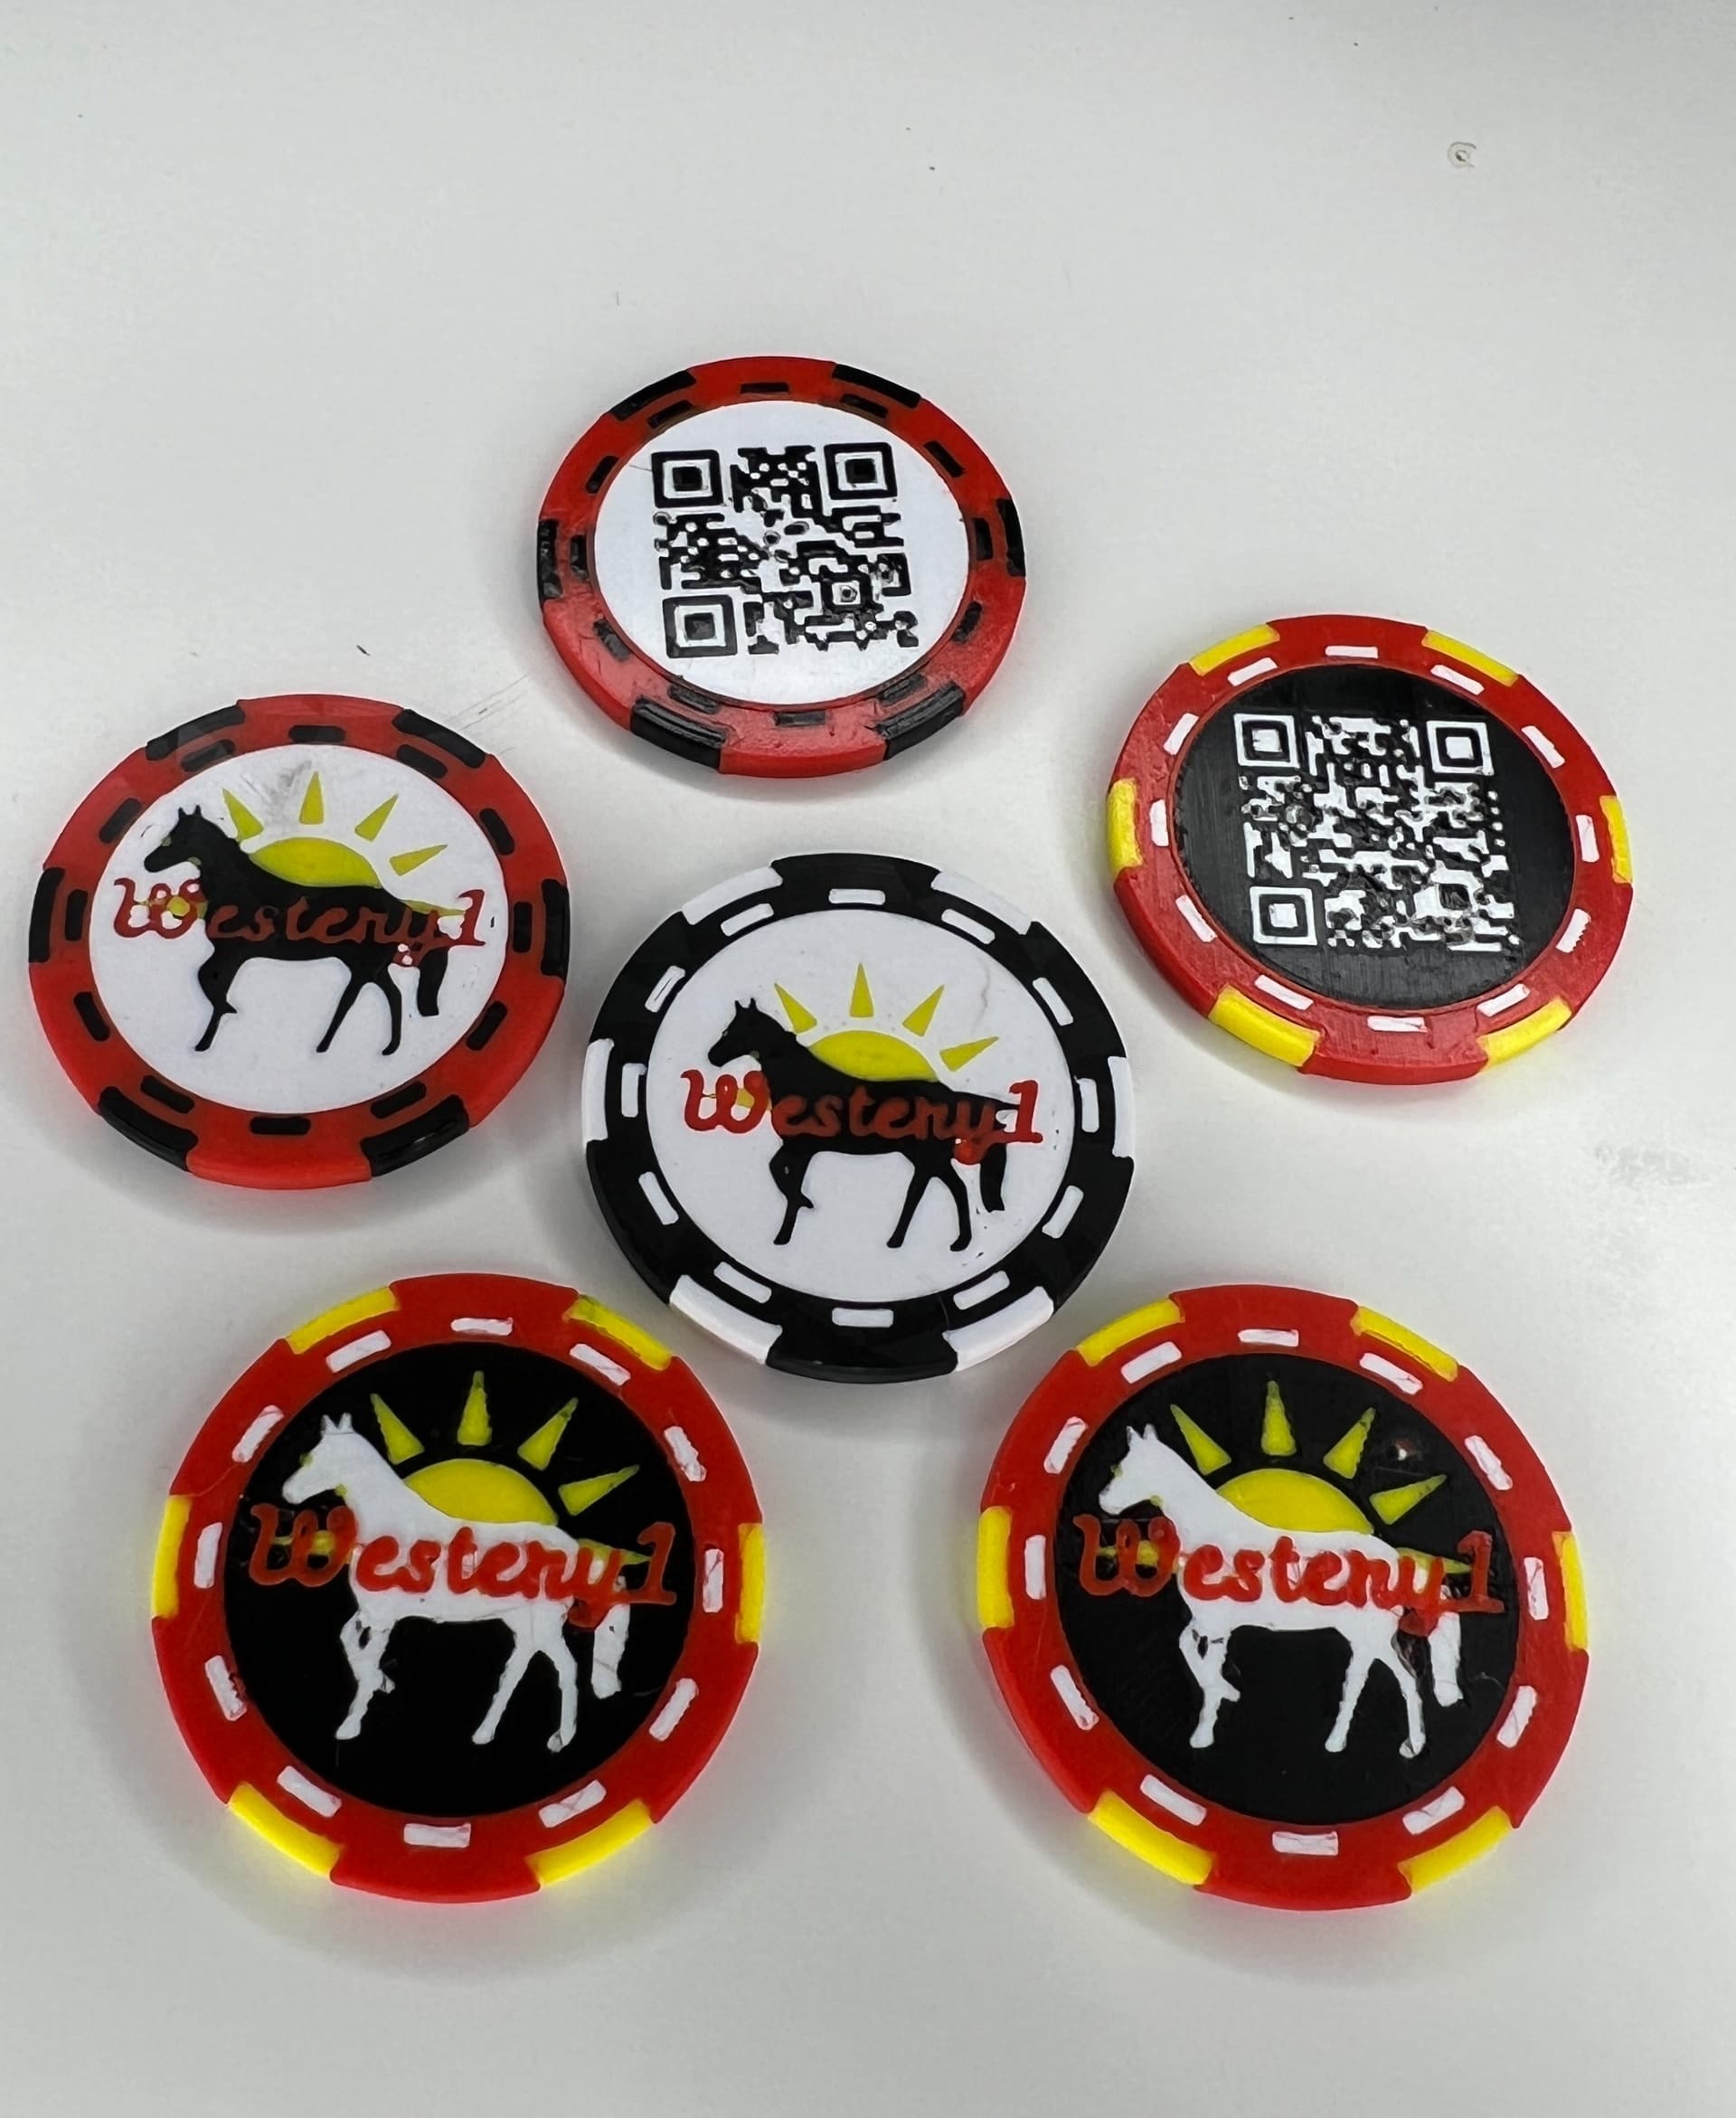
MakerChip - Maker Chip - The New Maker Coin
Full collection of MakerChips click here!
Come visit the MakerChip Booth at 3DPrintopia 2025 and share your MakerChips! Join the “MakerChip Mania Collector Contest" - Sponsored by Polymaker
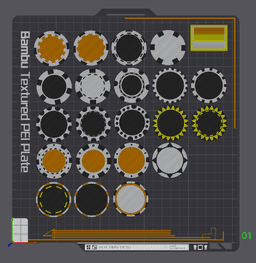
MakerChips! 21 Styles for your customizing pleasure! (More “decorations” coming soon, be sure follow & check back.)
DIY Instructions: Open Bambu Studio Drag/Drop the Base Circle into slicer - K2_MakerChip_v1-Back.stl. Add the version of Chip Decoration you want to use. Center the Chip decoration Switch to Objects view (In the Process dialog box in the slicer - Photo Included) Select objects, right click and Assemble. Slice to check your MakerChip Top and Bottom!
Adding your own logo: Create your logo as STL, Logo z-height only needs to be 0.6mm to 0.8mm. Size your logo to fit your Maker Chip. You can scale, but be sure to maintain your .8mm height. In the Objects view, select your logo and select the assembly, right click and merge/combine. Slice to verify you completed this correctly, and Print!
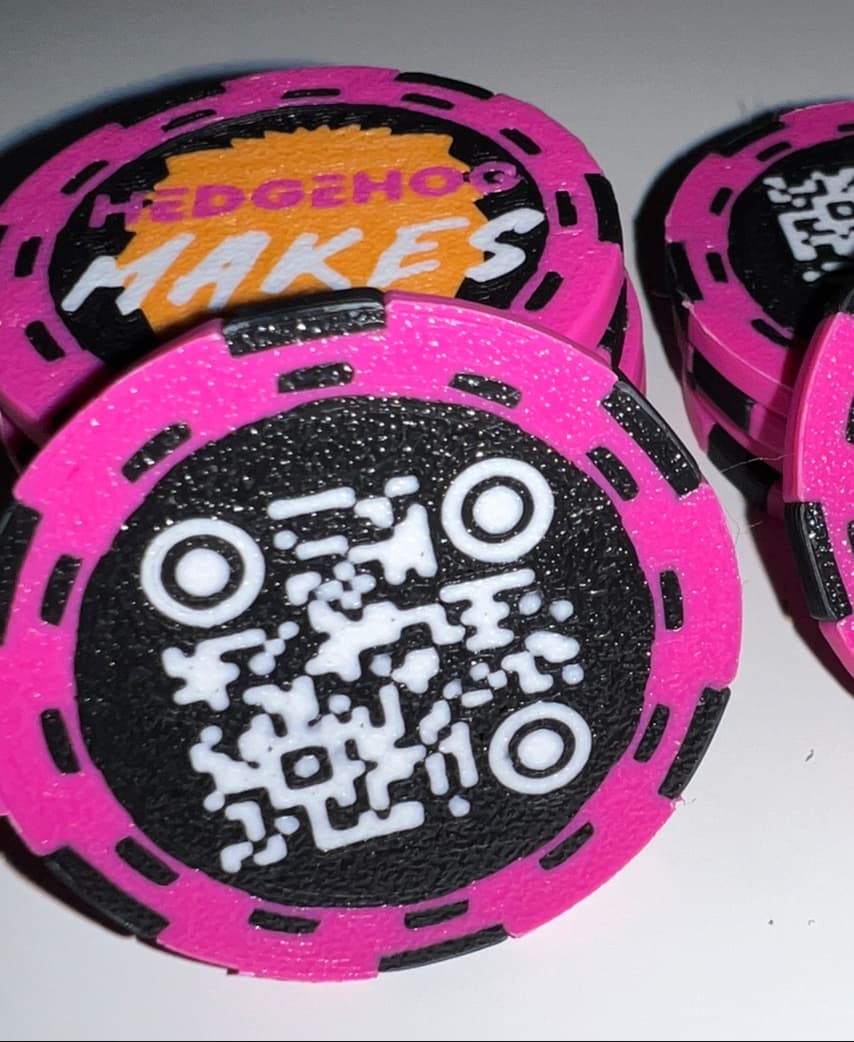
Adding your own QR Code: I've had great success using: https://genqrcode.com/generator/stl to create QRCodes.
- Create your QR code as STL
- Size is 26mm for most chips (you can always scale in the slicer)
- QR-Code z-height only need to be 0.6mm to 0.8mm.
- Size your logo to fit your Maker Chip. You can scale, but be sure to maintain your .8mm height.
- In the Objects view, select your QR-Code and select the assembly, right click and merge/combine.
- Now use the MOVE option in slicer to move the QR code up until its just peaks through the top layer.
- You can also flip your chip, and place the QR code on the bottom (so it's “easy even” with the layer), dont forget to flip it back over once merged.
- Slice to verify you completed this correctly, and Print!
NFC CHIP: (Internal - Placed inside your MakerChip)
- Using sample profile I provided. (NFC MakerChip Sample)
- You will notice I added a Generic-Cylinder. This is a negative space modifier that provides a 1mm x 25mm circle space in the center of the chip.
- You will also notice a PAUSE (After you slice) at layer 10.
- Send to printer…
- When your Printer pauses, you insert your NFC TAG. I prefer to use the adhesive NFC tags, so the printer fans don't cause NFC Tags to move after placed.
- After the Pause, you will noticed the printer will start the next layer which bridges over your NFC Tag, very little if any contact with your NFC Tag and the Hot Nozzle.


MakerChip - Maker Chip - The New Maker Coin

Gridfinity Magnetic Baseplates - Assortment

Chicago Bears - Iceman Caleb Williams "The Throw"
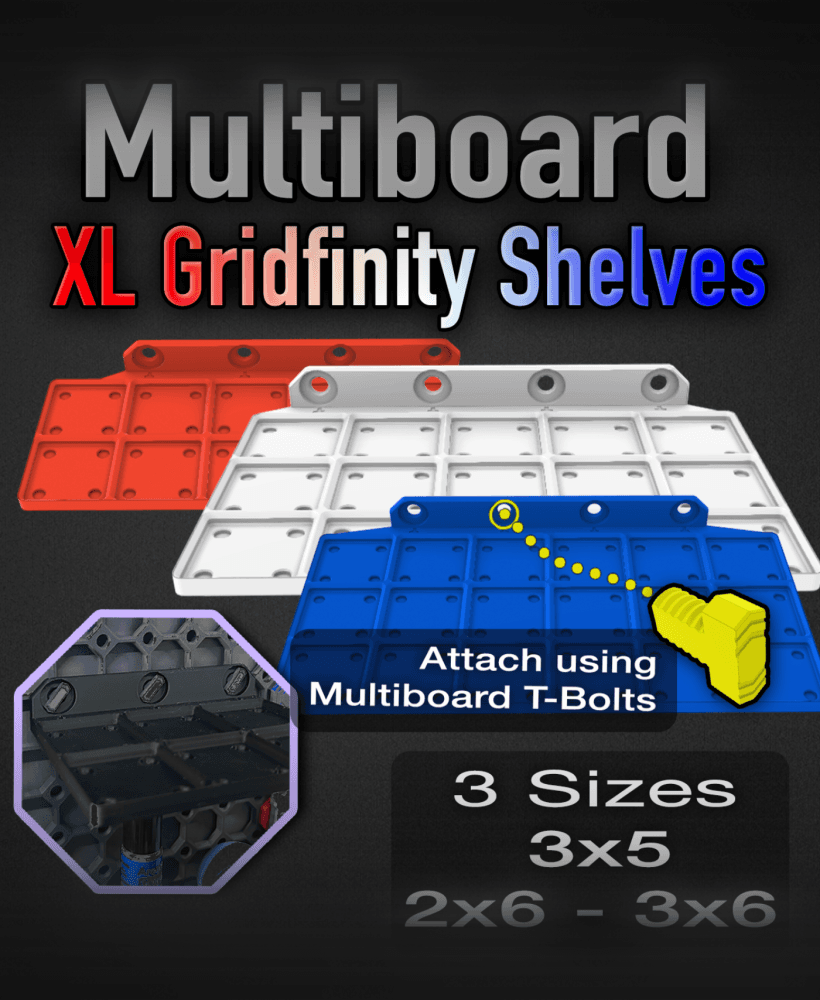
MultiBoard Gridfinity Shelves 3x4, 3x5, 2x6, 3x6

Pro Streamer - BigTreeTech Panda Touch
Skull - Hueforge
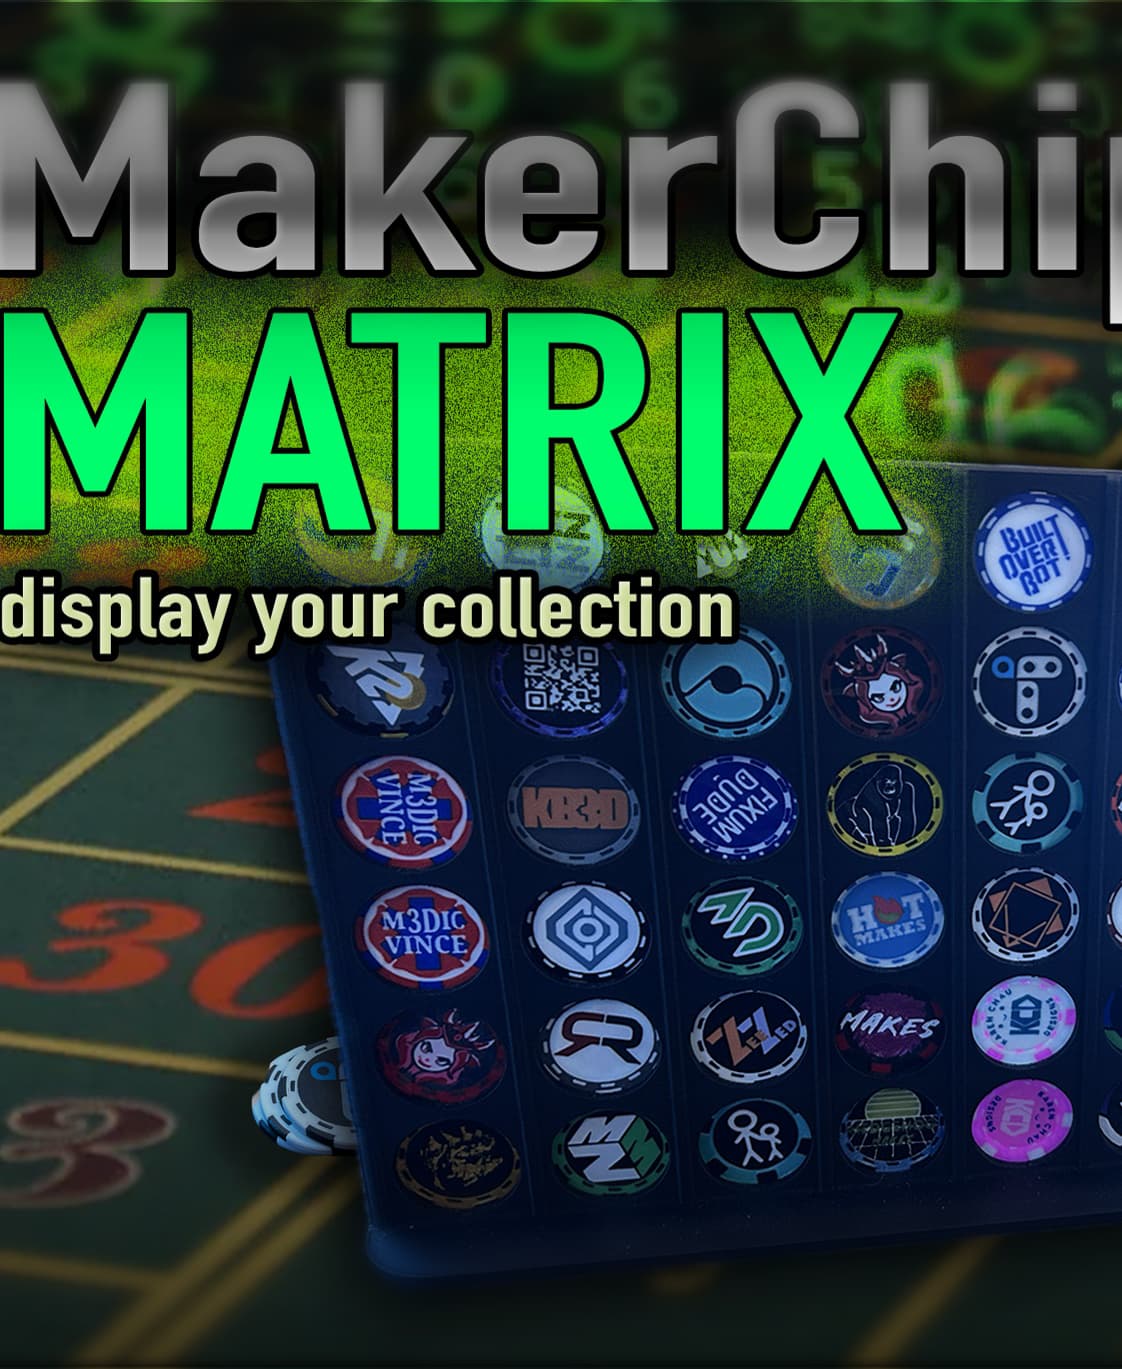
MakerChip Matrix
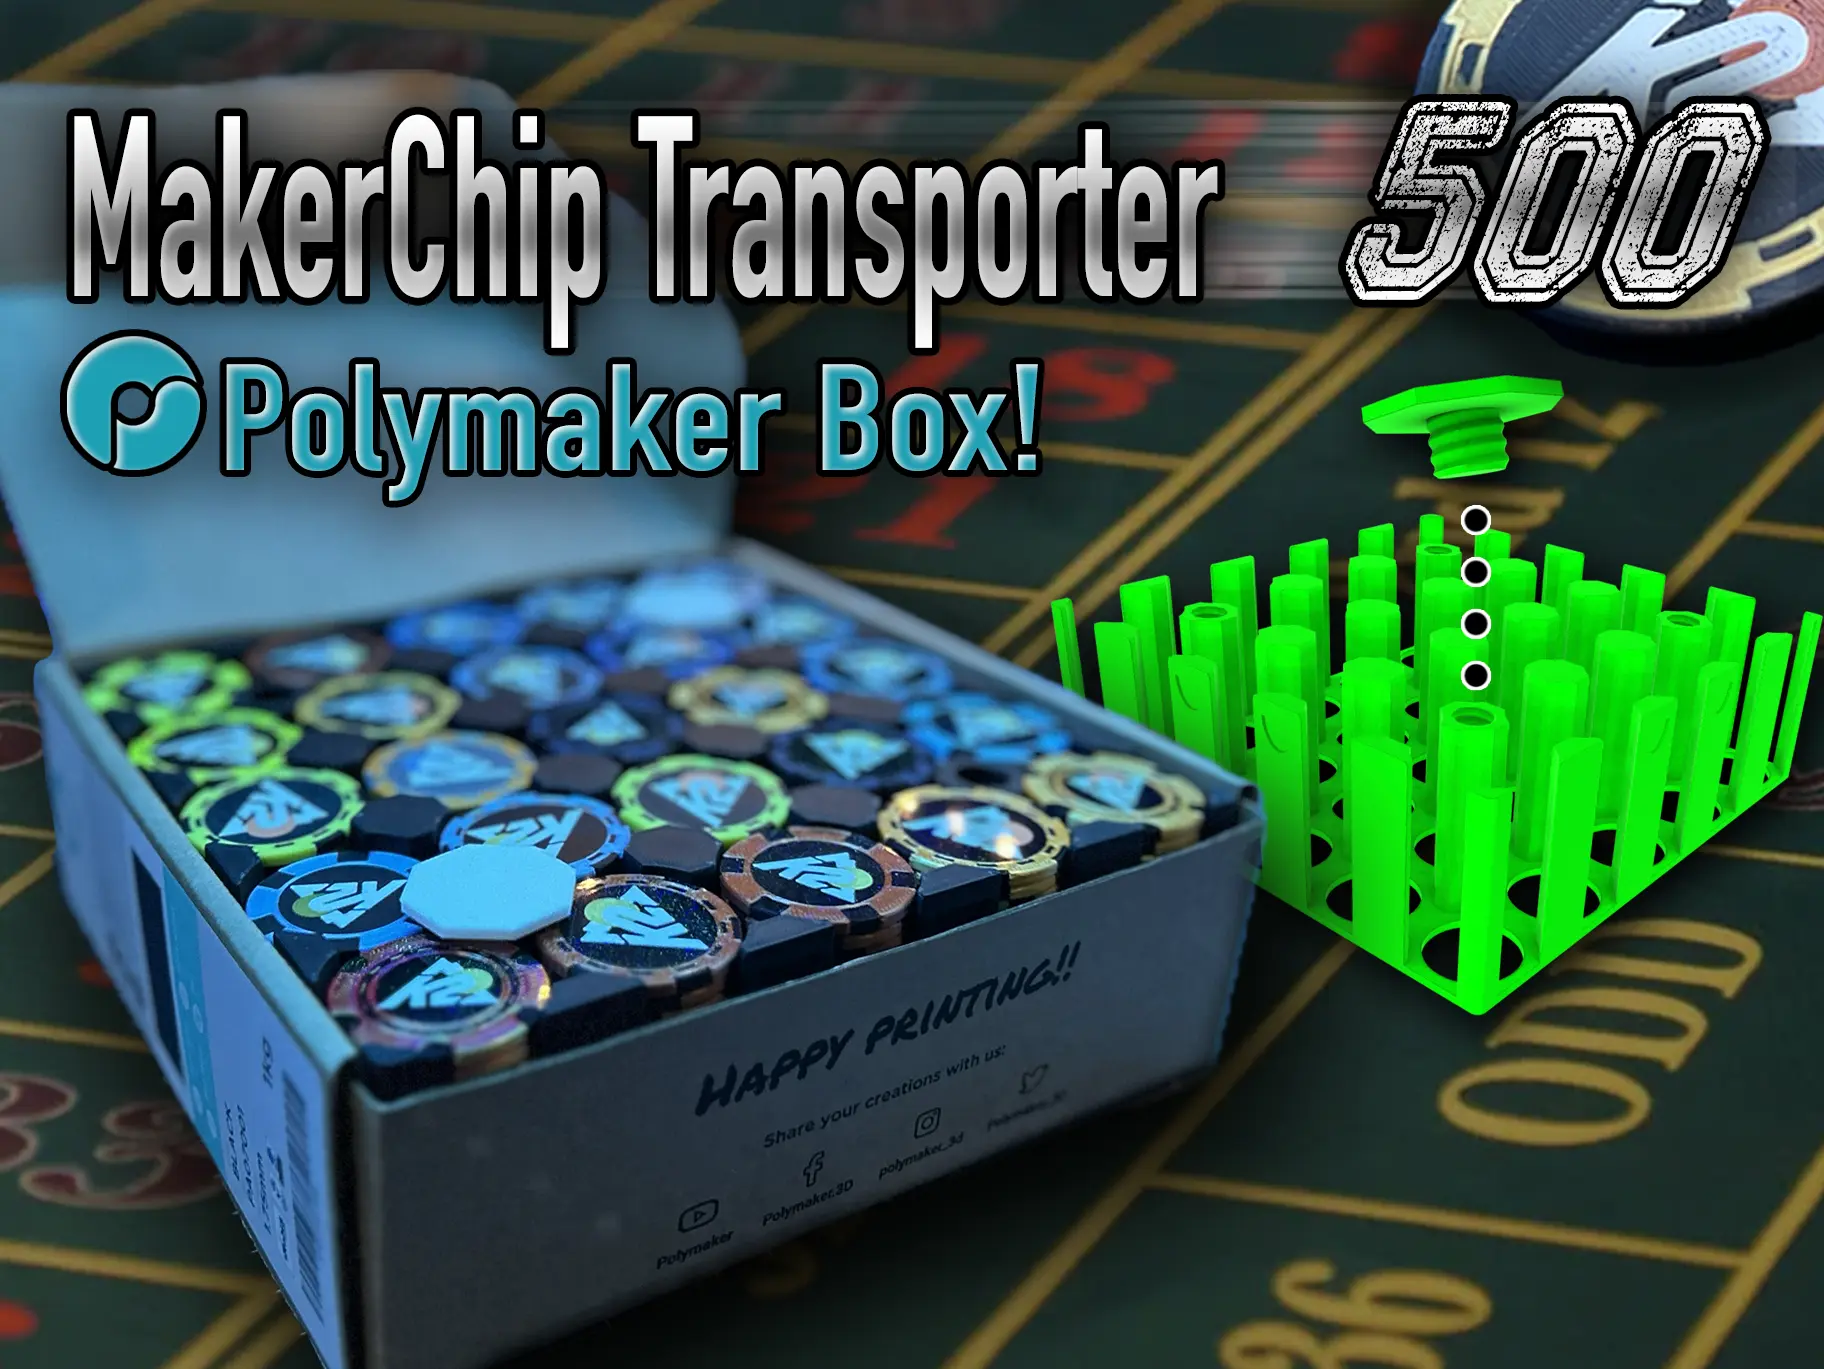
MakerChip Transporter 500 - Polymaker Insert
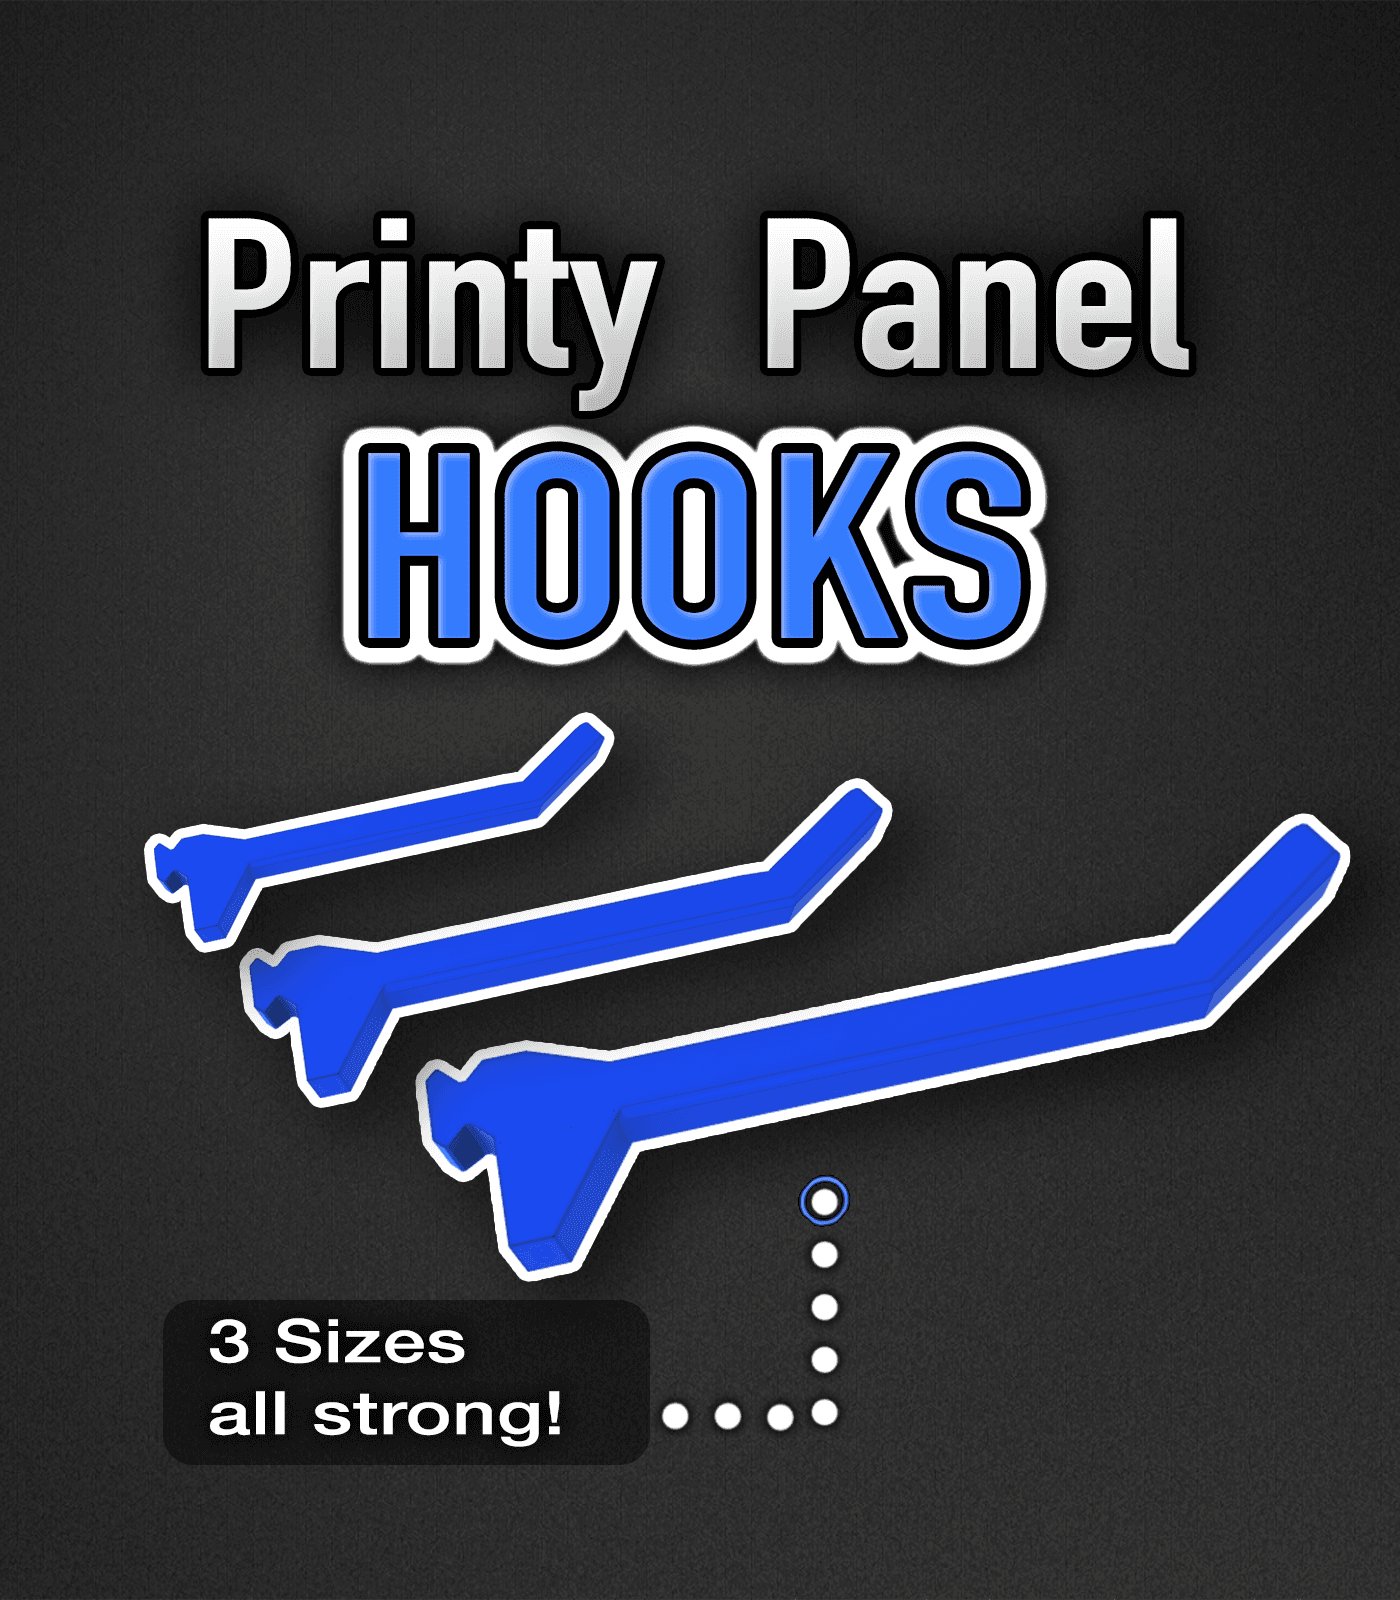
Printy Panel Hooks (Small - Medium - Large)
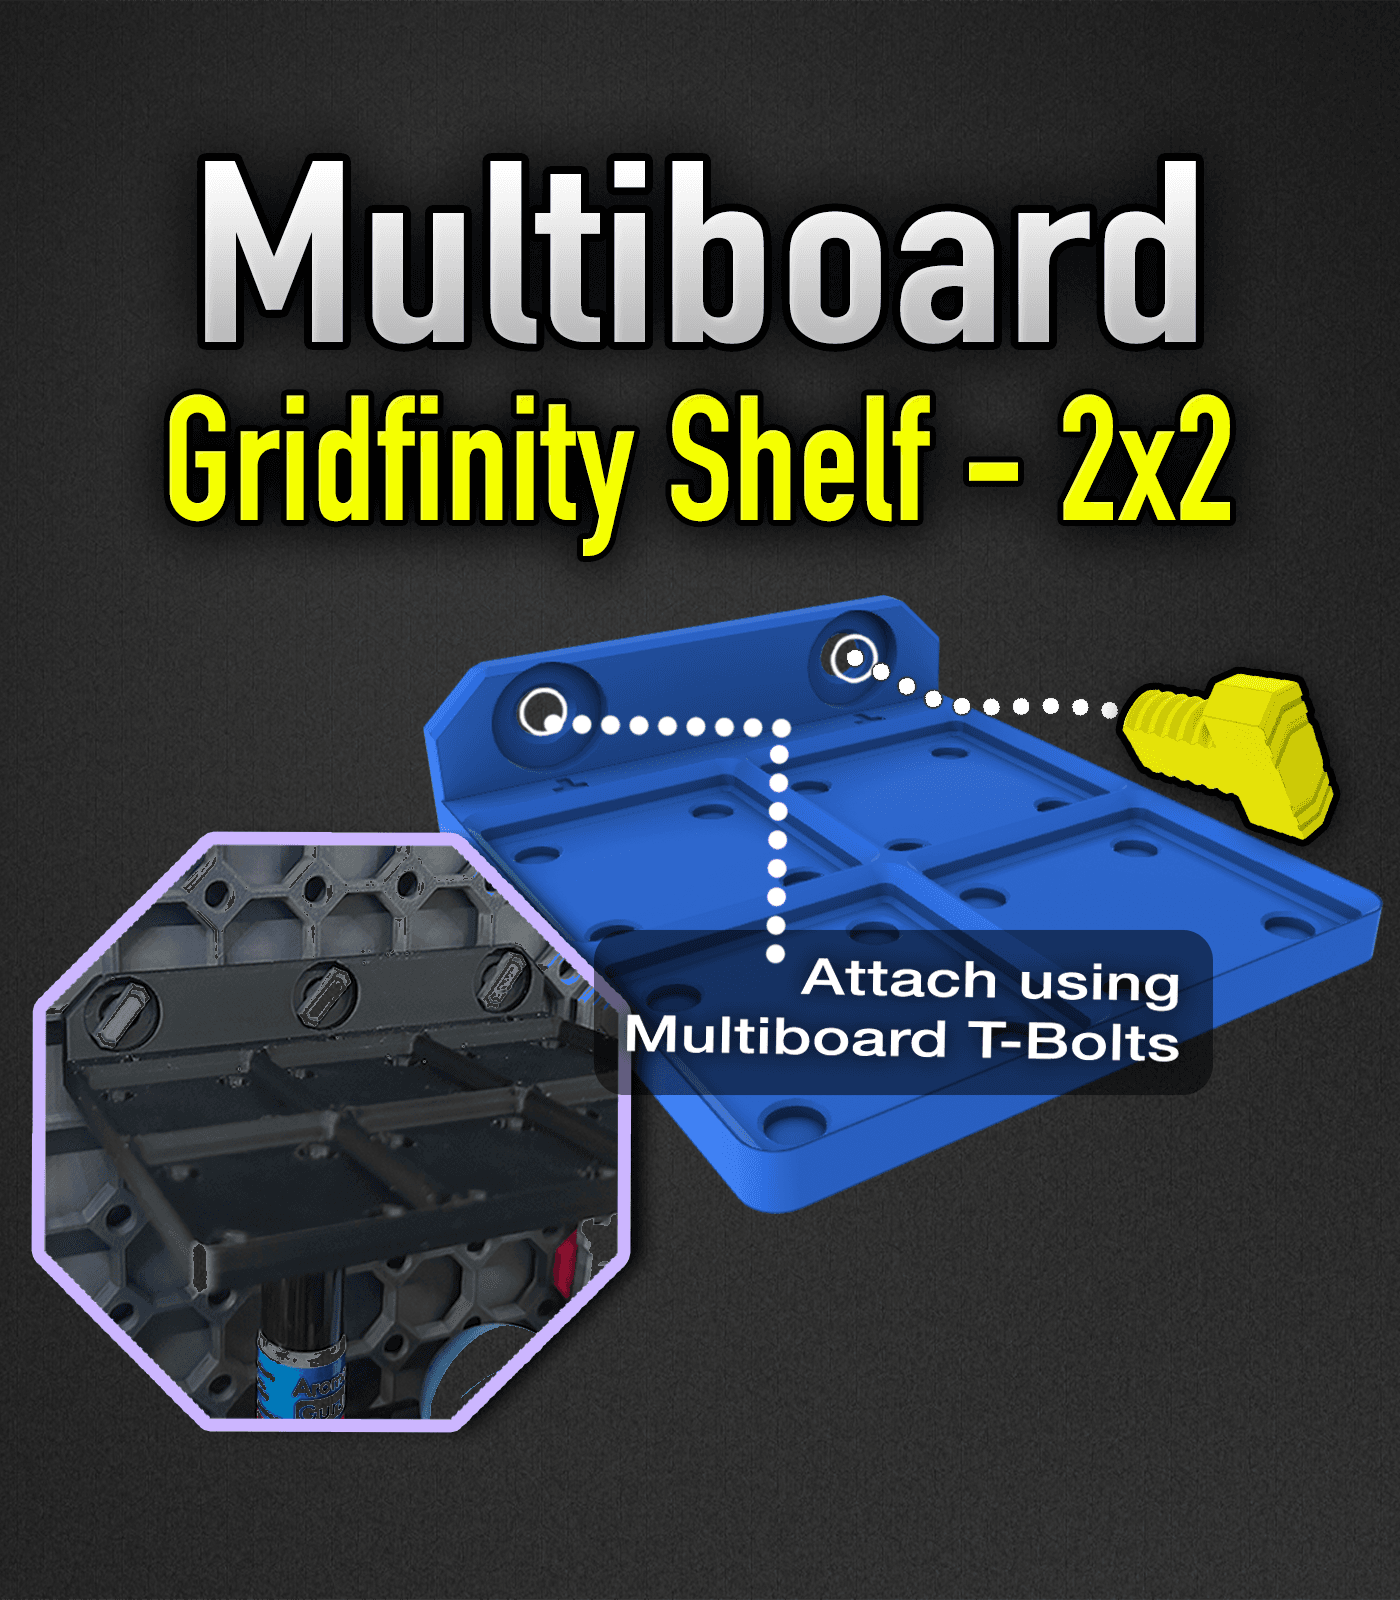
MultiBoard Gridfinity Shelf 2x2
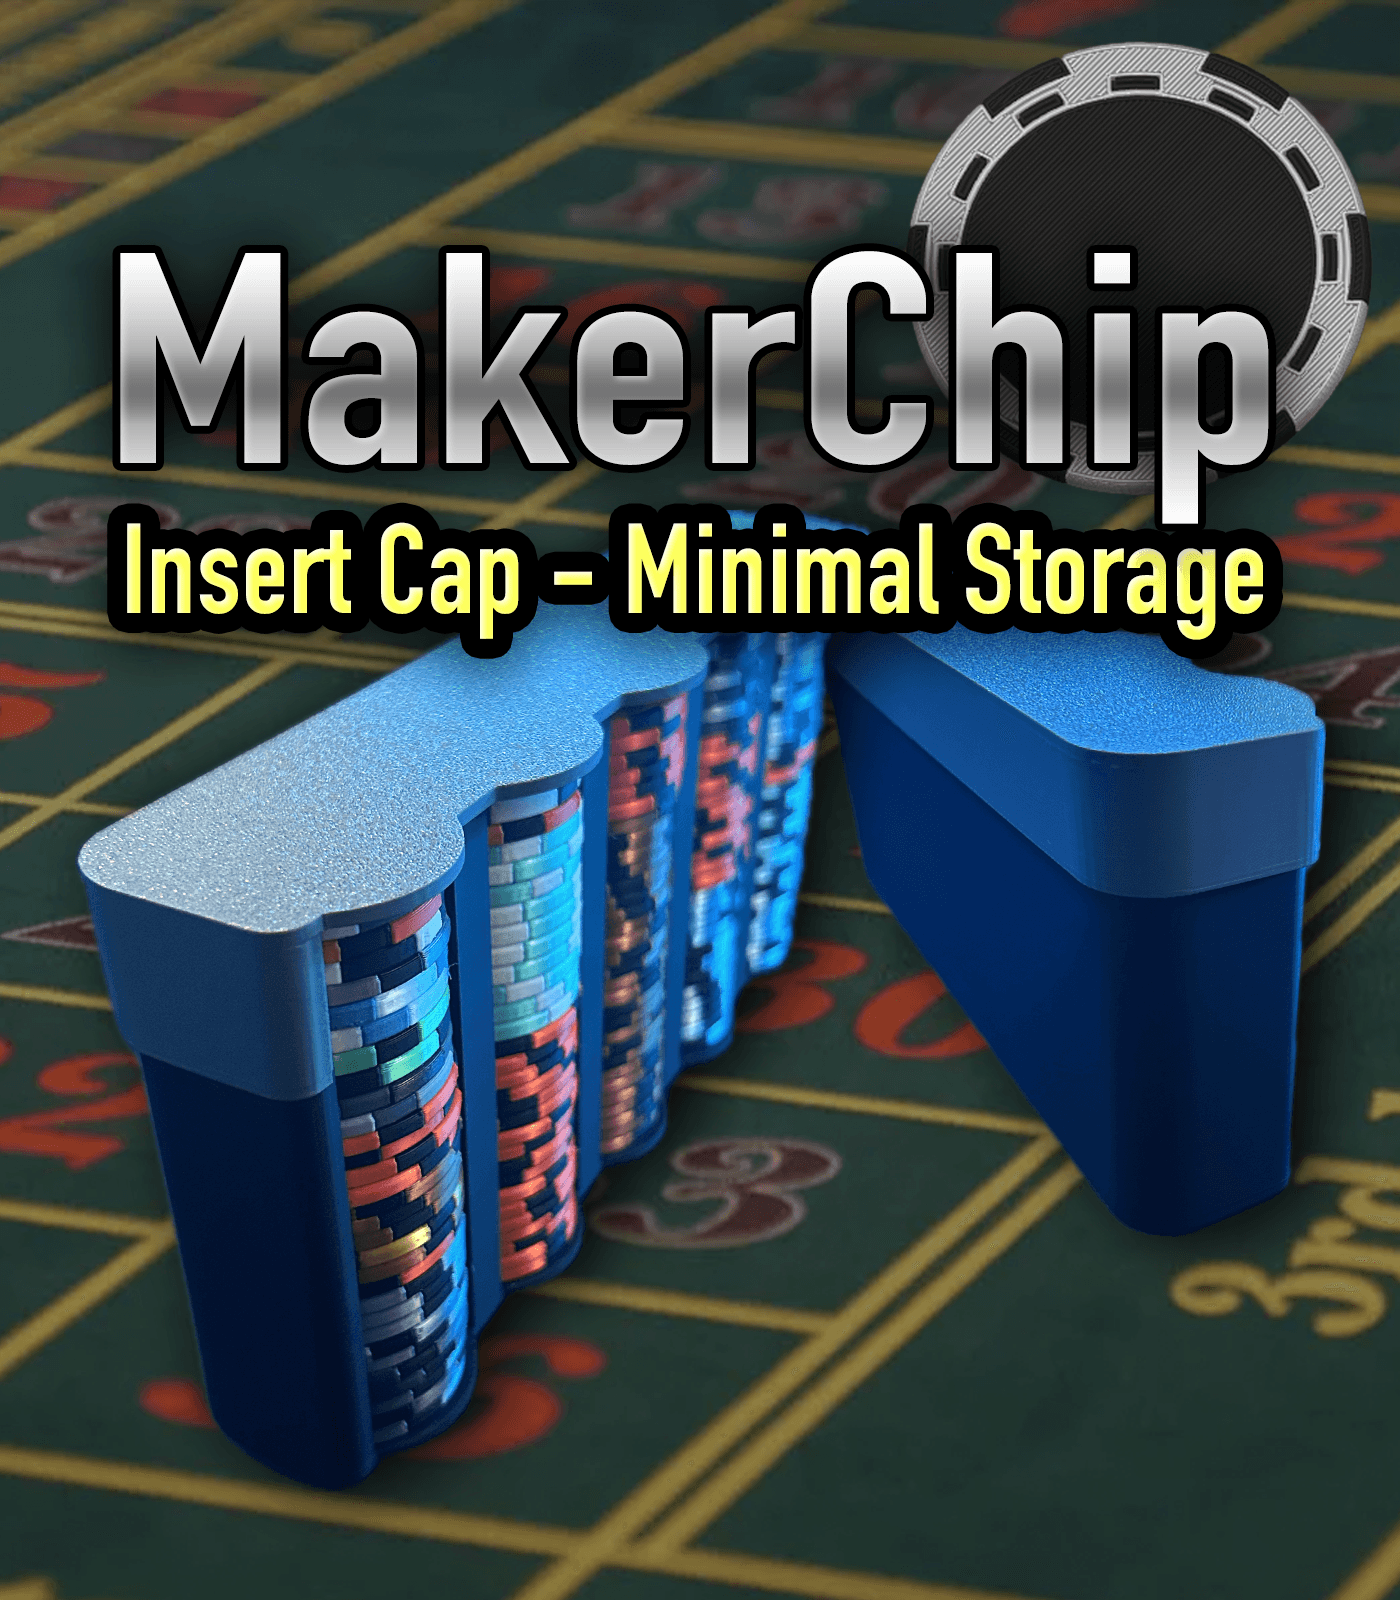
MakerChip Insert CAP - Minimal Storage Solution

MultiBoard Pen_, Pencil, Marker
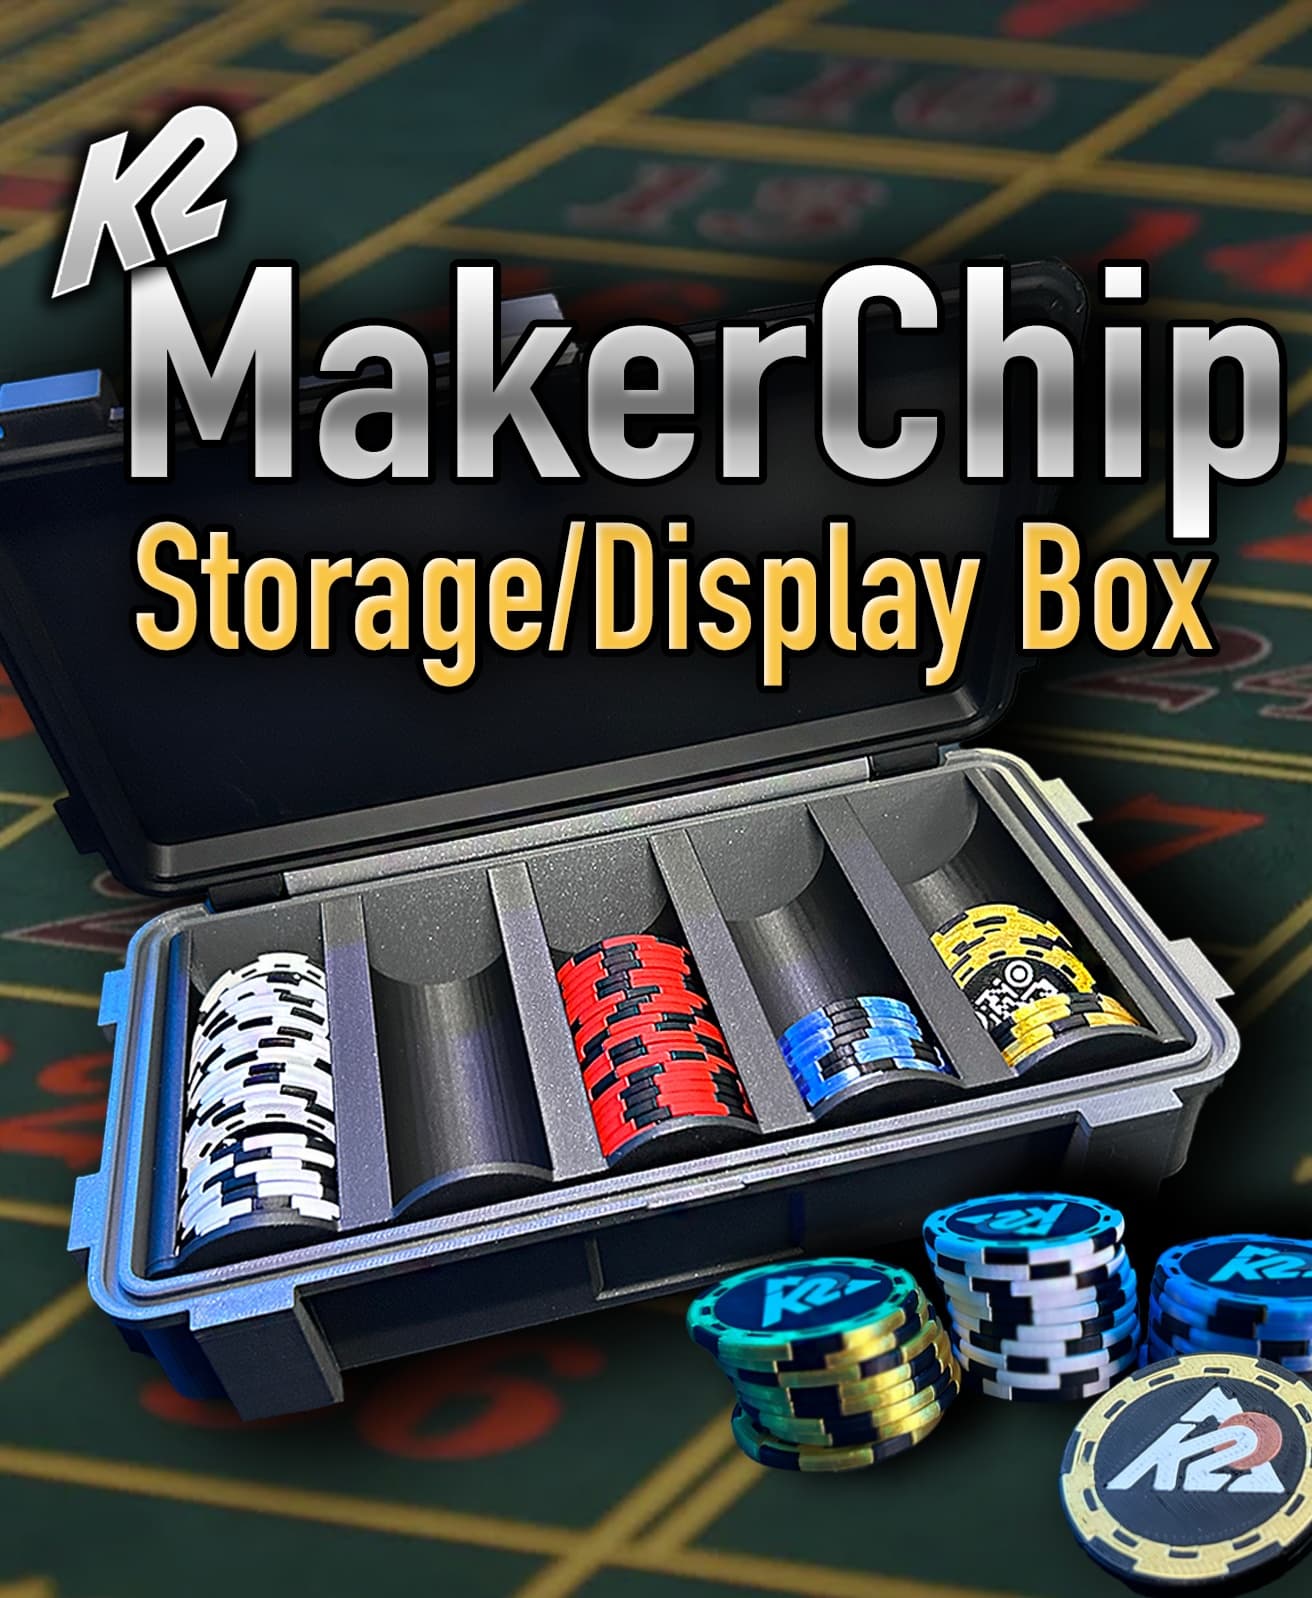
MakerChip Storage & Display Box

Halloween Peep Collection
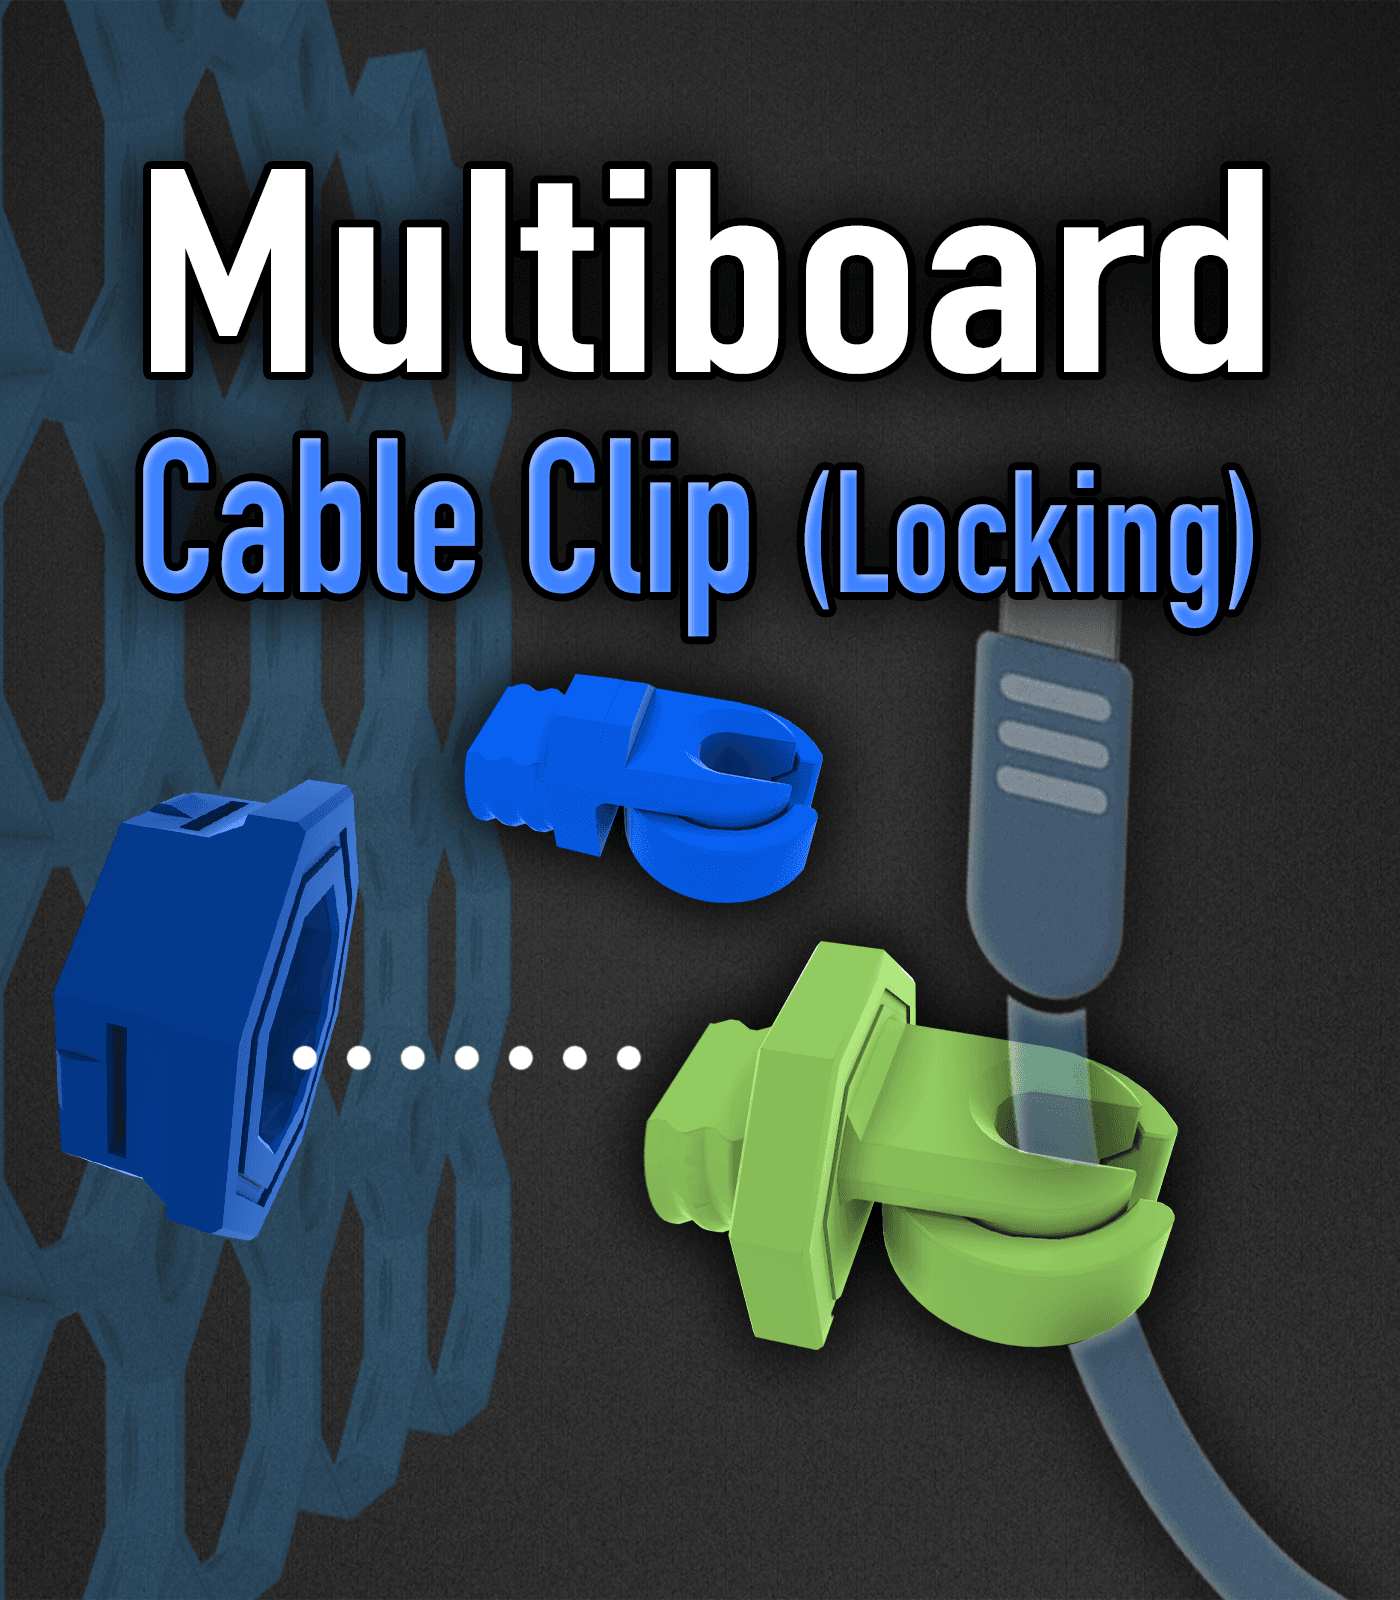
Multiboard Cable Clip
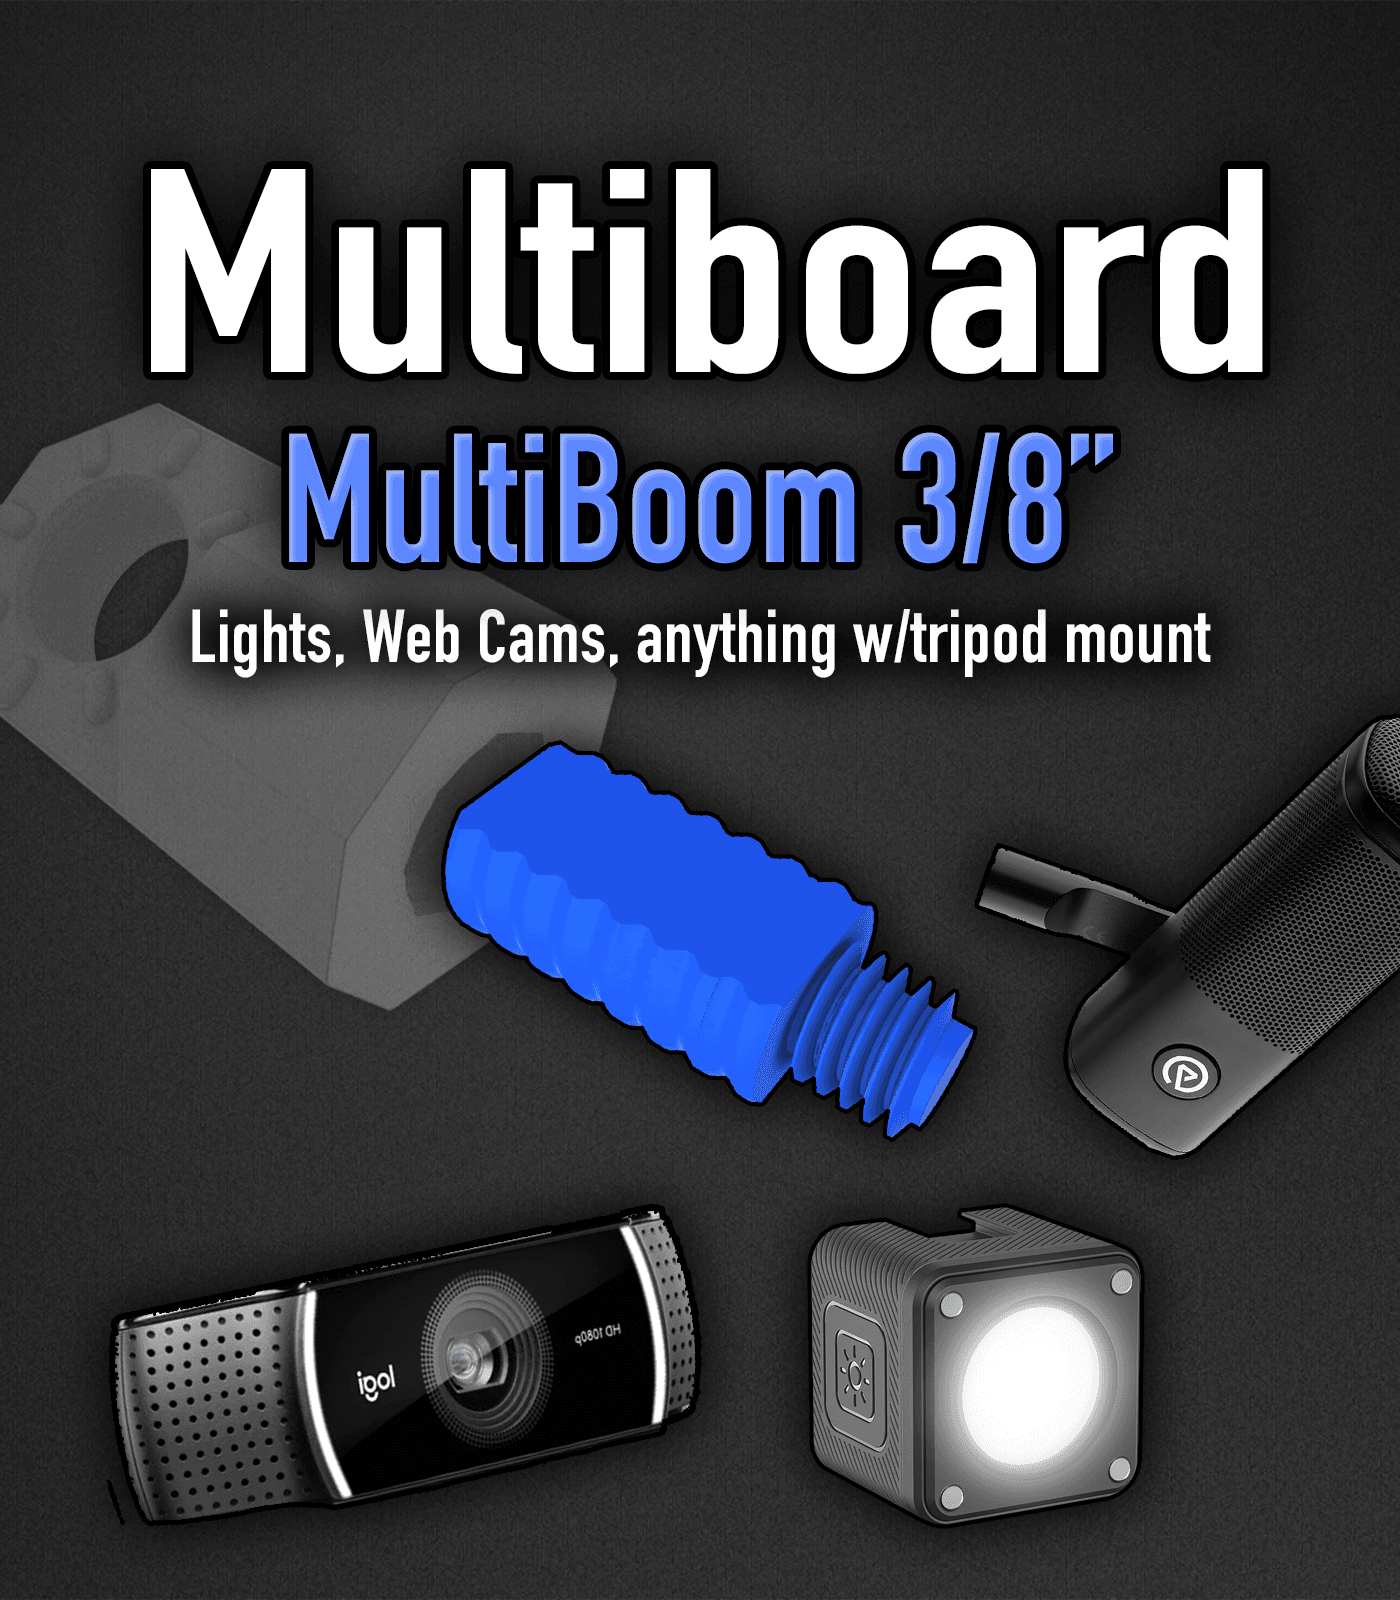
MultiBOOM 3/8 Adapter
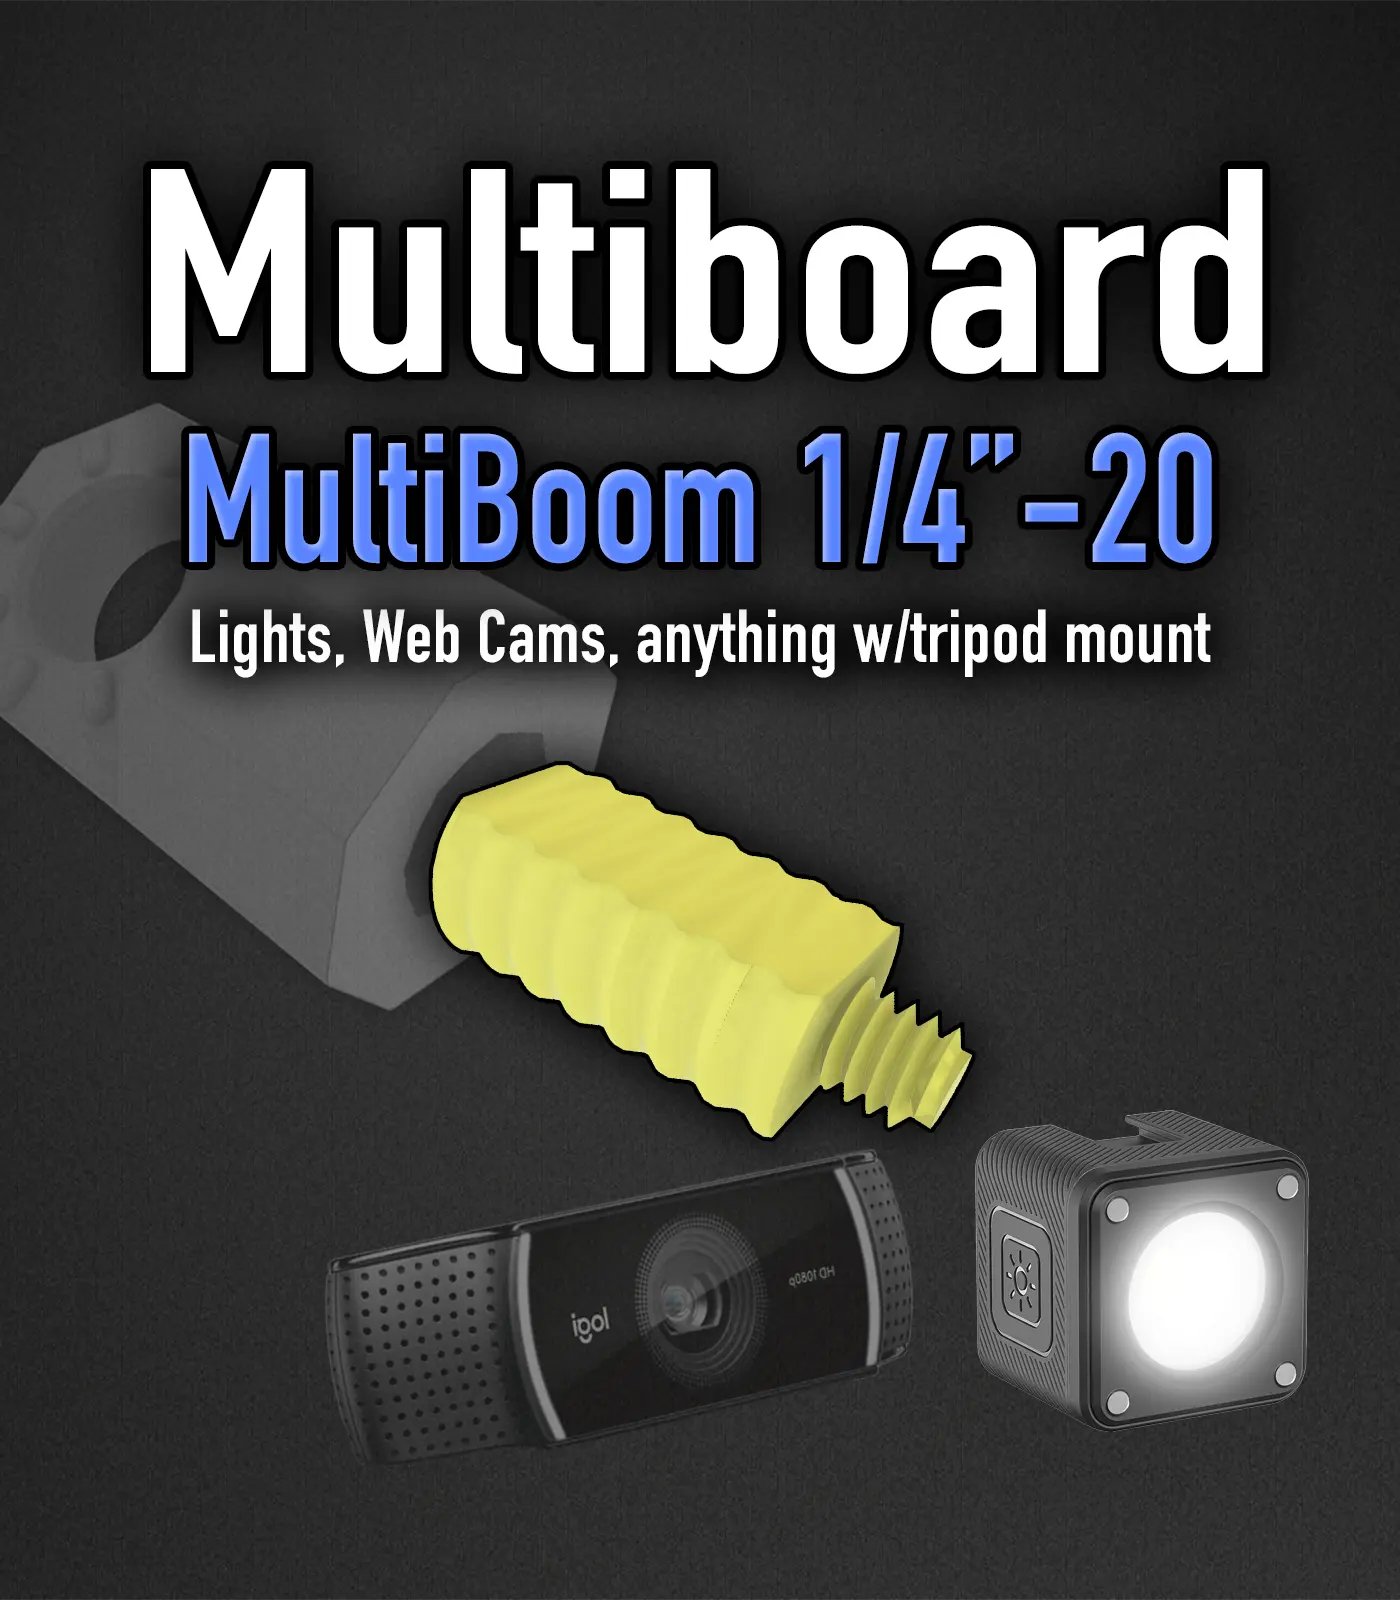
MultiBOOM 1/4-20 Adapter
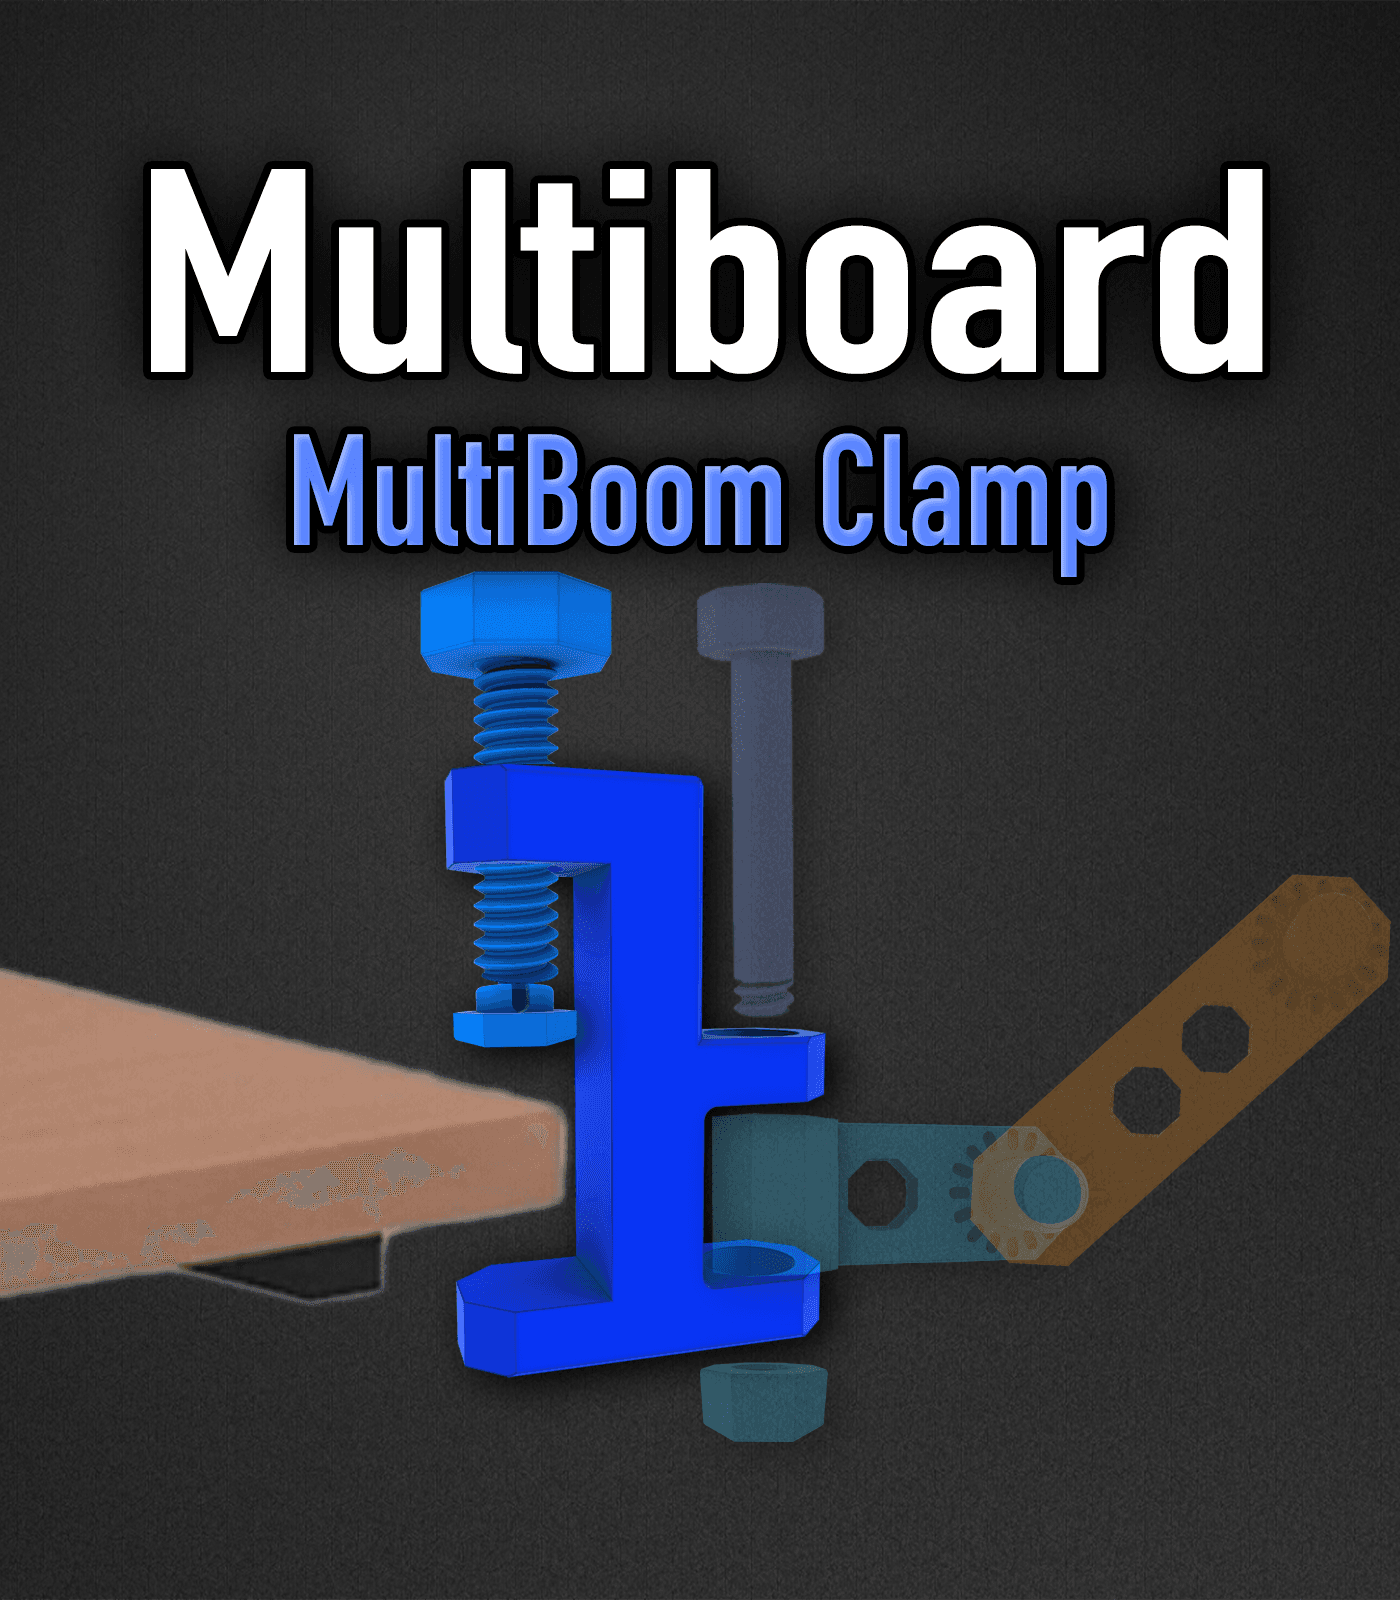
MultiBOOM Clamp
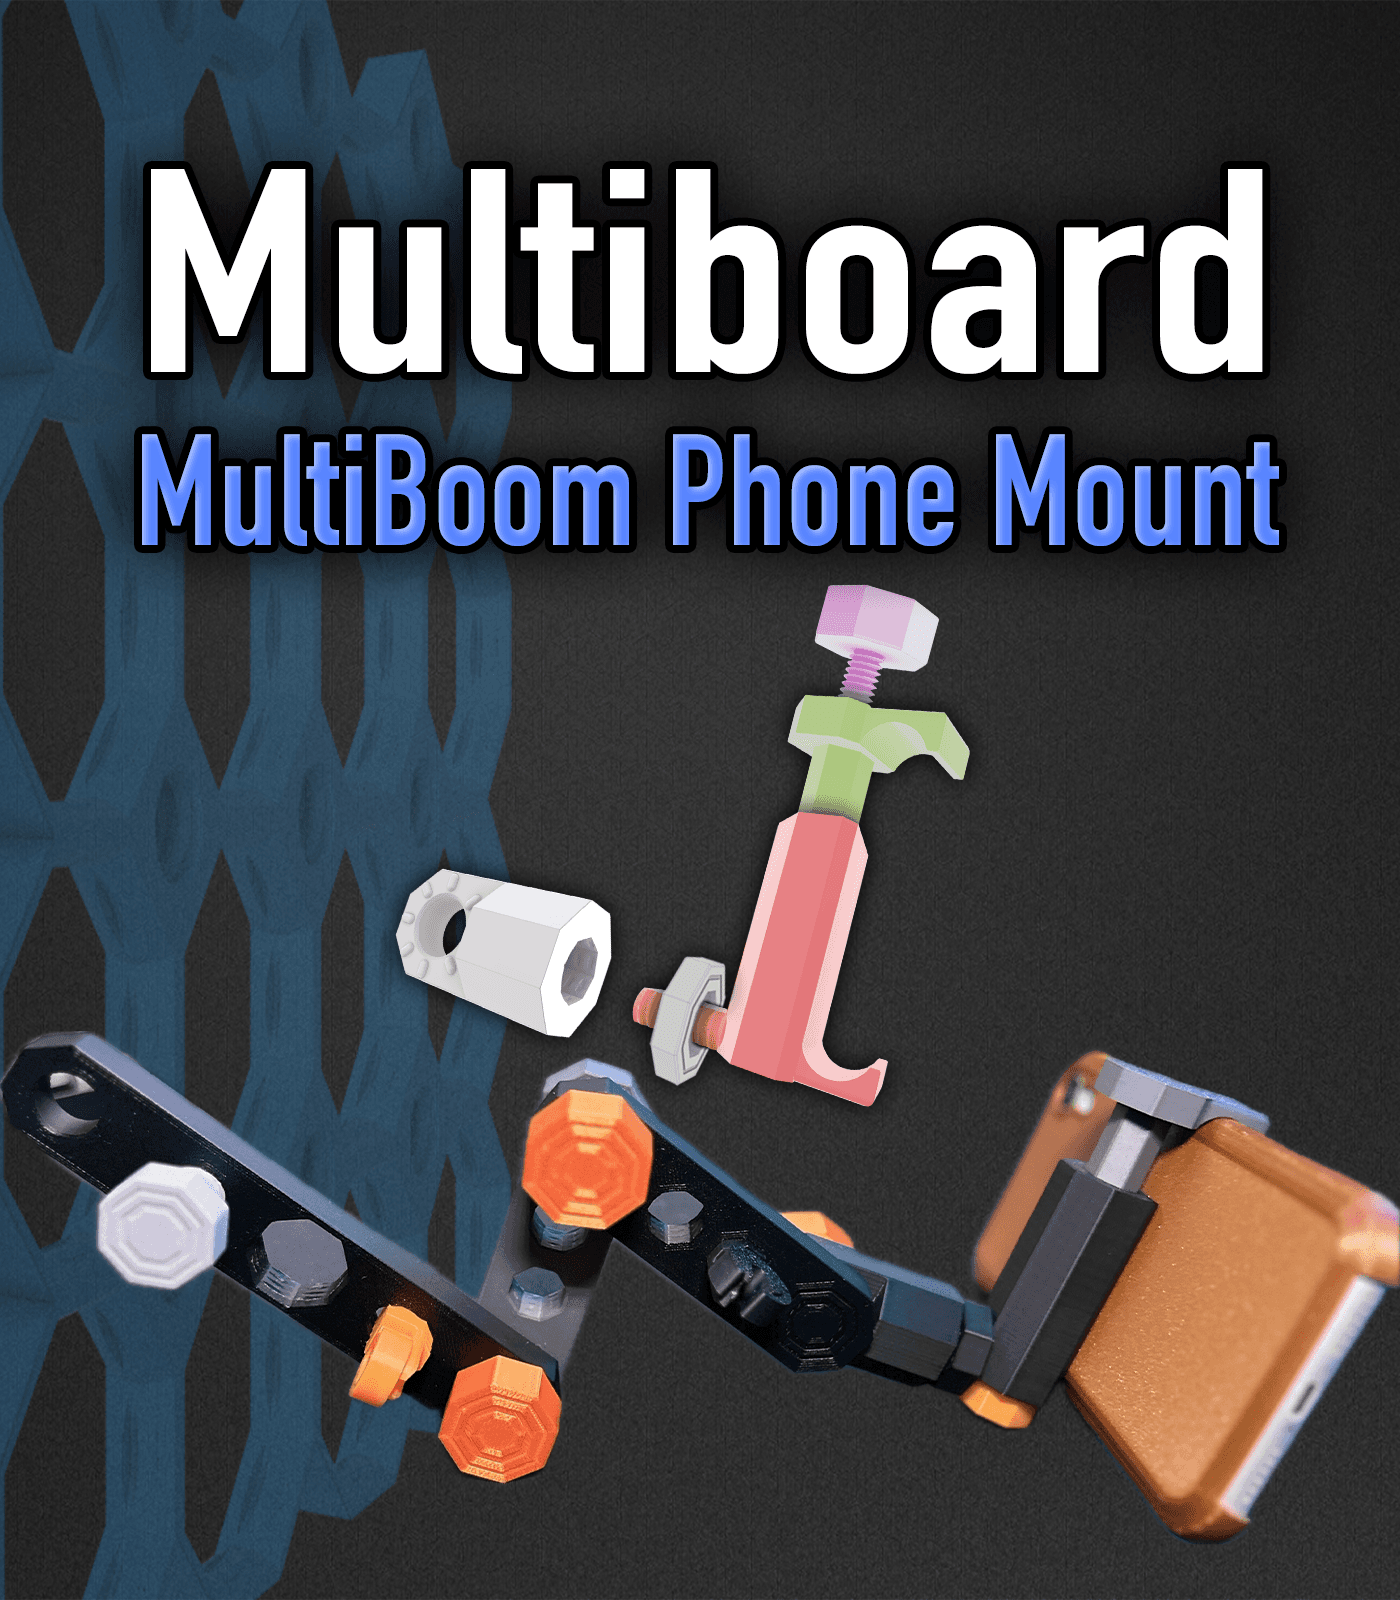
MultiBoom Phone Holder / Mount - Multiboard
MultiBoom Arm - Multiboard Boom Arm

Your QR code looks like it's a really long URL
https://makerworld.com/en/models/415825?from=search#profileId-540868
https://youtu.be/yzmXMKTeie0?si=1fB1kaR_TkiMcb1G
What QR code generator did you use ? I like the circle generated QR Code. I just don't know where to find it.
https://genqrcode.com/generator/stl
IMPORTANT: Looks like the OLD back (main circle) file version was still being download. Replaced it again. If you had issues with Z-height of chip, download NEW version.
Hi, I'm using the settings from the file on here and seem to be getting some gapping in between the two colours (especially with the gear design) on the top of the chip. Ironing makes it marginally better, any tips?
Instead of maker coins or for some other purpose?
It is a different take on a maker coin, simple QR code advertising, any purpose, or Poker Chips (they are designed to meet basic standards of a casino chip)