


.png&w=256&q=75)
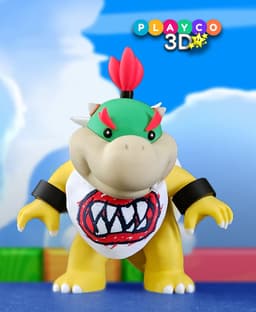
Bowser Jr.
Bowser Jr. has arrived!
The mischievous son of Bowser is ready to join your Mario collection. This 3D model comes in multiple parts for easy printing and assembly, with details like his trademark bandana and clawed arms. Whether you scale him to match the rest of your Mario lineup or print him larger for display, Bowser Jr. is a fun and colorful addition to your shelf.
Dimensions:
At the recommended 125% scale profile, Bowser Jr stands about 6.5 inches (165 mm) tall Scaling up shouldn’t cause any issues. If scaling down smaller than the old profile (100%) scale, be mindful of the tolerances.
Colors Used: Bambu Basic: White, Black, Green, Red Bambu Matte: Desert Tan (Face/Chest), Lemon Yellow, Terracota (Shell Rings) Bandana: Bambu Matte: White, Scarlet Red, Dark Blue Esun PLA+: Bone White (Spikes)
Print Profiles: Bandana Options The 3-color AMS Bandana takes about 10.5 hours to print and uses around 180 g of filament. A non-AMS version of the Bandana is also included. Other AMS Parts Body (with foot claws) Hands and claws Eyes Spikes Horns
For the smaller scale profile (100%), use a 0.2 mm nozzle to capture fine details like the eyes and claws.
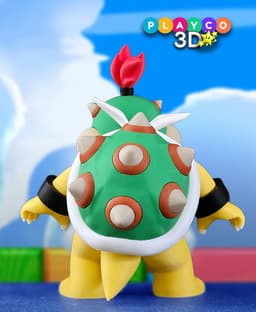
Assembly steps: Attach the foot claws to the body. Attach the chest piece into the body. Prepare the green shell: One spike is different (the bottom spike). Look for the notch on the ring—it should point upward. Attach the green shell to the white shell, then attach to the body. Attach the left and right arm bands (marked L and R), then add the hands and claws. Attach the mouth to the green head, then attach the tooth. Assemble the hair with the black band, then glue it onto the head. Attach the left and right horns. Each has a small notch at the bottom—this notch should point toward the hair. Attach the left and right eyebrows. Build the eyes and insert them into the head. Place the bandana and the head onto the body at the same time, and securely glue in place. Attach the bandana tie.
All done! Bowser Jr. is fully assembled and ready to cause some chaos alongside his dad. From his bandana to his sharp little claws, he’s a mischievous addition to your Mario lineup and sure to stand out in your collection.
Thanks so much for building him—be sure to tag @Playco3D if you share your photos, I’d love to see your finished Bowser Jr.!

Stripe (Gremlins)

Rocko (Rocko's Modern Life)

Chris Griffin (Family Guy)

Ice Man (Mega Man)

Inspector Gadget

Cobra Commander (G.I. Joe)

Waylon Smithers (Simpsons)

Lion-O (Thundercats)

Philip Fry (Futurama)

Rosalina and Luma (Mario Bros.)

Lois Griffin (Family Guy)

Sideshow Bob (Simpsons)

Drill Man (Mega Man)

Cut Man (Mega Man)

Gizmo

Chef (South Park)

Peter Griffin

Officer Eric Cartman
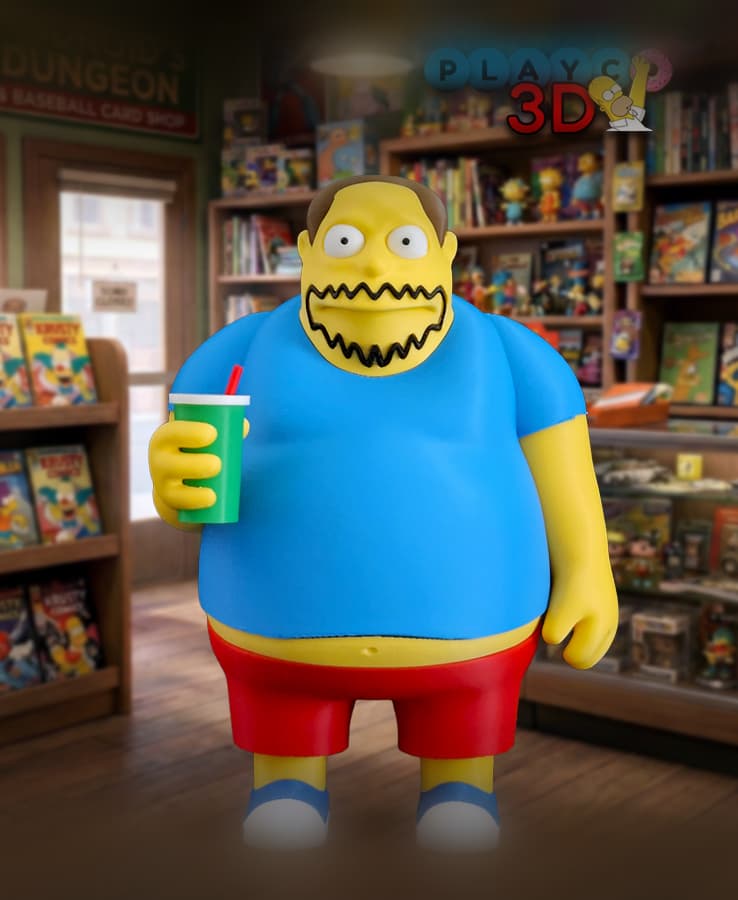
Comic Book Guy
