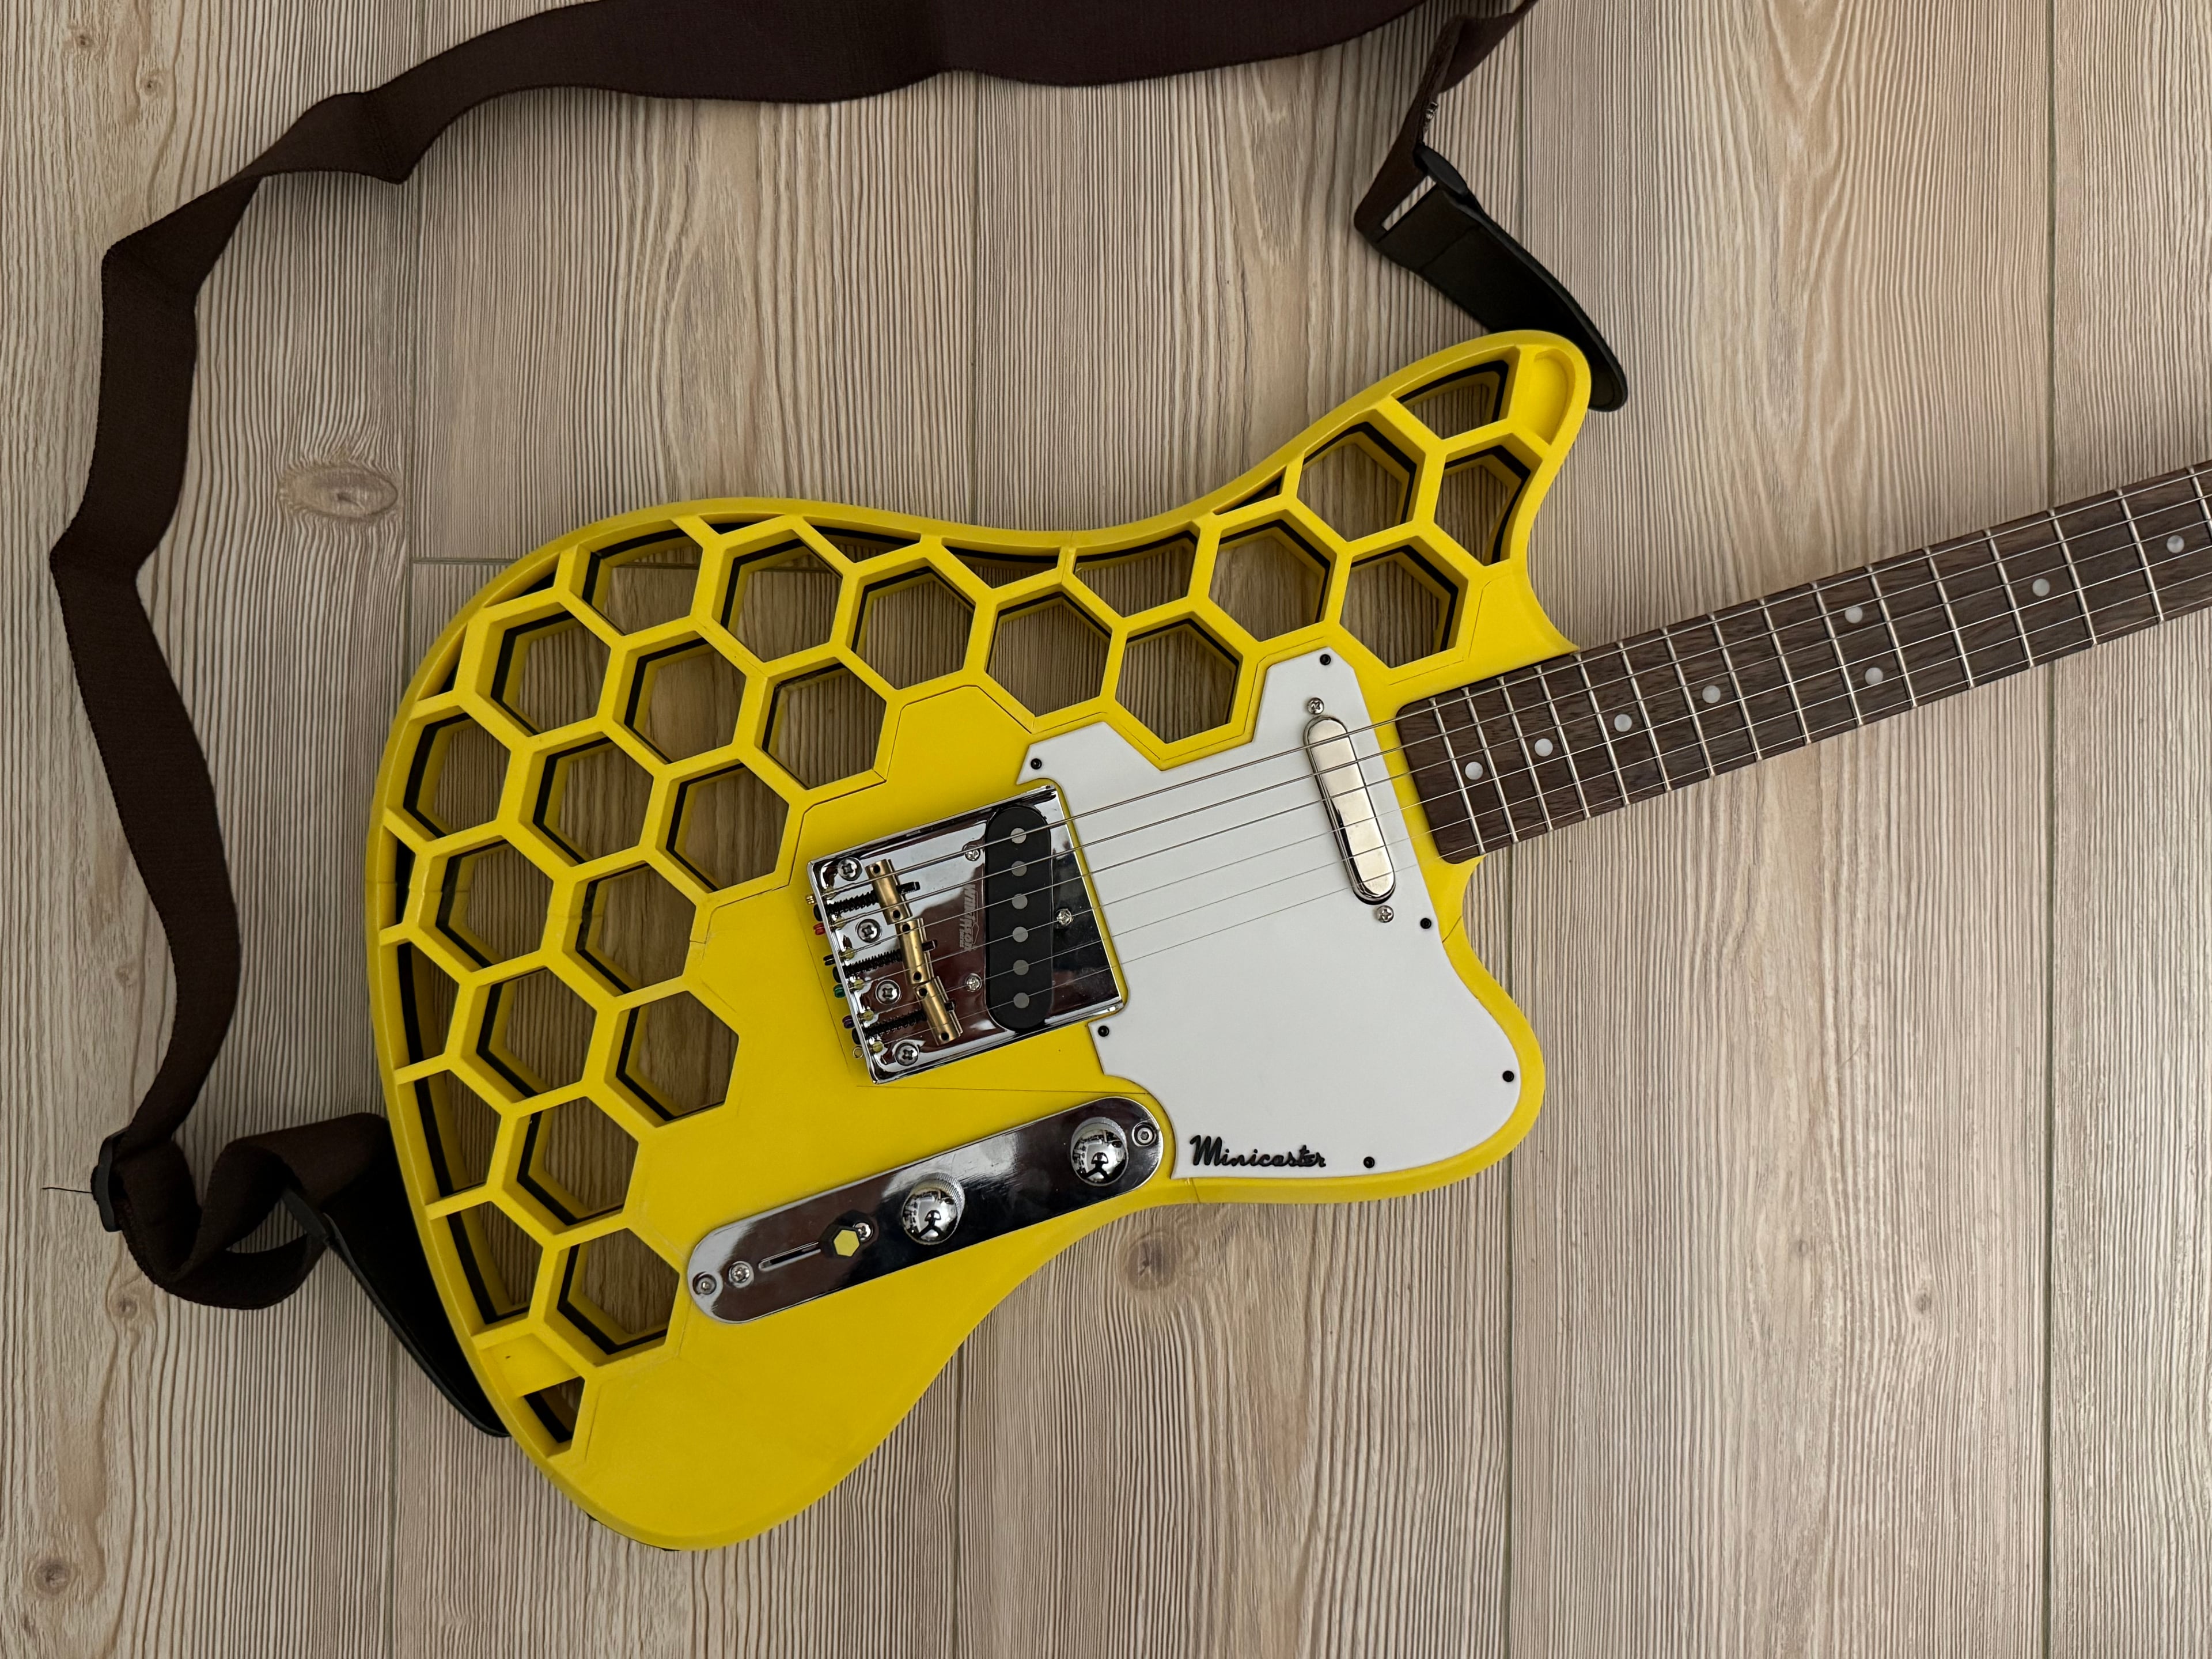


Minicaster Premium 2025
Over the 2024 Holidays, I remixed the Minicaster (itself a remix of the Prusacaster) into this Premium version.
I didn't want to use the Amazon and Thomann kits as the quality of the components was likely not great for the price.
Instead, I purchased a Telecaster neck on ebay and the following on AliExpress. I've been extremely pleased with the end results!
Bill of MaterialsNote that some of these links are affiliate---I'm only sharing items that I personally bought and used for this build.
- About 2.5 rolls of filament. I used Elegoo PLA+. The print settings have been set to ensure as solid of a body as possible. Don't change them!
- 1 Squier or Fender telecaster neck---this project includes my own remix designed with an accurate Telecaster neck plan. I bought from Twangulator on Ebay and can recommend them.
- 1 Wilkinson WOT01 Tele Bridge on AliExpress---this one is great!
- 1 Fleor Vintage Alnico Pickups for Telecaster---these pickups are a-ma-zing. Mind-blowing quality and sound for the price!
- 1 prewired Telecaster plate on AliExpress (I ended up redoing the wiring and the screws broke on this one---you could maybe find a better one)
- 1 neck plate on AliExpress
- 1 strap locks on AliExpress
- 1 jack input on AliExpress
- 1 jack plate on AliExpress (this wasn't a perfect fit, feel free to use a different one)
It's a pretty long project---it will take you a few days to print all the parts. Don't rush it.
AssemblyYou'll need to glue the different parts together. I used Epoxy glue and it was a bit too messy to my taste. You could maybe be ok with just super glue.
The original model has holes for M6 bolts---I haven't felt the need for them.
However, to join the 2 core parts, I've used 10-24 bolt dipped in epoxy to strengthen the bond.
Once the body is assembled, you can screw the neck using the screws and the neck plate
Preparation- First, you'll need copper adhesive tape to isolate the pickups and electronics cavities.
- You'll then need to screw the pickups onto the bridge plate and the pickguard, and pass the wires in the tunnels between cavities
- Don't forget to put a ground wire under the bridge plate!
- You'll need to solder the pickups, ground wires, and jack input onto the plate
- Test everything before screwing the plate and pickguard!
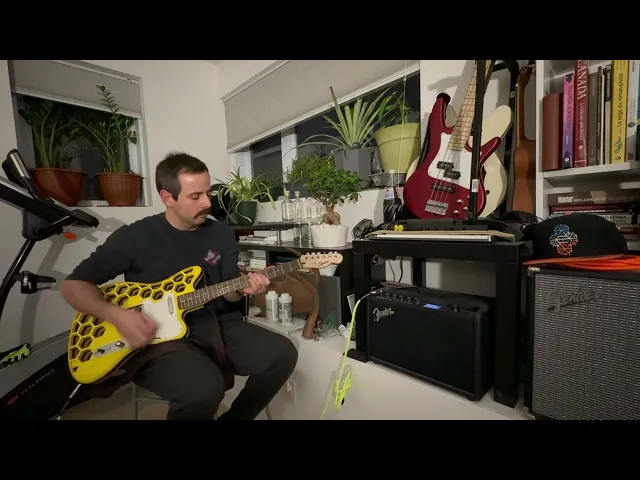
- Once you've validated that your wiring is functional, you can string the guitar and tune it.
- Rock'n'roll!

Hobbit Door - Lore and Decor - Mas Fuego 3D Productions

TMNT Stand - Hands of Power - Mas Fuego 3D Productions

Charizard (Dragon) Inspired Gaming Accessory Stand - Mas Fuego 3D Productions

Green Ranger - Hands of Power - Mas Fuego 3D Productions

Deku - Hands of Power - Controller Holder Gaming Accessory Stand

Red Black Blue Ranger Gaming Stand - Hands of Power - Mas Fuego 3D Productions

Enchanted Vine Forest - Mystic Mounts - Mas Fuego 3D Productions

The Shredder - Hands of Power - Mas Fuego 3D Productions

White MM Power Ranger - Hands of Power - Mas Fuego 3D Productions

Omni Man - Hands of Power - Gaming Accessory

Pink Yellow Ranger Gaming Stand - Hands of Power - Mas Fuego 3D Productions

Lord Zedd - Hands of Power - Mas Fuego 3D Productions

The Thing - Hands of Power - Mas Fuego 3D Productions

Invincible Stand - Hands of Power - Mas Fuego 3D Productions

Kaiju No 8 - Hands of Power - Mas Fuego 3D Productions

Sailor Moon - Mystic Mounts - Controller Holder Gaming Accessory Stand

Daredevil Born Again Stand - Hands of Power - Mas Fuego 3D Productions

Green Lantern - Hands of Power - Mas Fuego 3D Productions

Space Ghost - Hands of Power - Gaming Accessory Stand

Could you separate each part into an STL file so it is easier to print?
The 3MF has all the parts and configuration to make it a successful print. I don't plan on releasing a separate STL versions (you can use the original uploads including mine and configure your slicer as you see fit)