


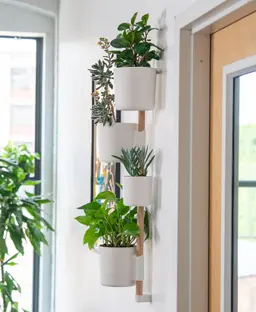


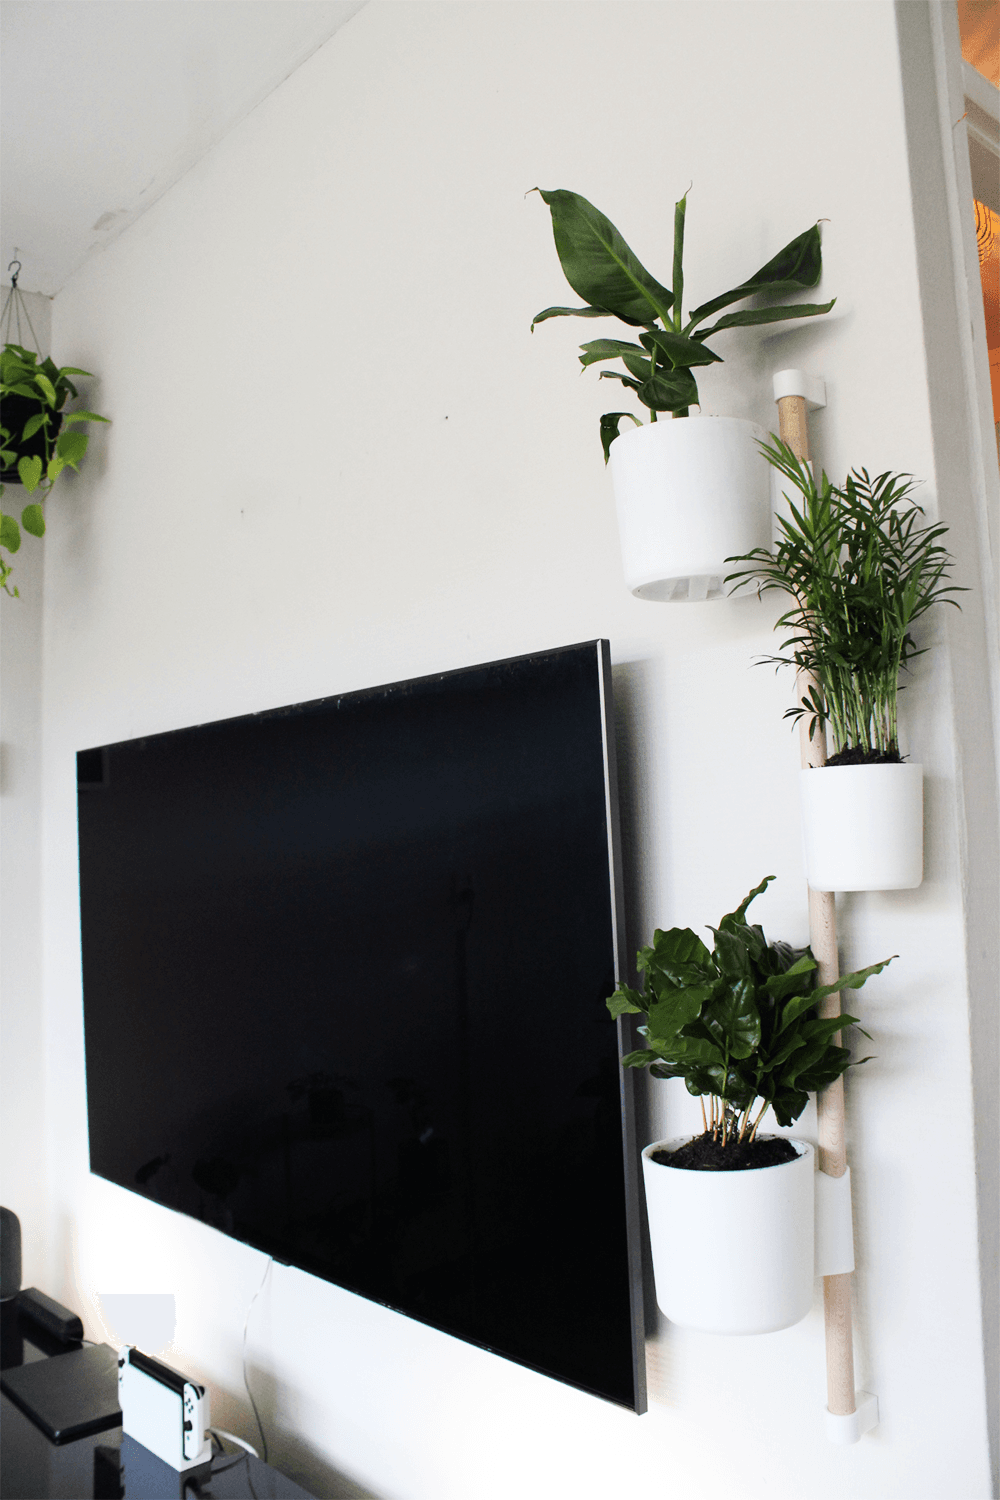
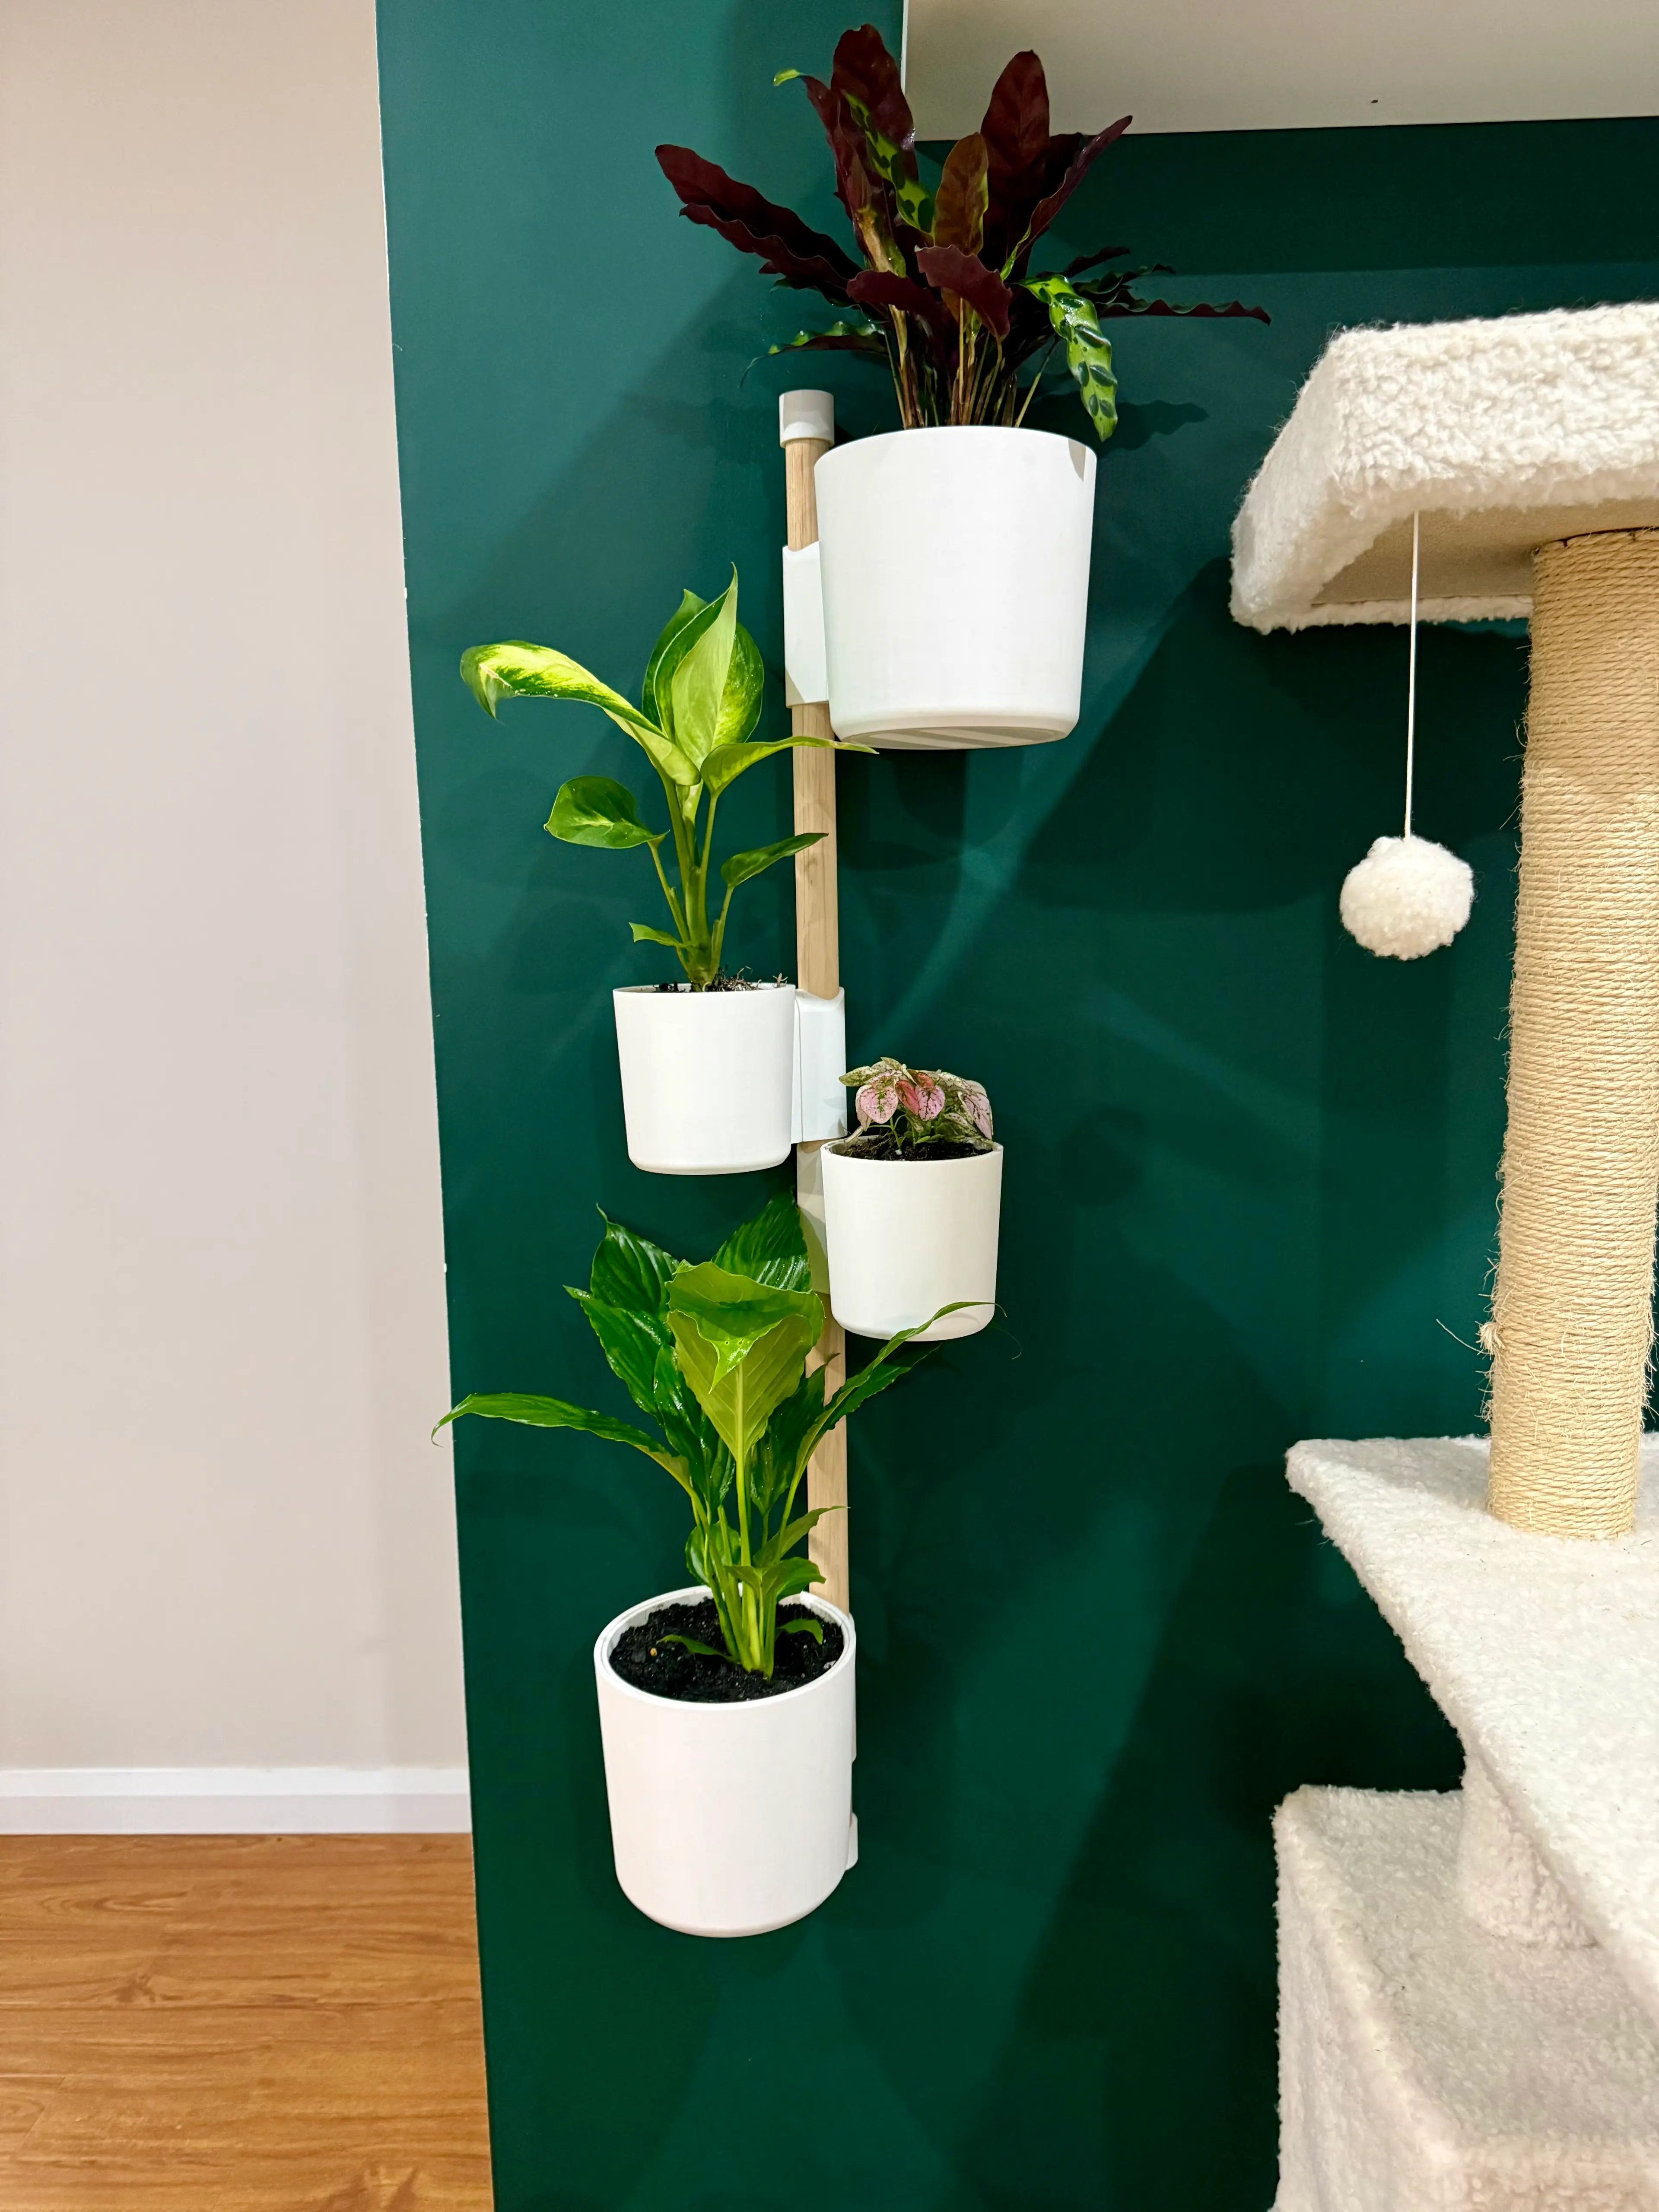
The Rail v2
I've had the original Rail mounted in my studio and home for about a year now and while it looks and functions wonderfully, I noticed some room for improvement. So here's version 2!
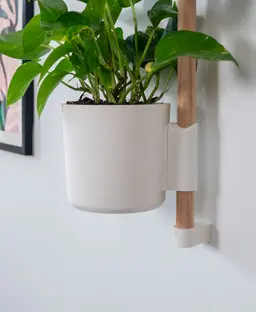
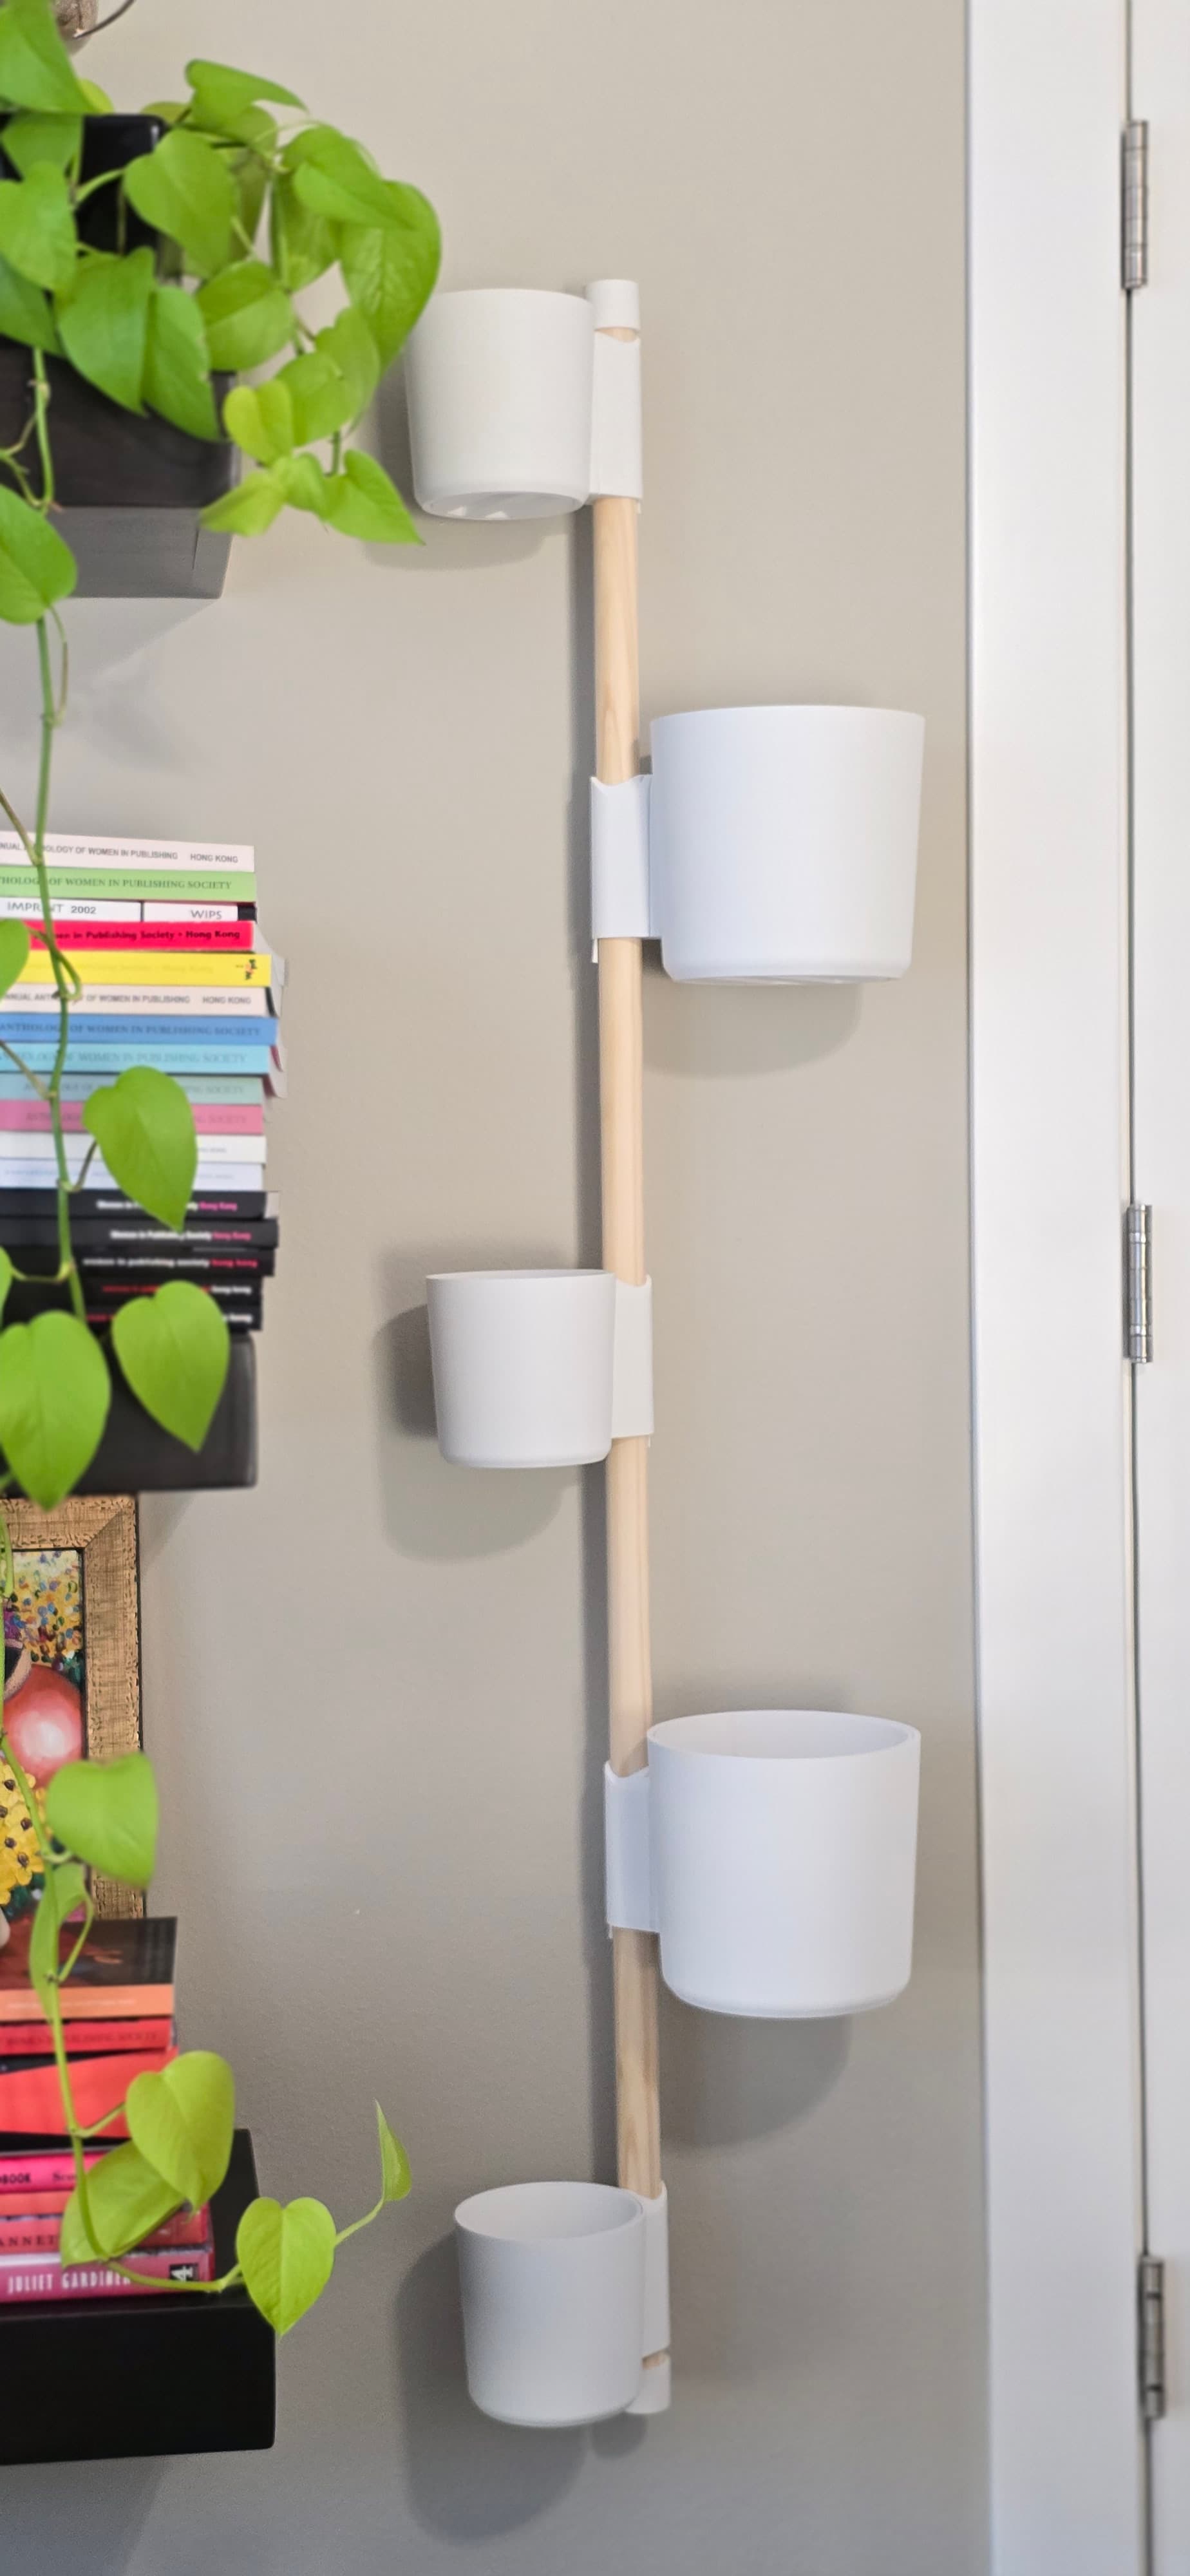
In the first design, printed set screws held the brackets and attachments to the dowel. Now, the design doesn’t need set screws at all, making it faster to print, easier to install, and cleaner looking.
The top and bottom brackets have closed ends that sandwich the dowel in place, and the sliding dovetail attachment is secured with a small wedge inserted from the bottom.
You'll notice there are two sizes of Sliding Dovetail Attachments. The larger size fits all of my large wall mounted planters as well as the small size if it has the new under-mount drip tray (Example).
If you're using a small size of the original design (Example), use the small Dovetail Attachment.
How to mount to your wall
- Slide dovetail attachments onto dowel
- If using the wedge dovetails, insert wedge into attachments from the bottom. Use a flat head screwdriver to push the wedge all the way in and secure the attachment to the rail. If using set screw dovetails, tighten the set screws using the printed coin or a quarter
- Place top and bottom wall mounts on the ends of the rail
- Insert the keyhole markers into the keyhole slots on the top and bottom wall mounts
- Firmly press against wall in desired location and the keyhole markers will make an indent where you need to drill
- Drill holes using a 1/4" drill bit
- Insert wall anchors and screws (#10 - #12 x 1-1/4" screws and anchors)
- Make sure the screw head is sticking out just far enough to tightly fit in the keyholes. Use the included depth gauge to determine the distance the screw head should be sticking out.
- Attach rail to the wall
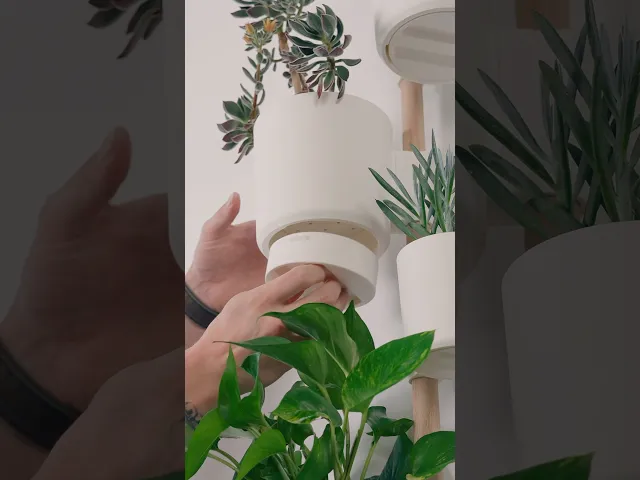
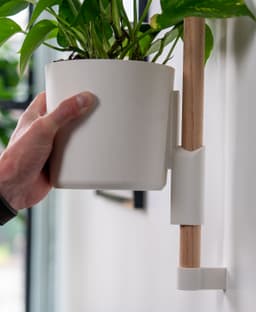
- Slide planters on to attachments
Supports Supports are needed for the flat overhang on the back of the planters
Scaling This cannot be scaled because the keyhole slots are specifically designed for #10 - #12 x 1-1/4" screws and anchors.
Orientation
- Everything prints upright with its flat bottom on the build plate
Print Settings
- .2mm layer height
- 15% grid infill
- 2 walls
- Set bridge flow to 1.6 for drip tray
- .1mm layer height for wedge
Filament
Colors I used:
- Ivory White
Hardware
- #10 - #12 x 1-1/4" screws and anchors
- #8 x 1" flathead screws for the optional wall brackets that allow you to screw into the dowel to fix it in place and add some extra stability
Filament and non 3D printed items for this model can be found on my Amazon Storefront, linked here: https://linktr.ee/loftedgoods

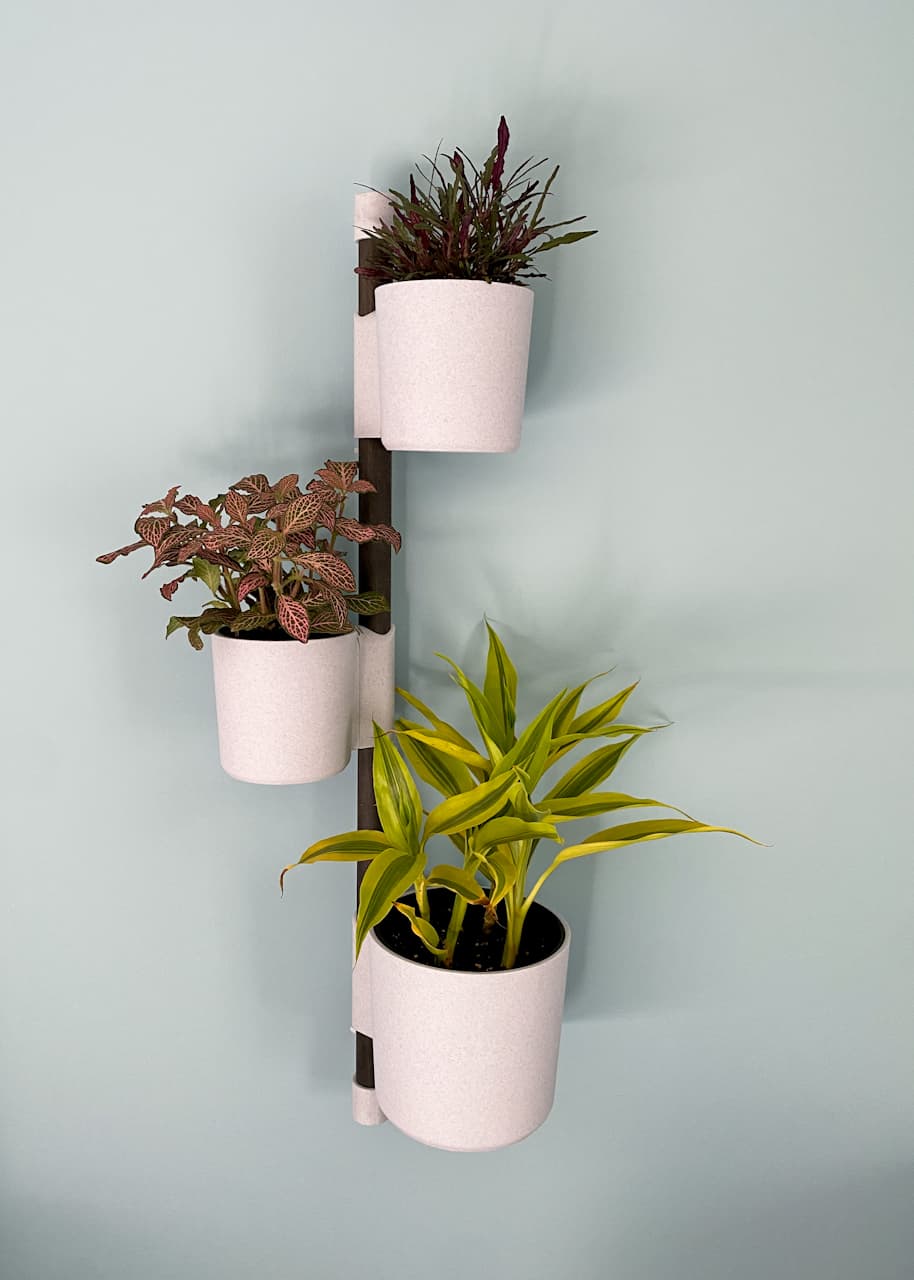


The Rail v2

Mutant V2 Interface Plates for Popular 3D Printers
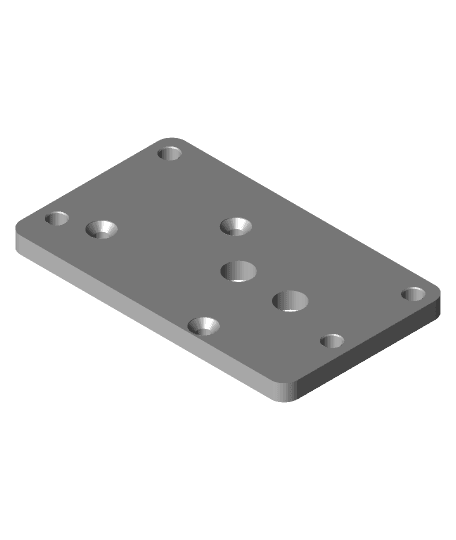
Mutant V2 Interface Plates for Popular 3D Printers

Kitty Cutter v2 - Cardboard Cutter for Cat Scratchers

Crystal Hand Ring Stand V2

Flexi Stingray V2

CALIZ | Woven Table Lamp E14 & E26/27

Kitsune Wall Mask

Flexi Starfish V3 (Small)
.jpg&w=3840&q=75)
Reindeer headband v2

Cat Skull Mask for Cats V2 – 3D Printable Pet Cosplay

GEN2 Tilt Drawer Pro - 115

Pocket Stingray

NEST | Wicker Tissue Box

Industrial Cinquefoil Stairs

Articulated Nutcracker with Swinging Arms and Stand-Up Base :: Classic Christmas Toy
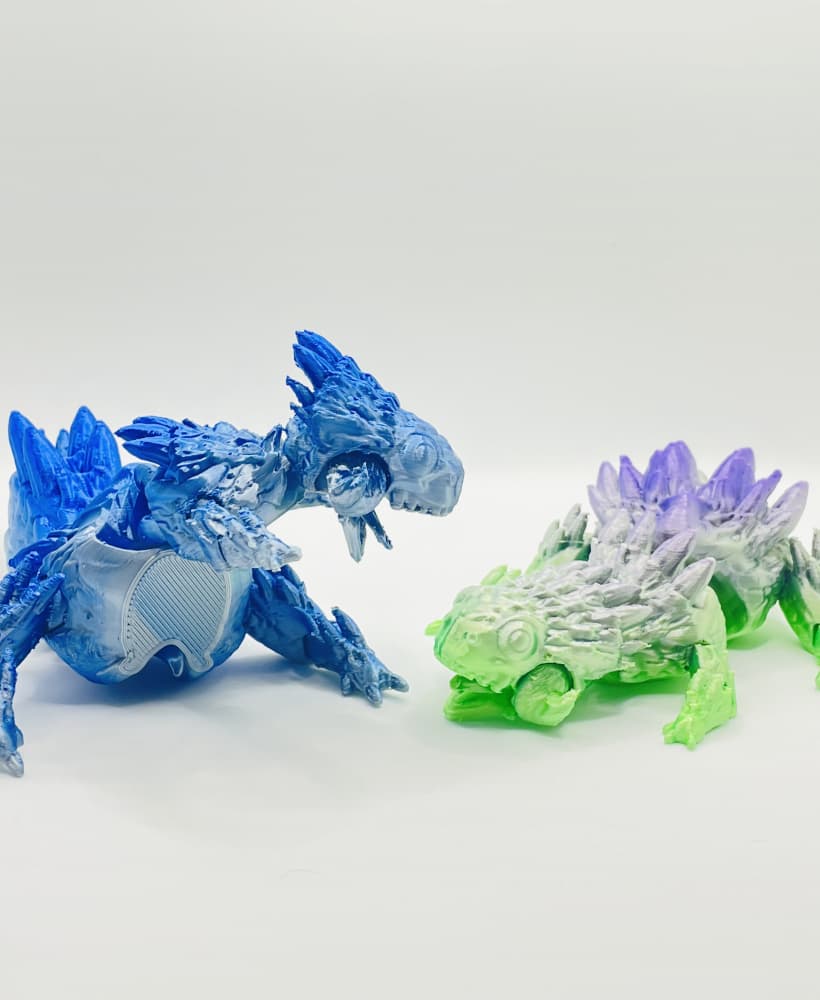
Cute Spiky Dinosaur - Articulated - Print in Place - Flexi

Charizard Menpo Mask V2

Welcome To Moria LOTR Book Nook

MDO - Support Top Pen Holder
Thanks for the bunnings tip. Just about to go buy mine :)
are these Ikea mounts included in a seperate download? just a great project, love it!
Would you mind sharing the files you´ve created for the TISKEN holder?
Did you design this or is there an STL for it on here! I love it! looks awesome!
Did you use the 3d model to print the 1" dowel or did you buy 2pc of 1"x12" dowel? Thank you.
Silly question: how did you get the patterns/textures on the pots?
Those look nice, did you design the wall anchors in the middle of the rail? I've been looking for something similar for a larger rail print I'd like to do.
I downloaded V1, we have to spend a download to get the V2 version? Great product, was just hoping that downloads we have already received we can update.
I'll always update designs if there are small improvements or additions to make it function/print better. This version took a lot of time and testing and I also included a new planter with it. Totally understand where you're coming from but this is a new design from my perspective.
I accidentally downloaded v1 and burned a monthly download.
How did you achieve that finish? Looks great! EDIT: just saw the settings... i am either blind or a total idiot :D
TIL about Fuzzy settings. This is amazing. Thank you.
Can you achieve the same finish using PLA with these settings?
Why did you choose the layer height 0.12?
that fits well with the fine settings of the fuzzy skin, but 0.16 works too