
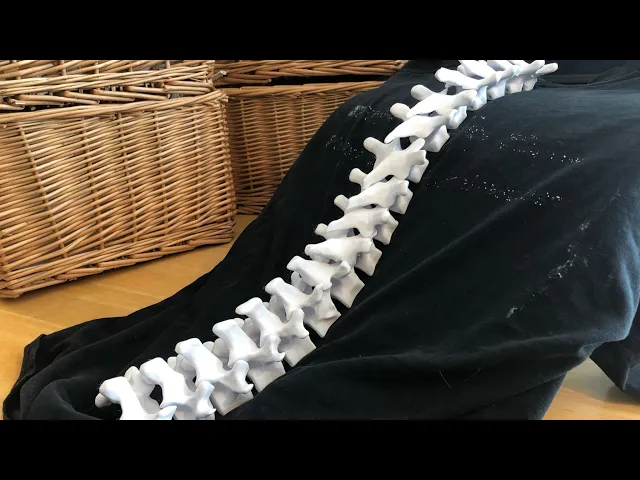


Wearable Spine
Grow a backbone and add this wearable spine to your costume!
These vertebrae are derived from anatomically correct vertebrae and can be glued or sewn on to fabric. Positioning templates are included to ensure accurate placement. See here for video: https://youtu.be/a72-hiMMajU
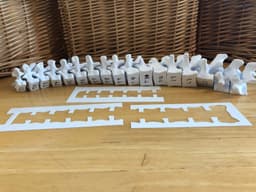
This project includes all lumbar and thoracic vertebrae of an adult male. When laid flat, the full length of the spine is 48.5cm. To modify the size, you may choose to leave out some of the vertebrae or scale the files as needed. Be sure to apply the same scaling factor to all vertebrae and positioning templates.
The placement template allows vertebrae to be laid out flat during assembly, however vertebrae have been designed to follow the natural curves of your back when worn.
Every attempt has been made to maintain anatomical accuracy, however, in order to make the parts as durable as possible the spinal canal on each vertebrae has been filed in, and select facet joints and bony processes have been thickened. These changes have minimal affect on the visual appearance.
Fabric Selection
A thick fabric such as denim will hold the vertebrae in place and apart from one another. The thin cotton used in the instruction video is not ideal in that it allows the vertebrae to flop around too much. If you plan on wearing as a costume, the fabric should hug the curves of your back as much as possible.
Printing
Select the vertebrae that you need and import them into your slicer. You will need to apply supports to the bony parts that stick out the back and to the sides. IMPORTANT: Be sure to label the vertebrae as they come off the printer! Vertebrae are labeled “L” for lumber (lower back) and “T” for thoracic (upper back.) Numbers start at the top and count down: T1 to T12 followed by L1 to L5.
Placement Templates
Determine the orientation of the three placement templates and position the top of “Template 3” just under the middle of the collar. Place “Template 2” and “Template 1” down the middle. It helps to tack the templates in place with a small dab of glue.
Attaching Vertebrae
Vertebrae are placed and attached from bottom to top. If you are using the spine for decoration or light use, you will likely be fine with just hot glue. Insert a sheet of plastic under the top surface so the glue doesn’t leak through to the next layer of fabric. To make the spine more durable, use the holes provided to stitch each vertebra on to your fabric with strong thread, beading thread, or dental floss. You will need to remove the placement guides before stitching.
You are done!
This design is a submission to the "HalloWearables Design Contest With Zack Freedman"
#HalloWearable #HalloWearables #spine #vertebrae #vertebra #skull #bones #skeleton #halloween #cosplay
Wearable Spine

Large Mizu Gumi Picture Stands

Small Mizu Gumi Picture Stands

Industrial Construction Set - FDM

Bouali Strange Attractor Sculpture

Aizawa Strange Attractor Sculpture
Bio Blob
Flame Lamp
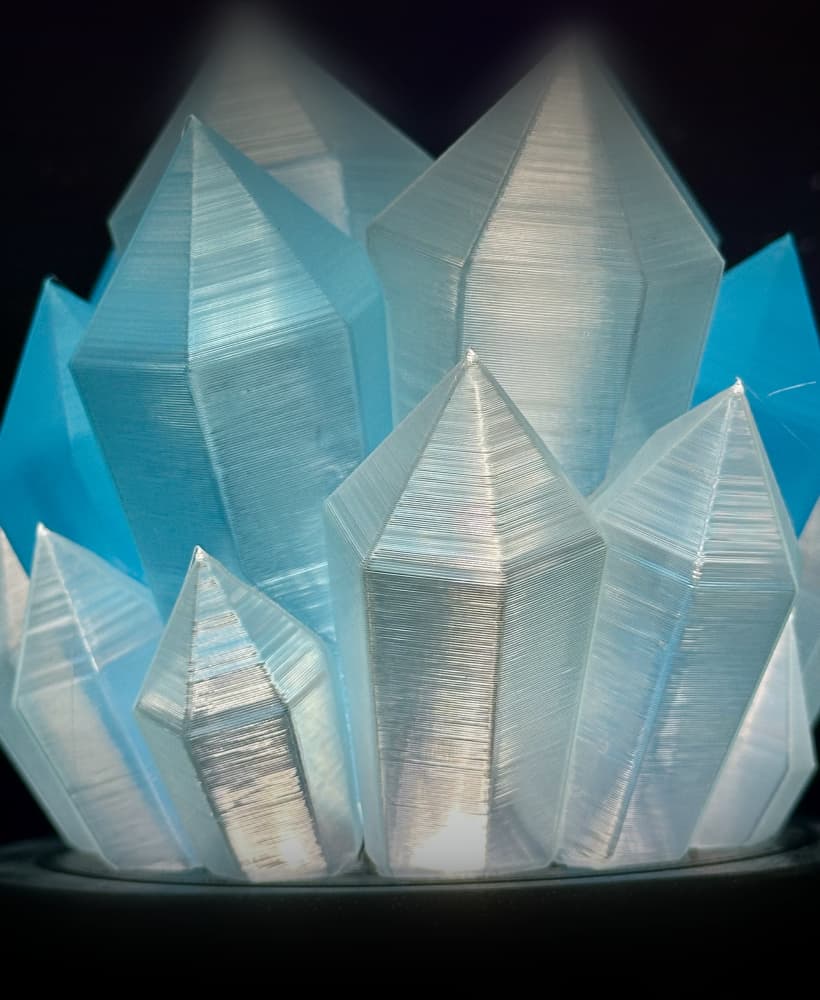
Crystal Lamp
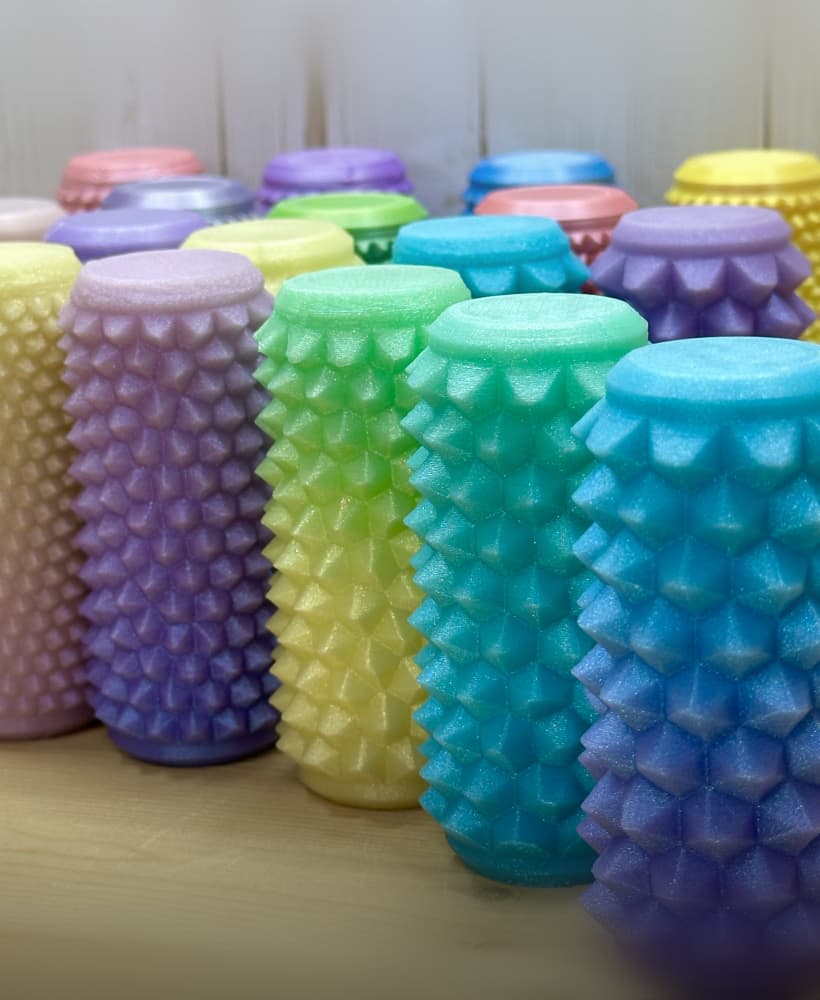
Fidget Ouchies
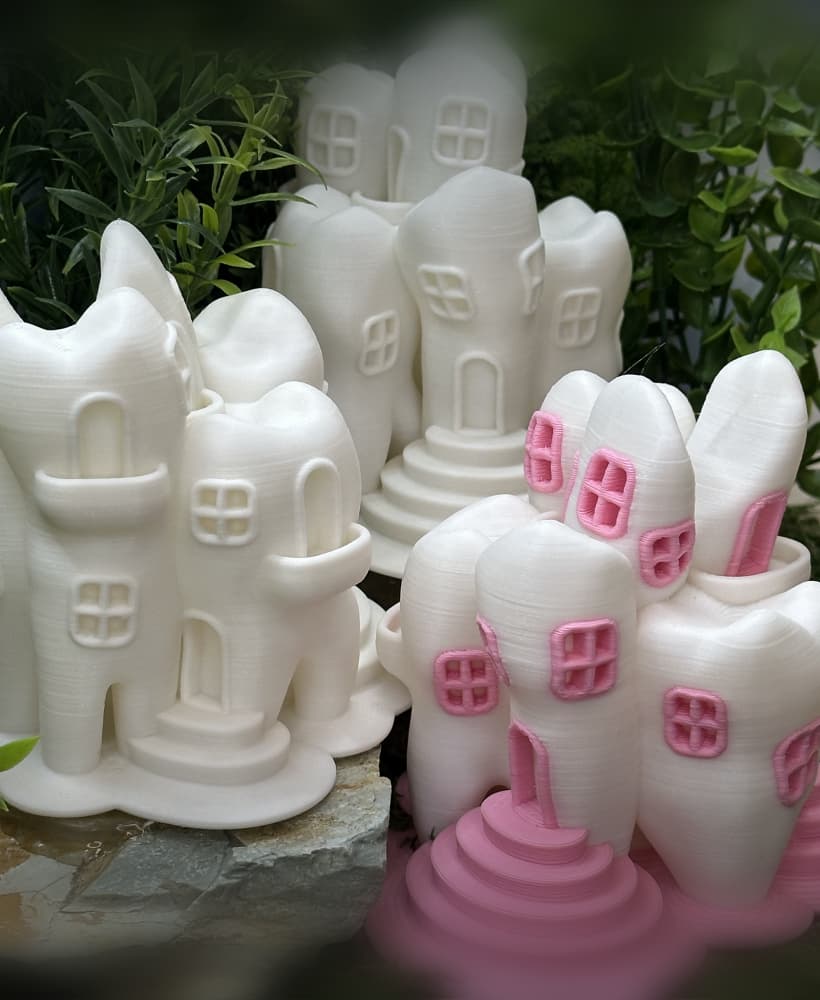
Tooth Fairy House
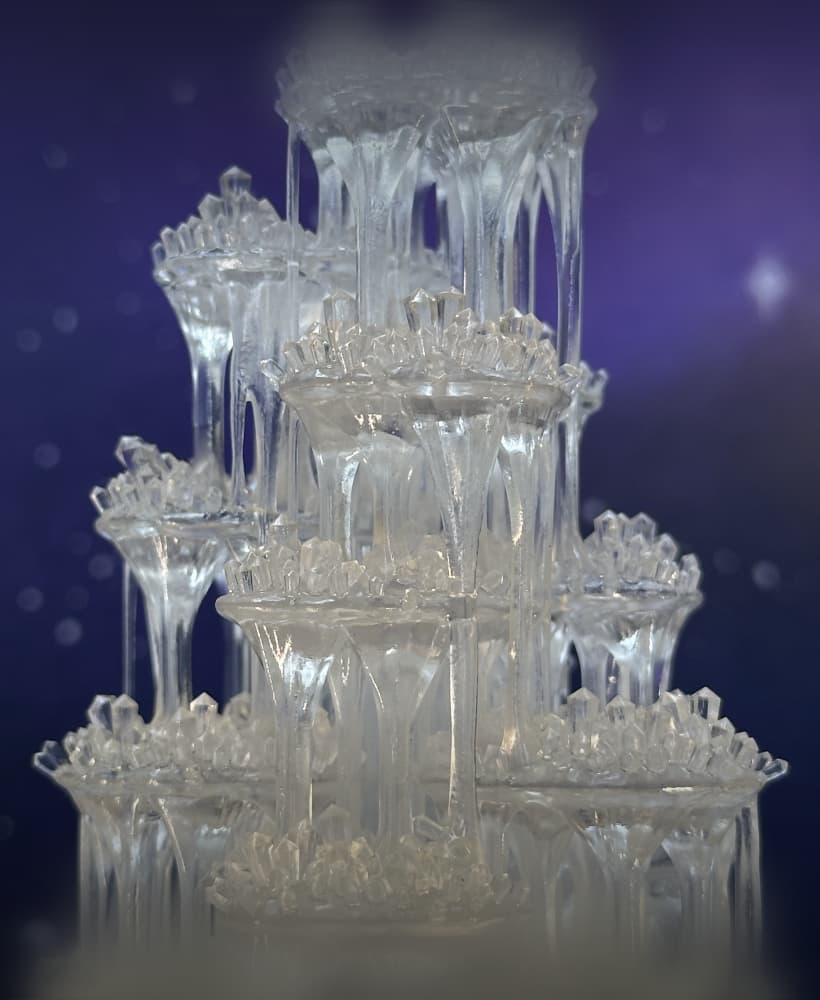
Crystal Citadels

Shack Pack - Sober
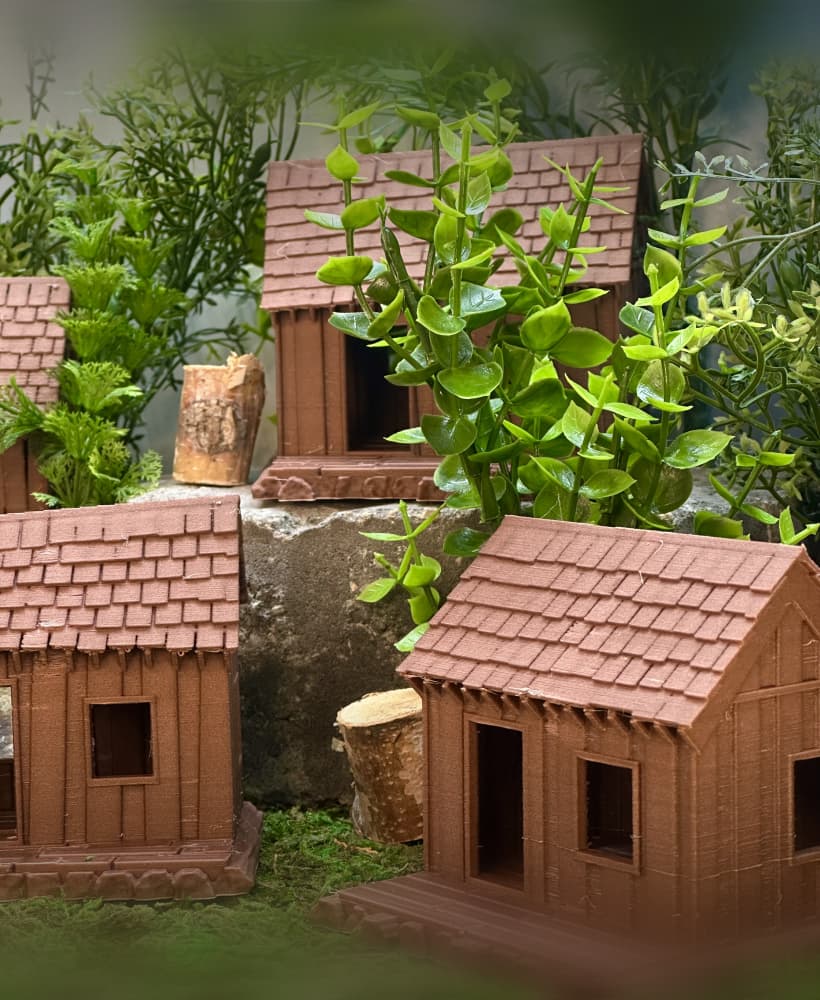
Shack Pack - Tipsy

Shack Pack - Plastered
Hole Through a Hole in a Hole
Holder for Reusable Straw
Stellar Blooms
Bump Boxes
Cut Crystal Eggs - Set 2
can this be used in my own work? (giving credit of course)
Any idea how much filament is required for this?
Is there a file for this
This is great! Do you have an unmodified (or not flattened) spine too by chance?