.png&w=3840&q=85)
.png&w=256&q=75)

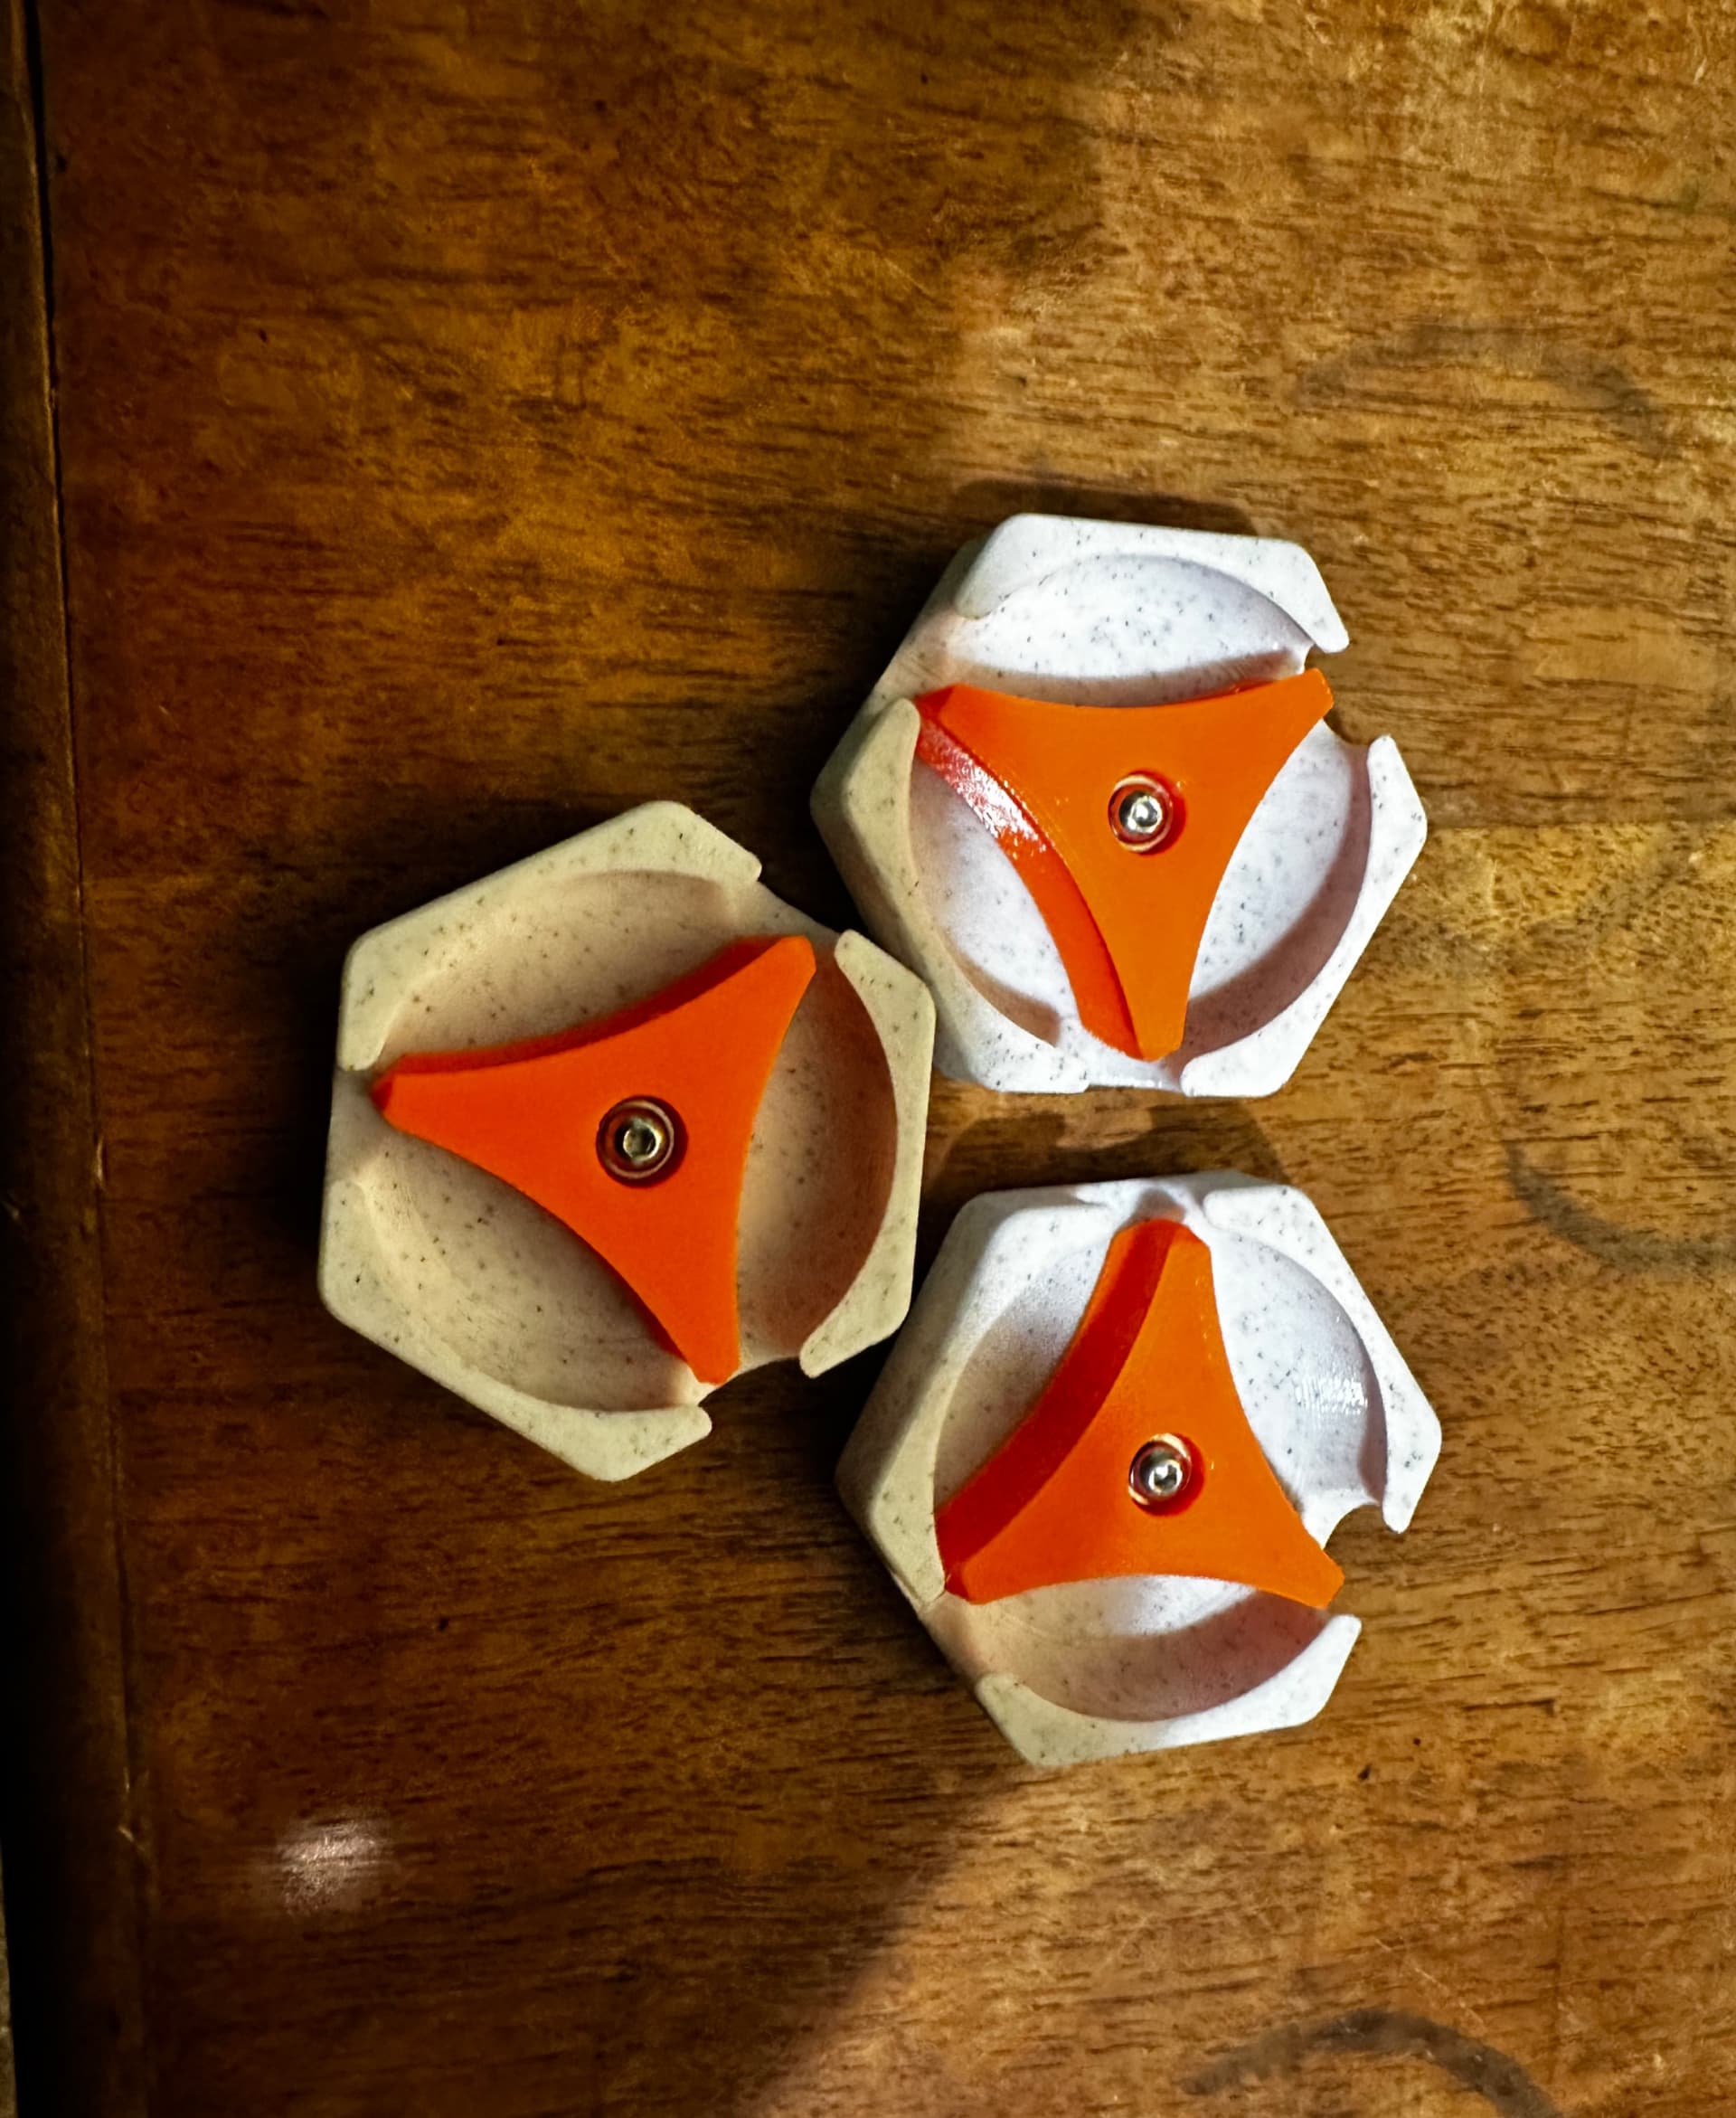
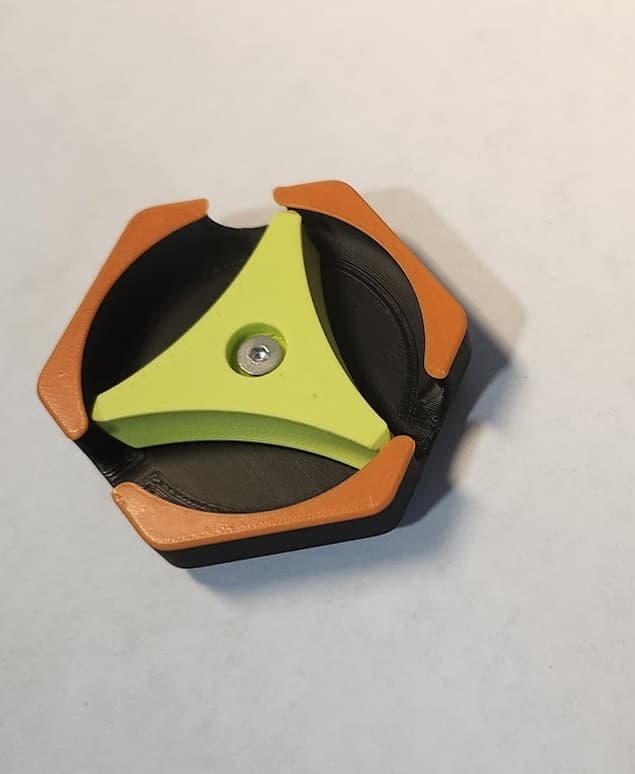
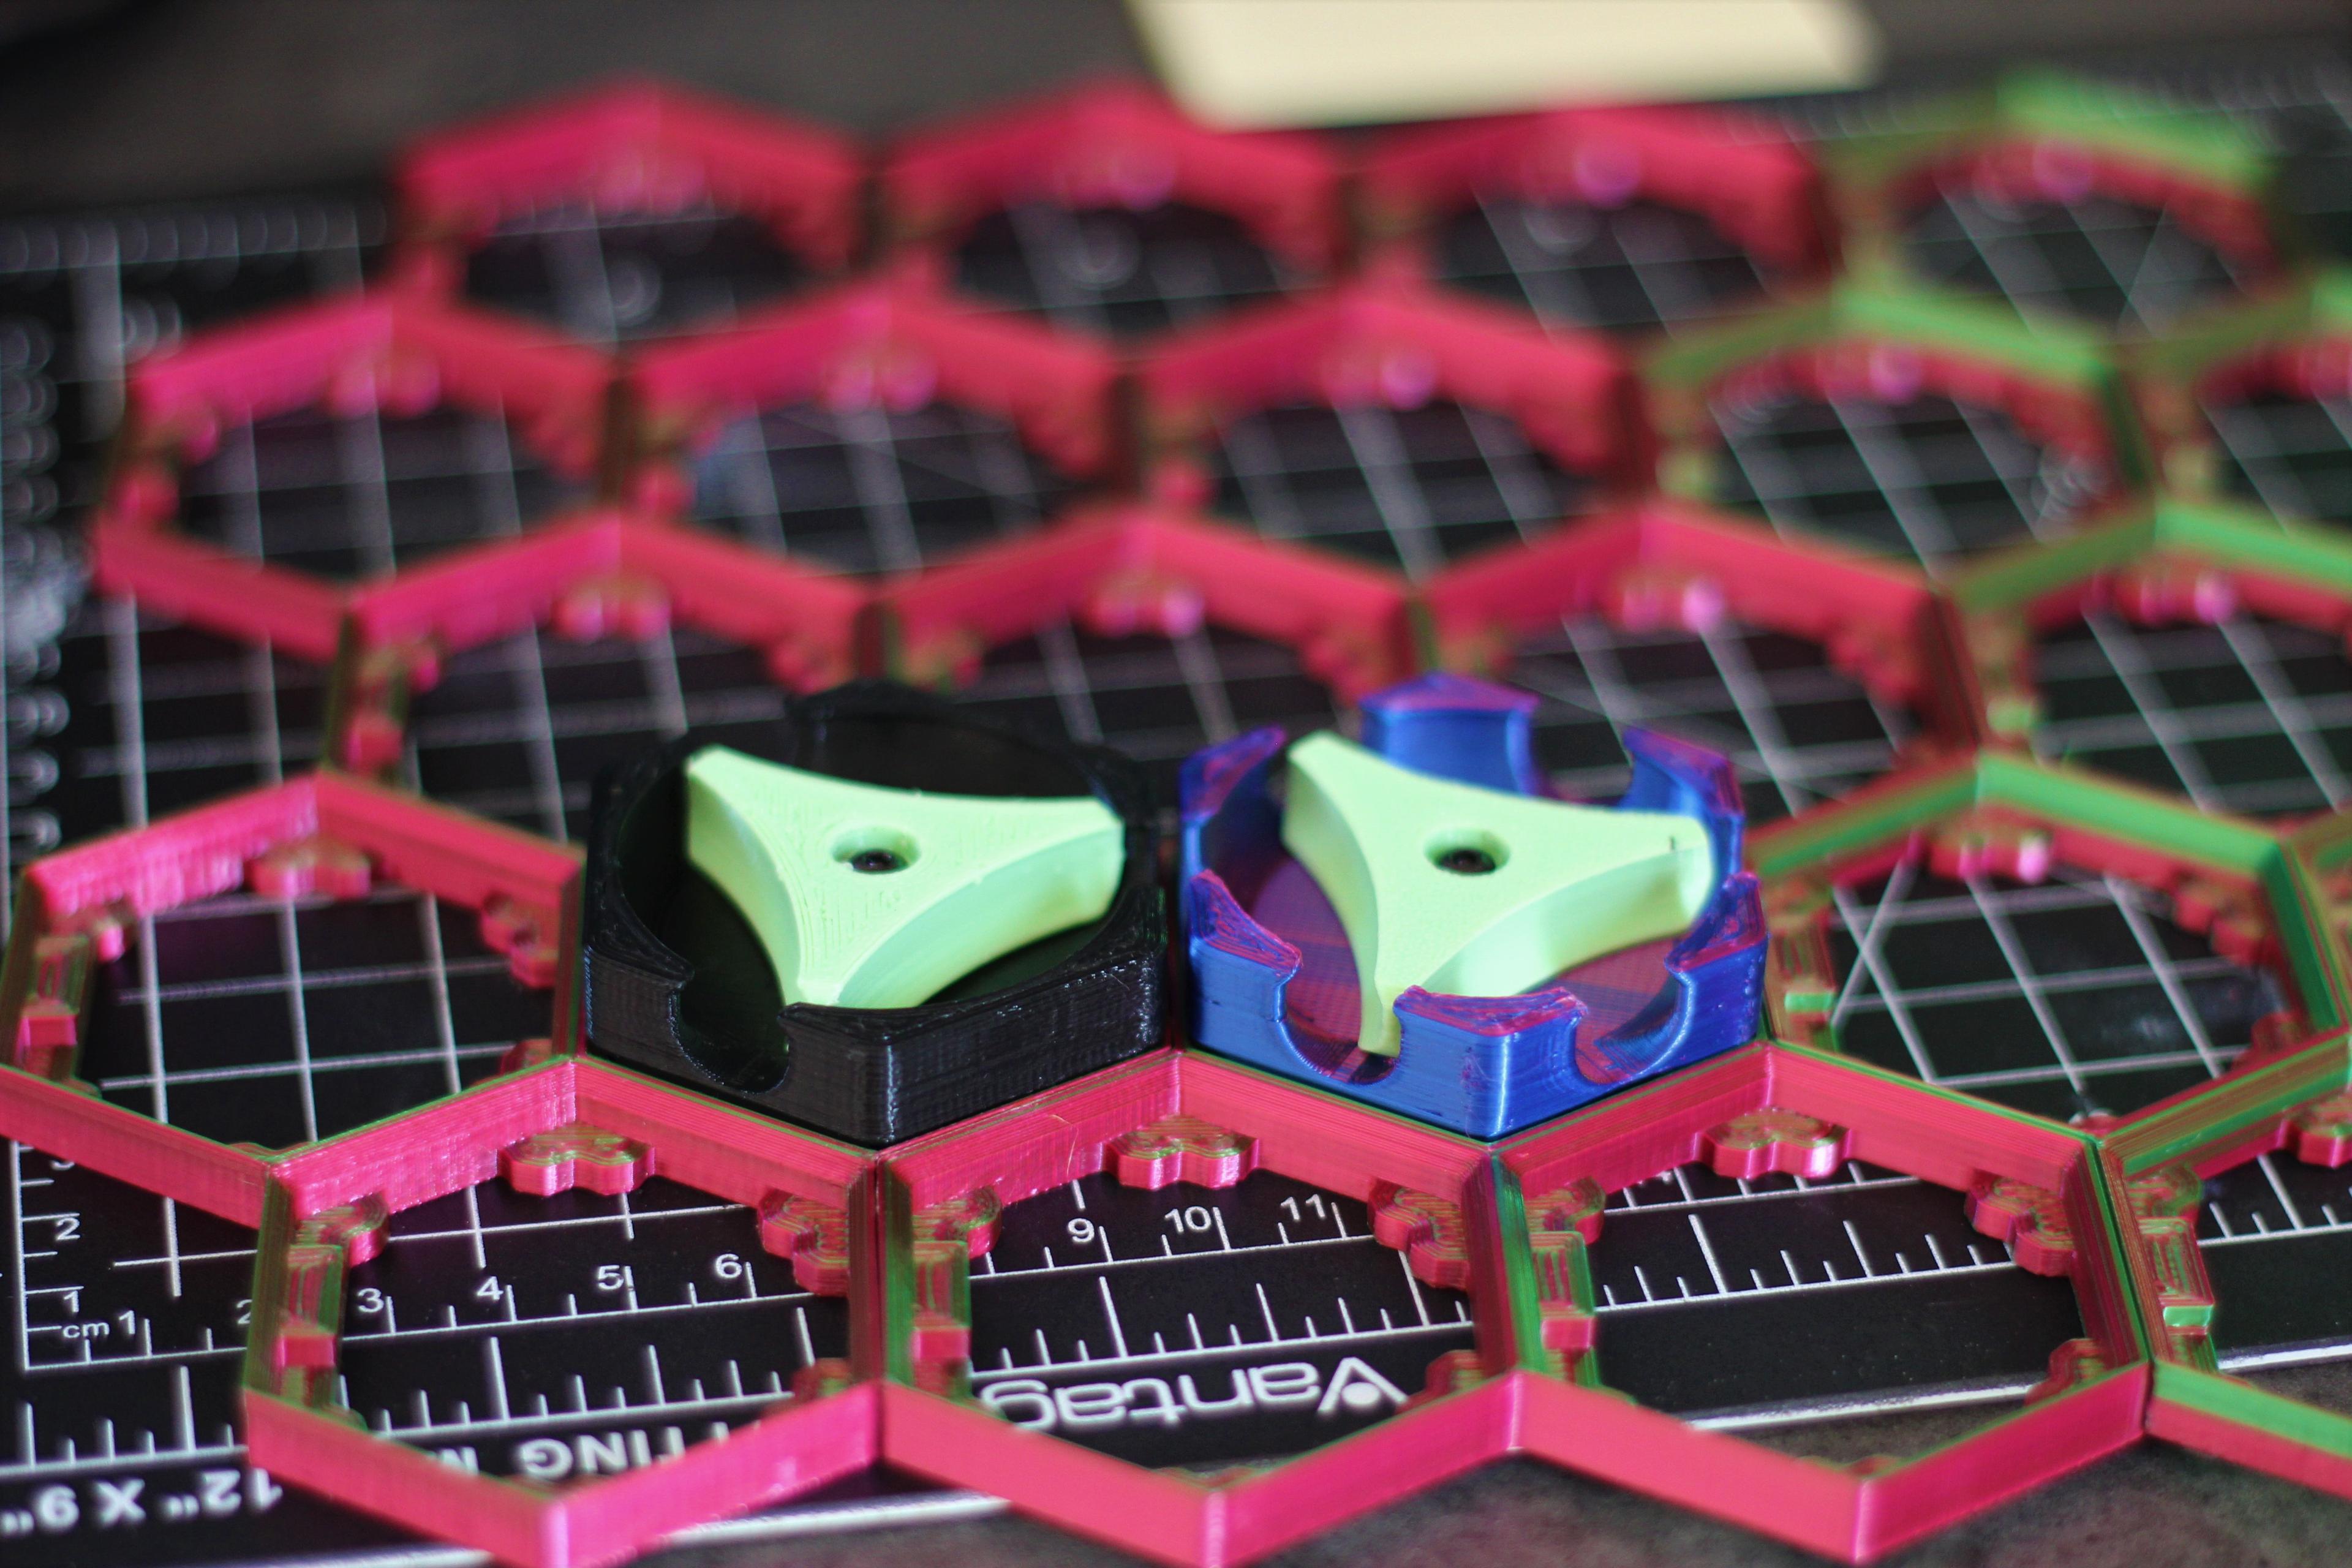
Hextraction Flip-Flop Tile
This simple mechanism alternates between sending balls left and right. It's one of the most important tiles in Hextraction, the hackable, 3D-printable board game.
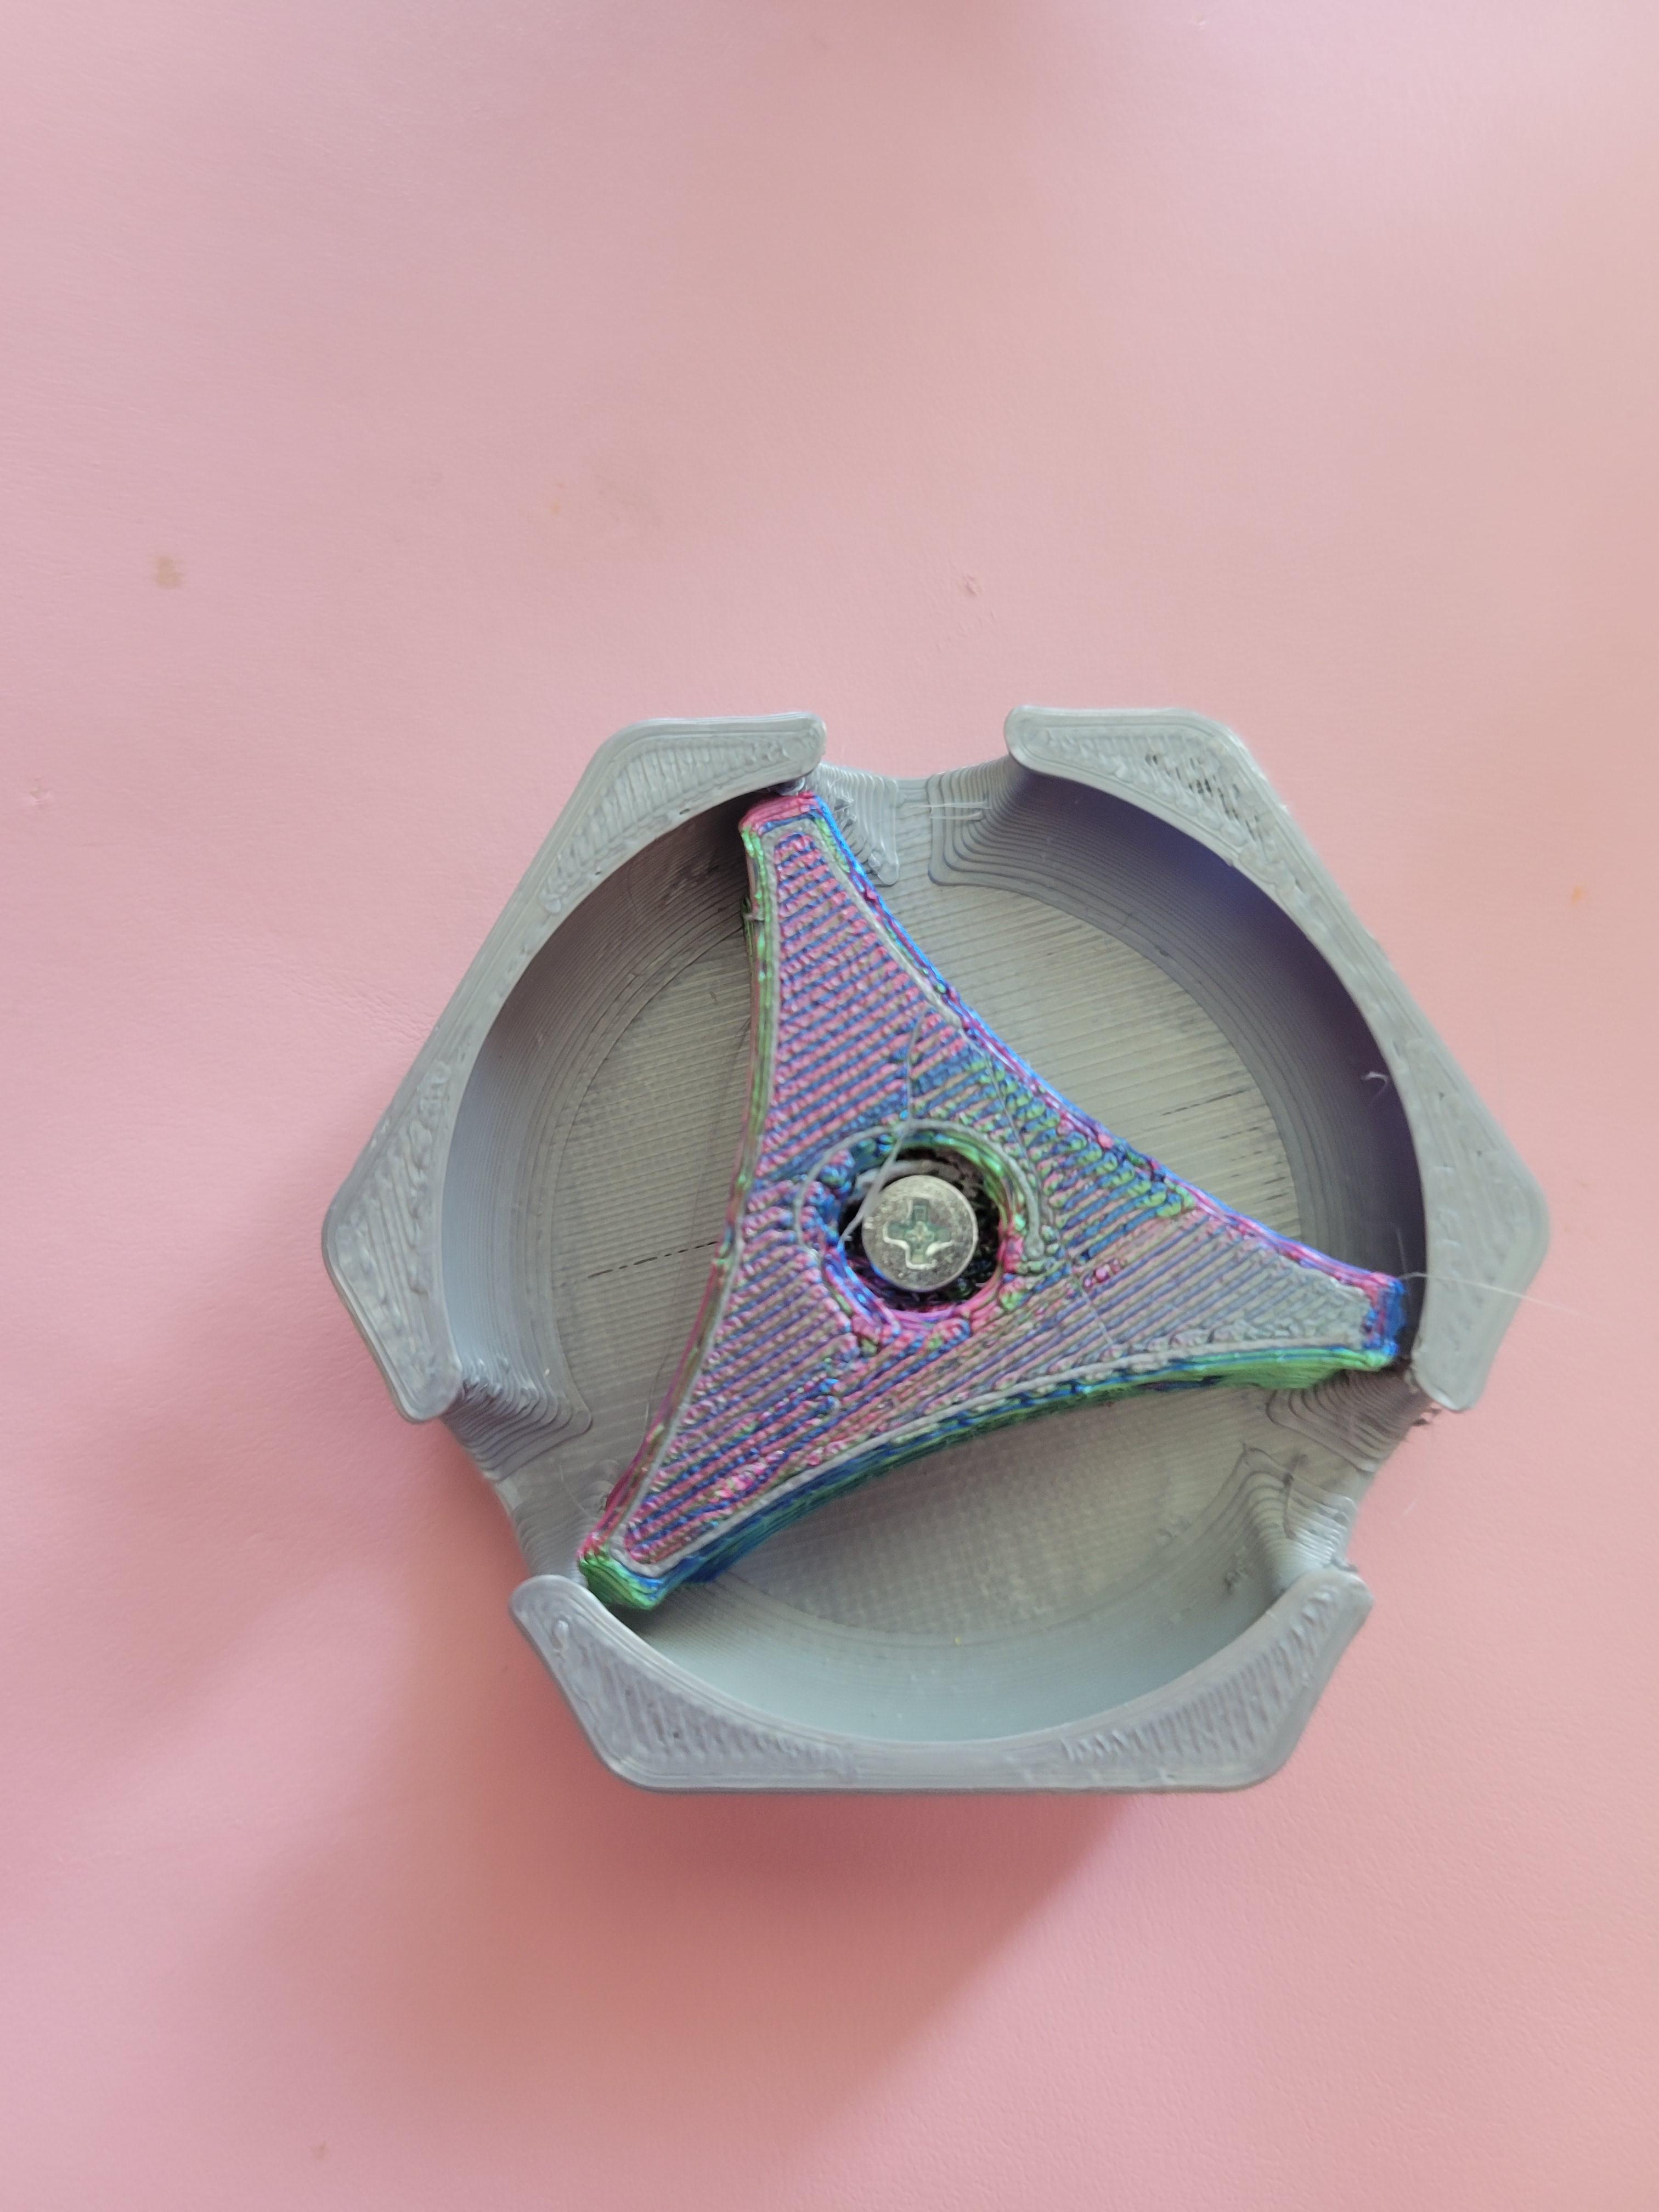
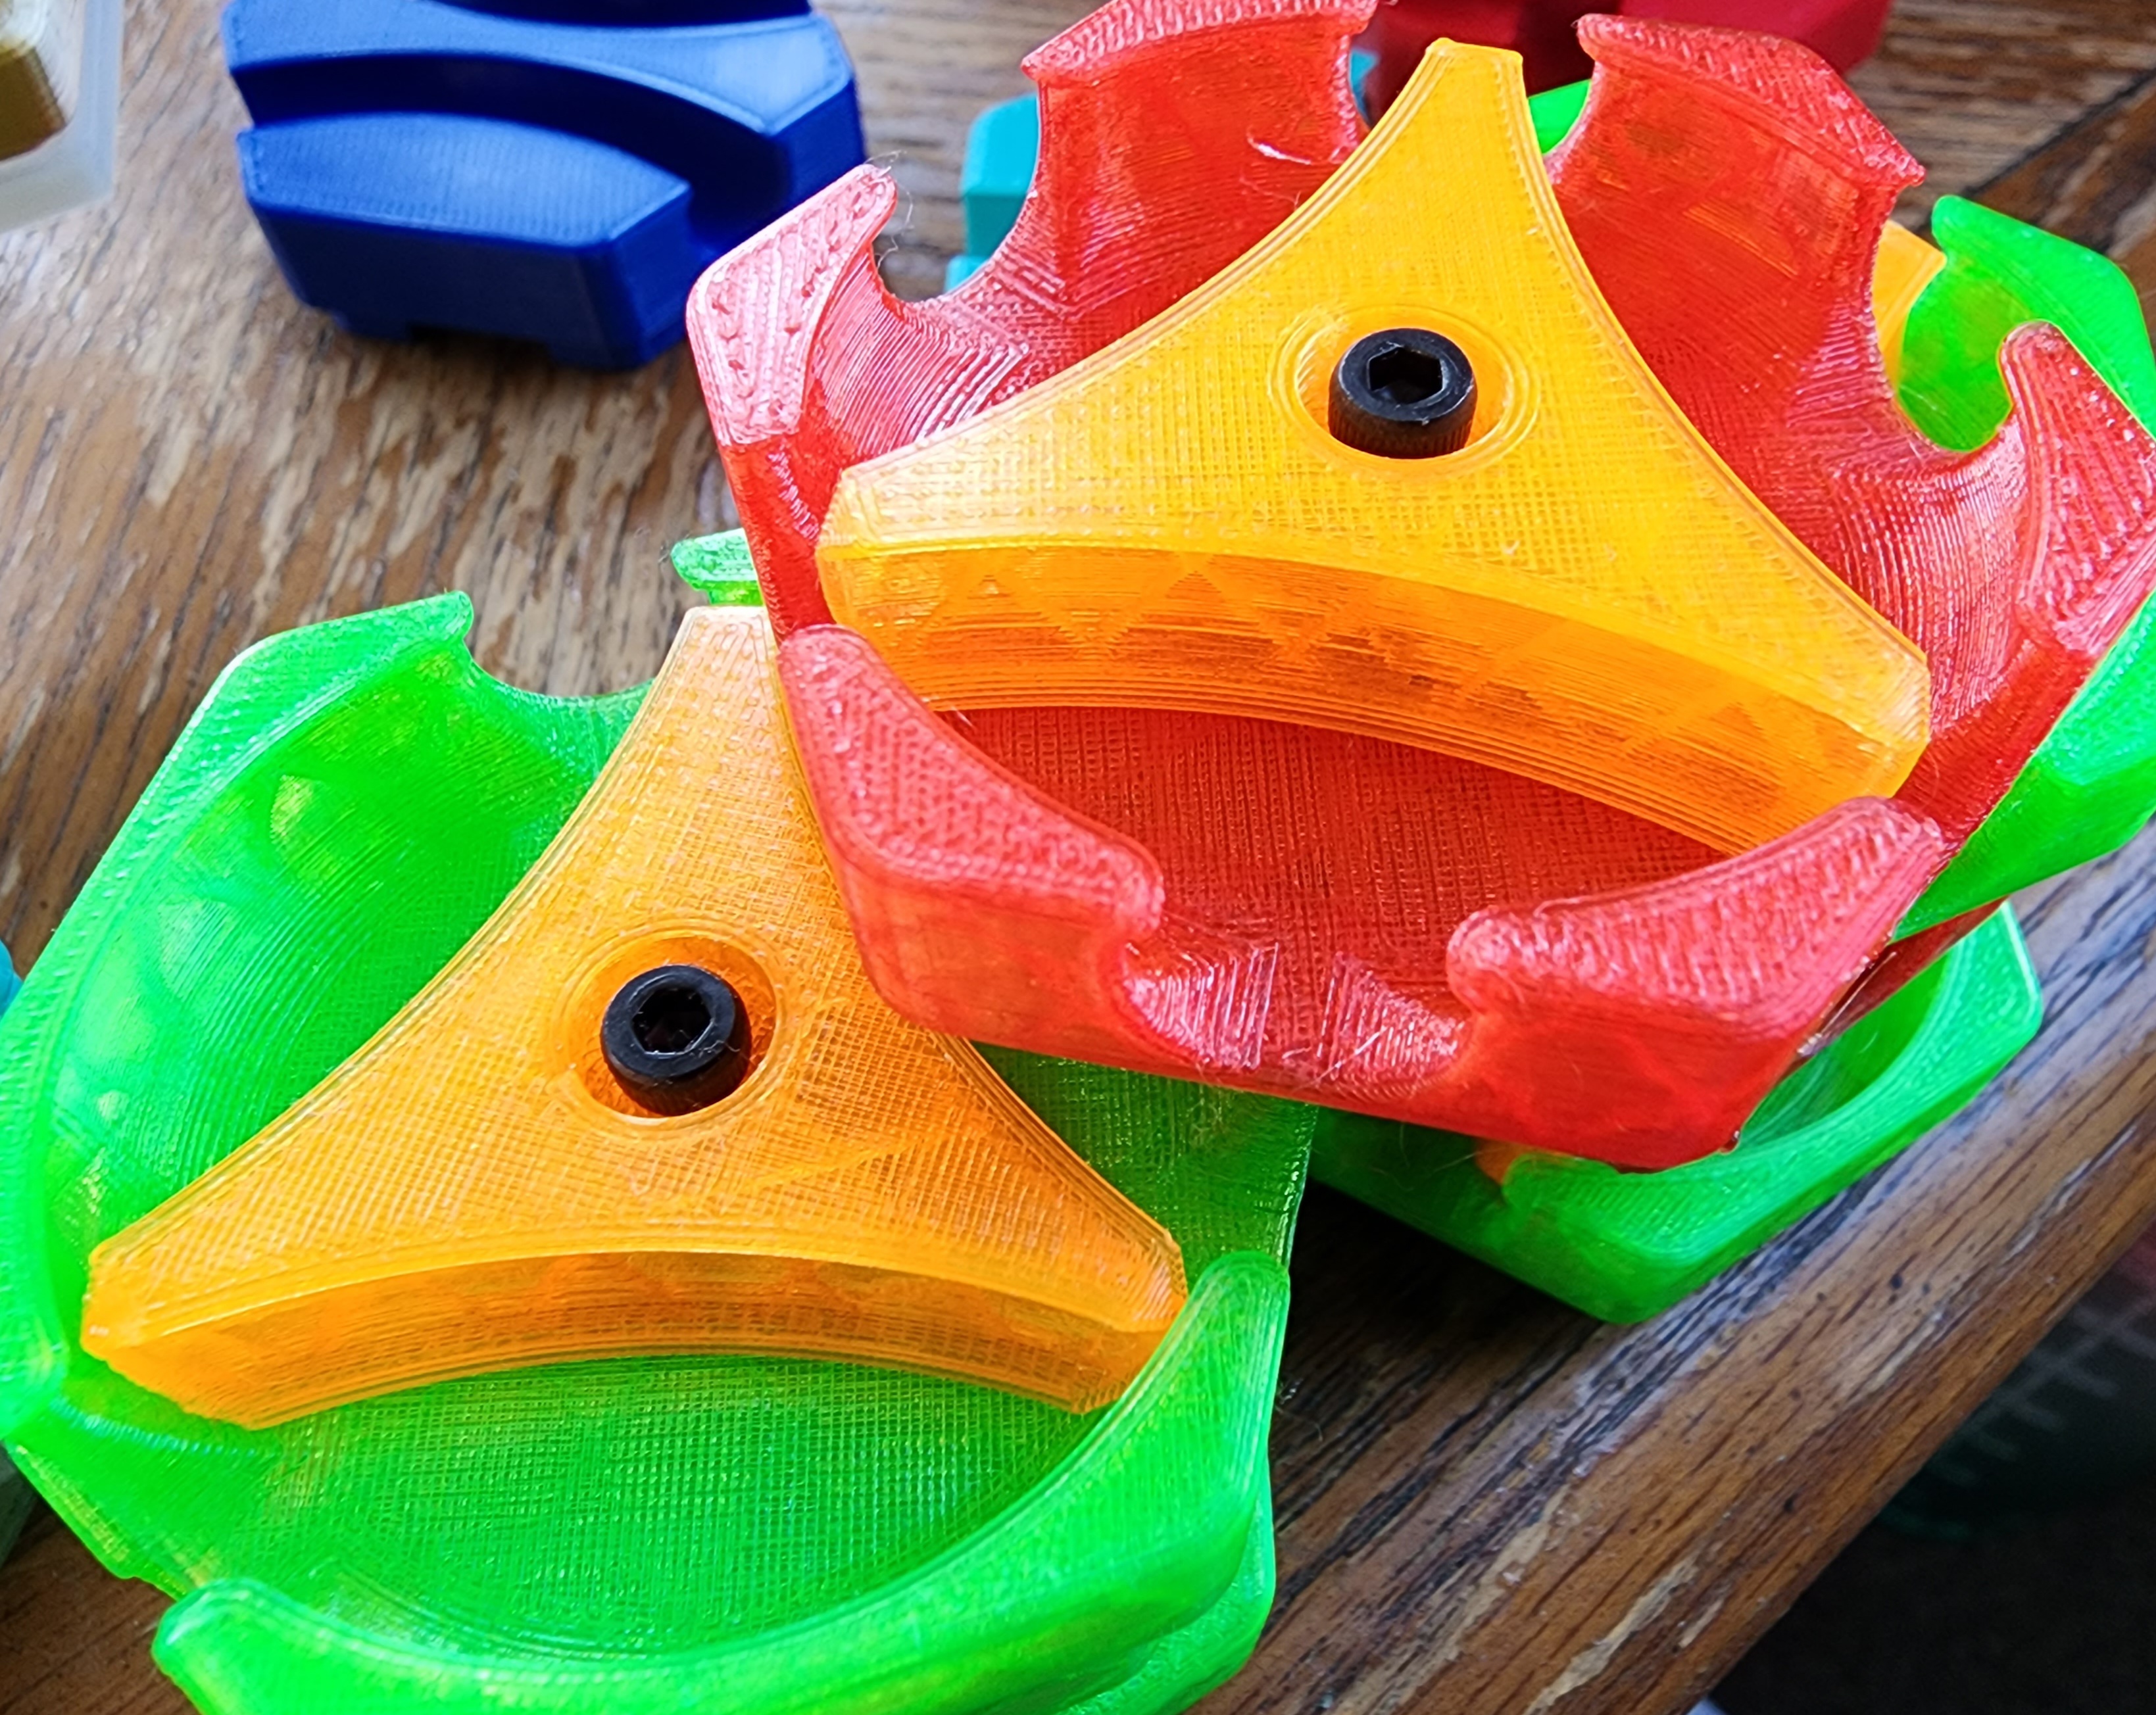
Print one Tile and one Flipper, ideally in PETG or nylon. Insert an M3x8 or M3x10 screw in the flipper, drop an M3 washer onto the tile, align the peg on the flipper with the slot on the tile, and screw it down. Make sure the flipper spins loosely and freely - it might need a touch of grease.
I also snuck in an Advanced version with more entrances. It's more versatile, but also more complex. I recommend printing the basic version first, then upgrading to the Advanced version later.
Fusion 360 source: https://a360.co/3o6D86W
All of my Hextraction tiles have a built-in sacrificial support under each notch - remember to snap it off after printing. Enable the brim if these detach from the bed.
Hextraction is a 3D-printable, modder-friendly board game designed by me, Zack Freedman of Voidstar Lab. In addition to tiles, you'll also need 10mm steel balls or 3/8" slingshot ammo and a game board. To learn the rules and how to get started, watch the Hextraction video!
Hextraction is absolutely free - it's free of charge - all of my models are here on Thangs, commercial use allowed. It's free-form - you can play with any number of opponents, even zero. It's free to modify - you can create your own tiles and configure your own board.
For more information, visit https://playhextraction.com.

Hextraction Flip-Flop Tile
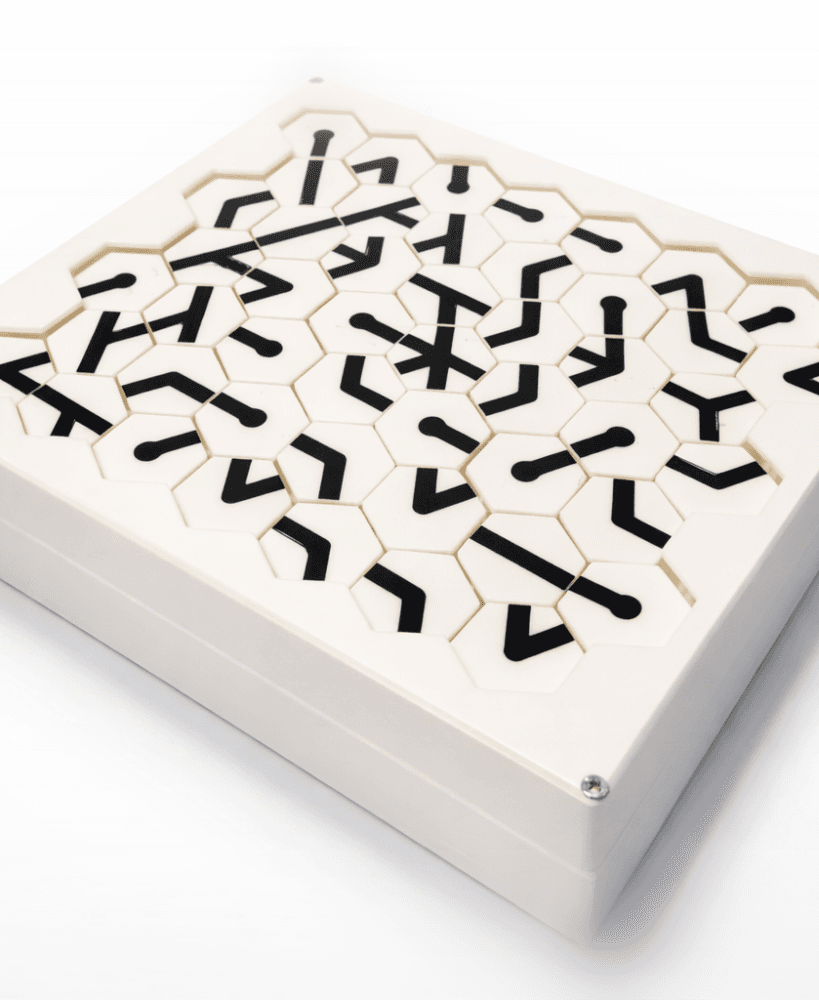
Puzzle Pipes, a fun articulating desk toy for everyone!

GEN2 Tilt Drawer Pro - 115

Tiles from Portugal (Wall, Desk or Stackable Lamp)

ModBots – Series 1 Starter Pack

Algarve Tray – Portuguese-Style Decorative Serving Tray

Lisbon Holder — Geometric Desk Holder

Tile Lamp - Wall, Desk, or Stackable Lamp

Tiles from India (Wall, Desk or Stackable Lamp)

Gridfinity Tabletop RPG Grass Terrain Tiles
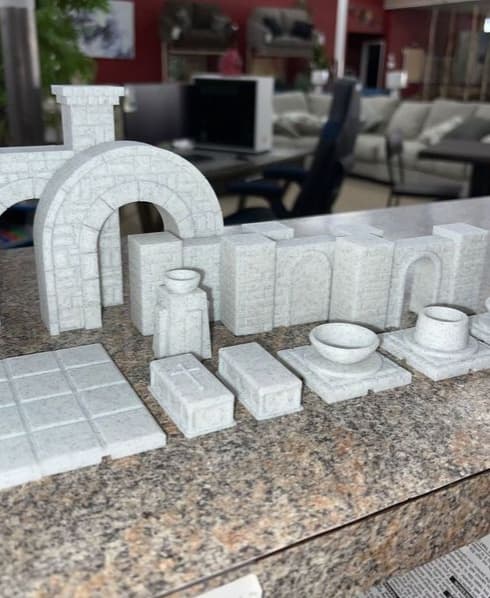
D&D Structures Pack 1 - Print in place

Winter Mosaic Vase – Textured Holiday Decor

Tileflower Vase – Modern Portugal-Inspired Vase with Floral Motif

ModBot Accessory Pack 2 - Workshop & Tools Bundle

Pokedex Slide Puzzle

Japanese Tea House STL File for 3D Print

Tiles from Sicily (Wall, Desk or Stackable Lamp)

Gridfinity Tabletop RPG Wooden Dungeon/Terrain Tiles

Pokemon Unown Scrabble Tiles

Fantasy Egg Fairy House STL File 3D Printable

I used an m3x12 screw and it fits perfectly. Also, I found that placing another washer between the tile and the flipper in addition to the one between the flipper and the screw head works wonders for functionality – no grease needed for me!
I found m3x8 are too short, but m3x12 work great!
for the record m3x12 also works and gives the best strength
I used pla, no washers, worked perfectly, I did need a screw though
Tried with M3x10 and they were both too thick as well as too short. (The thickness might be a printer issue on my side tho, so keep that in mind)
M3 x 10mm socket head screws work too. I have found that a washer under the flipper helps it function smoother as well.
Can someone explain to be what Hextraction is. It looks interesting but I can't find anything about it on the internet so far.
All the Information You need are on this Website: https://playhextraction.com.