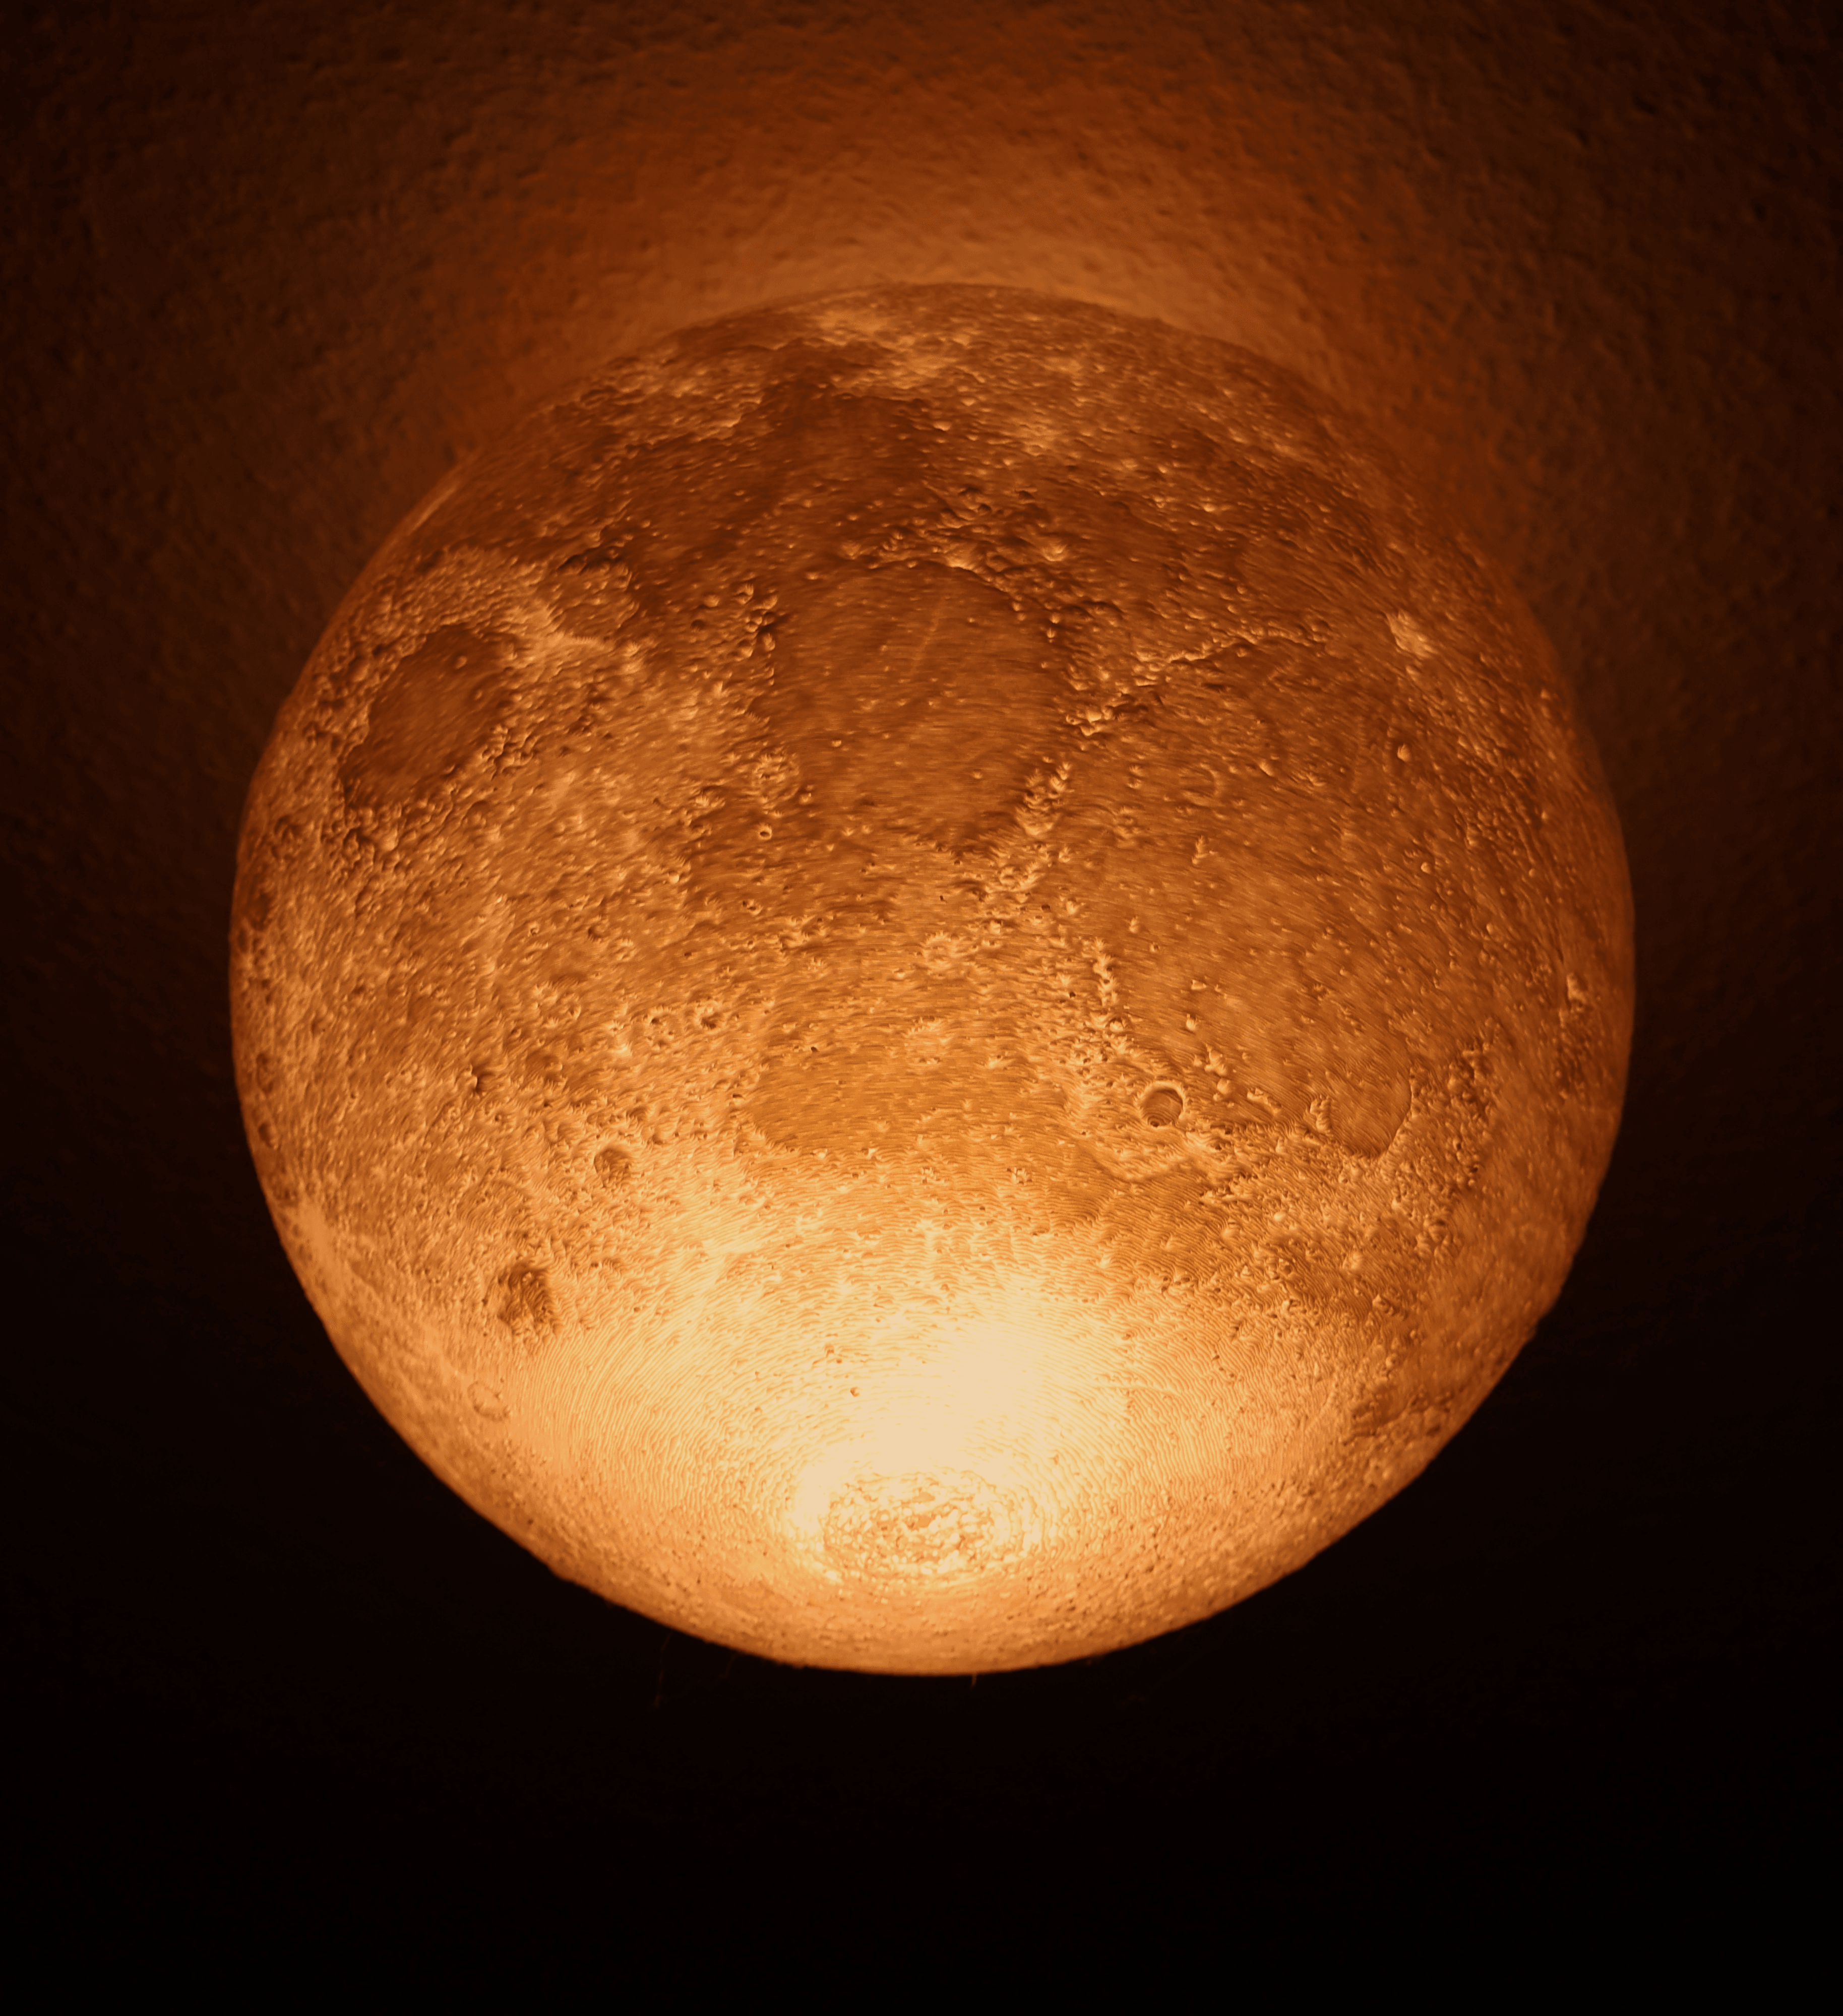


Moon Ceiling Lamp
Hey,
Excited to unveil my Moon Ceiling Lamp, an ode to our celestial companion, meticulously designed for a stellar experience!
Here's your guide to 3D printing this lunar marvel, along with a list of additional items you'll need: a lamp socket, a bulb, screws with a diameter of 6-8mm, appropriate wall plugs ("dübel" in German), or ceiling glue suitable for mounting.
Moon (the shade):
Print it solid with no supports to capture the moon's craters and highlands. Set the layer height at 0.2mm and width at 0.4mm for a detailed finish. Use a concentric infill at 100%, or opt for a wall thickness of about 100mm for a similar effect, which is my method of choice. The Cura Profile for printing will be provided. Import it, but ensure the layer dimensions are accurate post-import.Plate and Cylinder:
These can be printed using any profile of your choice and do not need supports.Assembly:
Check the last image for guidance on assembly. The cylinder is designed to be compressed slightly for a snug fit into the plate.For ceiling attachment, you will need:
3 screws of 6-8mm diameter, along with corresponding wall plugs ("dübel"). Alternatively, for a no-drill option, you can use a strong ceiling glue to secure the plate.Parts for Assembly:
Bulb I use:
Illuminate your space with the serene glow of the moon!
Scaling the Lamp: Feel free to adjust the lamp's scale to your liking. The shades introduced here are tailored to fit the socket. This moon shade is versatile, designed to be compatible with other lamp bases I'll introduce in the future.
Embrace the beauty of lunar light in your home with this ceiling lamp!
Common Problems and Solutions:
If you encounter a slicing error with the Moon model, a slight scale adjustment, such as to 100.1%, may resolve it. If the plate doesn't fit, gradually adjust the scale in the X and Y directions for a perfect fit.For a secure ceiling mount, choose the right screws and wall plugs, or opt for a reliable glue if you prefer not to drill. Test the fit after each adjustment to ensure flawless assembly.
Moon Ceiling Lamp

Glowing Moon Owl Lamp - Enchanted Woodland Nightlight STL
Ceiling lamp

Moon Led Light
Modern Suspension Lamp E27
.jpeg&w=3840&q=75)
Spiral glow ceiling/roof lamp

TABLE PENDANT LAMP (KASMO) / BASKET STYLE LAMPSHADE / DESIGNER LAMP / MODERN HOMEDECOR
Ovo Pendant Lamp - Lamps & Lighting by Lunfardo
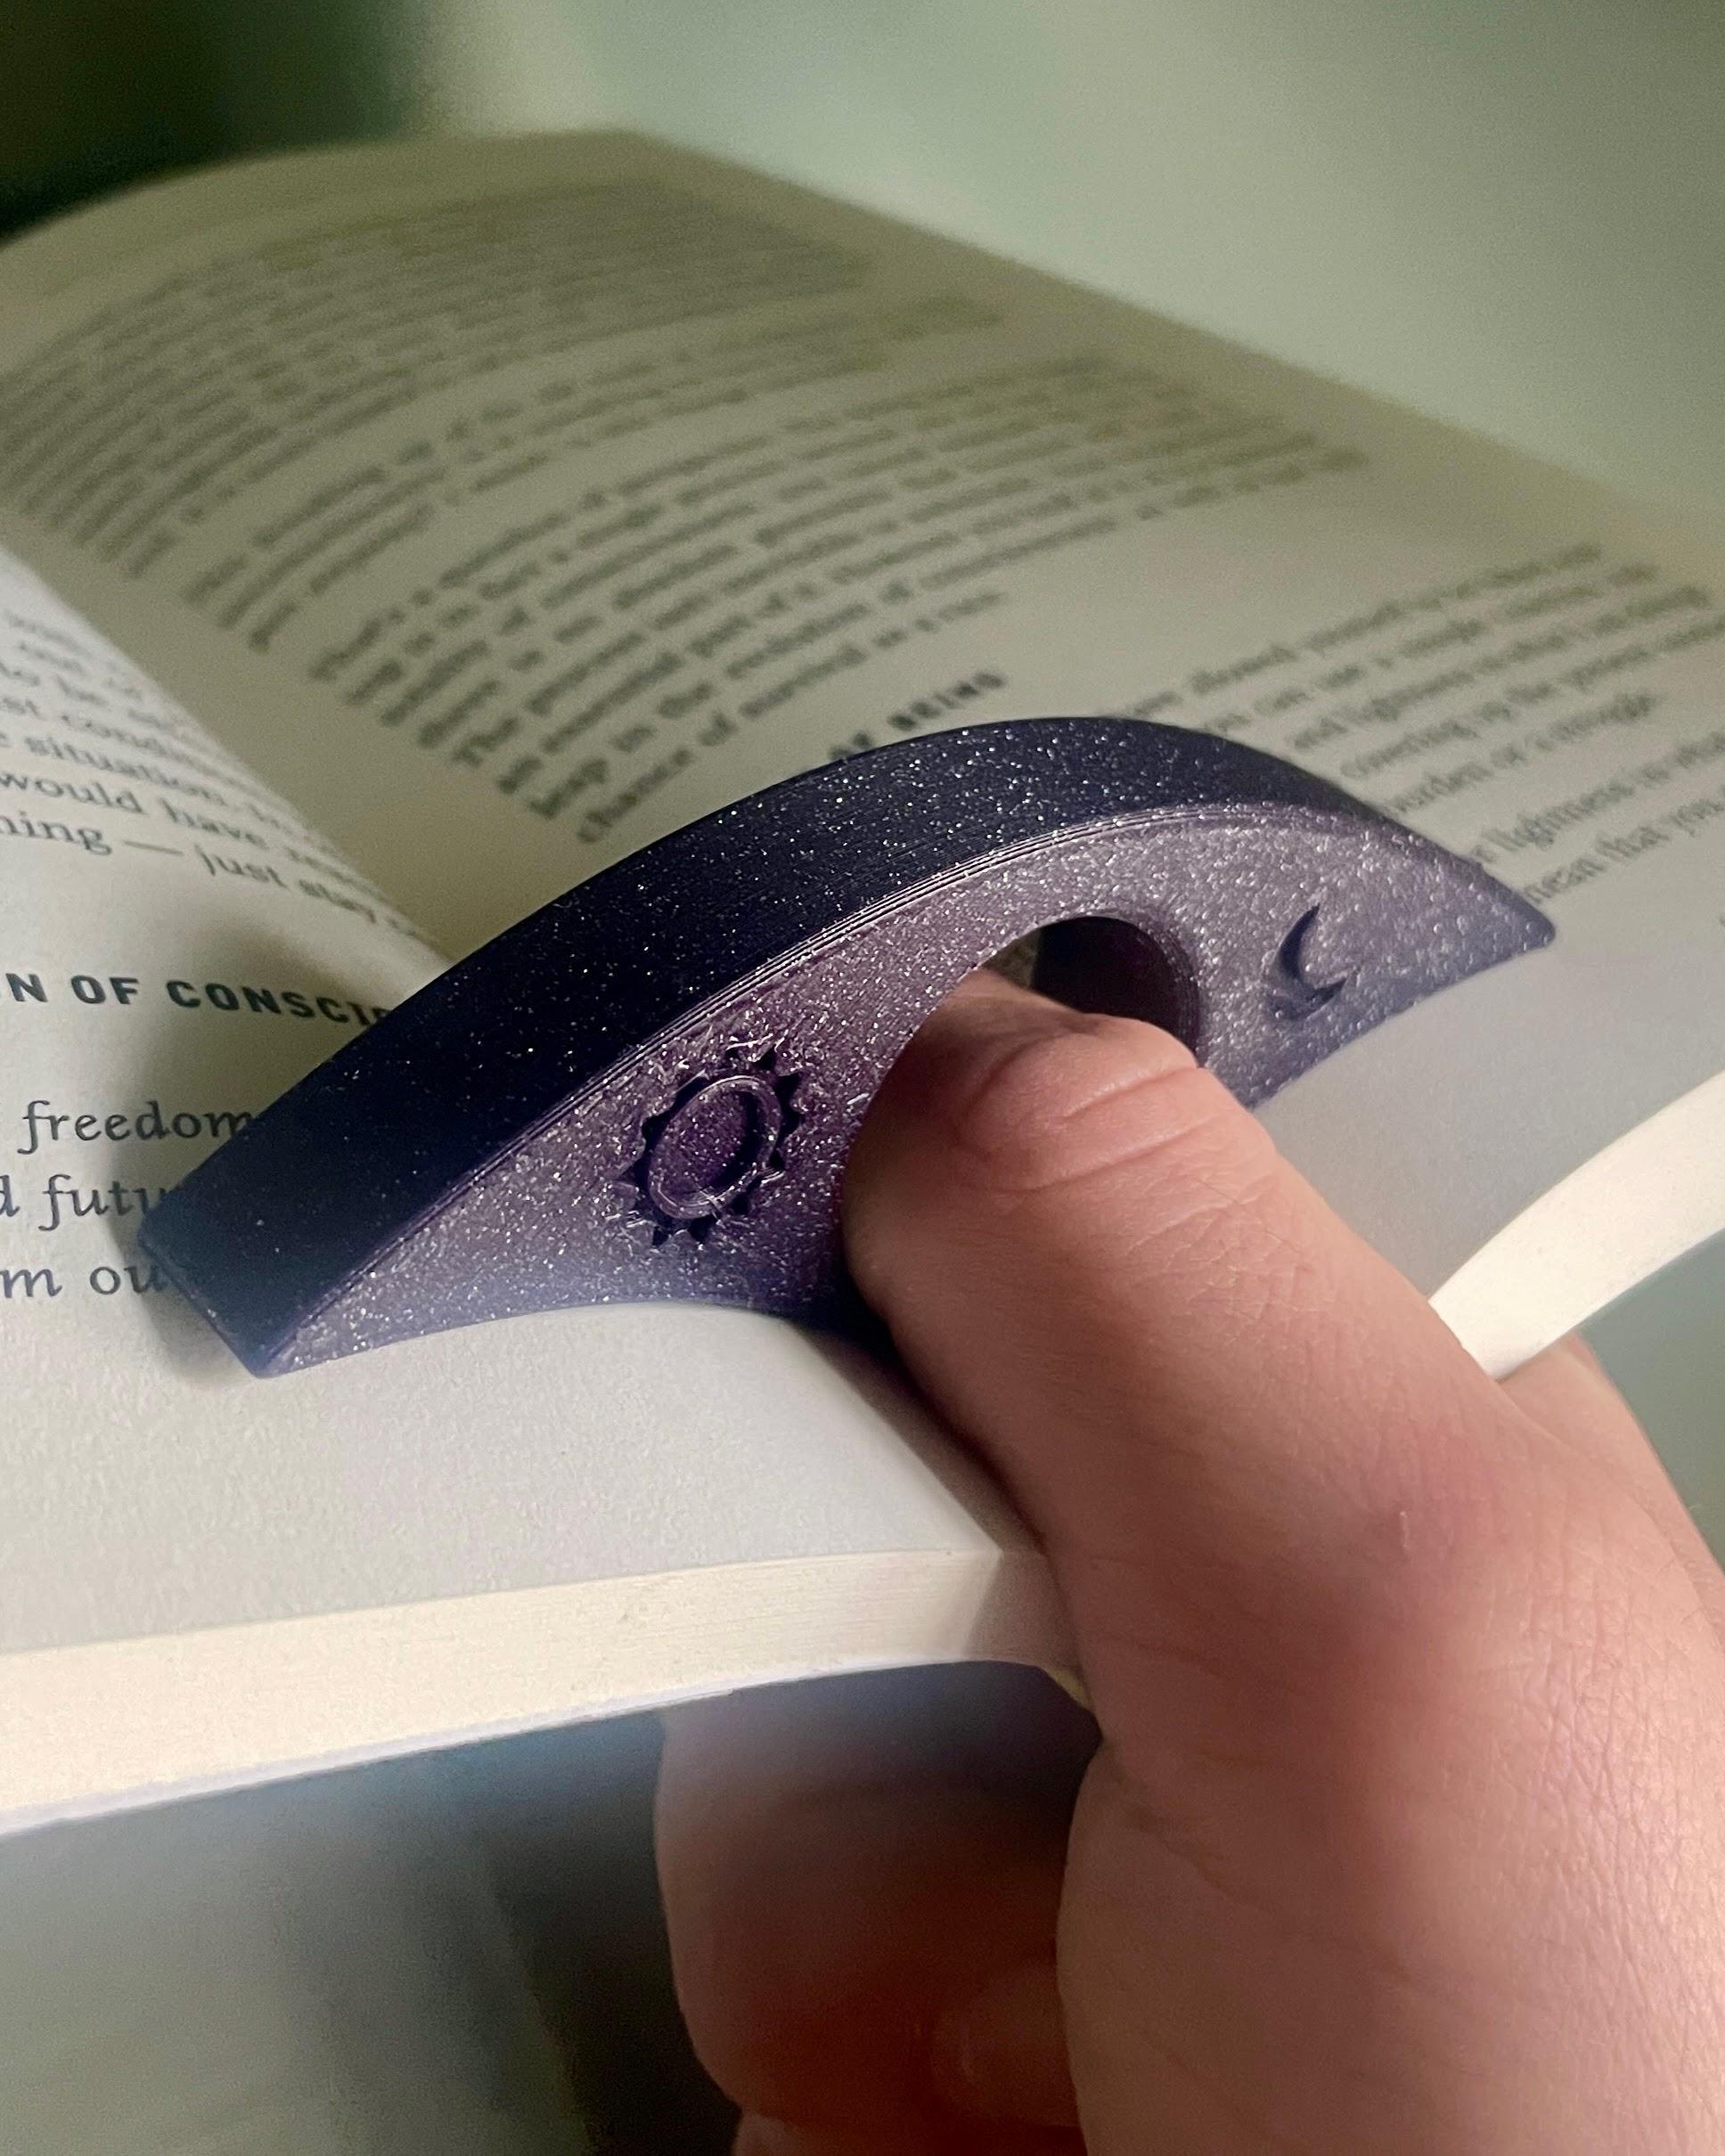
Celestial Book Page Holder
Seamless Lampshade - Adaptive E27 Pendant Lamp & Table Lamp by Lunfardo
Valo Lampshade - Adaptive E27 Pendant Lamp & Table Lamp by Lunfardo

ADVENT LED TEALIGHT HOUSE / WITH SCREW CAP / CHRISTMAS DECOR / CHRISTMAS GIFT

Arcitectual lamp

Diffuser Type 1 - Lamp accessories by Lunfardo
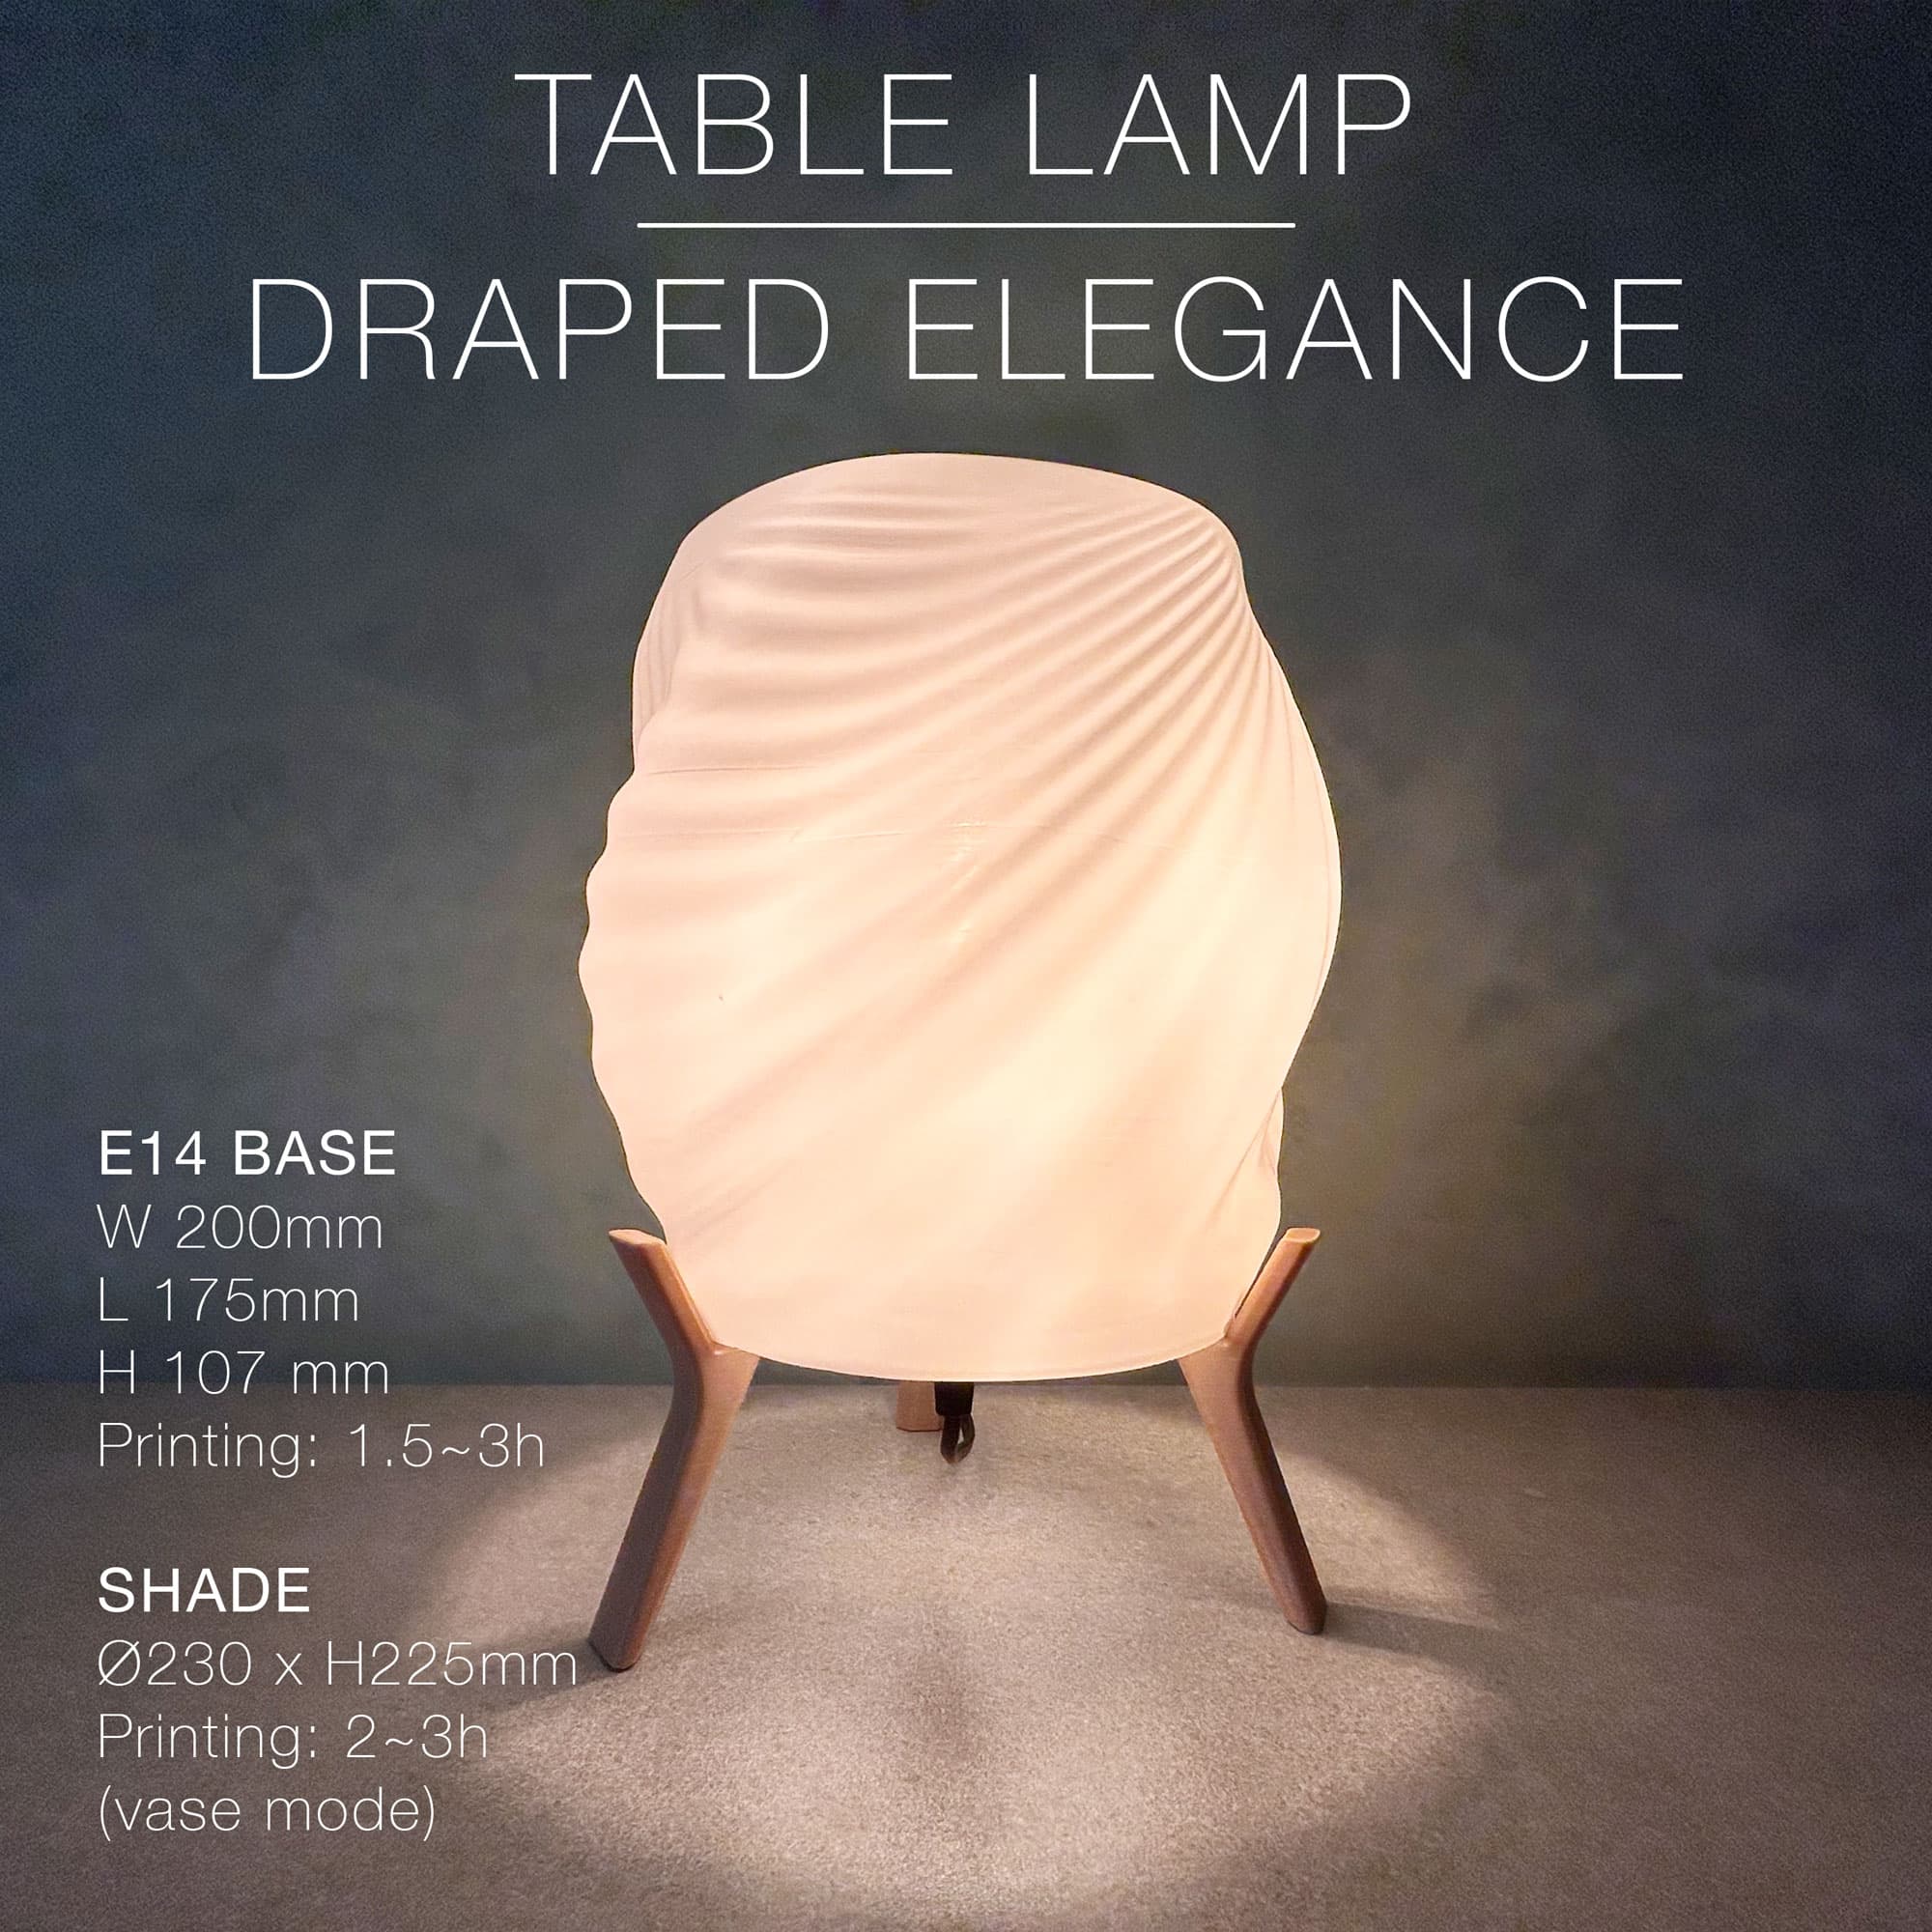
DRAPED ELEGANCE | Table Lamp

Cute Crochet Ghost Lamp / No Supports / 3MF
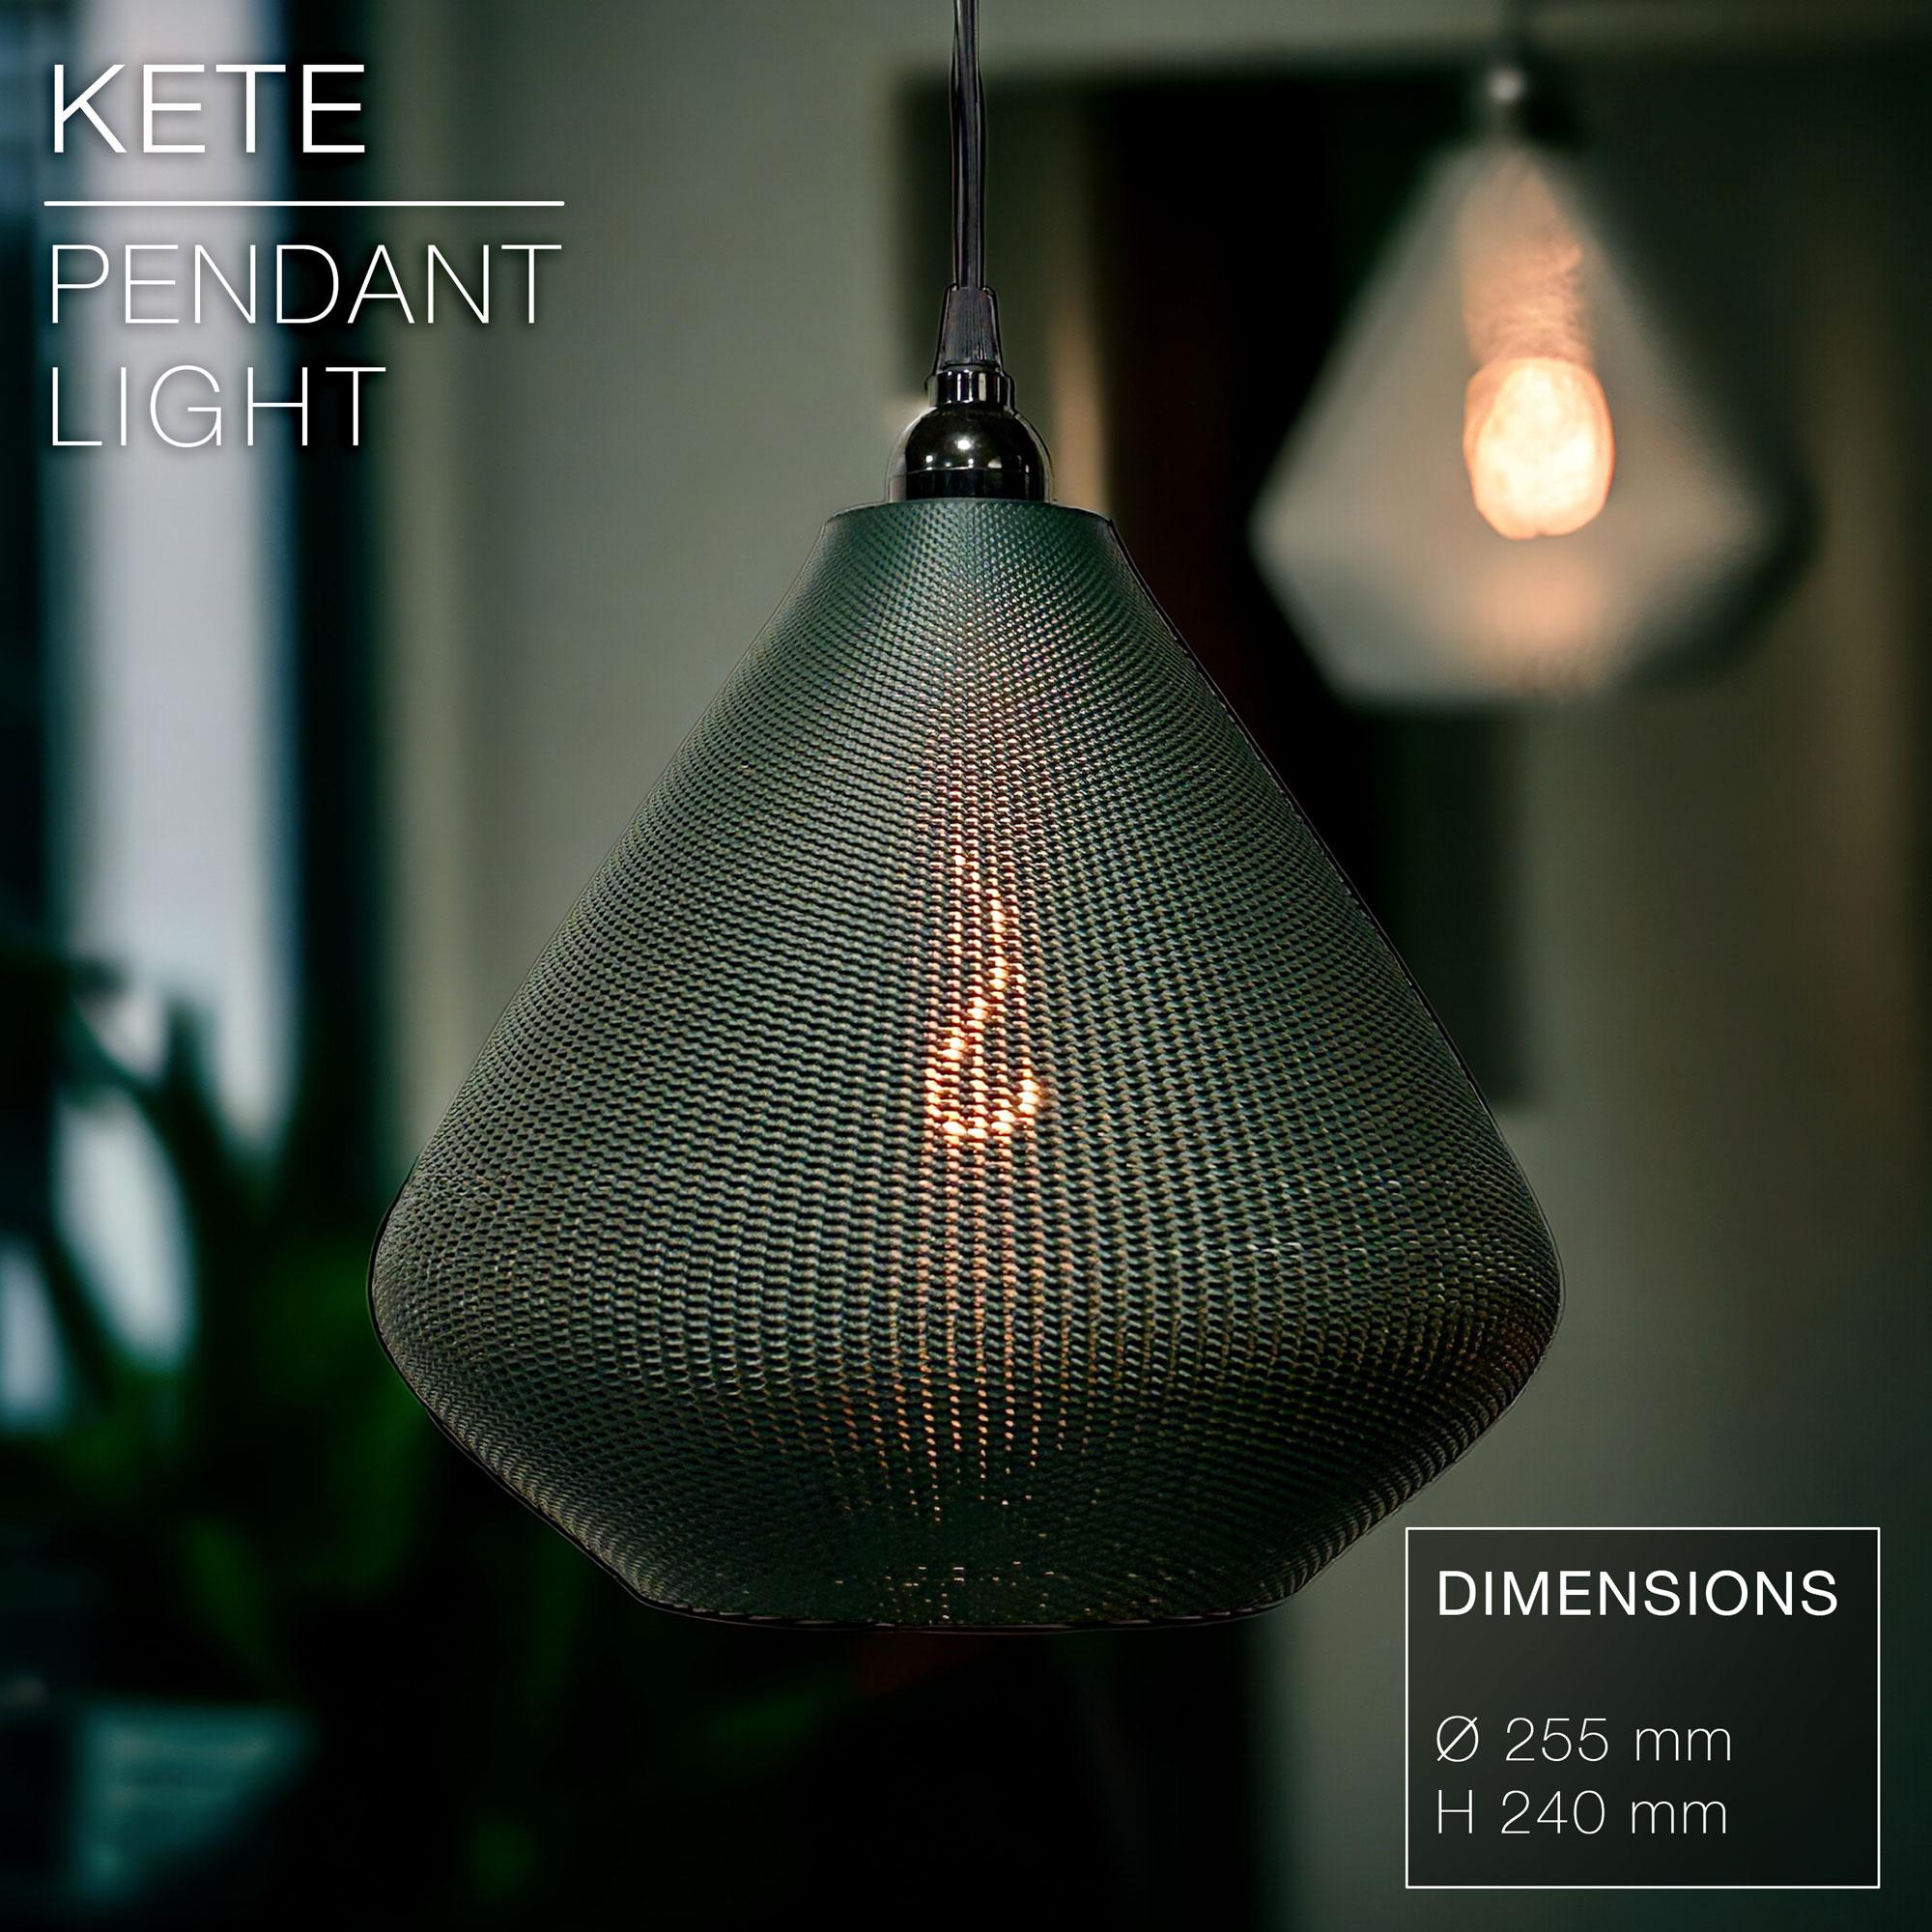
KETE | Pendant Light E27 & E26 fast print
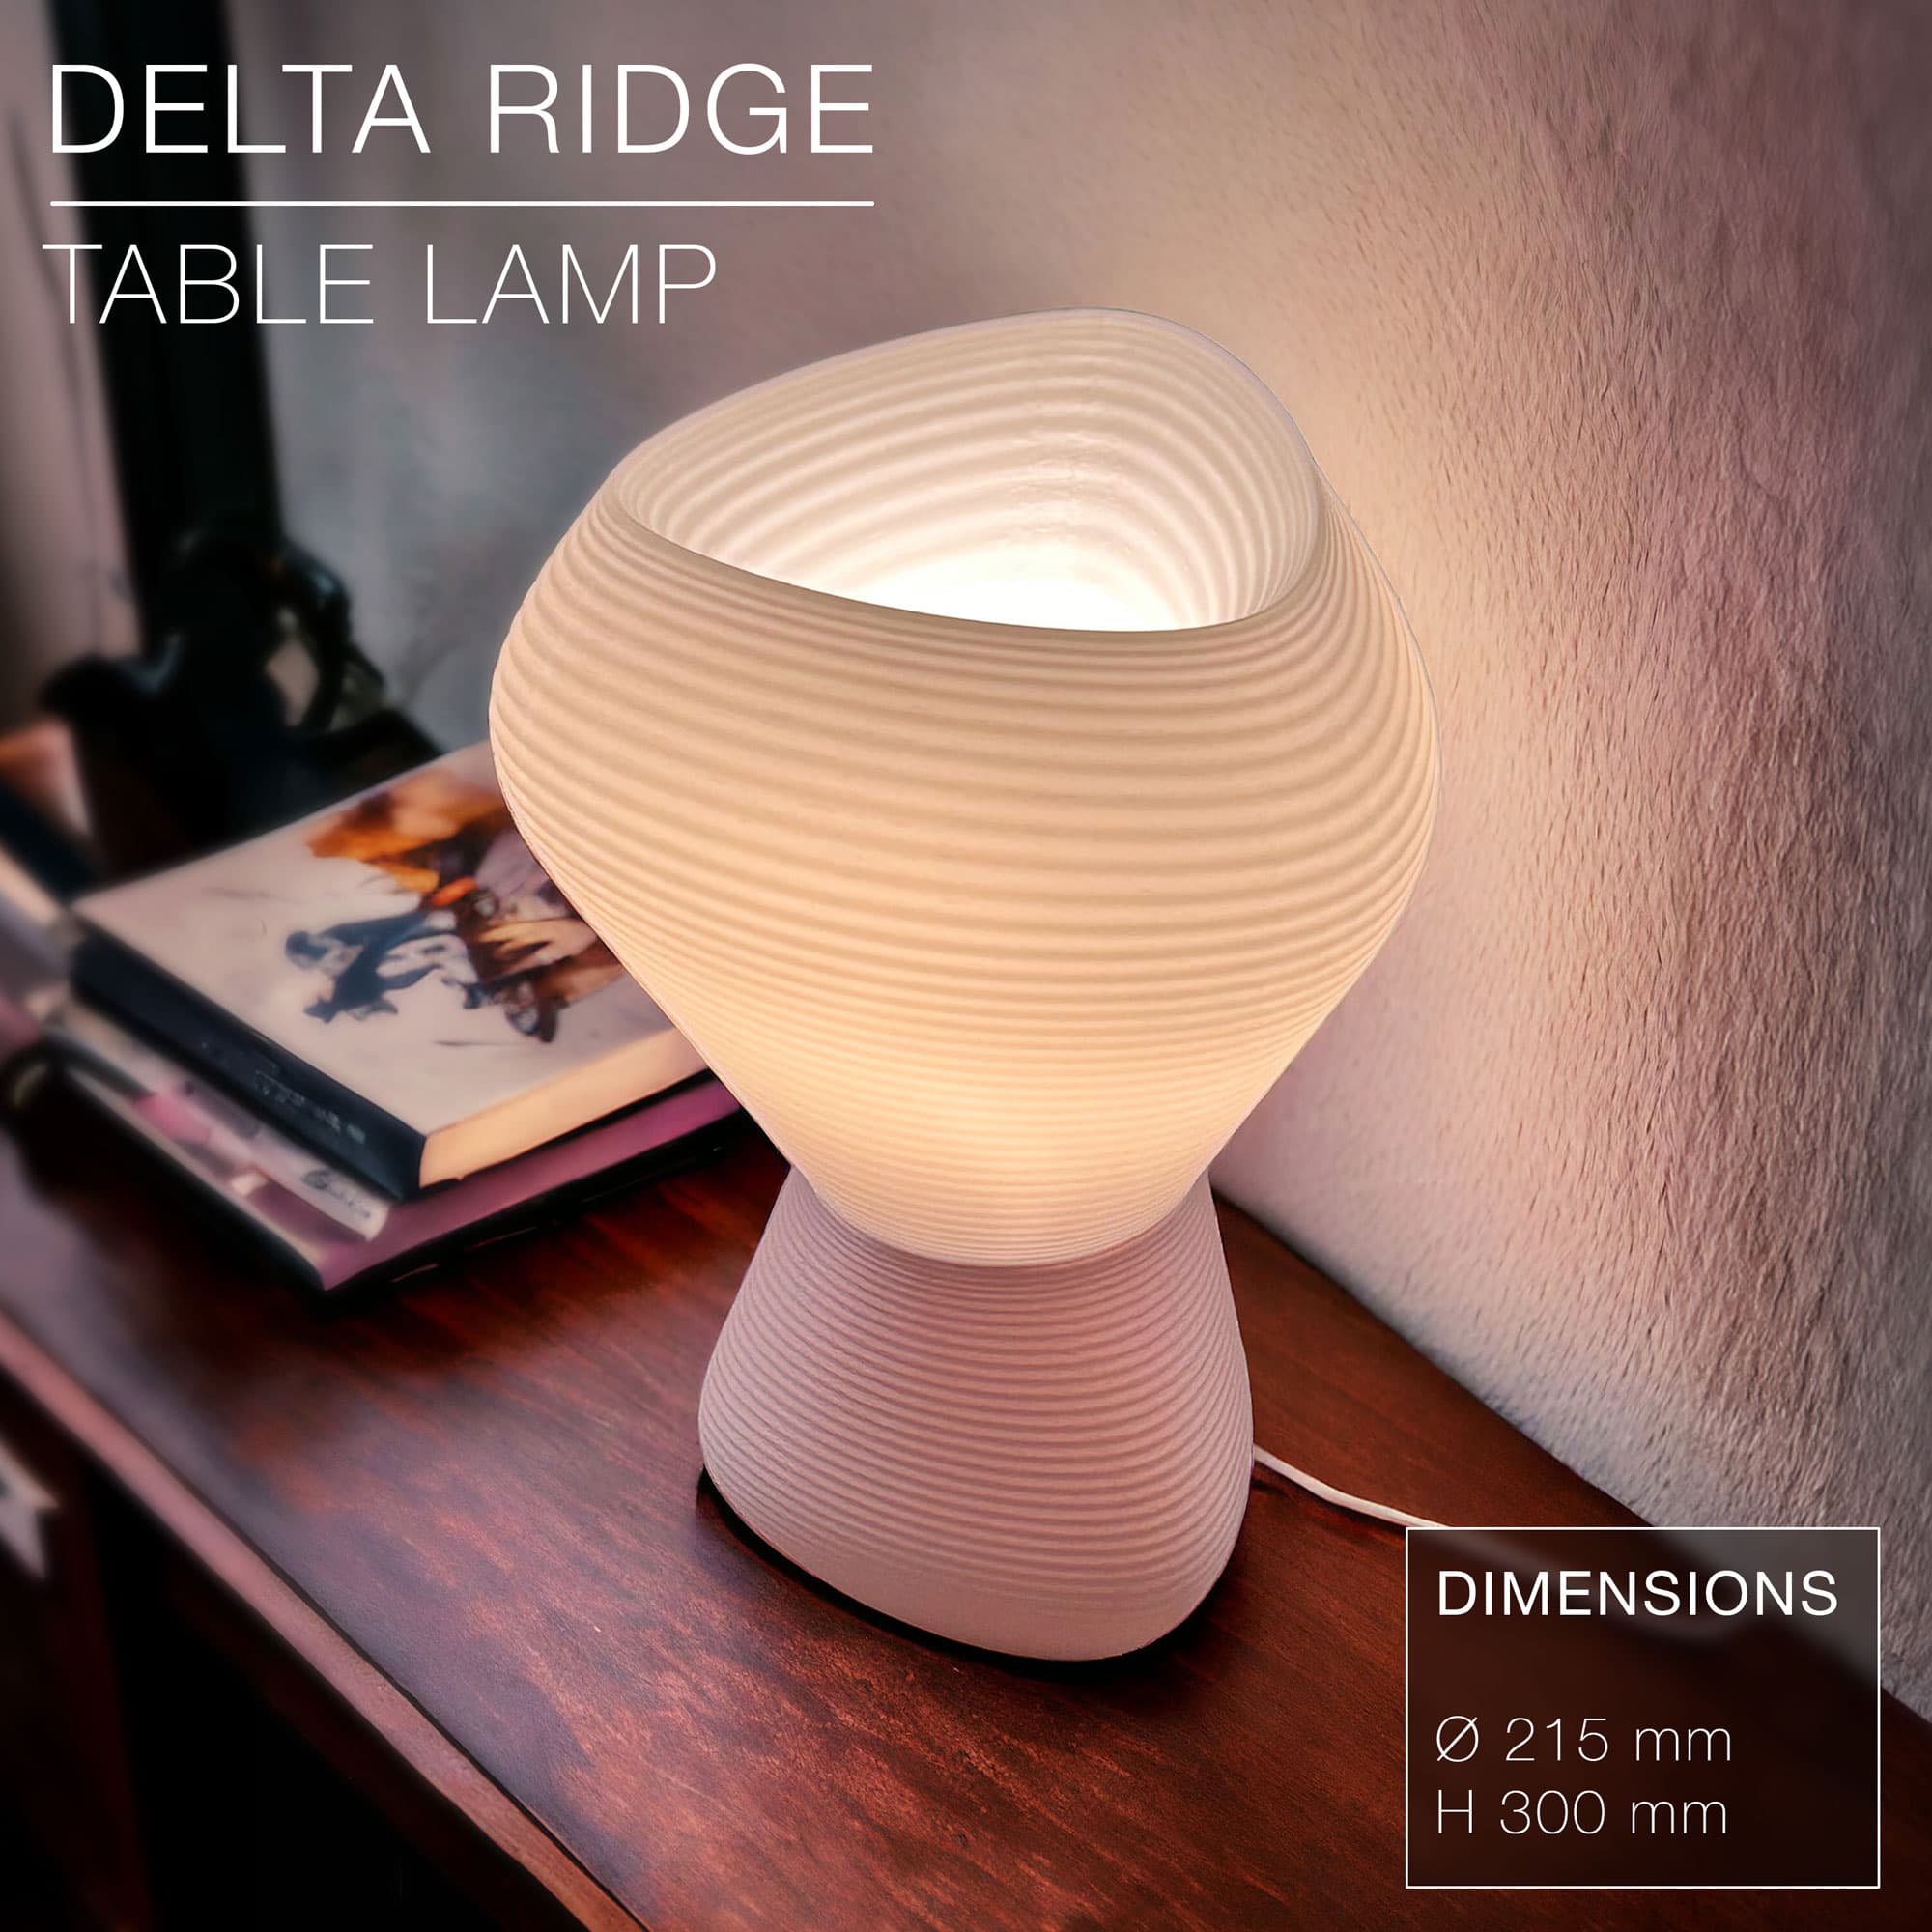
DELTA RIDGE | Table lamp E14 & E27 fast-print
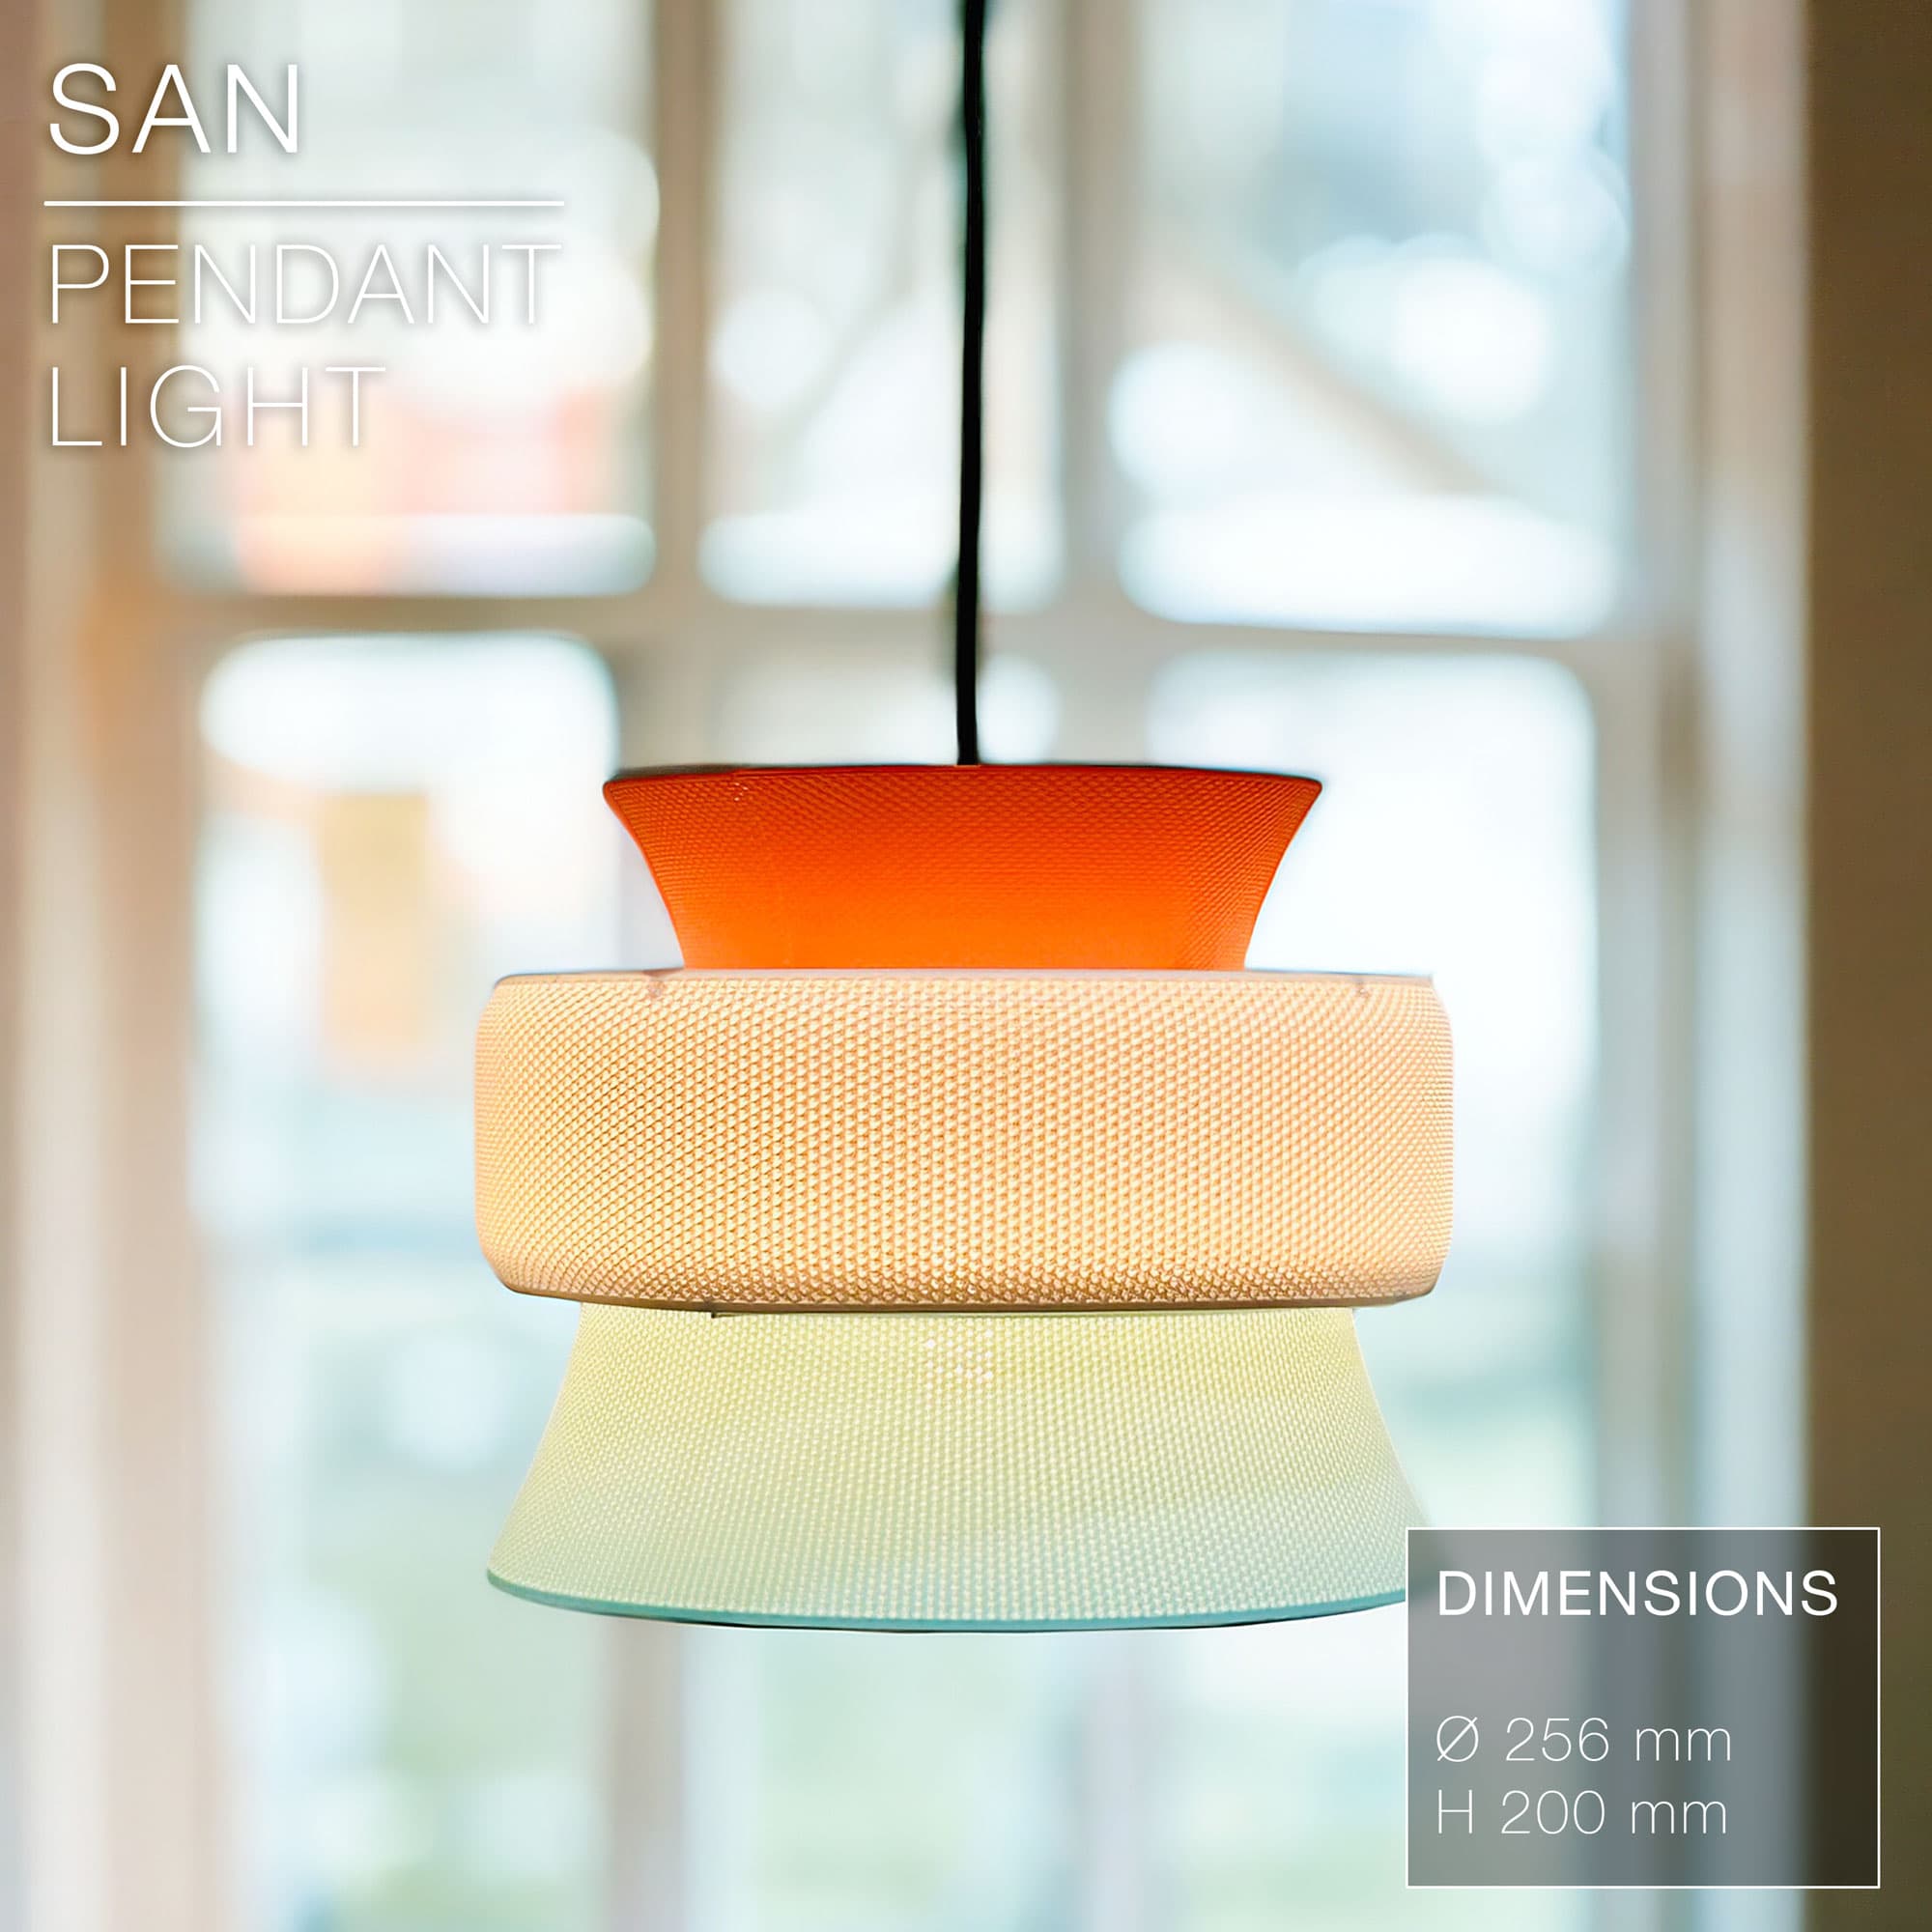
SAN | Pendant Light E27 & E26 fast print

Shoji Lamp

Hi, ich verstehe nicht ganz, wie die Lampe gedruckt und zusammen gebaut werden soll. In der Beschreibung steht was von Plate and Cylinder, jedoch kann ich nur zwei Dateien runterladen. Der Mond ist auch komplett rund, muss ich da ein Loch reinschneiden? Und hier steht noch: Check the last image for guidance on assembly Welches ist damit gemeint?
Hey, du hast recht. Ich habe gerade den Fehler mit dem Mond behoben... der muss schon ewig existiert haben, danke! Ich meine damit das weiße Bild. Da sieht man, wie die Schraube in die Platte gehören. So gehören die dann auch in die Decke. Die Pins halten den Mond von inne. Falls die nicht perfekt passen, ein wenig skalieren. Leider haben alle Drucker ganz leicht verschiedene Toleranzen.