
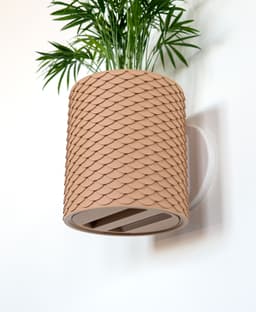

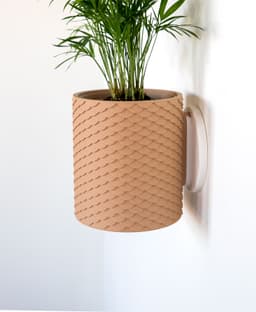
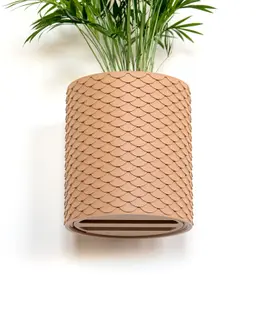
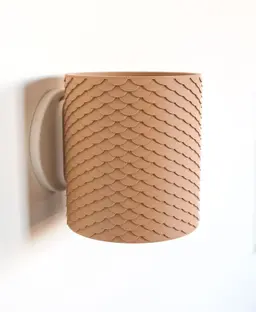


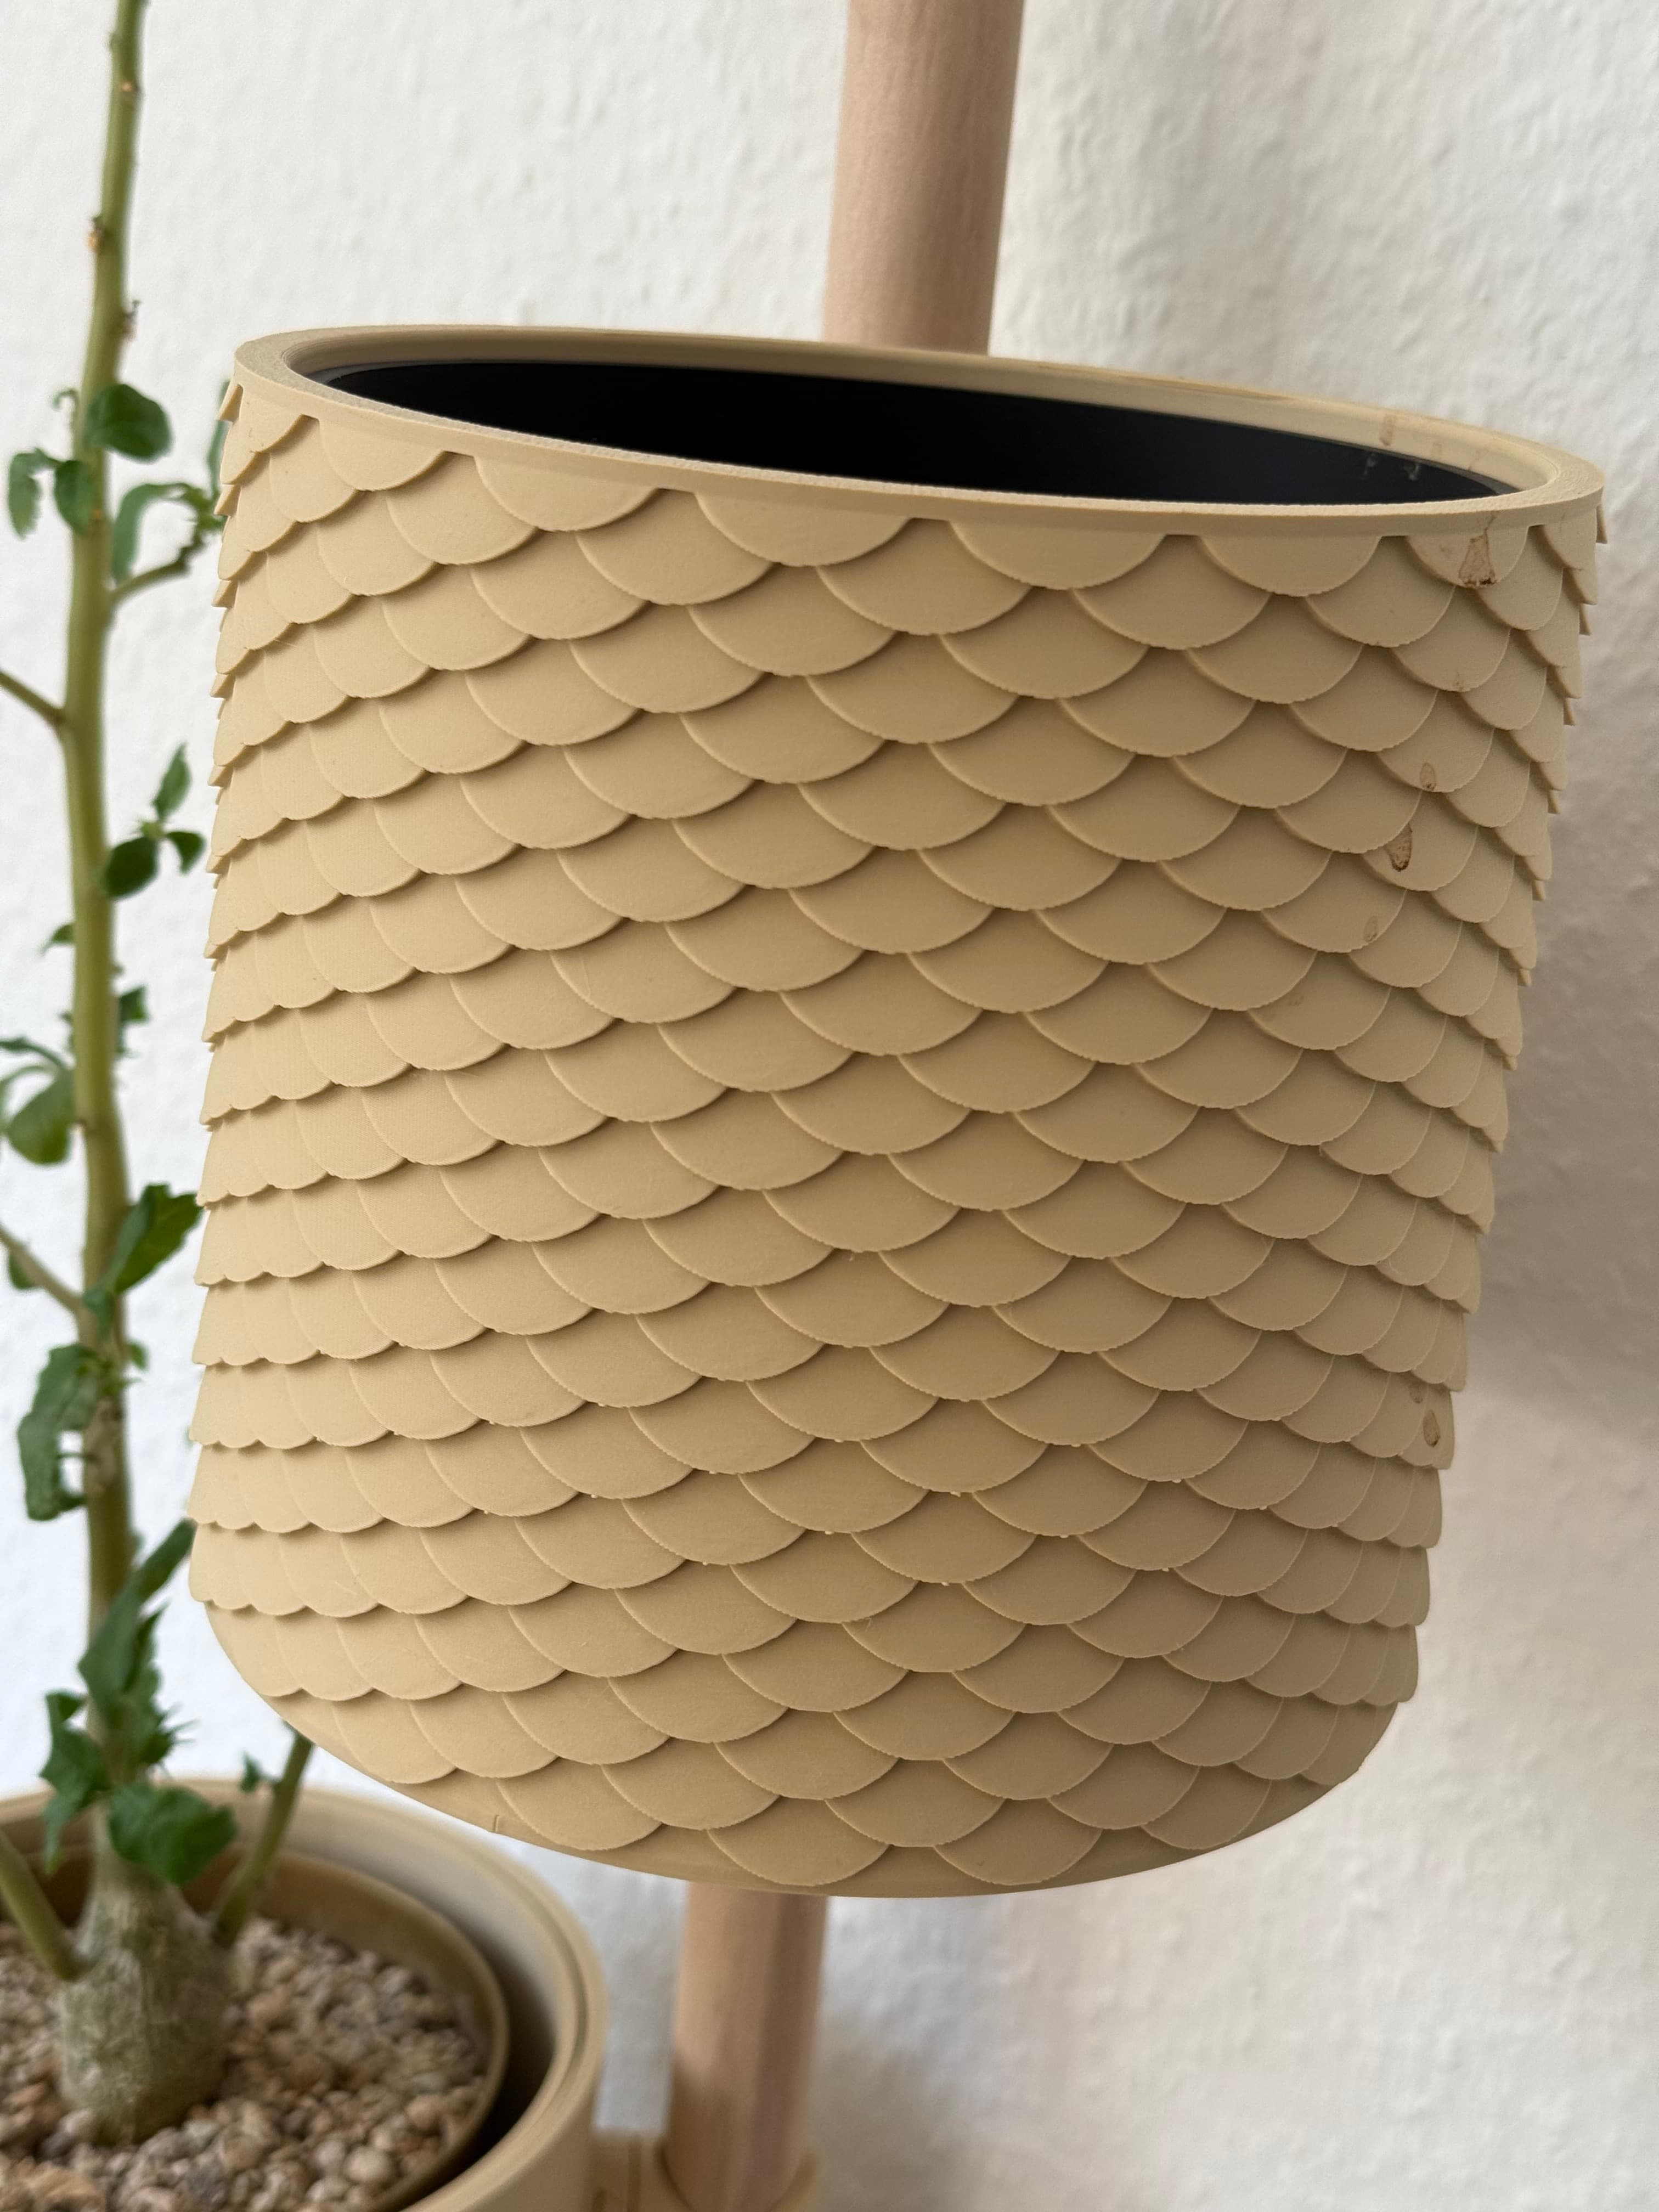
Scales Planter with Hidden Drip Tray
This planter is designed with a fully hidden drip tray to keep watering simple. It’s available in two sizes and in both wall mounted and tabletop versions. Wall mounted models use a sliding dovetail system and can be installed with either Command strips or screws. Each variation shares the same functional design, with unique patterns and shapes. This one features a scale pattern.
Supports A small amount of tree supports are required for the dovetail on the outer pot.
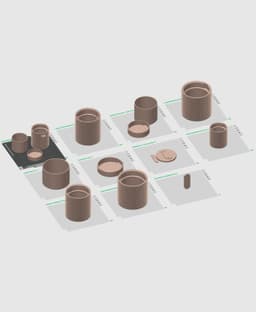
Scaling Up until now, my wall planters could not be scaled because the dovetail that's attached to the pots would change size along with the pot, making it not fit the female dovetail that attaches to the wall or The Rail. But I just came up with a solution to solve this! You'll notice a standalone dovetail object in the files and 3mf. So what you can do is copy and paste the Medium size tabletop planter onto a new plate, scale it however you like, then combine it with the dovetail. I'll be making a video tutorial on how to do this but in the meantime, here's a step by step tutorial:
How to Scale My Planters (With the New Dovetail System)
- Open the provided 3mf in Bambu Studio.
- Select the medium tabletop outer pot, copy it, then create a new plate.
- Paste the outer pot onto the new plate.
- Click the pot, select Scale, and scale it to any size you want.
- Select the medium inner pot and drip tray, and scale them using the exact same scale values as the outer pot.
- Right-click the outer pot and choose Center.
- Add the standalone male dovetail file to the same plate.
- Right-click the dovetail and choose Center.
- Click the Move tool.
- Use the green arrow to move the dovetail backward so it sticks out slightly from the back of the pot. Note that some pots print upside down and some print right side up. Make sure the dovetail is oriented the same as the pot.
- Use the original pre-made planters as a reference for how far it should extend.
- Select both the outer pot and the dovetail at the same time.
- Right-click and choose Merge.
- In the left sidebar, you’ll now see an Assembly with the pot and dovetail.
- Expand the assembly and select the dovetail.
- Click the Move tool again.
- Set the Z coordinate to 0 and press Enter to perfectly center it.
- The pot and dovetail are now aligned and will print as one object.
- Turn on Enable Supports and use Tree Auto supports.
- Slice and print.
Orientation
- The outer pots print upside down
- Everything else prints upright with its bottom on the build plate
- The wall mount prints flat with the sliding dovetail facing up
Print Settings
- .2mm layer height
- 15% grid infill | 15% gyroid infill for wall mount
- 2 walls
- Set bridge flow to 1.6 for drip tray and wall mount
Filament
Colors I used:
- Latte Brown
Hardware
- #8 - #10 x 1" screws and anchors
- 3M Medium Picture Hanging Command Strips
Filament and non 3D printed items for this model can be found on my Amazon Storefront, linked here: https://linktr.ee/loftedgoods

Scales Planter with Hidden Drip Tray
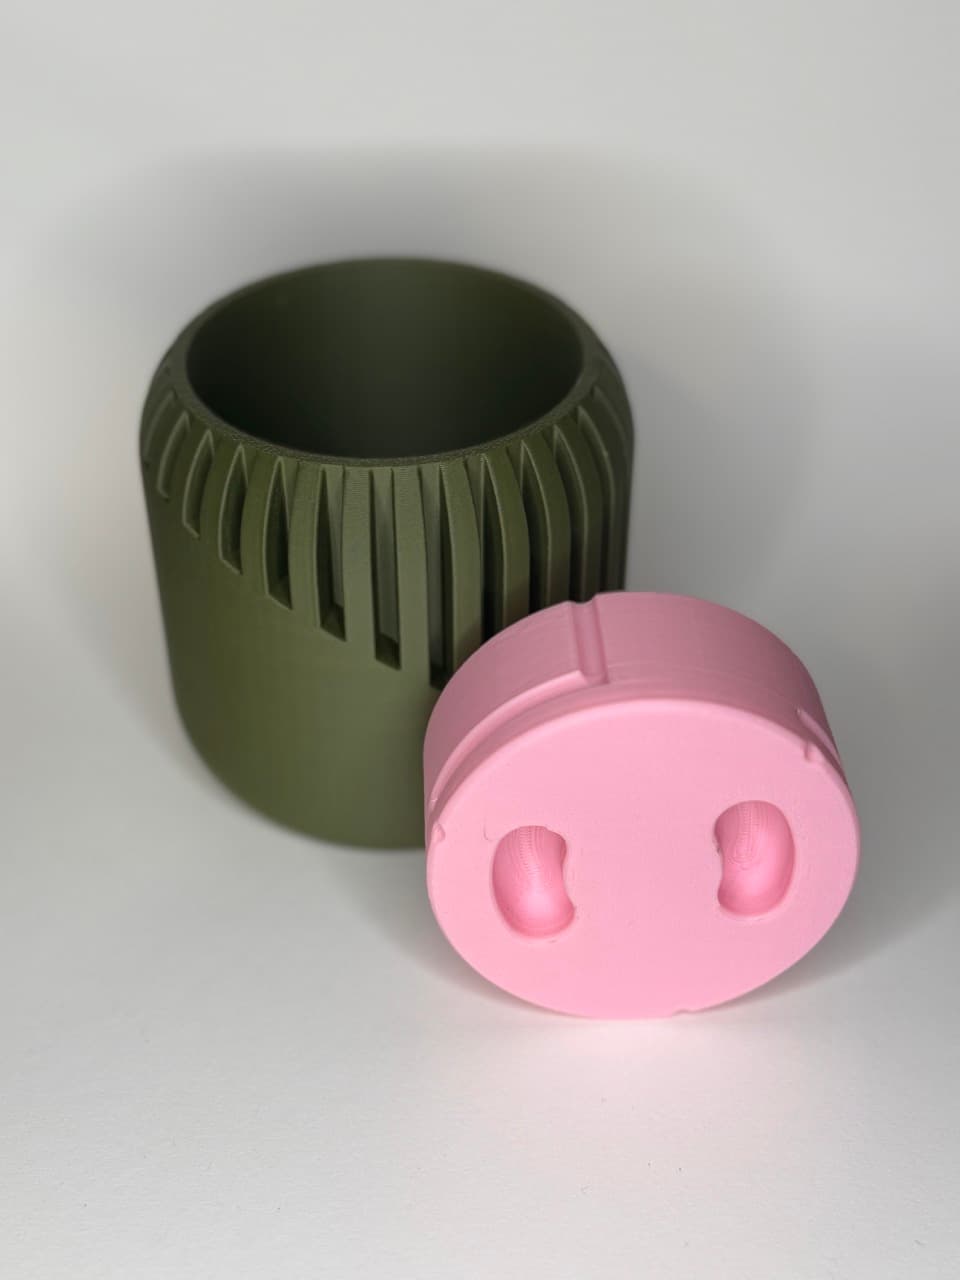
Slope Planter with Hidden "Pig Nose" Drip Tray

Swirl Planter

Mason Jar Planter - Convertible Drip Tray

BASIM (LONG ROUNDED) - MODERN ORGANIZER WITH HIDDEN DRIP TRAY / KITCHEN ORGANIZER / BATHROOM ORGANIZ

Planter with dripping tray

PLANTER WITH TWISTABLE DRIP TRAY - WAVES

PLANTER WITH TWISTABLE DRIP TRAY - WEAVE

PLANTER WITH TWISTABLE DRIP TRAY - PYRAMIDS

PLANTER WITH TWISTABLE DRIP TRAY - SCALES

PLANTER WITH TWISTABLE DRIP TRAY - KNURLED

PLANTER WITH TWISTABLE DRIP TRAY - WAVES

Soap Dish With Removable Drip Tray
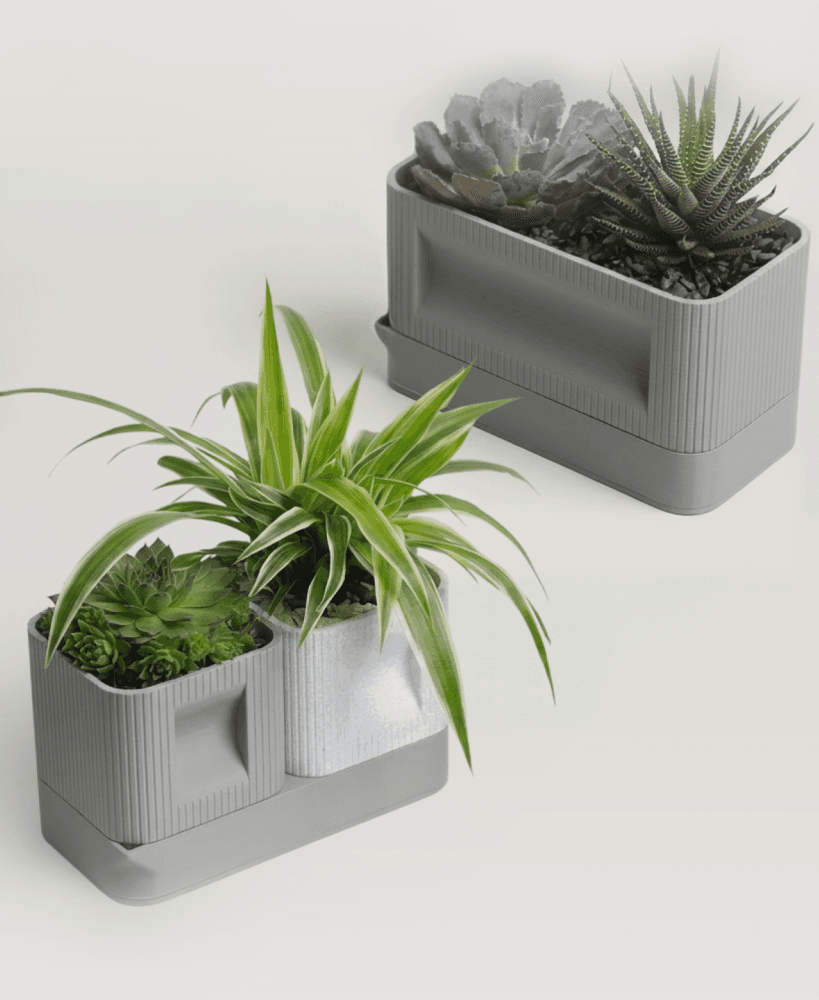
Aura DUO | Architectural Ribbed Square Planter with Hidden Drainage

20260330_Aura | Architectural Ribbed Square Planter with Hidden Drainage_bottom.3mf
.jpg&w=3840&q=75)
Water Bottle Drying - Office Desktop - Wide Mouth

Water Bottle Drying - Office Desktop - Standard

Round Wide Planter, Modern Planter for Home and Garden
.png&w=3840&q=75)
Elegant Planter With Drainage

Sprouter Stand - Seed Sprouting Kit

Hi, thank you so much for the scaling possibility. Question; would I be able to use the stand alone dovetail and use the method you described to make some of the other planters scaleable too? for ex; taking the twisted planter without the dovetail, scale it to the needed size and then add the dovetail? Thanks so much!
You can definitely do this with other planters! It works best with the ones that are more cylinder shaped and have straight outer walls. The twisted planter is a tapered shape so it might not work very well on that one but give it a try! I'm hoping to figure out a way to make it work with every shape.
I managed to make it work!! I'll post a photo on the twisted planter page as a make. thank you so much for the help!