.png&w=3840&q=85)
.png&w=256&q=75)

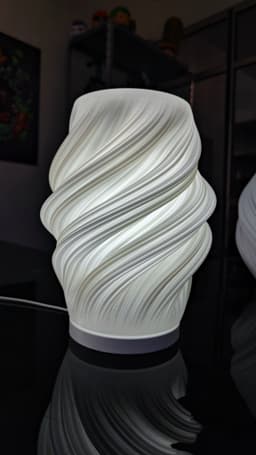


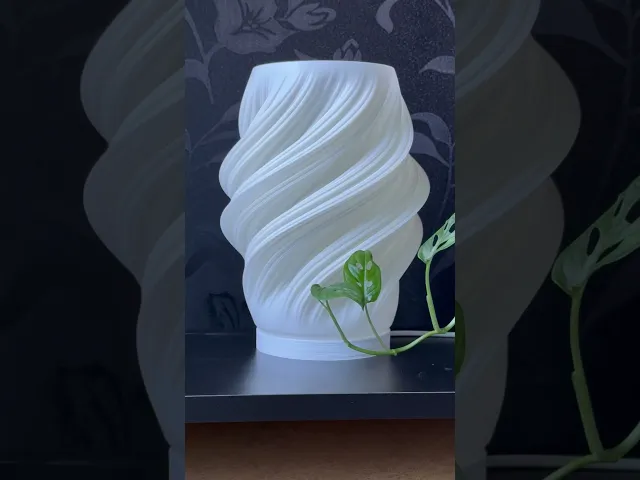
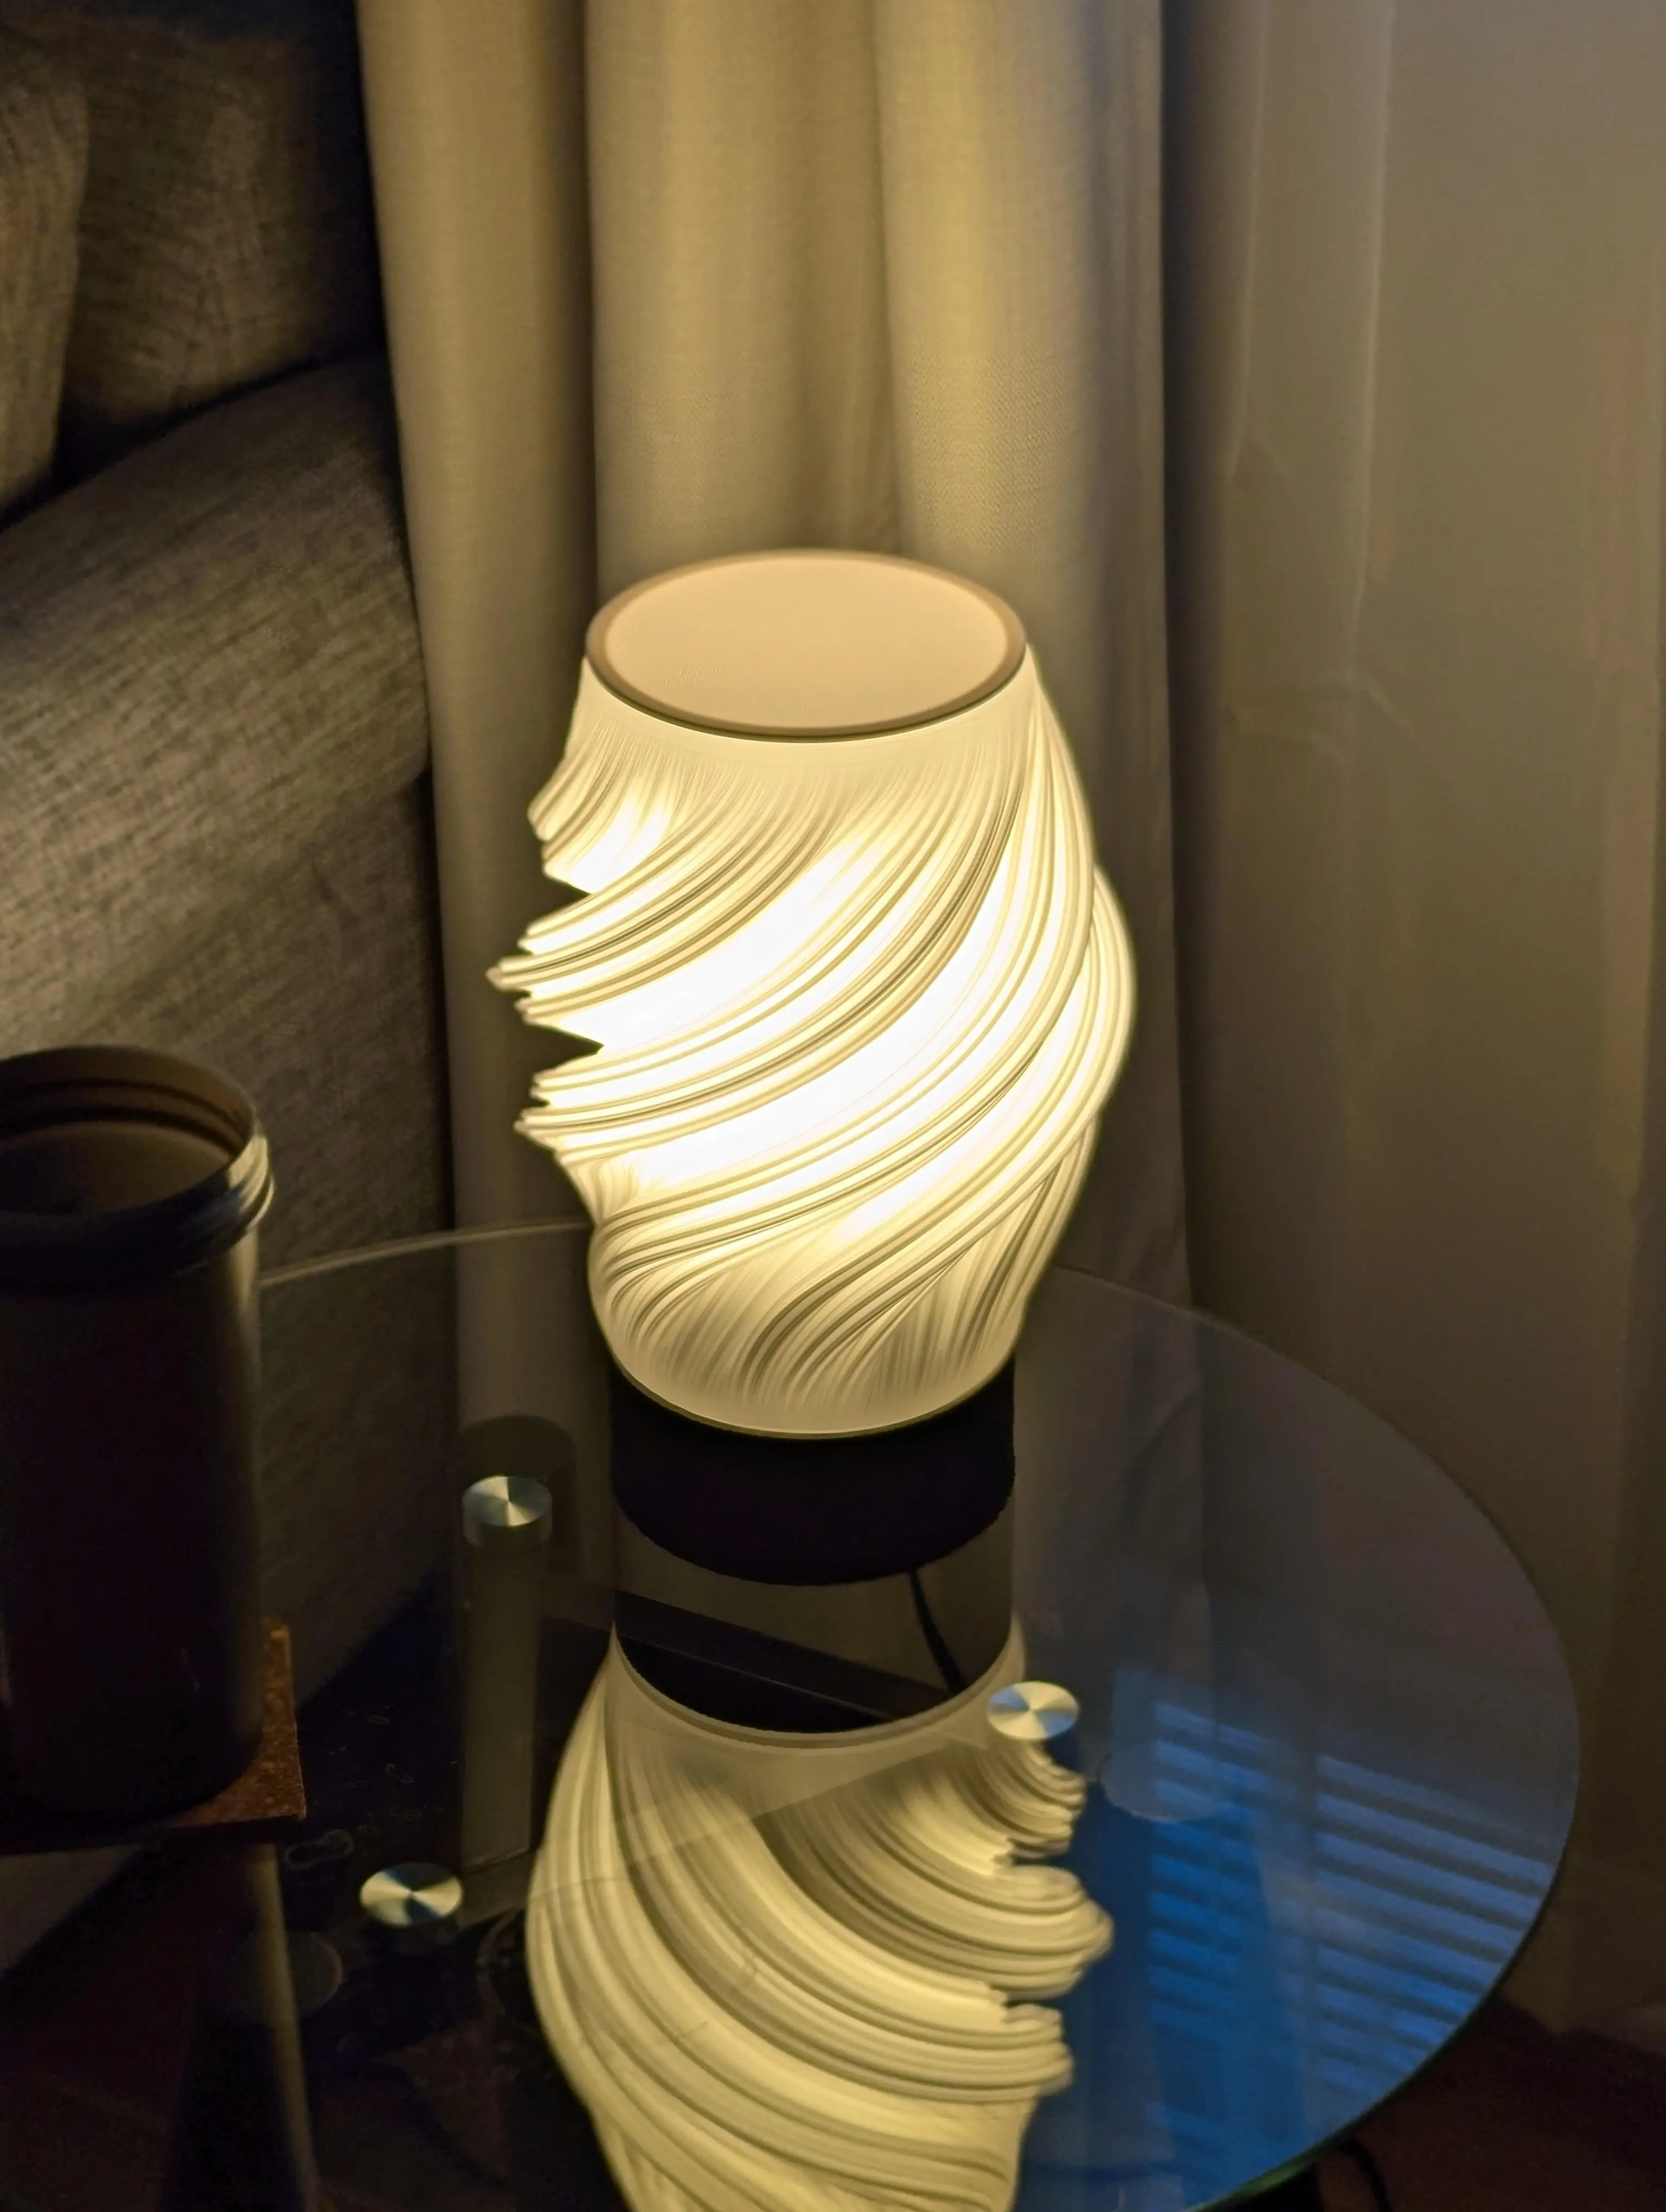
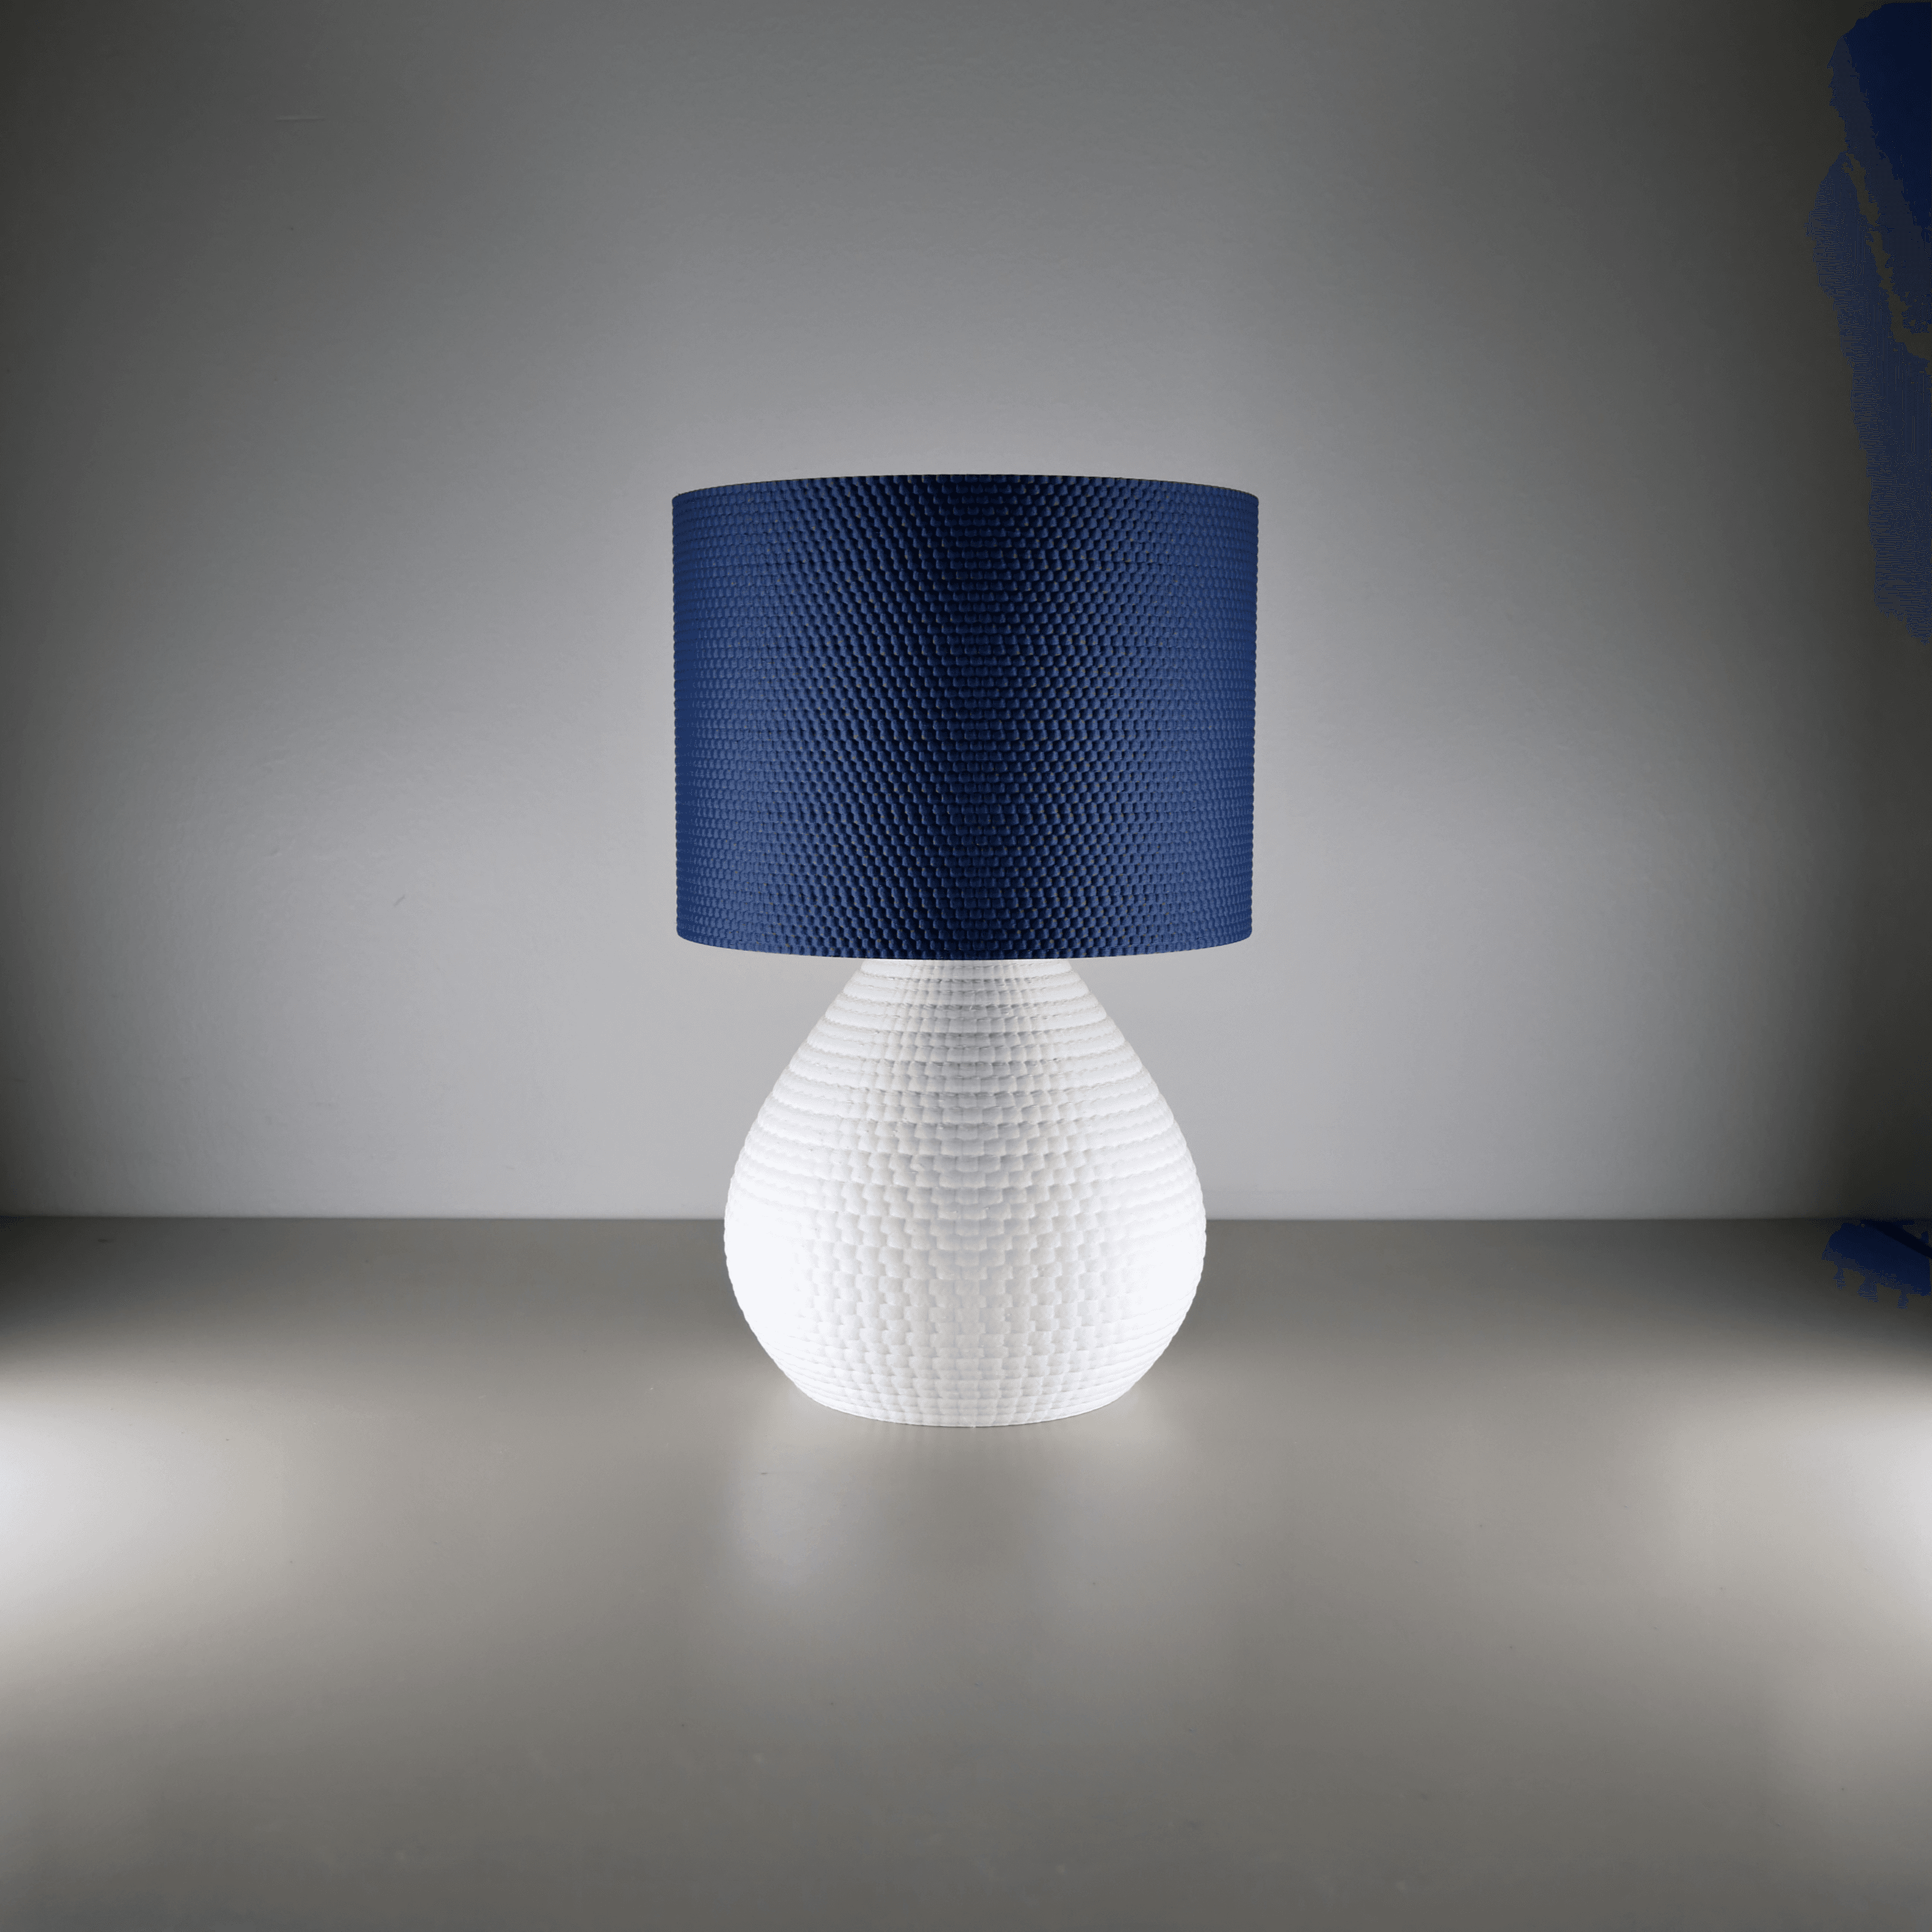
Lara Lamp
5.9K downloads · 2 years ago · This model is included in the Advanced Membership Welcome Pack
The Lamp Base, is the foundation of
This model is included in the Advanced Membership Welcome Pack
The Lamp Base, is the foundation of your customizable lighting experience. This sleek and sturdy lamp base is designed to seamlessly integrate with any of my Lampshade, allowing you to easily switch between different styles to match your decor and mood. Combine the Lamp Base with any of the interchangeable Lampshades to create the perfect ambiance for your home or office, making it easy to refresh your decor in an instant.
You can get a variety of Lampshades on my Profile
Key Features:
- Easy to swap between models
- Easy to assemble and use
- Compatible with all my Lampshades
- Sturdy and durable construction
- Sleek, modern design
hole for M5 x 25mm nut & bolt


Lara Lamp
5.9K downloads · 2 years ago in and

Bruma Lamp

CelphoneHolder customizable
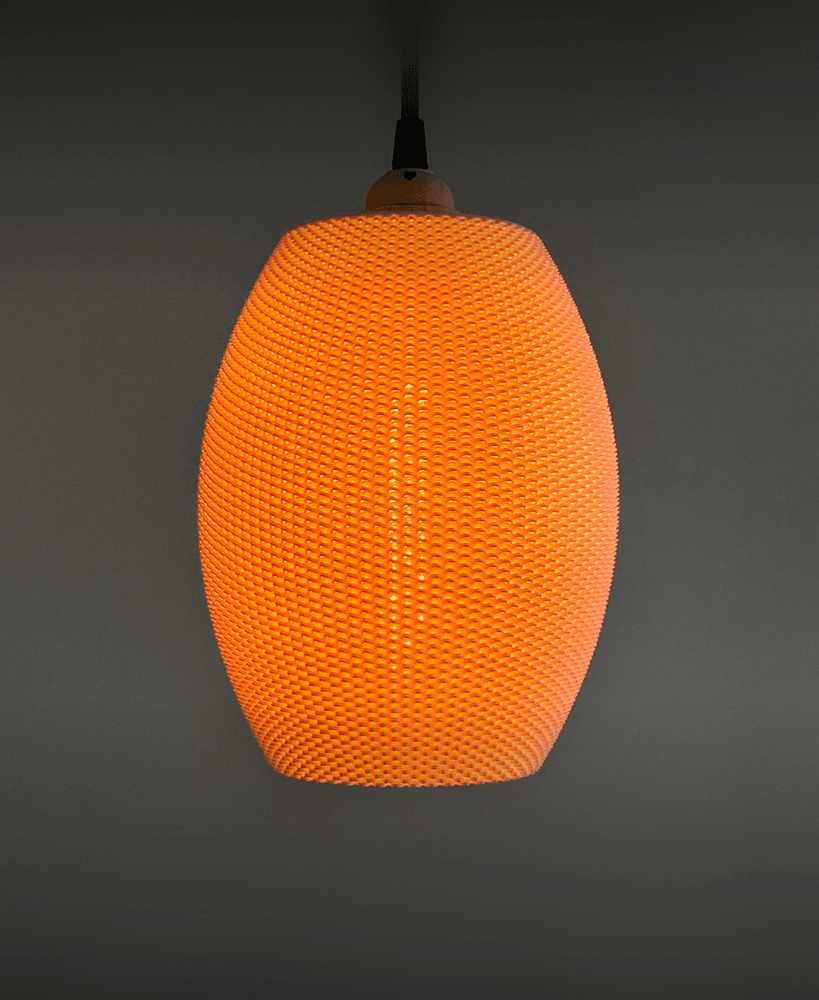
Ovo Pendant Lamp - Lamps & Lighting by Lunfardo
.png&w=3840&q=75)
Cute Crochet Ghost with Dog Candle Holder

Cat-O-Lantern Candle Holder
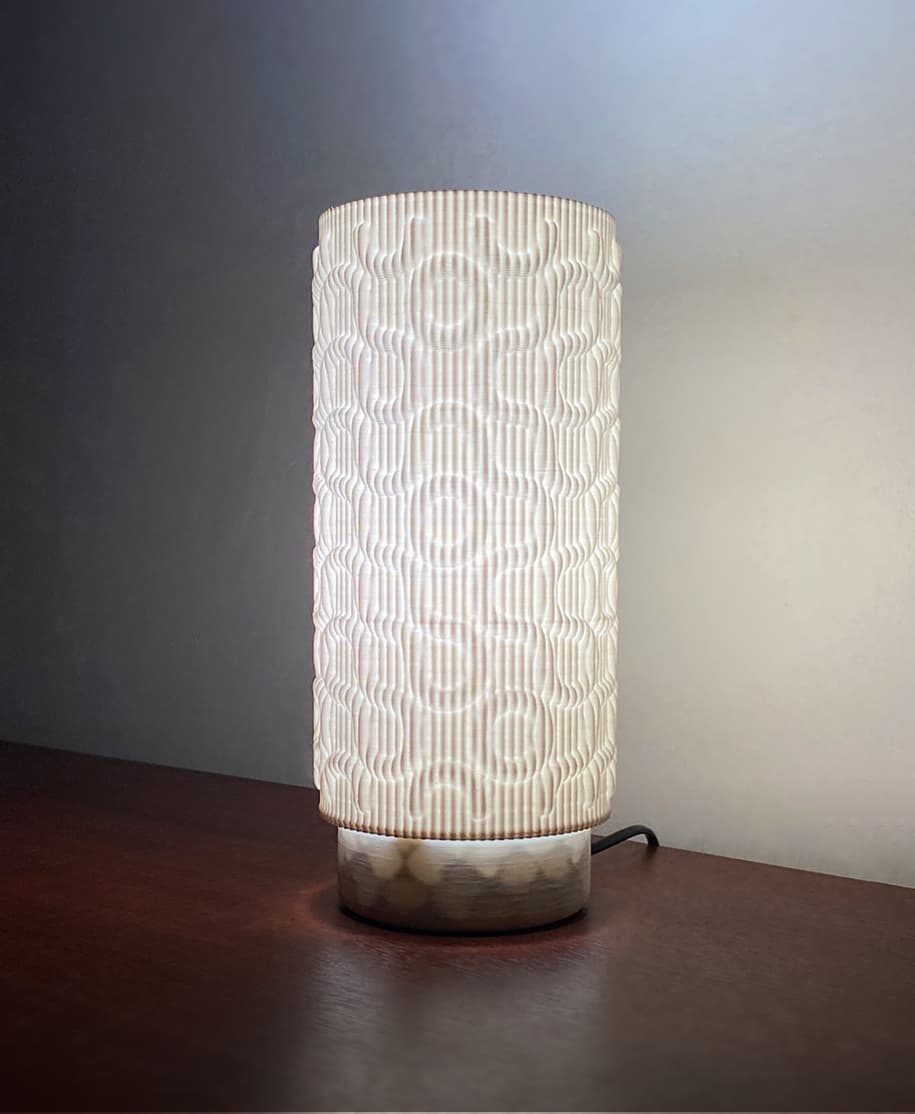
Seamless Lampshade - Adaptive E27 Pendant Lamp & Table Lamp by Lunfardo
Valo Lampshade - Adaptive E27 Pendant Lamp & Table Lamp by Lunfardo
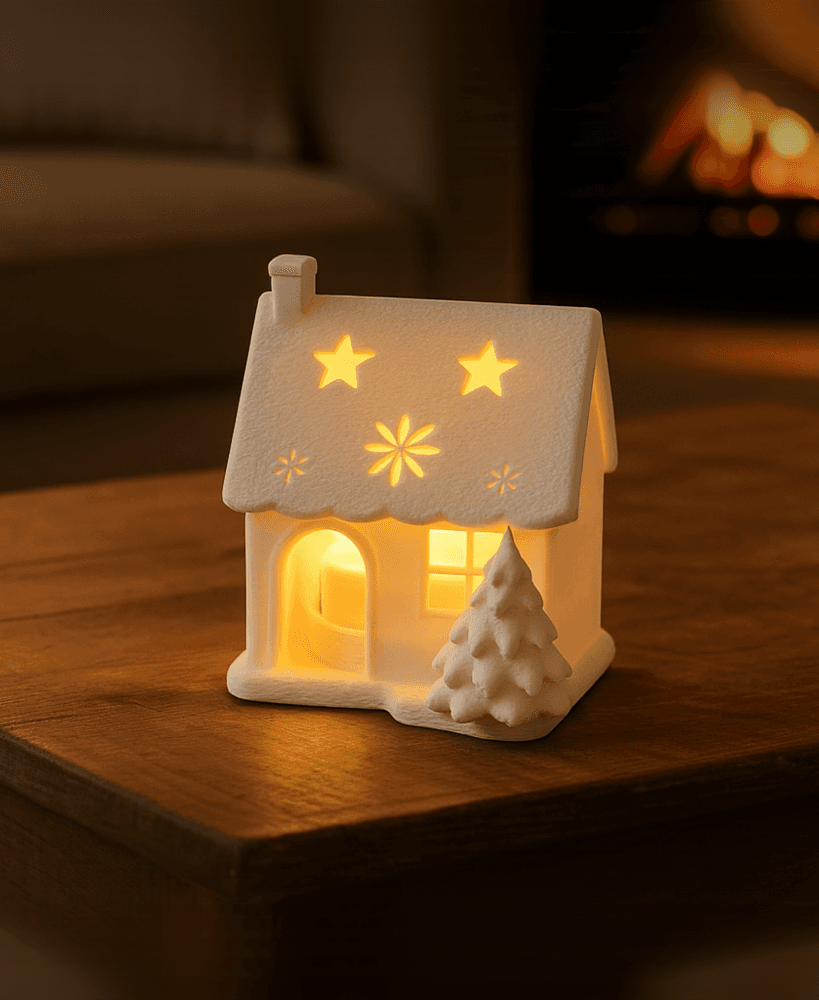
ADVENT LED TEALIGHT HOUSE / WITH SCREW CAP / CHRISTMAS DECOR / CHRISTMAS GIFT

Arcitectual lamp

Diffuser Type 1 - Lamp accessories by Lunfardo
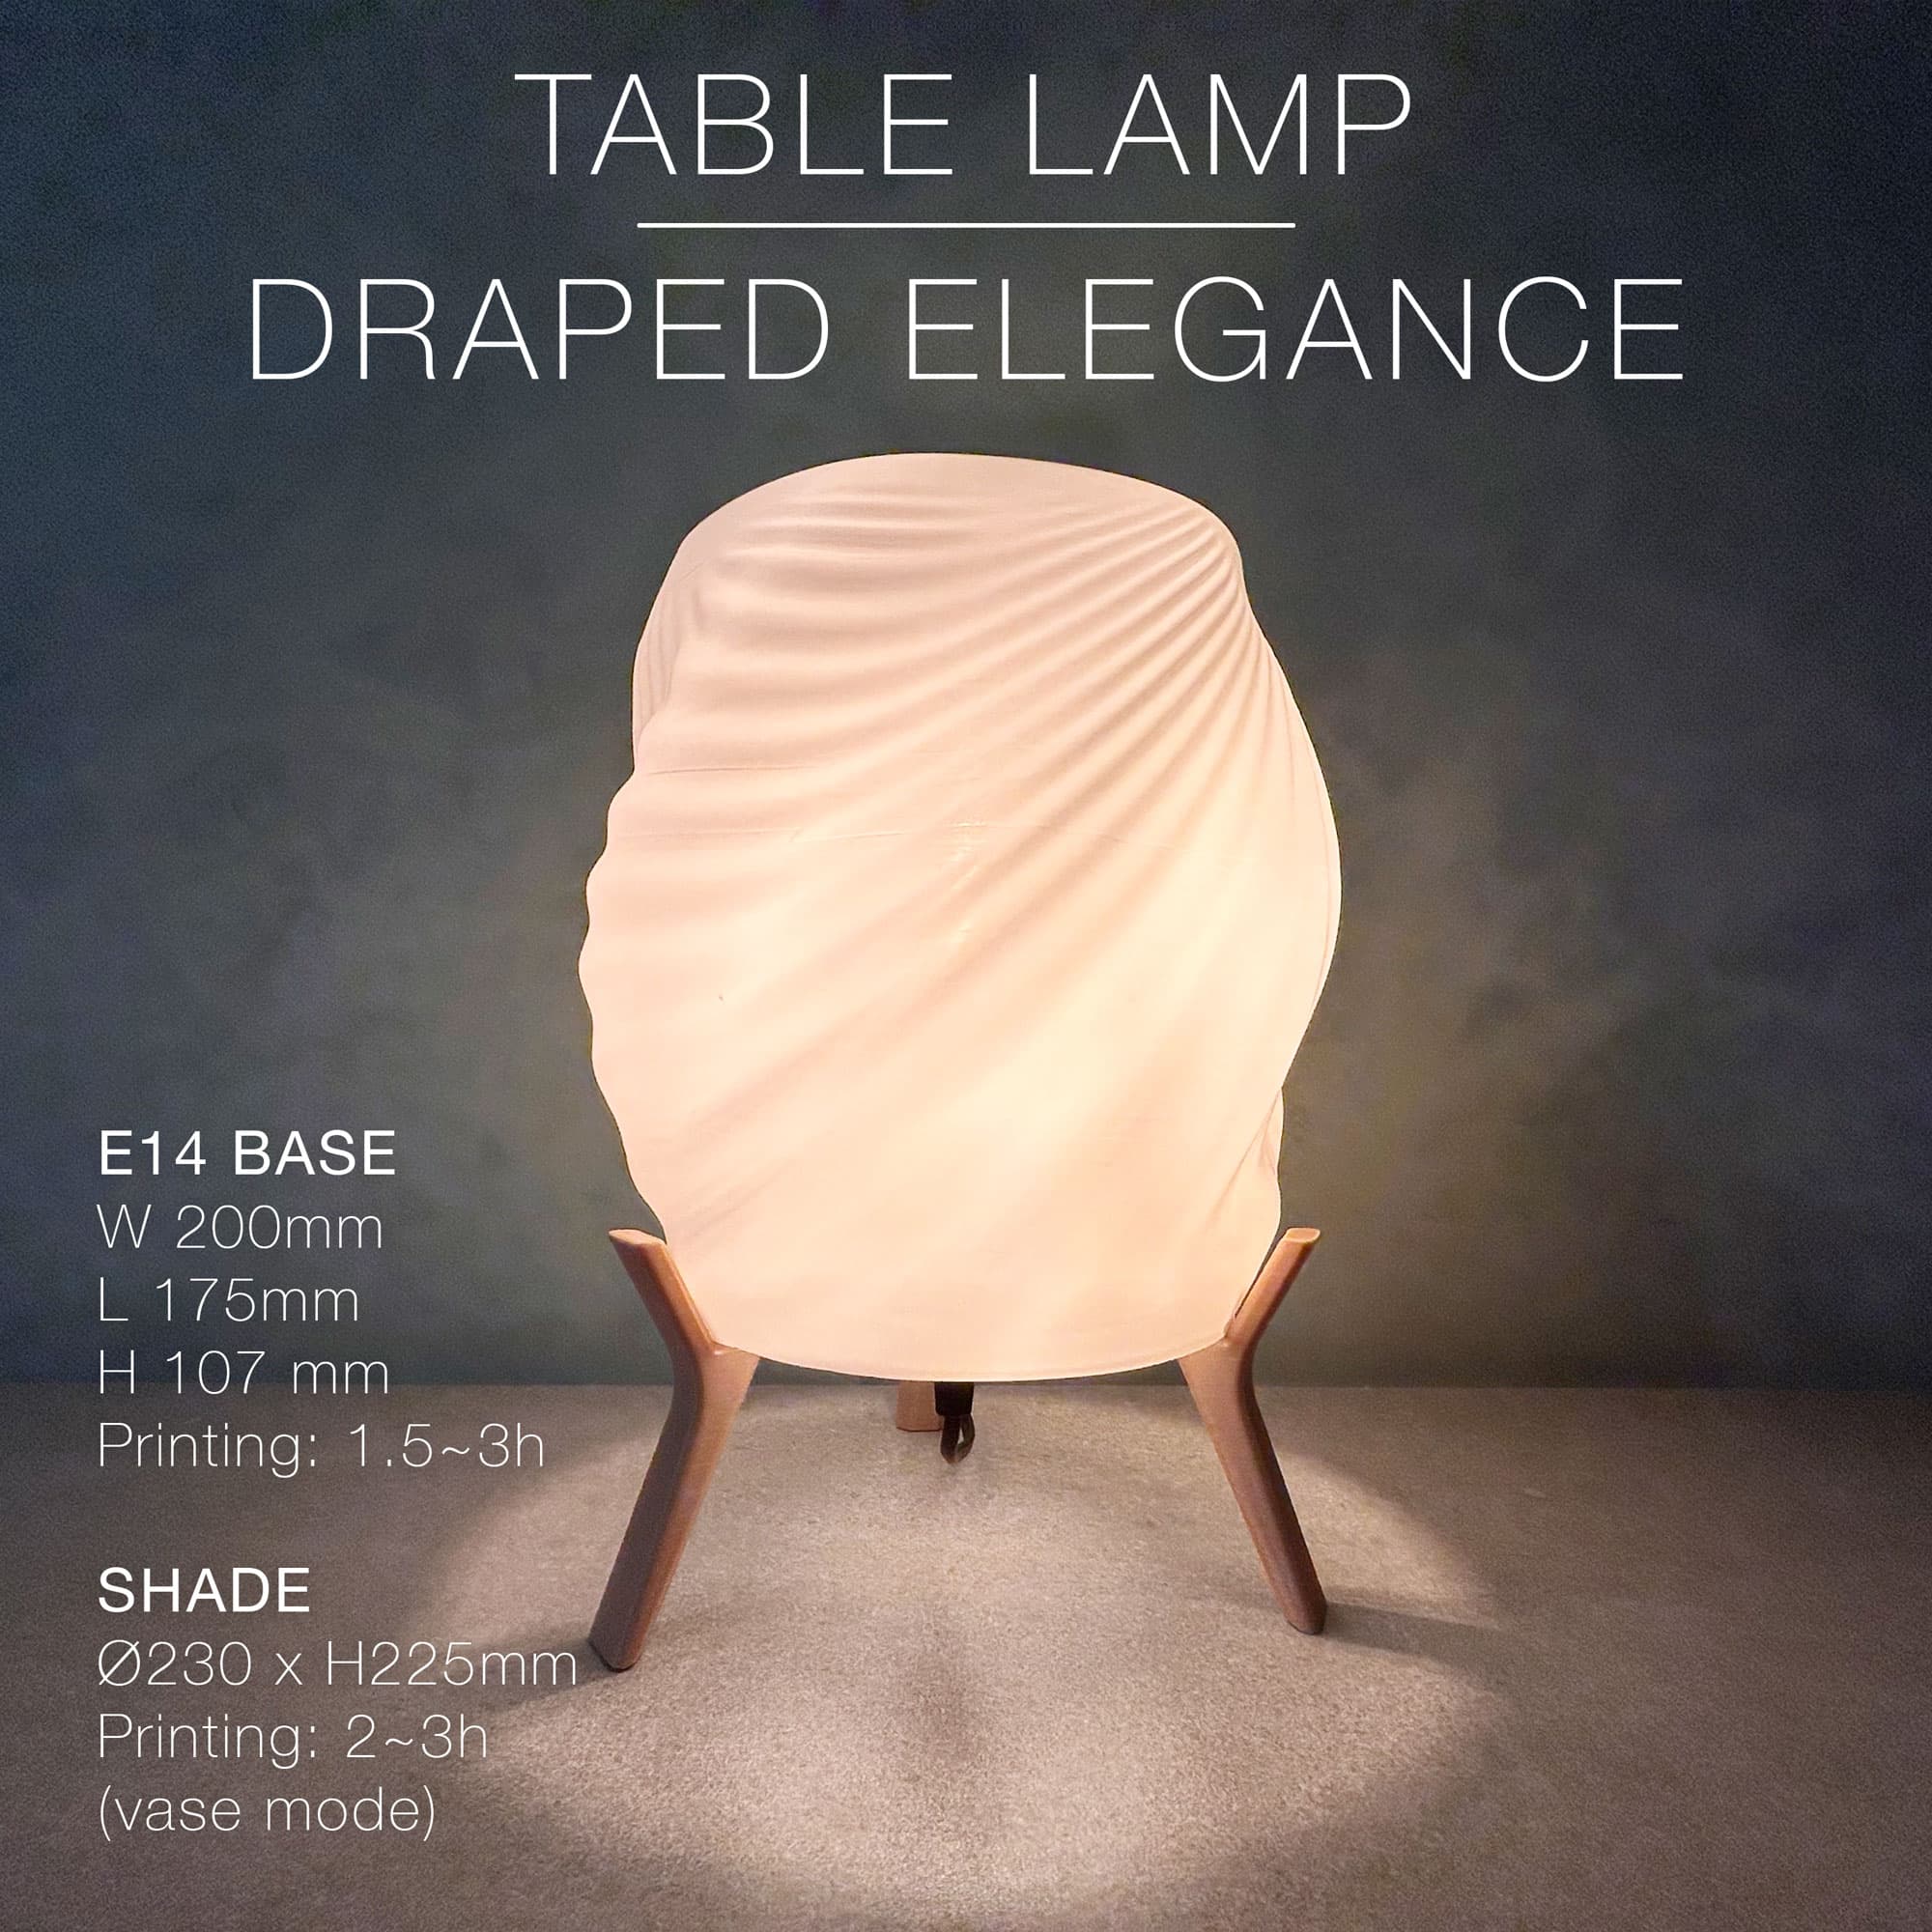
DRAPED ELEGANCE | Table Lamp
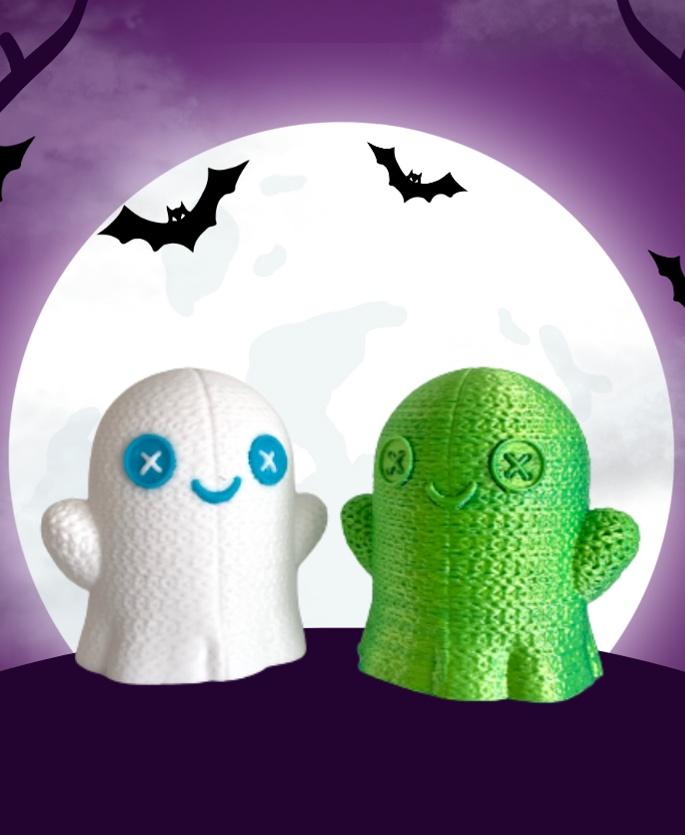
Cute Crochet Ghost Lamp / No Supports / 3MF
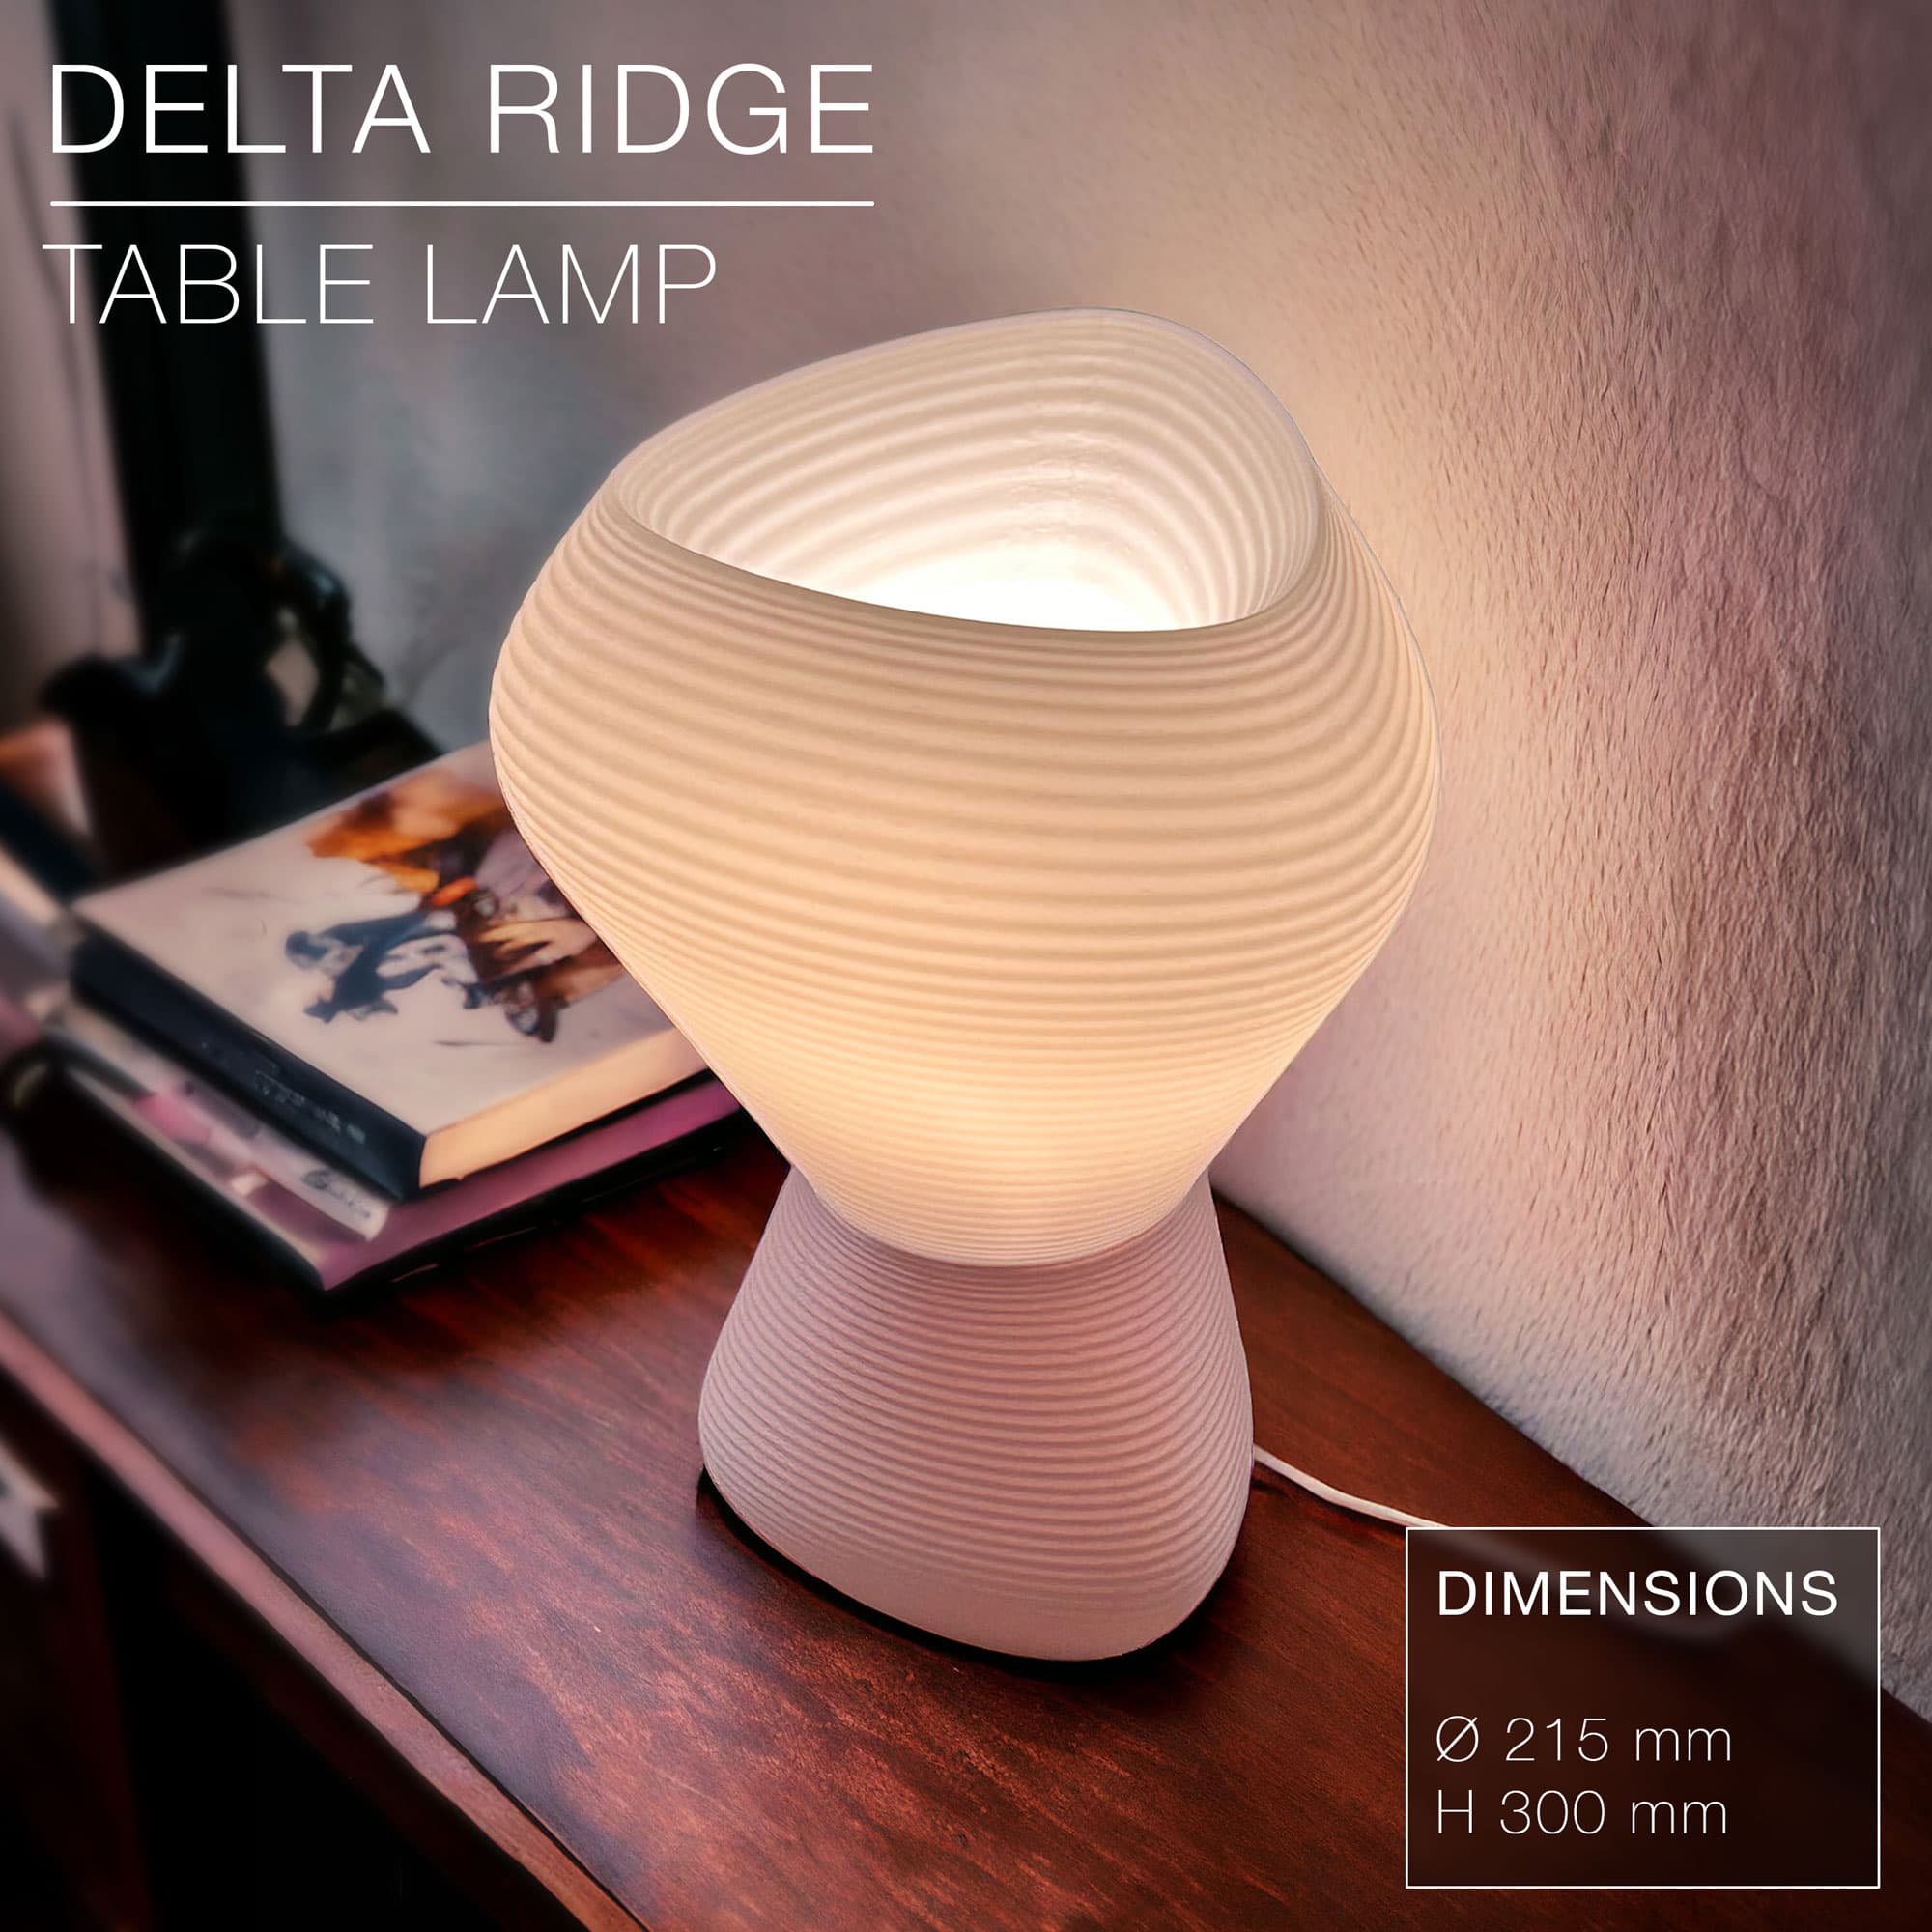
DELTA RIDGE | Table lamp E14 & E27 fast-print
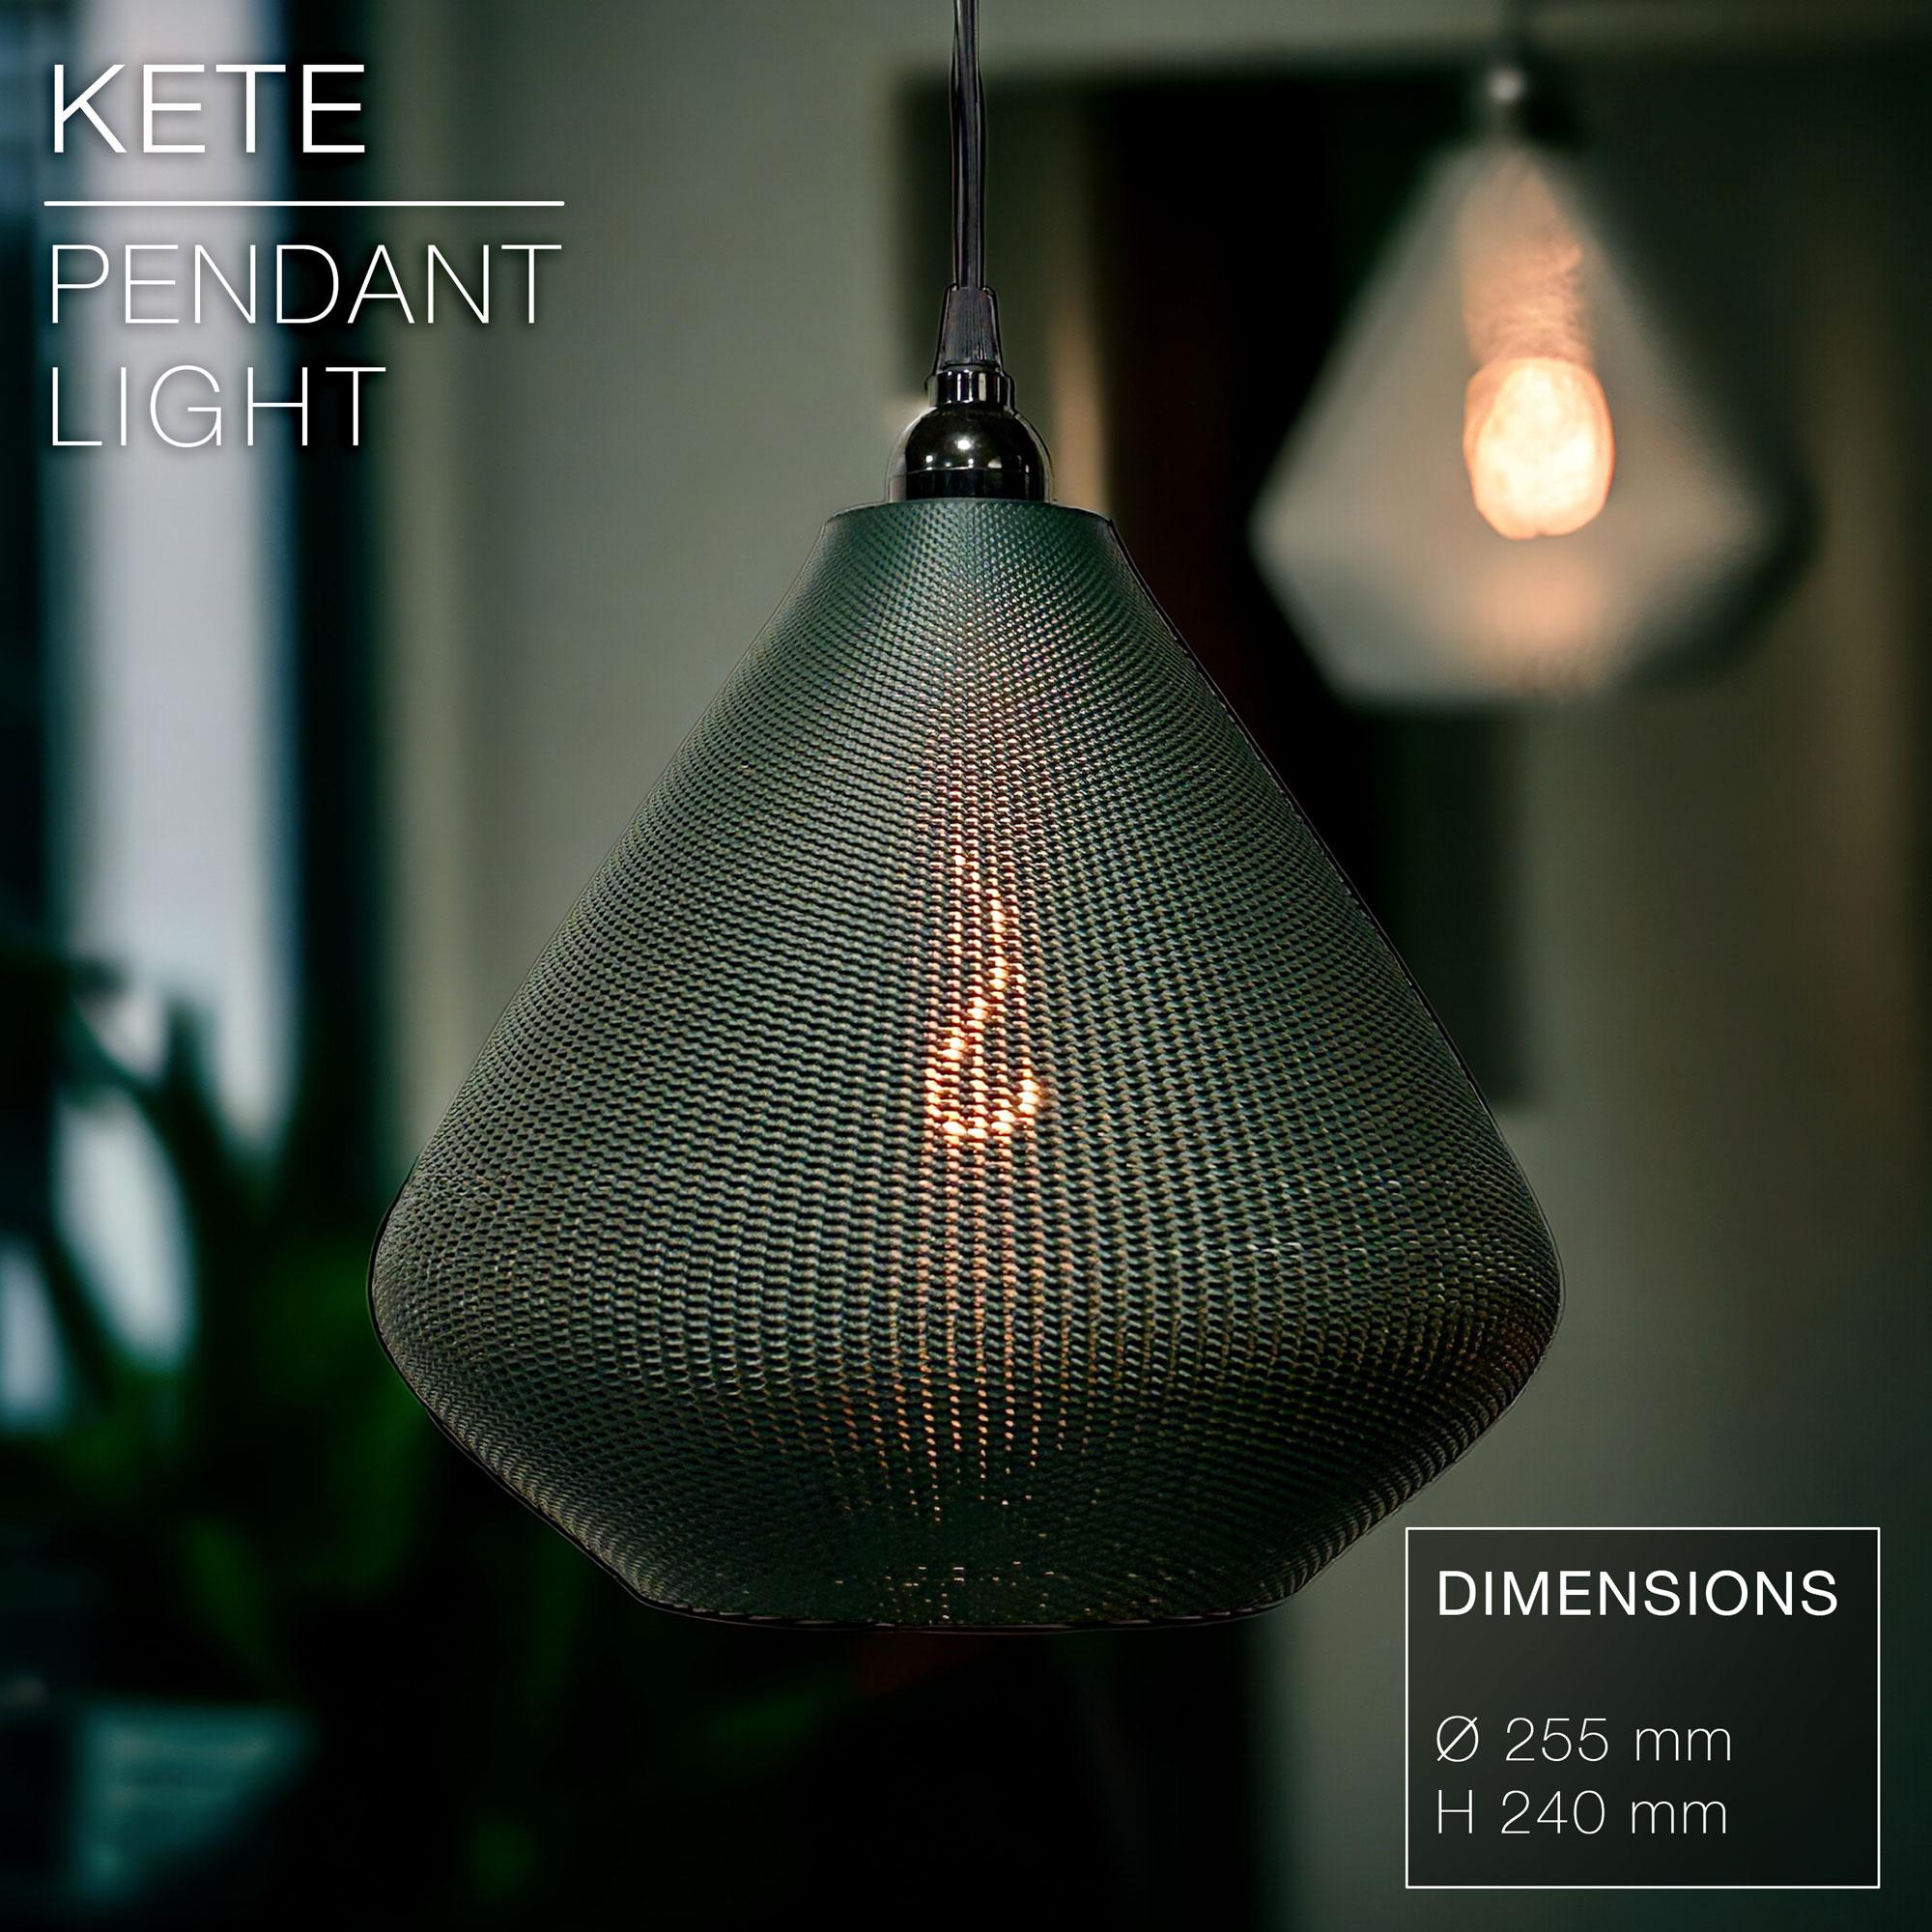
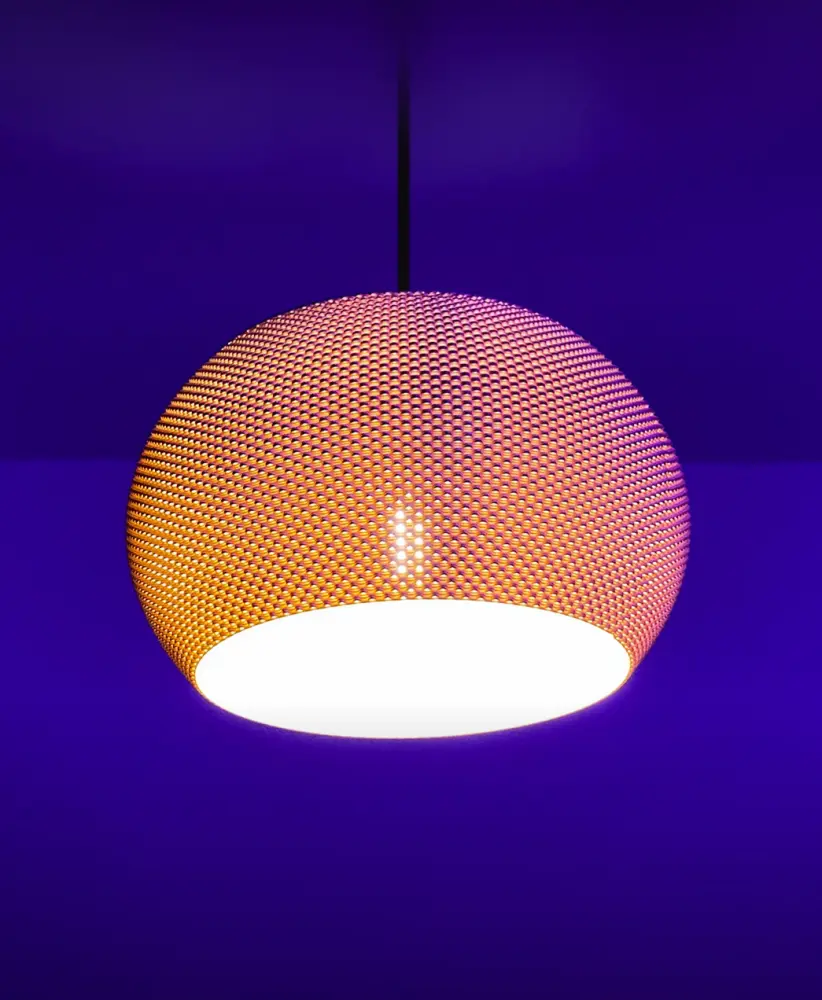
KETE | Pendant Light E27 & E26 fast print
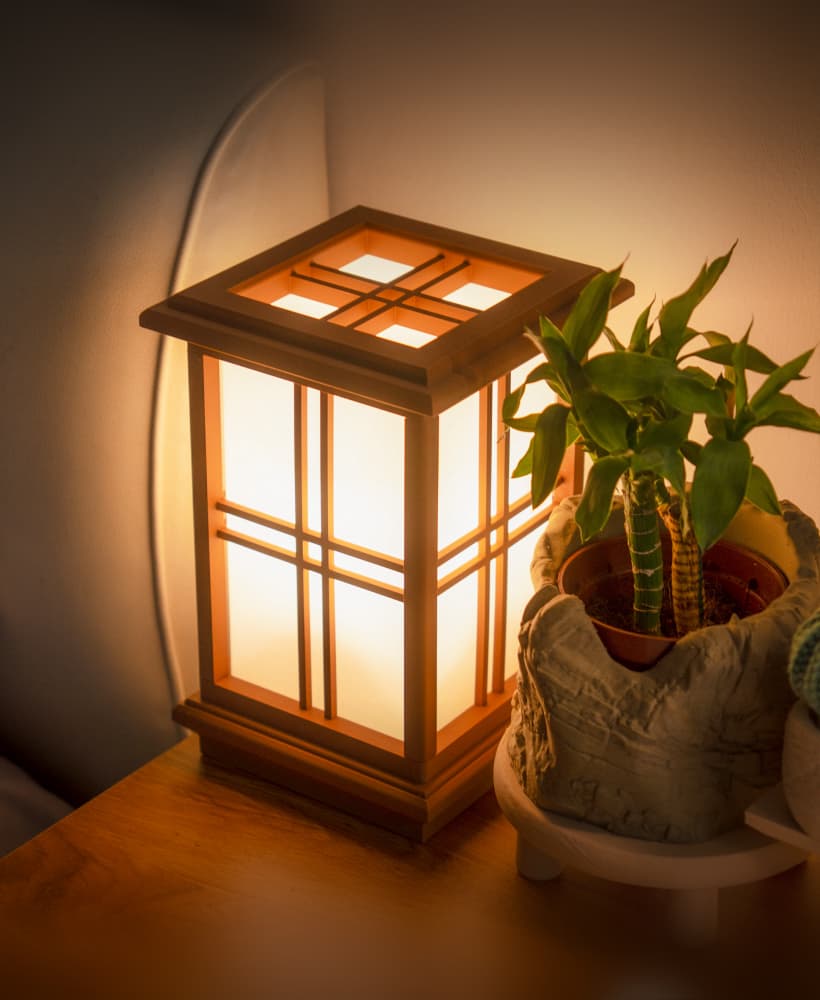
Shoji Lamp 2
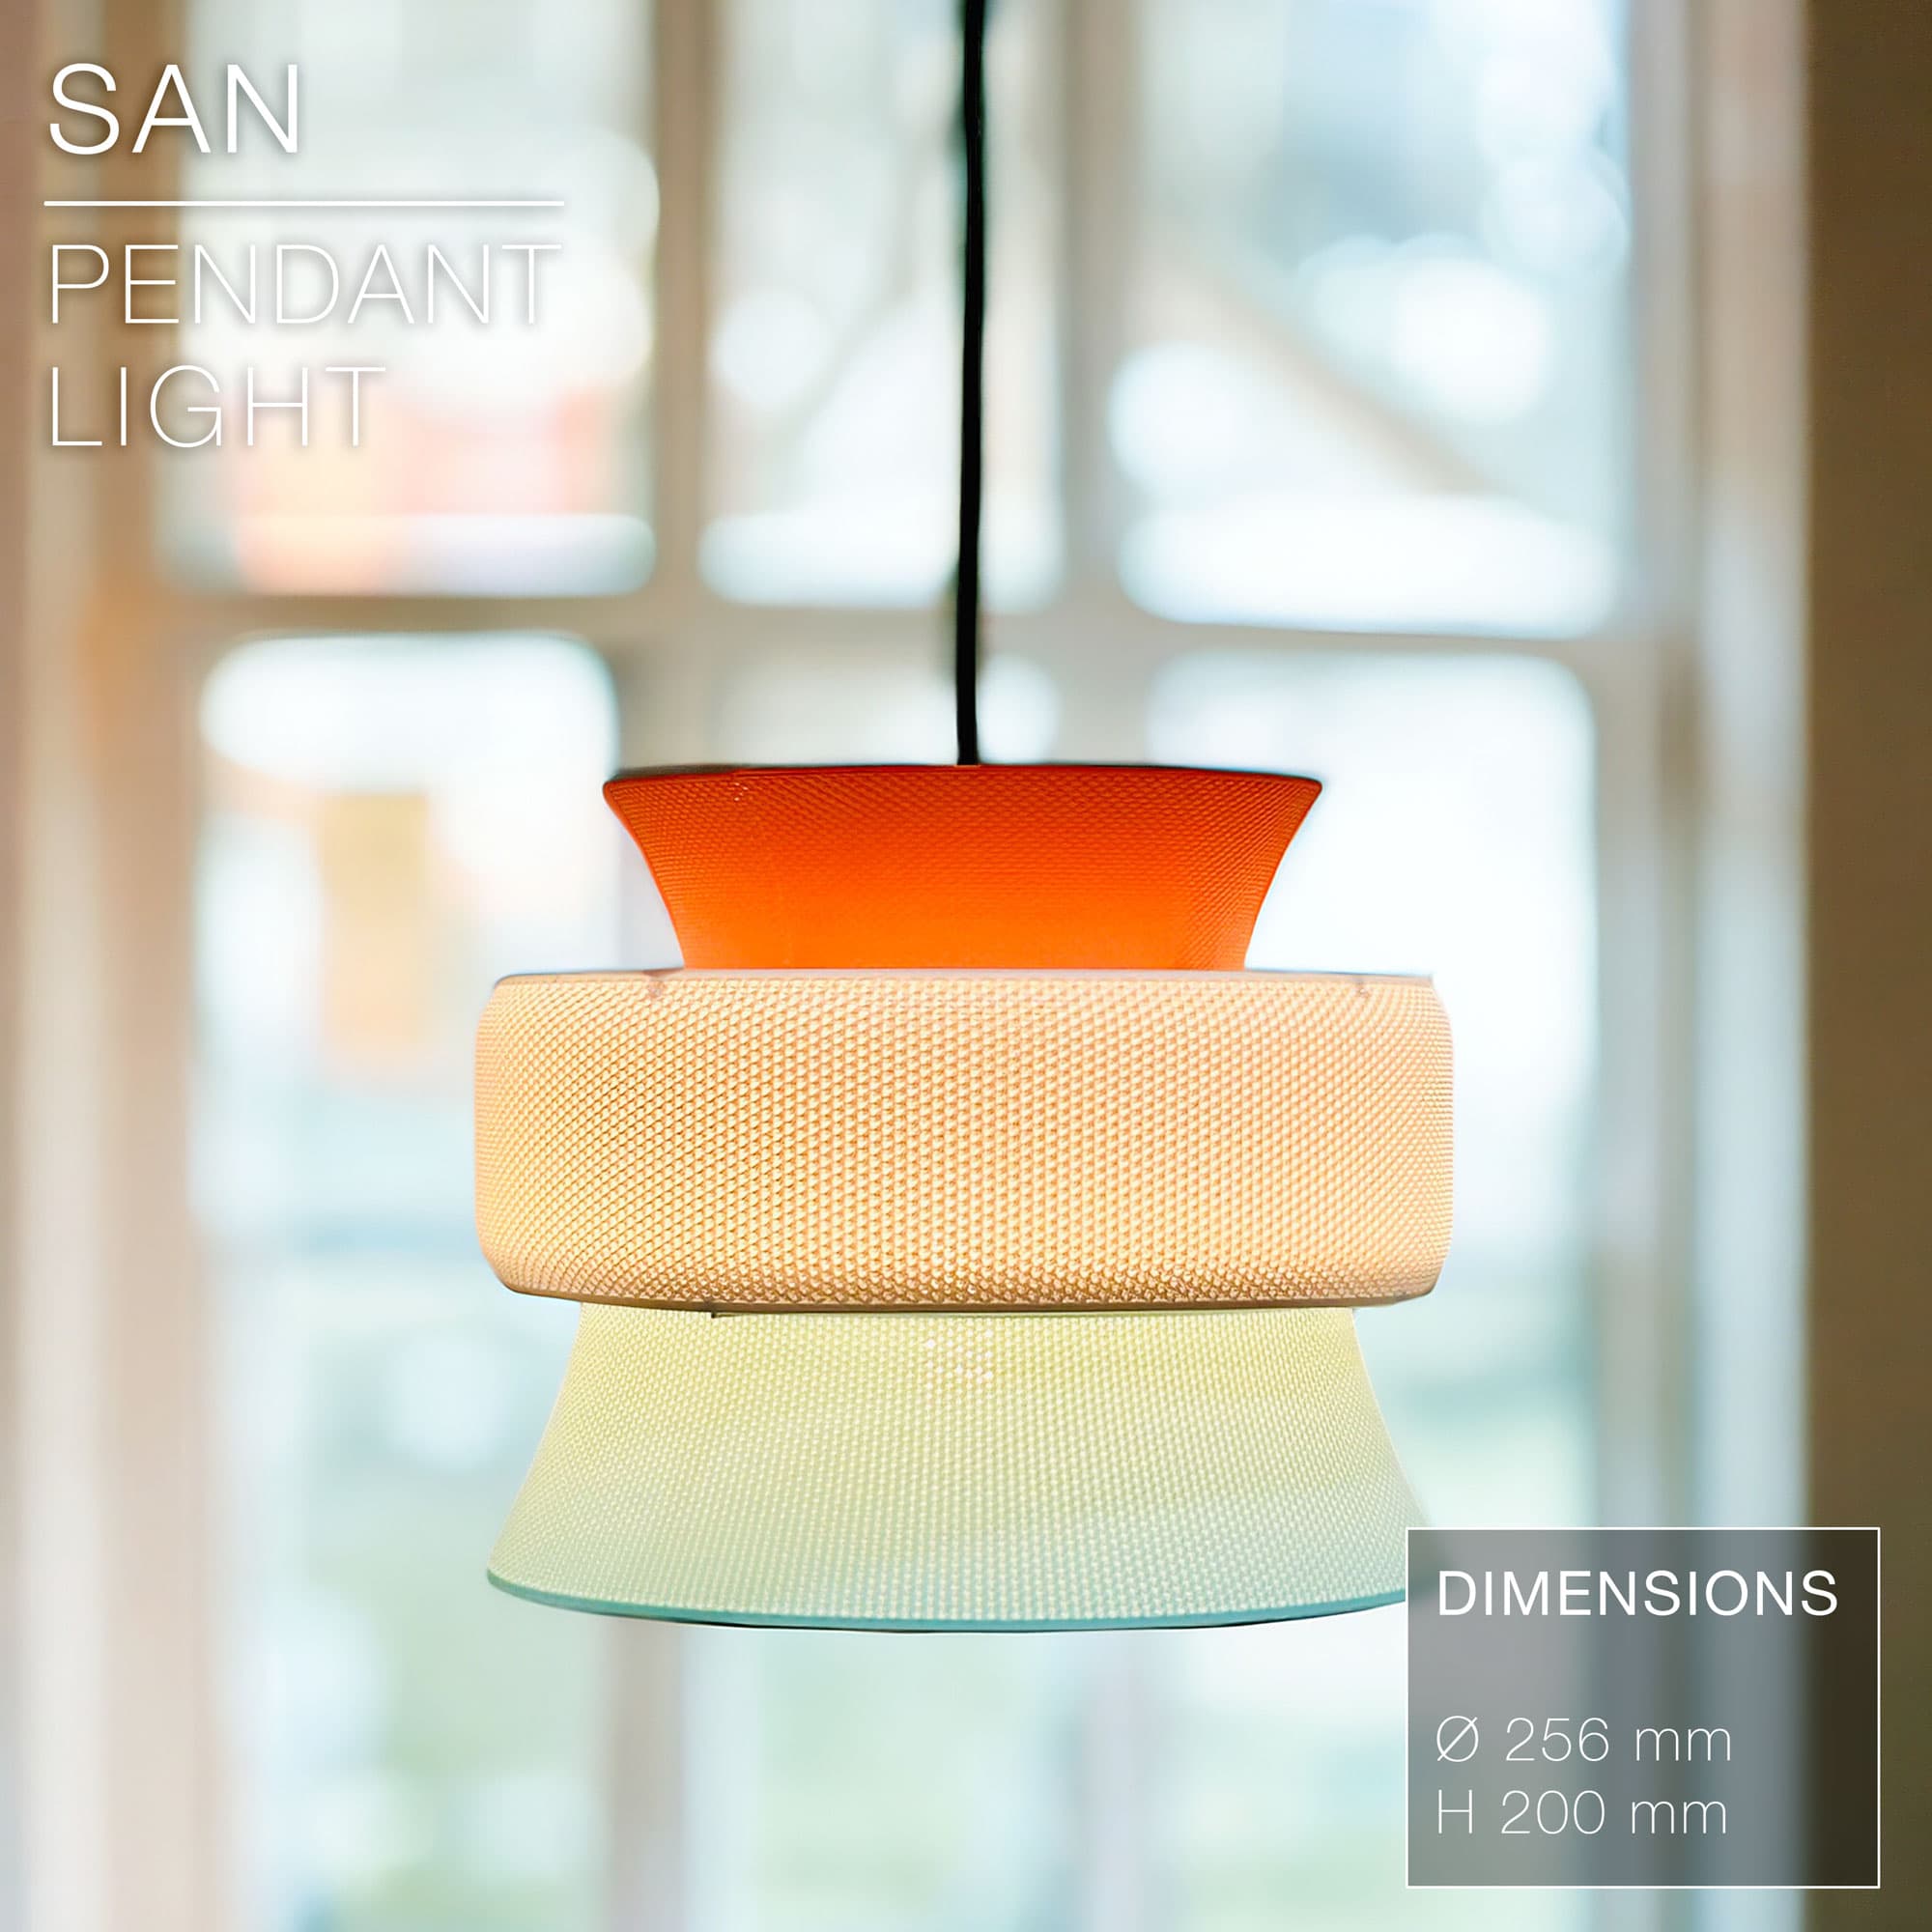
SAN | Pendant Light E27 & E26 fast print

Frame Lamp - in Multiple Options

Scandinavian Owl Lantern

CALIZ | Woven Table Lamp E14 & E26/27
Hello, could you tell me what settings did you use?, like temperature, speed, vase mode or not, supports, perimeters, slicer, etc.
Thanks so much for such a detailed feedback, i´ll take all of it into account for the next version
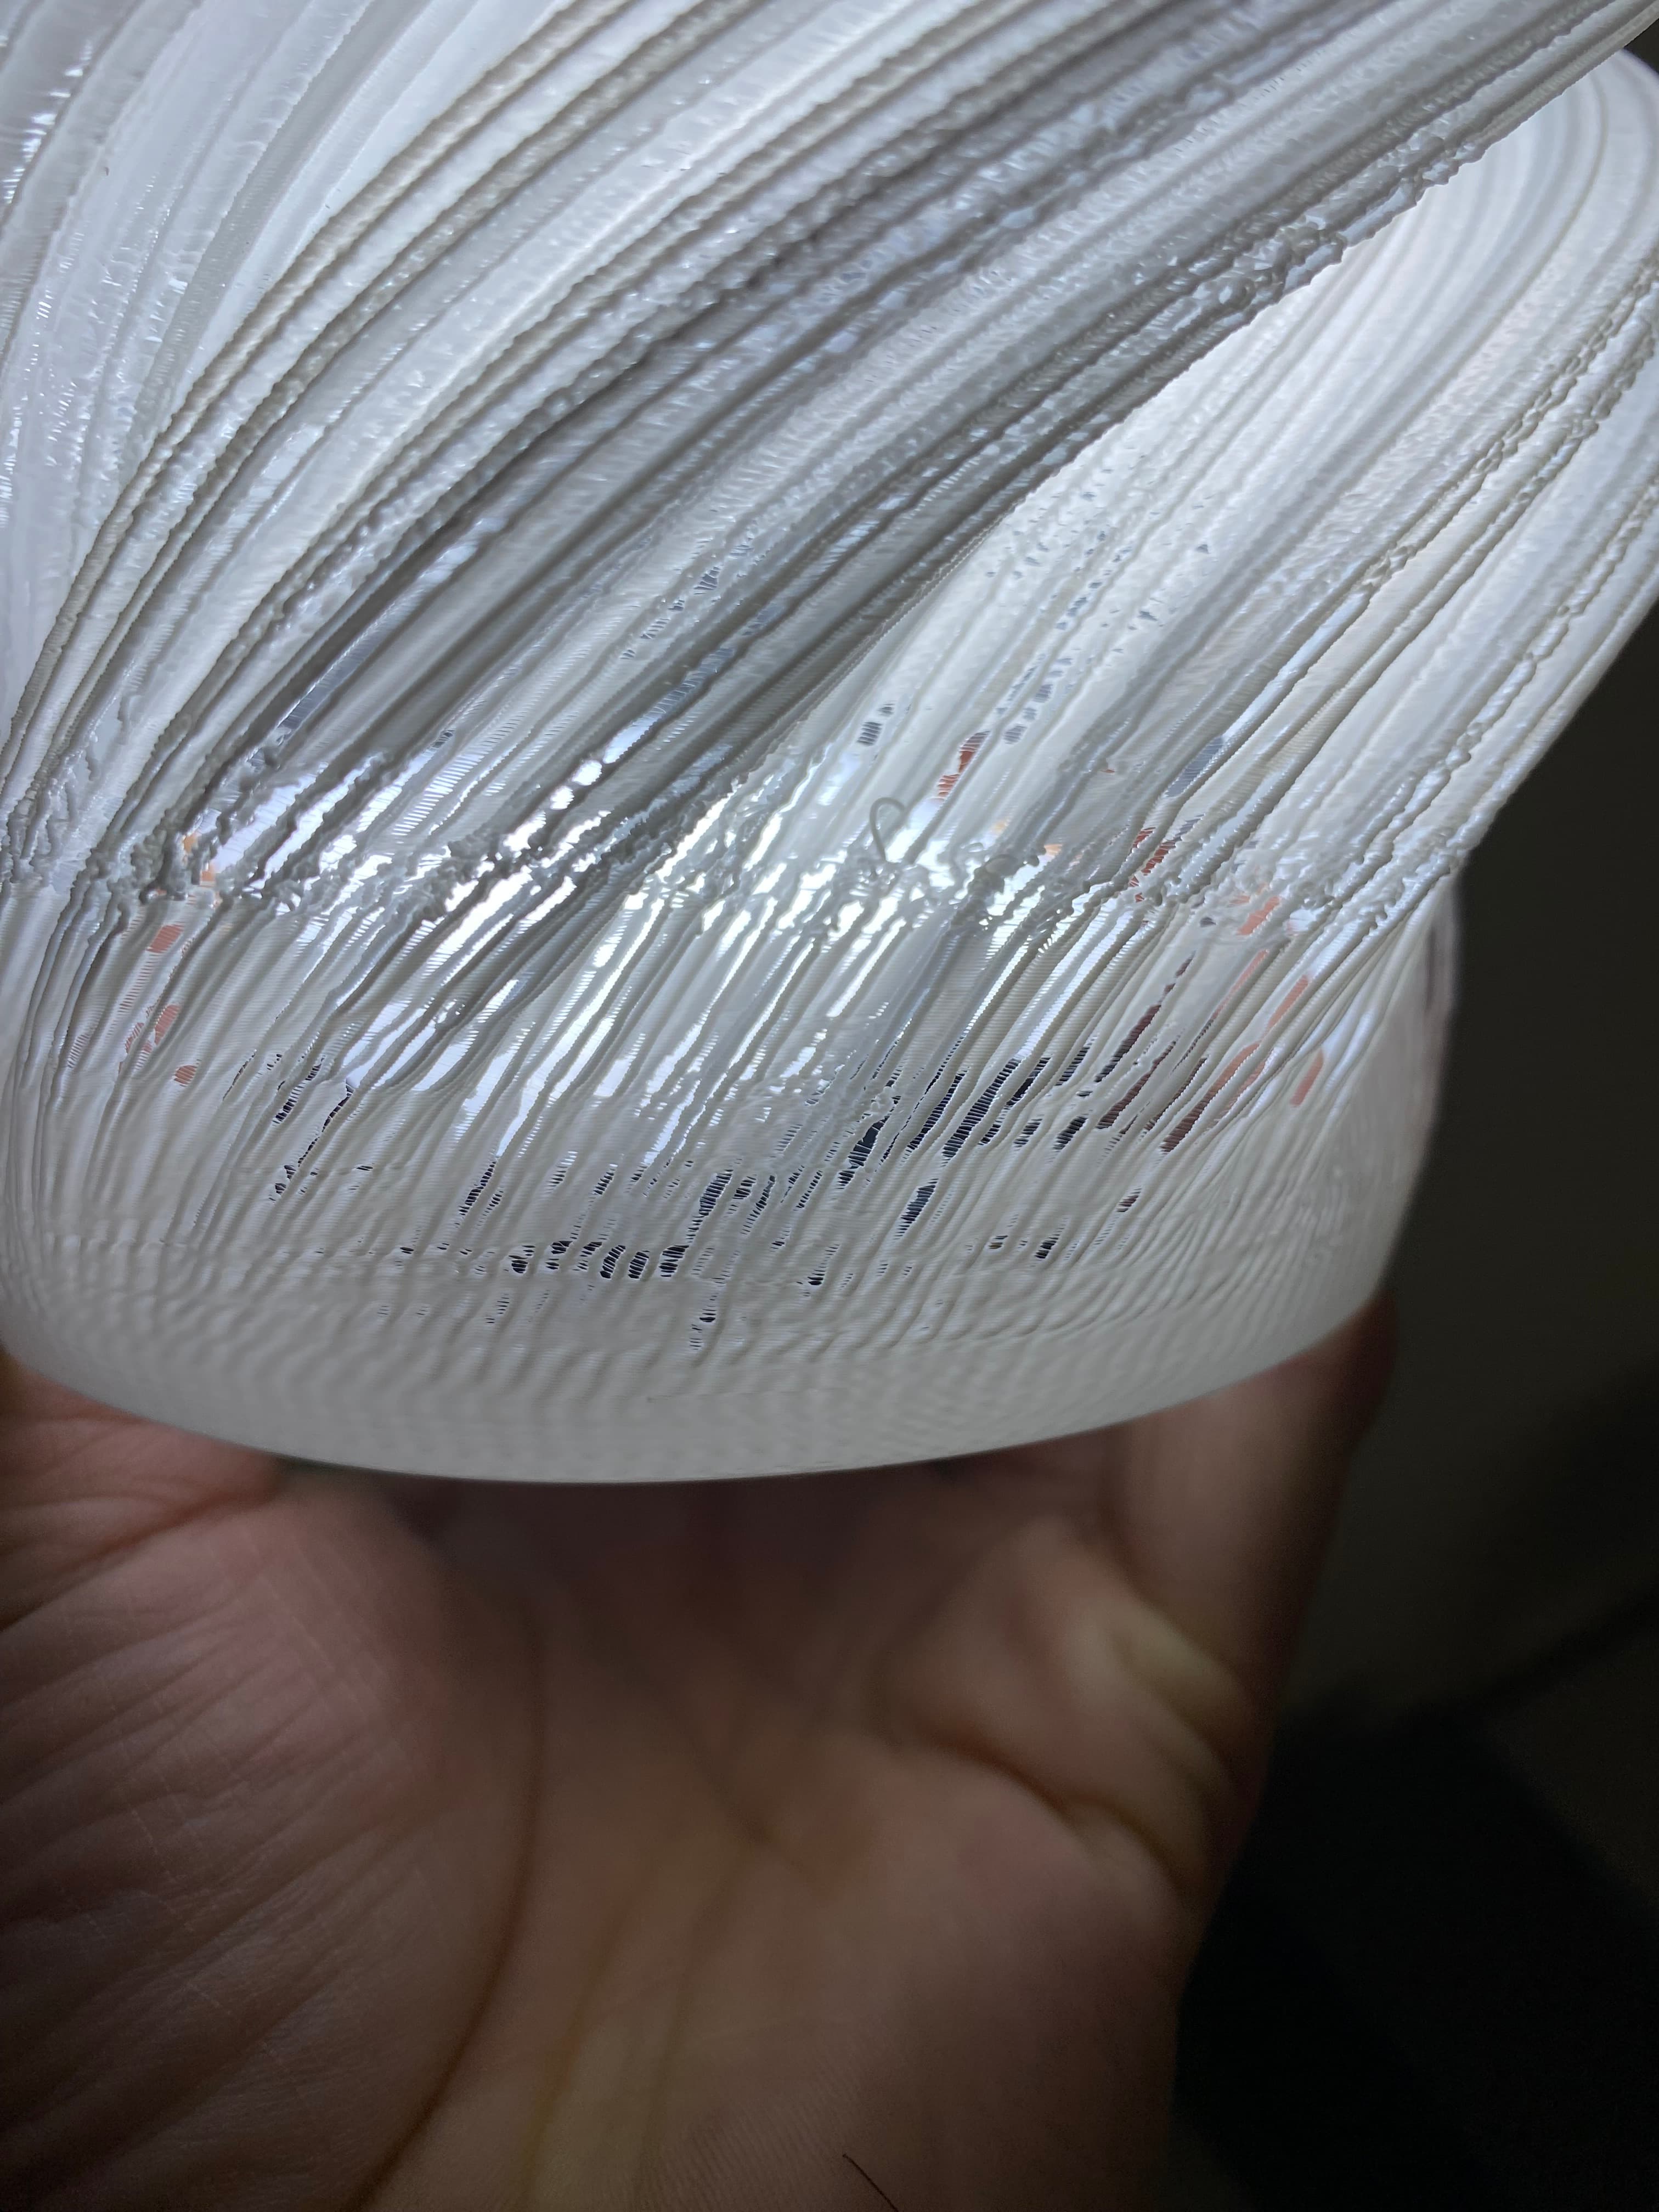
I have experienced this type of issues also on these and other spiral designs. What has resolved or reduced this for me is changing to a good quality filament PLA+ and use an filament dryer, I get the RH to around the 30%s or so. That with level bed and clean tip
Same problem. Has anyone solved it?
Yes, try using 0.8 line width or higher
I'm also facing the same. @Kraken - Could you please help resolving this issue?
It must be printed in vasemode,if not it will just be a solid
Hi! where is the vase mode? when I download the file is only solid mode ! Thanks
vase mode is a parameter of the slicer "spiralize outer contour" in cura. If not u can print it with 0% infill, 0 top layers and 0 bottom layers
Try using 0.8 line width or higher
I'm getting the same issue. If @Kraken would help fixing this, it'd be great!
Try using 0.8 line width or higher
Tremendo diseño! Quiero un vídeo de cómo lo hiciste!