


Squeaker_Duck_rubber_toy
In the past, my foldable designs explored a different side of 3D printing - instead of only thinking about rigid materials, I focused on flexibility and used elastic properties to create new structural ideas. Over time, those folding designs found their place and became something of their own category.
So I started looking for a new direction. This time, I pushed things further by fully embracing extremely soft materials.
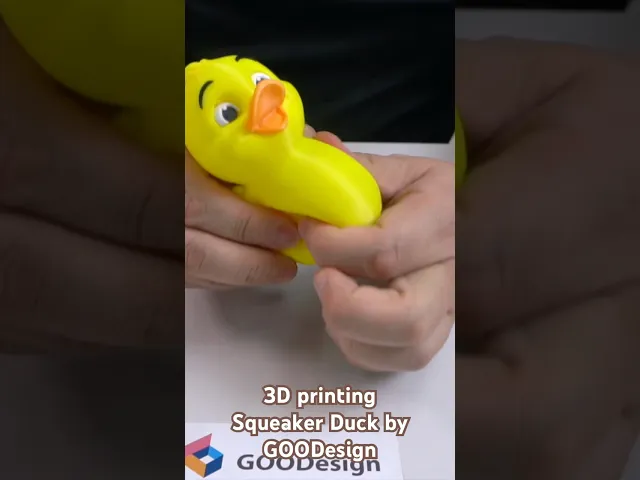
That’s how the Squeaker Duck was born.
This project came with two major challenges.
- Printing very soft material in a controlled shape Soft materials are tricky. Because they’re flexible, they can get dragged by the nozzle during printing or curl as they cool. To solve this, I designed an internal structure that helps the form hold its shape during the printing process.
However, that same structure made the duck harder to squeeze - which is a big problem for something that’s supposed to make a squeaking sound when pressed.
In the end, I developed a form that stays stable during printing but becomes very easy to deform once the print is finished.
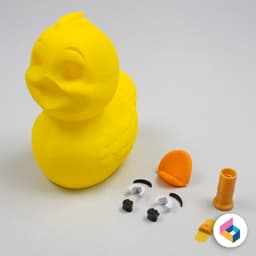
- Designing an effective squeaker I had made squeaker mechanisms before, but they required a large airflow and were very small, which made them difficult to print unless you had a highly precise 3D printer.
So I redesigned the squeaker to
Produce sound with a much smaller airflow Be large enough to print reliably, even on less specialized printers
Printing Guidelines To successfully print the Squeaker Duck, please keep the following in mind:
-
Use TPU 95A filament. 64D is not soft enough and may not compress well. If you use other flexible filaments, make sure they are truly soft and elastic.
-
Check your slicer settings for flexible filament. Incorrect settings can lead to poor print quality. While settings vary by brand, key factors are: Very slow print speeds Nozzle temperatures around 220 - 230
-
Be careful when printing the squeaker reed. The reed is very thin and may not print well on textured beds. When removing it from the bed, take care not to bend or warp it, as this can affect the sound quality.
-
Pay attention to the reed’s orientation during assembly. Insert it carefully in the correct direction, and use a tool to gently push it fully into place.
For more detailed instructions, please check the video guide.
I hope this new challenge in my 3D printing journey brings a fresh wave of creative exploration!
Largest part in printing, size = X 63mm, Y 84mm, Z 102mm, After full assembly size = X 63mm, Y 91mm, Z 102mm
Total Build Time : 15h / Plastic Weight : 40g
Squeaker_Duck_rubber_toy

Starbug - Red Dwarf

Car body part for Excavator

Roof carrier for VW T1 camper

Foldable_Porsche911

Foldable Robby the robot-SD

Foldable Space Shuttle

Mythical Dragon Wall Hook Rack - Functional 3-Hook Key Hanger

Seashell Desk Organizer & Lighthouse Display Stand

Giraffe Key Bowl & Floral Jewelry Desk Organizer

Pikachu Fossil Puzzle

Stilized Snoop Dogg statue

Gothic Cathedral Pen Holder & Desk Organizer

Coquette Bow Makeup Basket & Vanity Organizer

Dead Raven Candy Bowl – Gothic Raven Skull Candy Holder / Halloween Bowl Decor
.jpg&w=3840&q=75)
Misdreavus Pokemon - Articulated Fidget Toy & Keychain

Cherry Vase - Vibrant Summer Vibes Decor

Hell Drake

Mermaid Tail Ocean Clamshell Catchall Tray

Witch Cauldron Double Clicker – Multicolor Halloween Fidget Toy with Eyeball Clicker
