


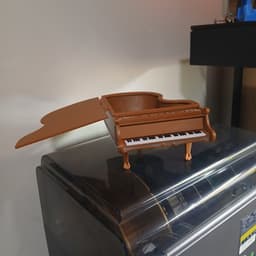

Eskimo Grand Piano Box
This elegant Grand Piano Box is a decorative and functional 3D print inspired by classic upright pianos. Designed for post-print assembly with print-in-place mechanics, it features:
-
Pivoting key cover that opens to reveal the keyboard
-
Print-in-place hinged lid, integrated with the brim section for smooth movement
-
Separate prop piece included to hold the lid open for display
-
Three claw-footed legs for a vintage, sculptural look
-
"Eskimo" embossed on the piano top, flanked by leaf motifs on both sides
-
Embossed music notes on the lid for added character
-
Additional leaf detailing on either side of the keyboard
All components are printed individually and require basic assembly. The lid hinge prints in place with the brim, allowing for functional movement right off the bed. Ideal for storing small items like guitar picks, change, candy, jewelry or displaying as a unique keepsake, this piano box blends mechanical function with ornamental detail.
3D printing settings:
Resolution: 0.16-0.2mm Infil: 18% - Gyroid Support: Yes, Organic/Tree, Build Plate Only Outer Wall Speed: 55mm/s Wall Generator: Arachne Brim/Skirt: Skirt - 5 loops or Brim - 8mm Extruder Temp: 220C Bed Temp: 65C Retraction Distance: 1mm Retraction Speed: 55mm/s Z-Hop: Yes Z-Hop Distance: 1mm Z-Hop on Layer Change: Yes Z-Hop Behavior: Swirl
*Parts are already orientated for printing.
Assembly:
-
Print Parts using recommended settings or your own slicing profile.
-
Glue Piano Center Body and Lower Body together.
-
Place glue on one side of the front of the center body part for a key guard. Install Guard and allow to dry.
-
Place glue on opposite side of center body. Insert keyboard cover tab into printed hole of installed guard. Place other tab for the keyboard cover into the key guard for the other side and press in place. Allow to dry.
-
Place glue where keyboard goes and press the keyboard part in place holding until glue sets.
-
Flip upside down and put glue in the holes for the feet. Press feet in paying attention the clawed toes making sure they are facing outward. Leave upside down to dry.
-
Put glue in lid brim trench and press into place holding until the glue sets and allow to dry.
Eskimo Grand Piano Box

Square Shape Cutter Set, 18-Piece Geometric Box & Frame, 18 Sizes 0.75"-5.00" Cookie & Fondant Mold PRODUCT_109

Not So... XL Elf,

Not So XL Girl Elf

XL Elf

XL Girl Elf
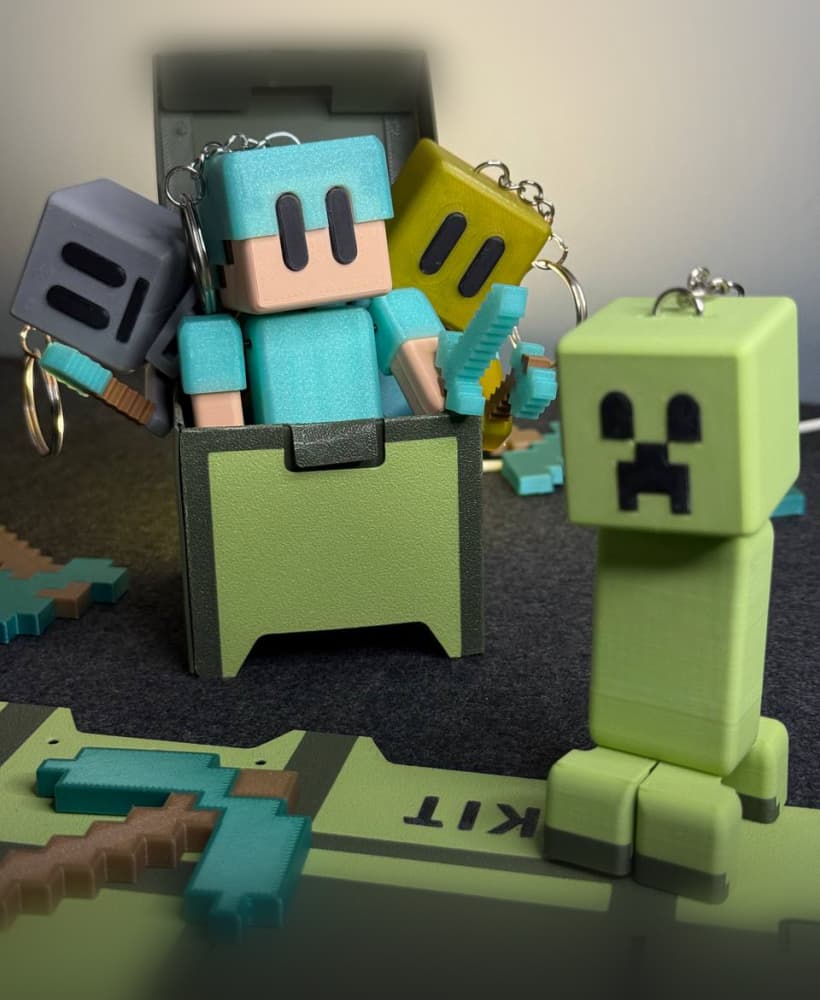
STRING-FLEX - CUSTOMIZABLE CHARACTERS KEYCHAIN - MINECRAFT + GIFT
TCG Munkey Card Scanner With Phone Tower

Kitty Cutter v2 - Cardboard Cutter for Cat Scratchers
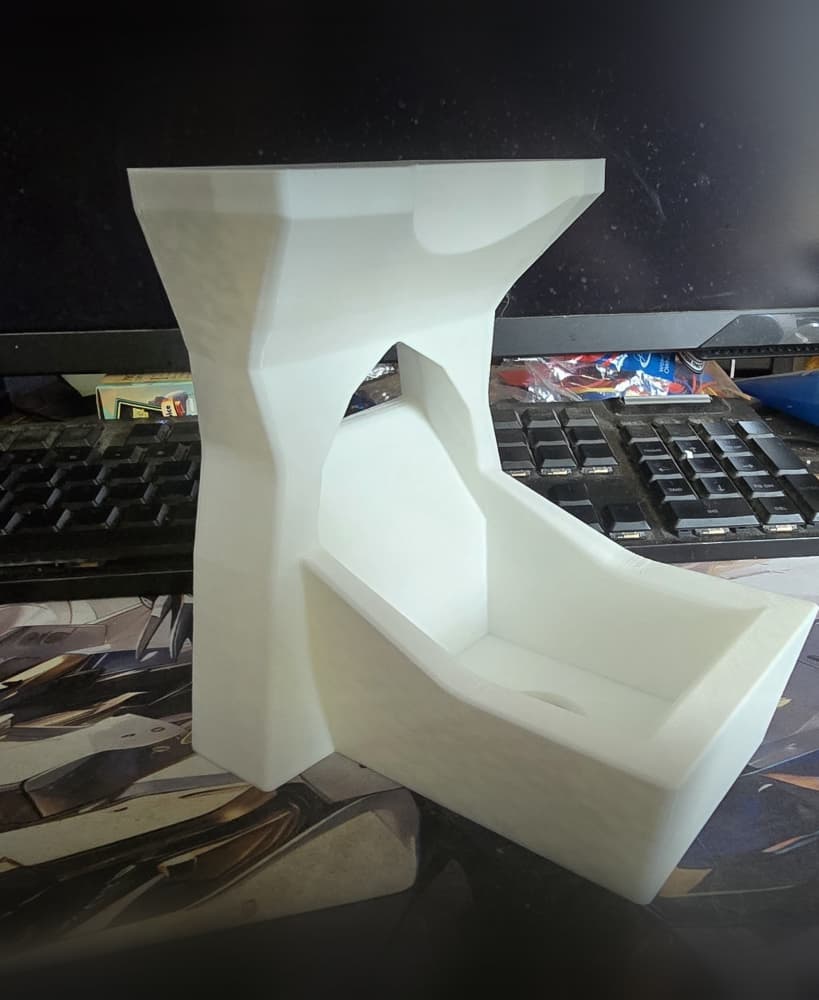
Modular ToolBox Dual-Slot Organizer Vertical

Phone Amplifier Boom Box

Stitch STL – Cute Chibi Fan Art 3D Printable Model – Adorable Alien Puppy for FDM & Resin Print

Spinning Gear Box
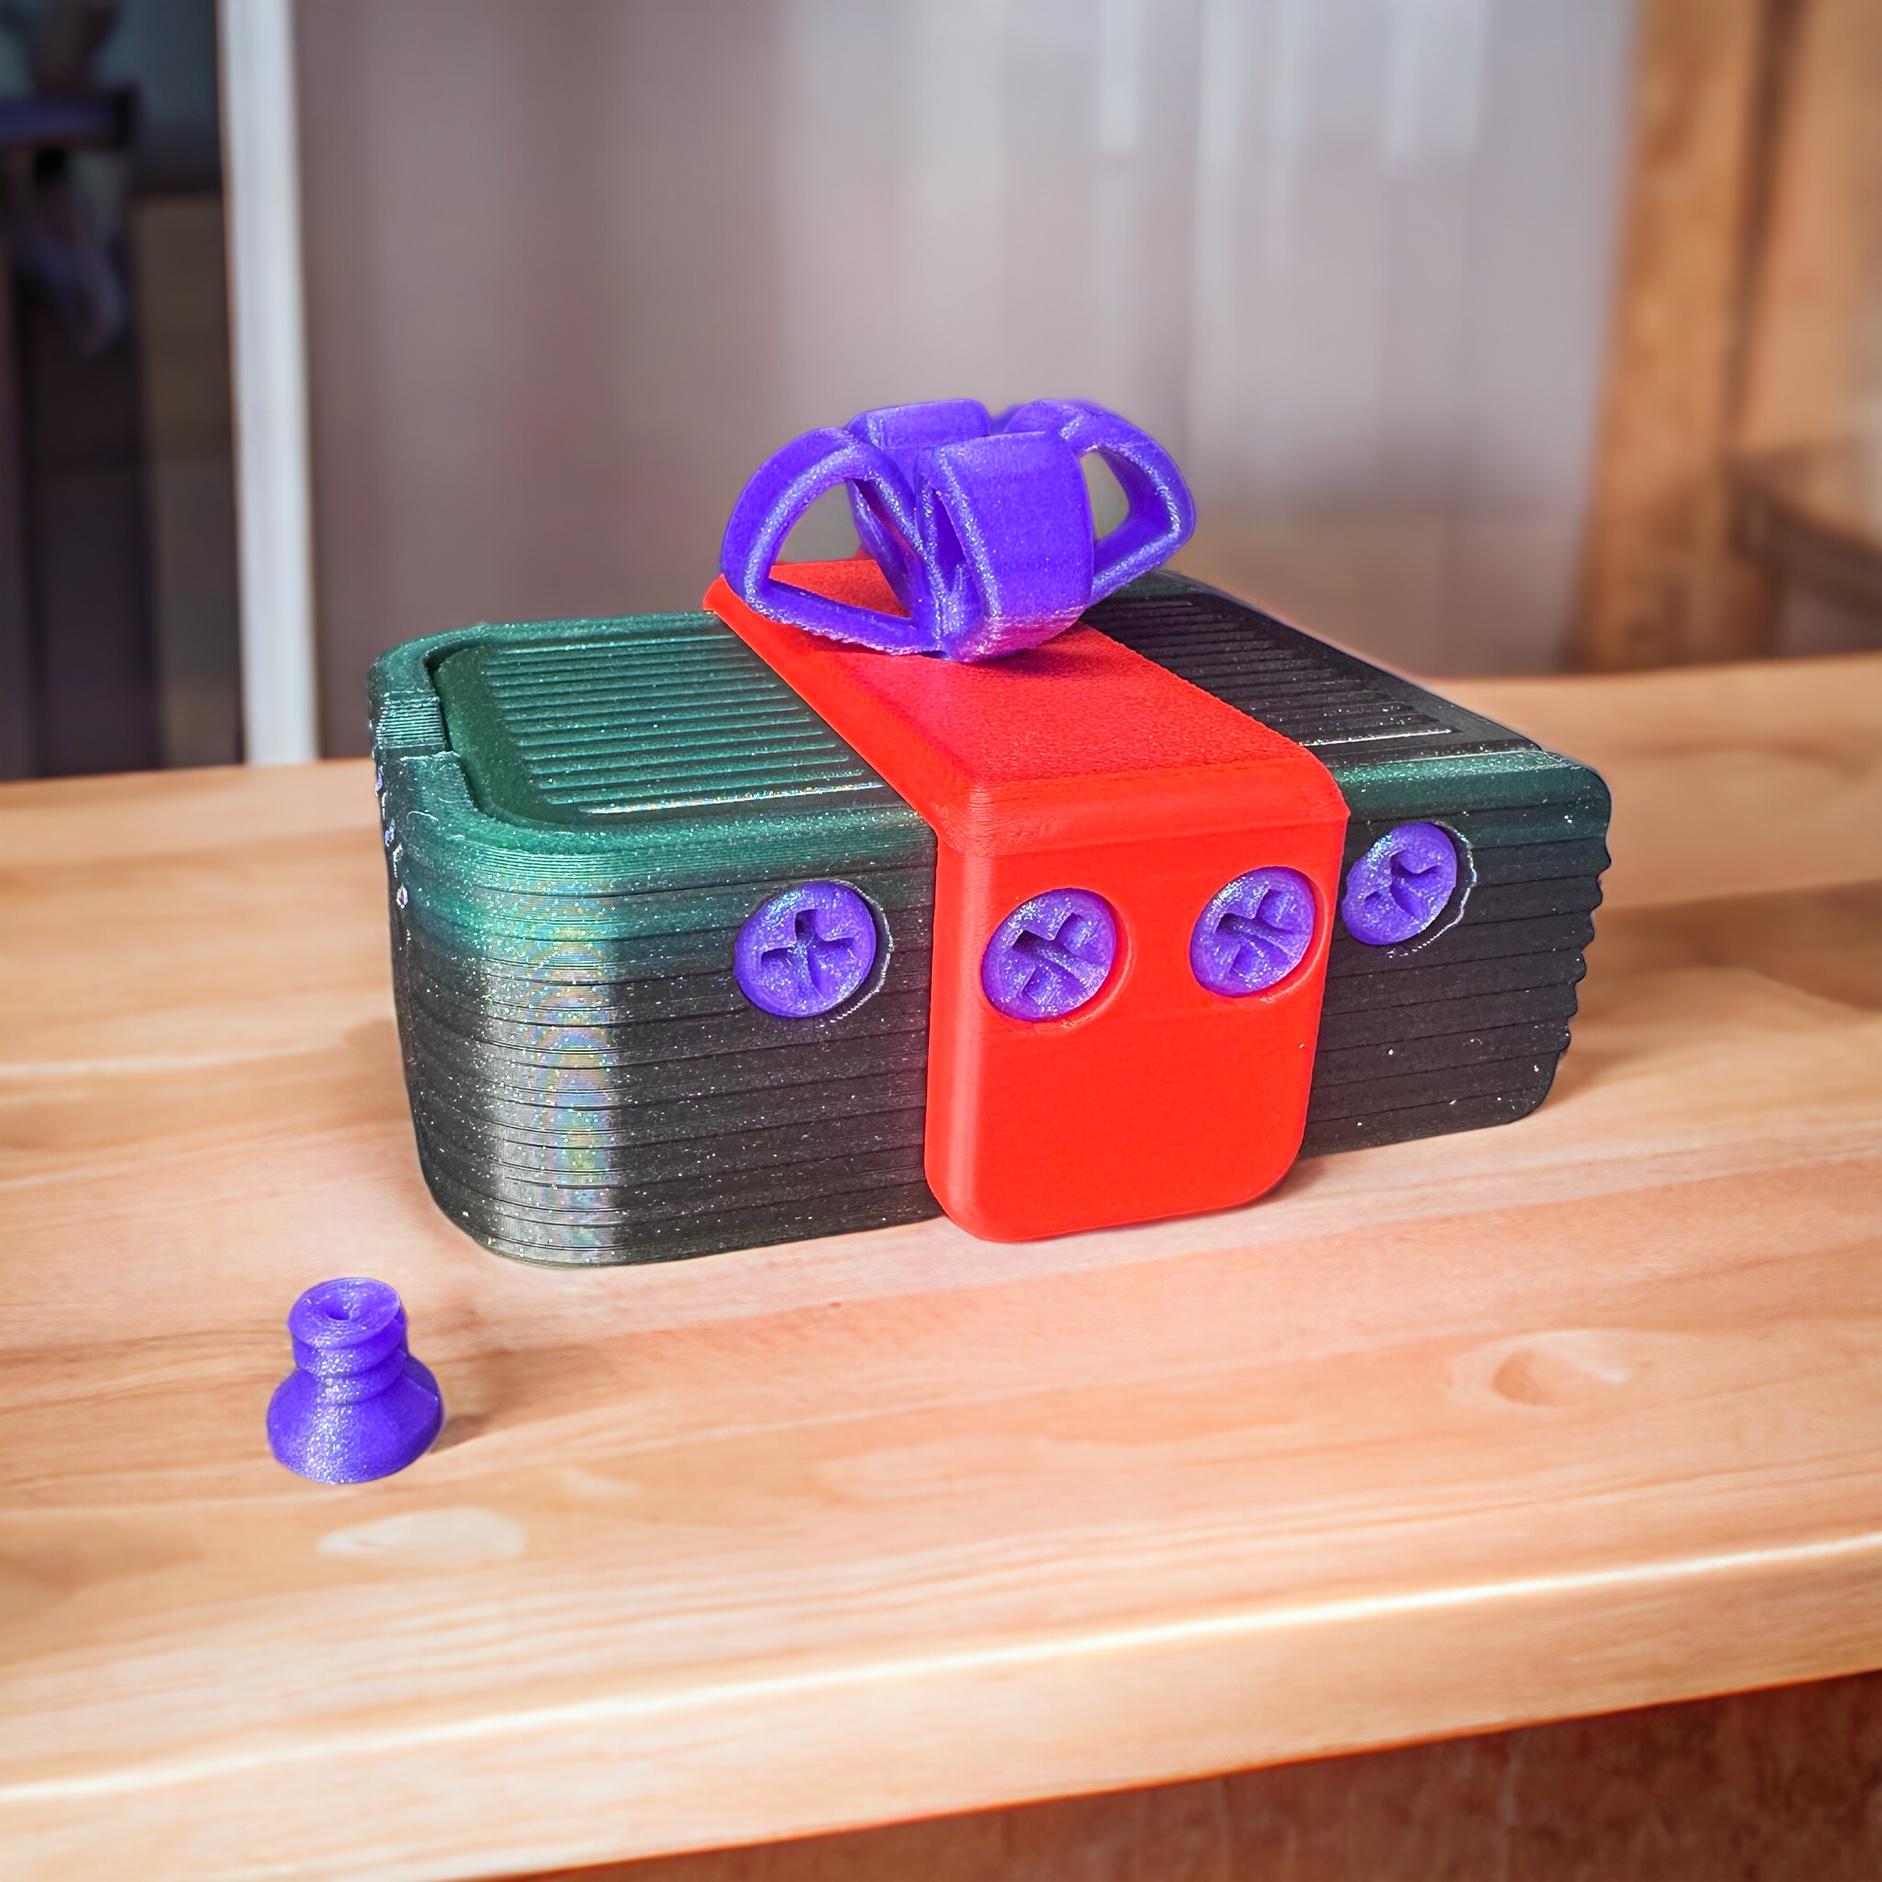
Simply Annoying - An annoying box for the people you sort of like.... 11 screws.
.png&w=3840&q=75)
Customized Balance Piggy Bank

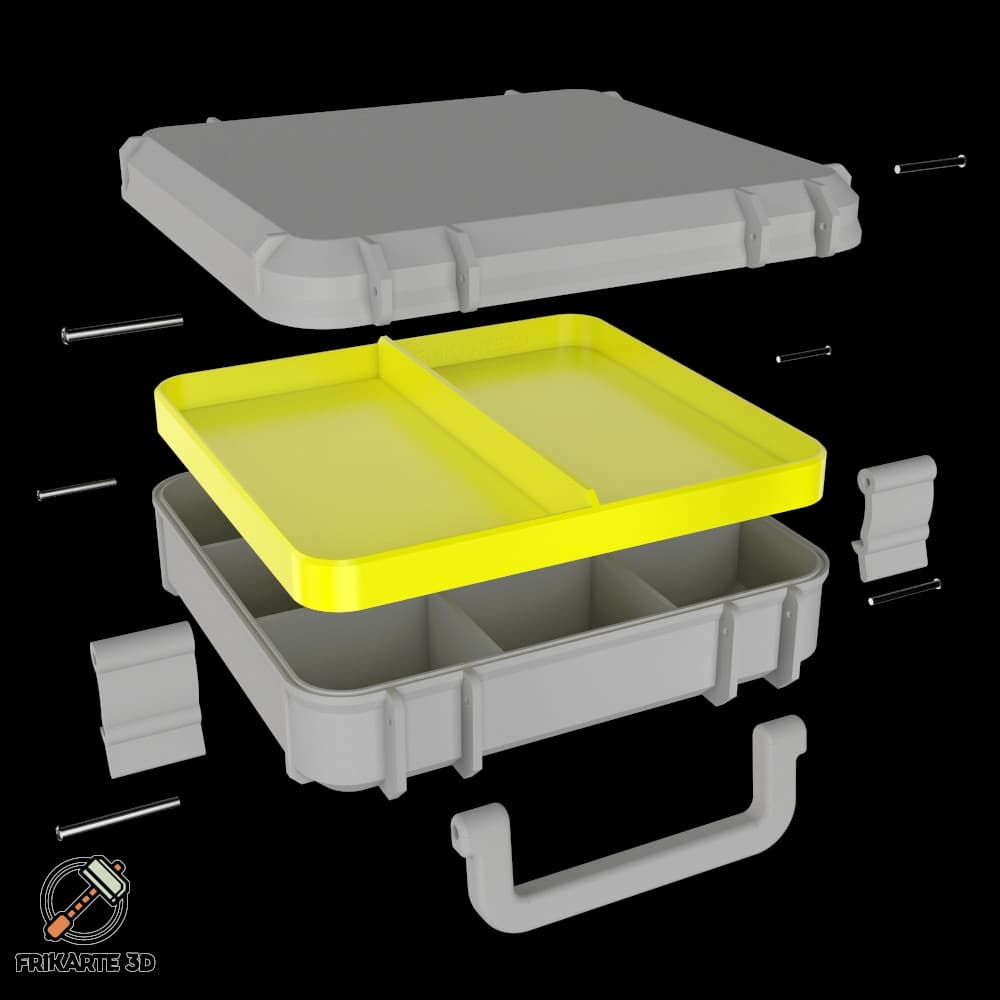
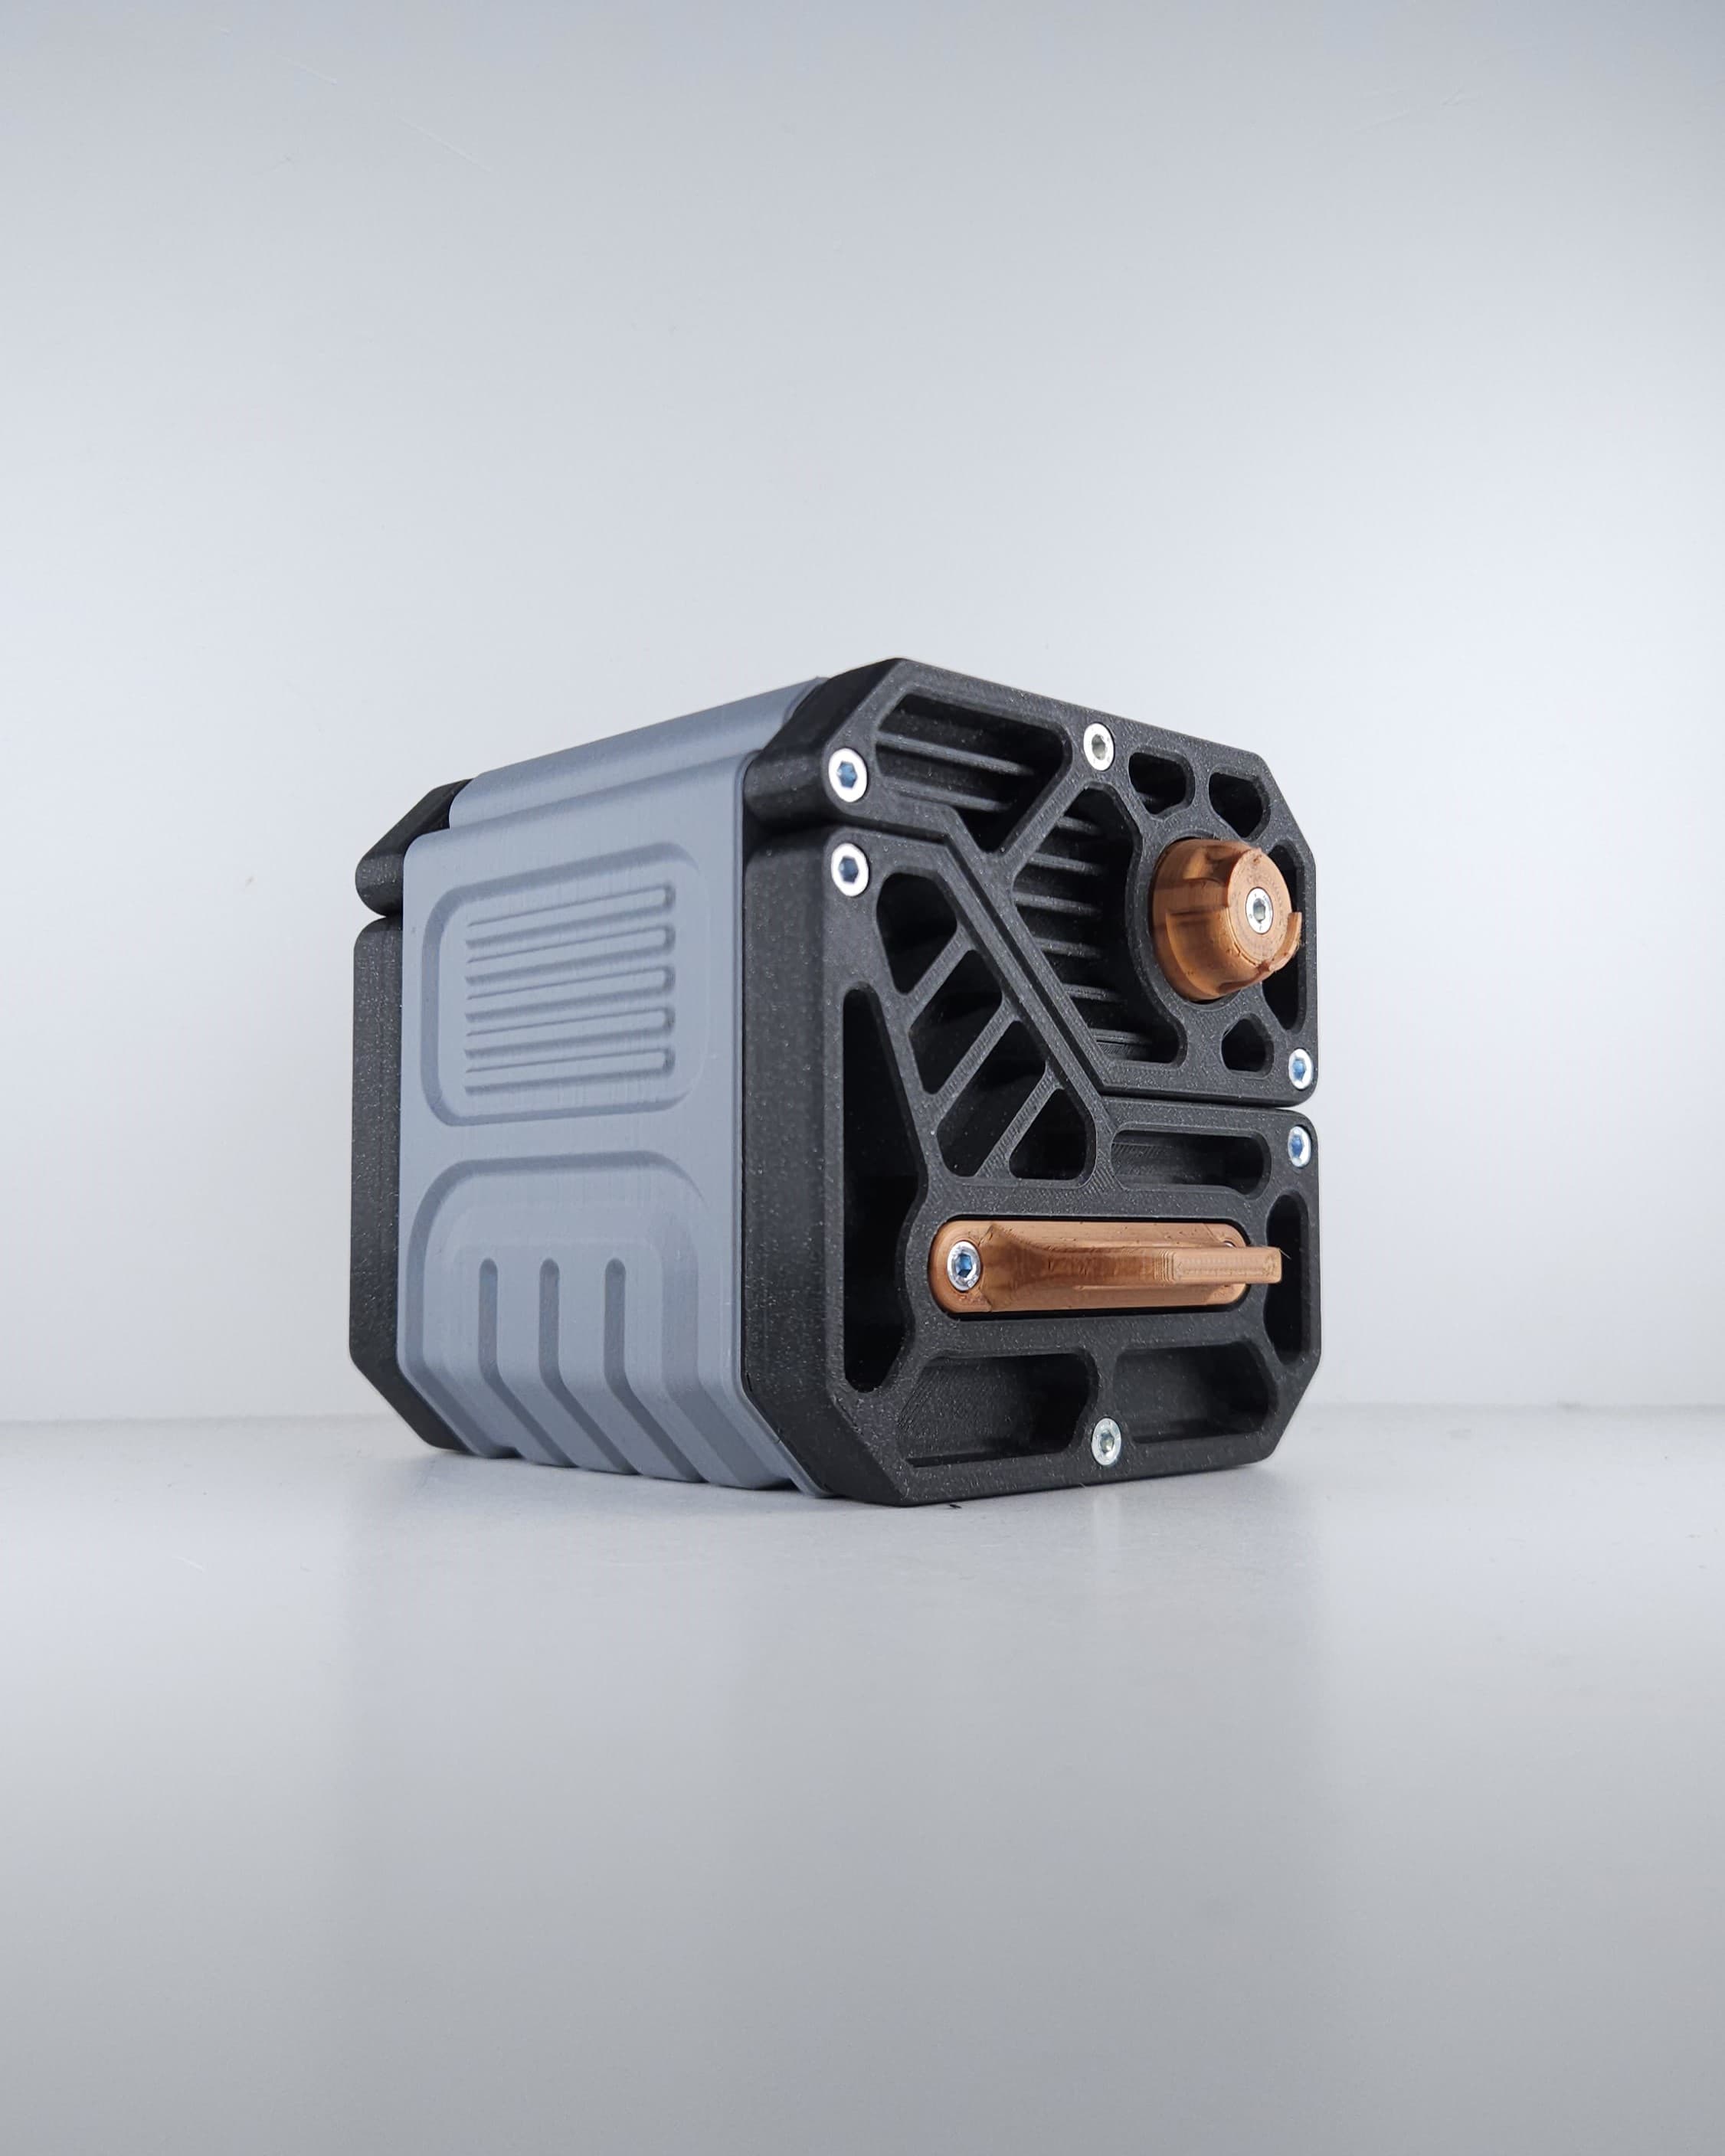
SX07 - Sci-fi Storage Box (decorational)

Wood Barrel Stash / Container
Cold Storage (Cards, Watch display, Generic storage)

M3D - Fantastic Animal Transport 2.0
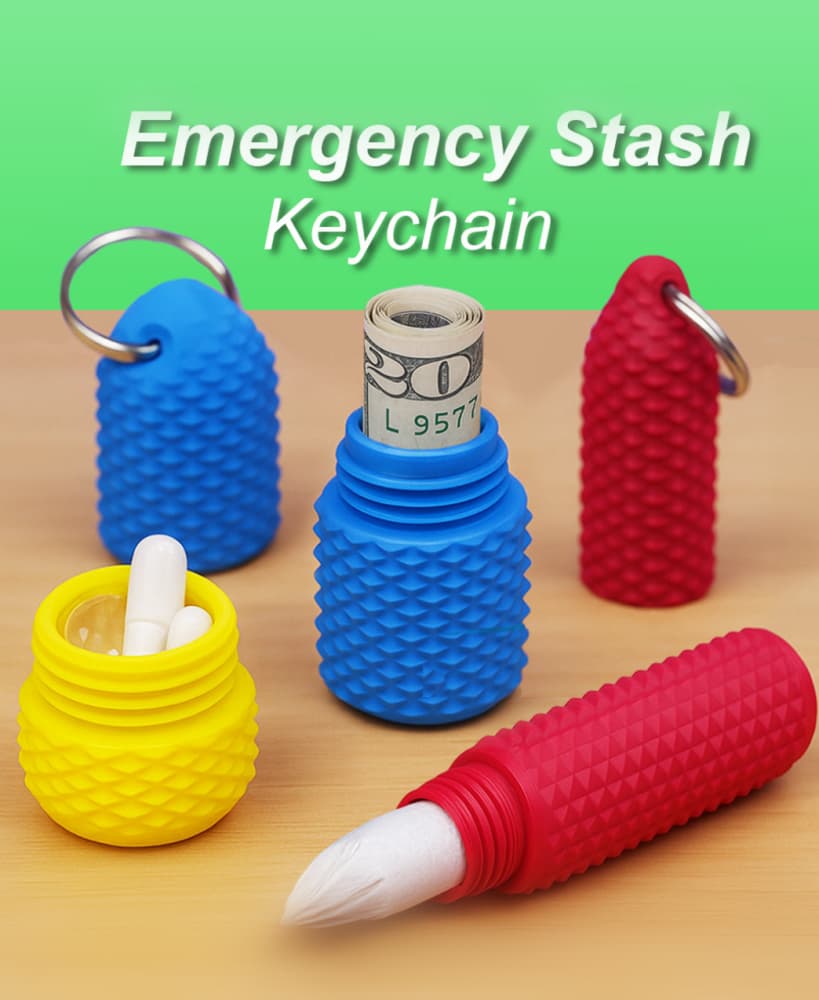
Emergency Stash Keychain
