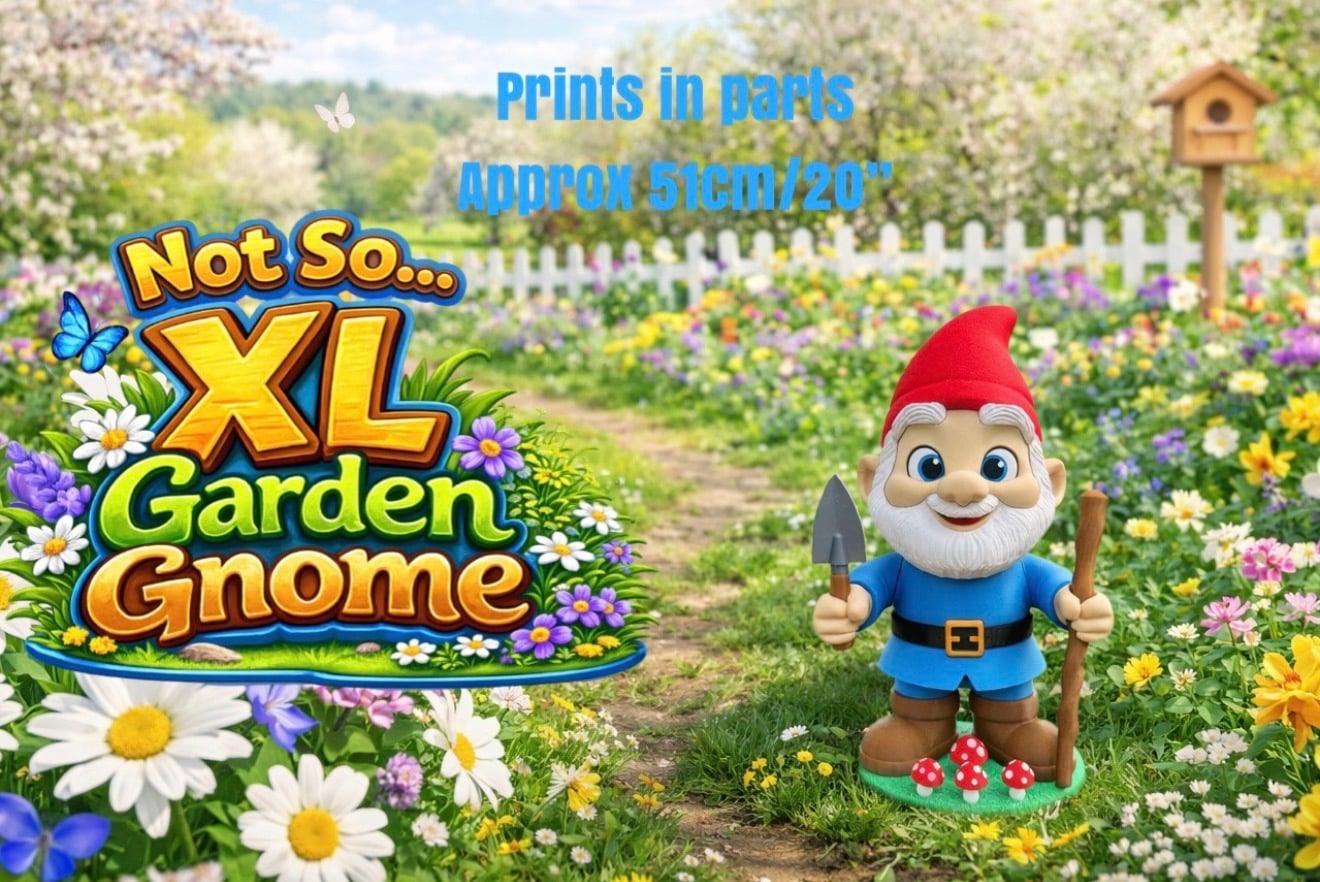


Not So XL Garden Gnome
Instructions for the XL and Not So XL Gnome Before You Print and Assemble Glue is required for the final build. It is strongly recommended to do a dry fit assembly first to check part placement and ensure everything fits correctly before gluing. Supports are required for some parts. Set support threshold to 26 degrees to minimise unnecessary supports. Set Top Z distance to 0.275mm to help supports release more easily. Filament recommendations I printed mine in PETG for outdoor display. PETG has held up well outdoors in full British sun for several years. If you live in a very hot climate, you may prefer ABS or ASA. For indoor use, PLA is perfectly suitable. Tolerances The XL and Not So XL versions have slightly different tolerances due to size differences. While every effort has been made to ensure correct fitment Some joints may feel tight especially supported areas. Printer calibration and filament type can affect tolerances. If a connector is too tight, try reducing the print scale by 1 to 2 percent. If parts are labelled left or right, this refers to the Gnomes perspective, not yours when looking at it. Keep parts organised and clearly identify left and right pieces before assembling. Ensure good bed adhesion, as some parts are small. Infill recommendations Larger parts 5 percent infill Smaller parts and connectors 10 to 15 percent infill Connectors This model uses the same size connectors throughout, except for the two base to boot connectors. For simplicity, all connectors will be referred to as connectors in this guide. Assembly Guide Lower Body Start with the base. Insert the two base to boot connectors into the base. Slide on the left and right boots. Insert two connectors into each boot 4 total. Slide on the legs. Insert 2 connectors into the top of the legs, then slide on the lower body. Insert 2 connectors, then slide on the belt. Insert 2 more connectors into the belt, then slide on the upper body. Arms and Hands Each arm requires 2 connectors from the upper body into the arms. Insert 2 connectors into each hand 4 total. Ensure left and right hands are correctly positioned. Head Assembly Build Separately First Insert the face into the beard using 2 connectors. Insert connectors into the ears first, then attach the ears to the head. It may be difficult to insert connectors afterward. Eyes Each Eye Has 5 Parts Assemble in this order Black outer ring Outer white Blue or colour of your choice Inner black Reflection detail Repeat for both eyes. Mouth Assembly Take the lower lip piece. Place the tongue on top of the lower lip. Position the upper mouth piece on top of the tongue. Keeping the pieces aligned, carefully slide the full assembly into the mouth opening. Attaching the Head Insert 2 connectors into the top body and attach the beard assembly. Insert the final 2 connectors into the top of the beard, then attach the hat. Accessories Trowel Right Hand Insert the handle into the hand first. Insert the dowel into the slot in the handle and hand to secure it. Screw on the spacer ring. Finally, screw on the blade. Walking Stick Left Hand The stick comes in two parts. Screw them together. Slide it freely into the left hand it rests on the base. Mushrooms There are two versions 1 Multi Colour Top Version Mushroom top prints in multicolour. The base prints separately no supports required. 2 Split Part Version The white dots print separately. Glue them into place using the indents as guides. For both versions Slide the mushroom base into the top. Insert mushrooms into the indents on the gnomes base. Includes 1 large mushroom and 3 small mushrooms. Final Step Congratulations you have built your XL or Not So XL Gnome

Not So XL Garden Gnome

Not So XL Reaper

XL Reaper

Melted Round Pumpkin

Melted Long Pumpkin

Kevin the Snail

Double indent Pain sensory fidget

Witches Hand with Cauldron

Not So XL Scarecrow (for smaller build plates below 300x300x300)

XL Scarecrow (for larger build plates above 320x320x320)

Monsterpus

Zebra Pot

Contemporary Bird House

Wenwan, Fidget Walnuts

Heart Payment Wand End

Zombie Dragon Bust

Triple Clicker pain sensory fidget

Happy Planter

World Cup Trophy Replica

Plain Goose update pack

Love love love. Would love a blank sign for the gnome