
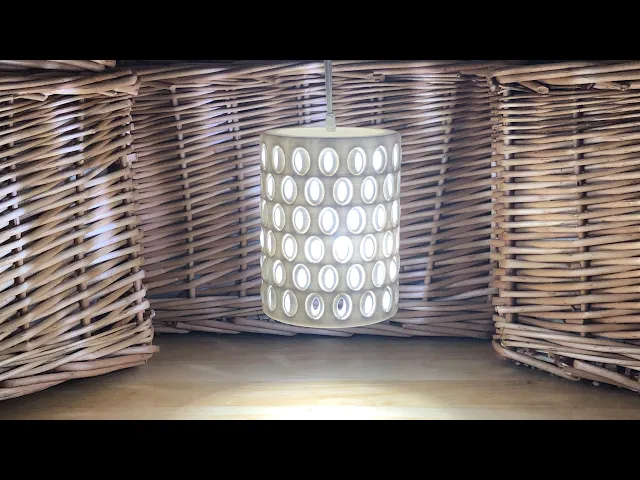


Lightshade with Captive Dimmer Beads
152 downloads · 4 years ago · This print-in-place lightshade has captive beads that can be rotated to adjust the amount of light.
This model is restricted by licensing terms.
View license.
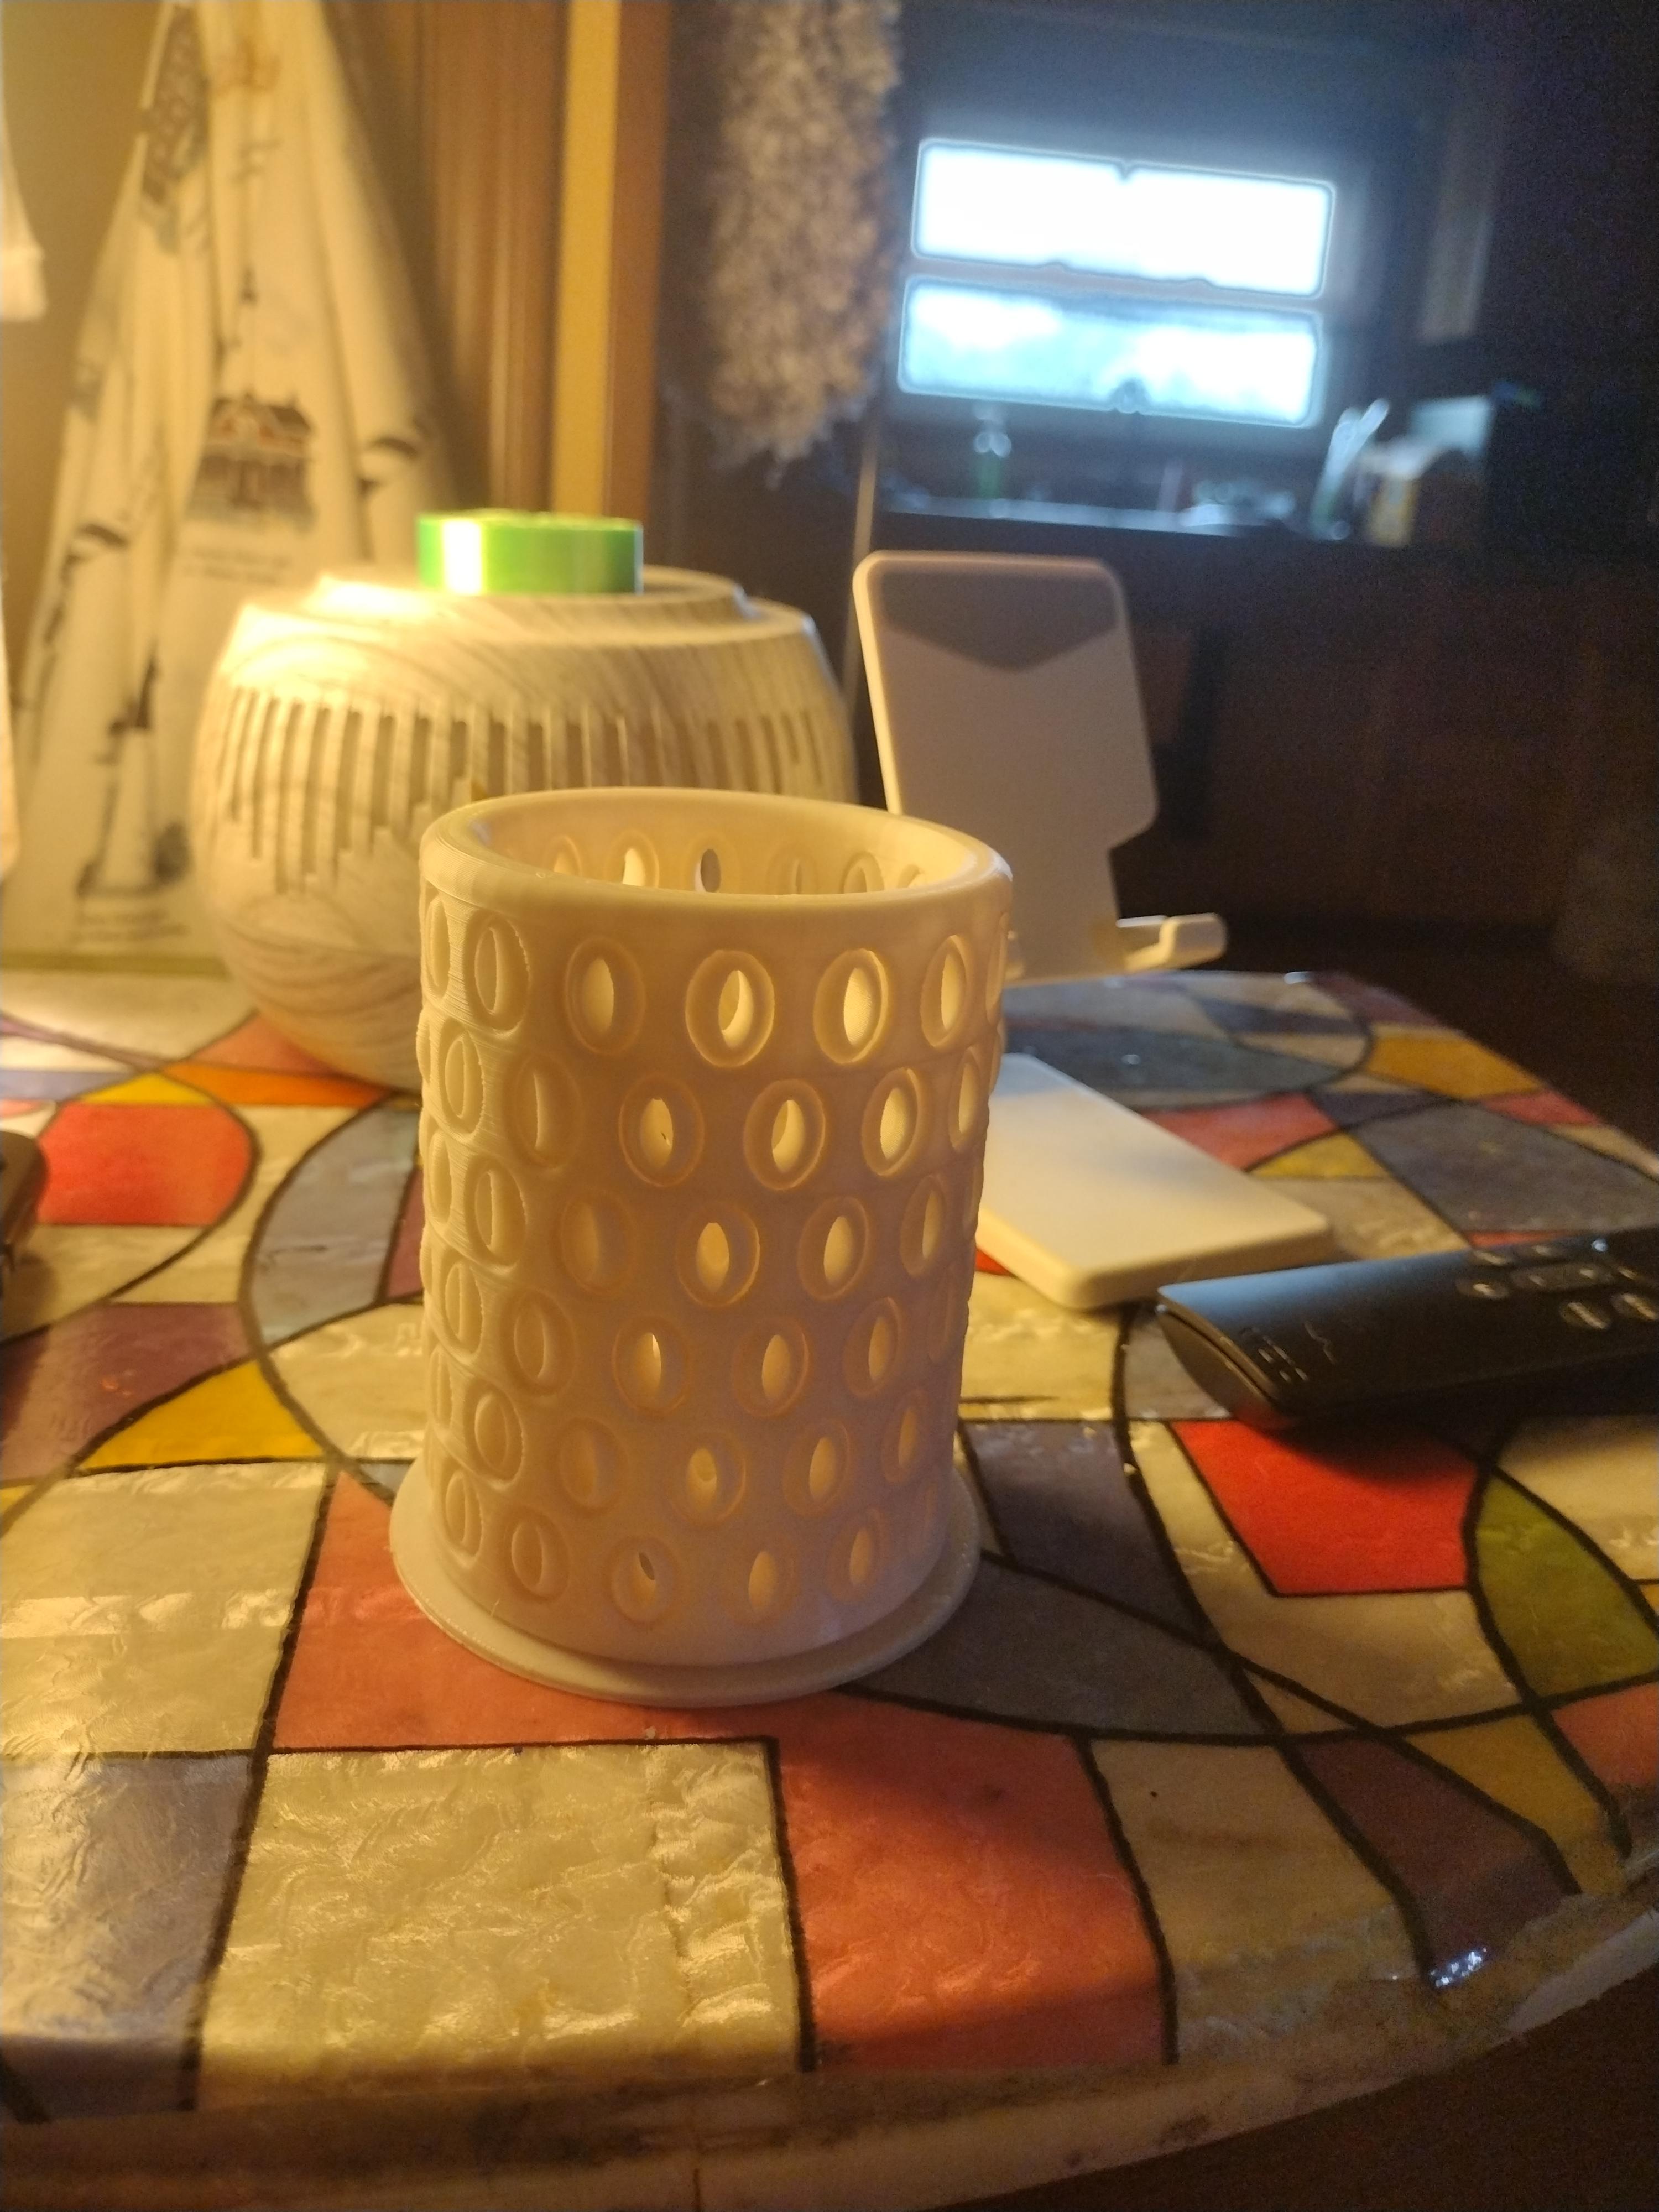
This print-in-place lightshade has captive beads that can be rotated to adjust the amount of light.
See here for video: https://youtu.be/i2H491pUNUo
To use with a hanging light, print the standard file and drill an appropriately sized hole for your light and wiring.
To use as a shade for a tealight, print the model with no bottom and place over or tealight.
Lightshade with Captive Dimmer Beads
152 downloads · 4 years ago in and
This model is restricted by licensing terms.
View license.

Industrial Construction Set - FDM

Bouali Strange Attractor Sculpture

Aizawa Strange Attractor Sculpture
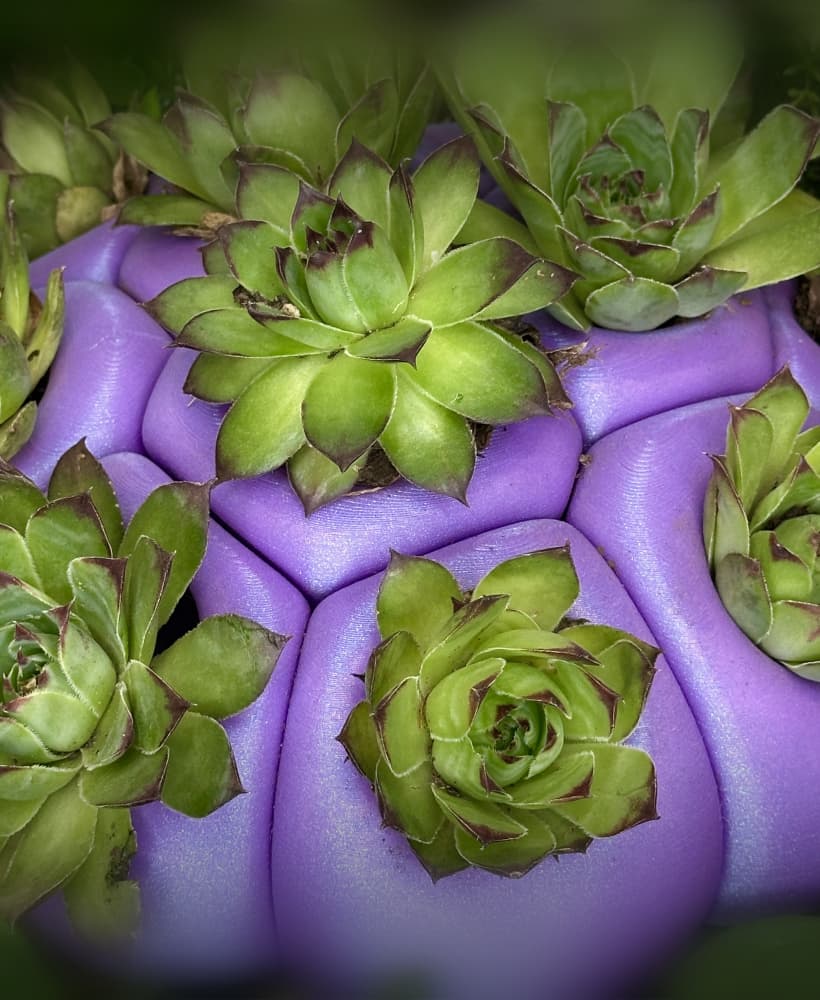
Bio Blob
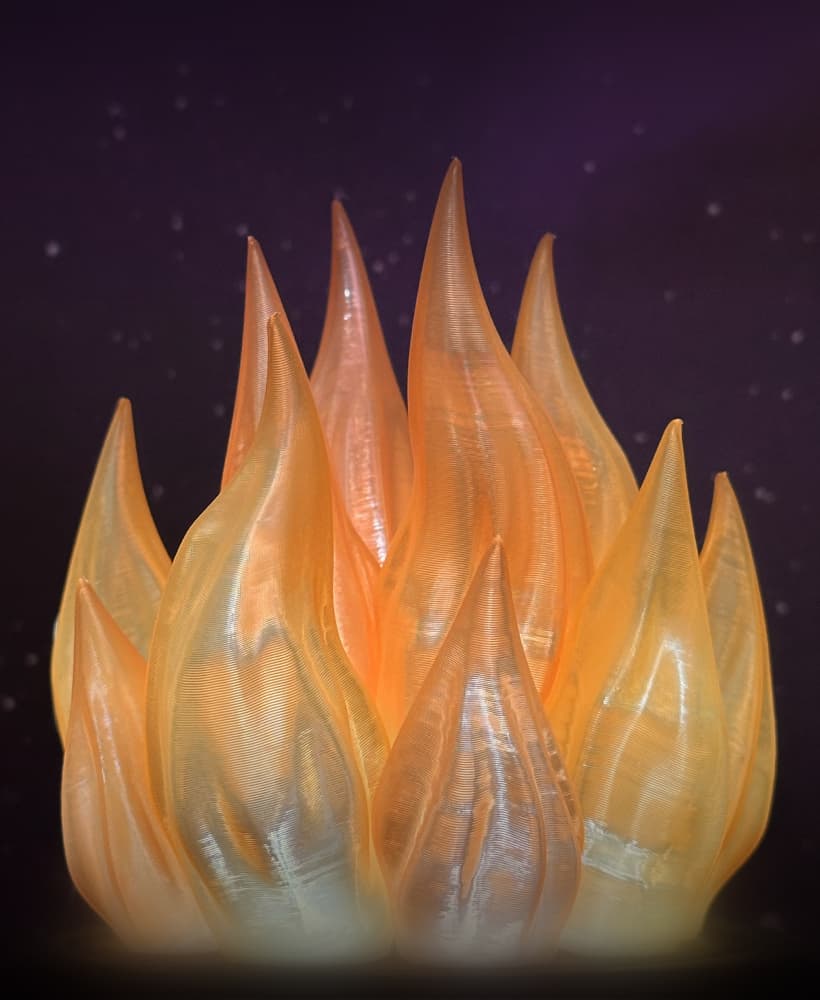
Flame Lamp
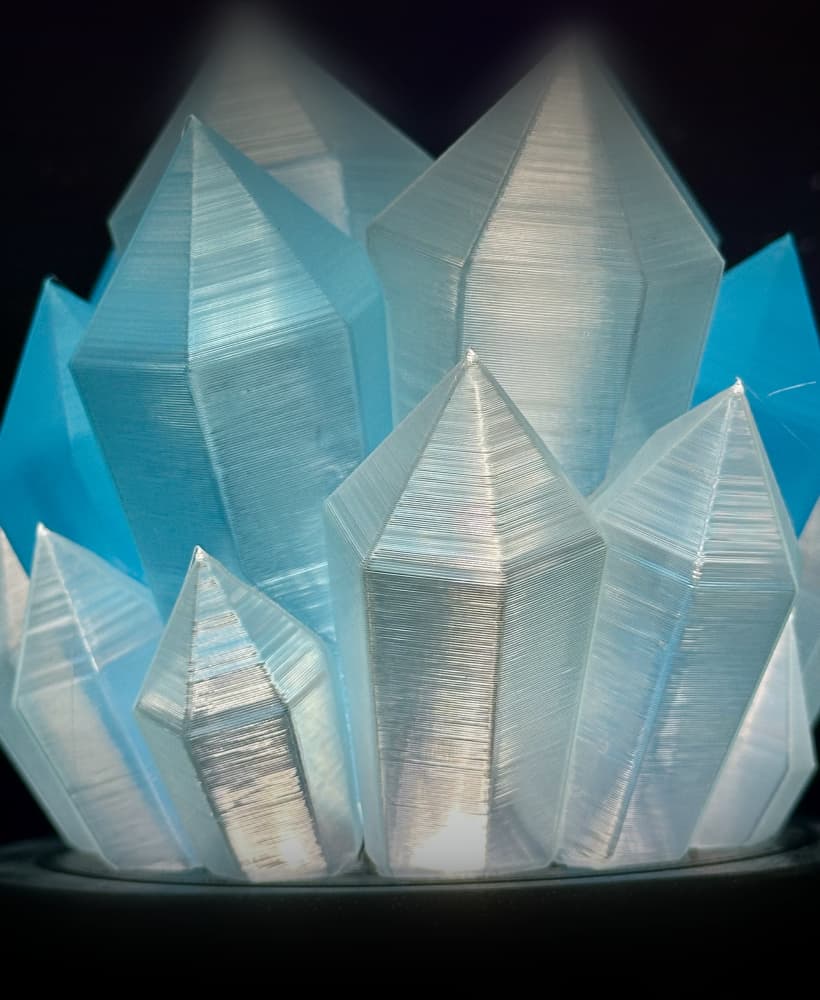
Crystal Lamp
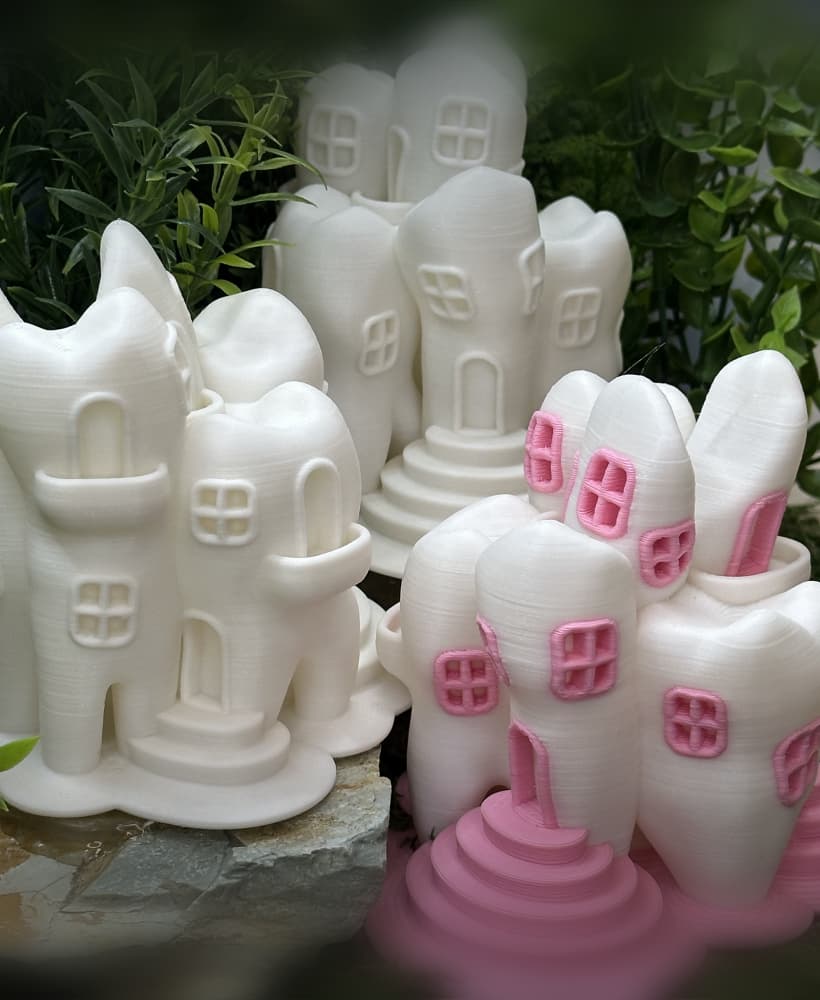
Tooth Fairy House
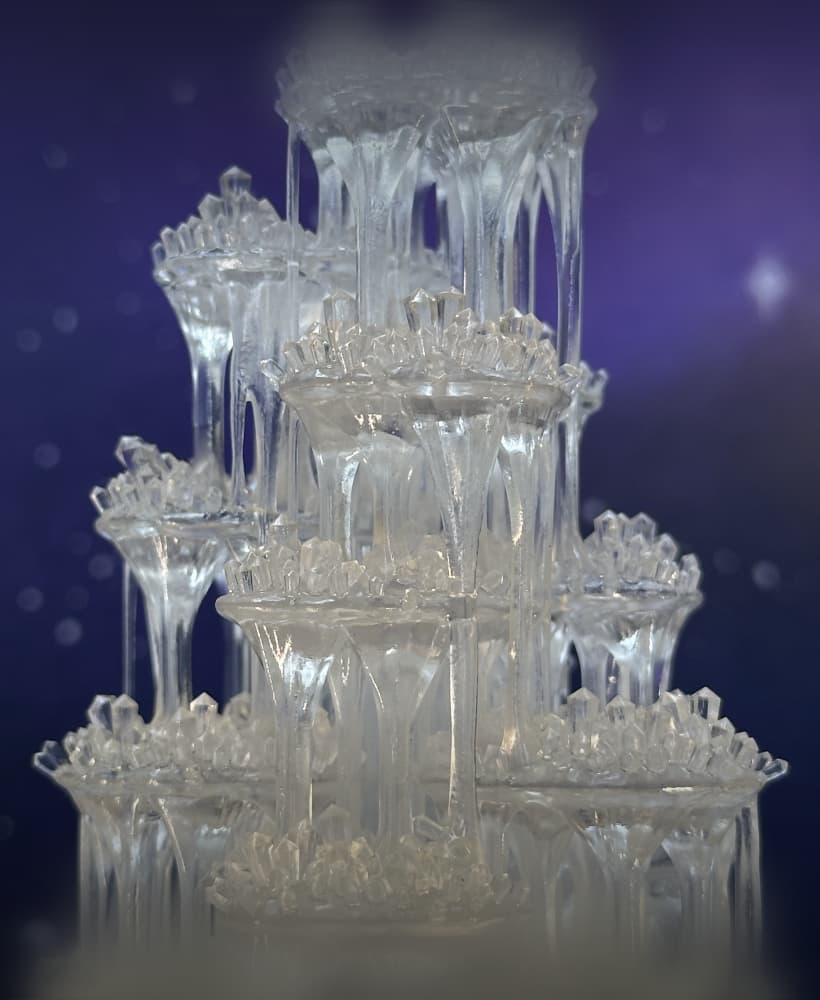
Crystal Citadels

Shack Pack - Sober

Shack Pack - Tipsy

Shack Pack - Plastered
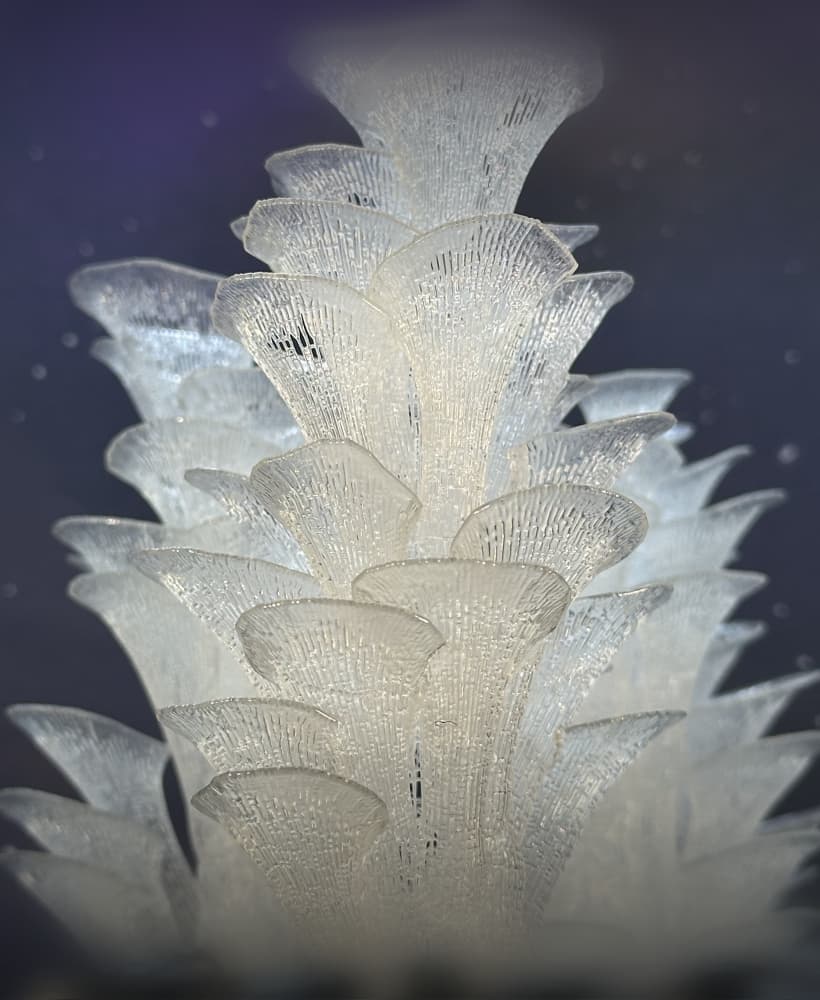
Stellar Blooms
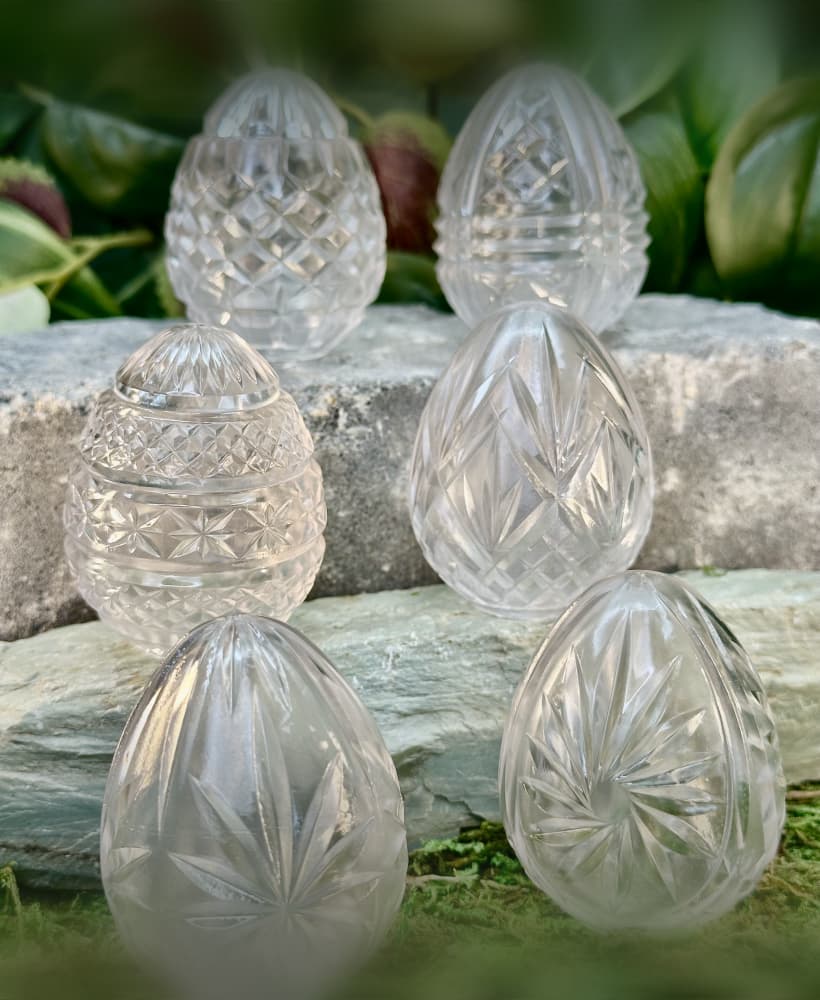
Cut Crystal Eggs - Set 2
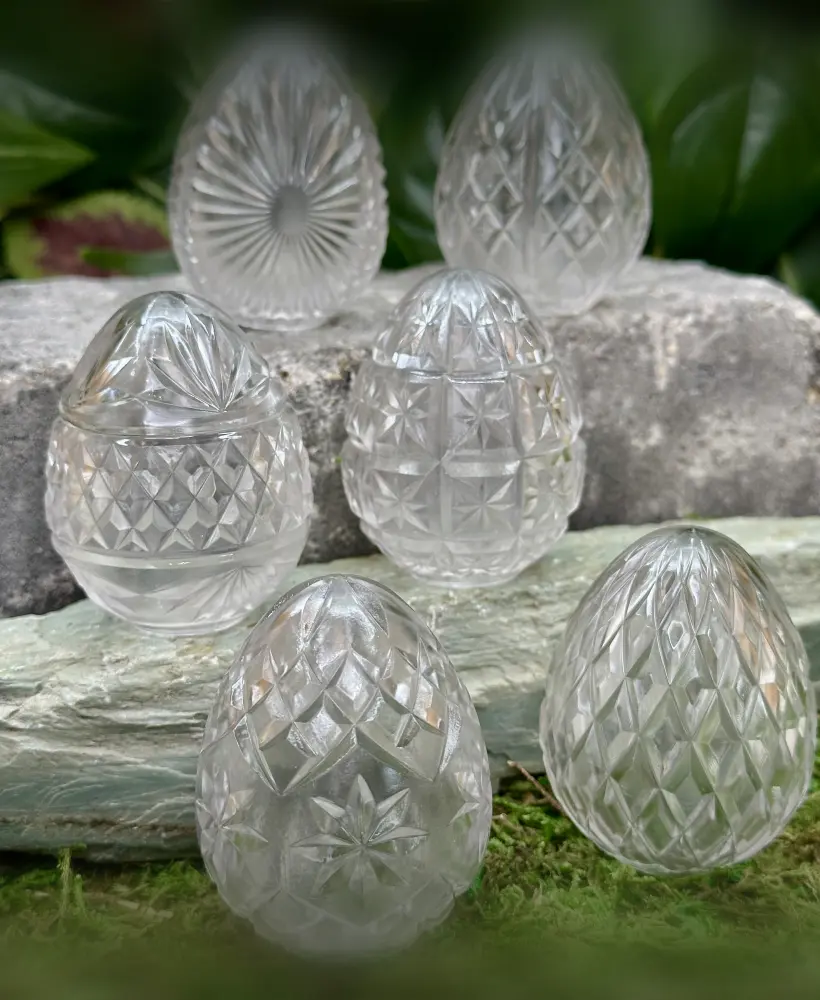
Cut Crystal Eggs - Set 1

Holly Berry Clusters

Holly Berry Branches

Poinsettia

Spruce Branches

Fir Branches

Great! now I need it in straight lines to use as an Abacus, the Chinese version of an ancient calculator, now in rounded enlightened shape. Glad you made this model to point out it's possible to ameliorate those calculators <3
what are the setttings for this