


A wearable 2 finger vise with thumb operated clamps.
Design F!NGERV!SE is a versatile sleeve worn over two fingers, equipped with two levers for easy operation. By simply pushing with the thumb, users can open and close each part of the vise independently. This innovative tool is perfect for situations where space is limited, and items cannot be brought to a workbench. It provides a stable platform for tasks like soldering, even for those with limited dexterity and coordination.
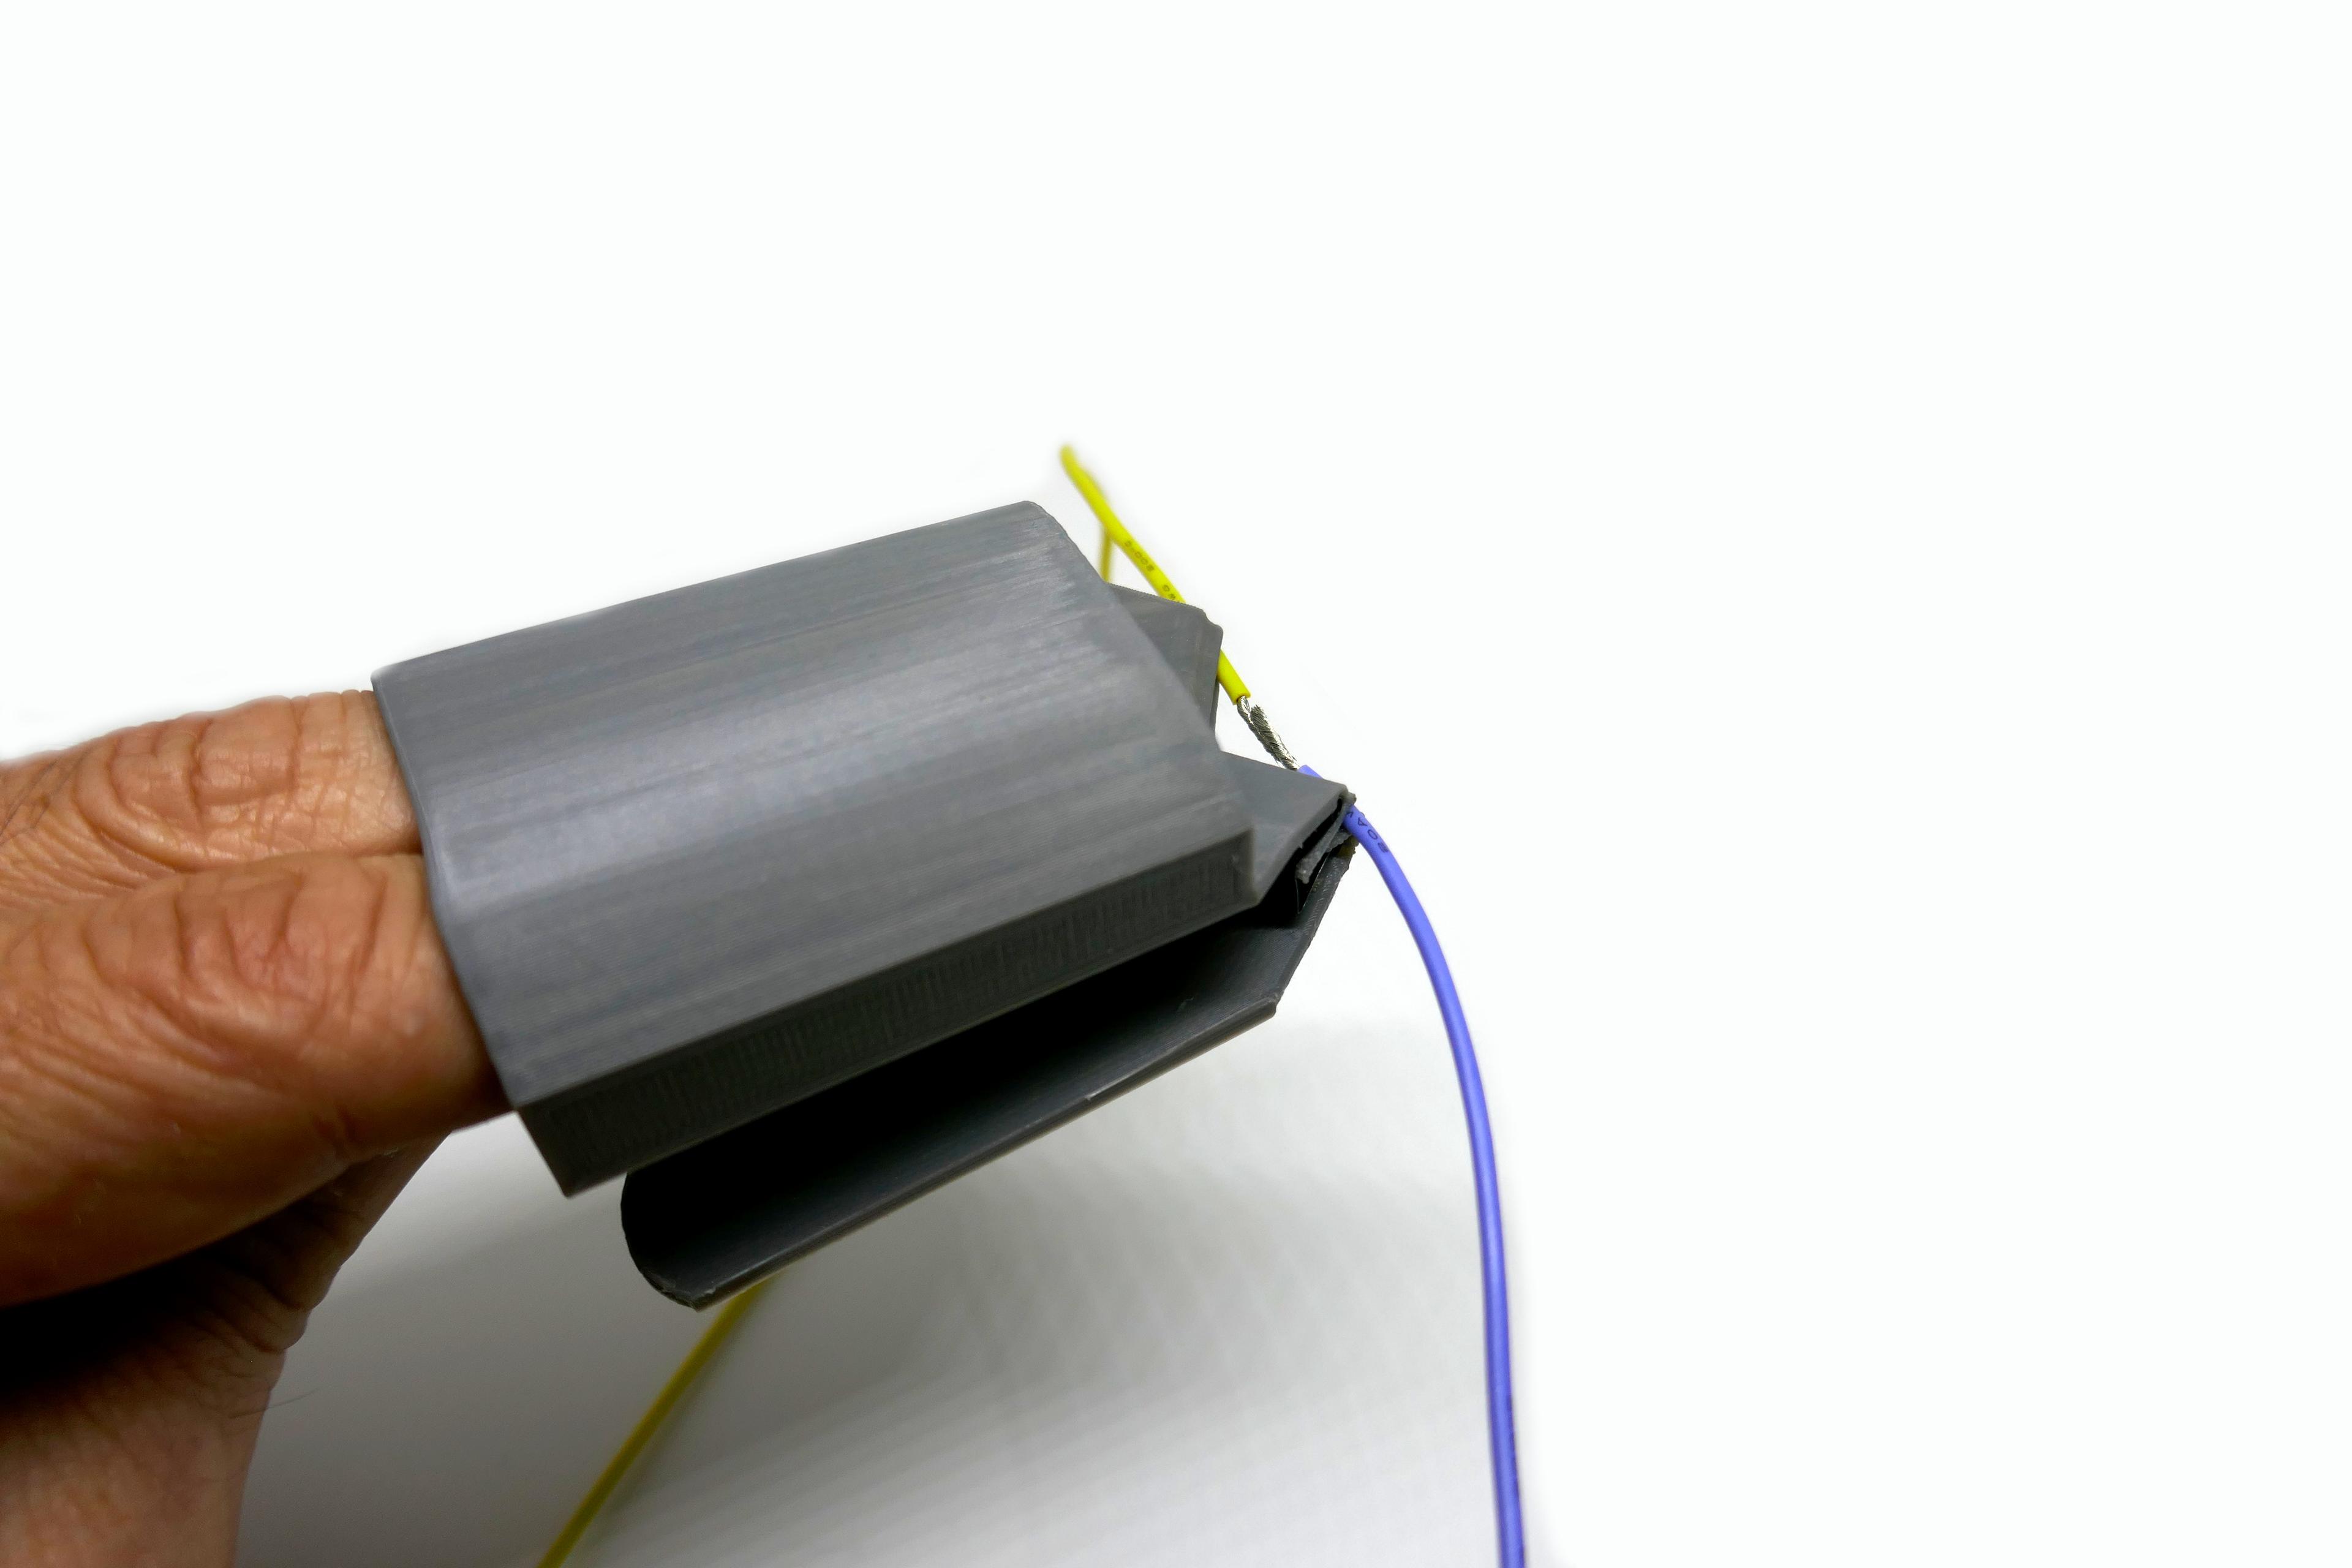
Construction F!NGERW!SE utilizes two repurposed fold-back binder clips, stripped of their handles, which slide into front extensions on the finger sleeve and into the levers. This design ensures a secure and tight grip, allowing users to position items precisely for tasks like soldering.
The binder clips used are the 15mm type, readily available online.
And following a kind remark from a maker we added a file version with wider brackets for the original Staples Mini Binder Clips since these have a slightly different diameter than all the others…
Slicing, Printing Printing should not be any problem since wall thicknesses are optimized and all fillets clipped at 35°. You can choose if you want to print with supports with the parts laying on the big area of their side surfaces (and small supports under the vise extensions) or without supports (if you have good bed adhesion and cooling) on the side surface of the small vise extensions of both the sleeve as well as the levers. You may want to choose 4 perimeters in order to get strong parts and avoid small infill areas. Both options are readily prepared and there are STLs with either part orientation already set.
Assembly Remove the handles from the binder clips and slide them into the vise extensions. Start by attaching them to the sleeve, then attach the levers. Ensure each binder clip is pushed to the end of its respective gap. Once all clips are on the sleeve and levers are attached, F!NGERV!SE is ready for use.
Happy printing and clamping!