tracking pixel
Keep Making
Keep Making

Keep Making

Follow

Select a membership plan

$5.00
/ month
  • Access to the premade starter packs including the Mini Multiboard.
  • Access to the stack print parts.
  • Vote for future parts.
  • Multi Supporter Role on Discord.
  • My unwavering appreciation for supporting this project.
$10.00
/ month
  • Early access to new Multiboard parts 3 months before anyone else.
  • Access to the Tile and Bolt Generator.
  • Advanced packs (coming soon).
  • Submit part requests on discord.
  • Multi Maker Role on Discord.
  • All of Tier 1 benefits
$42.00
/ month
  • Get a commercial license to sell printed Multiboard parts, up to $50k annually.
  • Exclusive Discord channel to discuss your plans with Multiboard.
  • Multi Partner Role on Discord.
  • All previous perks
Jonathan K

Offset Snaps Removal Tool

by
Keep Making
Follow
Follow
Remix Model
Keep Making
Keep Making
Image 1 of 6
Offset Snaps Removal Tool 3d model
2D
3D
Makes
Offset Snaps Removal Tool 3d model
Offset Snaps Removal Tool - Printed on my Prusa MK4 in Prusament PETG Prusa Orange.  - 3d model
This model is restricted by licensing terms. 
594 Likes6.5K DownloadsJanuary 16, 2024
This model is restricted by licensing terms. 


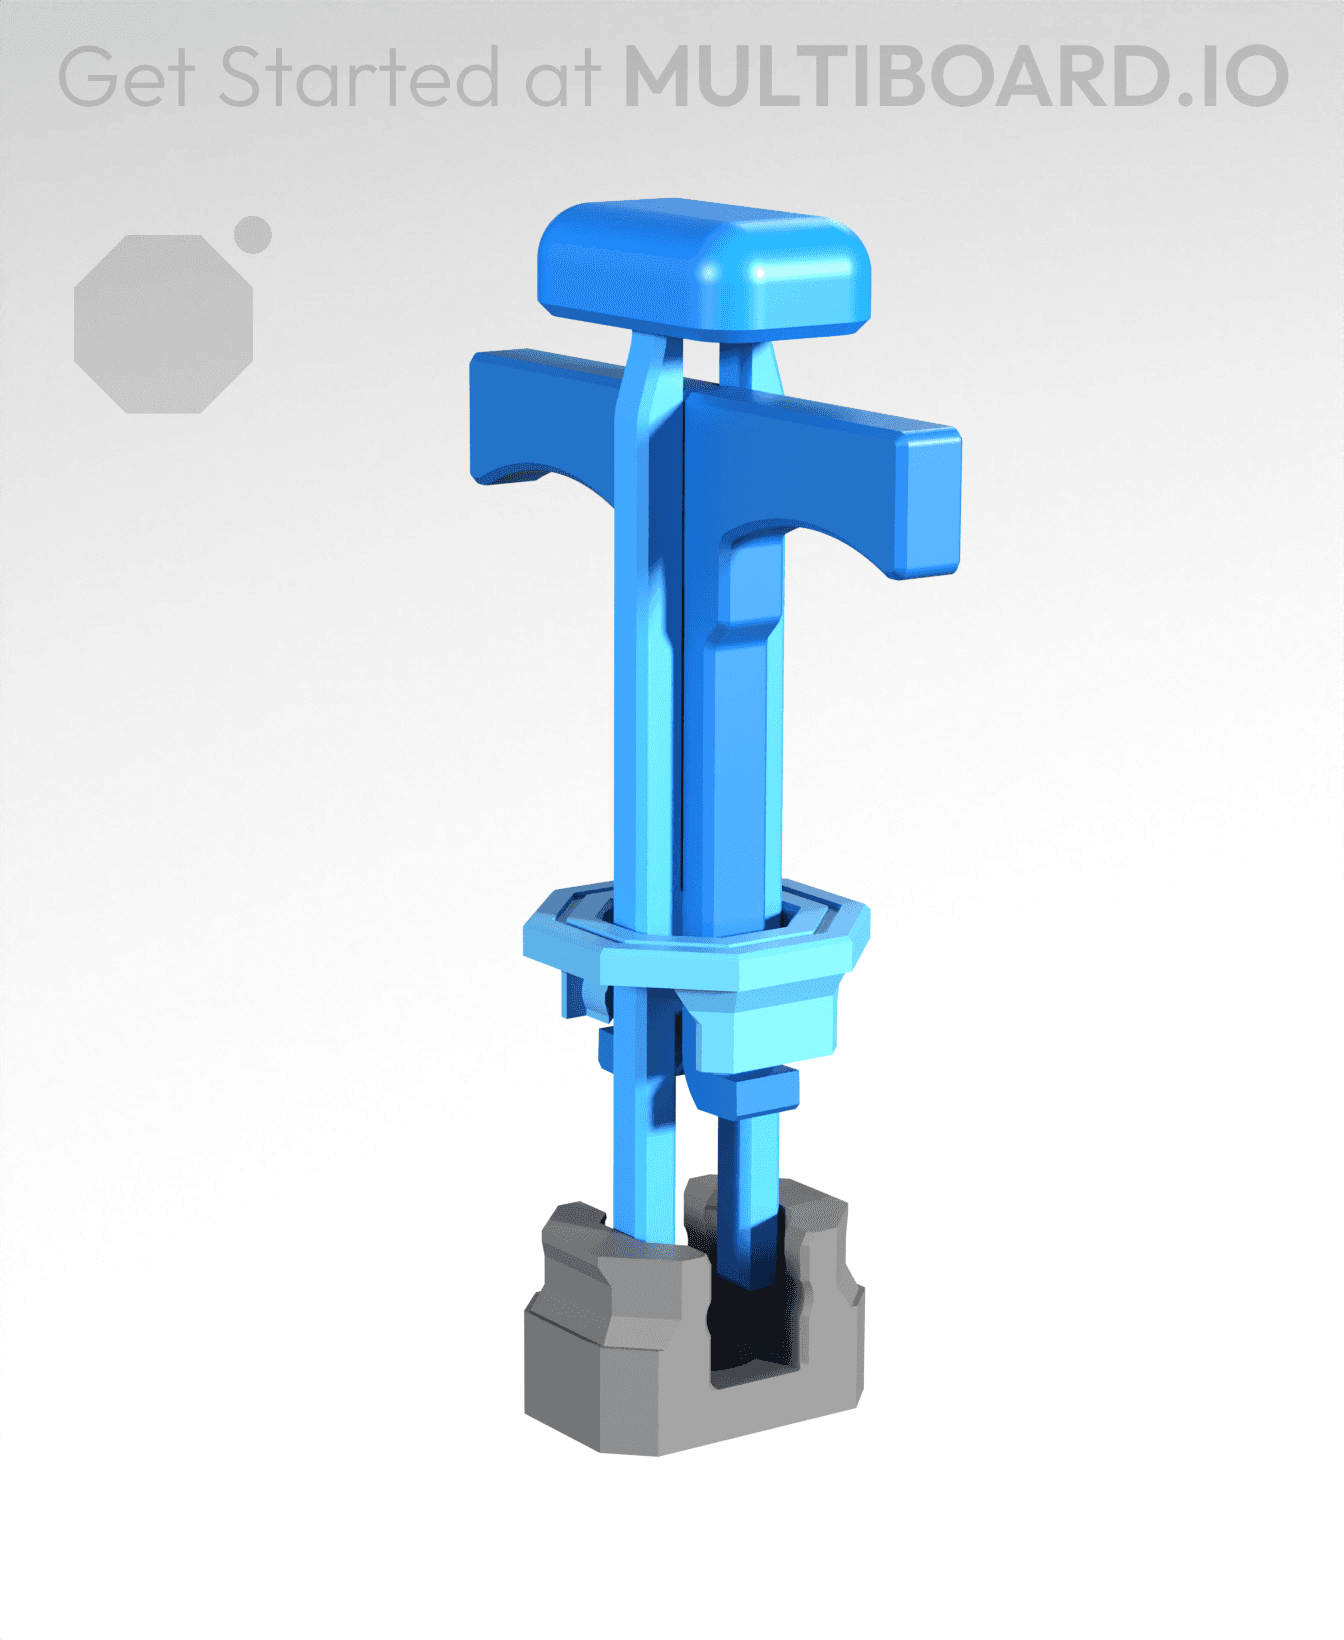
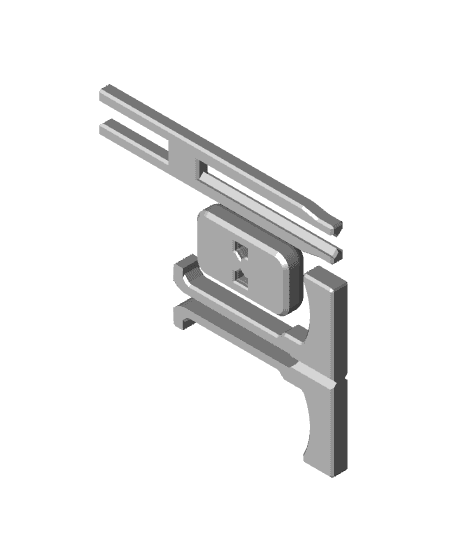
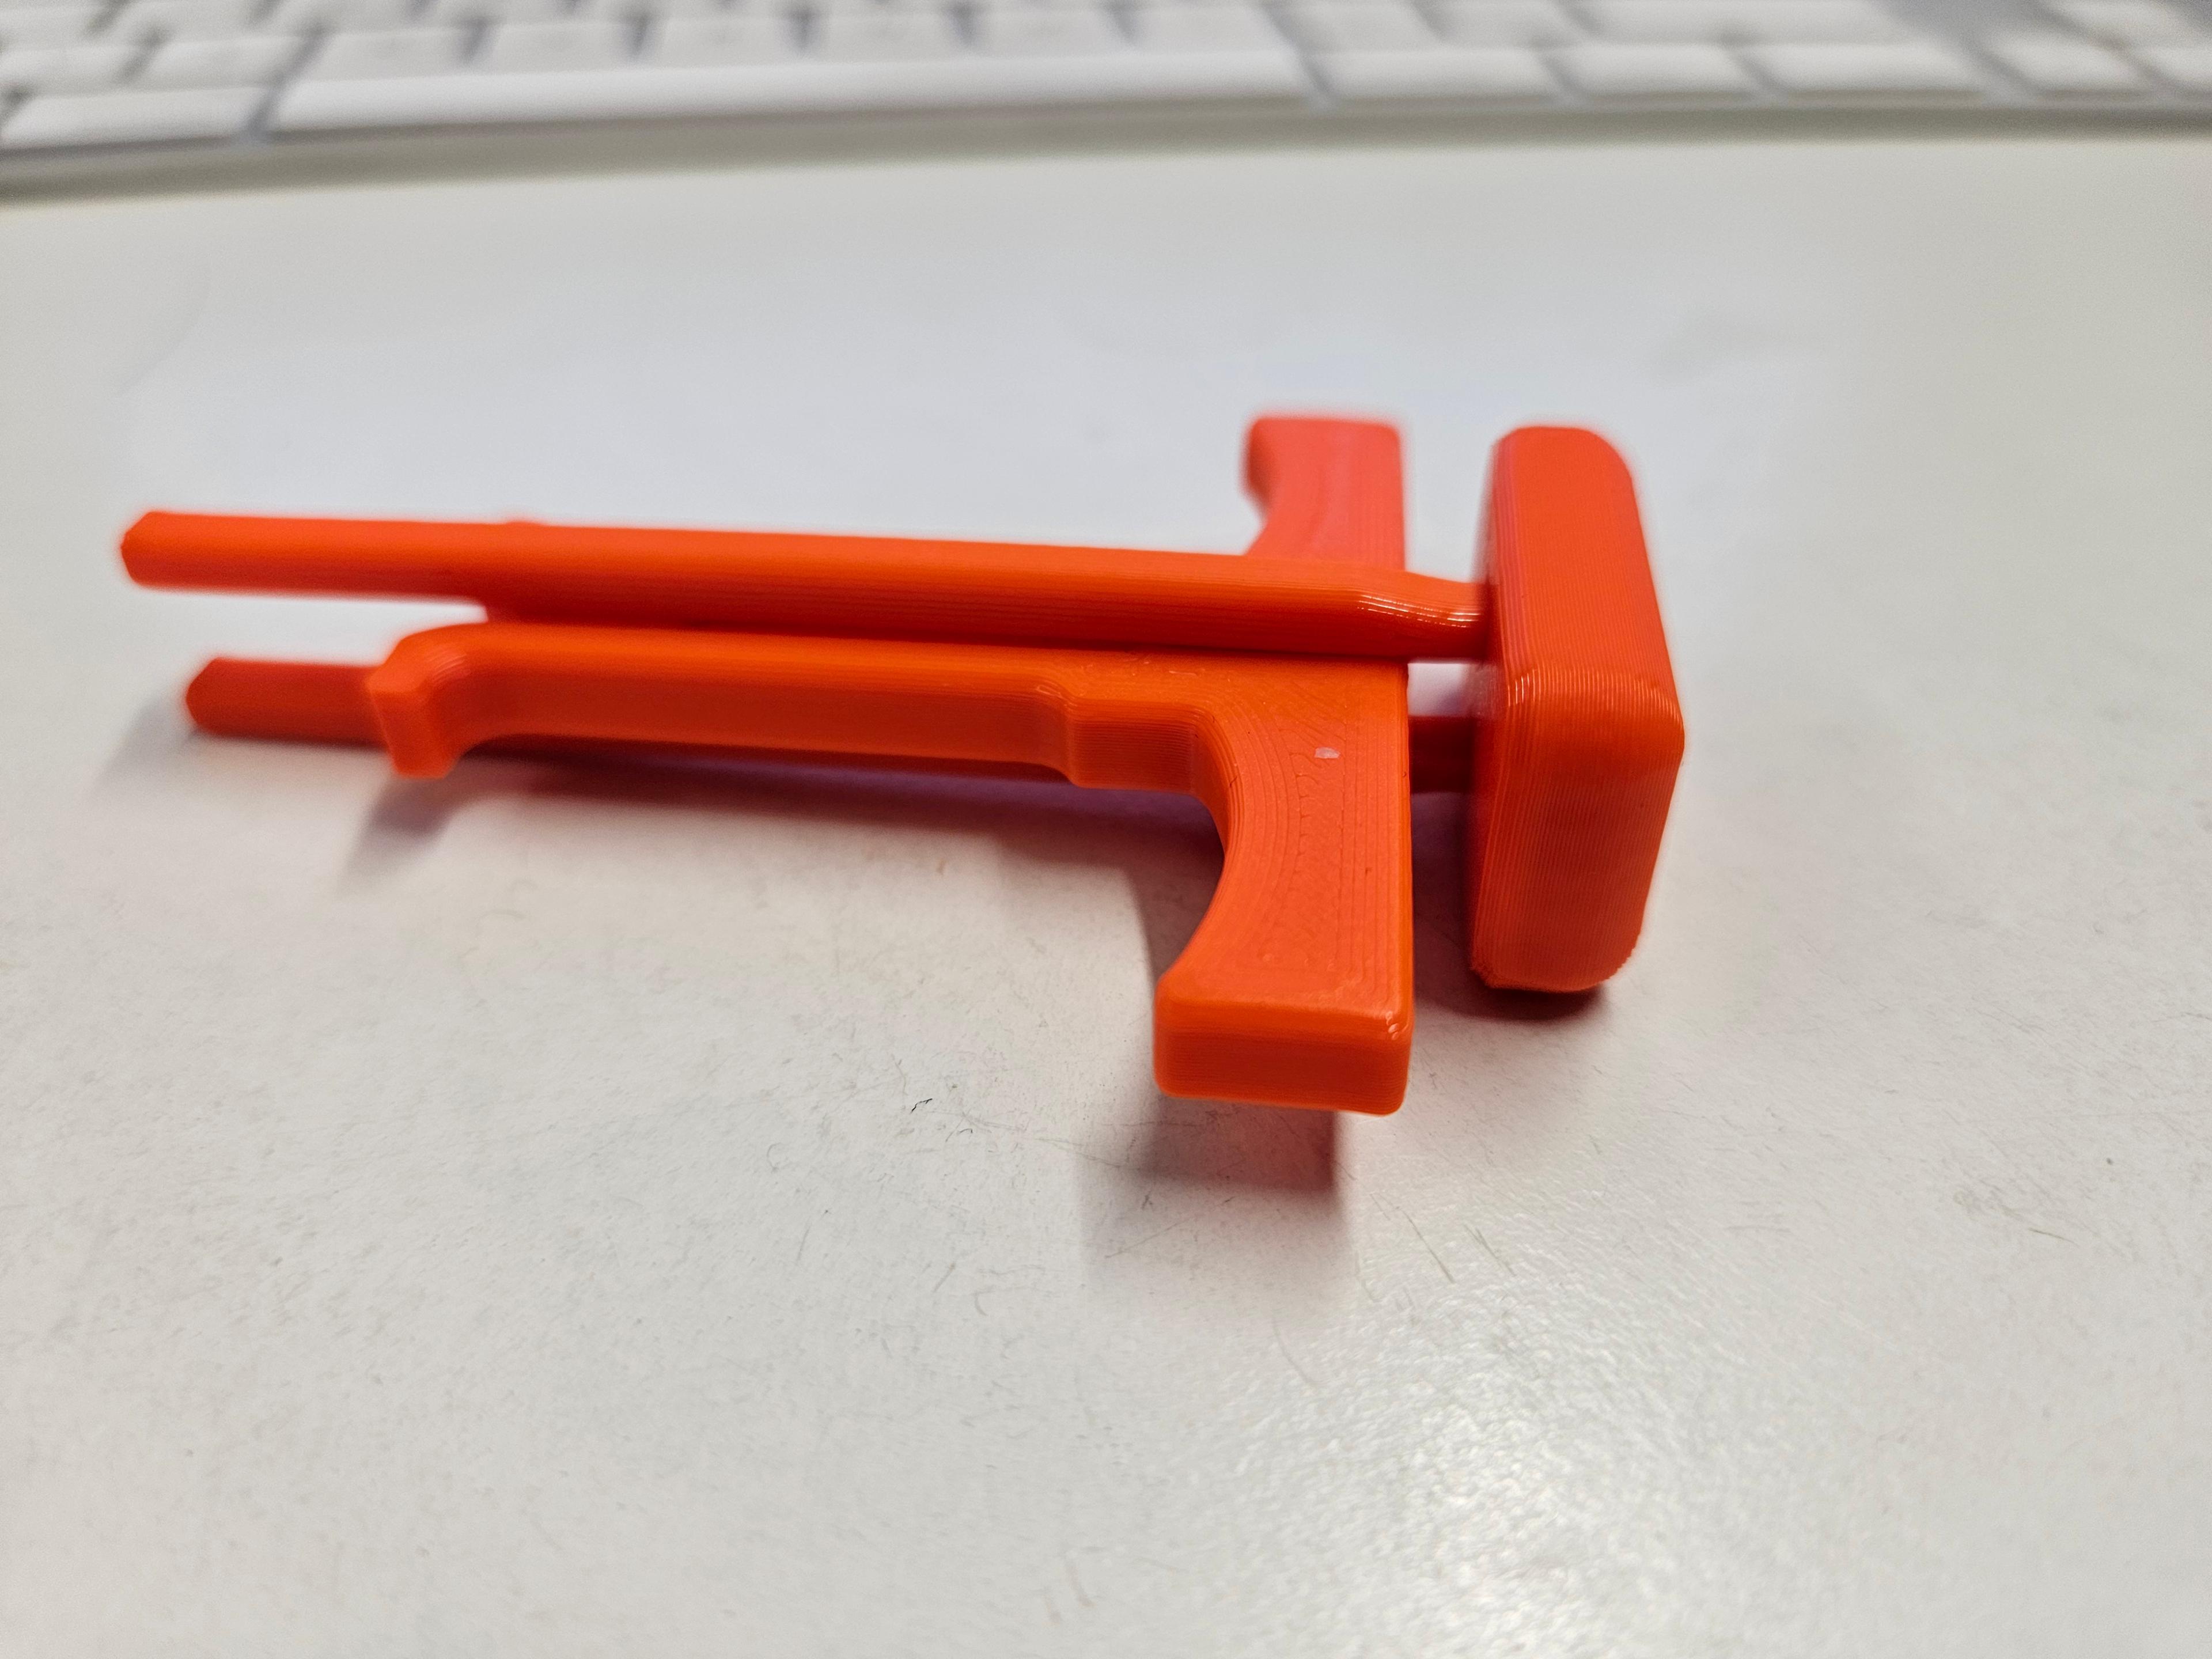
The “Offset Snaps Removal Tool” helps you to remove Snaps - DS Part B from the Offset Snaps - DS Part A.

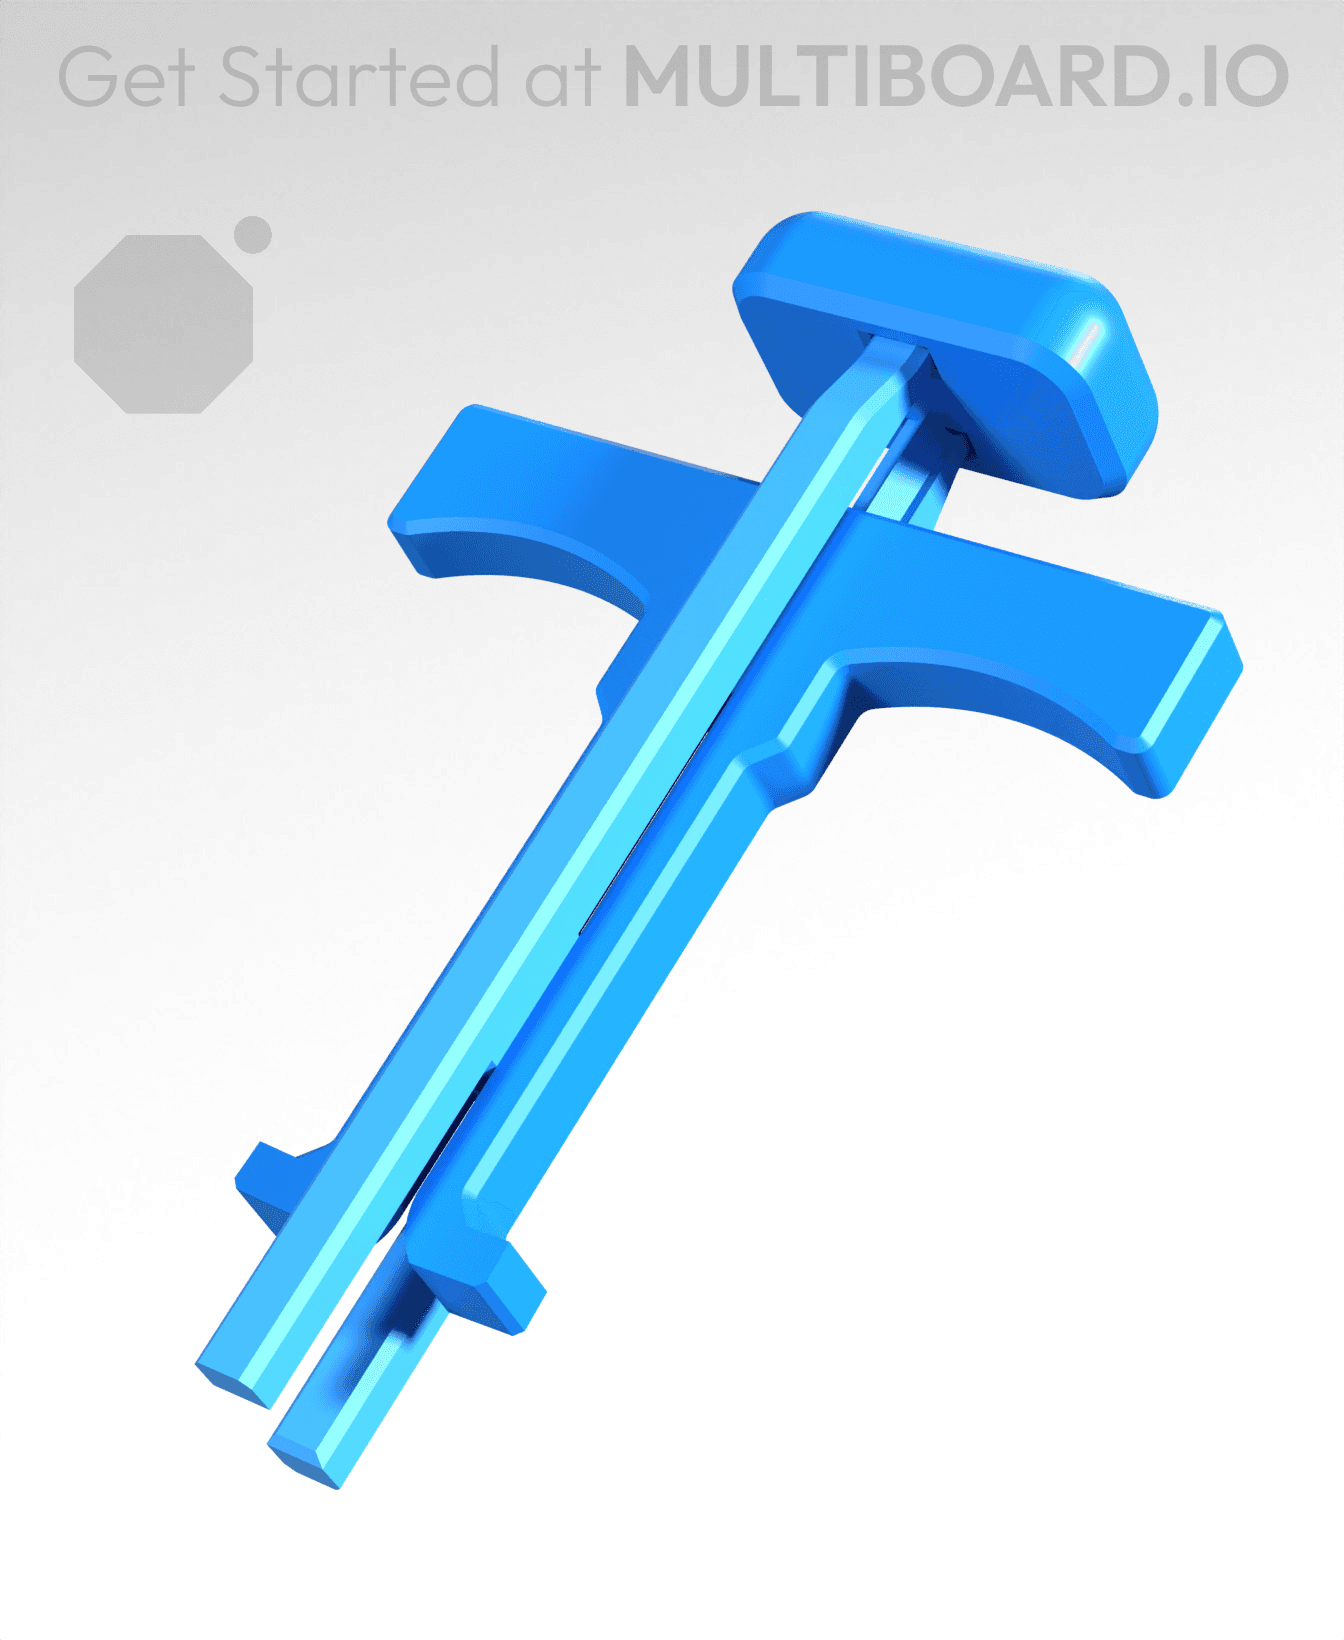
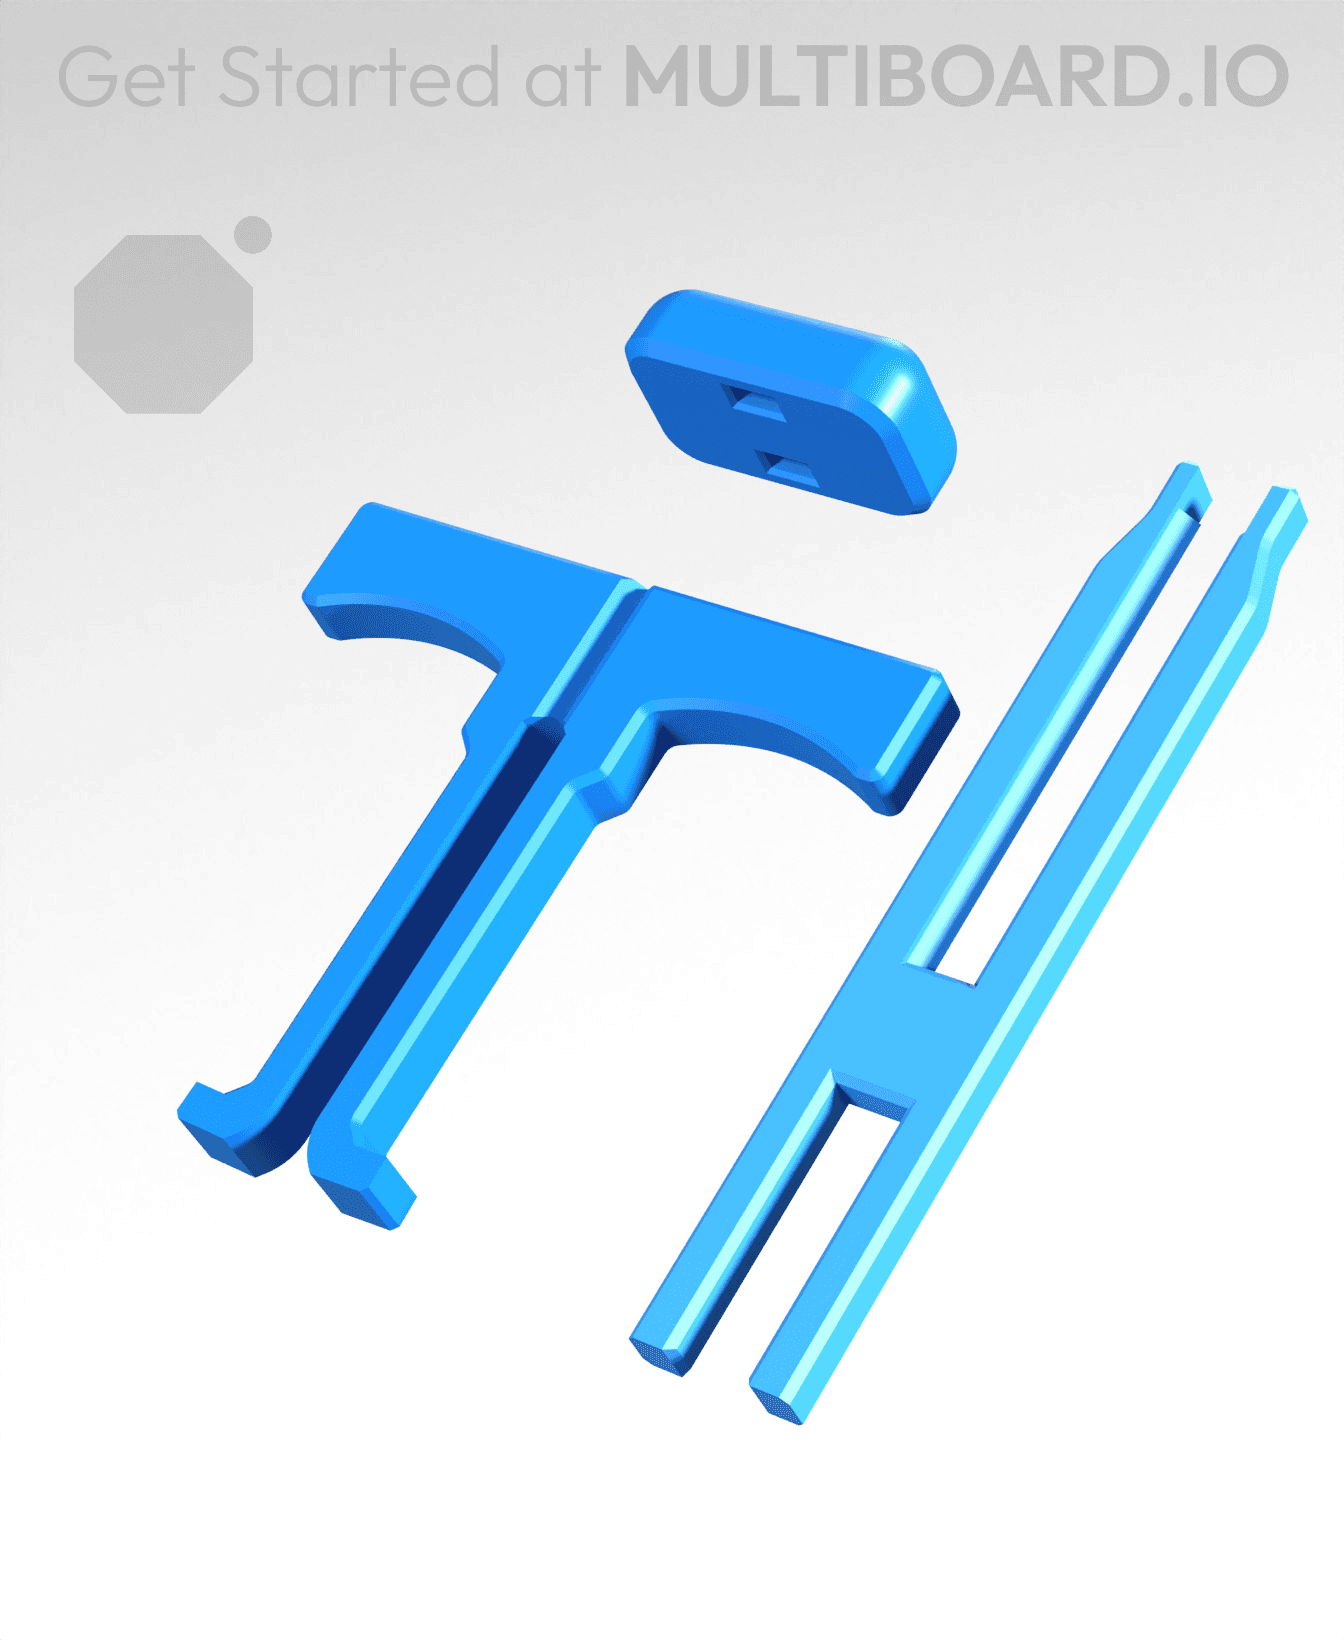
It comes with three parts: The plunger, the handle, and the pad.

Slide the handle into the long side of the plunger, then push the pad onto the top.

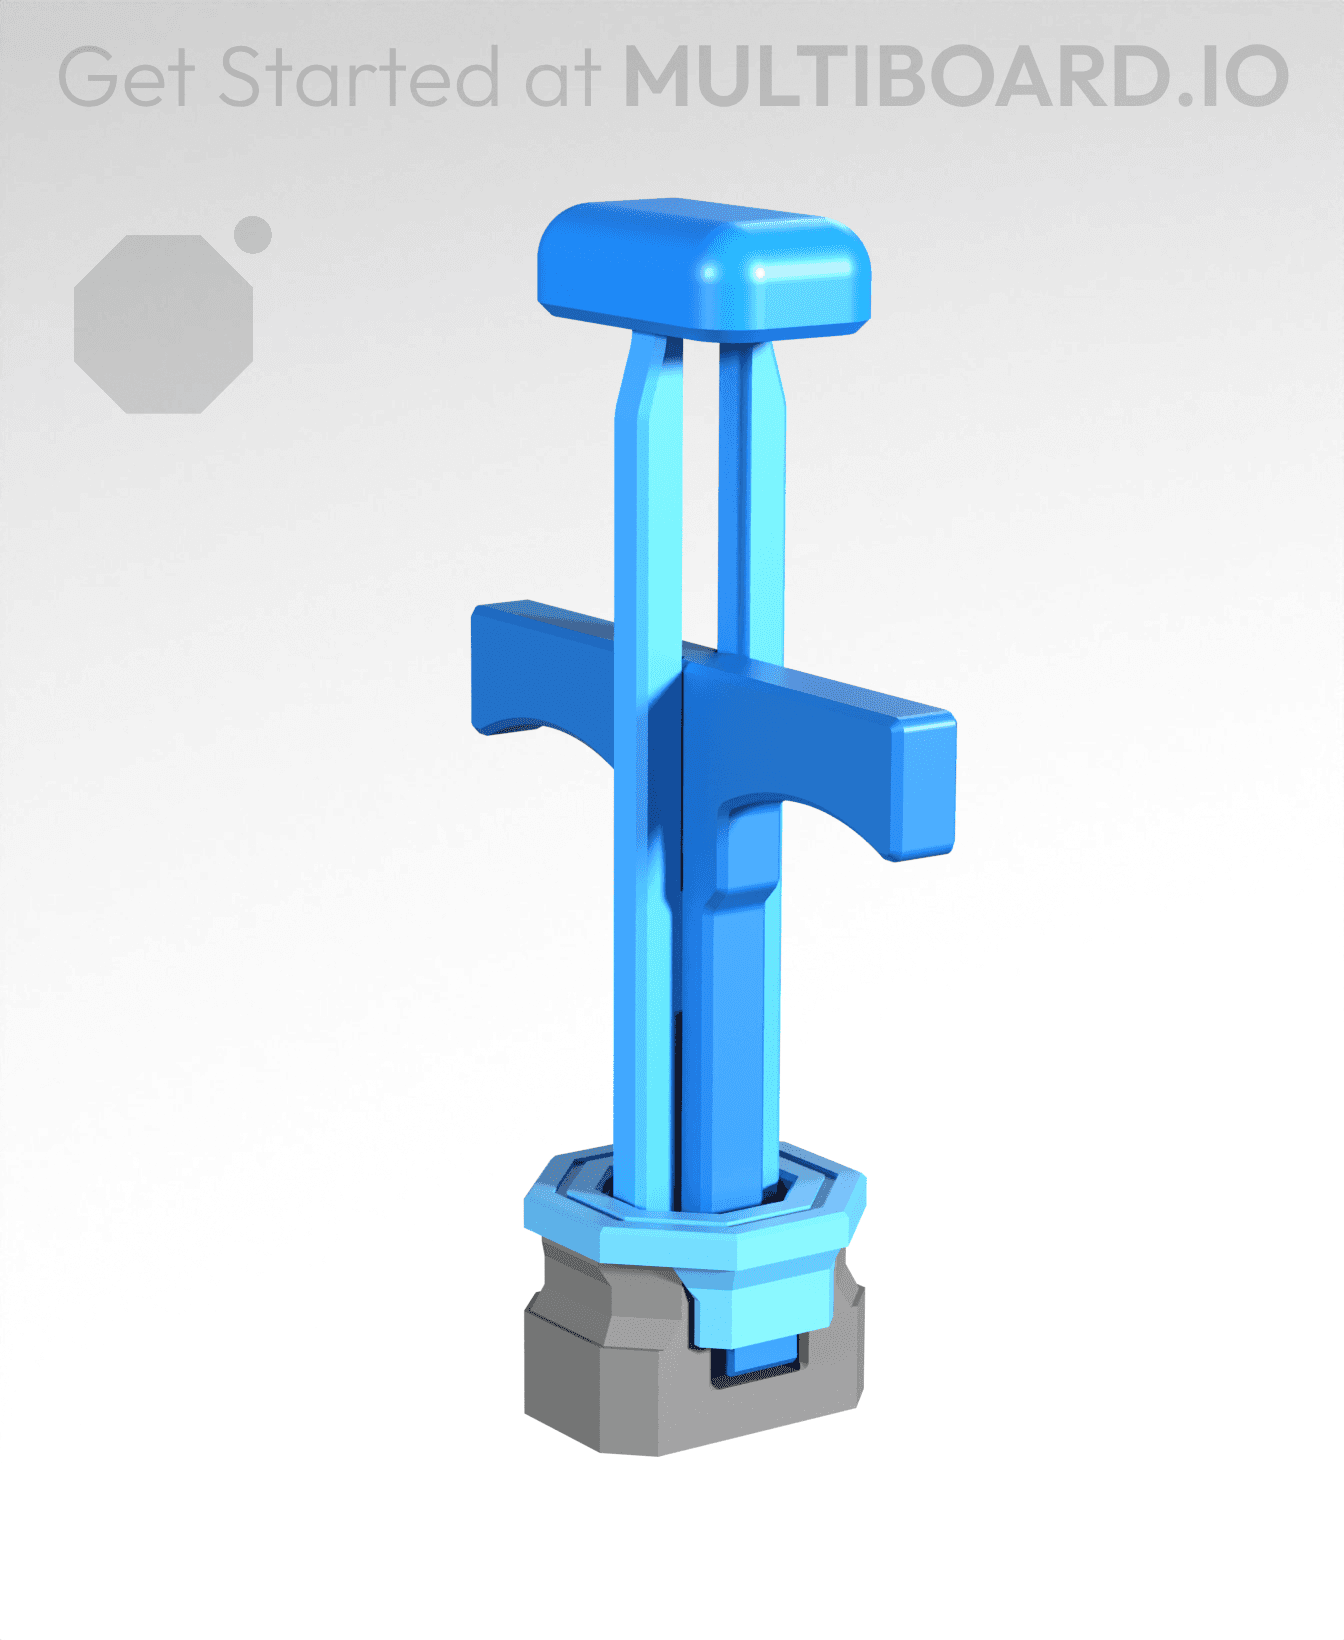
To use it, extend the handle all the way down, pinch the tip, insert it into your Snap, then pull on the handle to remove the snap.

To remove a quad connector (without snapping it), apply incremental pulls on each side of the connector until it loosens enough to be fully removed.

IMPORTANT: This remover only works with the new DS snaps, not the old ones.

Learn more about this part at https://multiboard.io/knowledge-hub

Printing Guidelines:

Use 5 wall perimeters for maximum strength.

Apart from that, the recommended settings apply: The printing orientation is as provided in the file. Printed at a layout height of 0.2 mm. It doesn't need printing supports. Use the default 15% infill. This part has been designed with a tolerance of 0.25 mm. Your printer will need to be able to bridge gaps of up to 30 mm for some designs.

This object is part of Multiboard, a FREE "all in one" organization system with 700+ parts, that combines pegboard holes, honeycomb snaps, Gridfinity like bins, threads, brakes, and much more.

Explore and build the coolest, most adaptable workshop at https://multiboard.io


594 Likes6.5K DownloadsJanuary 16, 2024


This model is restricted by licensing terms. 
594 Likes6.5K DownloadsJanuary 16, 2024
This model is restricted by licensing terms.