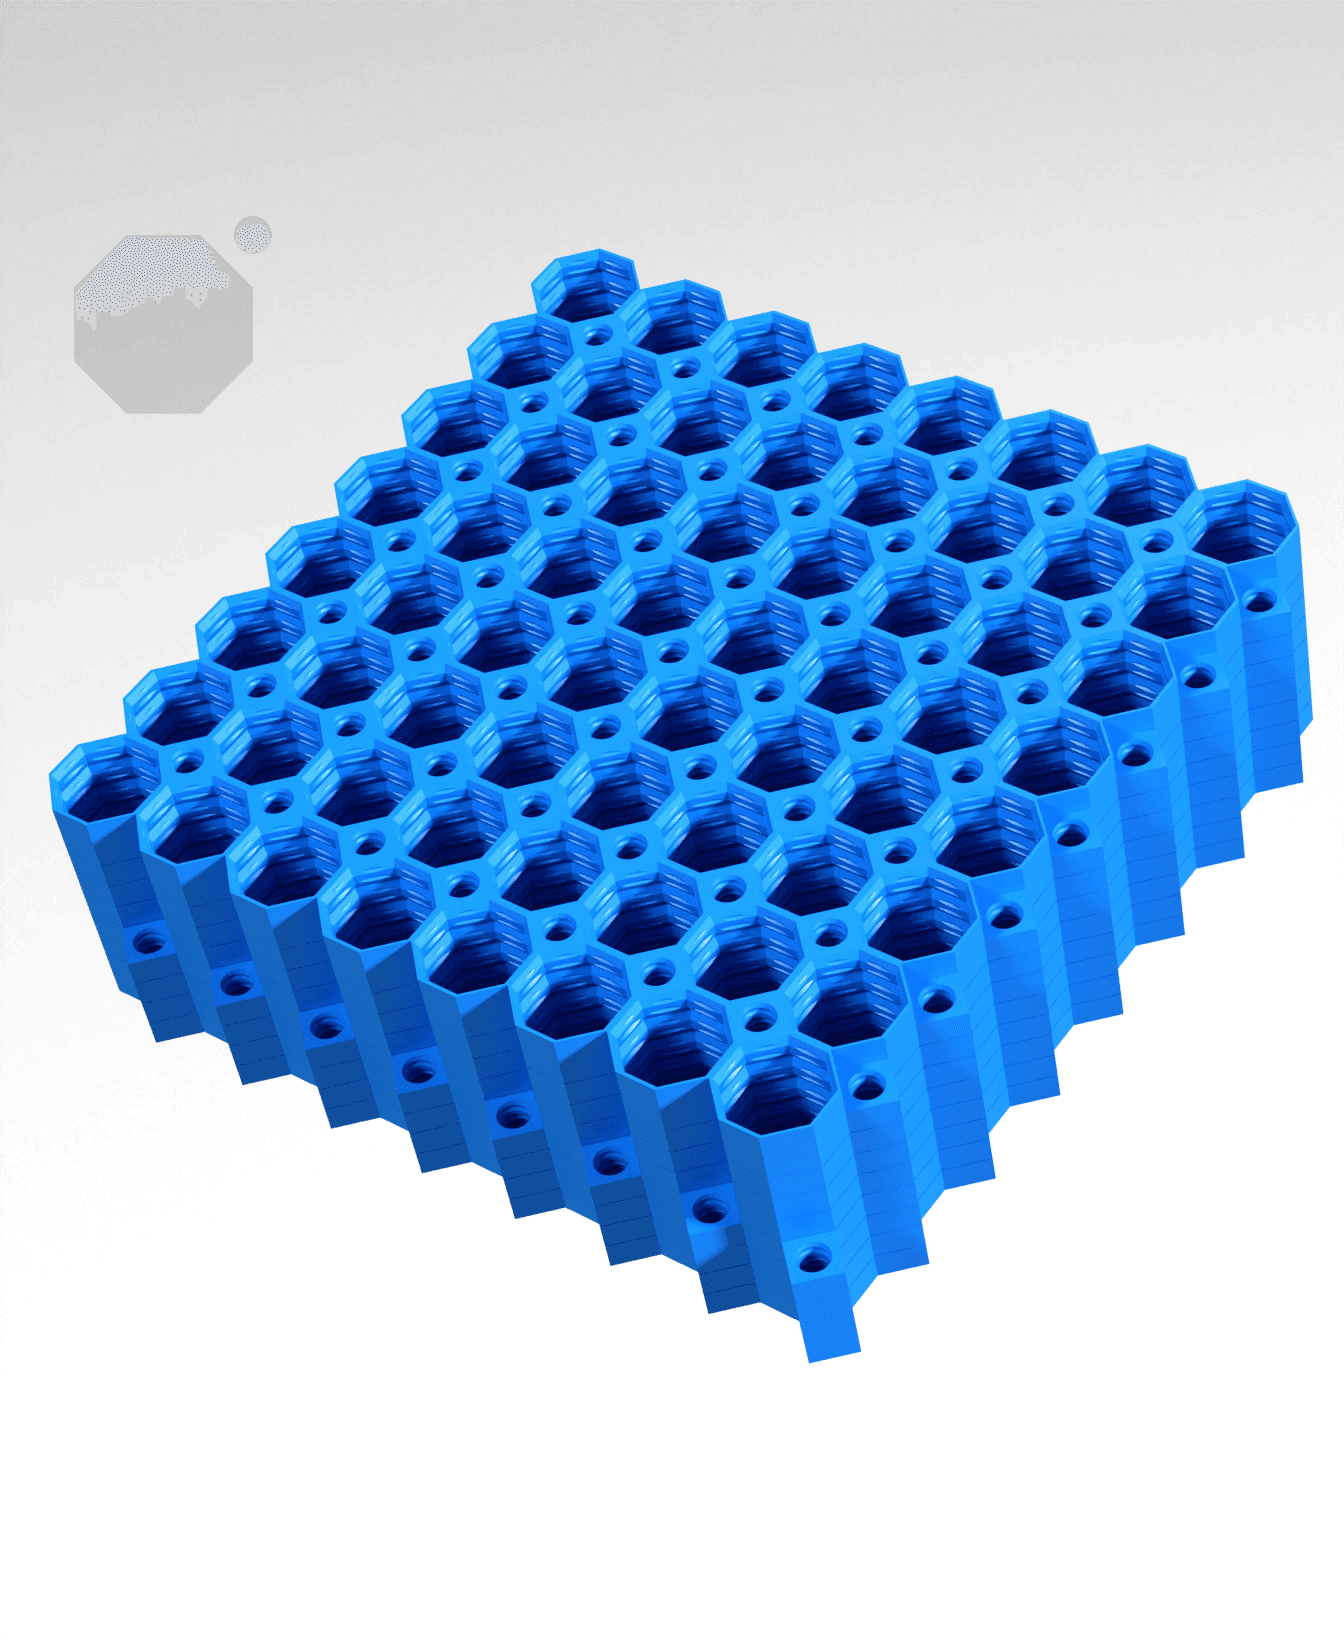
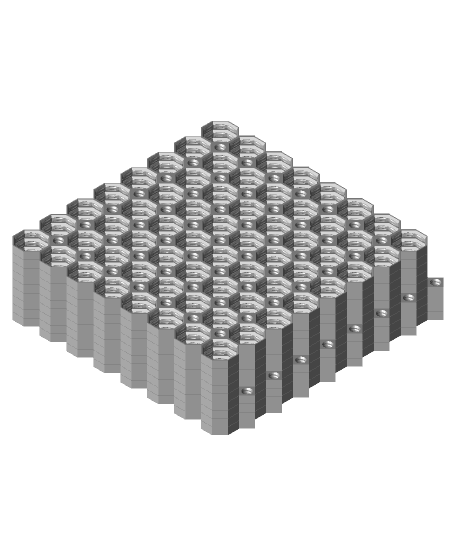
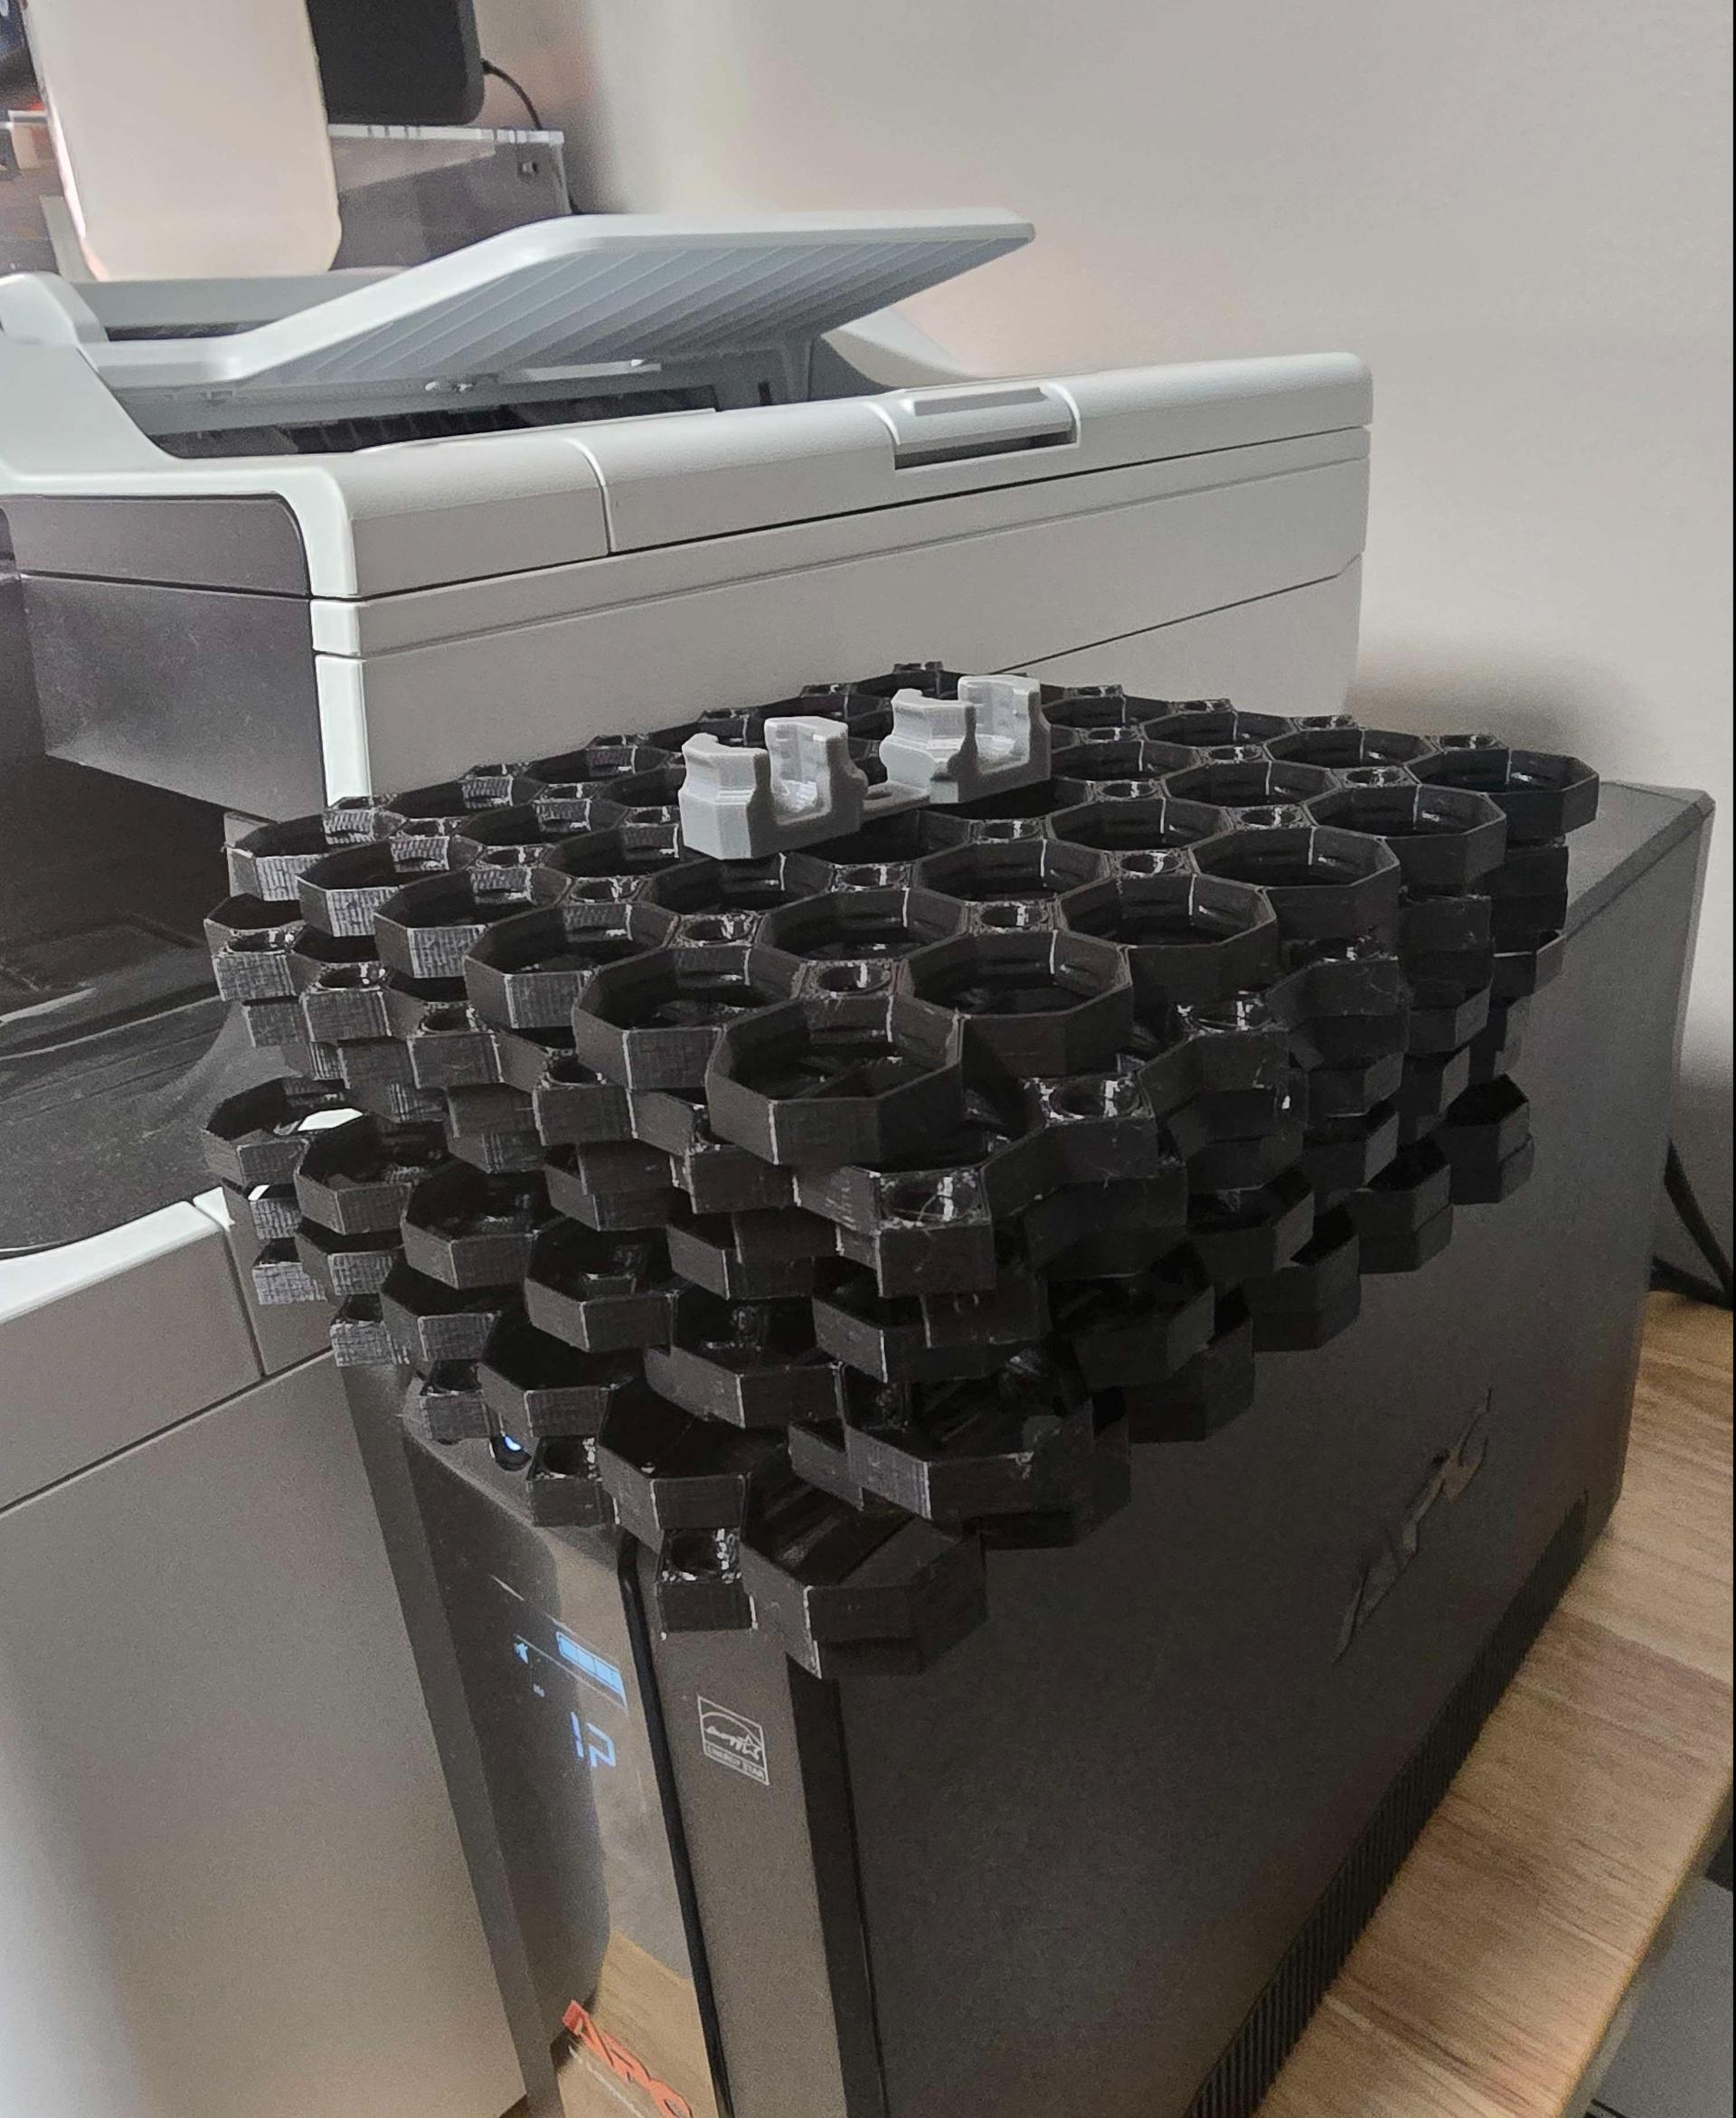
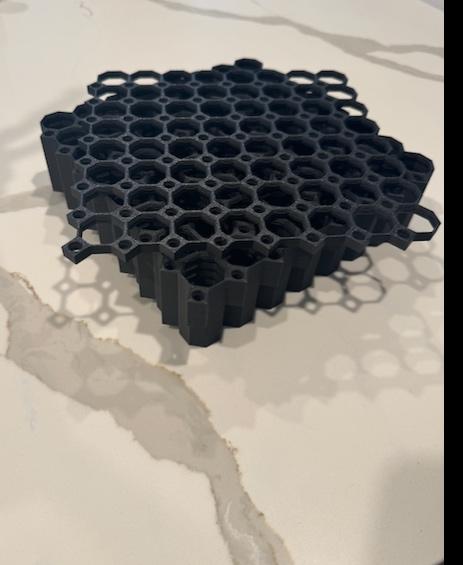
This is a “Starter Stack”, so it stack prints four core tiles, four side tiles, and one corner tile.
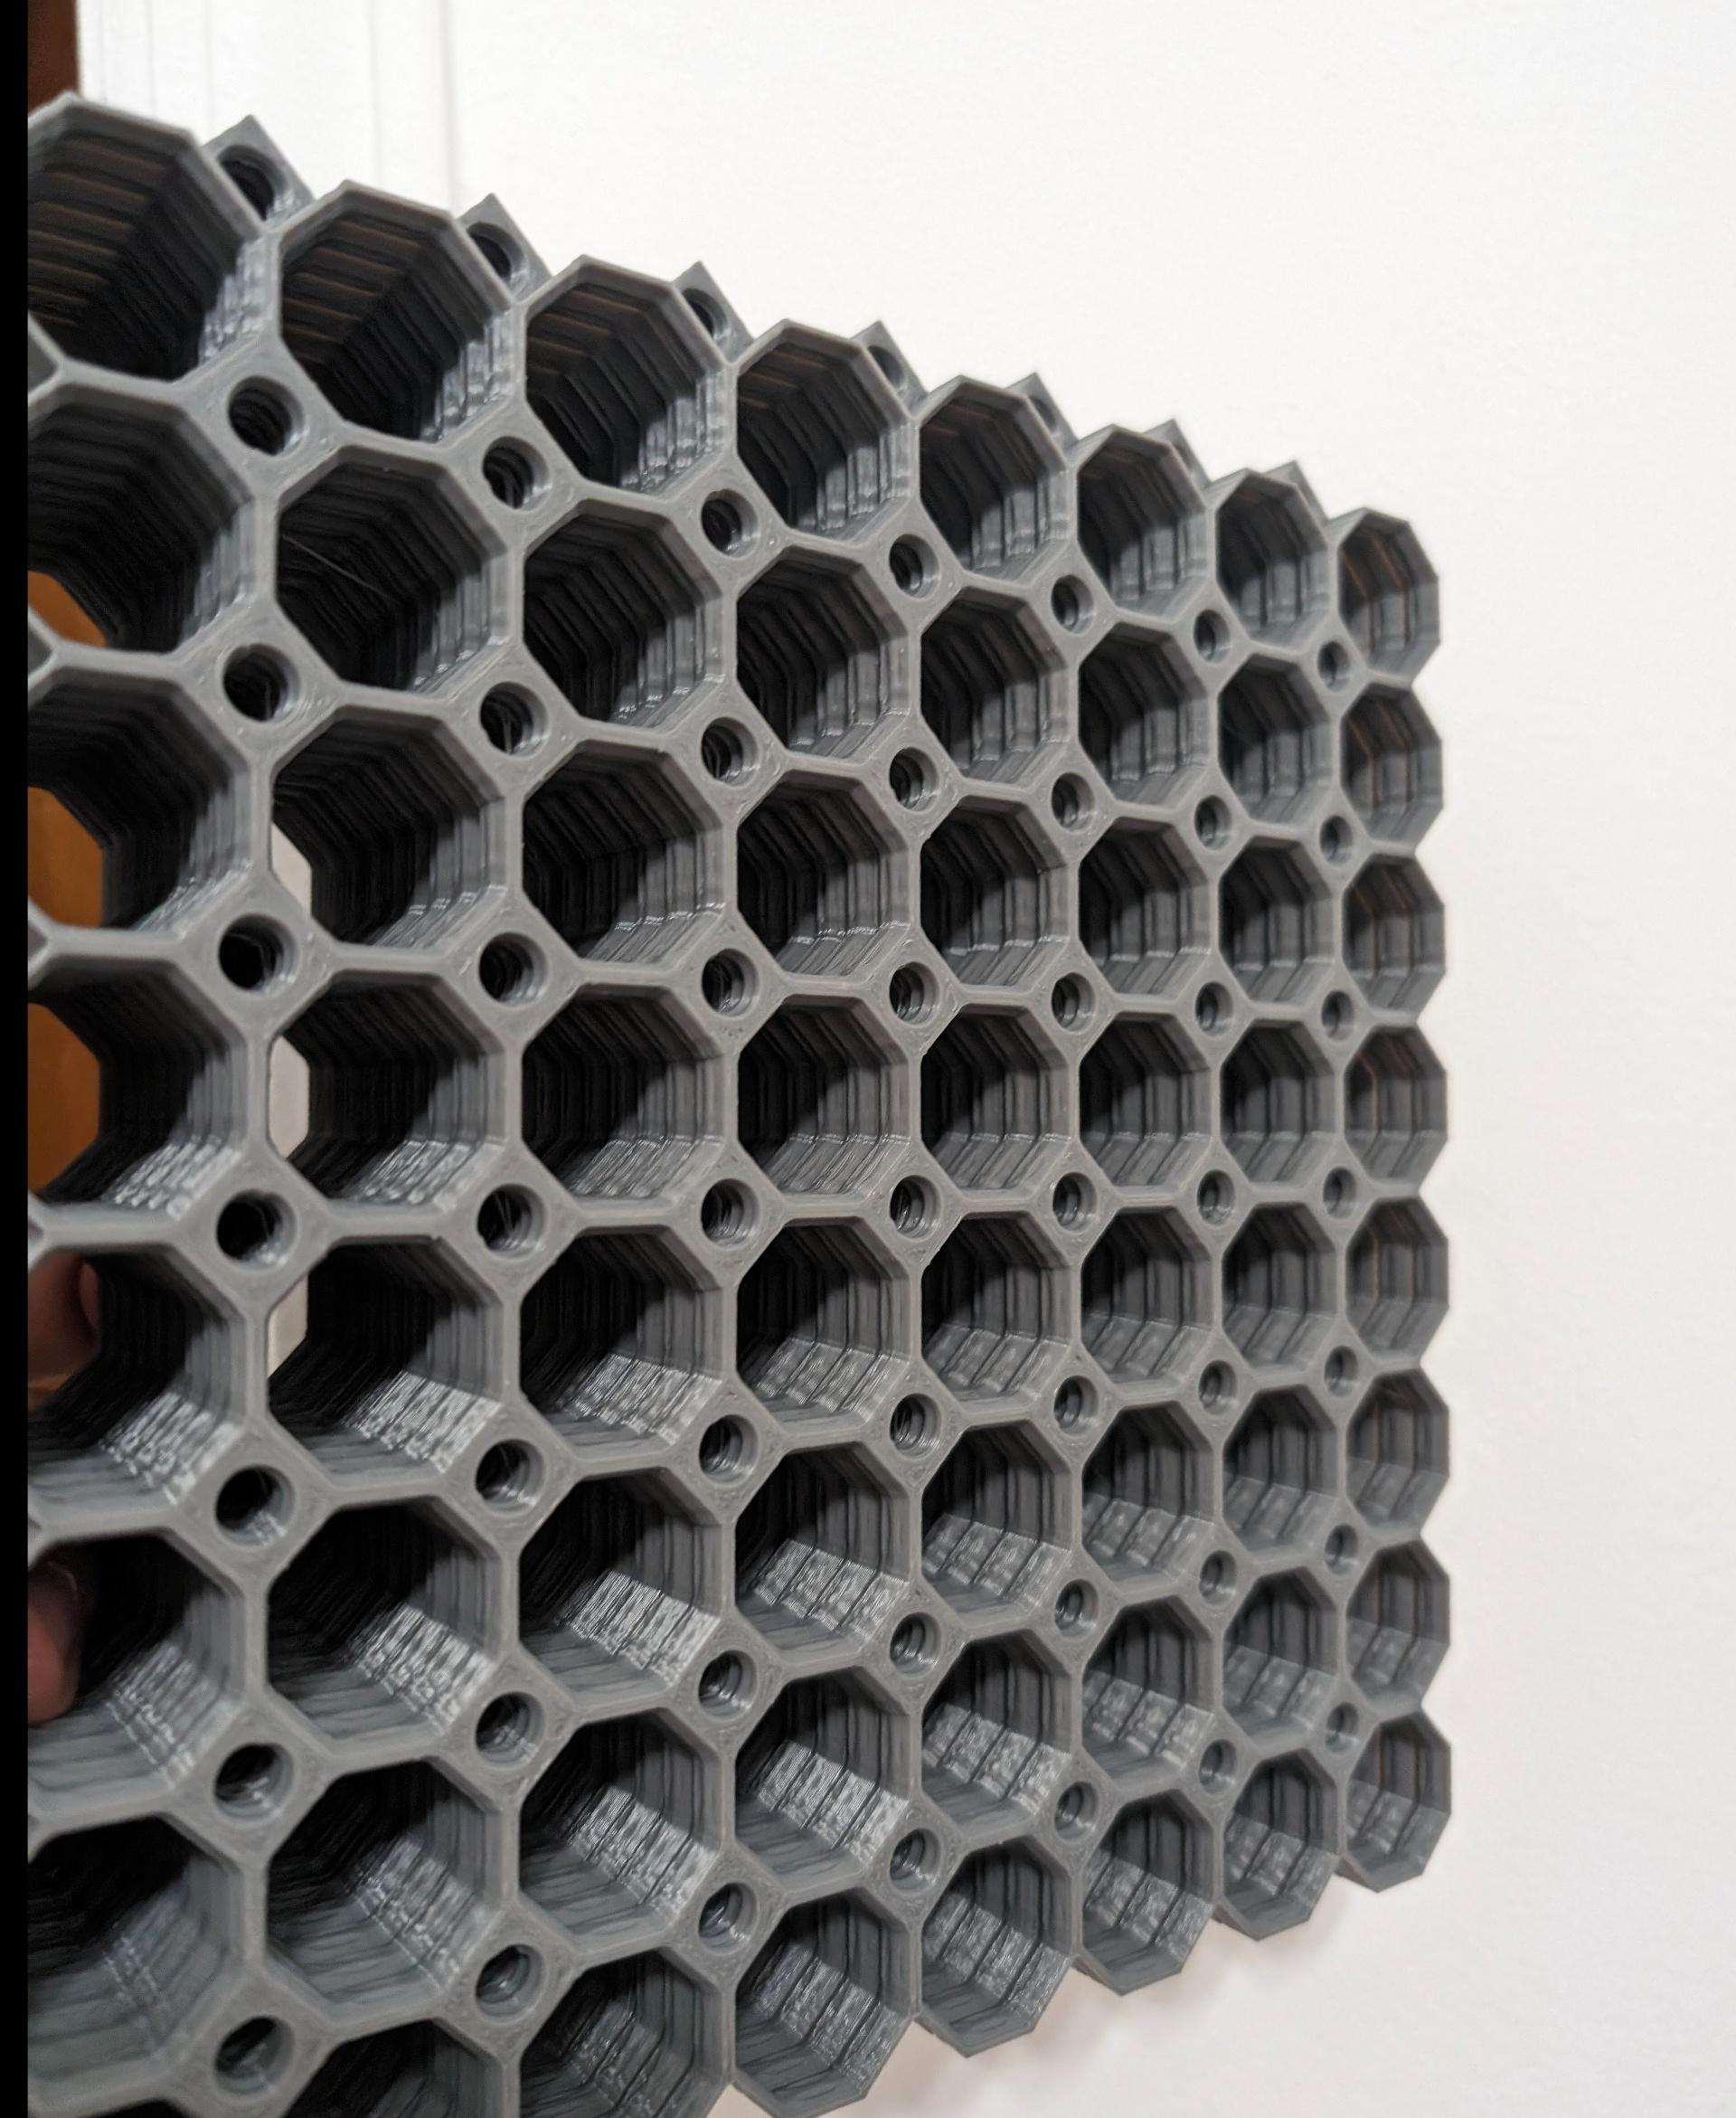
The Multiboard Tiles form the base of Multiboard, allowing you to screw in Threads, insert Snaps and use the Pegboard holes.
The Tiles have two types of holes: Multiholes and Pegboard Holes.
The Multiholes (big holes) are 25 mm apart and allow you to insert “Snap” pieces, in a similar way to the “Honeycomb Storage Wall'' system. The Multihole is also a threaded hole, allowing you to screw in Big Thread Bolts.
The Pegboard Holes (small holes) are 25 mm apart and allow you to use hundreds of pegboard accessories with the tiles. The Pegboard Holes are also threaded, allowing you to screw in Small Thread Bolts.
Tiles are also symmetrical on both sides.
Learn more about this part at https://multiboard.io/knowledge-hub
Printing Guidelines:
Video tutorial on how to print stacks: https://www.youtube.com/watch?v=xs2urfM0MRM
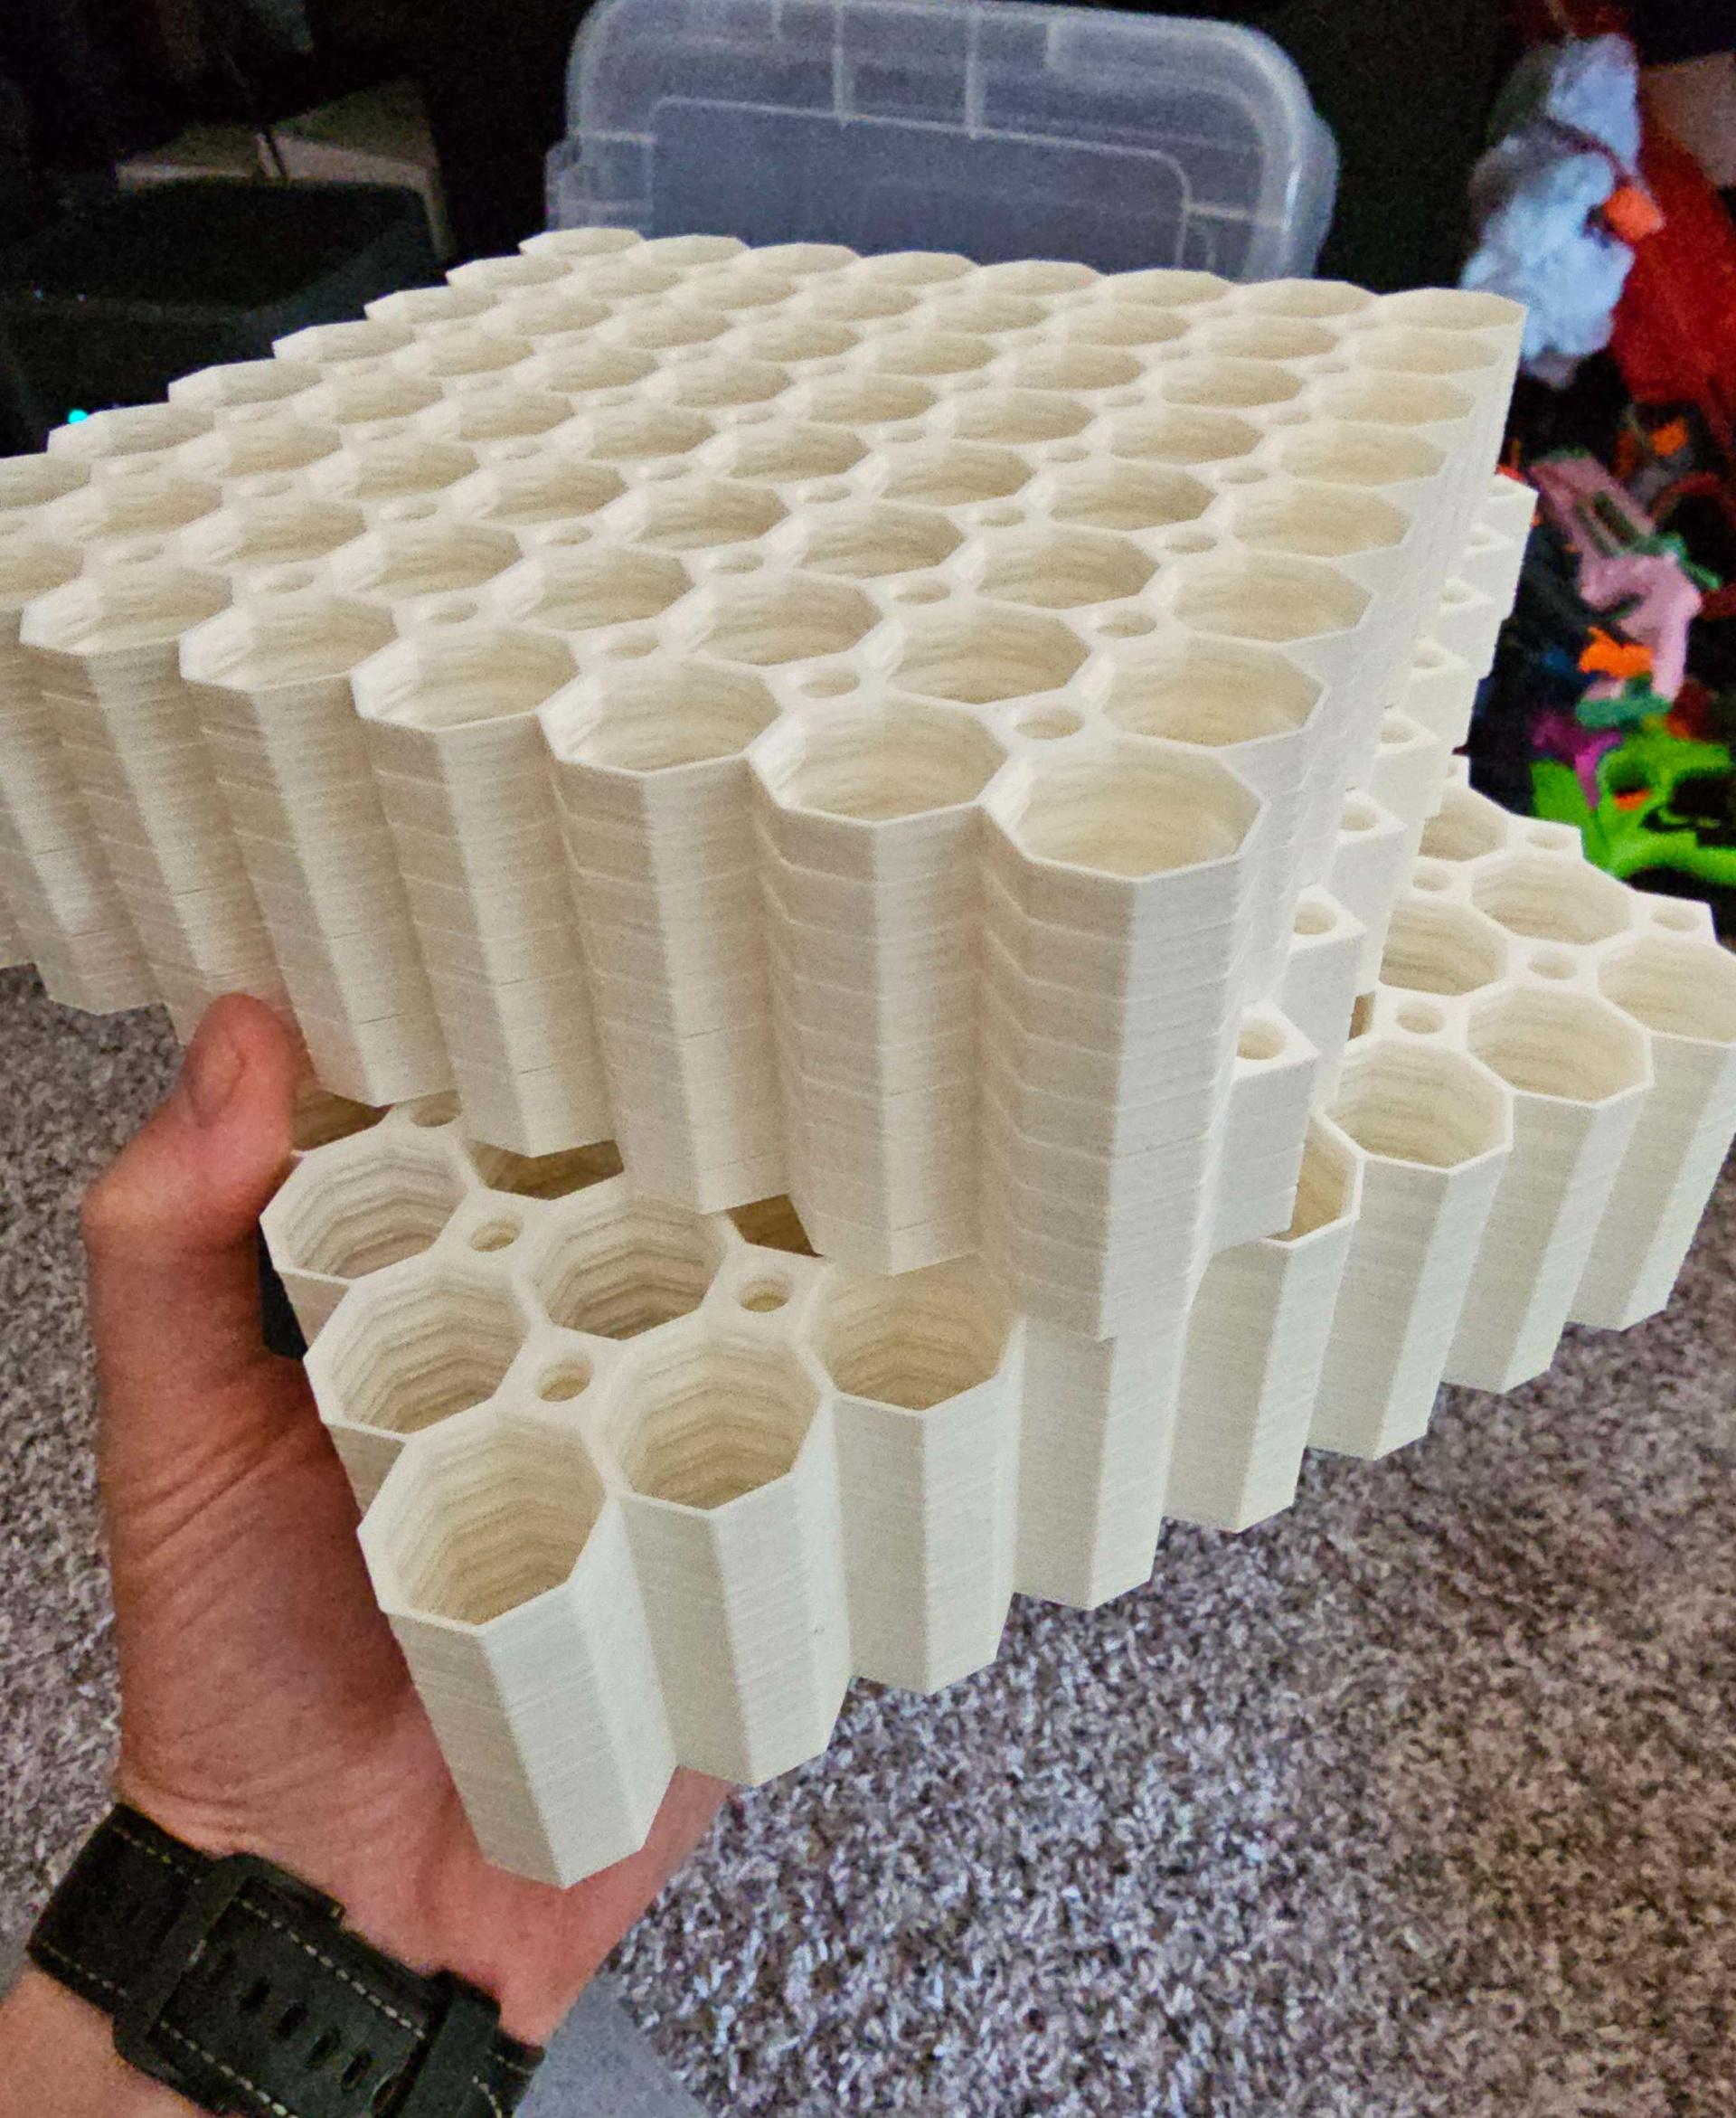
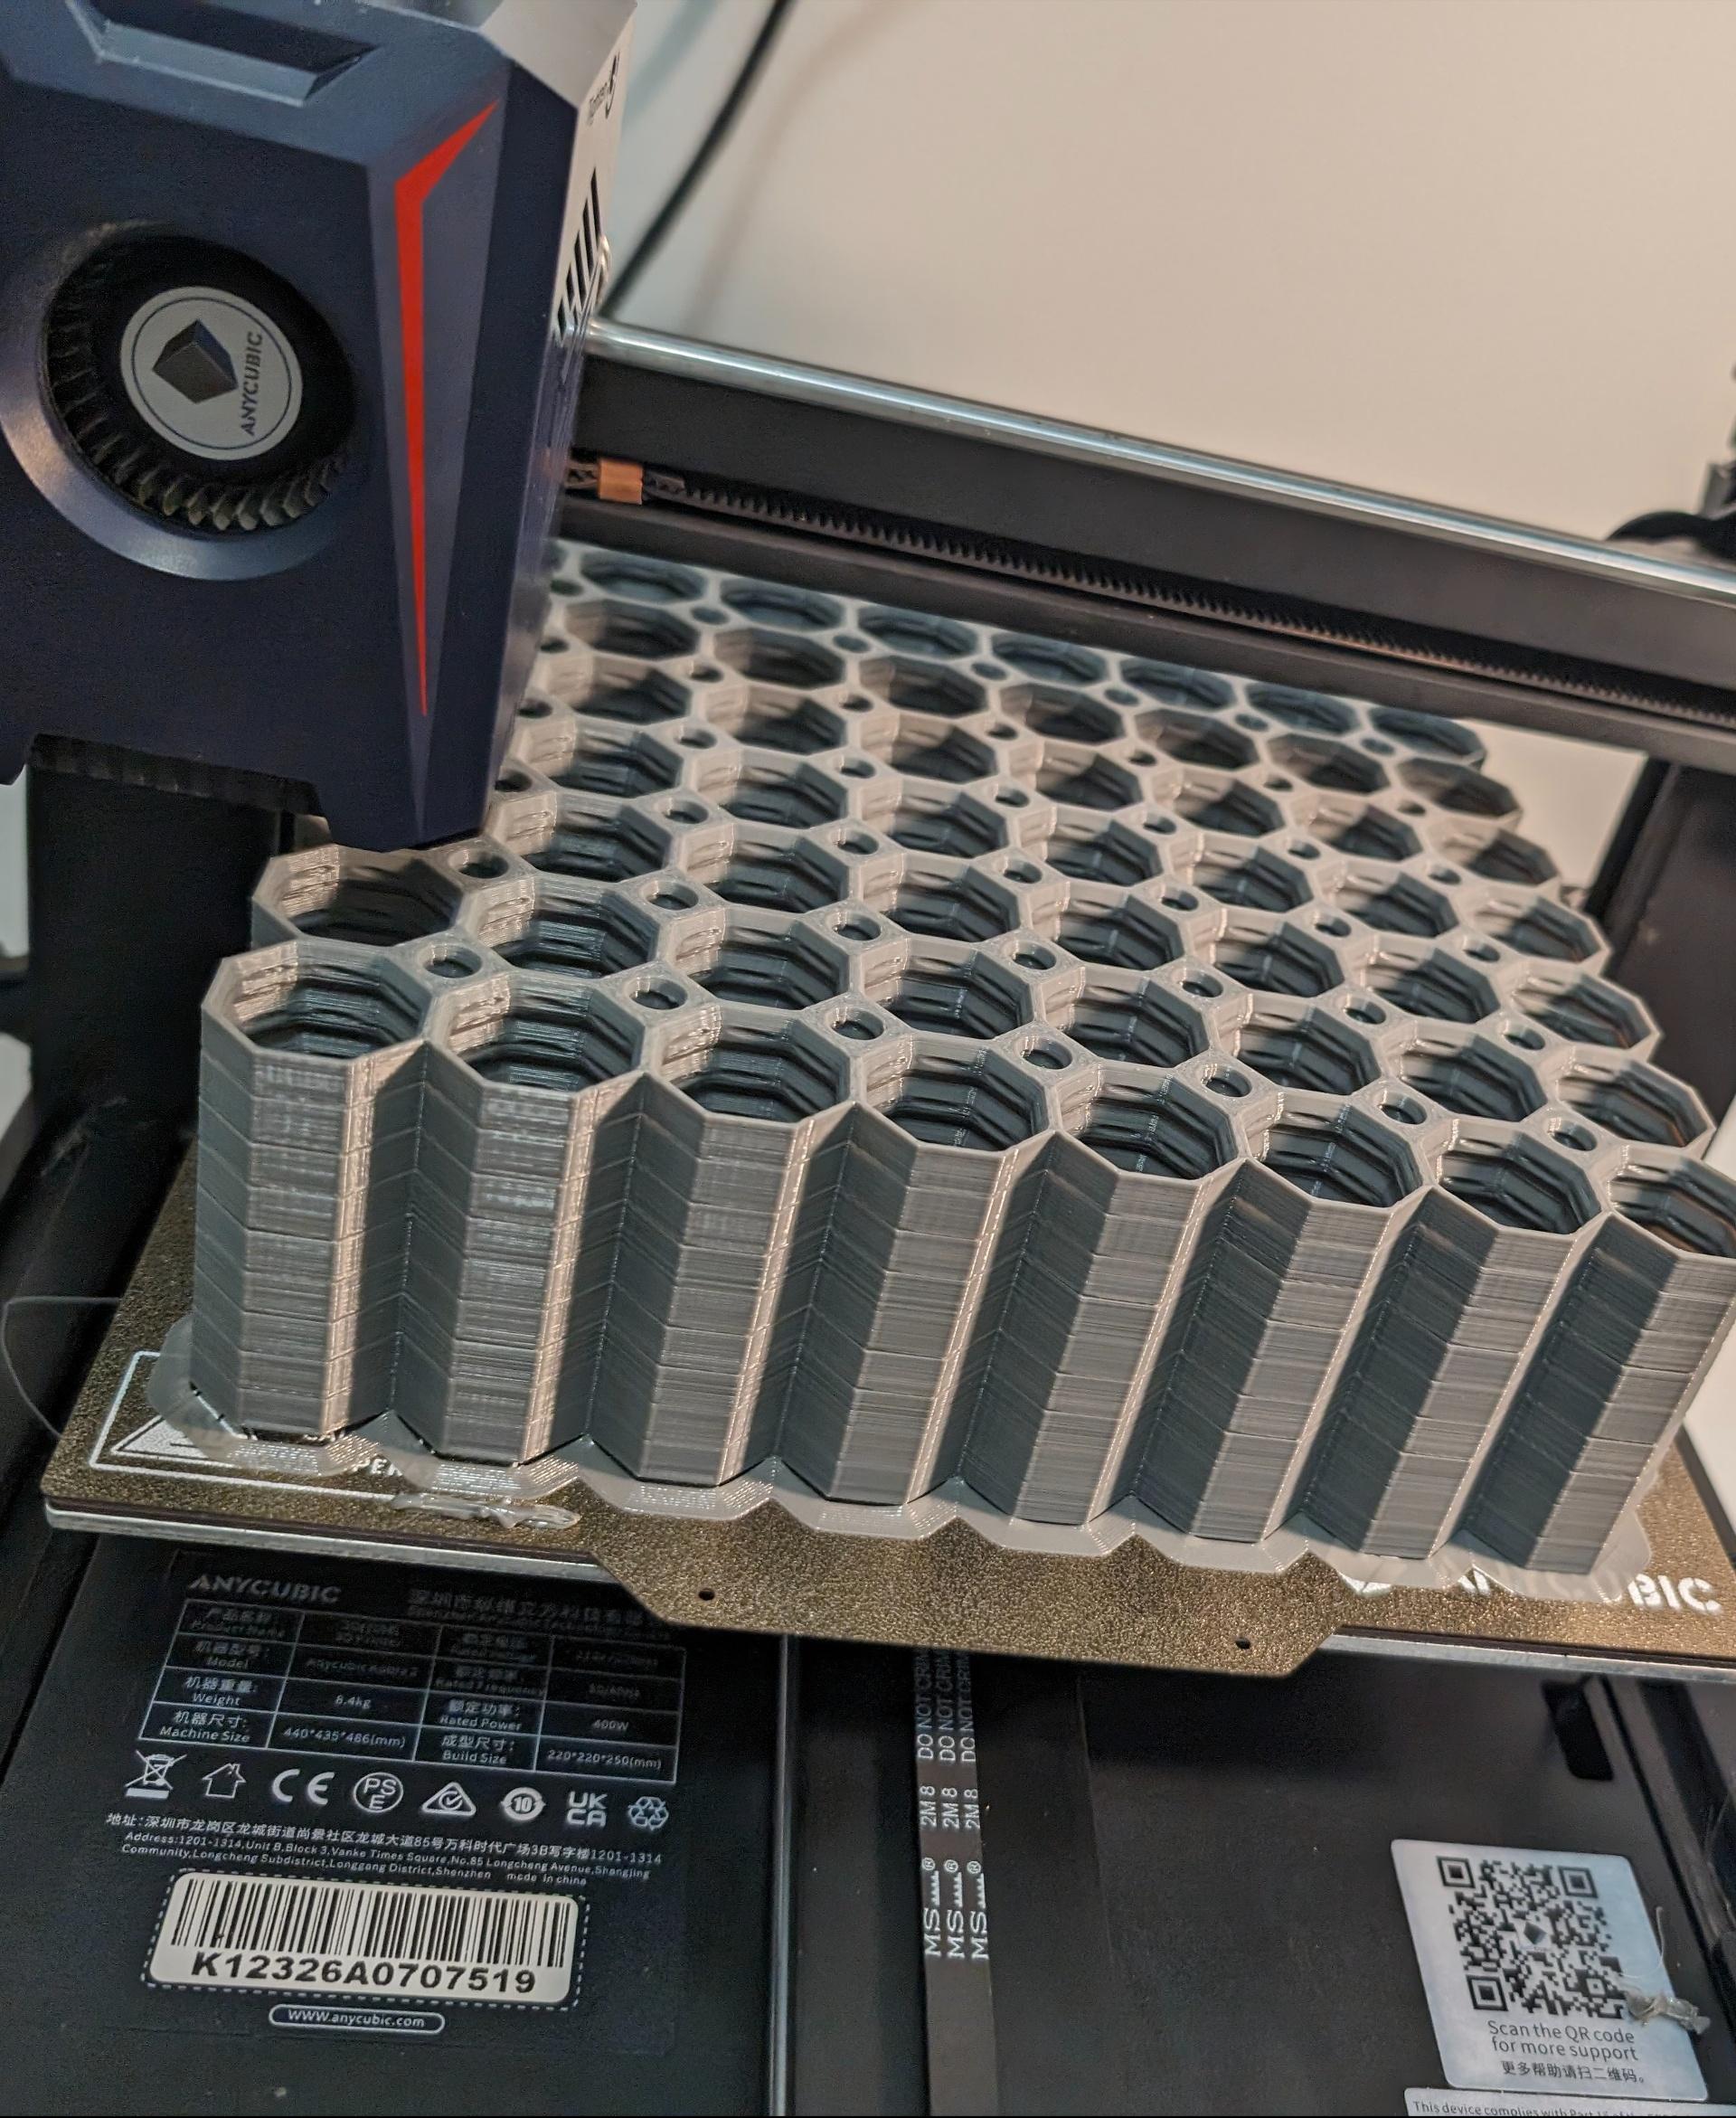
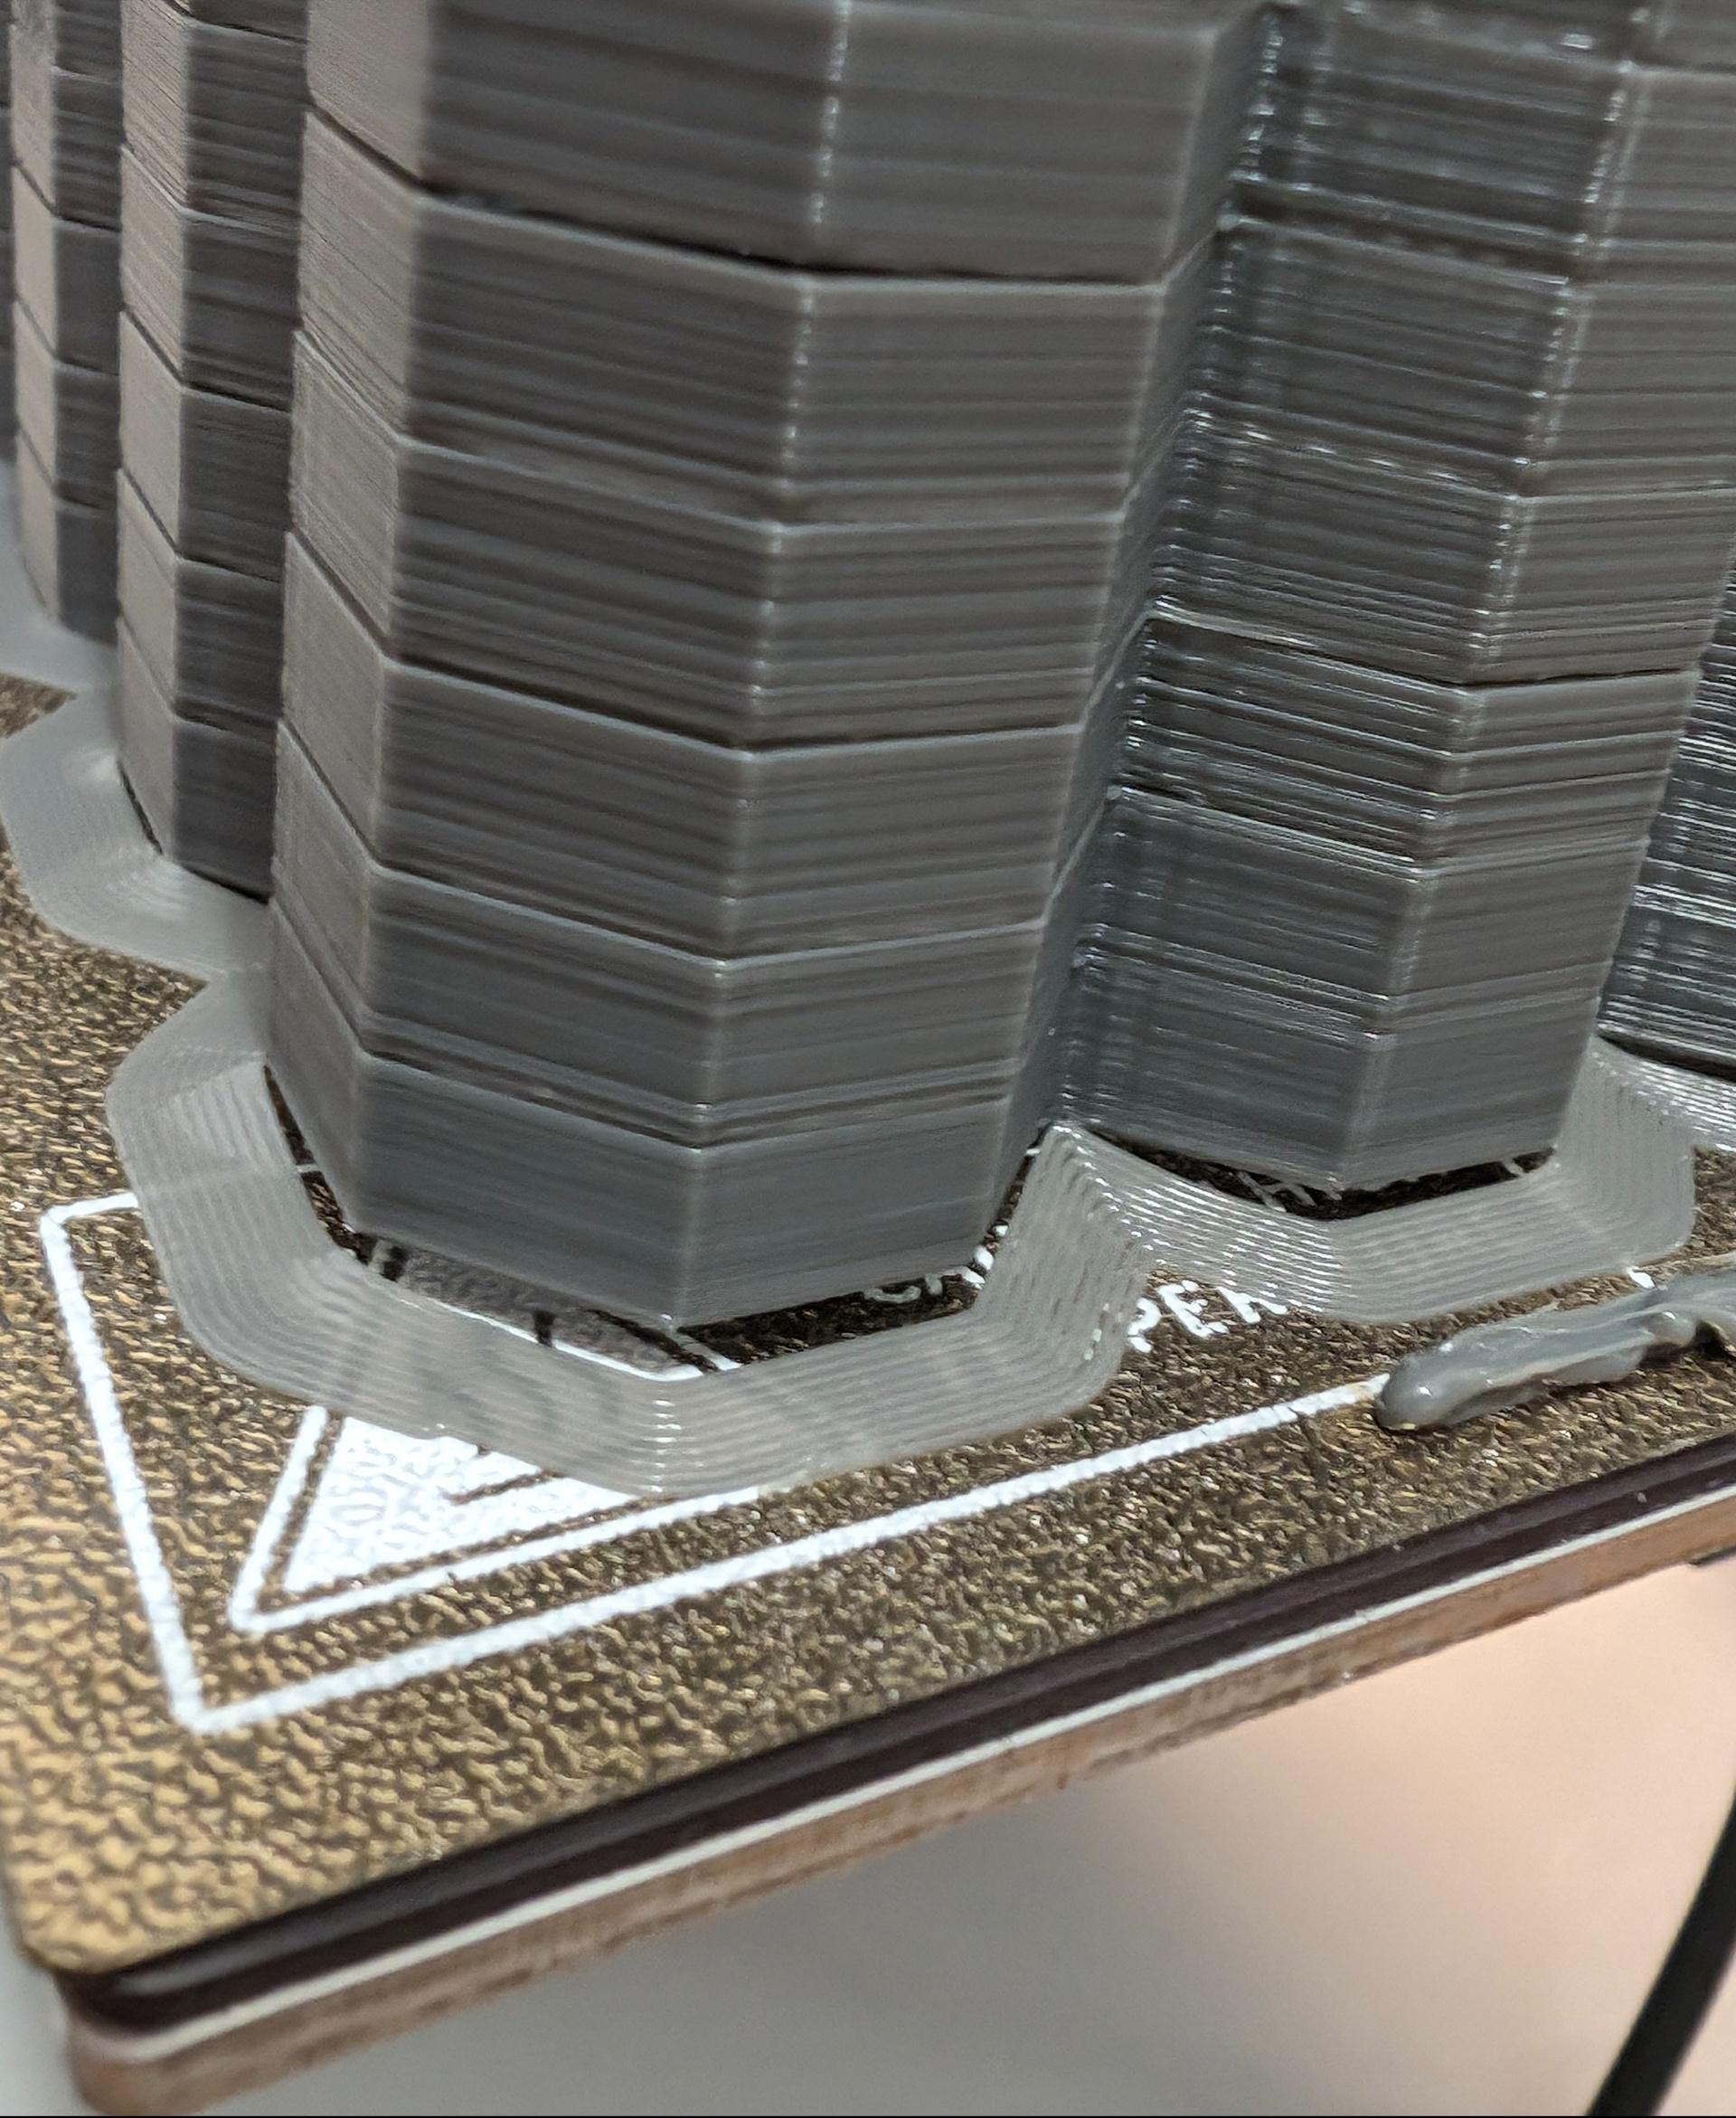
This stack print has been designed specifically for 0.2 mm layer heights. They have a 0.2 mm gap between each print. Make sure that all top surfaces get ironed. As a bonus, set the seam alignment to random for maximum strength.
Apart form that, use the default recommended settings: 3 wall perimeters in wall thickness. 15% infill. No supports are needed. The printing orientation is as provided in the file.
Also, keep in mind that one side of the tiles aren’t going to come out as nice as printing individually (in case you want to use them double-sided).
—
This object is part of Multiboard, a FREE "all in one" organization system with 700+ parts, that combines pegboard holes, honeycomb snaps, Gridfinity like bins, threads, brakes, and much more.
Explore and build the coolest, most adaptable workshop at https://multiboard.io