


These vintage-style ornaments are designed for spiralized printing to maximize translucency and minimize material and print time. Download includes six different mix-and-match styles!
See here for video: https://youtu.be/Y1fUPk6tqWA
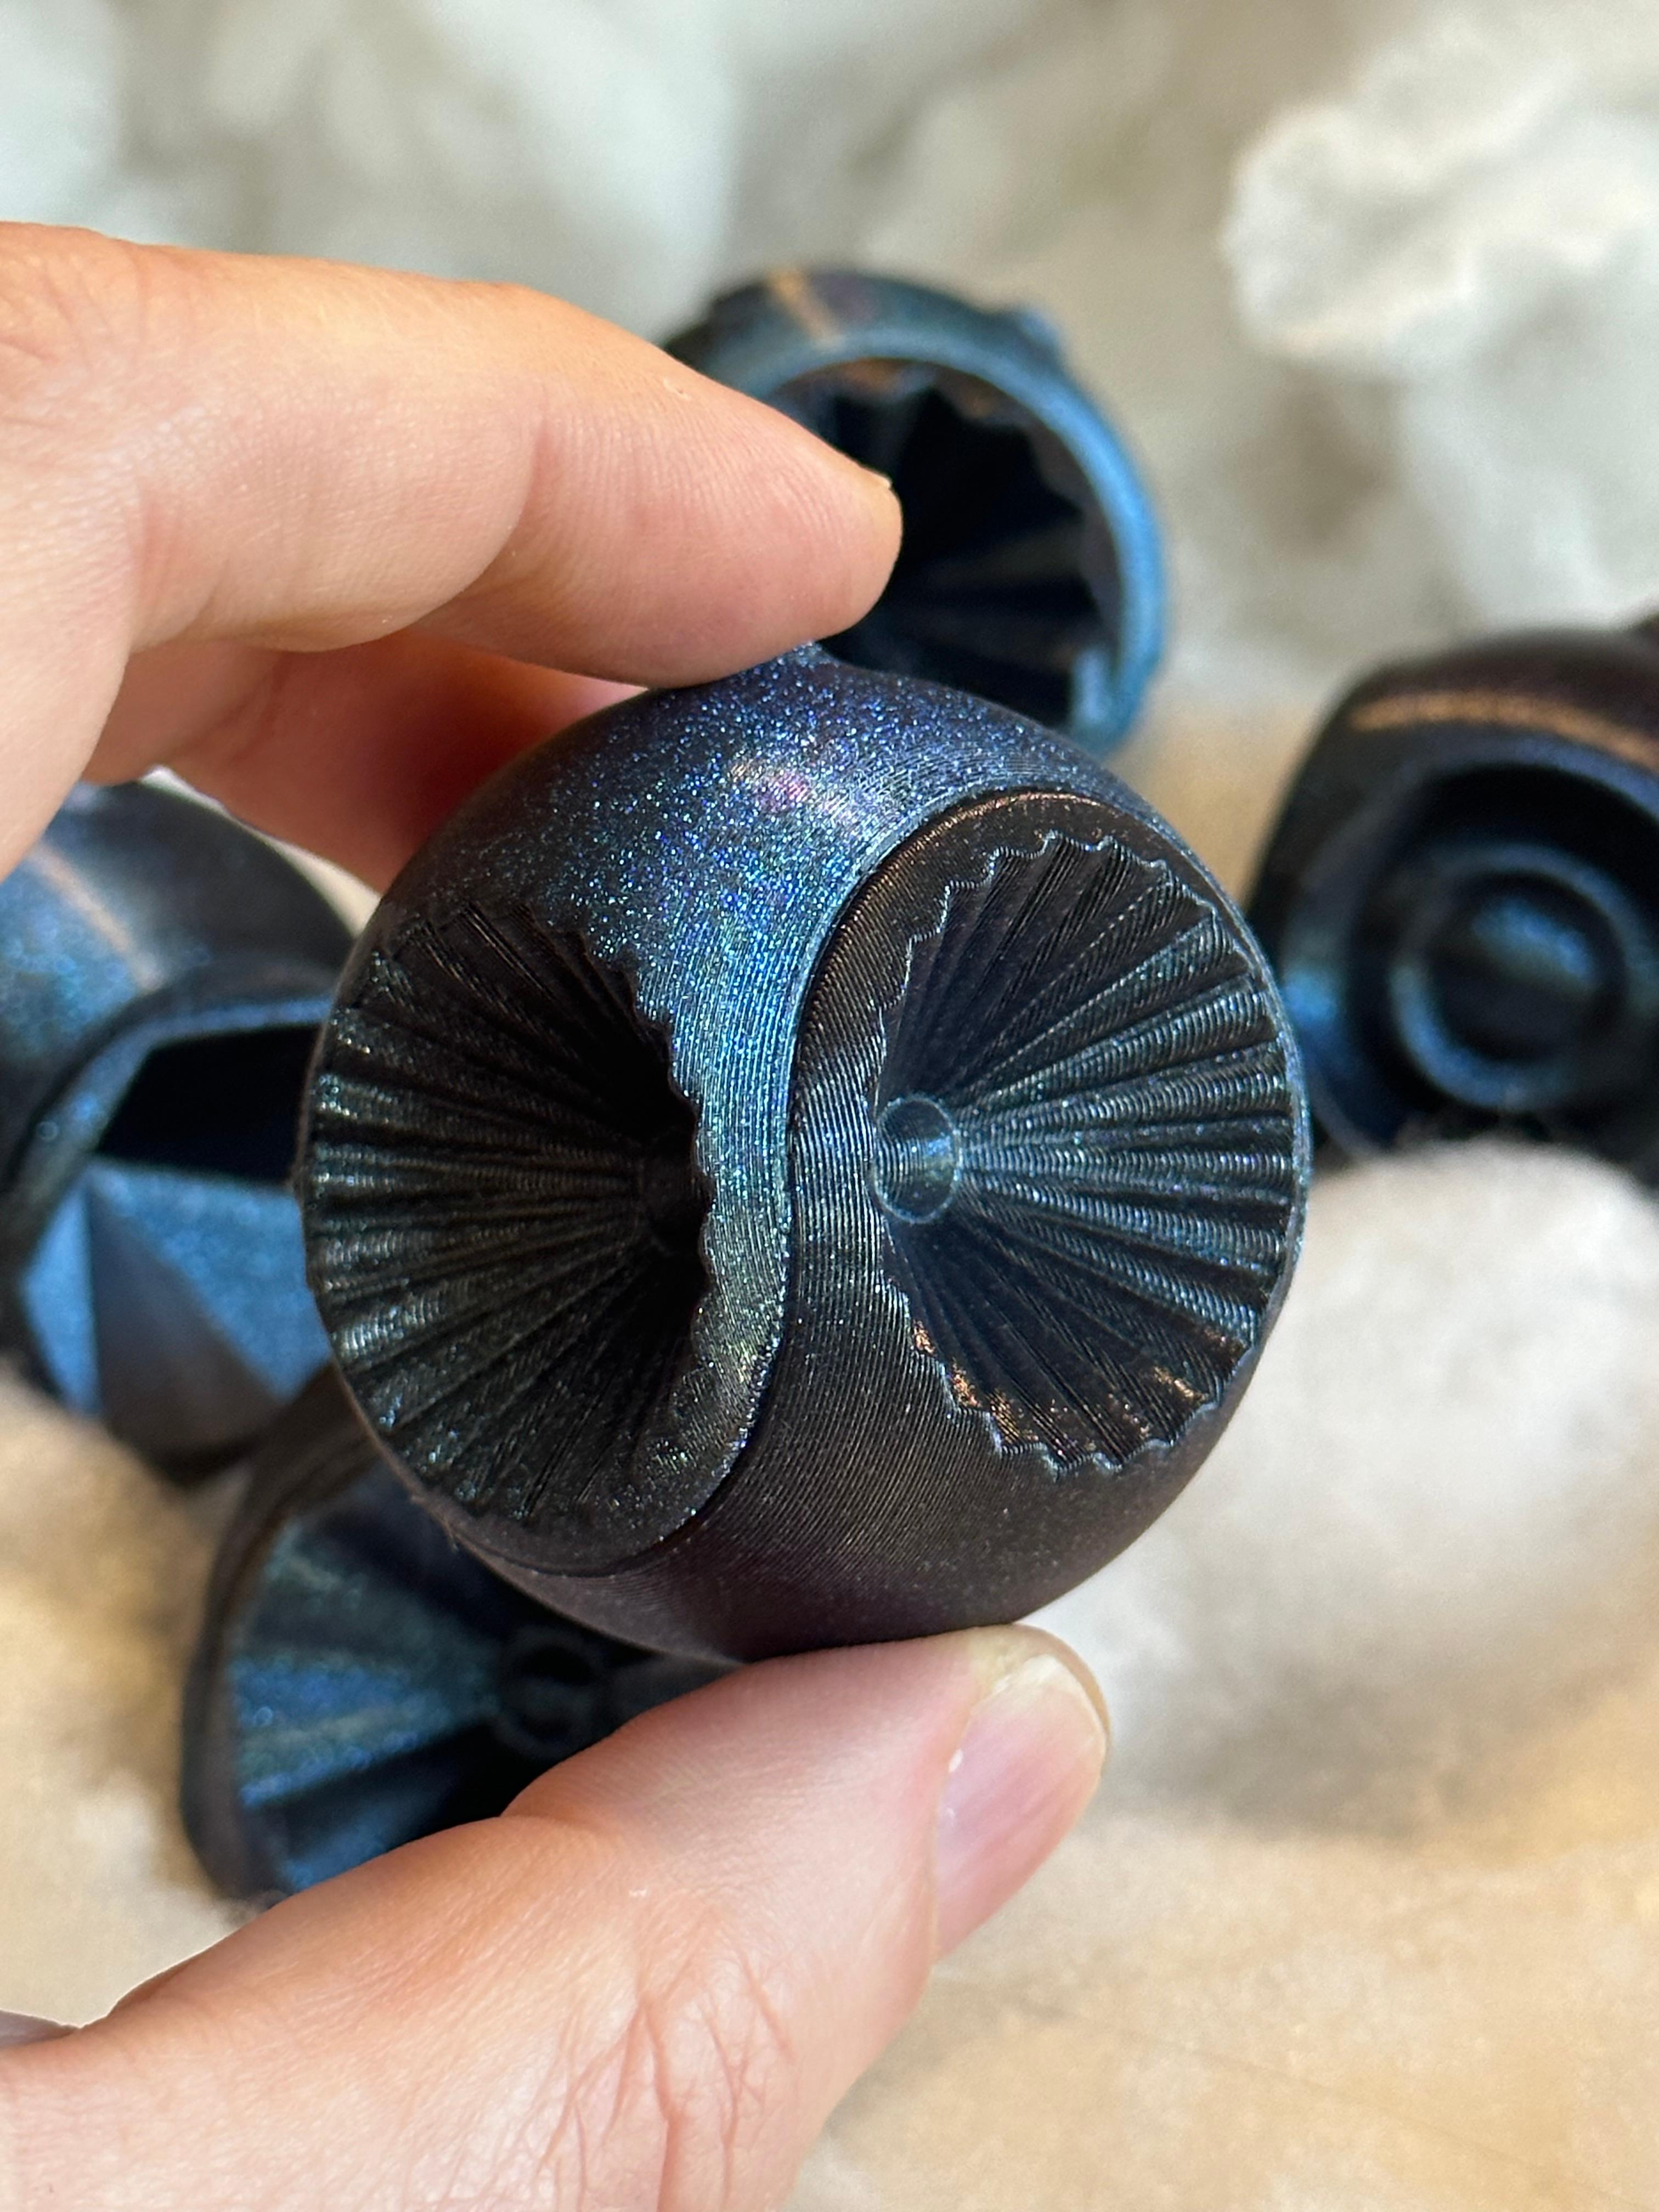
When printed with a 0.4mm nozzle, each ornament requires less than 8g of material. You could print over 125 ornaments with 1kg of filament! A great way to get the most out of your specialty (expensive!) filaments.
For each ornament, you will need to print out a “top” and “Bottom” file. Be sure to use “spiralized” or “vase” mode! You will need to open up the hole in the top by trimming the inside protrusion with a pair of clippers. See video for demo.
Here are some recommendations for spiralized printing:
- Use thick layer heights, 0.2mm or greater
- Set your “Bottom Layer” to 1
- Try using a skirt for bed adhesion, but if that is not working then try a brim. You will just have to remove the brim afterwards
- If you get funny stringing on the top layer, try moving the z-seam alignment around
AI generated description:
Discover the distinct beauty of vintage-style, 3D printed ornaments at Thangs.com. Expertly designed by DaveMakesStuff, these ornaments are suitable for spiralized printing, ensuring maximum transparency while minimizing material usage and printing time. The downloadable files include six different mix-and-match styles, perfect for adding a unique touch to your festive celebrations or home décor.
These 3D model ornaments are not only aesthetically pleasing but also practical. When using a 0.4mm nozzle for printing, each ornament requires less than 8g of material. This means one could yield over 125 ornaments from just 1kg of filament, thereby maximizing the efficiency of your specialty or expensive filaments.
The package consists of a top and bottom file for each ornament. Printing in 'spiralized' or 'vase' mode is recommended. Once printed, based on user observations, it might be necessary to enlarge the hole at the top by clipping the protruding inside gently with a pair of clippers. Also remember to use thick layer heights of 0.2mm or more for best results.
For extra stability, consider using a skirt for bed adhesion. If you're running into any issues, switch to a brim, which can then be removed post-print. Users who've noticed stringing on the top layer suggest experimenting with z-seam alignment.
Experience the charm of vintage ornaments and boost your 3D printing efficiency with these intricate designs. Explore the world of 3D models in the Home & Garden category on Thangs.com today.