
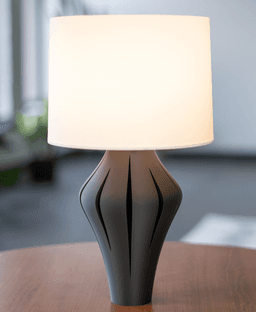

Nora Lamp
UPDATE: The pendant light kits that I typically use are currently not available on Amazon and I can't find them anywhere else besides Alibaba. I'm hoping they'll be back on Amazon soon, but I've added a variation of the lamp base and bottom cap to fit these pendant lights that are available on Amazon. They're actually a lot nicer and also come in black! Think I'll start designing my lamps around these from now on.
The new pendant lights are a little wider than the old ones. The modified files that fit the wider sockets are named Nora Lamp Bottom Cap 2in Socket.stl and Nora Lamp Base 2in Socket.stl.
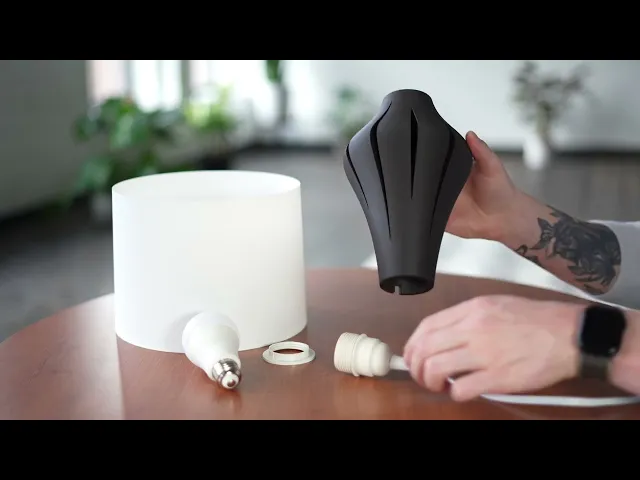
I have a few lamps ready for release at the moment so let's start with this one! The Nora Lamp features a couple improvements over my previous lamps.
Note that you must only use LED bulbs (9 watts max) as traditional bulbs can get pretty hot and could cause damage to the plastic. I like multi color smart bulbs that I can control with my phone, but any standard 9W LED bulb will do.
Bottom Cap I had a lot of requests for a bottom cap to keep the cord in place. It's meant to be a tight fit and snap into place. There's a hole in the middle so you can grab it and pull it out if you need to.
Lamp Shade The shade can be printed with in infill or in vase mode (recommended). The shade you see in the photo/video was printed in vase mode with extra bottom shell layers for the shade supports (not 3D printing supports, but the part that connect the shade to the base).
Tips for printing the shade: If printing the shade in vase mode with a .4 nozzle at .2mm layer height — use 19 bottom shell layers. You can adjust these if you're printing with a different size nozzle or layer height. The extra bottom shell layers forces the shade supports to print with an infill, then start printing in vase mode the rest of the way up. This takes about 1hr 43m to print.
If printing using an infill, I'd recommend adding a height modifier that's the height of the shade supports, and using a grid infill for that part. Then use a concentric infill for the rest of the shade. This takes around 3.5 hours and definitely doesn't come out as clean as vase mode, so not recommended, but it's an option!
Supports Supports are needed for the lamp base. There's a lip inside the top hole to keep the socket from going all the way through. Supports aren't necessarily required for the cord hole on the bottom, but I used them anyway since it didn't add much time and the results were super clean.
Scaling I wouldn't recommend scaling this one since it perfectly fits the pendant light socket.
Orientation All three parts should be oriented upright, how you'd expect them to be.
Lamp Base Print Settings .2mm layer height 15% grid infill 2 walls
Filament & Hardware Filament I used for this print: Overture Matte Black PLA
Filament and non 3D printed items for this model can be found on my Amazon Storefront, linked here: https://linktr.ee/loftedgoods


Charles Planter

Poppy Valet

MCM Vase

Connected Planter

Invader Pendant Lamp by MODERN MACHINE
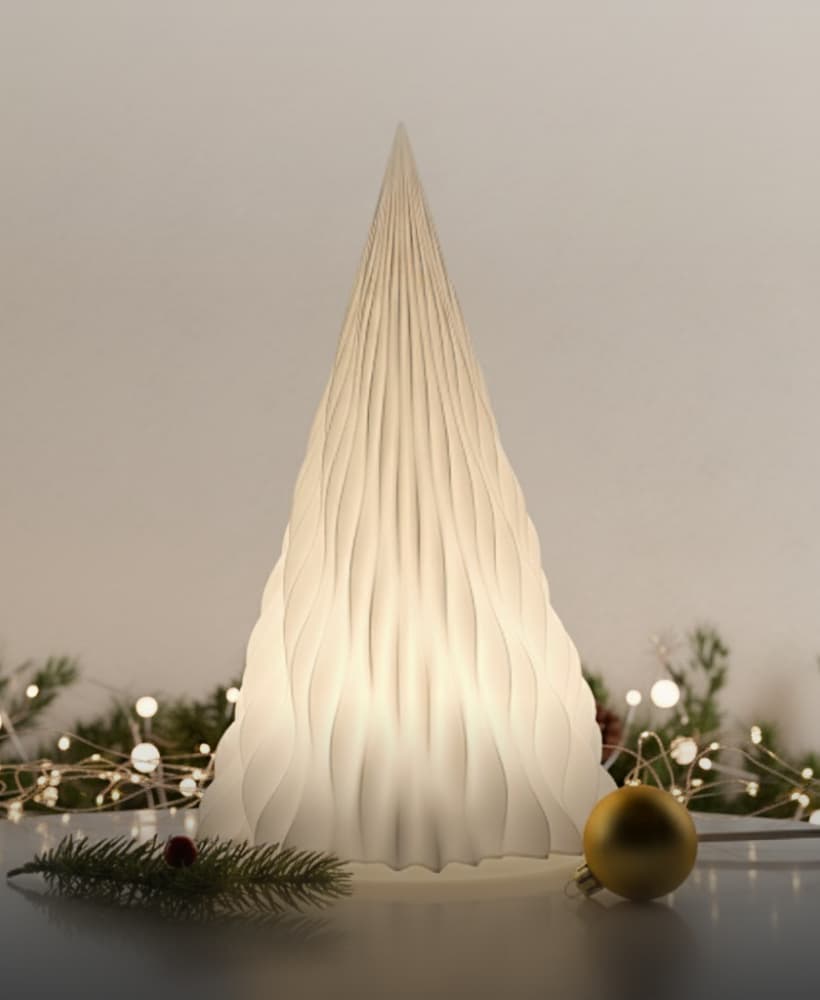
Christmas Tree (LED Lamp or Decoration)

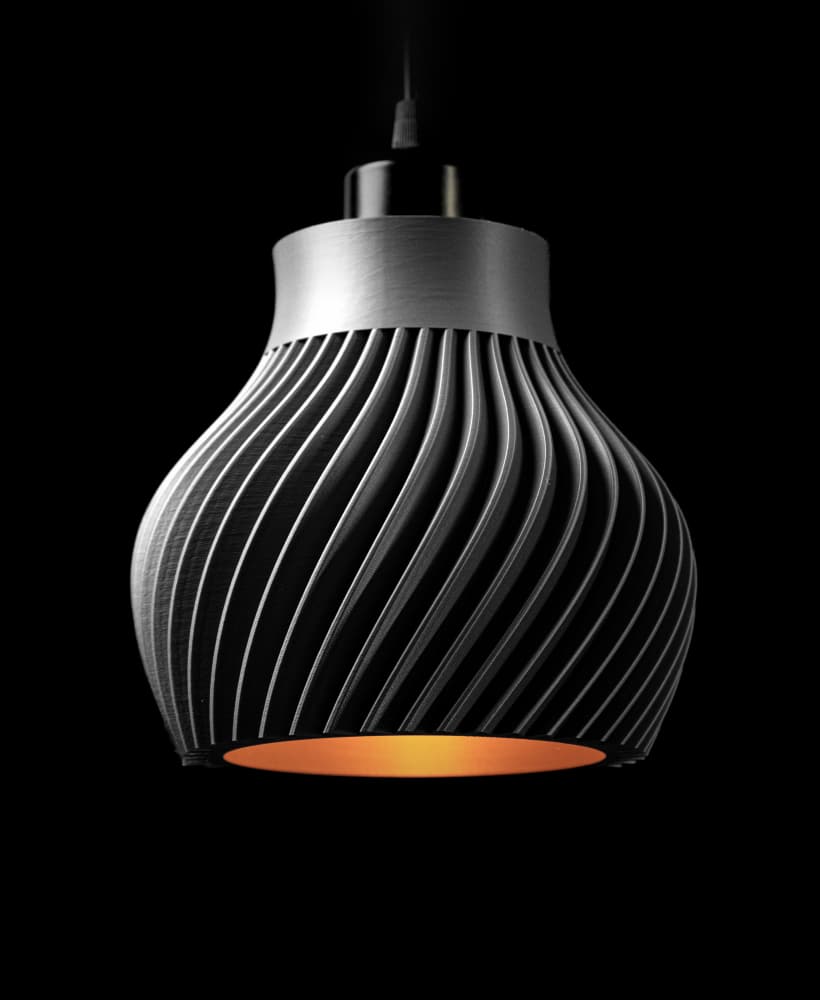
Twisted Pendant Lamp by MODERN MACHINE

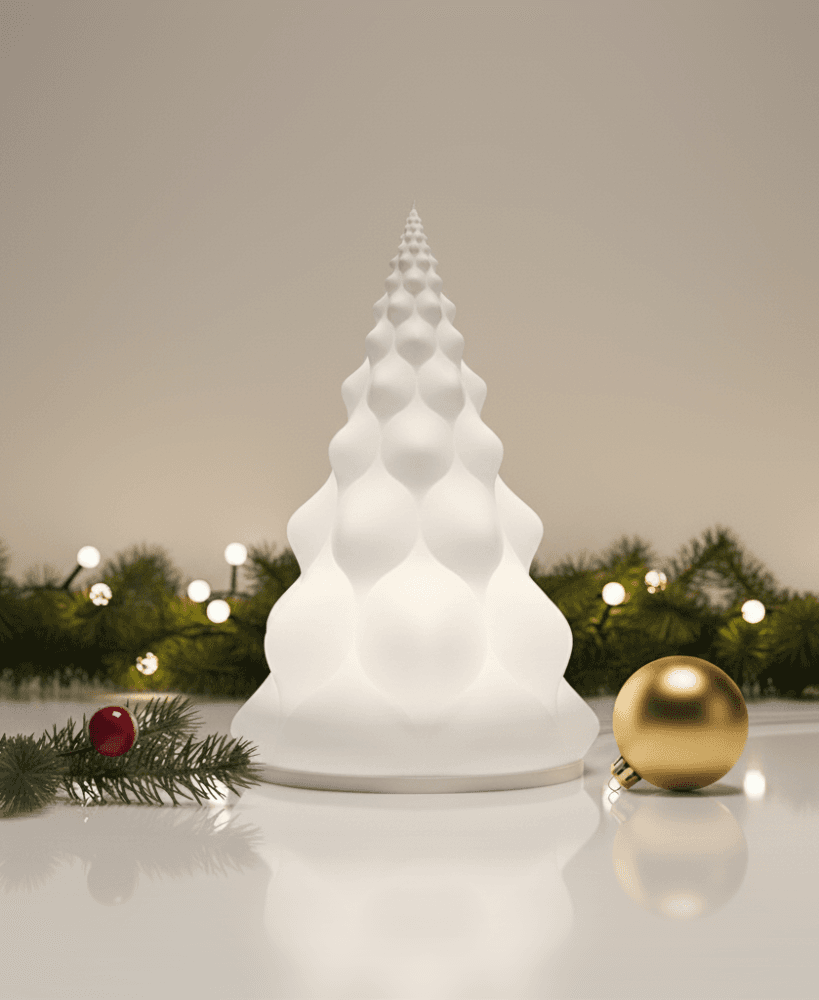
Christmas Tree (LED Lamp or Decoration)
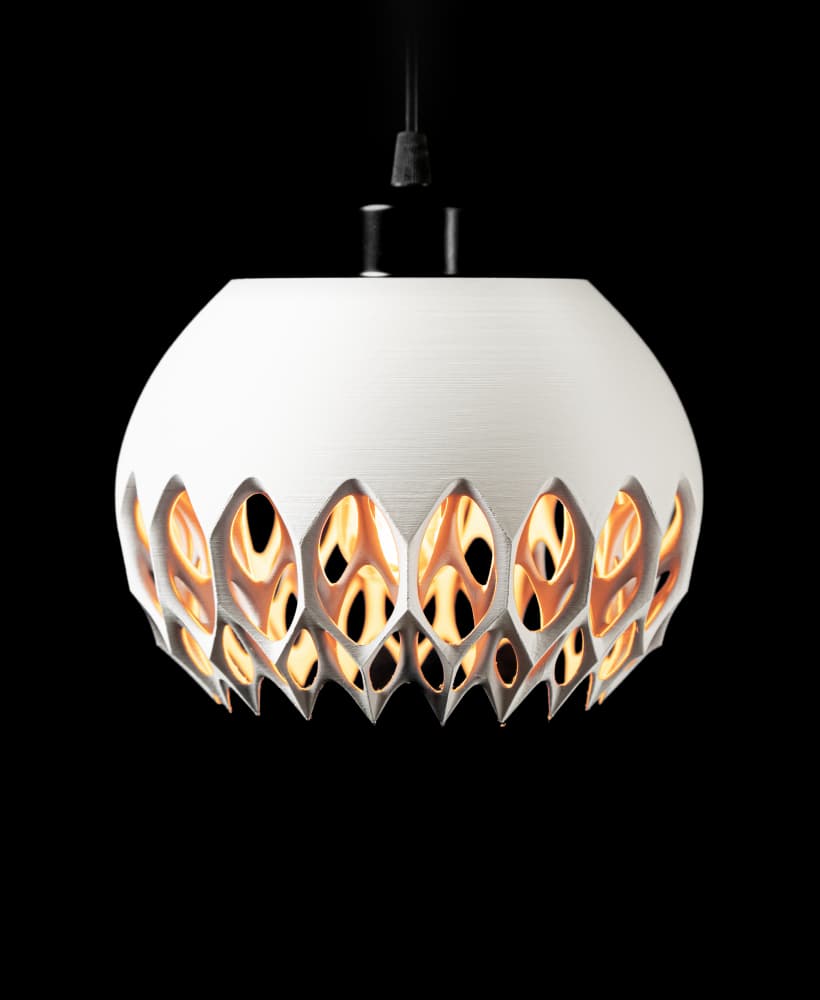
Ridged Pendant Lamp by MODERN MACHINE

Slime Pendant Lamp by MODERN MACHINE

Chain Pendant Lamp by MODERN MACHINE

Christmas Tree (LED Lamp or Decoration)

Chain Pendant Lamp 02 by MODERN MACHINE

Virus Pendant Lamp 02 by MODERN MACHINE
Invader Pendant Lamp 03 by MODERN MACHINE
Christmas Tree (LED Lamp or Decoration)

Voro Pendant Lamp by MODERN MACHINE

Bane Pendant Lamp by MODERN MACHINE

Halloween Pumpkin Pendant Lamp by MODERN MACHINE
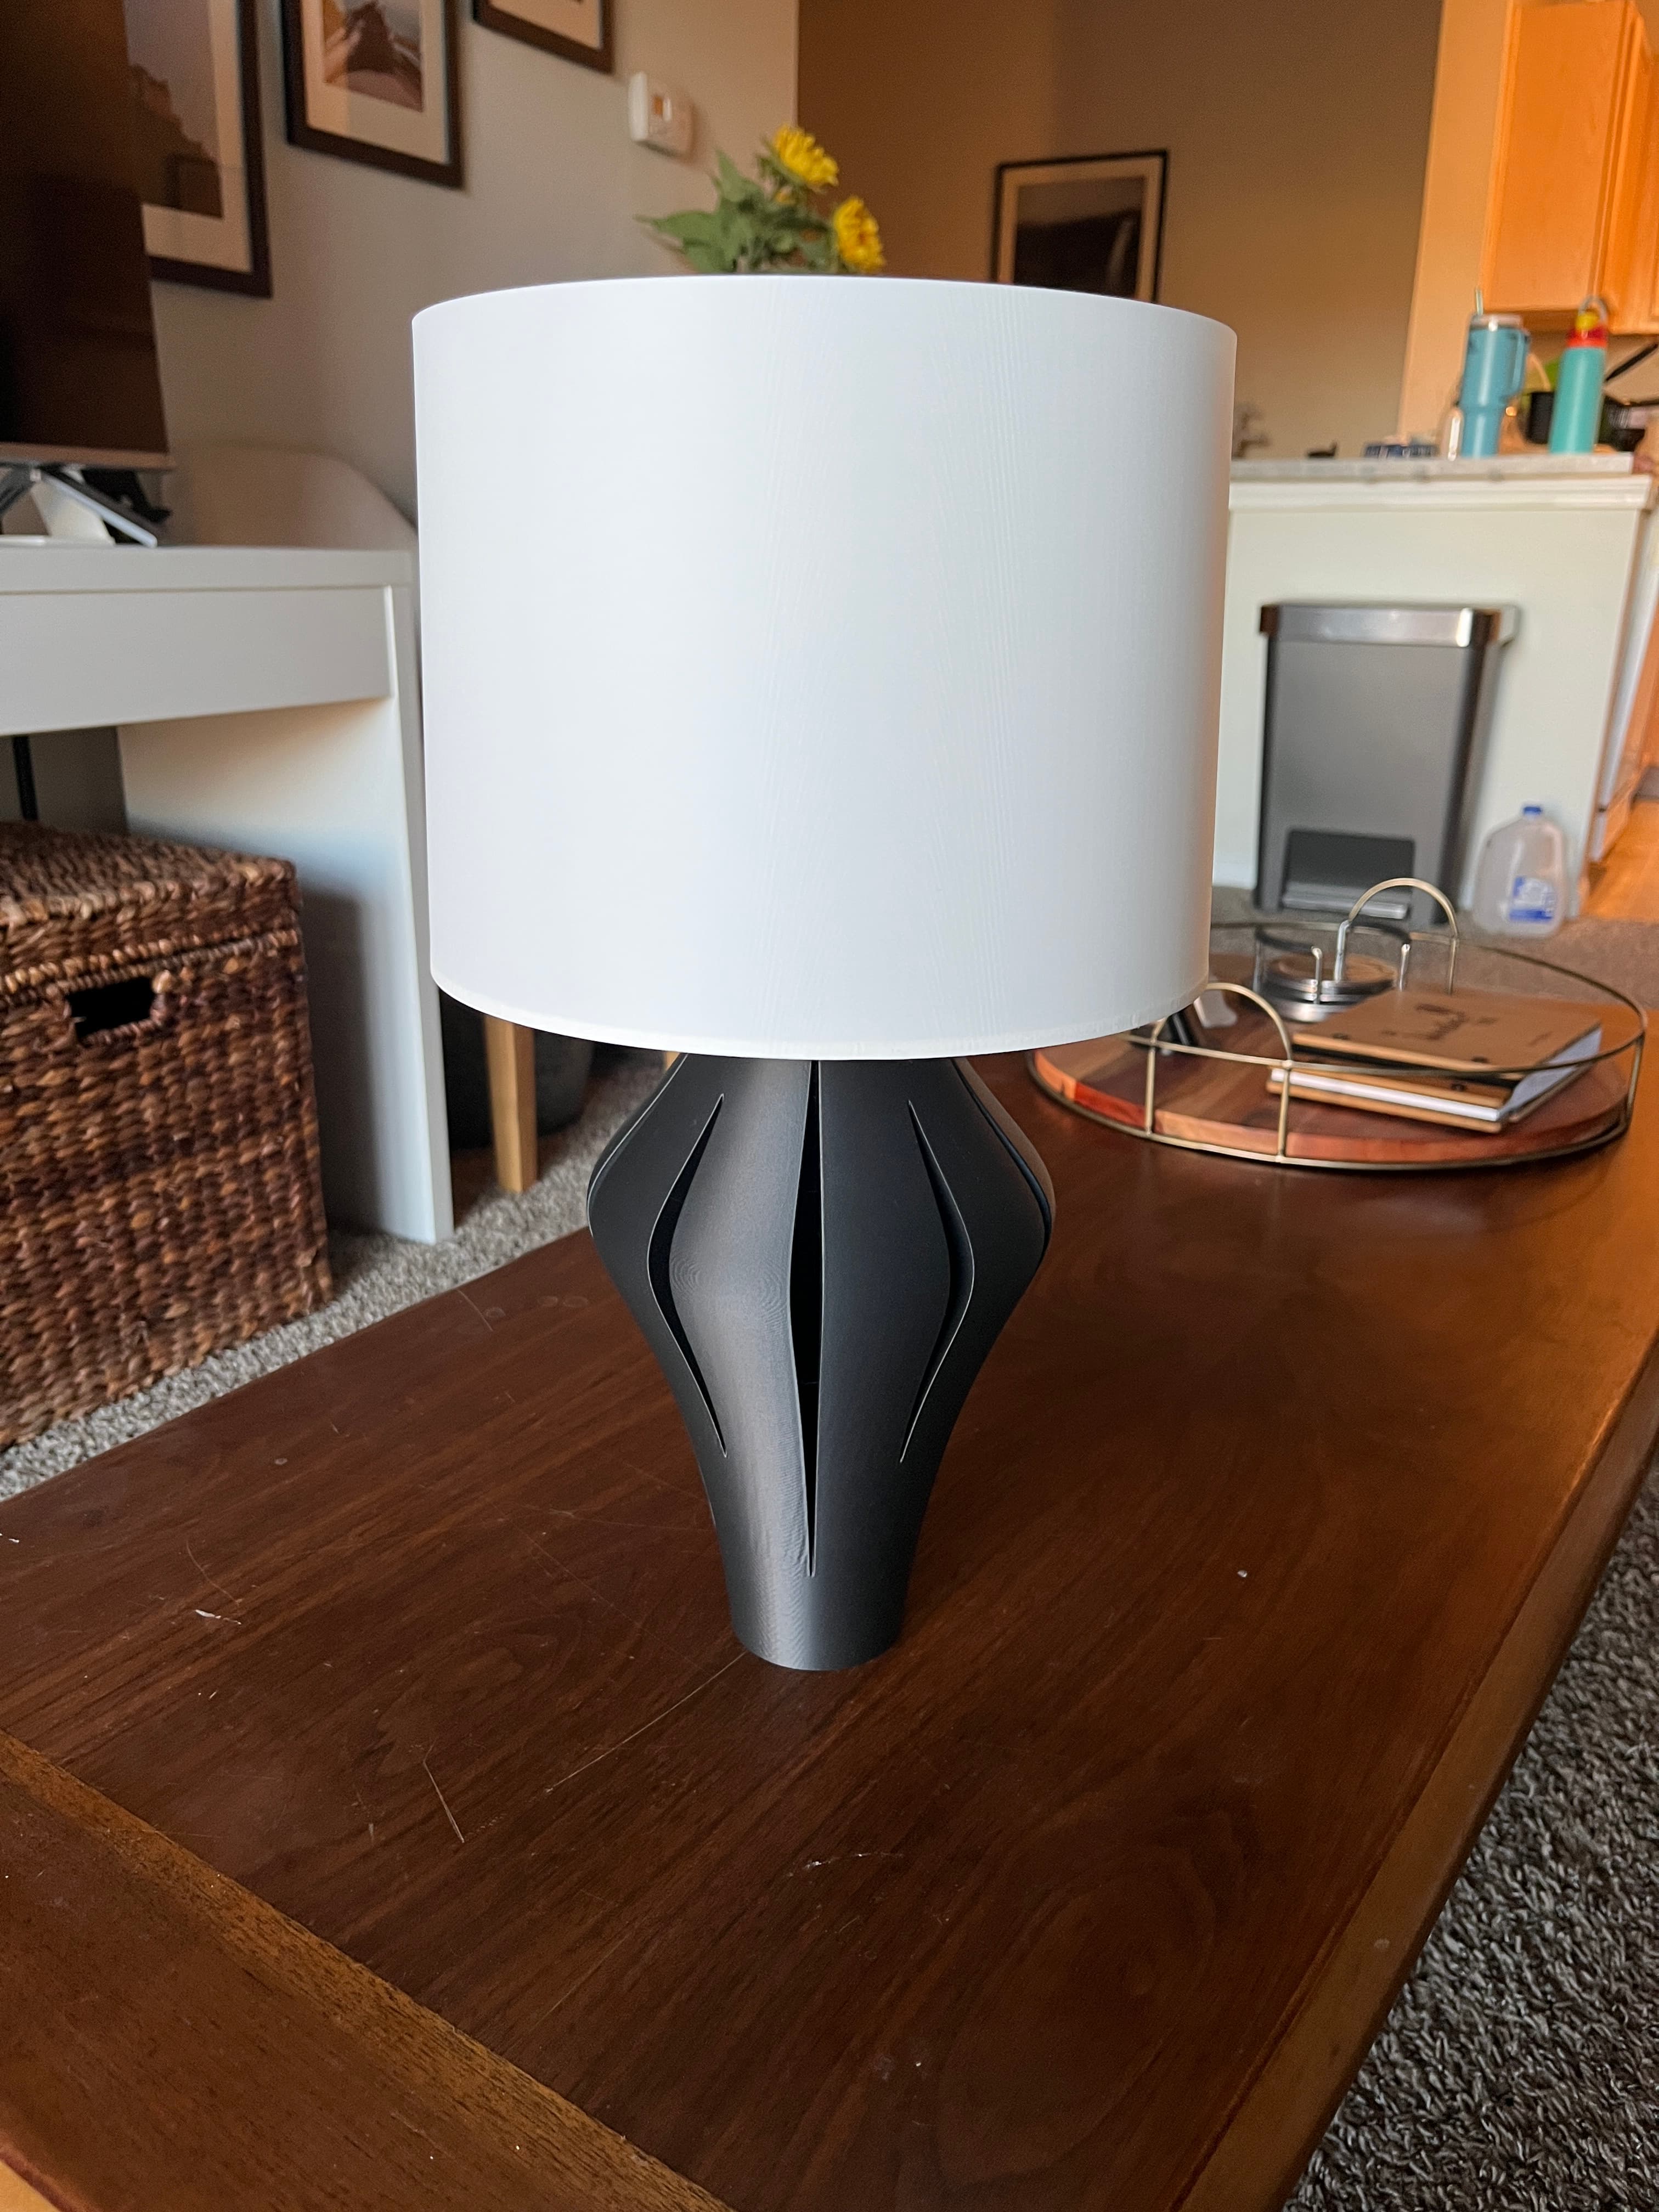
Beautiful print. Watching the lampshade print in vase mode was mesmerizing. I might try other colors, but it is stunning in Overture matte black.
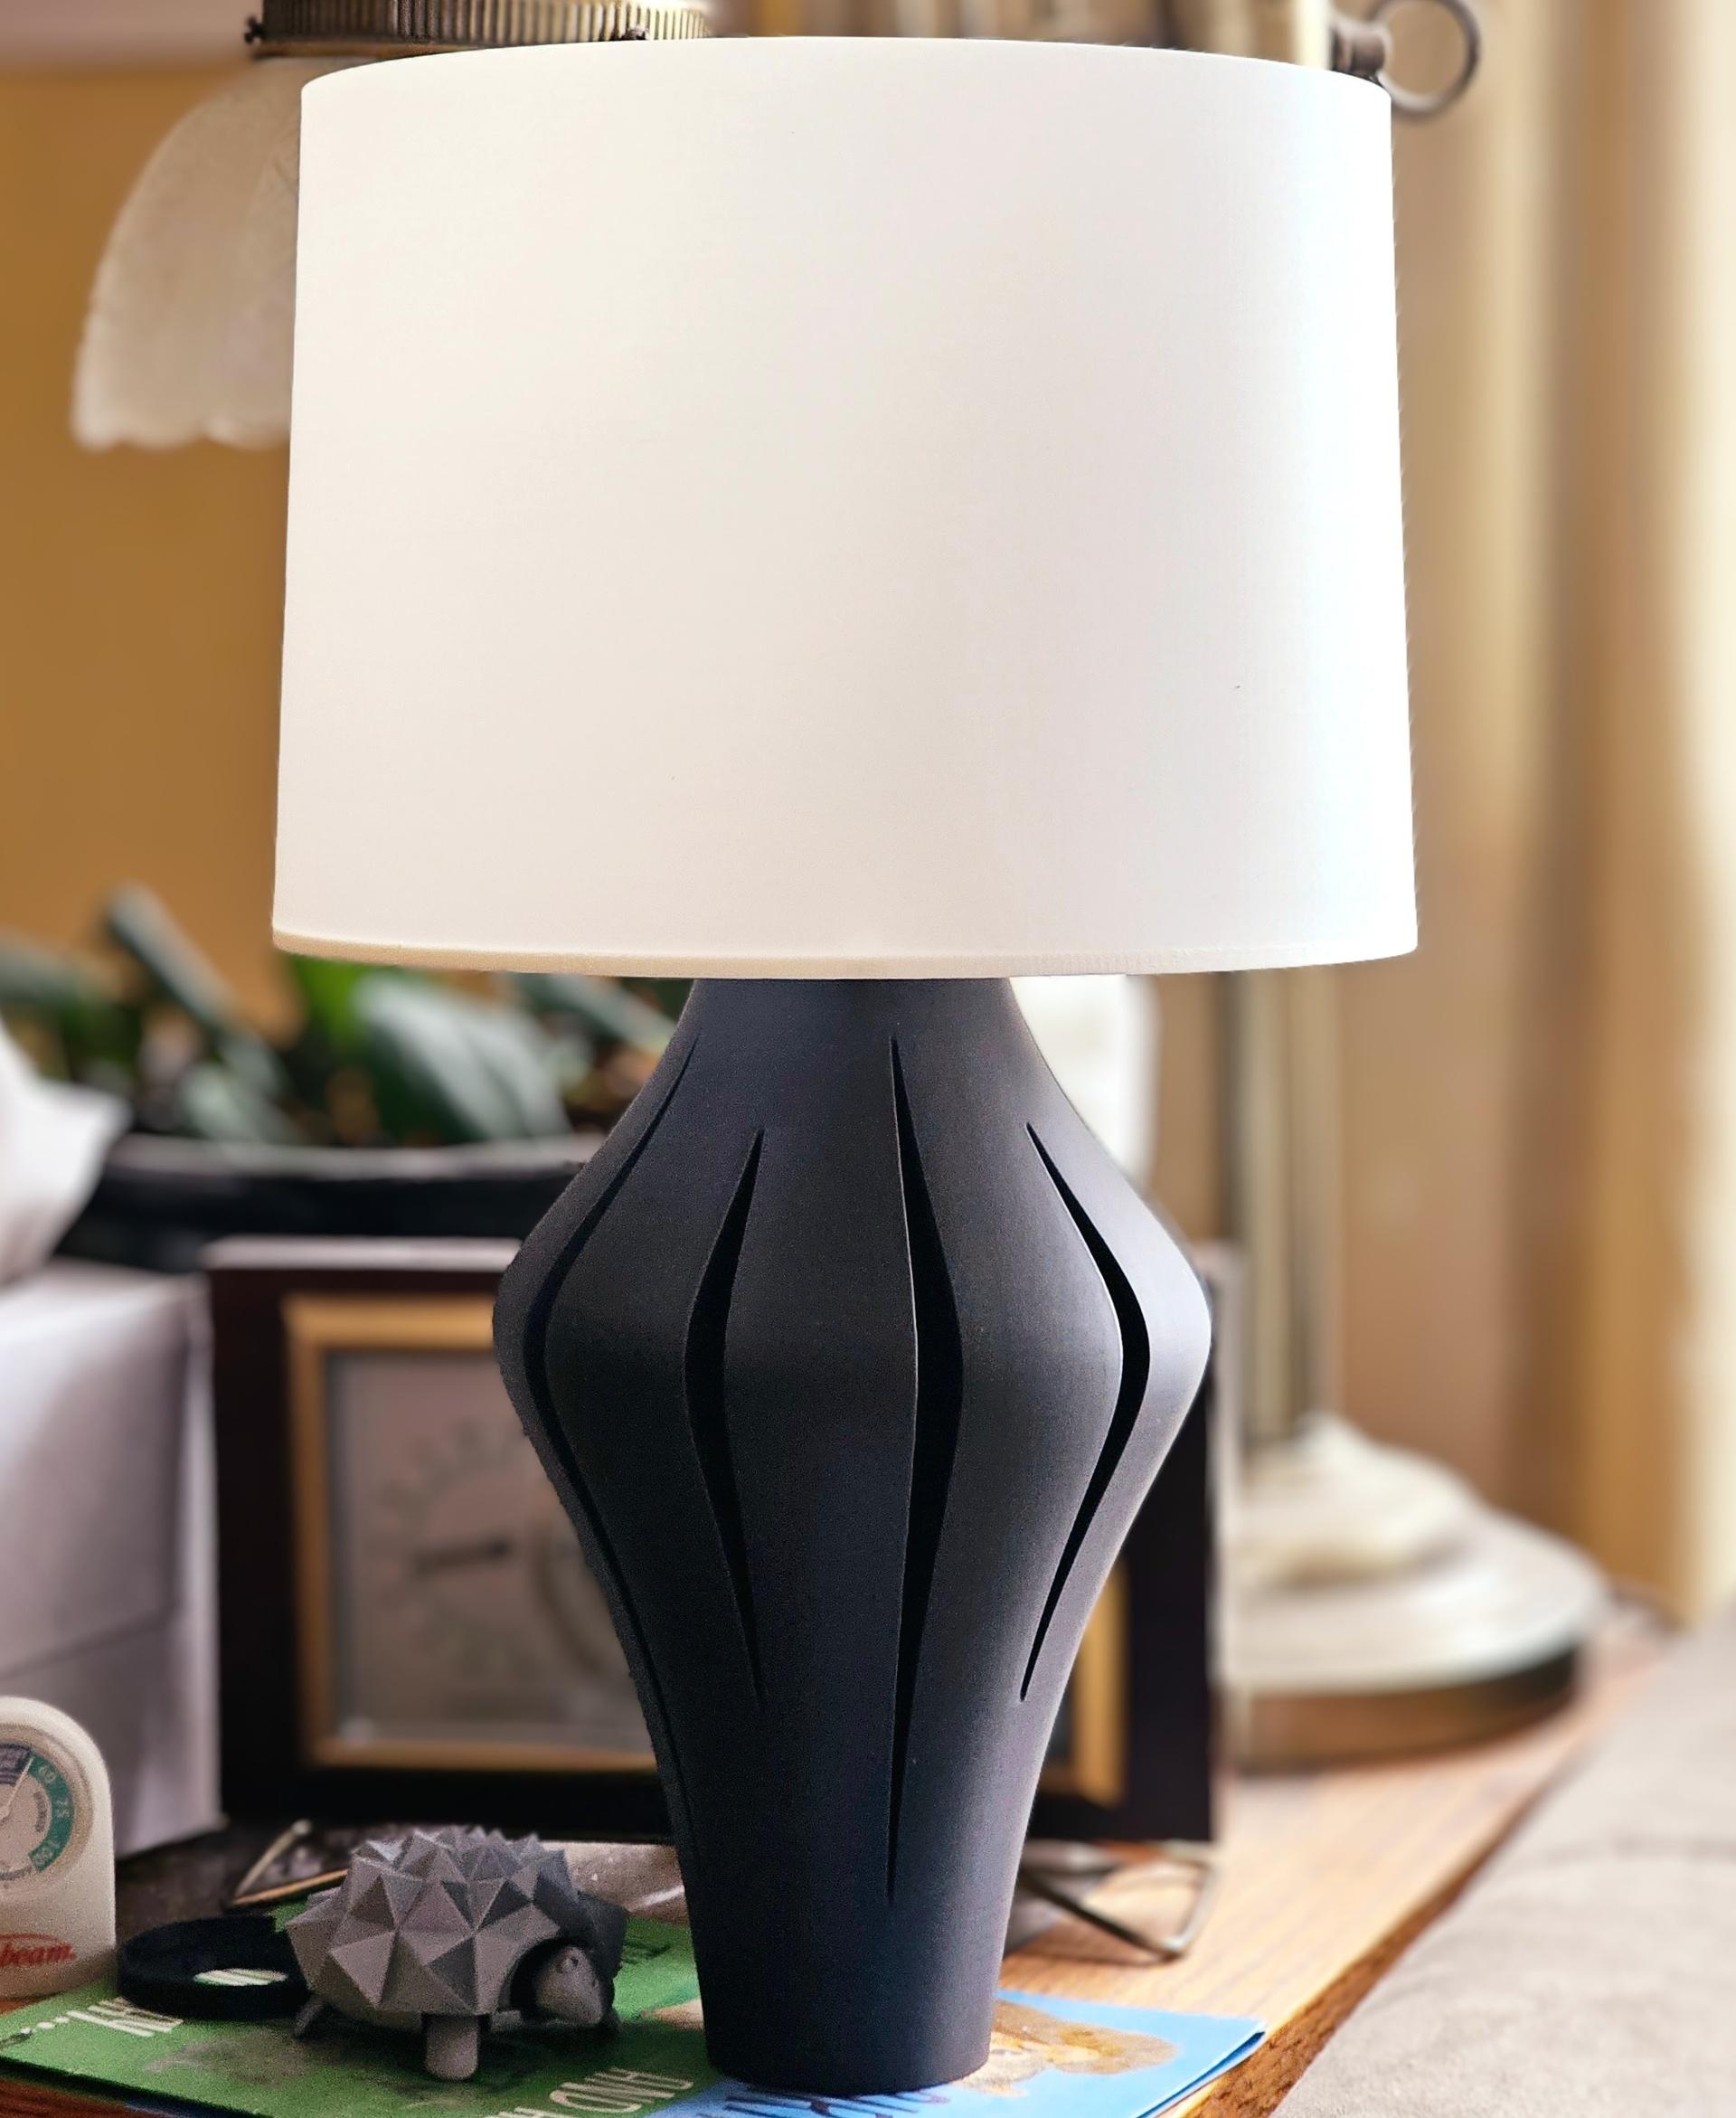
Update: A month later and I still love this lamp. This, and the tasteful Clifton planter, also from HendricksDesign, has been the foundation for tidying up the cluttered end table seen in the picture.
Will the new pendant lights fit the Tilt lamp?
Yup!
Can someone please post the dimensions of this lamp?
Could you maybe put the prints dimensions in the description? -someone who wasted a download on a file they can't print
Excellent design. I'm trying to download it but it shows a banner that says "download not possible yet, try later"
Also purchased the black lamps in the descriptions but they didn’t fit the file that I printed? I downloaded and printed yesterday? Should I try to order the white ones?