Model originally uploaded to Thingiverse at https://www.thingiverse.com/thing:2795518.
I'm very impressed with Glitch's Stargate Mk2. It's been the most complicated thing I've made so far. Based on the parts I could get on Amazon here in the US (quickly, as I had a deadline), I had to come up with a couple of mods.
I couldn't get the specified LEDs for the chevrons on time, so I got Chanzon SMDs with dimensions of 5.7 x 3.0 mm. As these were tiny, and hard to solder, I designed this little mounting bracket LED holder. It has 2 functions, hold the LEDs for soldering, and it'll fit nicely into the wiring slot of the Stargate.
I recommend gluing the LEDs in place (watch your orientation / polarity). While they nicely snap into the slots, a hot soldering iron will soften the plastic, causing them to fall out. I've been using E6000 High Viscosity Adhesive, as it has a longerish set time, letting me fix screw-ups. I clamped them on a vice "upside down" and soldered left over bits of resistor leads cut to size between, and added "leads" to later solder the main wires.
I recommend placing the gate_4_b_x6 on top of the wiring slot part (gate_3_b_x6, gate_3_a_x1, gate_3_e_x1, gate_3_d_x1), and mark the holes with a Sharpie. This will let you glue the assembly in the correct place. I also blackened the back of those pieces with said Sharpie to reduce light leak.
Once you've soldered them, test them (don't forget to use a resistor, so you don't blow the LEDs), then glue them into those marked places. The design lets you snake some thin wires through from the "upstream" LEDs. I used 26g wire. You can get one strand above, one below, 2 in the center, 2 the top LED (tight fit), and 2 under the bottom LEDs (tight fit). See the photo. To accommodate the wires, all the right chevron LEDs went on the right side (both positive and negative wires), and all the left chevron LEDs went on the left (duh), but the top chevron had the 2 wires split with one down the left side and one down the right side. This is important, otherwise one of the bottom chevron LEDs will be super tight.
I found the Light Dependent Resistor that came with my Arduino kit was 5.2 x 4.3mm, which didn't fit into the LDR holder (ldr_x1), so I also modified ldr_x1 to so it would fit.
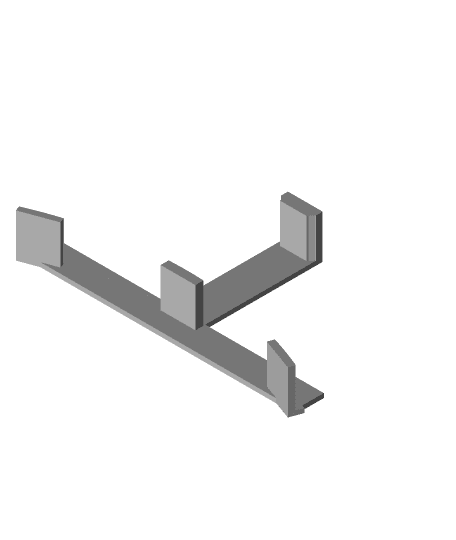
Having less joints may help with a smoother rail, so I've tried joining the parts together which should fit my new mk3 set at a diagonal. This is theoretical, as I haven't actually printed this one yet, but may as my symbol ring keeps getting stuck right now.
Maybe I used the wrong glue, or my track wasn't smooth enough, but the joints between the symbols didn't hold. They'll still spin, but the resulting crack between was fooling the LDR calibration. So I printed up some symbol_clips_x5 to help secure the symbol connections. That did the the trick.
I found after lubricating the ring a bit too much, some silicone lubricant got on the stepper motor axle, and since my gears didn't print the flat part too well, they lost traction and would just spin, without rotating the gear_symbol_x1. So I made a version with a set screw hole for an M3 screw. I also made one for gear_chevron_x1.
I'm also including Glitch's circuit diagram, which you can find on his website: http://www.glitch.org.uk/category/stargate/ Note: the diagram pins correspond to the original (commented out) Chevrons array. Though I think pin 9 is swapped with pin 11 based on the Arduino Sketch in the final uncommented version.
LEDs: https://smile.amazon.com/gp/product/B01CUGACEA/ref=oh_aui_detailpage_o01_s00?ie=UTF8&psc=1 Arduino Kit (CD came cracked, so had trouble figuring out what was what): https://smile.amazon.com/gp/product/B074DVCW4B/ref=oh_aui_search_detailpage?ie=UTF8&psc=1
Glue: https://smile.amazon.com/gp/product/B0044SB3M8/ref=oh_aui_search_detailpage?ie=UTF8&psc=1
Glue Tips: https://smile.amazon.com/gp/product/B0141MQQCI/ref=oh_aui_search_detailpage?ie=UTF8&psc=1
Edit: Feb 20, 2018 - I added a jig or template to hold the gate parts together so they line up properly when gluing.