Model originally uploaded to Thingiverse at https://www.thingiverse.com/thing:4690964.
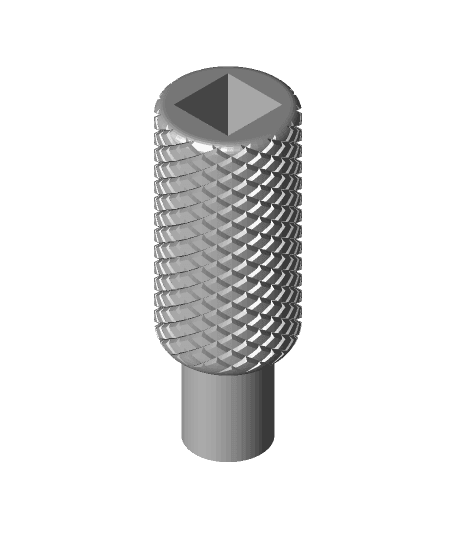
This is actually three different precision screwdrivers that all look the same, but they are all a little bit different. They all use 4mm bits. They are:
-
A fully print in place screwdriver where the bit simply friction-fits in to the screwdriver. (This is quite finicky, I recommend the models that use magnets)
-
A fully print in place screwdriver where you need to pause the print to insert a magnet.
-
A screwdriver that takes a magnet and needs to be assembled and glued.
The spinning cap on all three screwdrivers is a print in place feature. Make sure your printer is well calibrated. You may want to print a partial screwdriver and test that you can free it up if you are unsure. If it does stick together, you may need to calibrate your extruder or adjust flow rate or something. You could also try adjusting horizontal expansion in your slicer. Temperature is also important. You need decent layer adhesion so the end of the screwdriver doesn't rip apart while you're torquing something which a hotter temperature helps with, but a hotter temperature can also make the print-in-place cap stick together more. Twist the cap to loosen, don't try to rock it.
For screwdriver #1: Friction fits like this are impossible to design in a way that it will work for everyone. It may take some messing around on your end with horizontal expansion, scaling, flow, etc. If the bit fits overly tight but can still physically fit, I actually think it's a good idea to just use it as is. It will loosen up over time, and you don't want it to loosen too much. Use a bit of lube and remove the bit with pliers at first if you need to. Print with or without supports.
For screwdriver #2: Be very careful when inserting the magnet. It may not just drop right in. It may need to be pushed a little bit and it may dislodge from your print bed if you aren't careful. Obviously you want to make sure it sits flush enough that the nozzle won't hit it on the next pass. Print without supports or put a support blocker in the section where the magnet goes. The print should be paused right before it draws the first hexagon so that the magnet can be inserted. With my slicer and print settings, this is right before layer #411, but it may be different for you if you use a raft or a different layer height or something.
For screwdriver #3: Supports don't matter for the handle, but the grip should be printed with supports. If you get elephants foot with your set up, or if you have problems with adhesion, use a raft. Drop the magnet in to the square hole in the grip, and make sure it gets properly seated in the round hole at the bottom. Then put a thin layer of glue all over the square post on the handle, and firmly seat it in to the grip. Wipe off excess glue. This is the model that has had the most testing. I took apart and reassembled a few laptops with this and had no problems with it breaking or anything.
All models are oriented in the position that I had luck printing in. Results are not guaranteed if you decide to rotate something. I printed everything at a 0.2 layer height with 60% infill.
In the versions that take a magnet, find a 2mm thick neodymium disc magnet with 6mm diameter. They are available all over aliexpress and ebay. I originally tried 1mm thick magnets, but they were pretty weak so I ended up stacking two of them.