REDUX LowRider 2 MPCNC - Pen Holder (v2) MOUNTS CLOSER
byDesign8Studio.com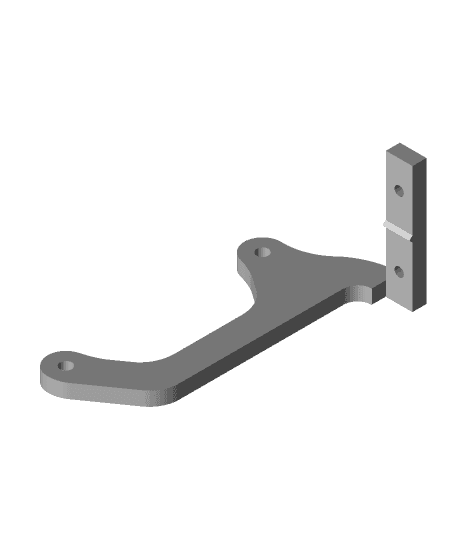
Model originally uploaded to Thingiverse at https://www.thingiverse.com/thing:4982274.
Note: If you are looking for the new v3 that accommodates my new vac shoe design for the 2.5" shop vac hose, it is here: https://www.thingiverse.com/thing:5011414
This is a remix of a remix. :-)
I liked the first remix — available here: https://www.thingiverse.com/thing:4978659/
...However,
- It protruded too far out in front of the router plate.
- Something bumped it (see #1), and it broke. (The attached pen mount designed by Allted broke at the top "springy strut.")
- Bottom line, I wanted it mounted "closer to the plate." So I designed this new version.
This is a 2nd generation remix of both the "Mostly Printed CNC -Add On- Pen Holder" by Allted June 06, 2016, and the "LowRider CNC Pen and Drag Knife Attachment" by dwooder August 14, 2017. Both designs are brilliant. However, dwooder's part seemed to attach to the router plate when there was neither a router or vacuum shoe in place, and I wanted something that could attach a pen but that it could be left in place even while the router and vacuum shoe were in place, and of course this meant leaving space for the vacuum hose too.
Also, a nice design stroke in dwooder's original is that it "angled the deflectors" that hold the pen so that they are turned to be symmetrical in alignment with the X axis. I took that one step further by offsetting them so the pen's tip (writing nib) is centered along the Y axis.
In the screen shots above, highlighted in gold, you can see the original LowRider 2 vacuum shoe part.
Unlike my previous remix, which supported and required the original "Mostly Printed CNC -Add On- Pen Holder" by Allted June 06, 2016, this version does indeed call for the pen to be attached (to part B). Allted's part is not needed for this design.
If you wonder why I did not merge these two parts (A and B) into one, it's because of how 3D printing works.
HOW TO INSTALL:
- Attach Part B to Part A - using two (2) M3 x 10mm screws and nuts. There are "capture" slots to hold the nuts in place.
- Remove the lock nuts that hold on the vacuum shoe part shown in the screen shots. Hopefully your existing screws are long enough to accommodate this additional part. (My stock screws were indeed long enough). If not, replace those screws with longer ones. Put this 2-part design into place as shown.
- Reinstall the lock nuts onto the screws.
You should now be ready to use zip ties to attach a pen for drawing (or knife for cutting).
Let me know in the comments if you have any questions.