A7SUKO

Print in Place Steam Deck Joystick Guard

by
A7SUKO
Follow
Follow
Remix Model
A7SUKO
A7SUKO
|
Image 6 of 13
 Print in Place Steam Deck Joystick Guard 3d model
A7SUKO
A7SUKO
|
Image 6 of 13
 Print in Place Steam Deck Joystick Guard 3d model
2D
3D
Makes
 Print in Place Steam Deck Joystick Guard 3d model
 Print in Place Steam Deck Joystick Guard 3d model
 Print in Place Steam Deck Joystick Guard 3d model
 Print in Place Steam Deck Joystick Guard 3d model
 Print in Place Steam Deck Joystick Guard 3d model
 Print in Place Steam Deck Joystick Guard 3d model
 Print in Place Steam Deck Joystick Guard 3d model
 Print in Place Steam Deck Joystick Guard 3d model
 Print in Place Steam Deck Joystick Guard 3d model
 Print in Place Steam Deck Joystick Guard 3d model
 Print in Place Steam Deck Joystick Guard 3d model
 Print in Place Steam Deck Joystick Guard 3d model
 Print in Place Steam Deck Joystick Guard 3d model
This model is restricted by licensing terms. 

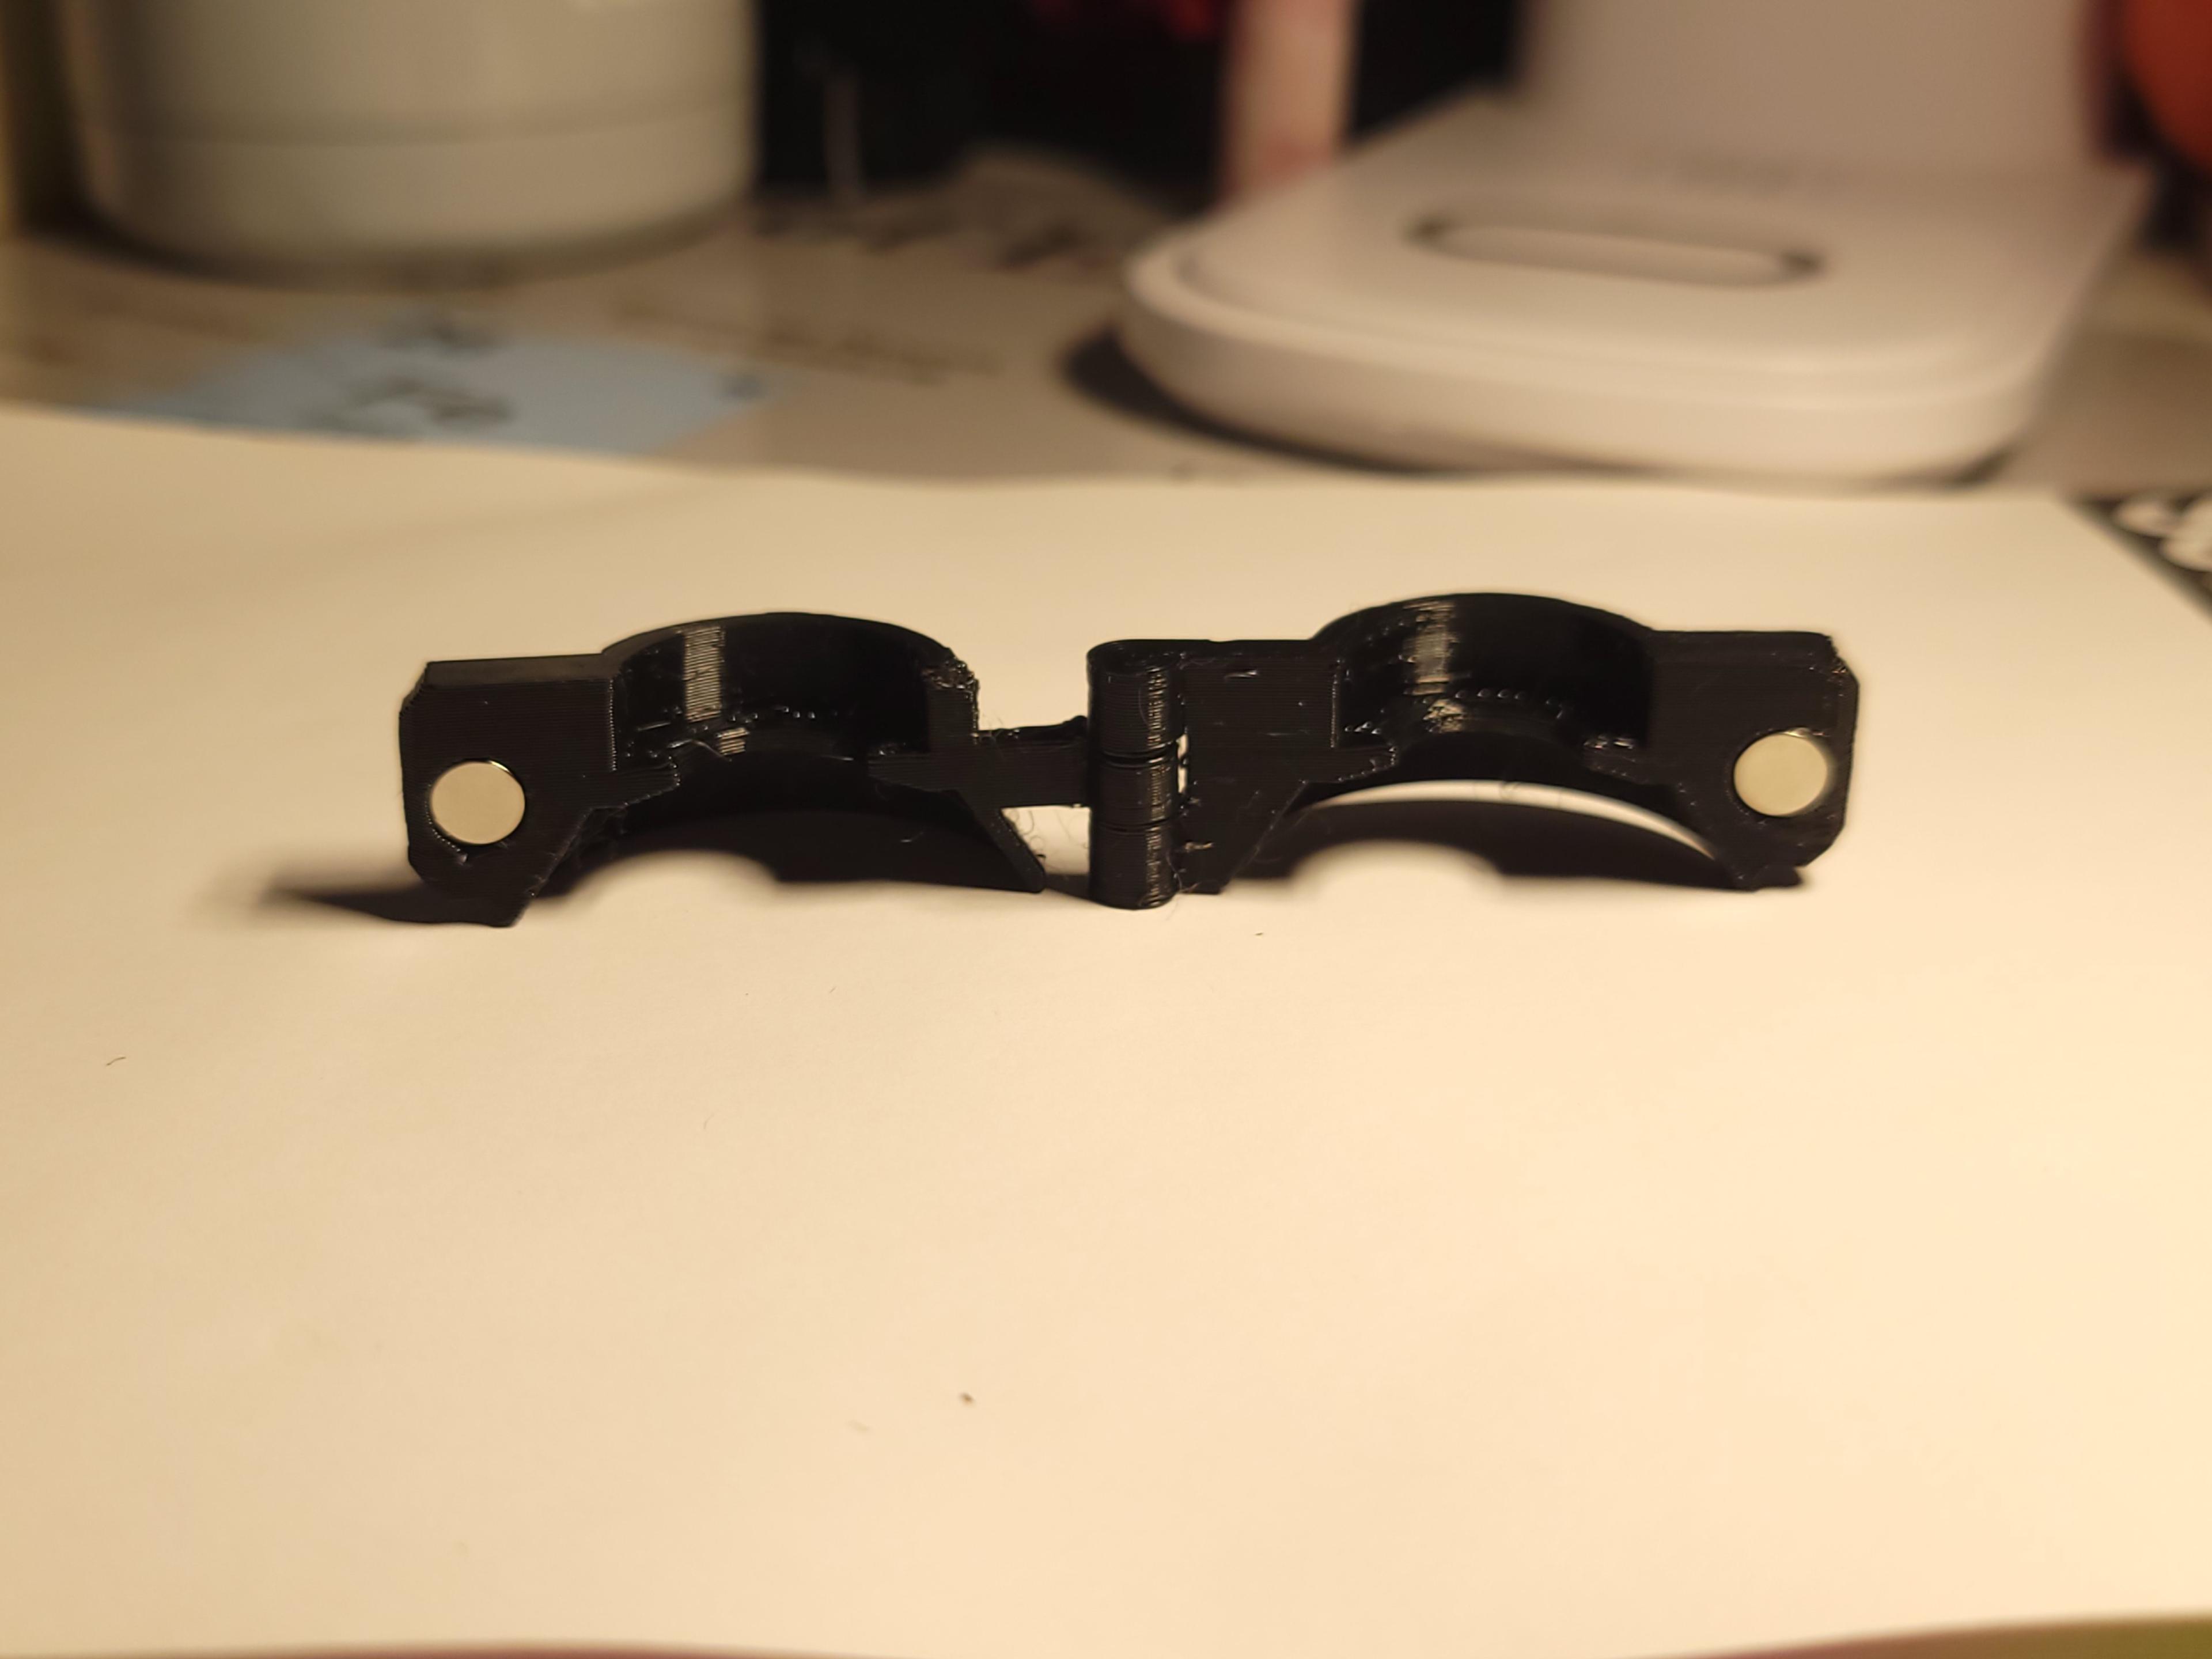
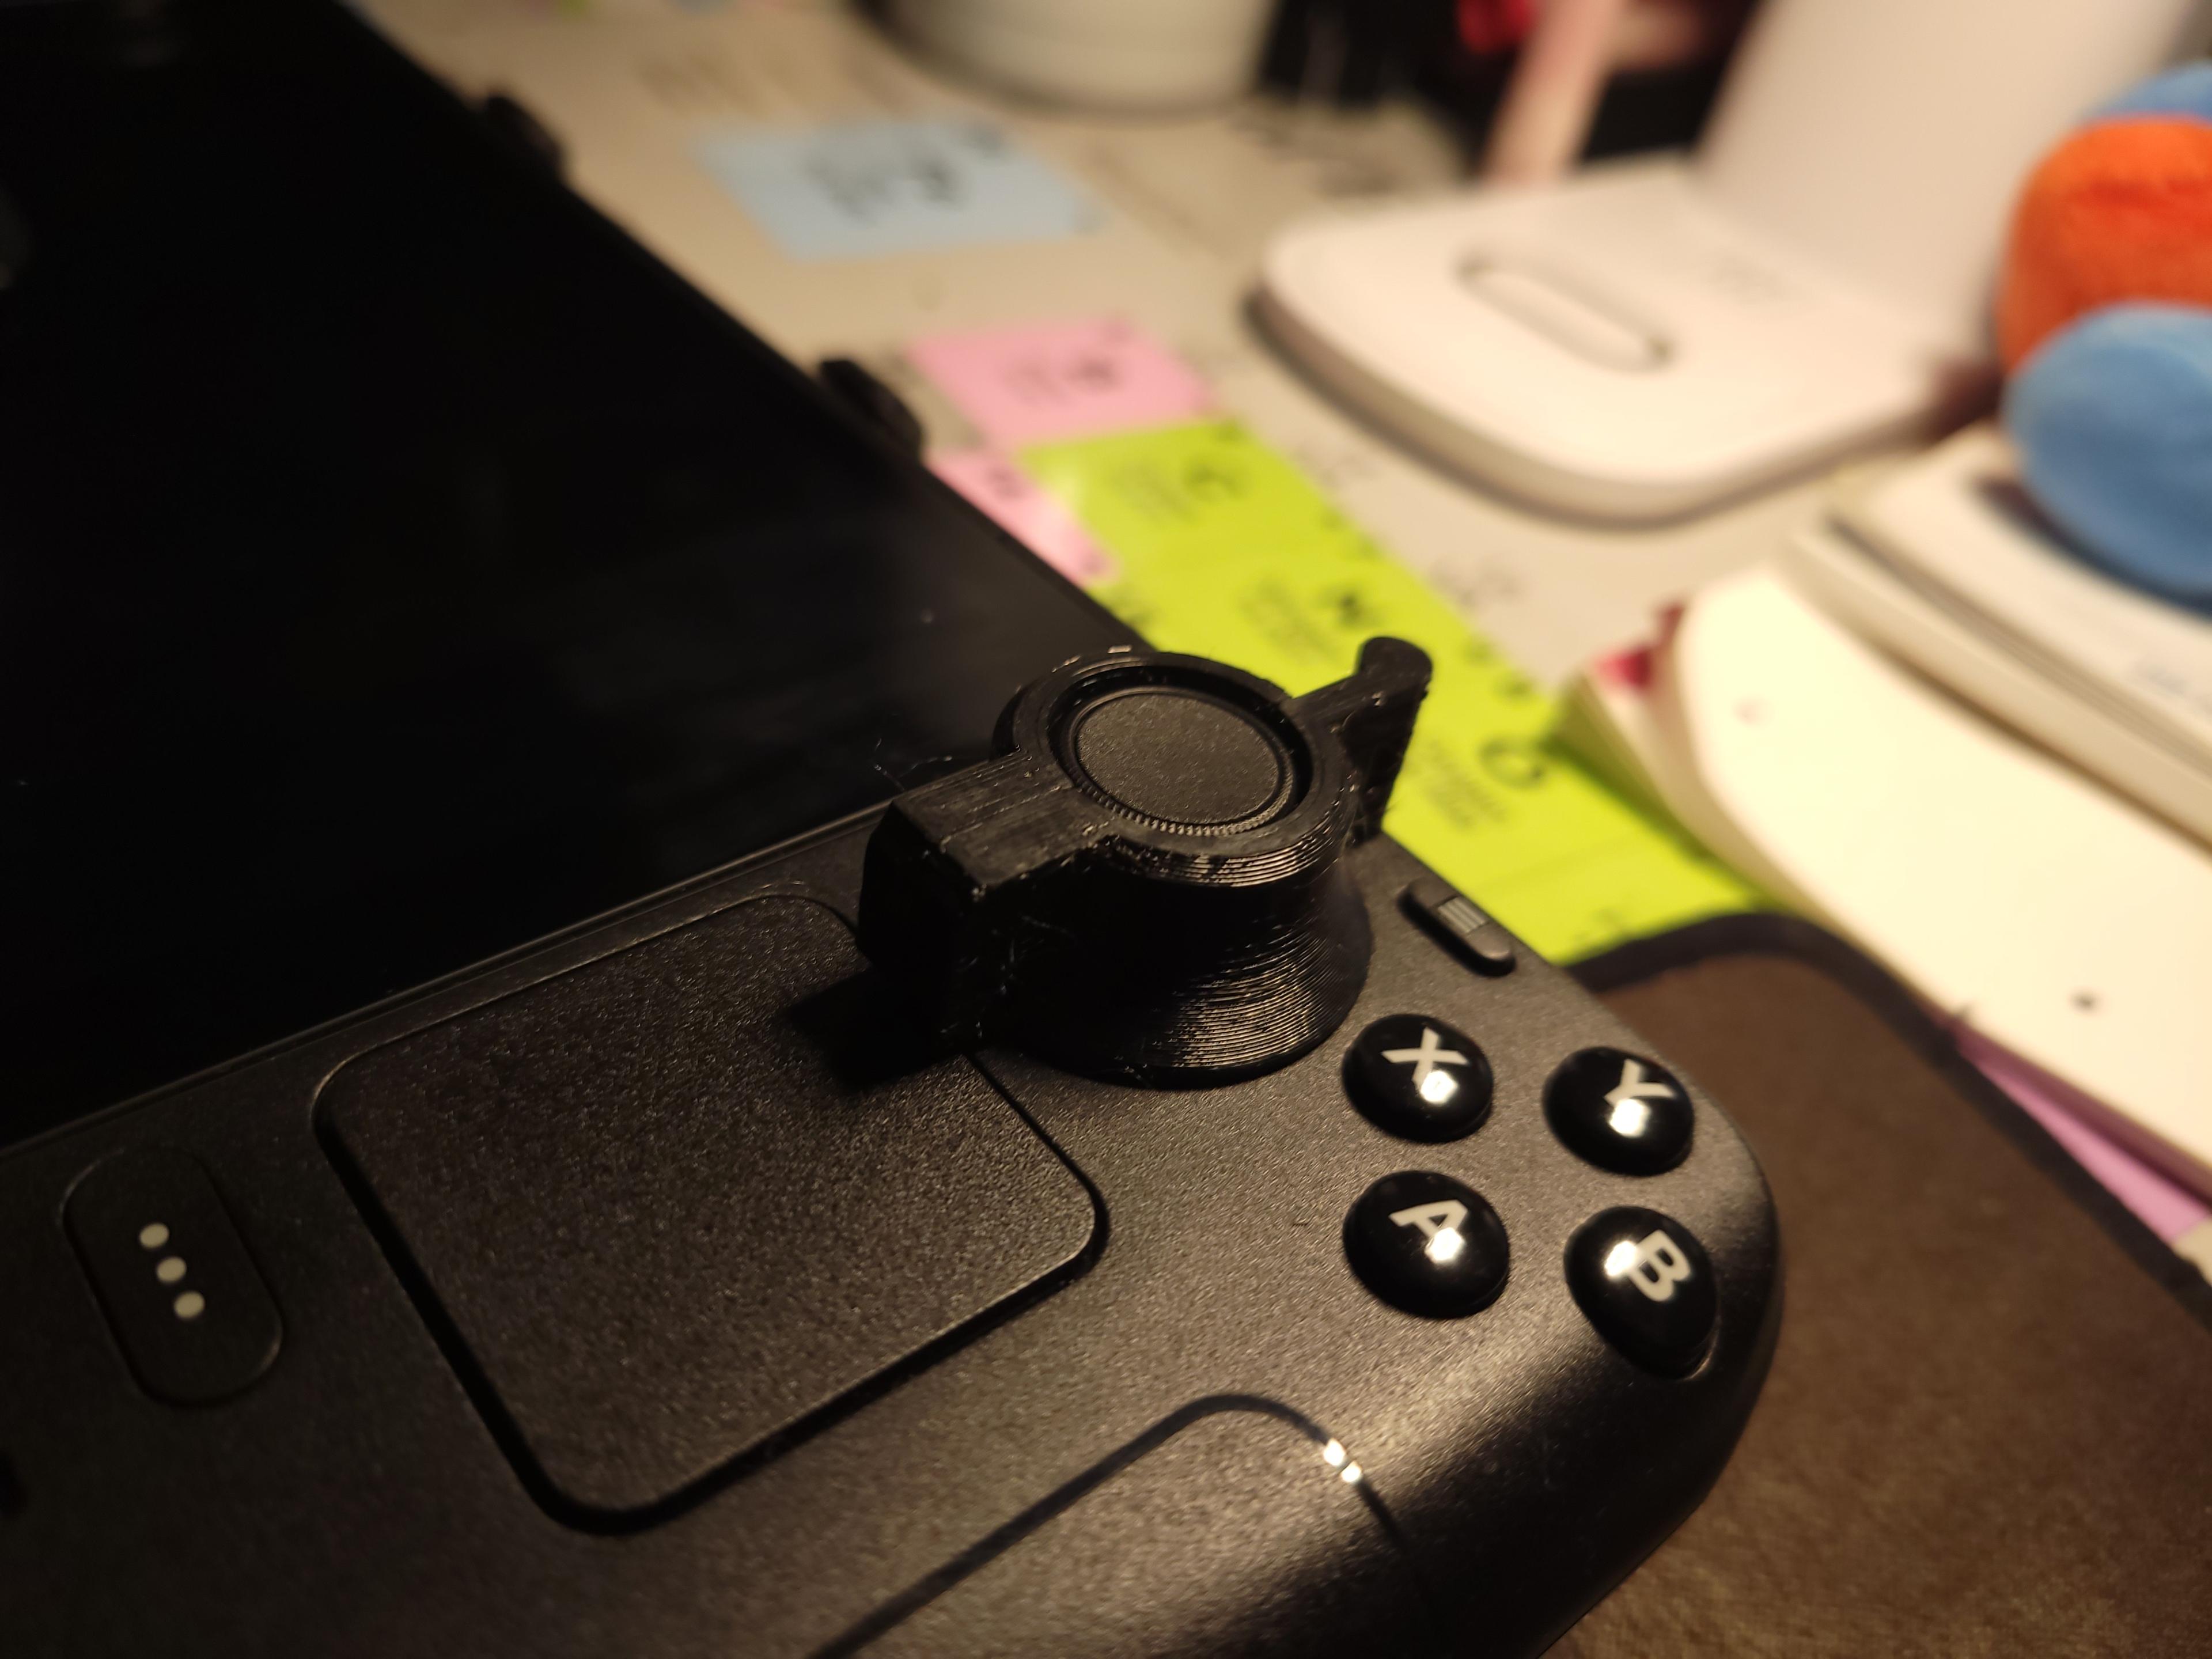
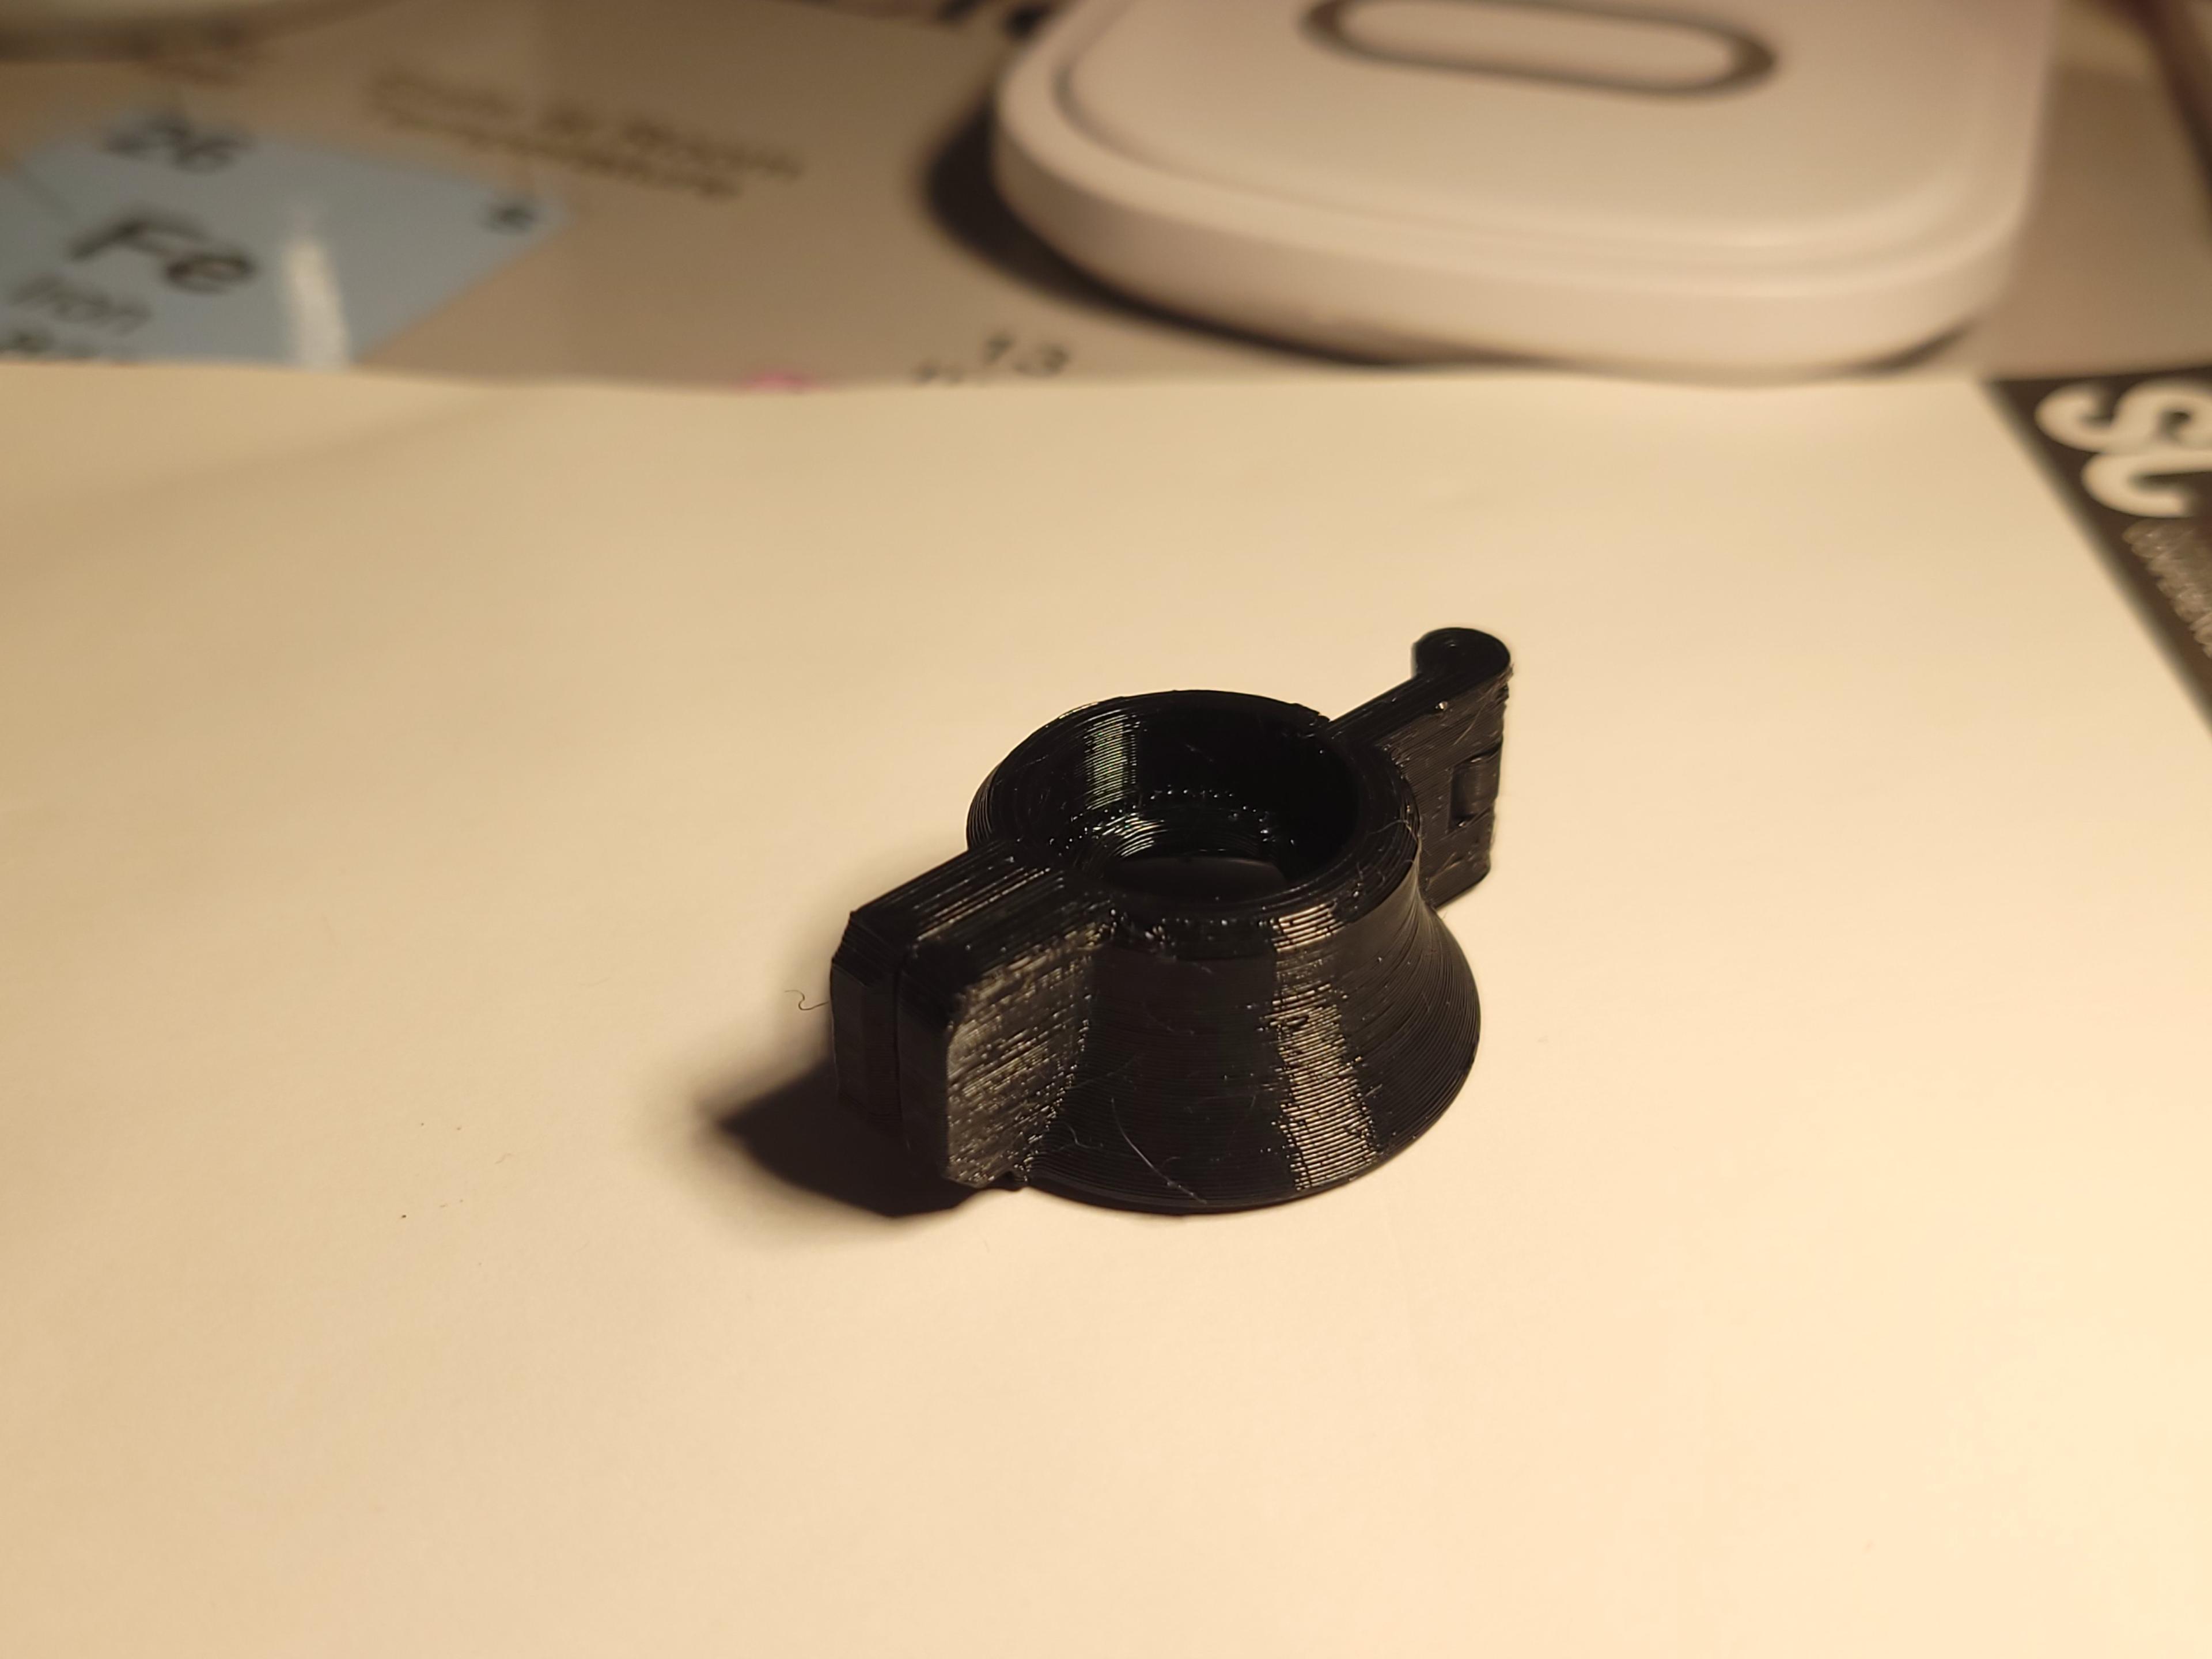
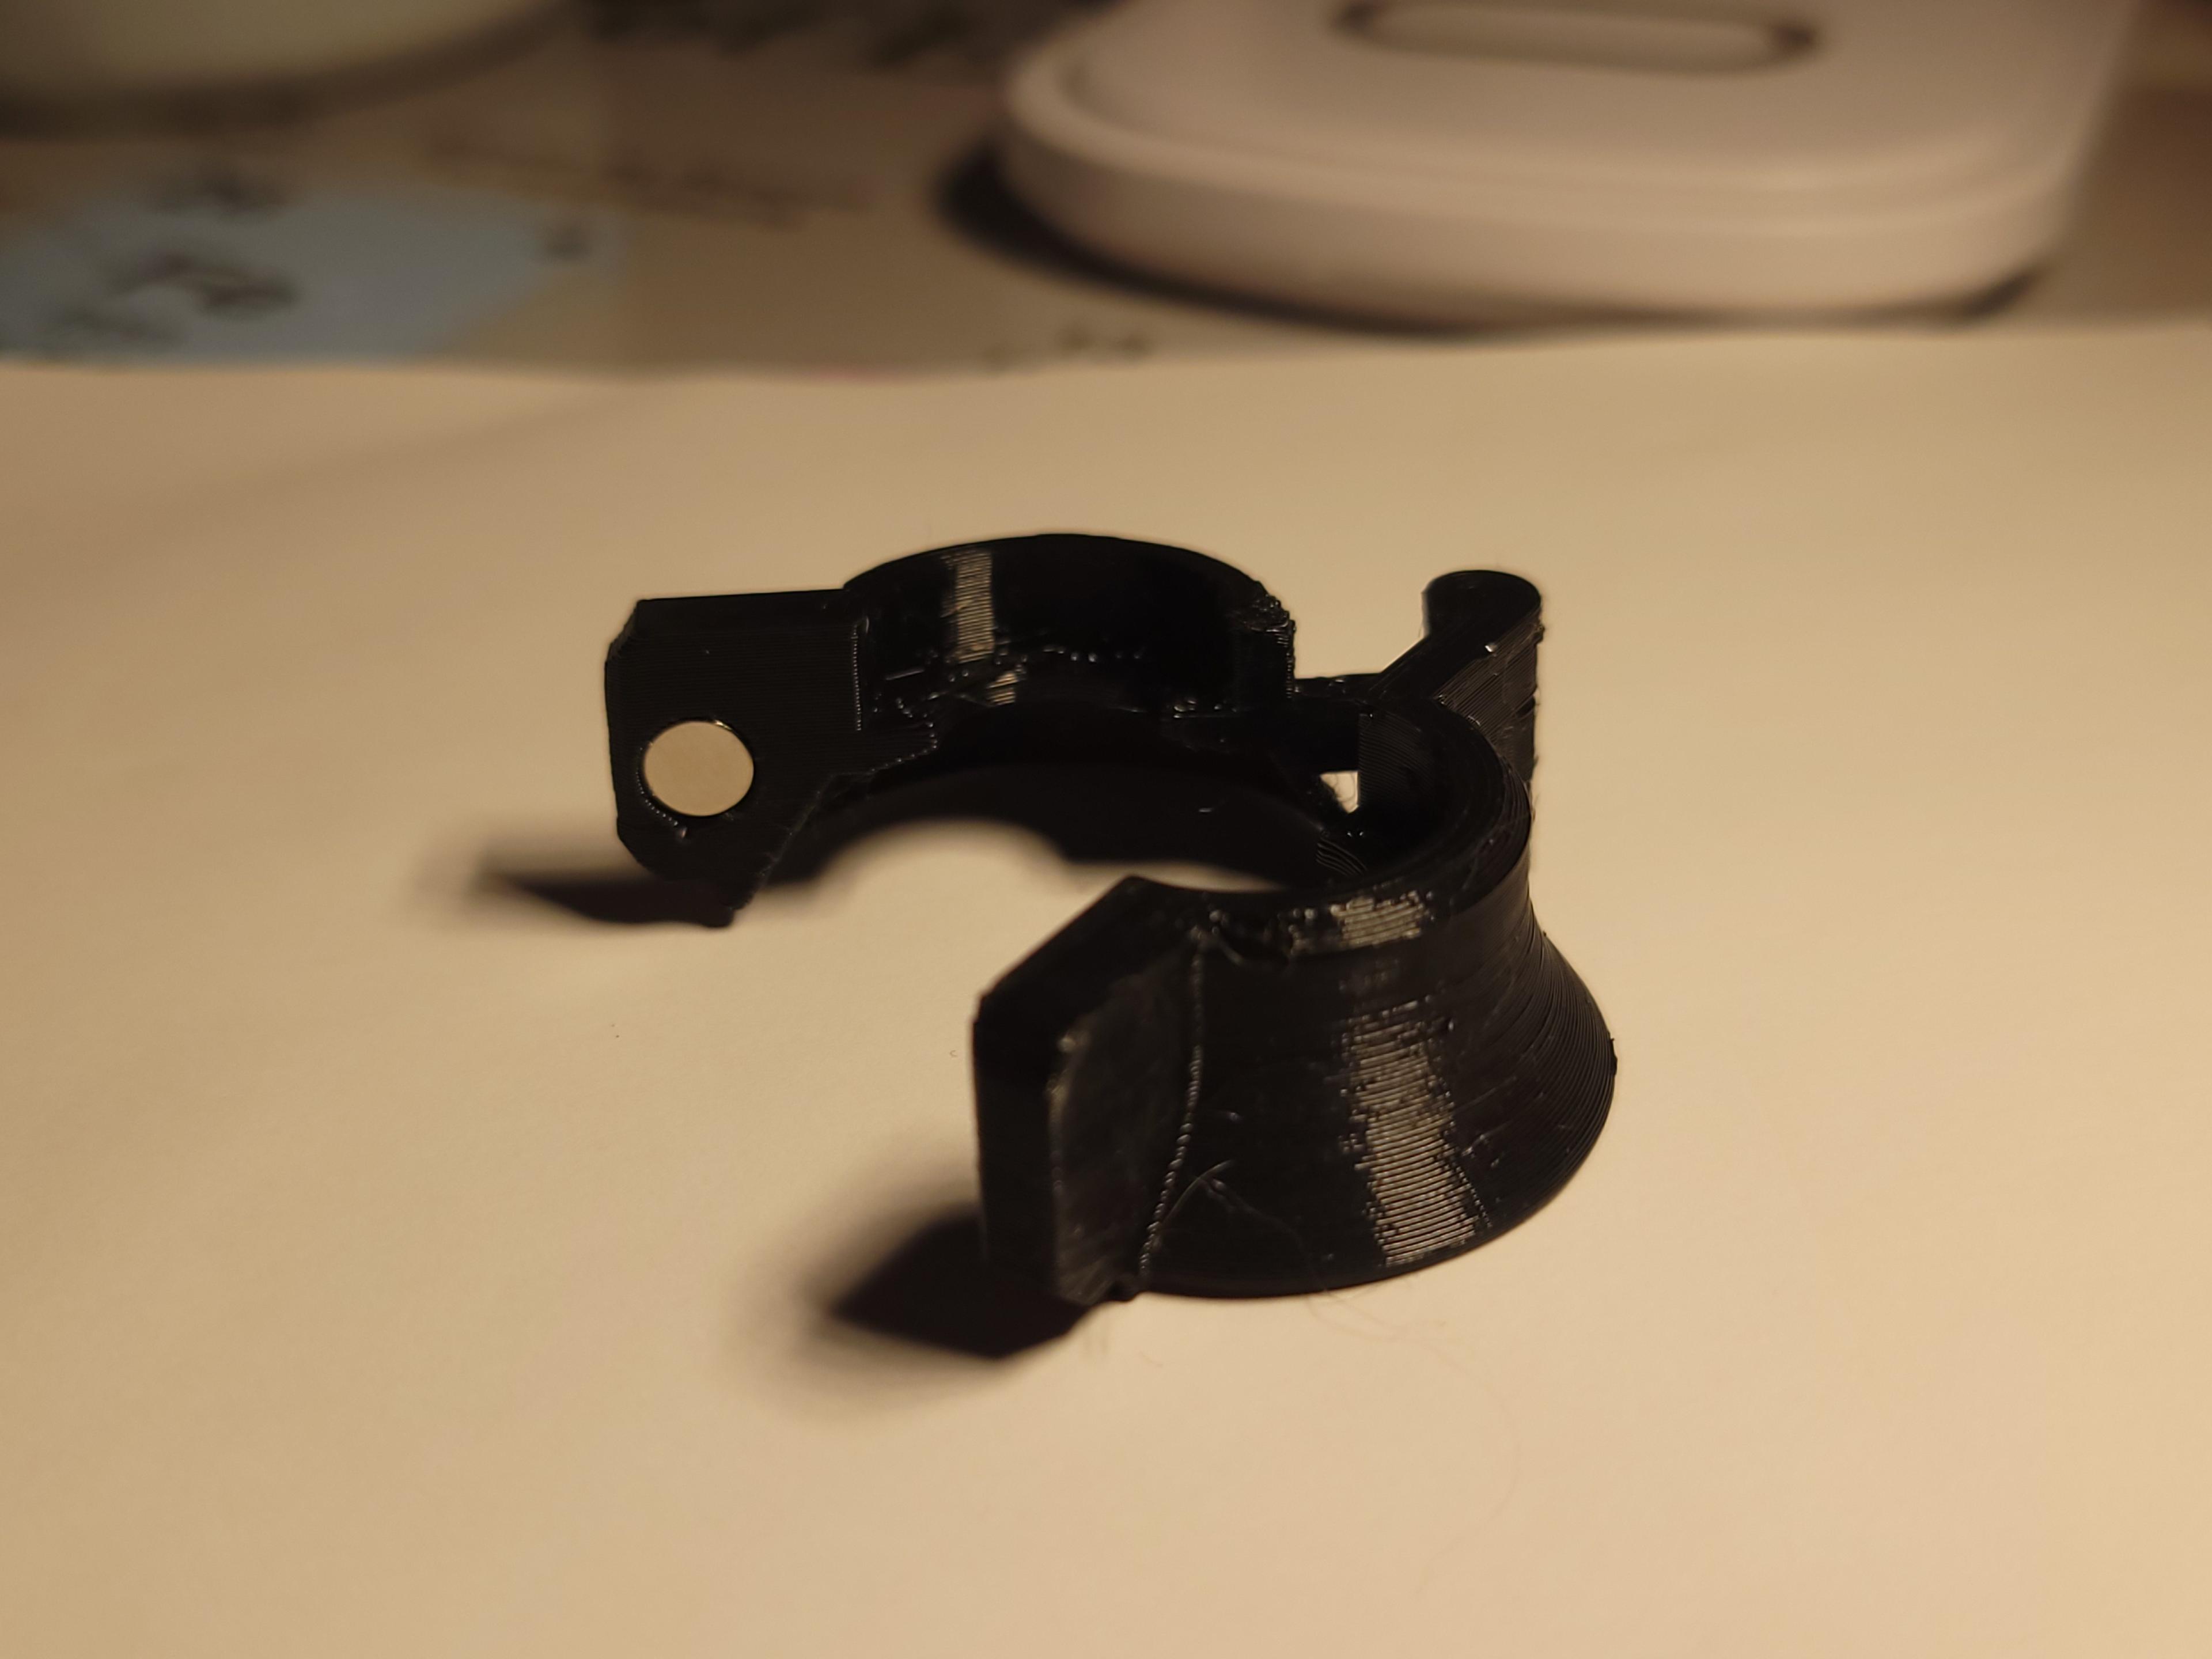
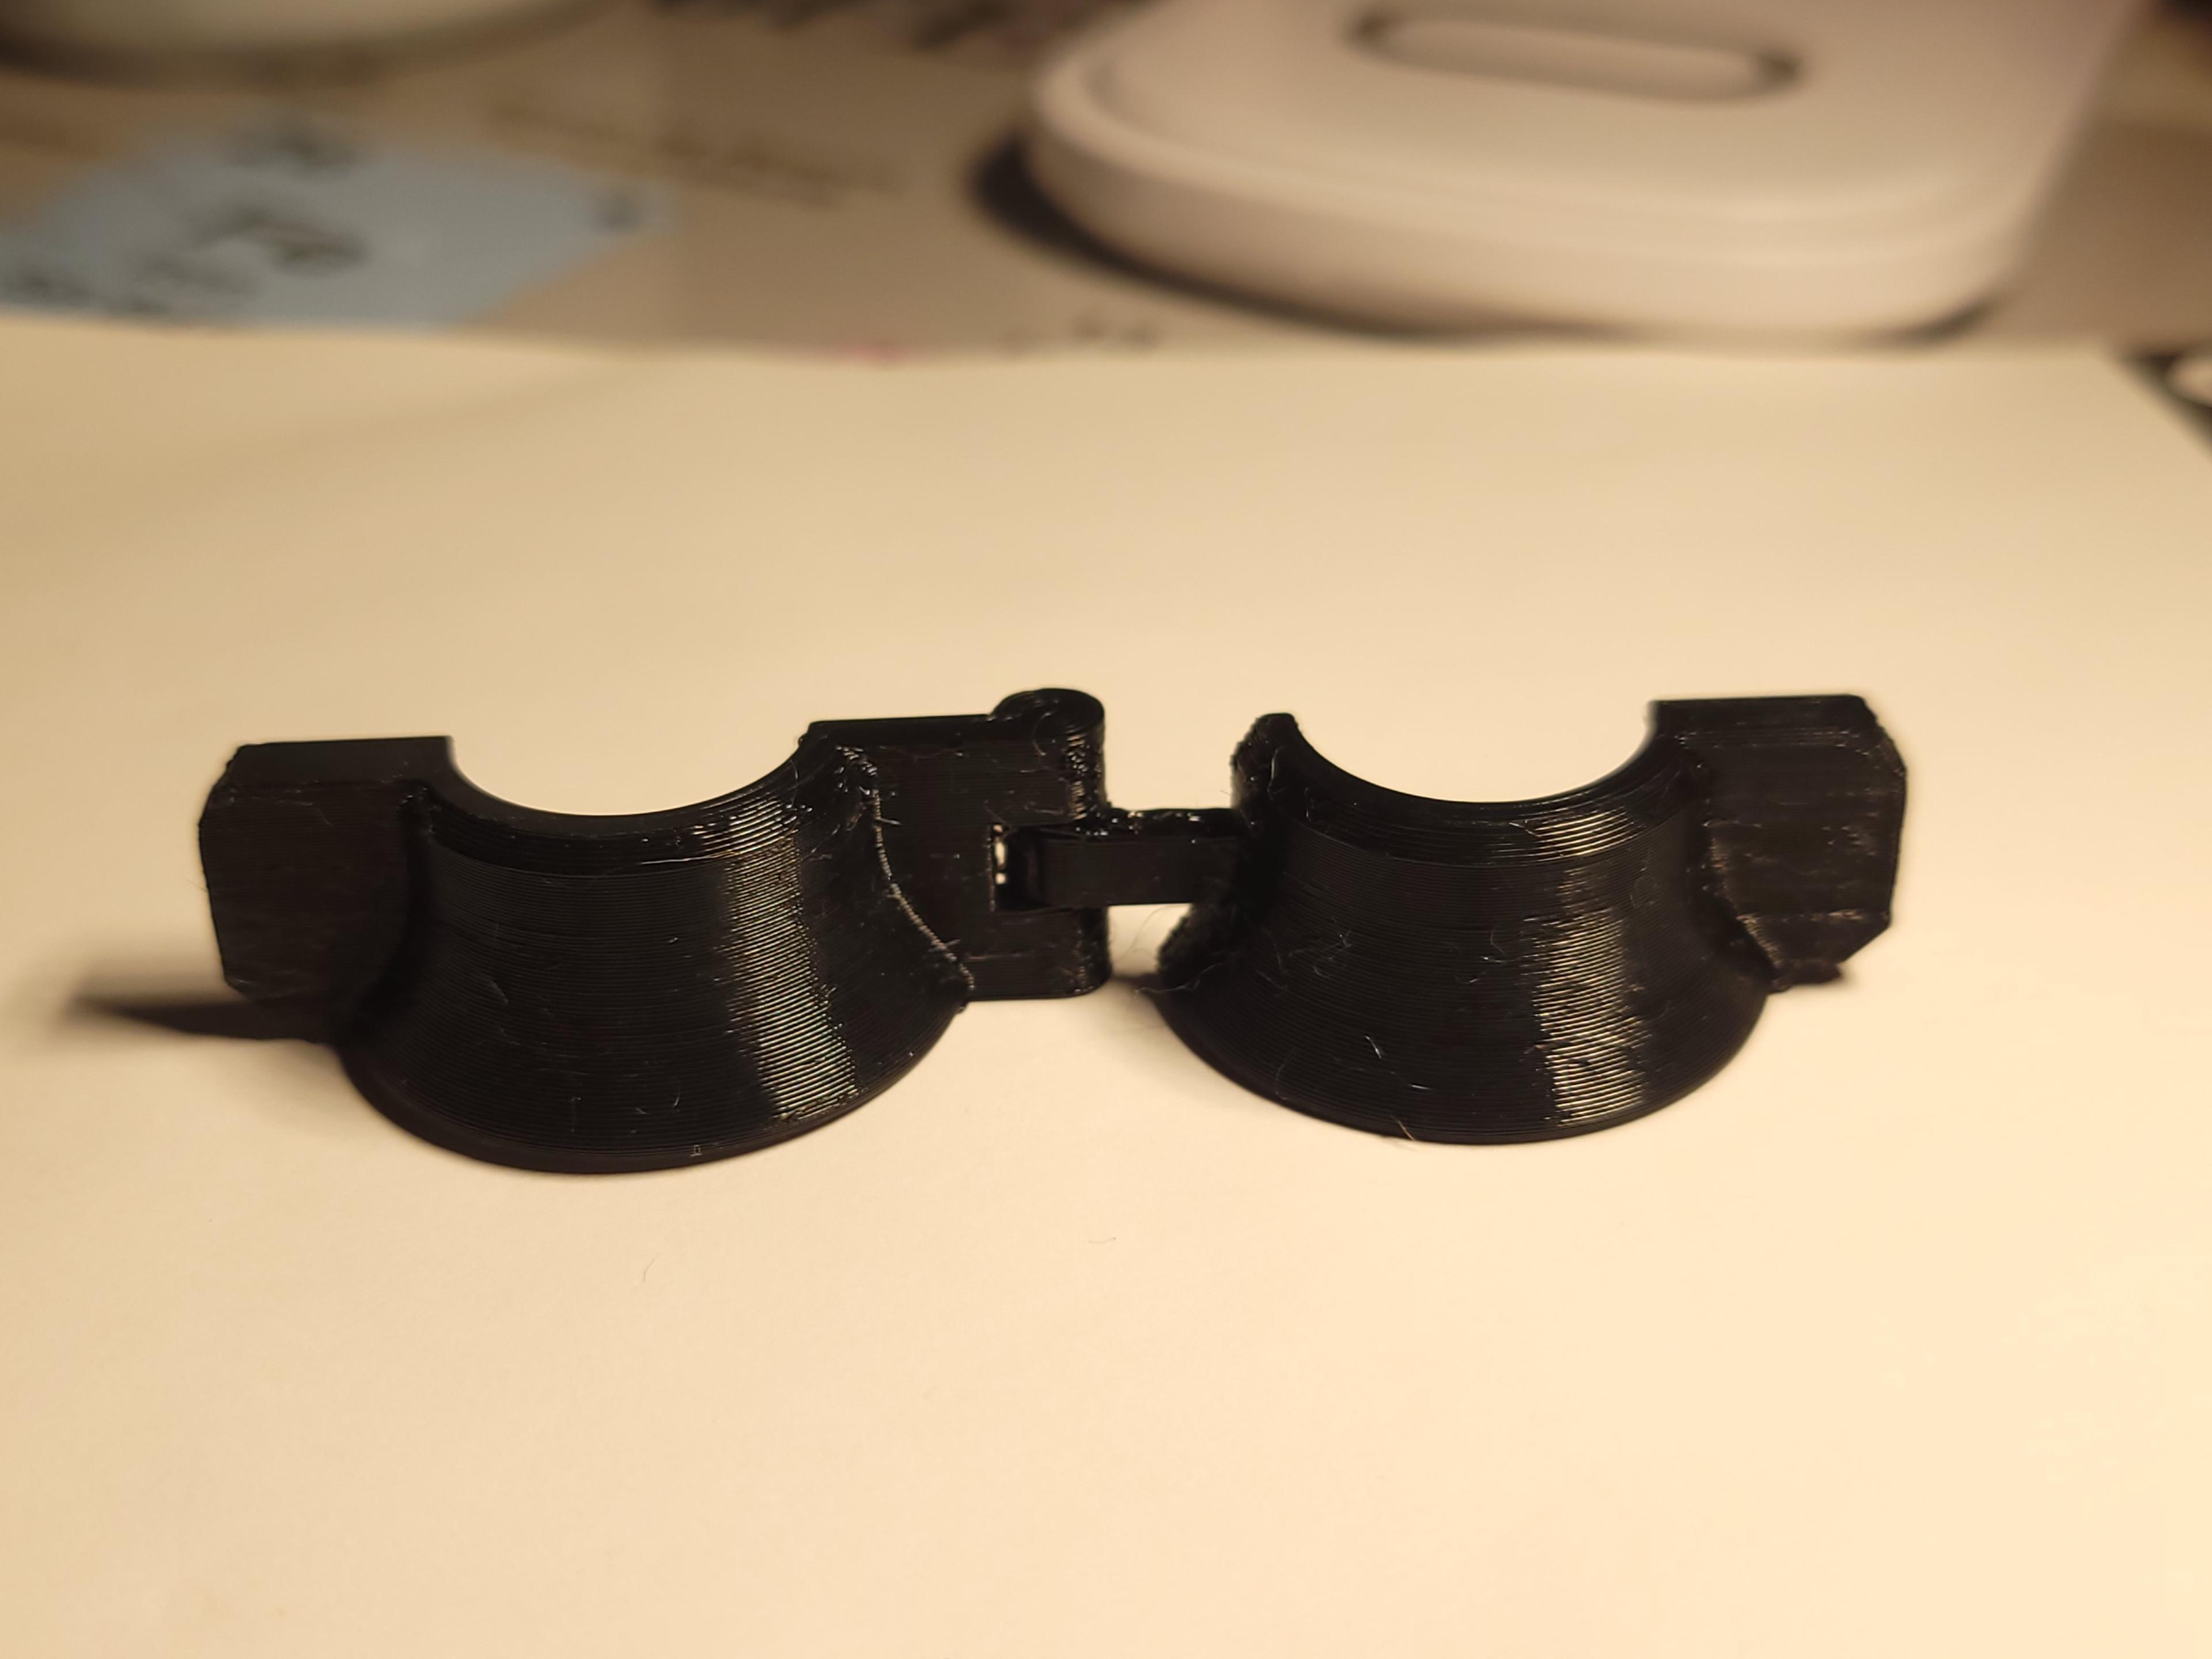
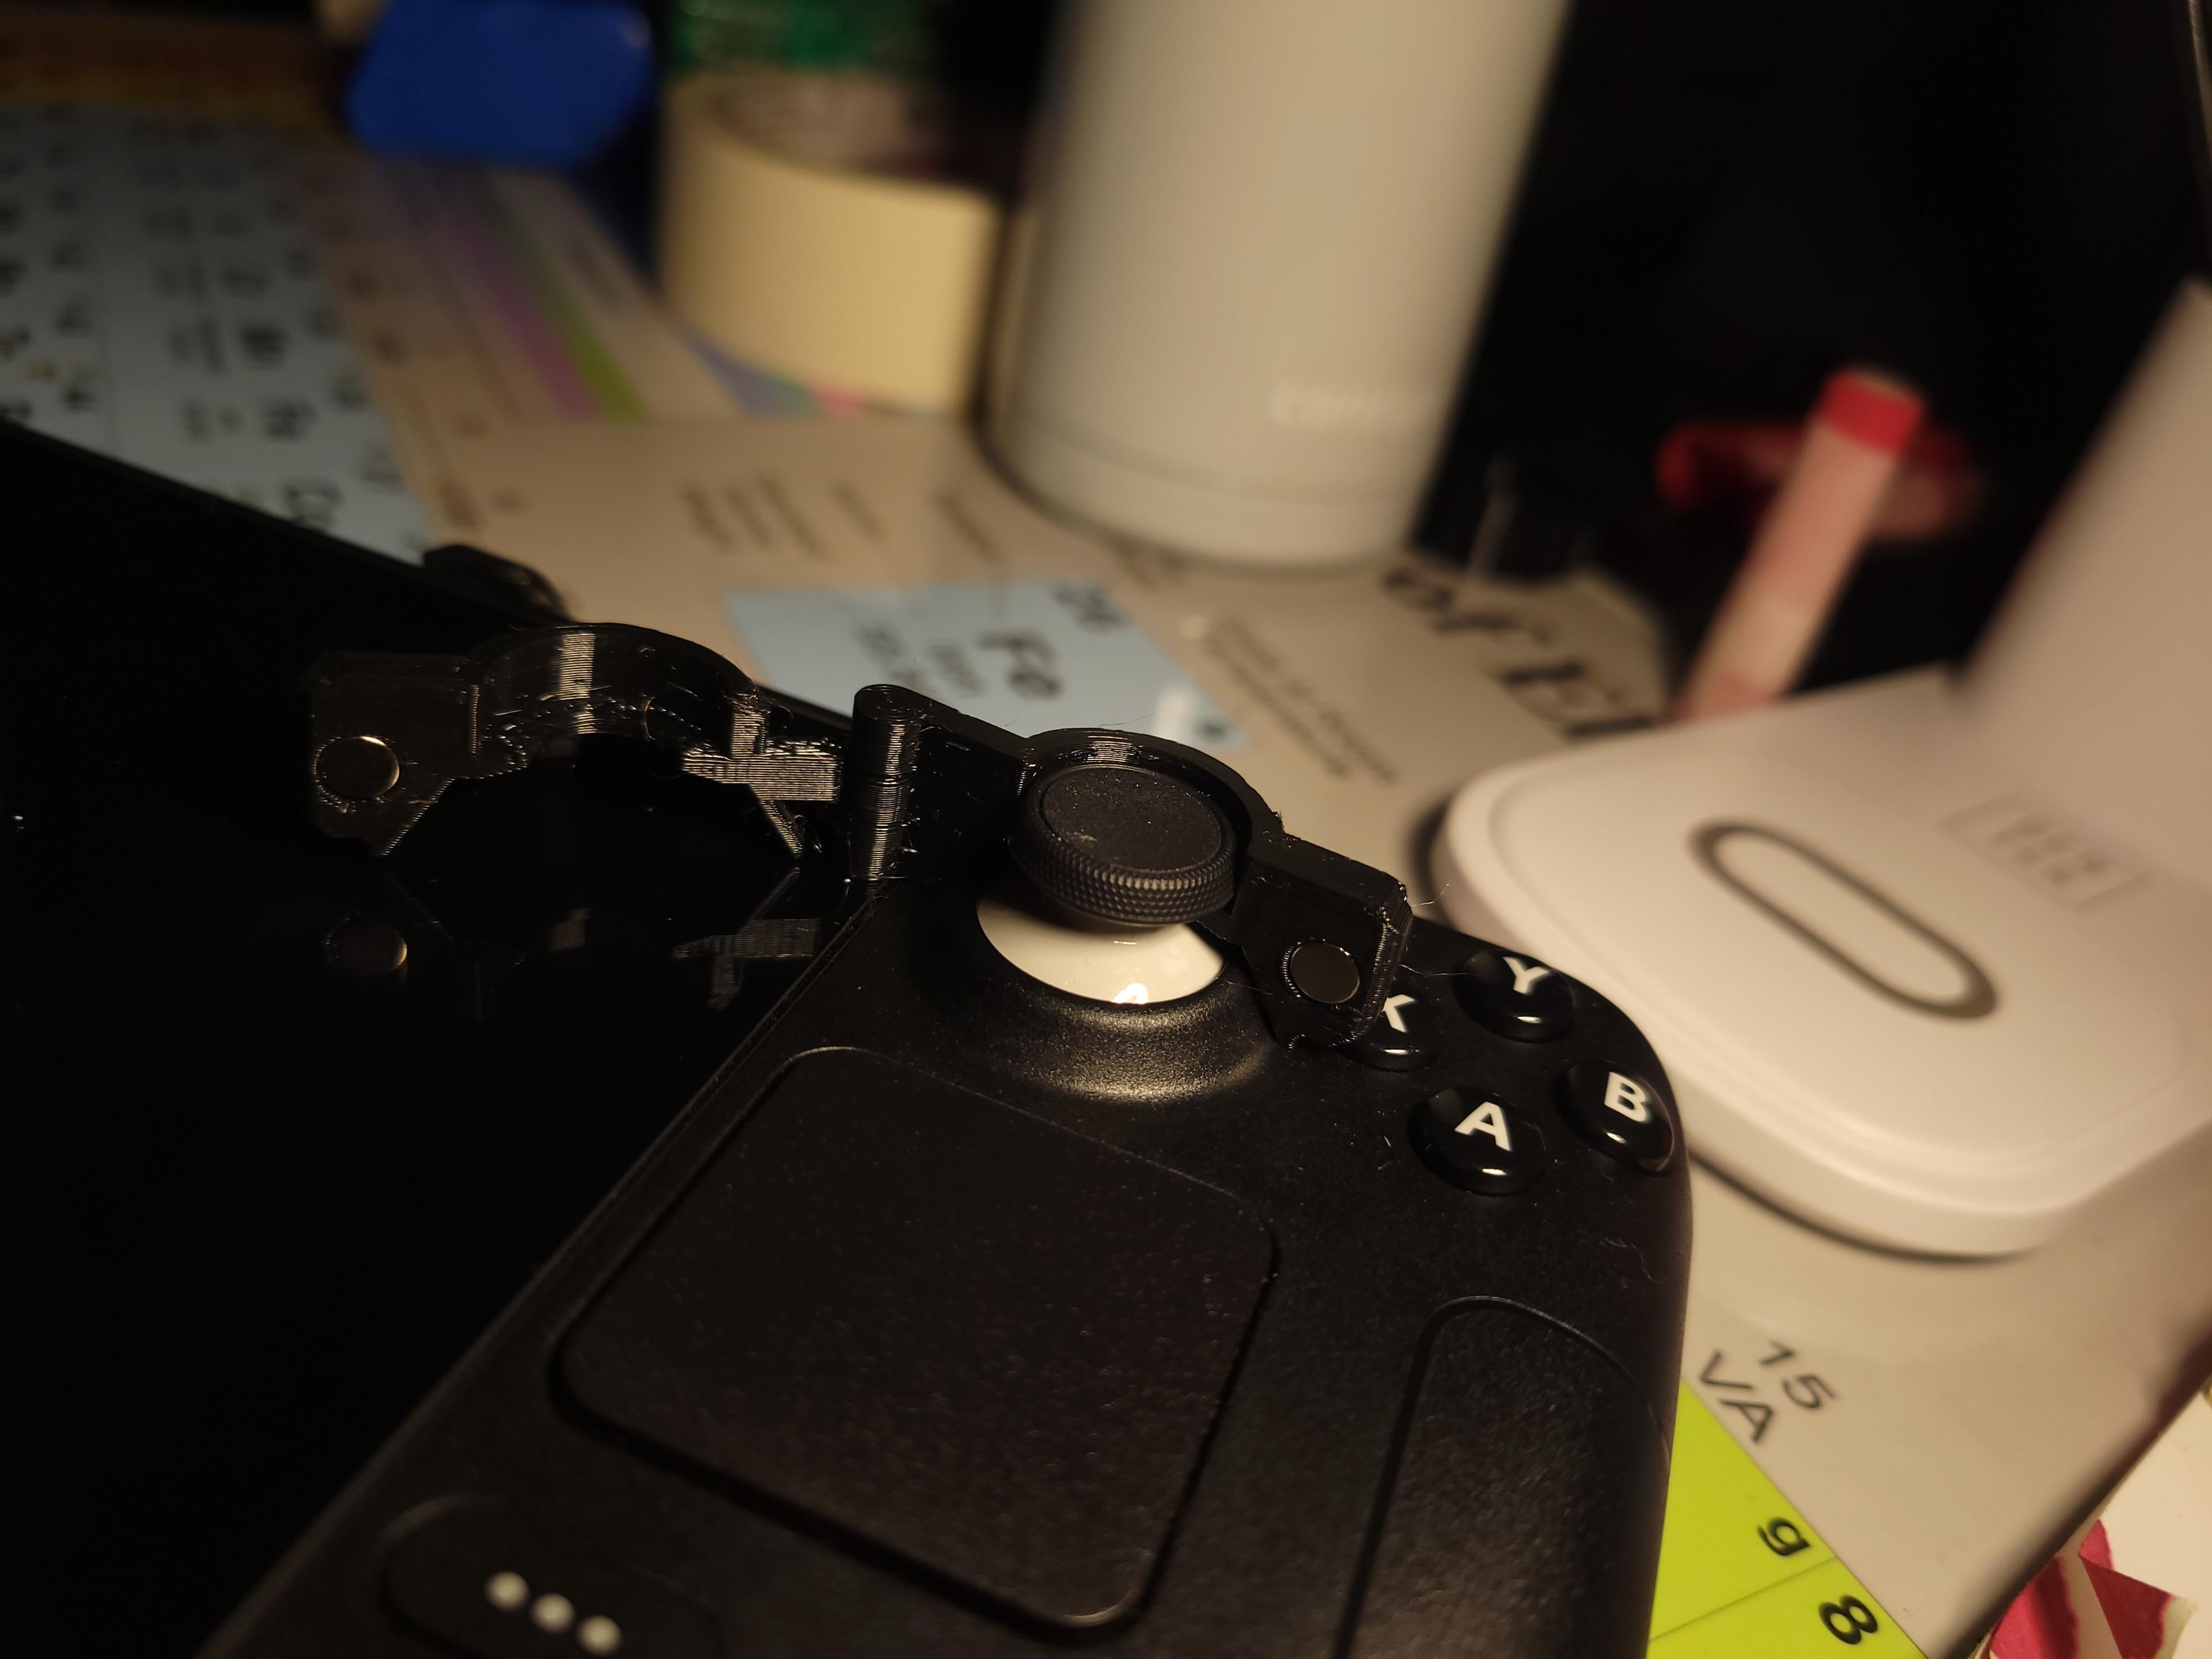
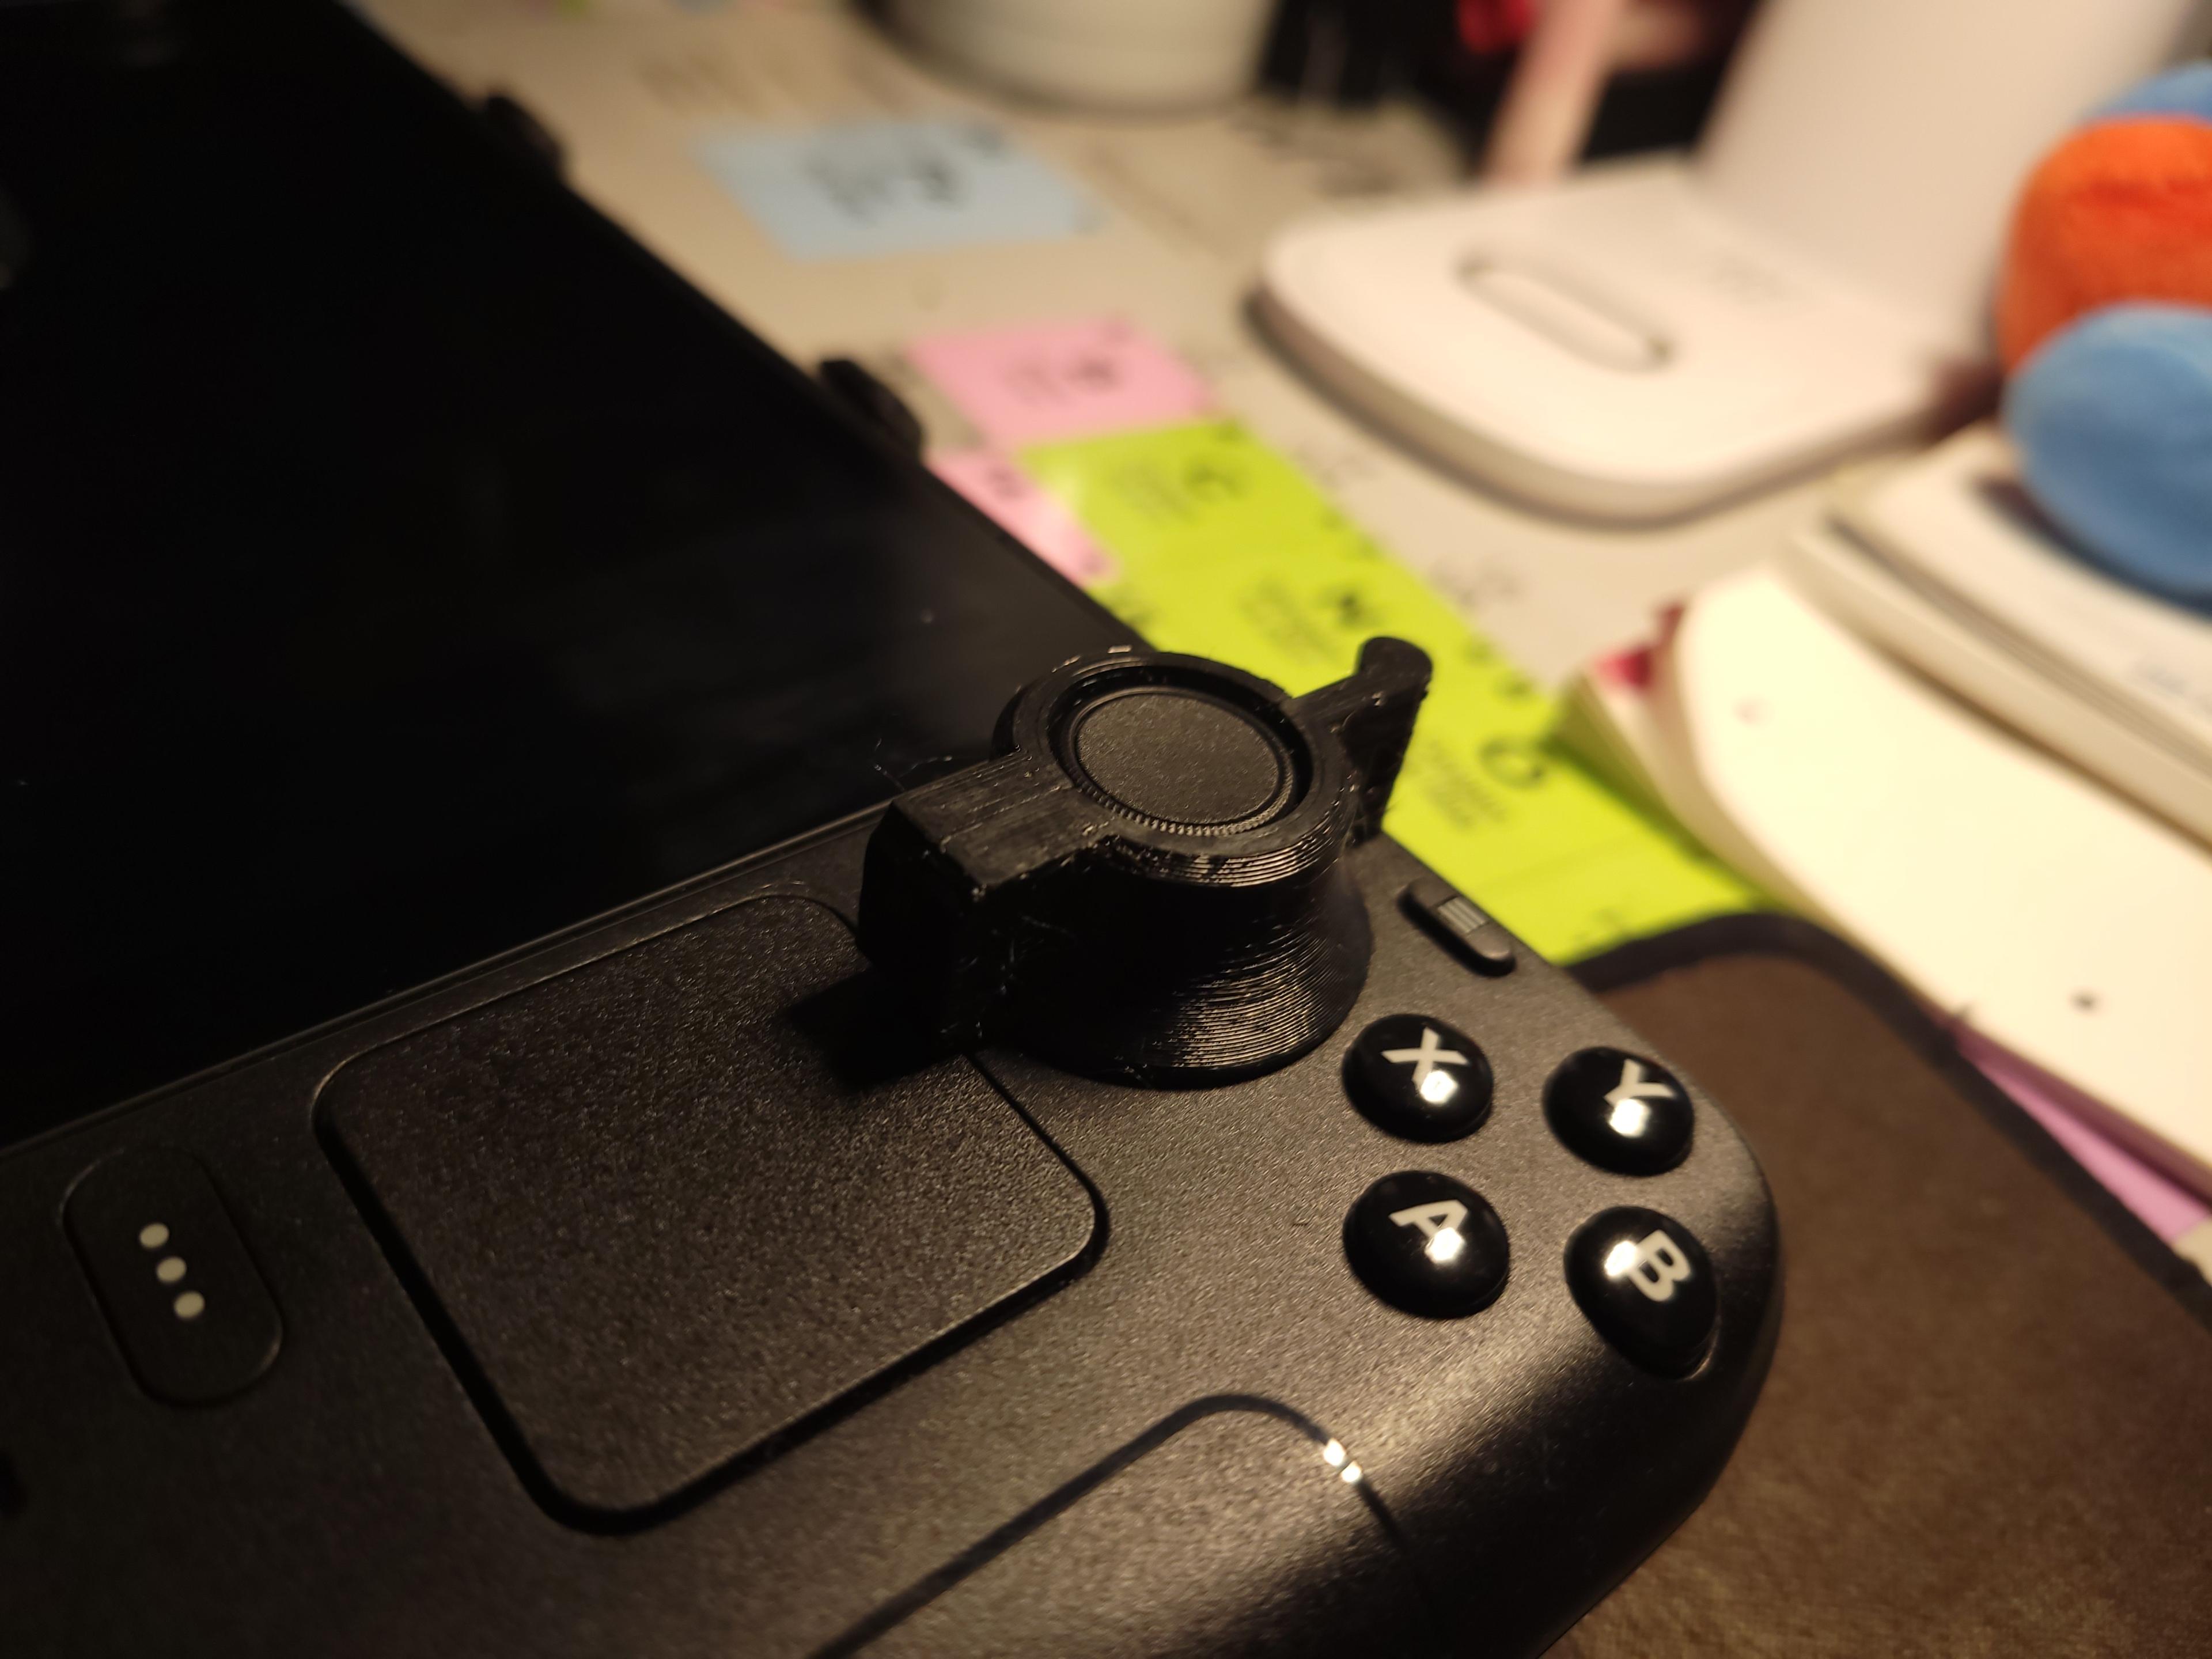
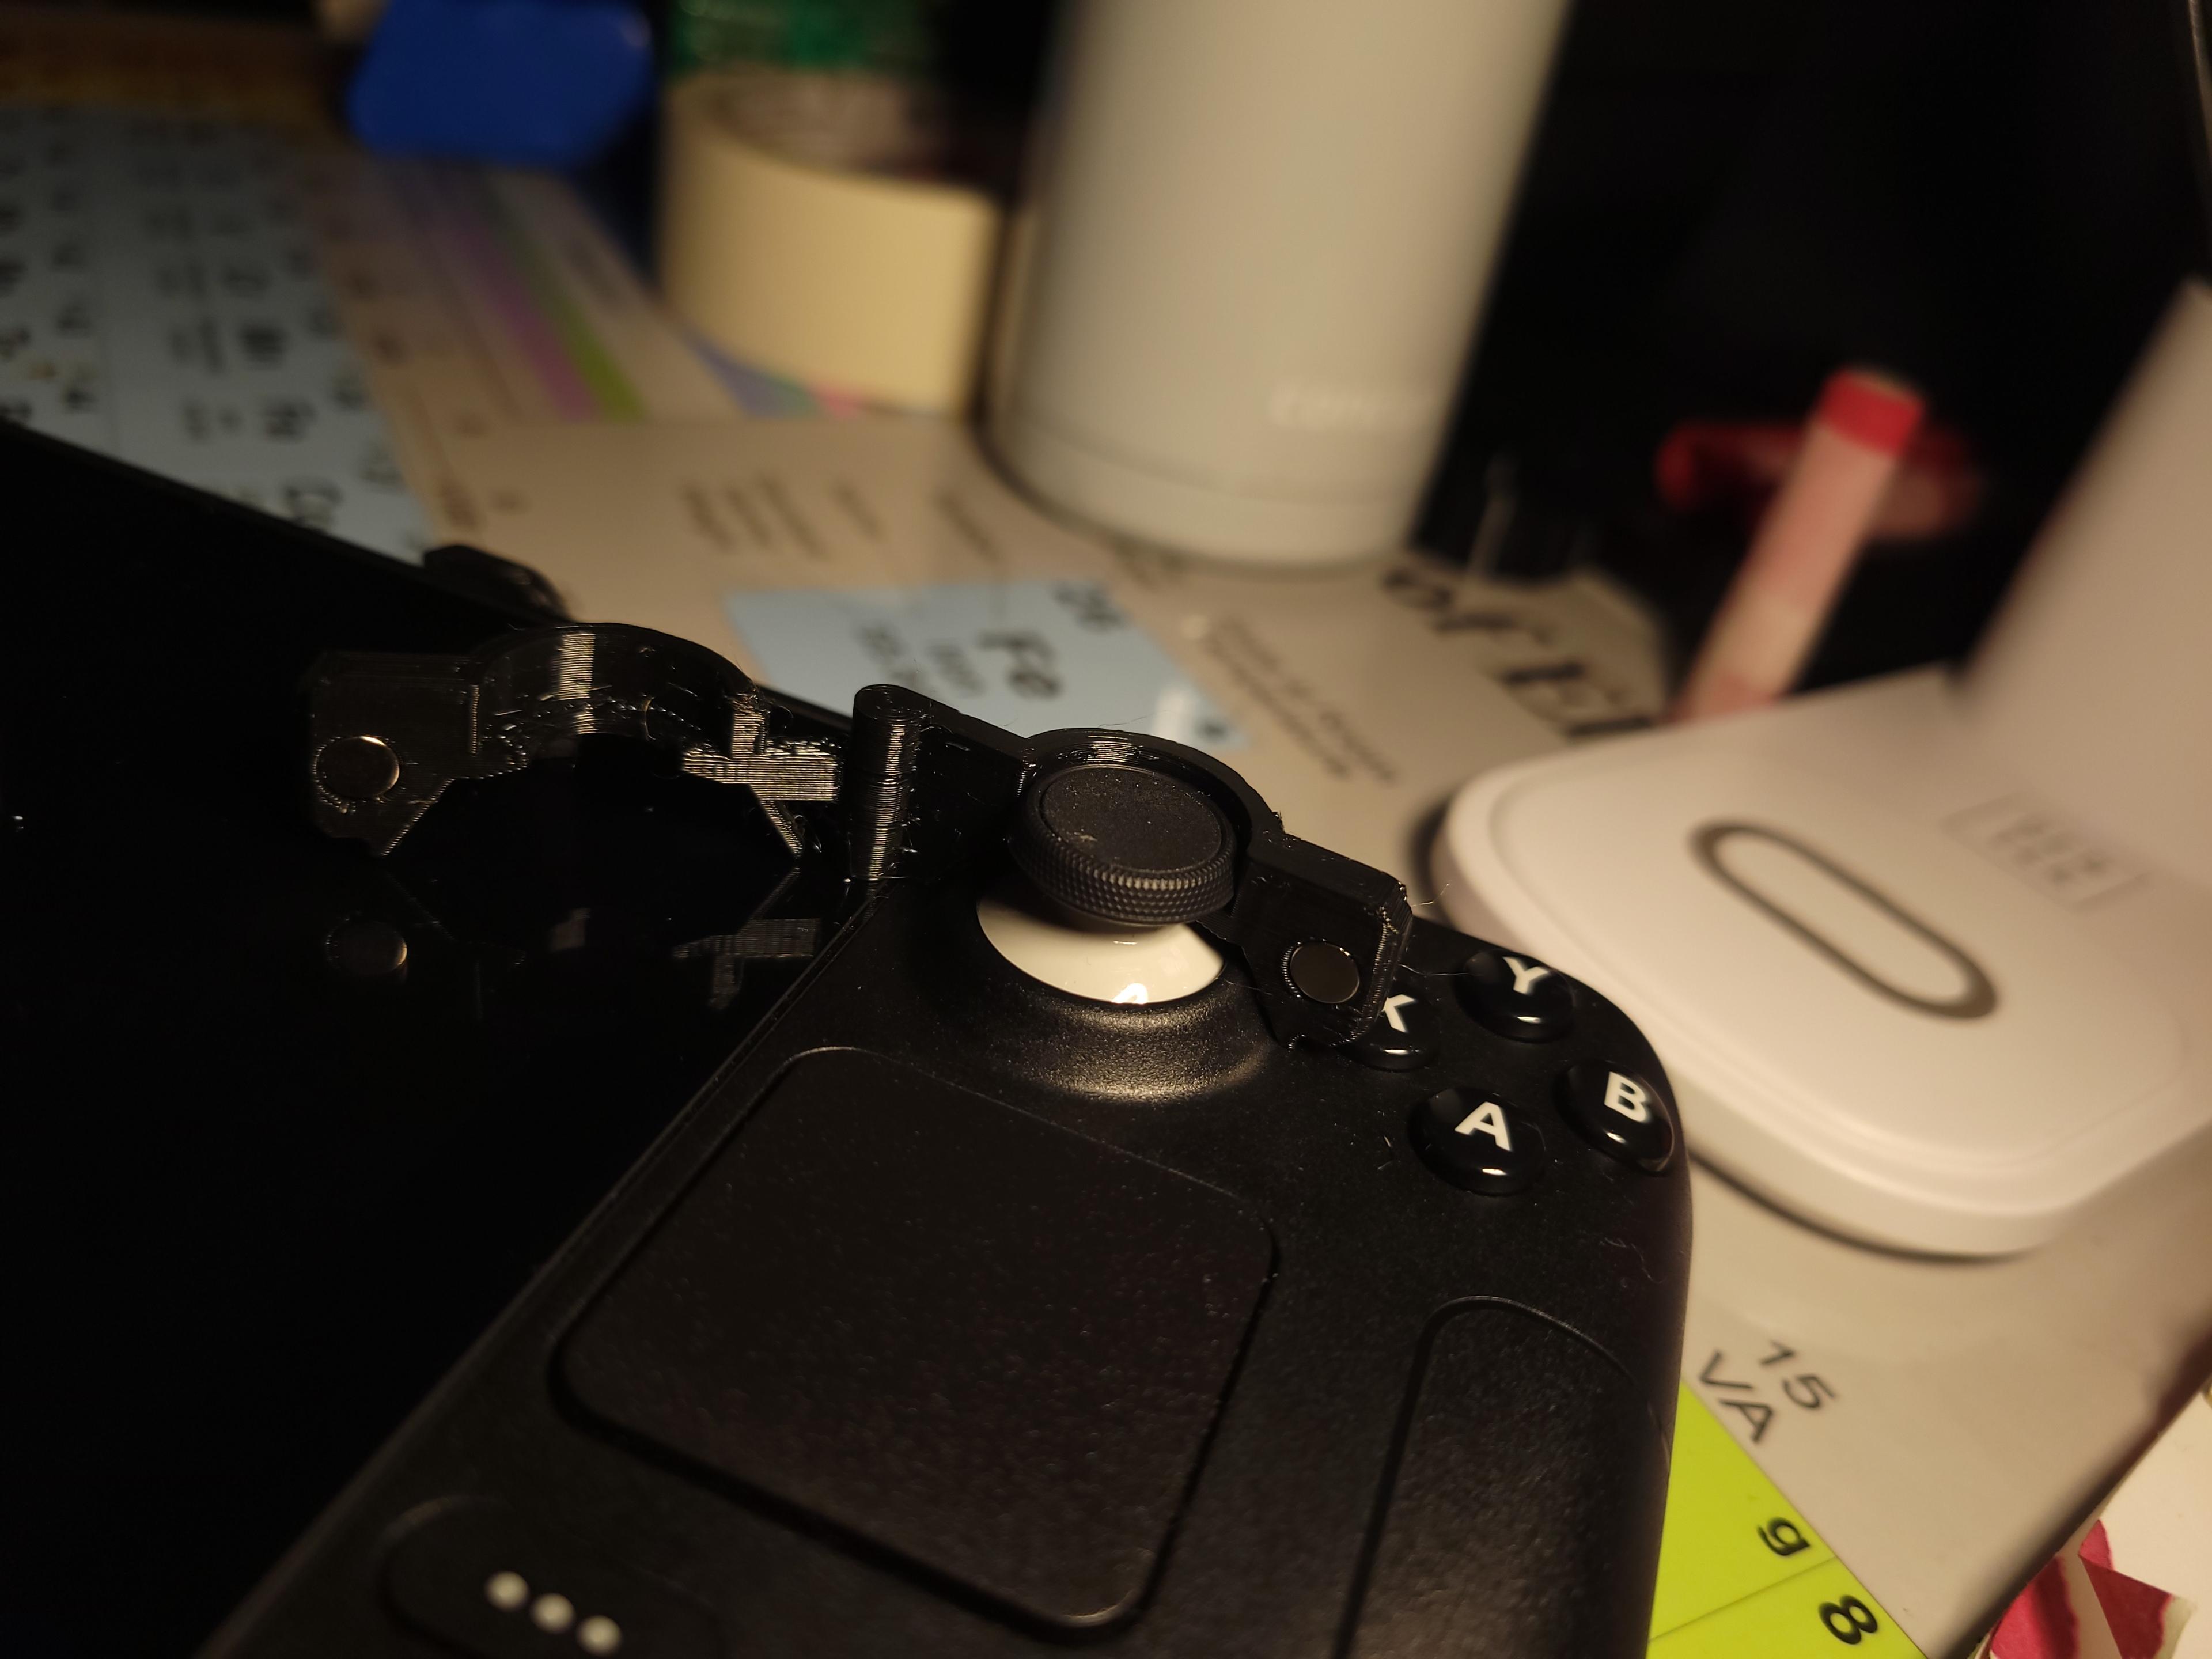
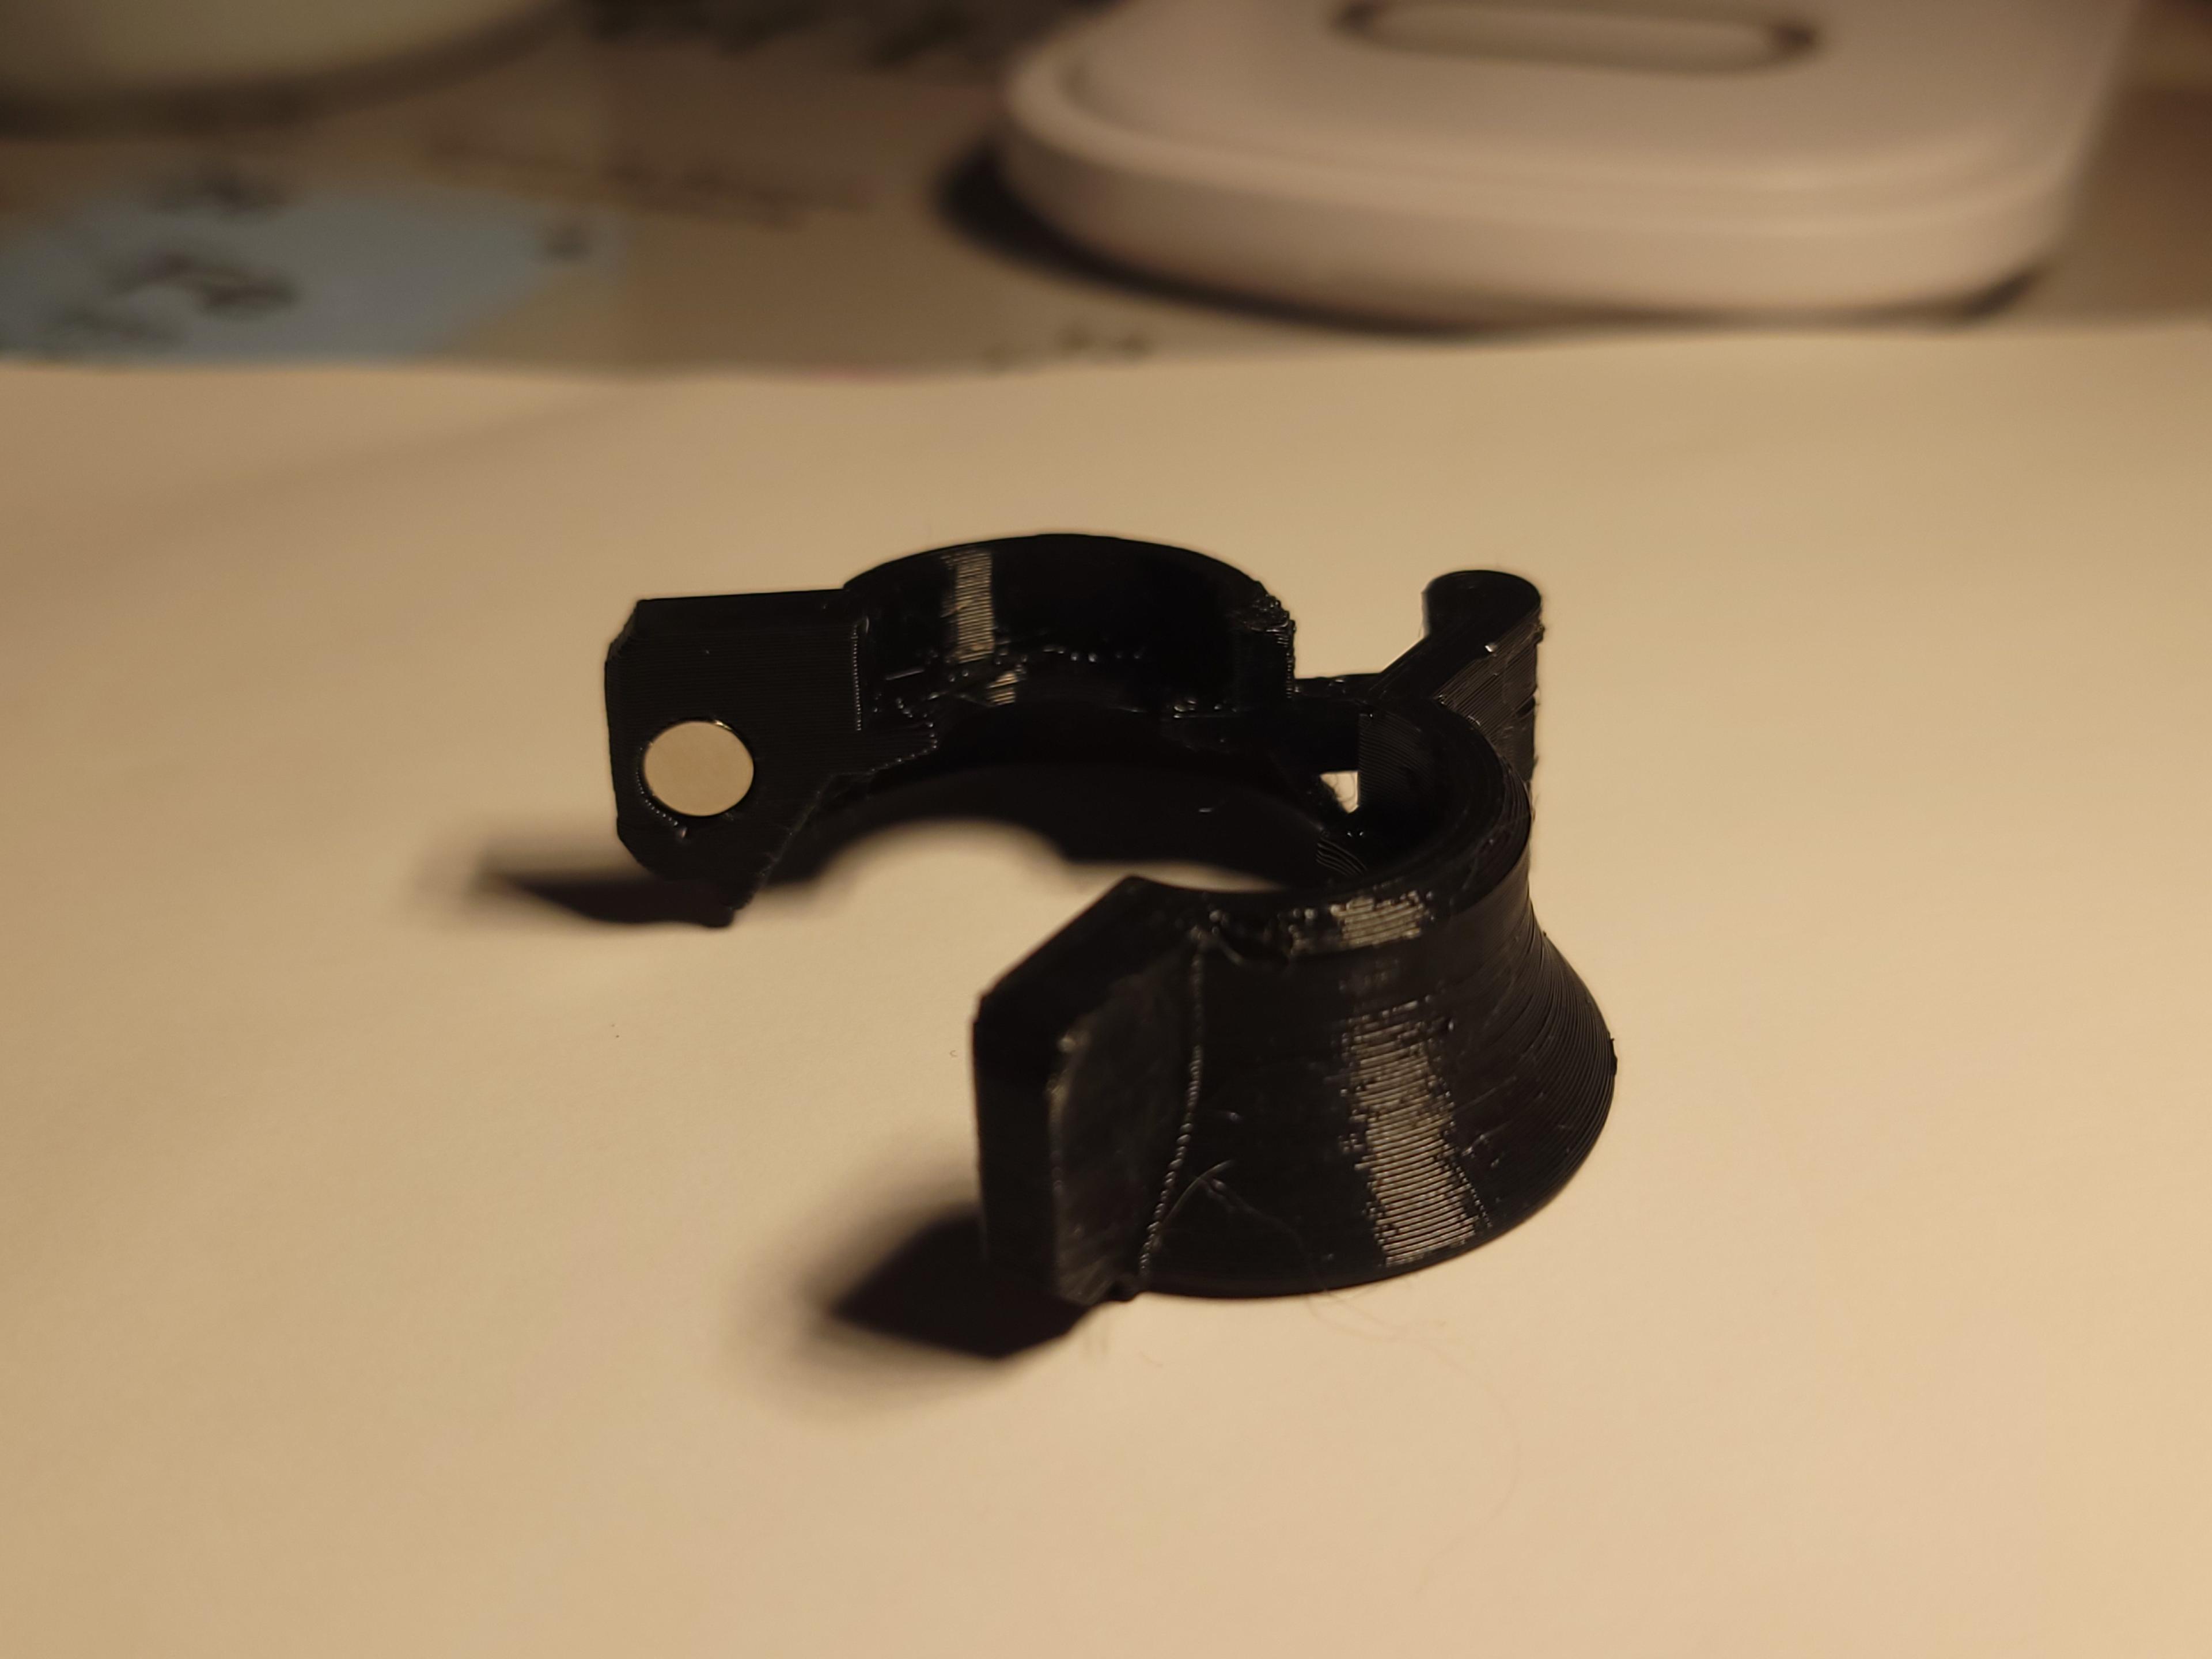
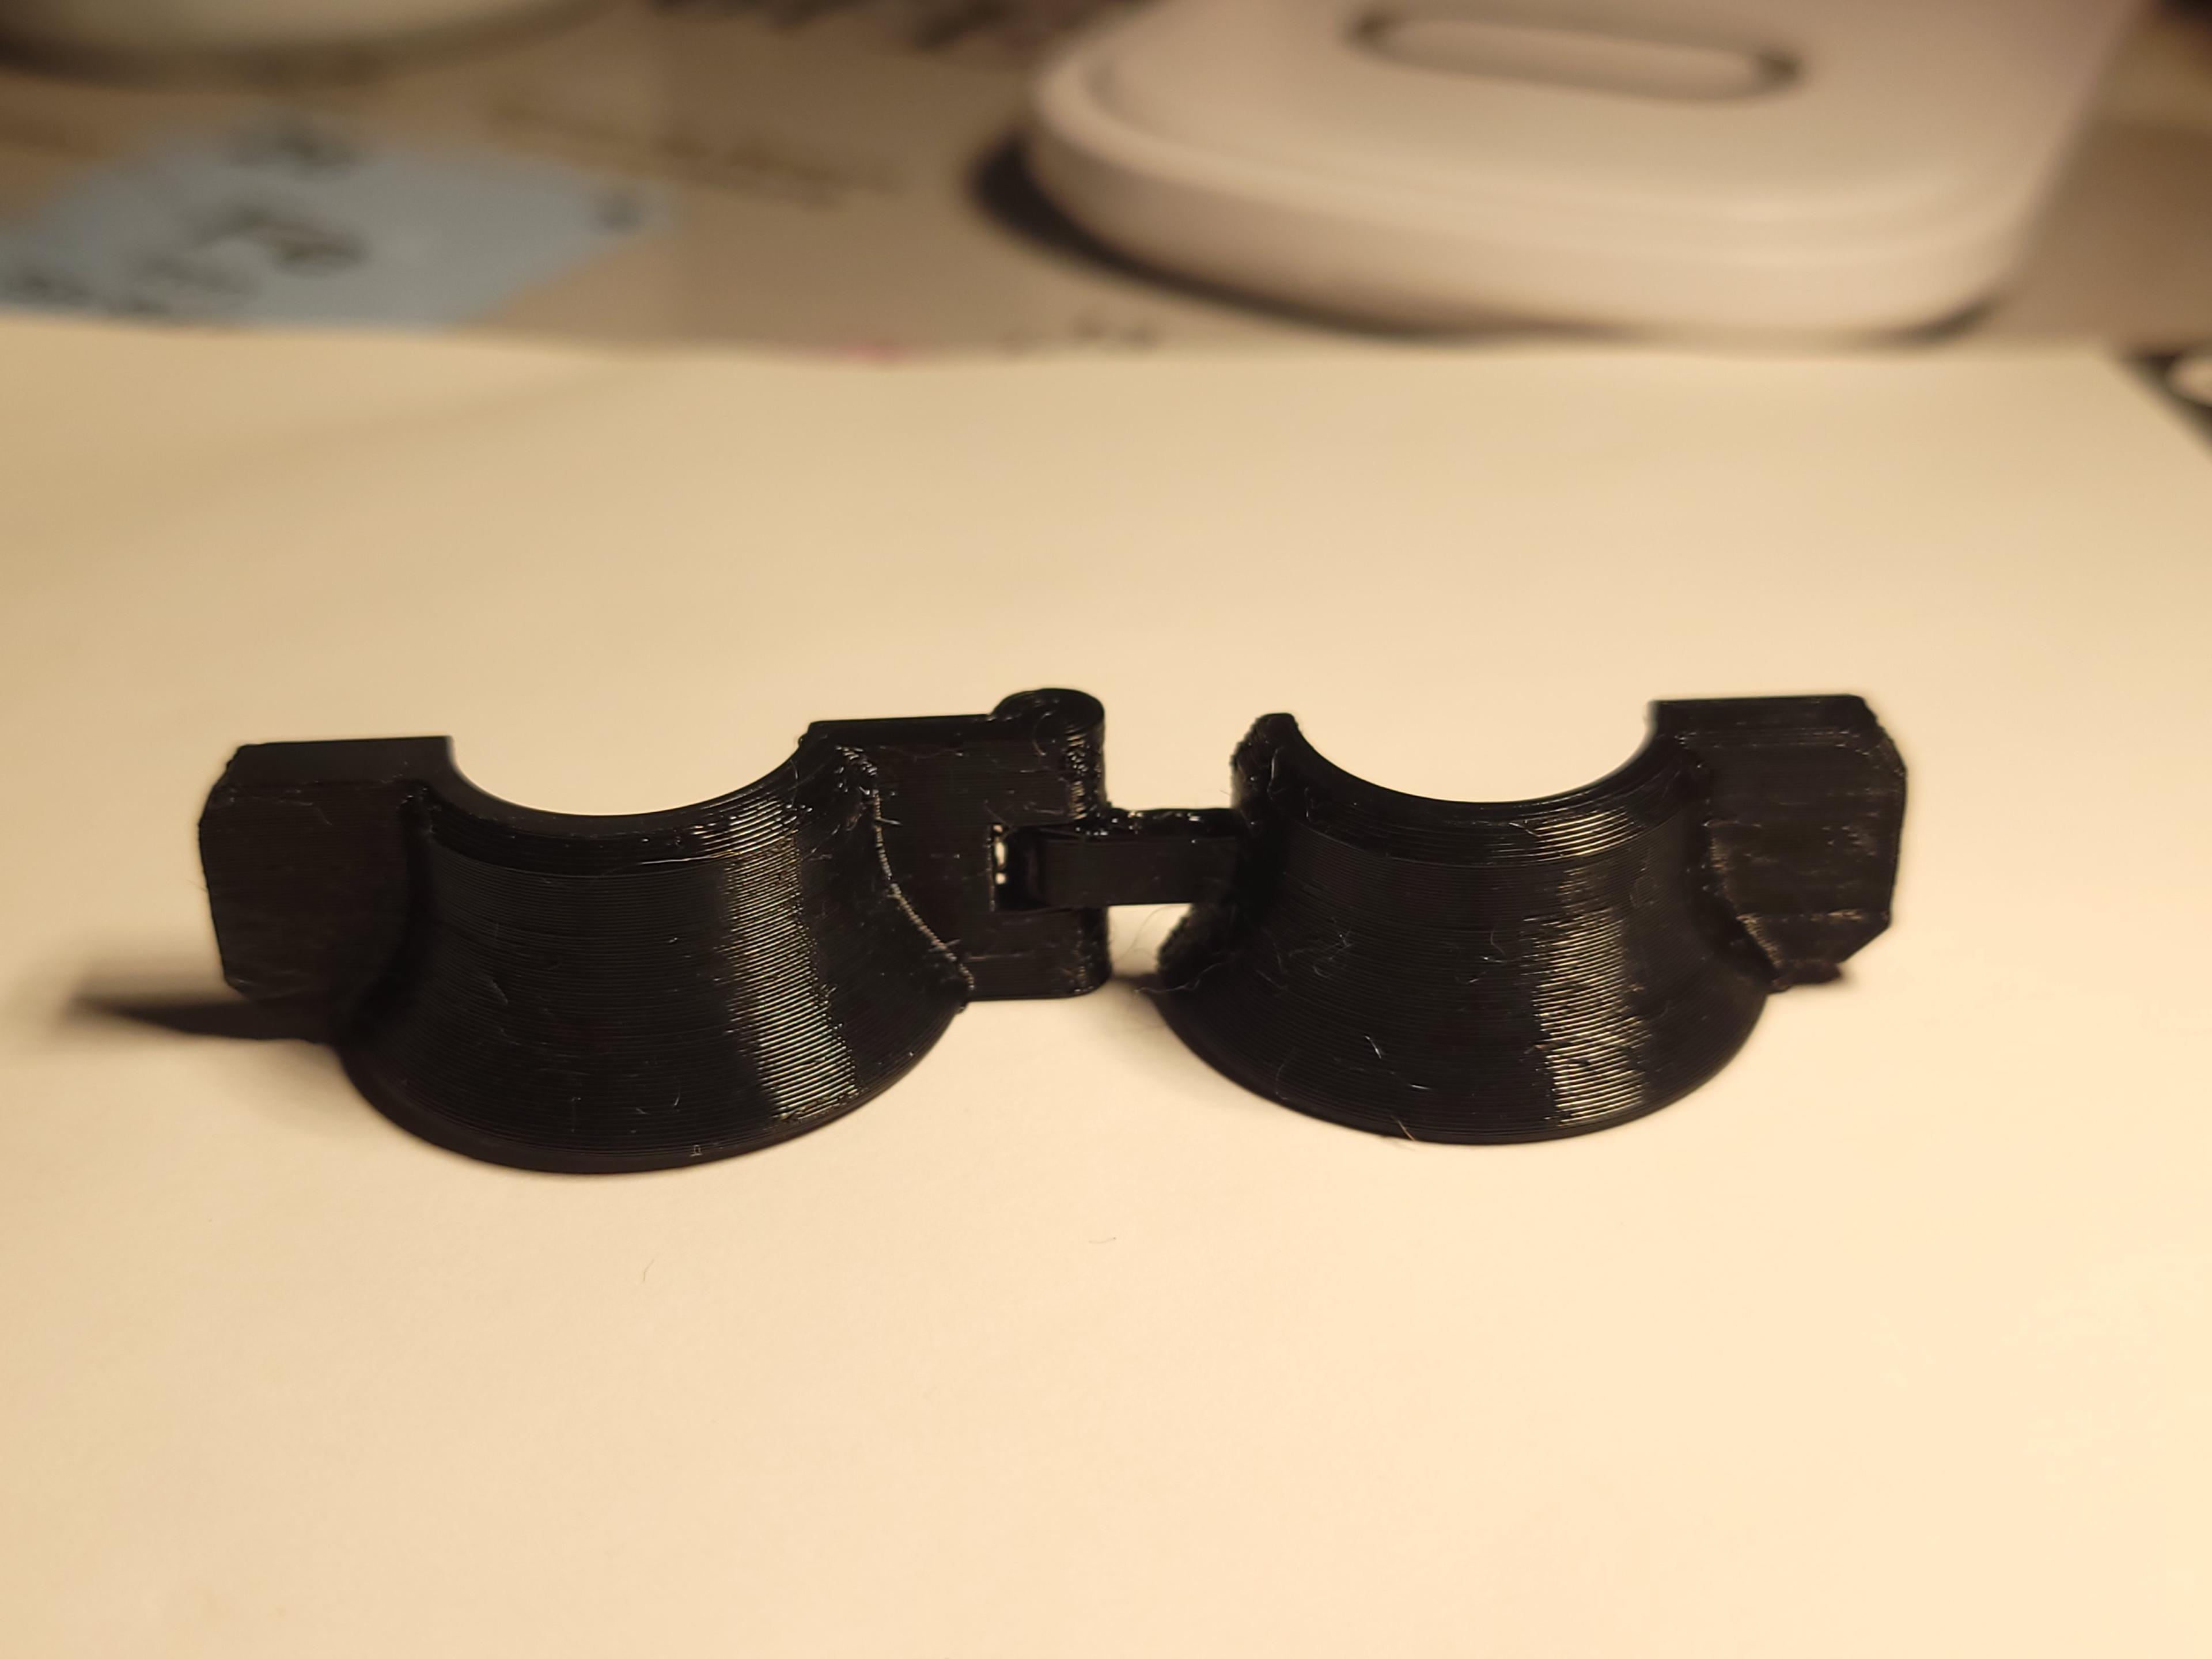
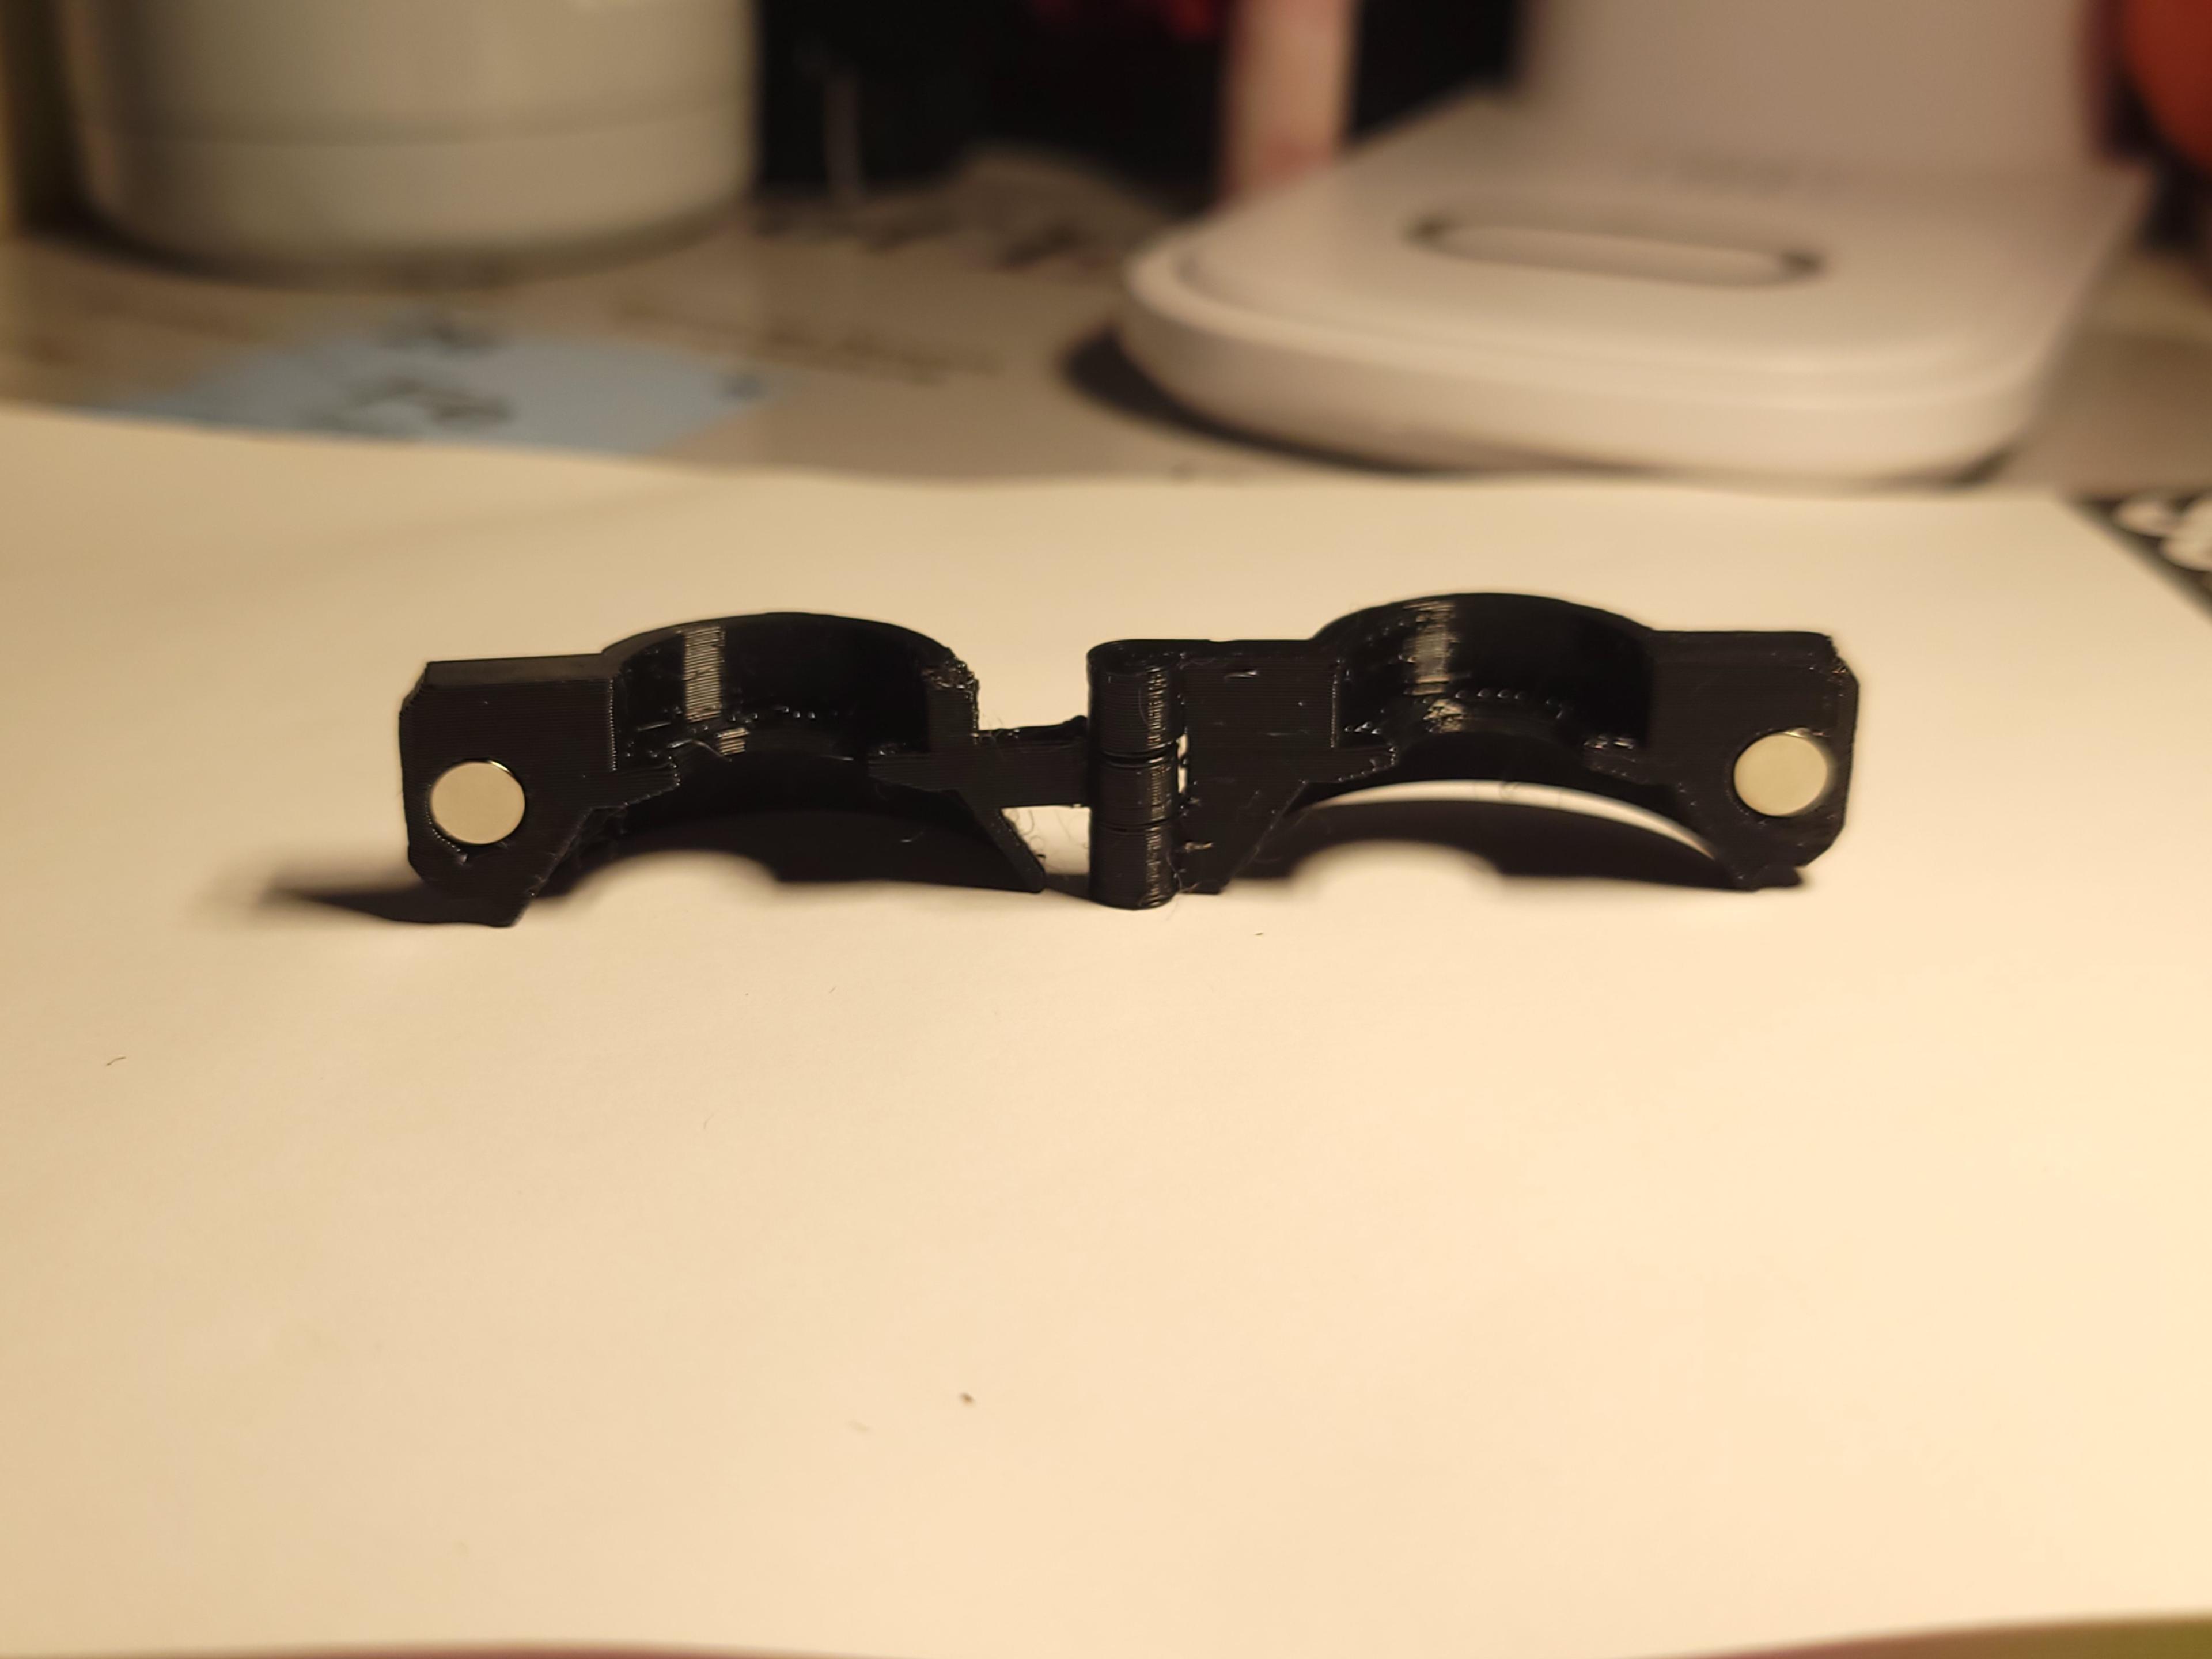
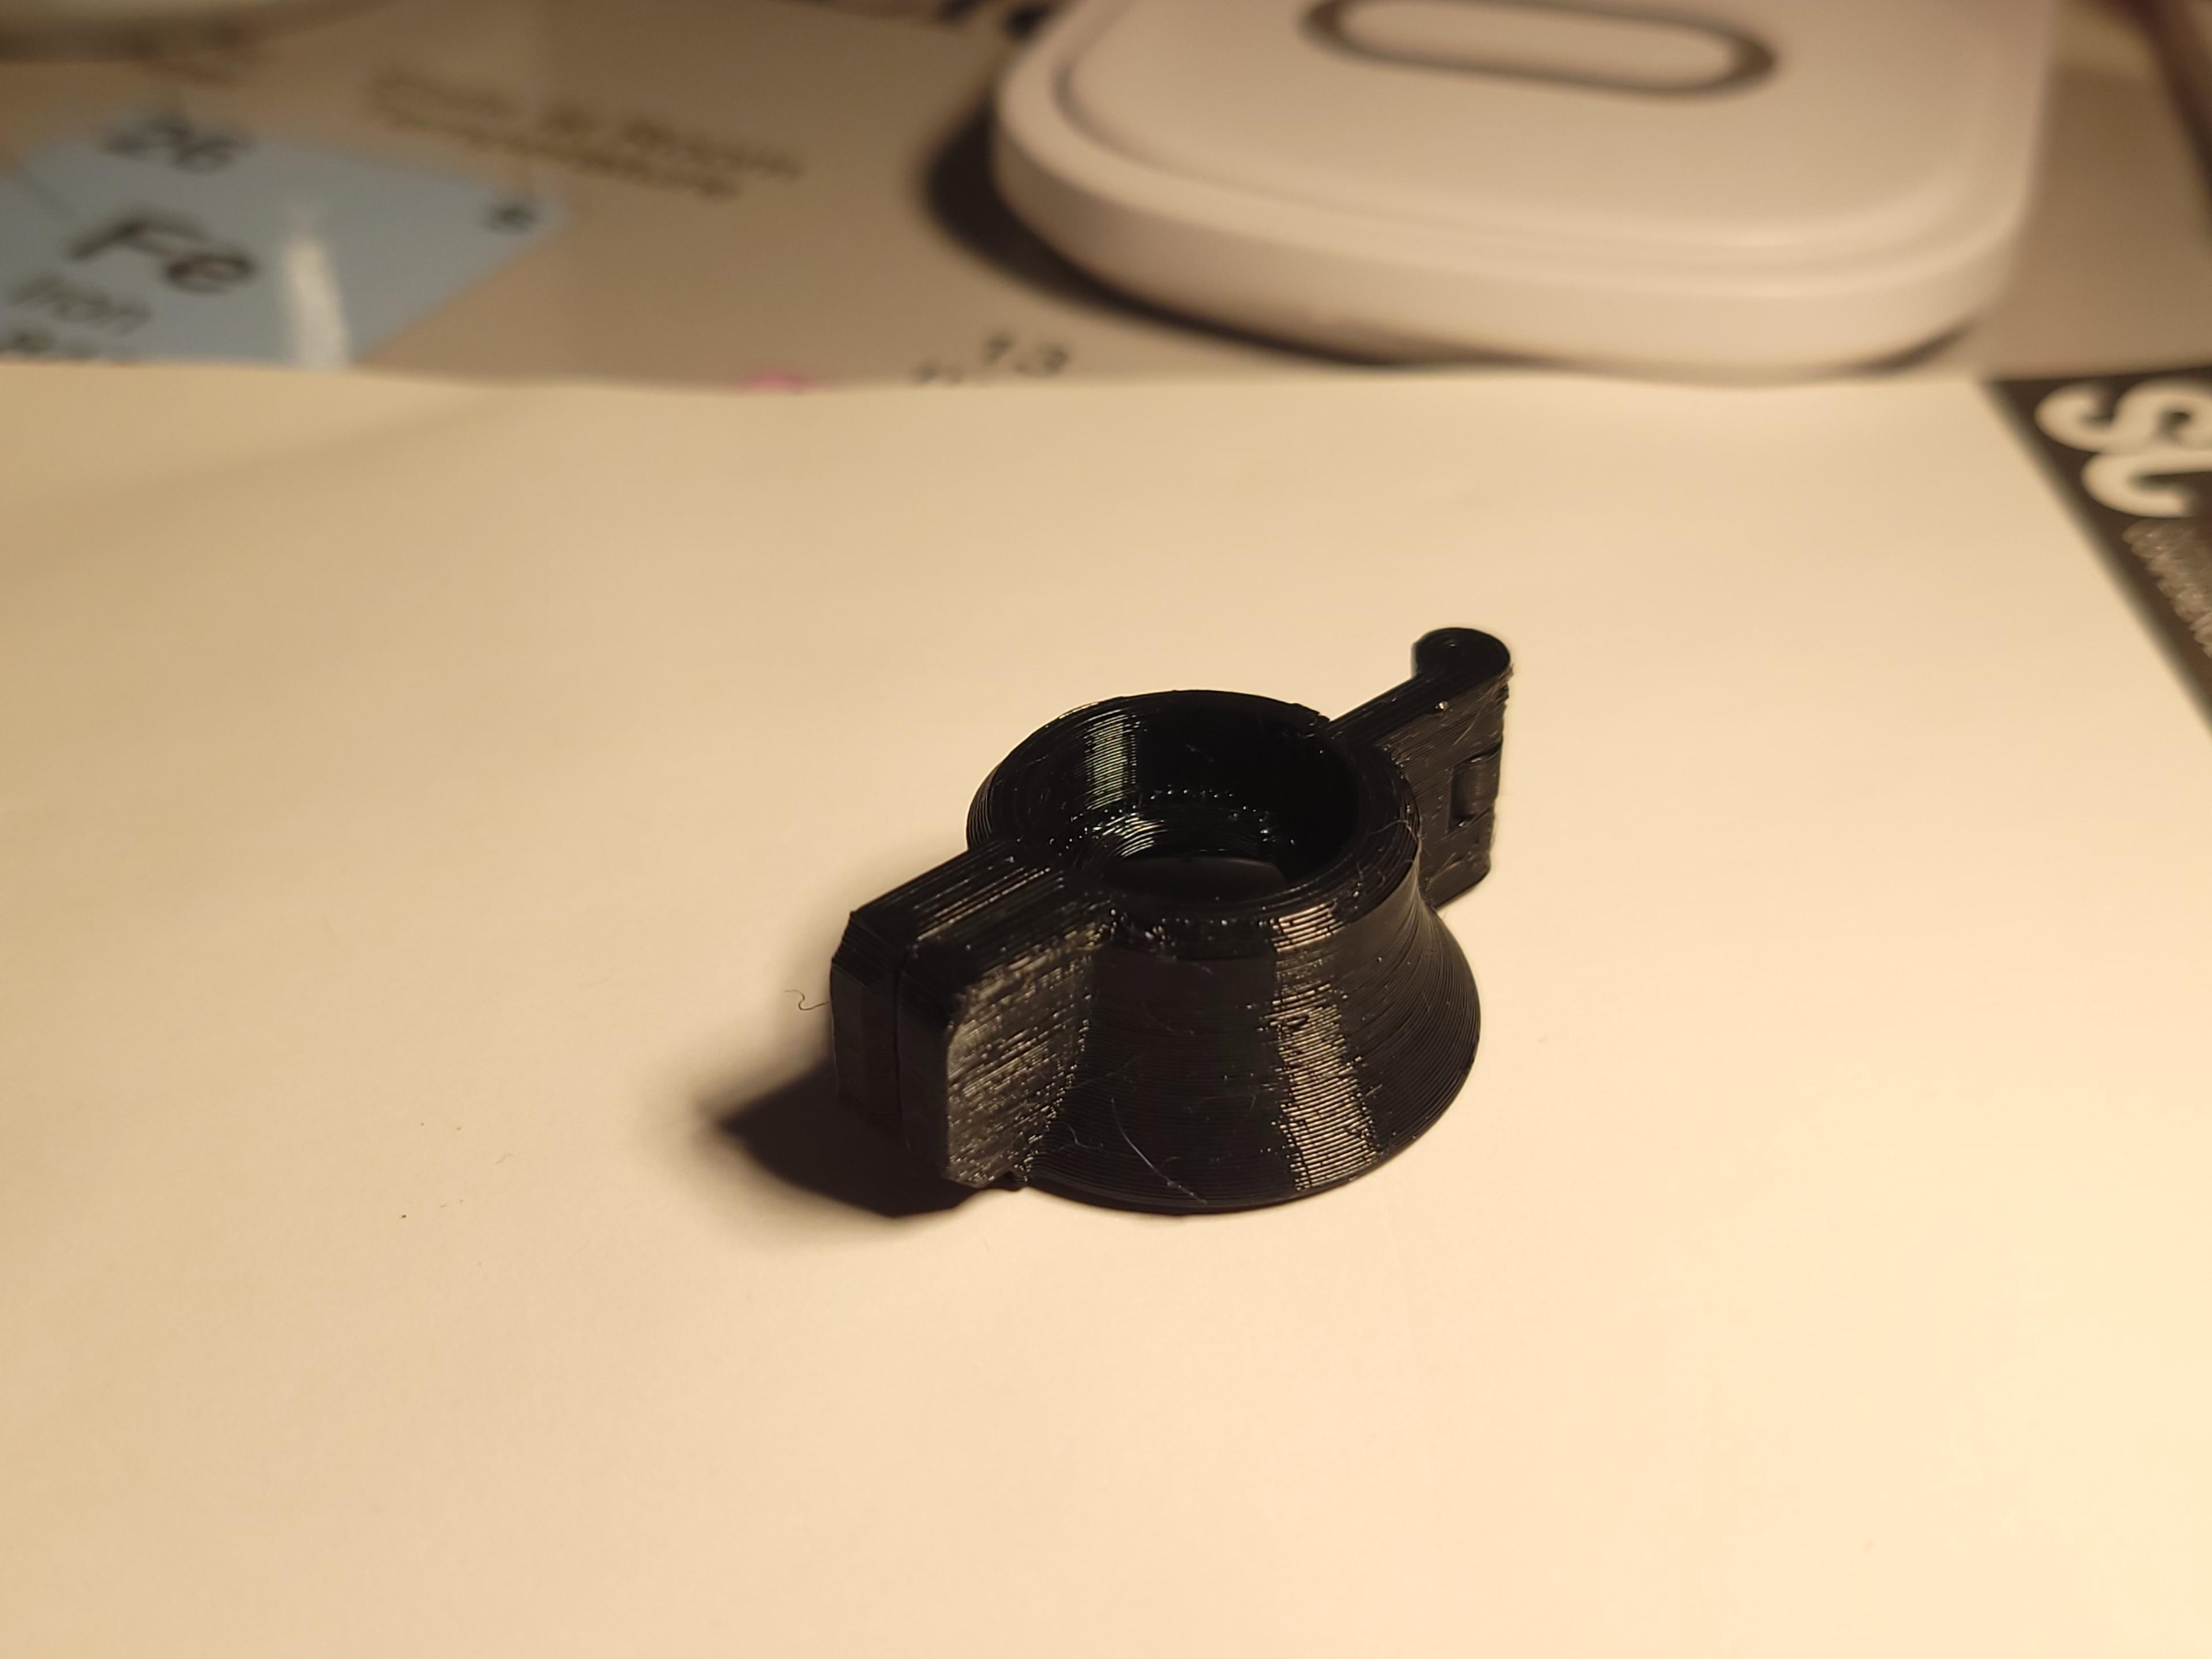
My take on a joystick guard which would allow you to safely put the deck in a backpack without a carrycase.

The most consistent way I got it to print well is to slice upside down (bigger side on top). This allows for better support placement on the hinge.

Another tip Is to not take the print off the bed immediately, Instead heat the bed to the glass transition temperature of your filament (80-85c for PET-G And 55-60c for PLA). Once it has been heated for a while, remove the part while still warm and then slowly attempt to close/open the hinge. This will make the two halves open more easily while also not snapping.

Magnets used: 5x3mm


14 Likes199 DownloadsFebruary 21, 2023


14 Likes199 DownloadsFebruary 21, 2023
This model is restricted by licensing terms.