
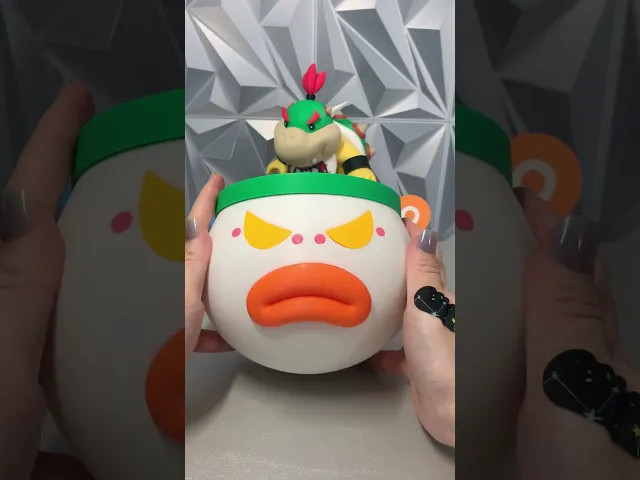


Junior Clown Car
Junior Clown Car! Straight from Super Smash Bros! ⚡
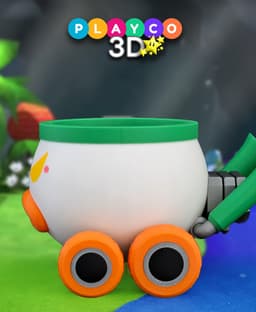
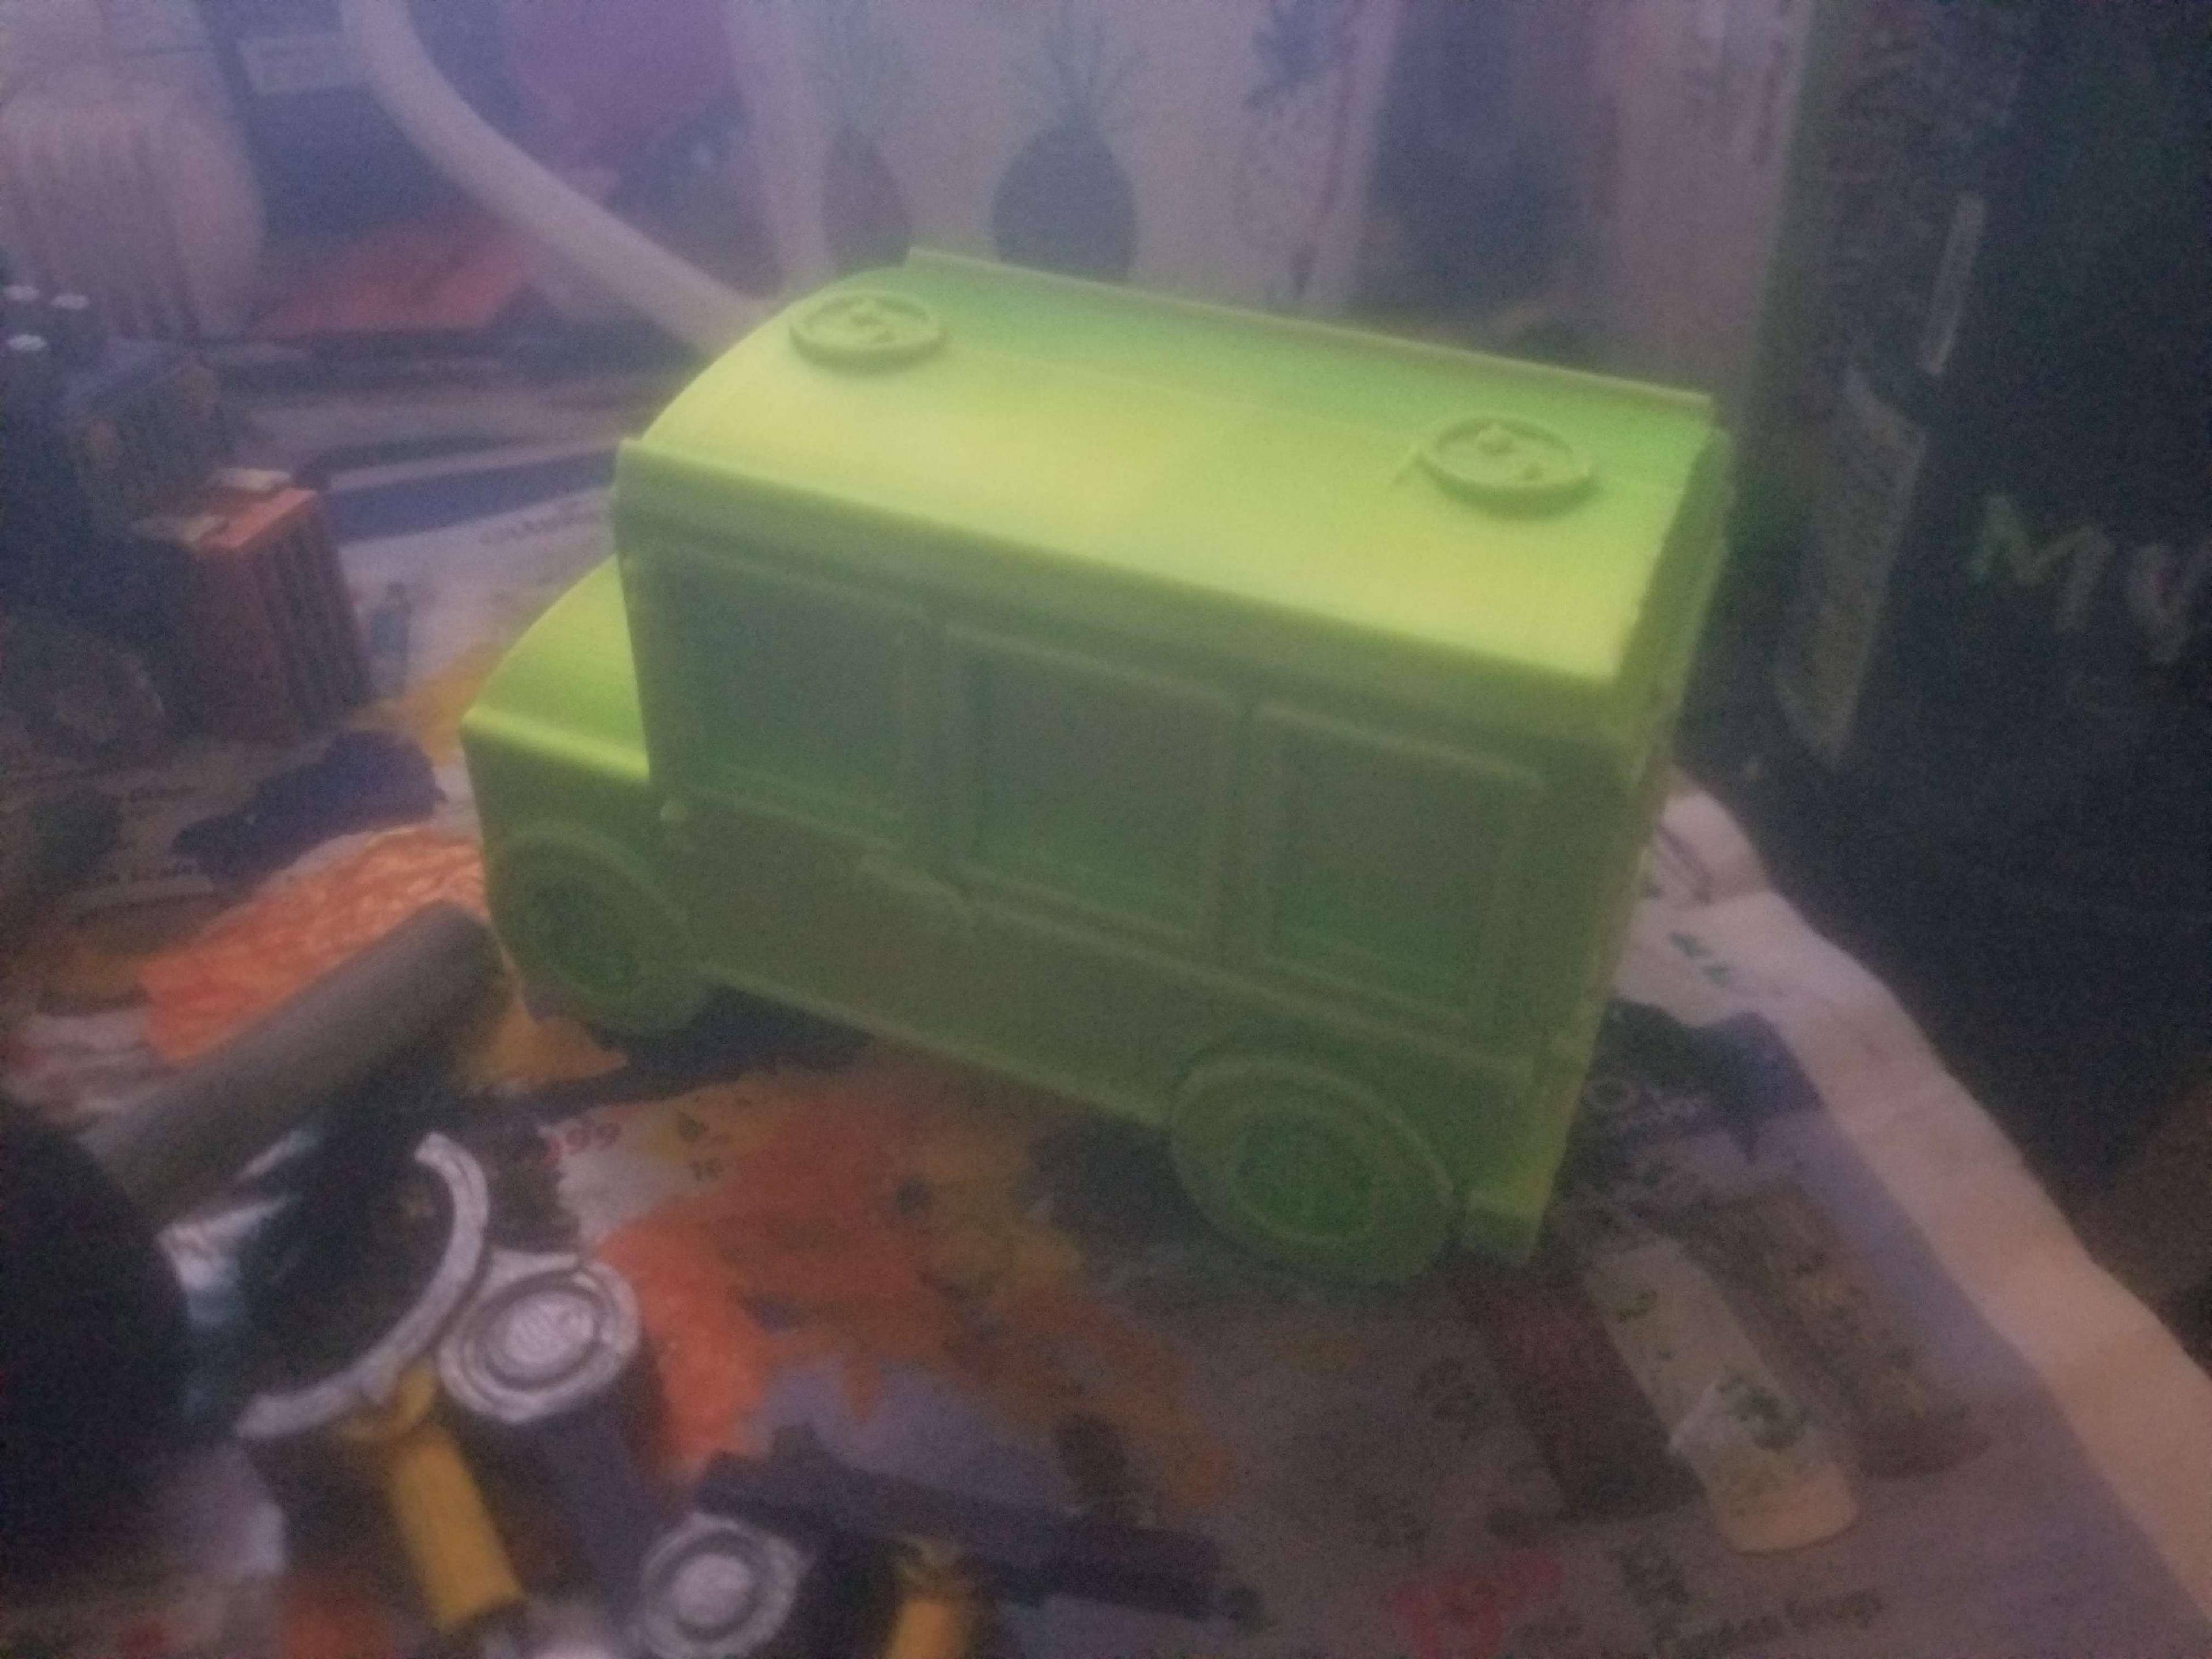
This model features the Clown Car with its wheels and engine, making it ready to roll into your collection. It’s a full standalone print with easy assembly and detailed parts with wheels the spin!
Want to complete the scene? Add the separate Bowser Jr. model to bring the full Smash Bros. setup together! Note: Bowser Jr. is not included with this model and must be purchased separately.
Dimensions: For this model, I’ve included only the 125% profile. The older Mario scale at 100% had some minor issues (Wheel clips were more prone to snapping), but if you’d like, you can scale it down to 80% to match the classic size.
The model measures approx. 7.75 in (197 mm) wide, 5.25 in (133 mm) tall, and 9.75 in (248 mm) long.
Scaling larger should work fine, but you may need to adjust the clips slightly to keep the wheels spinning smoothly.
Colors Used: Bambu Basic: White, Black, Green, Orange, Pink, Silver, Sunflower Yellow
Assembly Tips The main car, axles, and wheels are each marked with their designated slot. Starting from the front right wheel and moving clockwise, the numbers go 1, 2, 3, 4: front right = 1, back right = 2, back left = 3, and front left = 4.
Pay attention to both the wheel sizes and tread—the tread should always point forward. The small wheels go on positions 1 and 4, while the large wheels go on positions 2 and 3. The orange wheels are marked, but once the inner wheel parts are assembled, the numbers will no longer be visible.
The pink spots are cut at an angle, with the angled cut facing upward. The two side spots are identical, but the middle left and right spots are different. Use the notch cutout to identify the correct side.
For the wheel clips, it’s best not to use matte filament, since it’s more brittle and can break the part. If you prefer, you can also use the non-clip pins if you don’t want the wheels to spin.
Assembly steps (Wheels & Axels): Attach the silver axle to the green axle blocks, matching the numbers.
Attach the silver bolts onto the green axle blocks.
Glue the inner wheel parts, but avoid using too much glue near the clip slot—any excess could spill onto the clip hole and prevent the wheel from spinning.
Dry-fit the clips to the green axle blocks (they may be tight, so twisting can help) and test the wheels. Be sure to attach the correct wheels:
Positions 1 and 4 = small wheels
Positions 2 and 3 = large wheels
Once the wheel spins freely, glue the clips to the axle without the wheel attached.
Snap on all the wheels.
Assembly steps (Engine): Insert the pin into the front silver engine piece (curved cutout).
Attach the large black plate, then the middle silver engine piece, aligning it with the black plate.
Add the small black plate, followed by the back engine piece with the bolt holes facing outward.
Attach the black bolts.
Attach the side pipes to the gas tank using the pins, making sure both pipes face the same direction.
Glue the gas tank to the engine with the pin, ensuring the side pipes are pointing upward toward the top of the engine.
Assembly steps (Main Car): Insert and attach the black car floor, then glue the green small pins to the green ring and secure it on top of the car.
Attach the pink spots following the notes under Assembly Tips.
Attach the left and right eyes.
Attach the lips, pressing firmly to lock them in place. If the fit is too tight, lightly sand the support areas to help them fit better.
Flip the car over and attach the axles and wheels using the pins in their designated number slots.
Attach the engine to the car with generous glue.
Attach the silver exhaust pipes to the green exhaust piece (the notch cutout faces up to show orientation). Then attach the green exhaust parts to the engine—it doesn’t matter which side they go on.
All done! The Junior Clown Car is fully assembled and ready to roll into your Mario collection. From its spinning wheels to its detailed engine, it’s a standout piece that captures the spirit of Bowser Jr.’s ride in Super Smash Bros.
Thanks so much for building it—be sure to tag @Playco3D if you share your photos, I’d love to see your finished Clown Car in action!

MCS - Modular Collectibles System
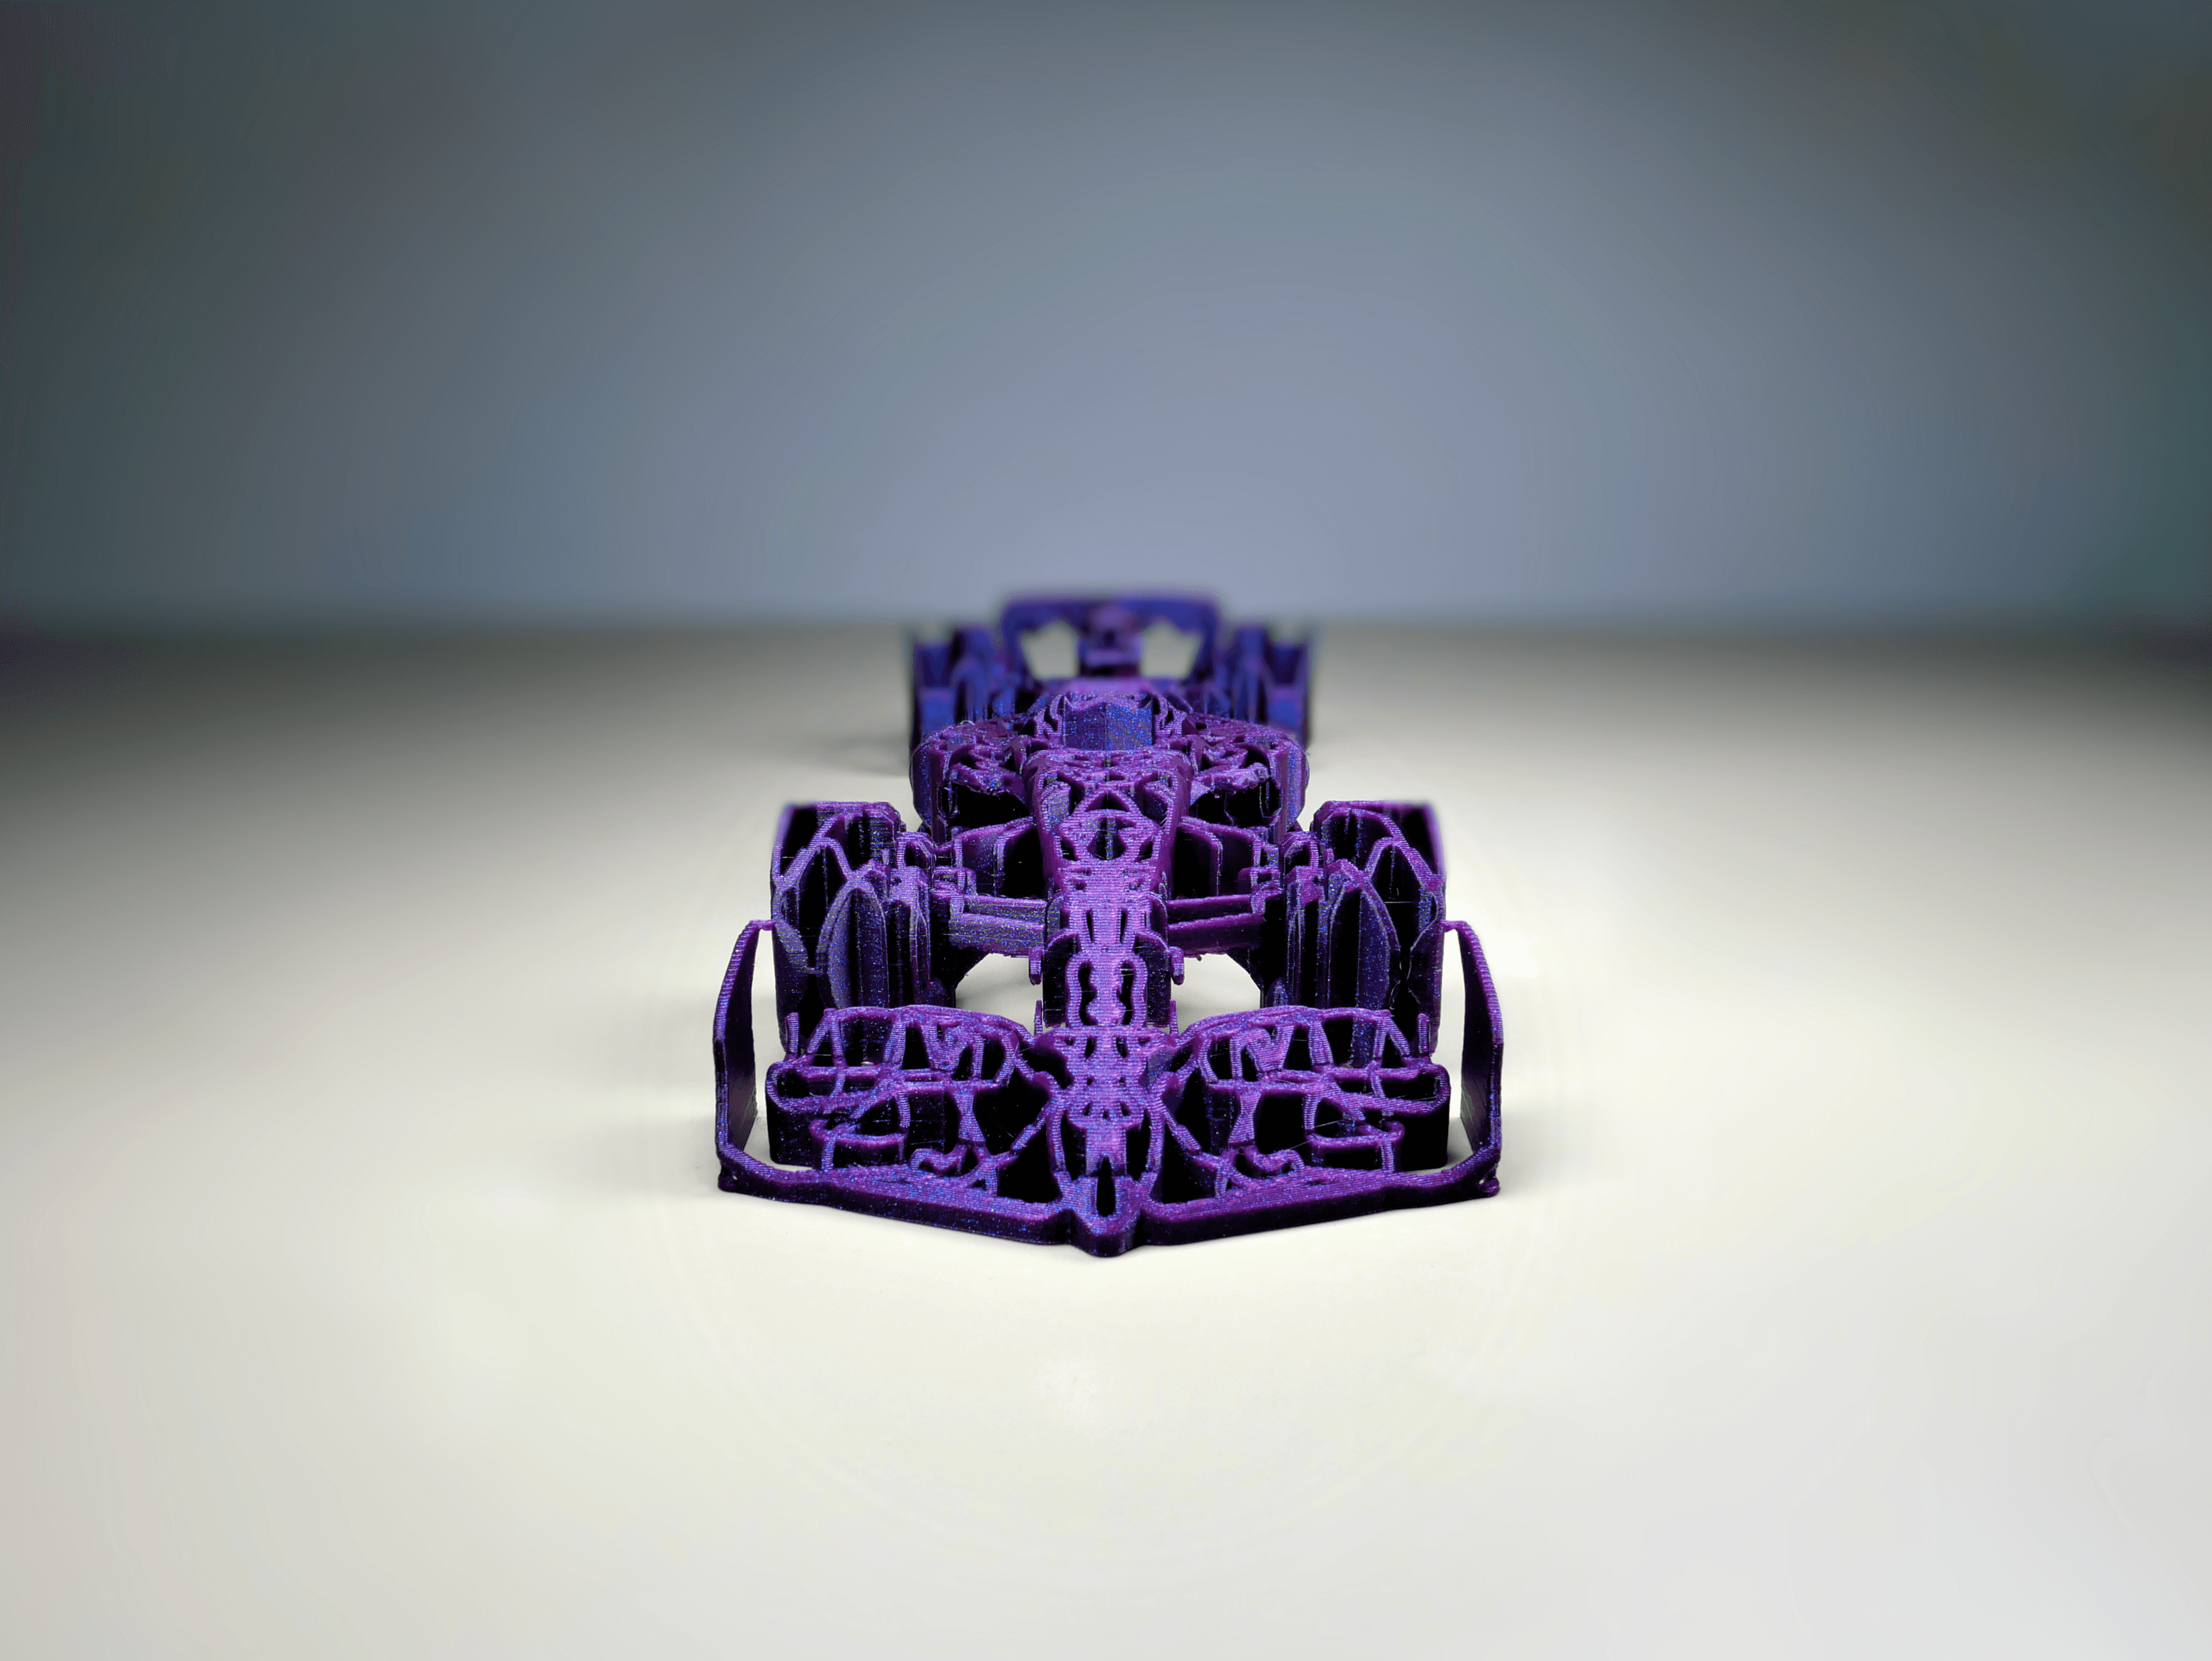
F1 Tracks Car - sculpted
.jpg&w=3840&q=75)
Crocodile | Car-Phone Holder

Mini Clown Fish
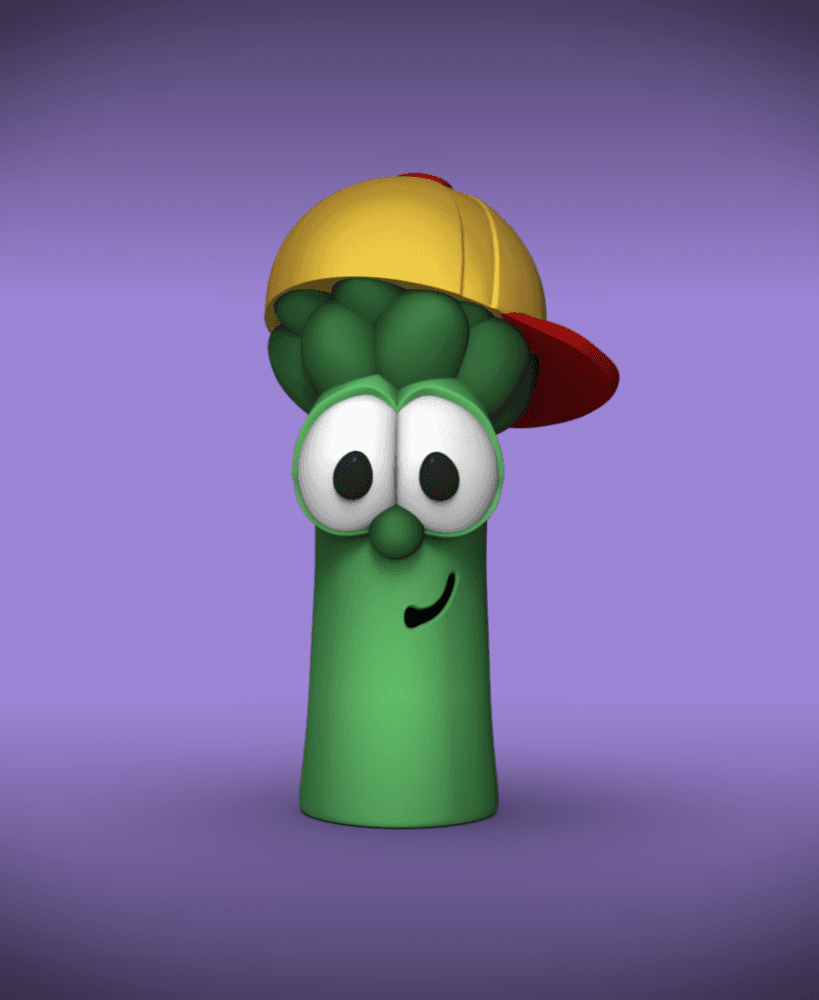
Junior -VeggieTales

Krusty the Clown from Simpsons

WORLDS BEST PRINT IN PLACE CUP HOLDER ADAPTER

Rubber Duck / 3MF Included / No Supports

DRAGON BOOK STAND - VULCANO DRAGON / MODERN HOMEDECOR / GOTHIC / DRAGON DECOR / BOOKEND HOLDER
FHW: Troop jeep (BoD)

Mini Toolbox, Automatic opening lid, prints in place, no supports, mechanics, tools

Riot Eclipse Van

DRAGON BOOK STAND - KNIGHT DRAGON / MODERN HOMEDECOR / GOTHIC / DRAGON DECOR / BOOKEND HOLDER

Build-a-Gnome Mechanic Add-On STL Bundle – Baseball Cap, Tire, Oil Can and Wrench
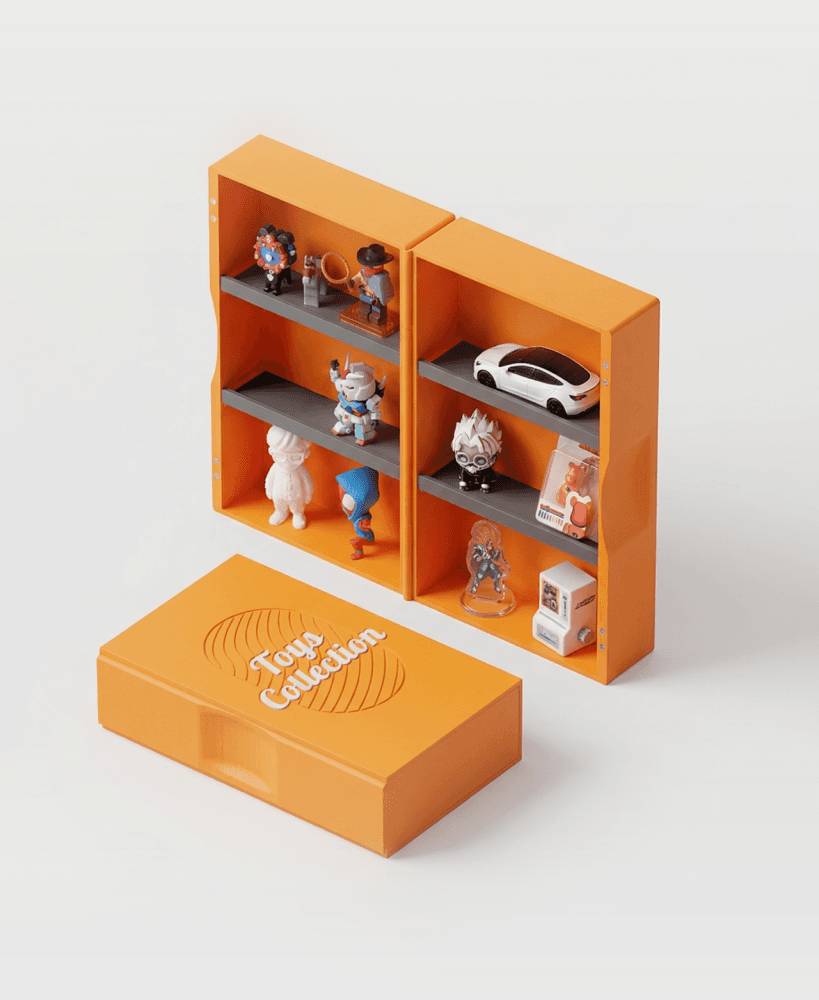
20260105 - Multiple stack foldable toy shelf.stl

Grinchh... Rock and Roll Hand scupt and hitch cover

Simple House - Support Free

DRAGON BOOK STAND - ICE DRAGON / MODERN HOMEDECOR / GOTHIC / DRAGON DECOR / BOOKEND HOLDER
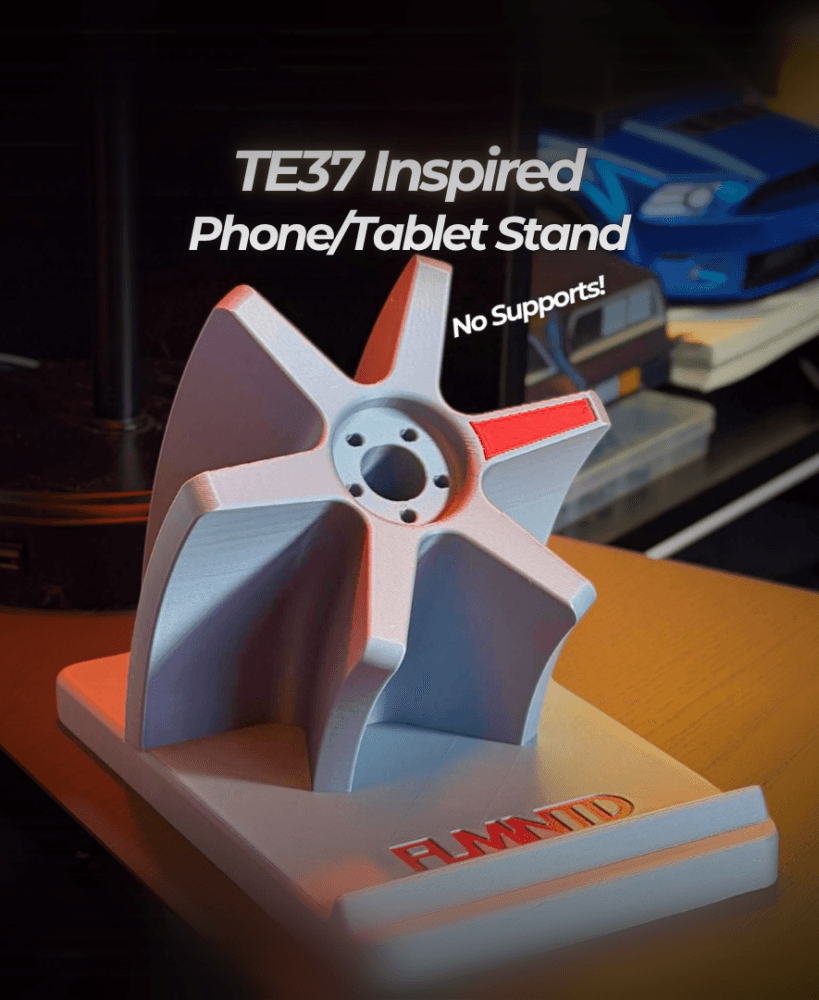
TE37 Spoke Phone & Tablet Stand | JDM Desk Accessory | FLMNTD
