
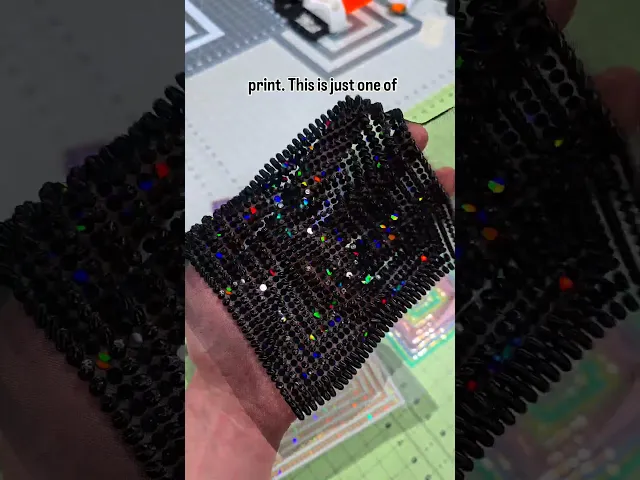


Two stage 3d print on fabric pattern
107 downloads · 1 year ago · This is a more complex 3D print, but has some very exciting potential. This is printed in two stages
This model is restricted by licensing terms.
View license.
This is a more complex 3D print, but has some very exciting potential. This is printed in two stages. There are three sizes in the 3mf file, and corresponding individual STL files if you'd like to add your own settings. There are two versions you can mix and match - Circles and Squares. They tops of these are chamfered at varying heights to give it a unique texture. You can split the models to individual objects if you'd like to play around with the overall height.
- Print the flat pattern on a holographic build sheet with fabric. This is .72mm tall, with the pause command added at the beginning of layer 2.
- Remove the completed fabric.
- Start the second print (I use a textured plate for this one). It will pause at the beginning of layer 3 (.72mm tall).
- Place the completed fabric from step two, face up. Align the squares and use magnets to hold the fabric in place. I like using fabrics with less stretch for this print as it offers less room for error. Resume the print.
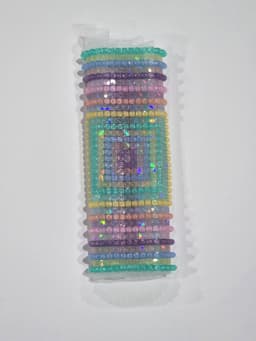
- The print will complete, and you'll have a fabric with both holographic, and 3 dimensional aspects to it.
Look to the attached pdf for links on fabric, holographic pflat sheets, or the magnets that I use.
If you have questions, please reach out to me at kaizen3dprints@gmail.com

Two stage 3d print on fabric pattern
107 downloads · 1 year ago in
This model is restricted by licensing terms.
View license.

Wall Plate - Two Duplex (Size: Jumbo) - William Morris Pattern

Wall Plate - Two Toggle (Size: Jumbo) - William Morris Pattern

Wall Plate - Two Duplex (Size: Standard) - William Morris Pattern

Wall Plate - Two Toggle (Size: Midsize) - William Morris Pattern

Wall Plate - Two Duplex (Size: Midsize) - William Morris Pattern

Wall Plate - Two Toggle (Size: Standard) - William Morris Pattern
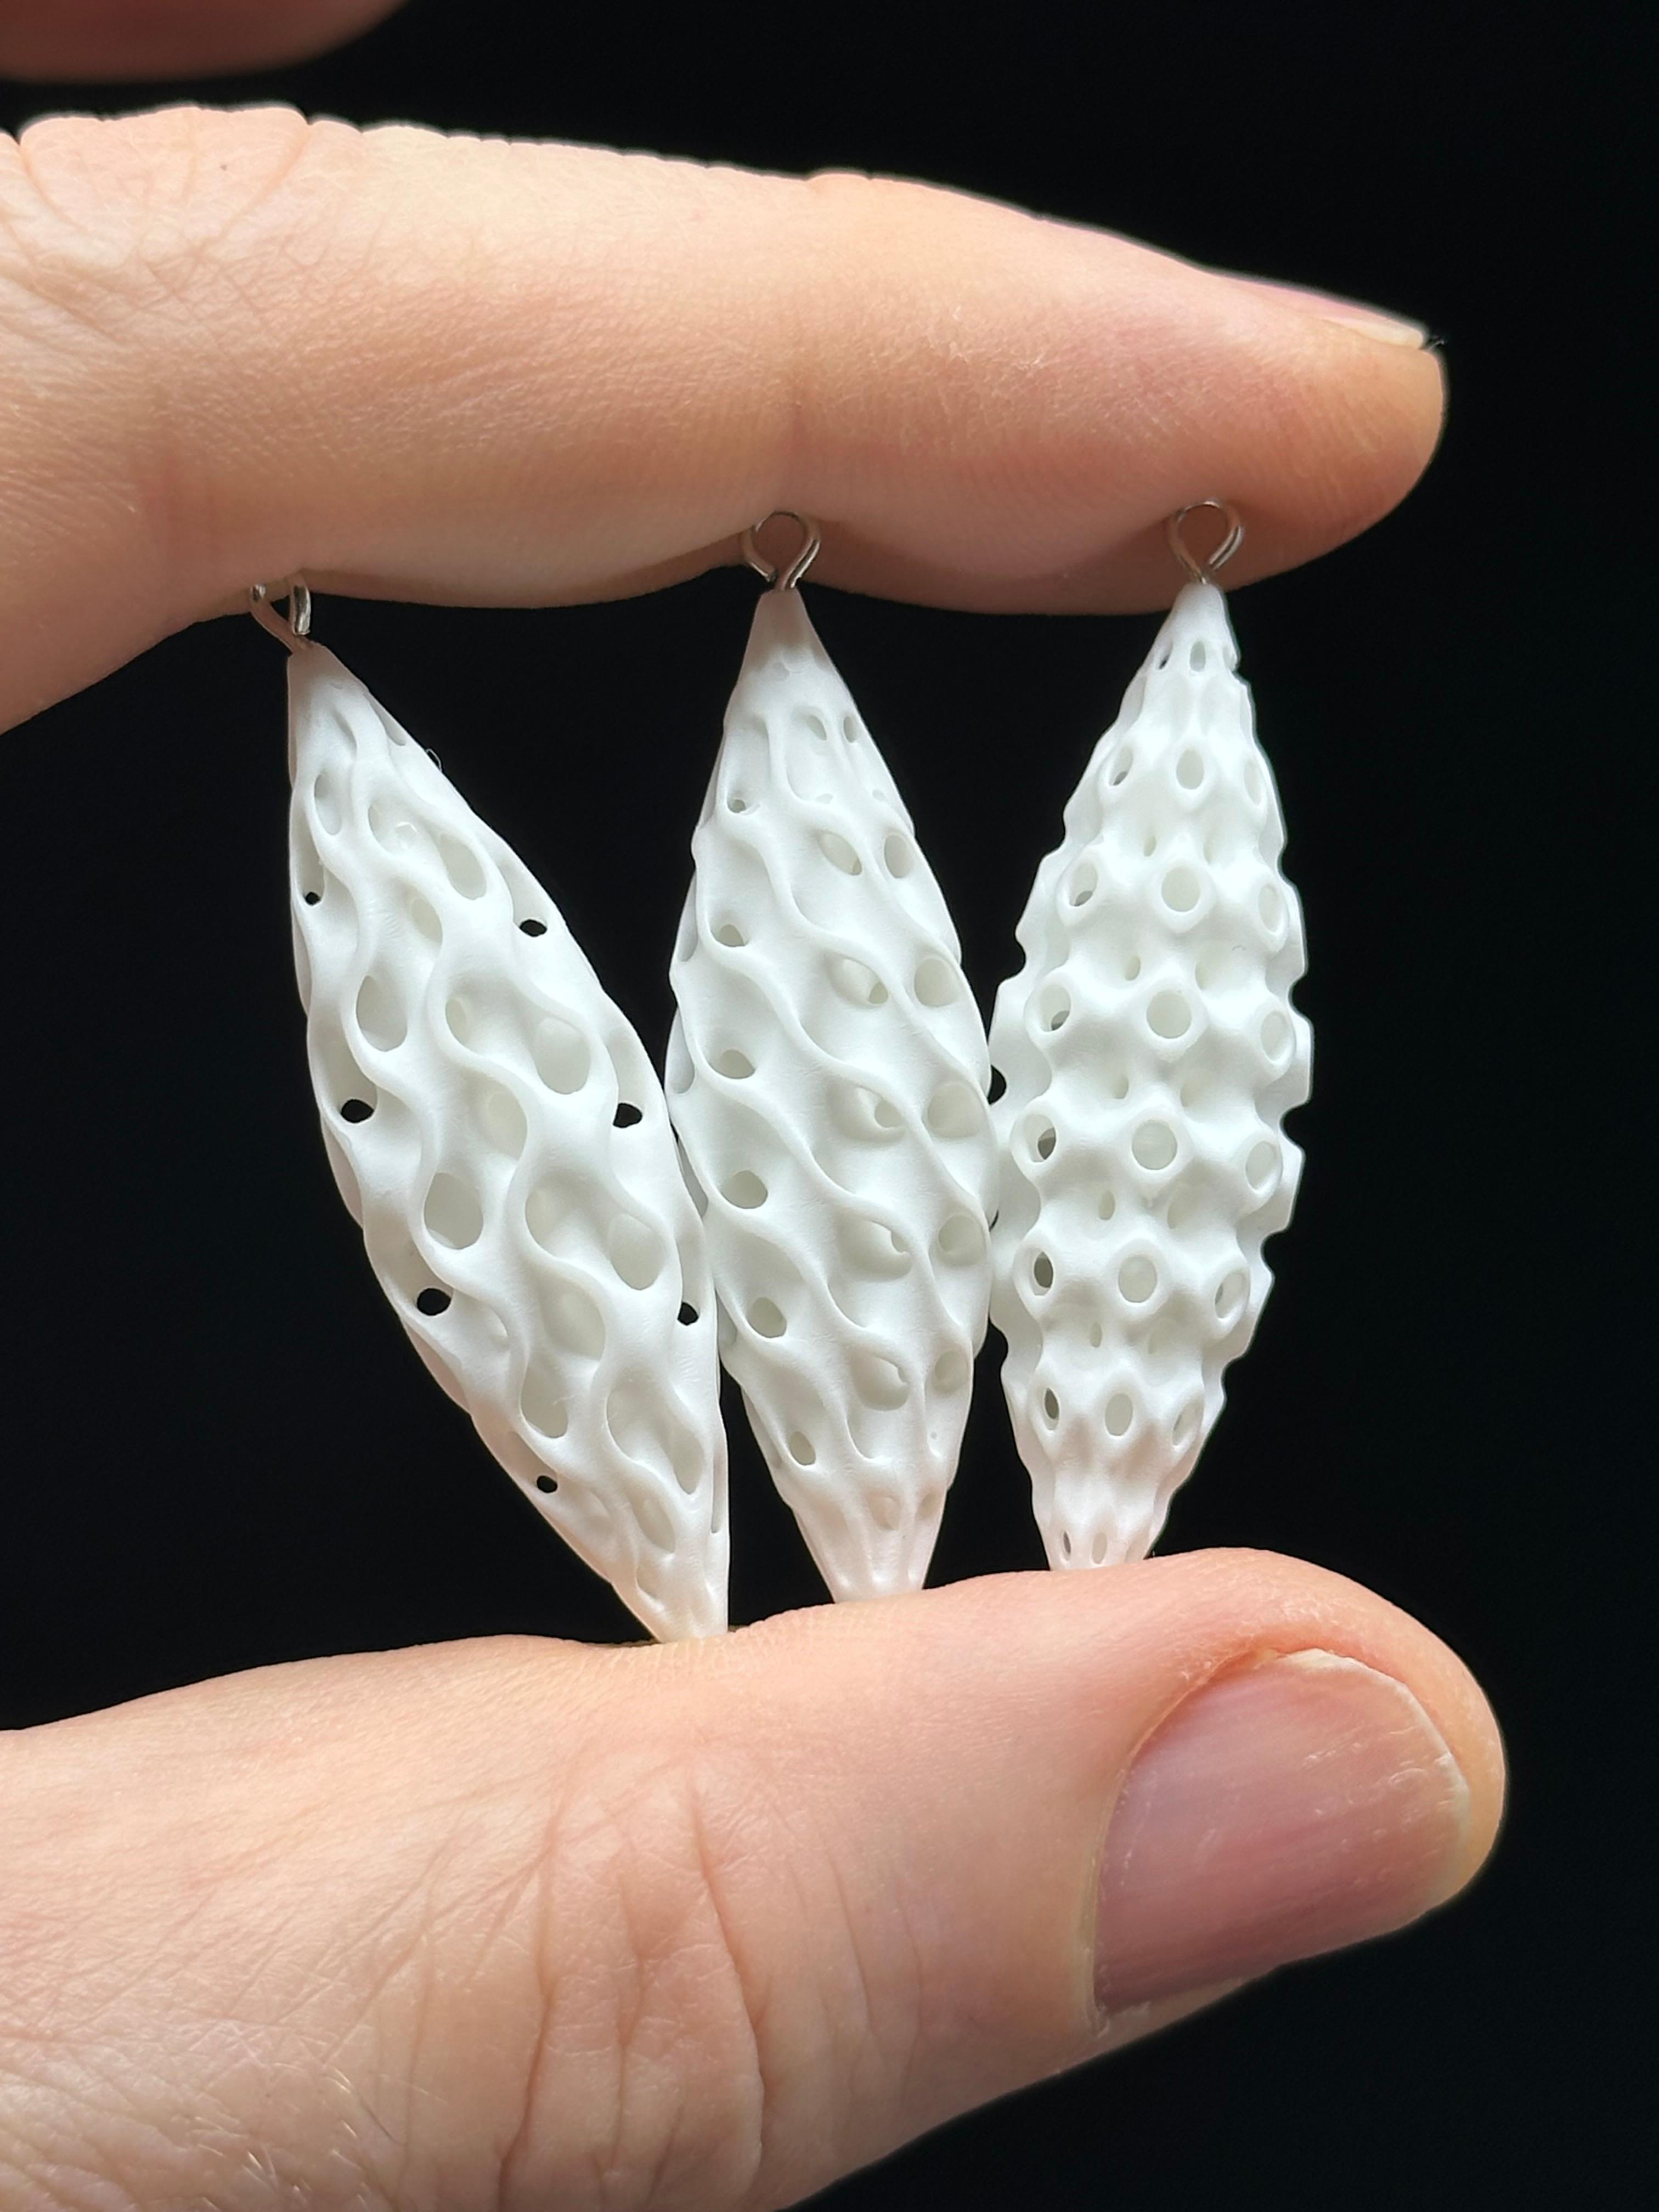
Navette Earrings - Surfaces
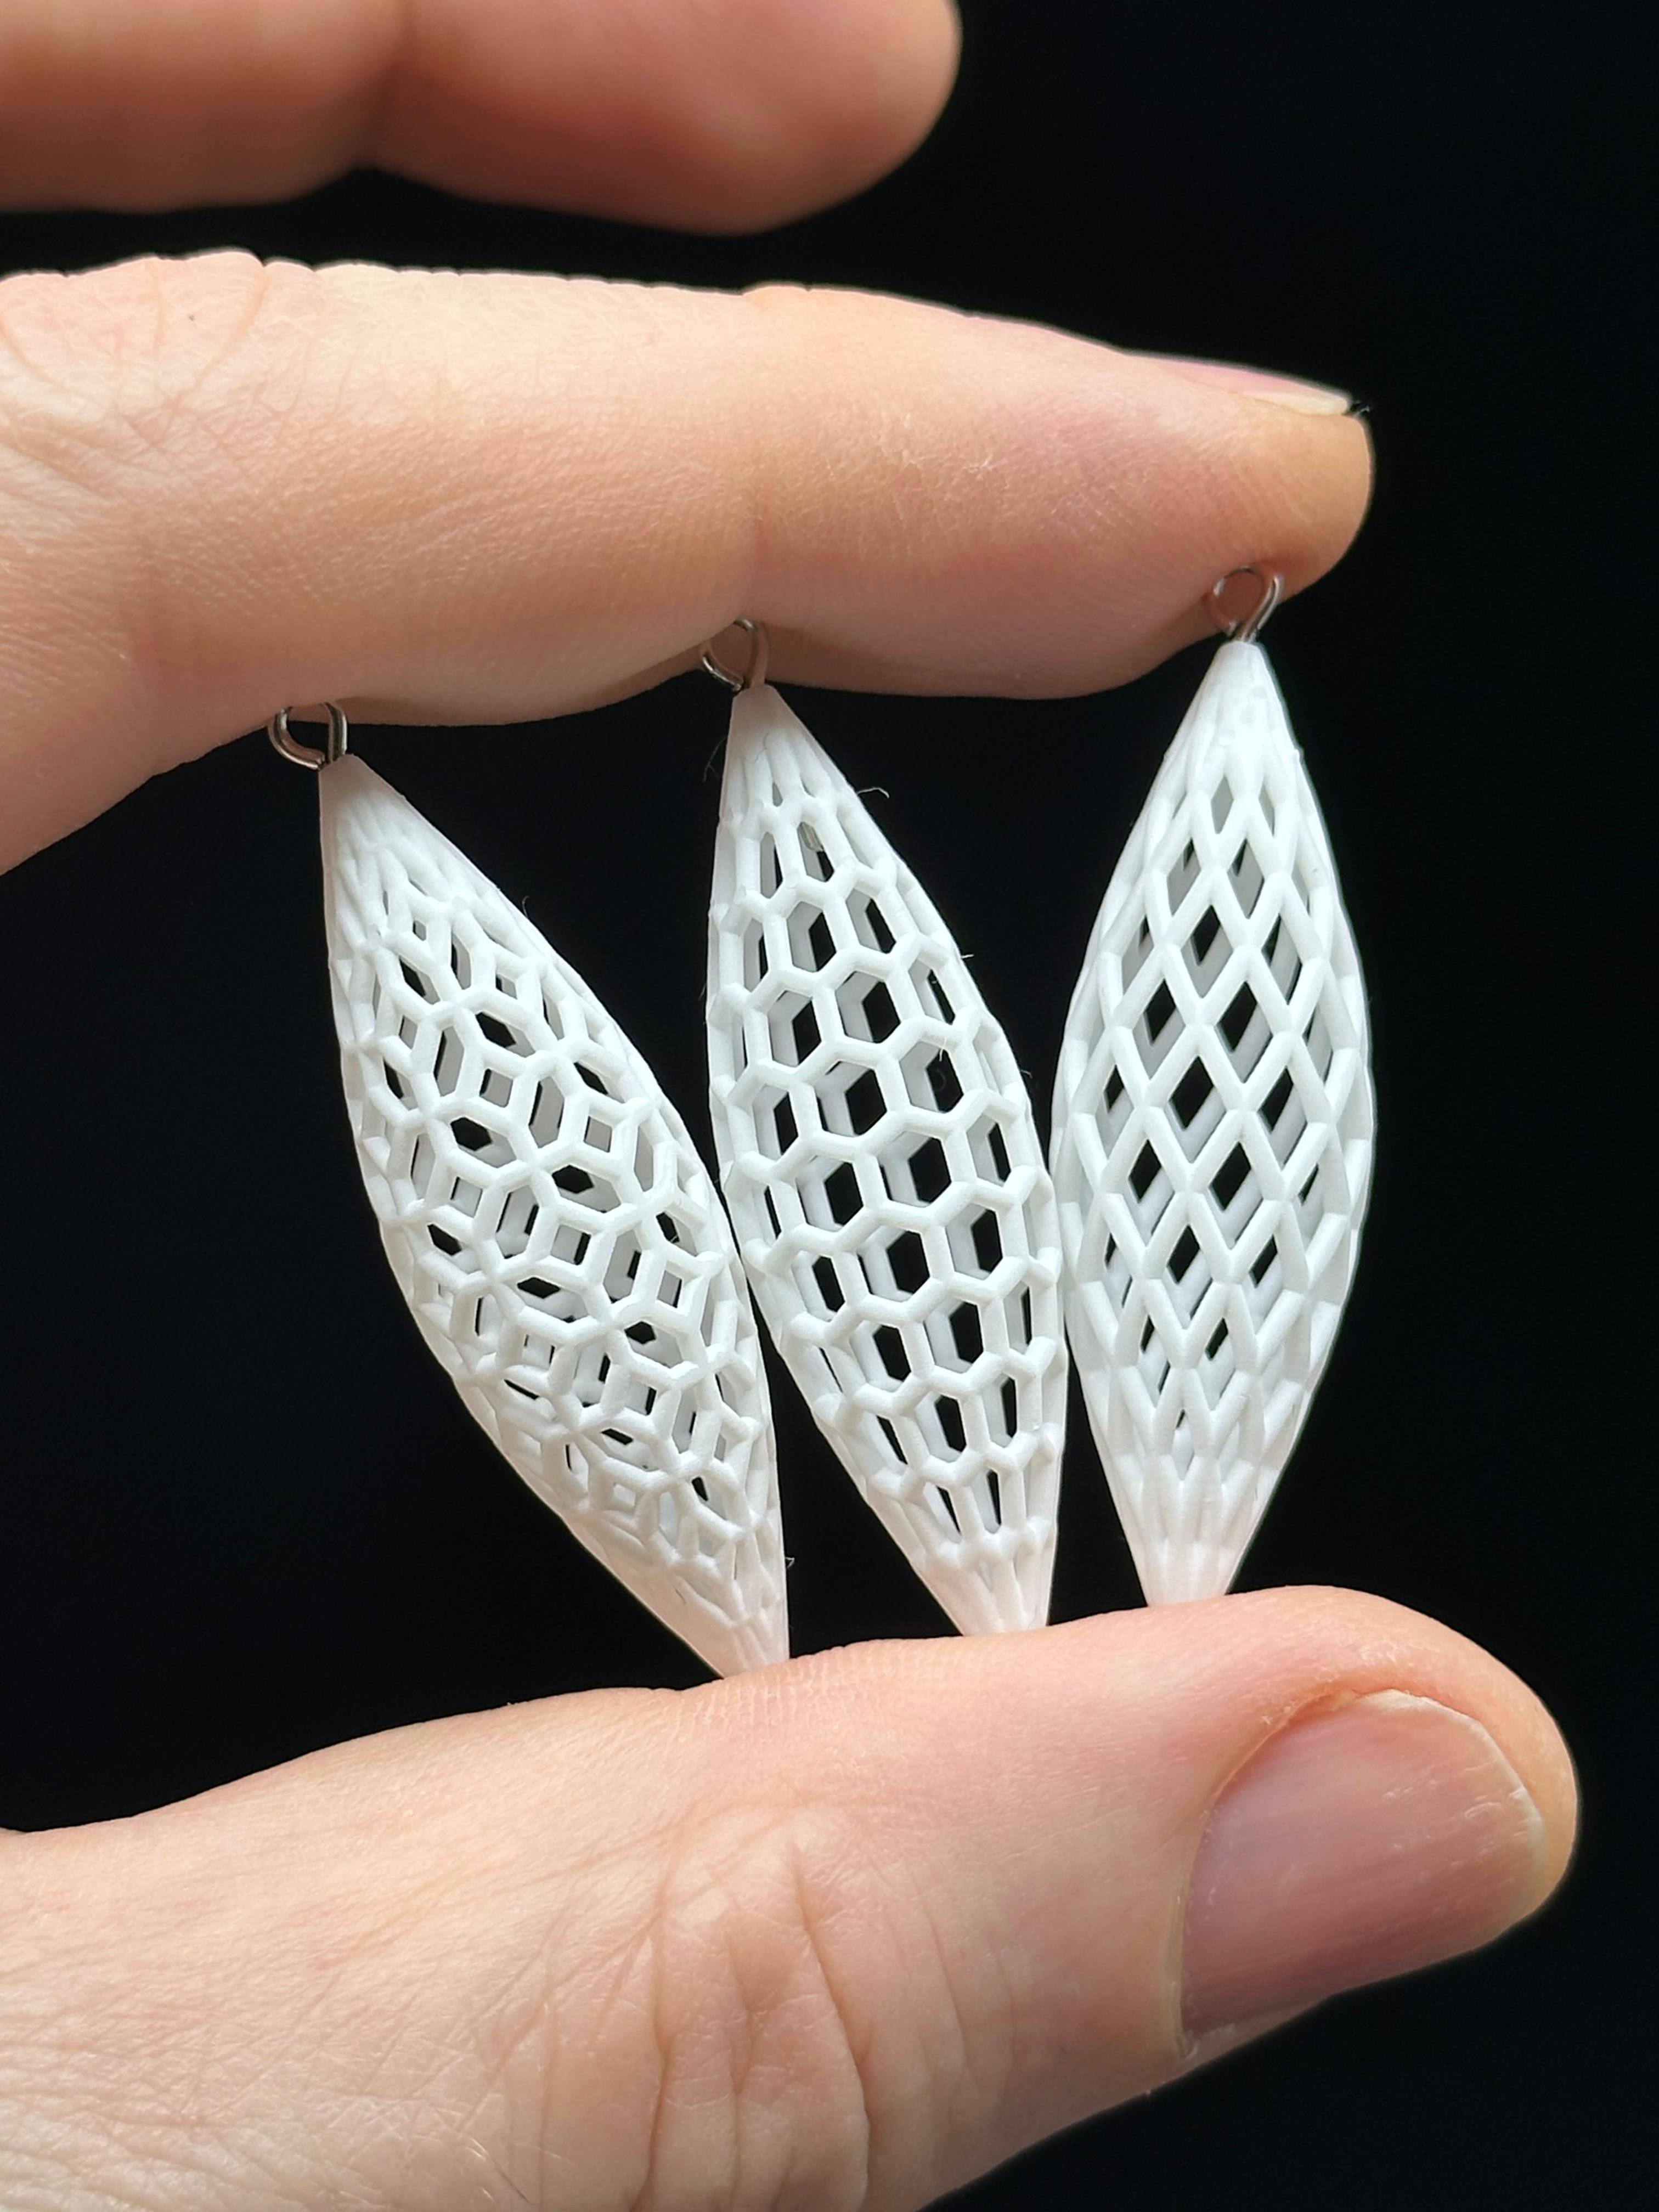
Navette Earrings - Struts
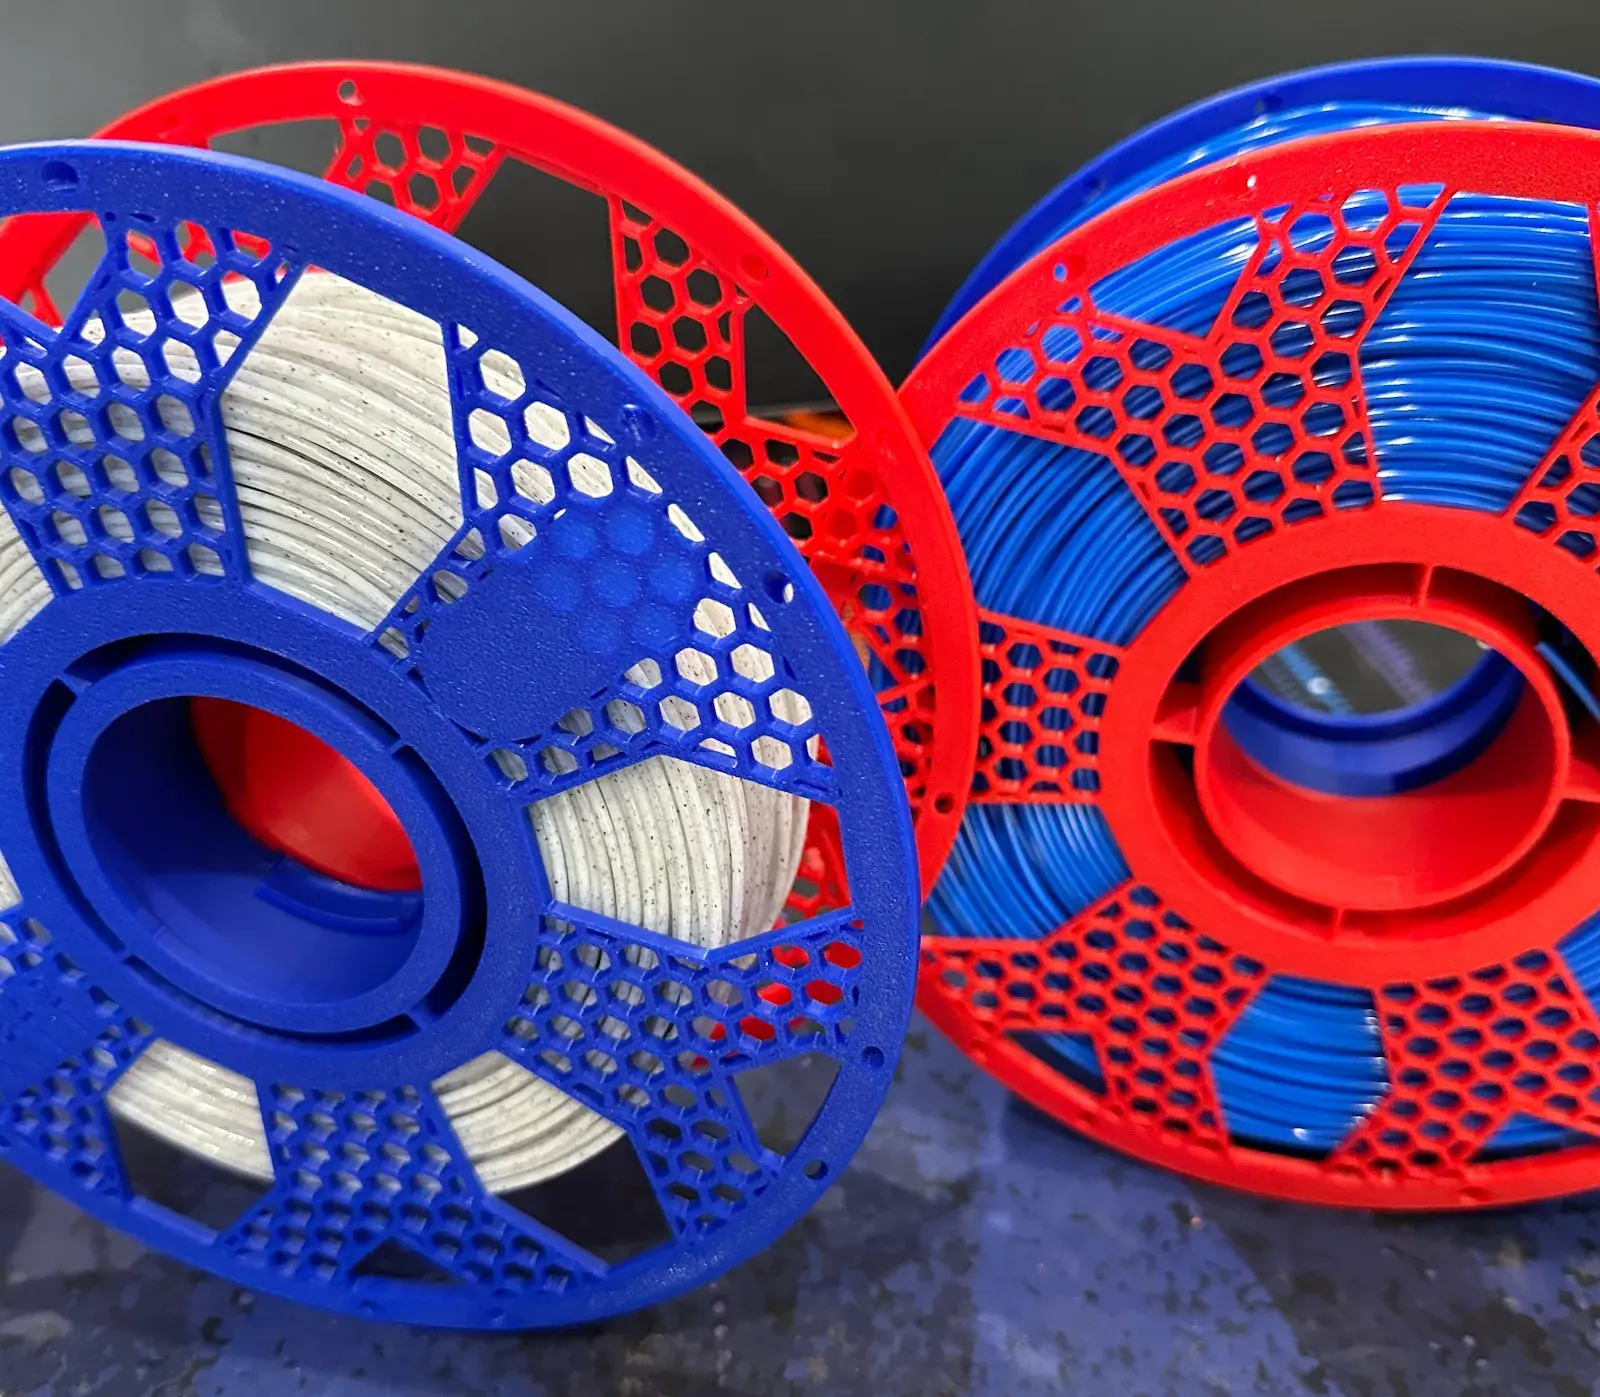
Bambu Lab Filament Spool - Hex Snowflake

Fuzzy Hearts Egg

Triple Clicker pain sensory fidget

Knitted Bag Vase - Cozy Winter Home Decor

Soccer Ball Ice Cream Caddy – Goal-Scoring Pint Holder
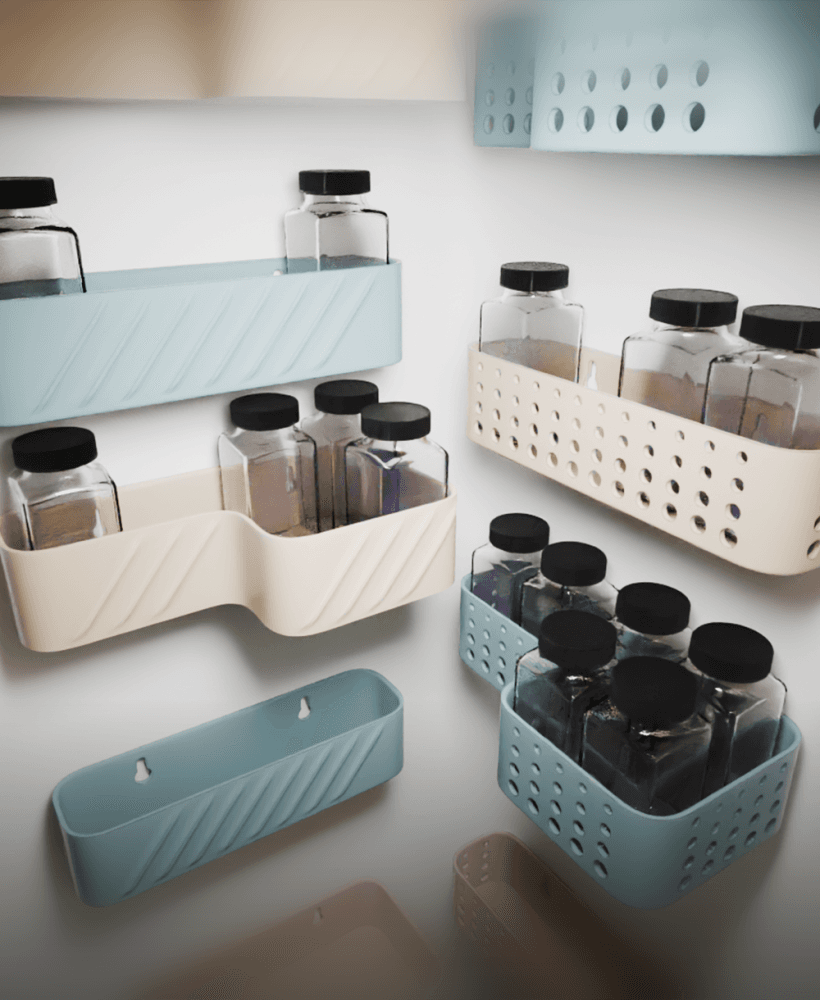
4-Pack Spice Racks with Screw Mounts

4-Pack Spice Racks with Screw Mounts
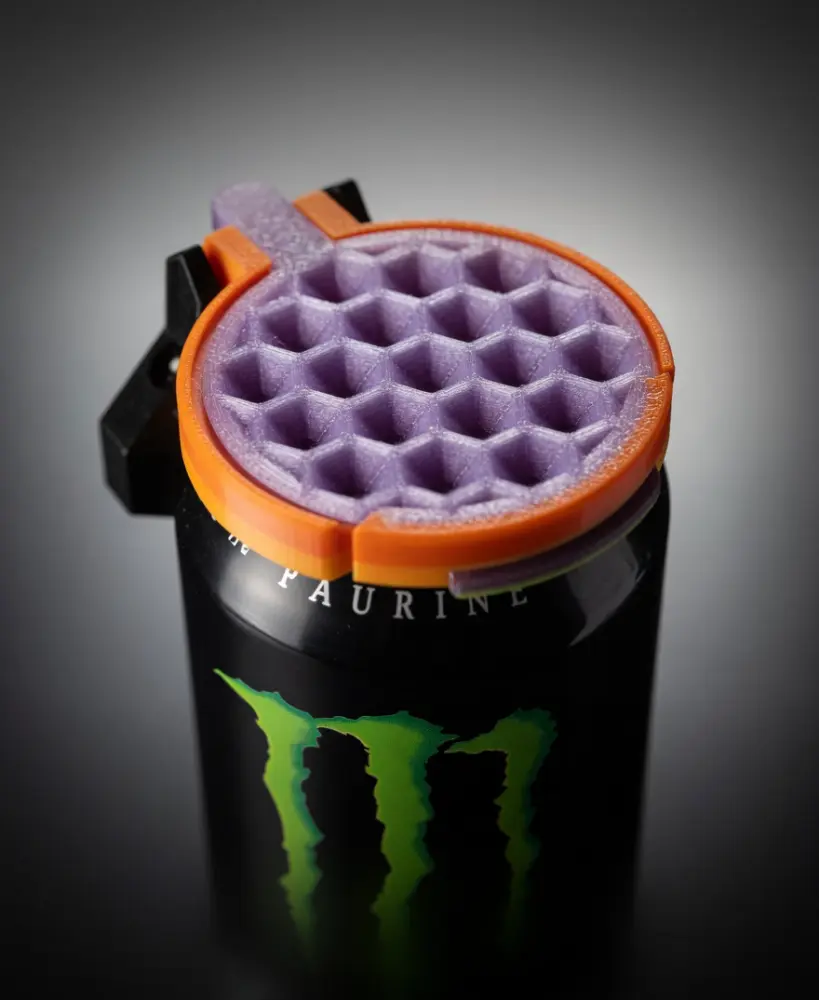
Ultimate 3D Printed Can Cap with Handle – Flip-Top Lid That Locks Open

Voronoi Love Pendant – Radiant Heart Necklace

ACORN VORONOI ORNAMENT - MODERN CHRISTMAS DECORATION / WINTER DECOR

American Flag – Flexible Chainmail-Style 3D Print + Desk Organizer Base
.jpg&w=3840&q=75)
I was too gung-ho to try one of these and I jumped into the Large Square print, without reading all the directions. I got to layer 3 and had to manually pause my print. lol. Then I only had tiny magnets for the time being, while my larger ones are on the way to me in the mail.....and they didn't hold well on one side. Otherwise, it came out pretty well. Going to retry tomorrow with a cleaner bed, and gcode pause in the right spots on my sliced stls should also make it go better.
I'm excited to see how it turns out tomorrow- this print can definitely be difficult but it's one of my favorites!
I am printing the 2nd layer now. There was a slight issue lining up all the squares from the first print on top of the 2nd one. I think I didn't have the fabric stretched properly, as I was using smaller magnets, and had my original fan cooler on, and the magnets got attached to the fabric a few times, creating small bunching. So, I replaced it with a Taurus V5 cooling fan I had on previously, which is PETG, and won't catch the magnets. Next time the first print will be so much better!
Awesome! That's the Kaizen way, continued improvement! I definitely get some messed up prints from time to time, but every event makes me a little better!
Here is the finished product! It evened out as it printed. I am pretty impressed for my first try. Thanks for all the help! https://www.facebook.com/share/p/1AR2M8dWXS/
Is it possible to post a photo here in the comments section?
It seems it is not possible, but I posted a make so you can see it all there.
I am just getting the hang of keeping the plate totally clean. I thought I had it down, but things were not sticking last night. I printed a different print today, and it stuck well, so next up is the full square dual print.