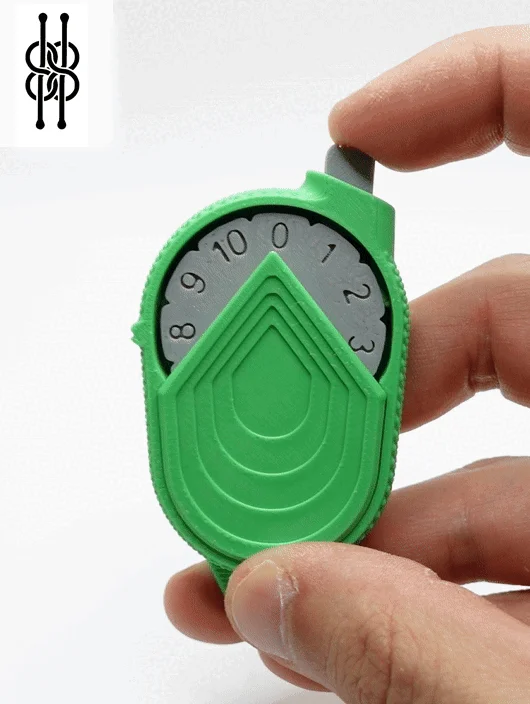


Mechanical Counter 0-10 - V1
NEW DESIGN AVAILABLE: https://than.gs/m/1102391
Thank you for visiting my page! If you can, please consider supporting my art with a subscription. Members will unlock ALL of my designs as well as the commercial rights to sell physical prints for as long as they are members.
_I also invite you to join my Discord channel, whether you're a reseller or a fan. You'll find a dedicated space where you can communicate directly with me and other members: https://discord.gg/pUW67mEFrb
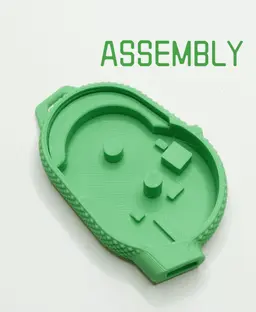
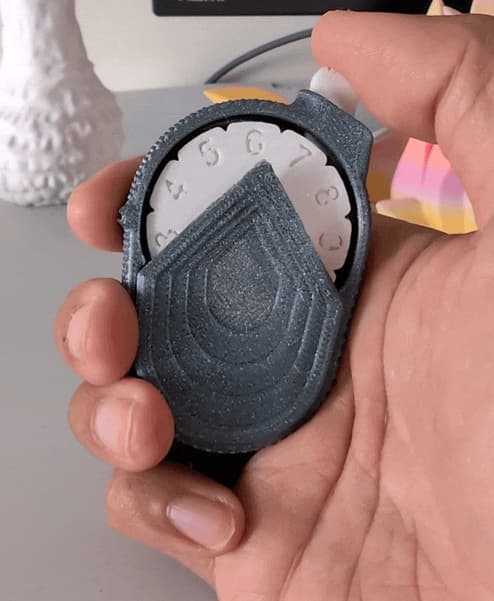
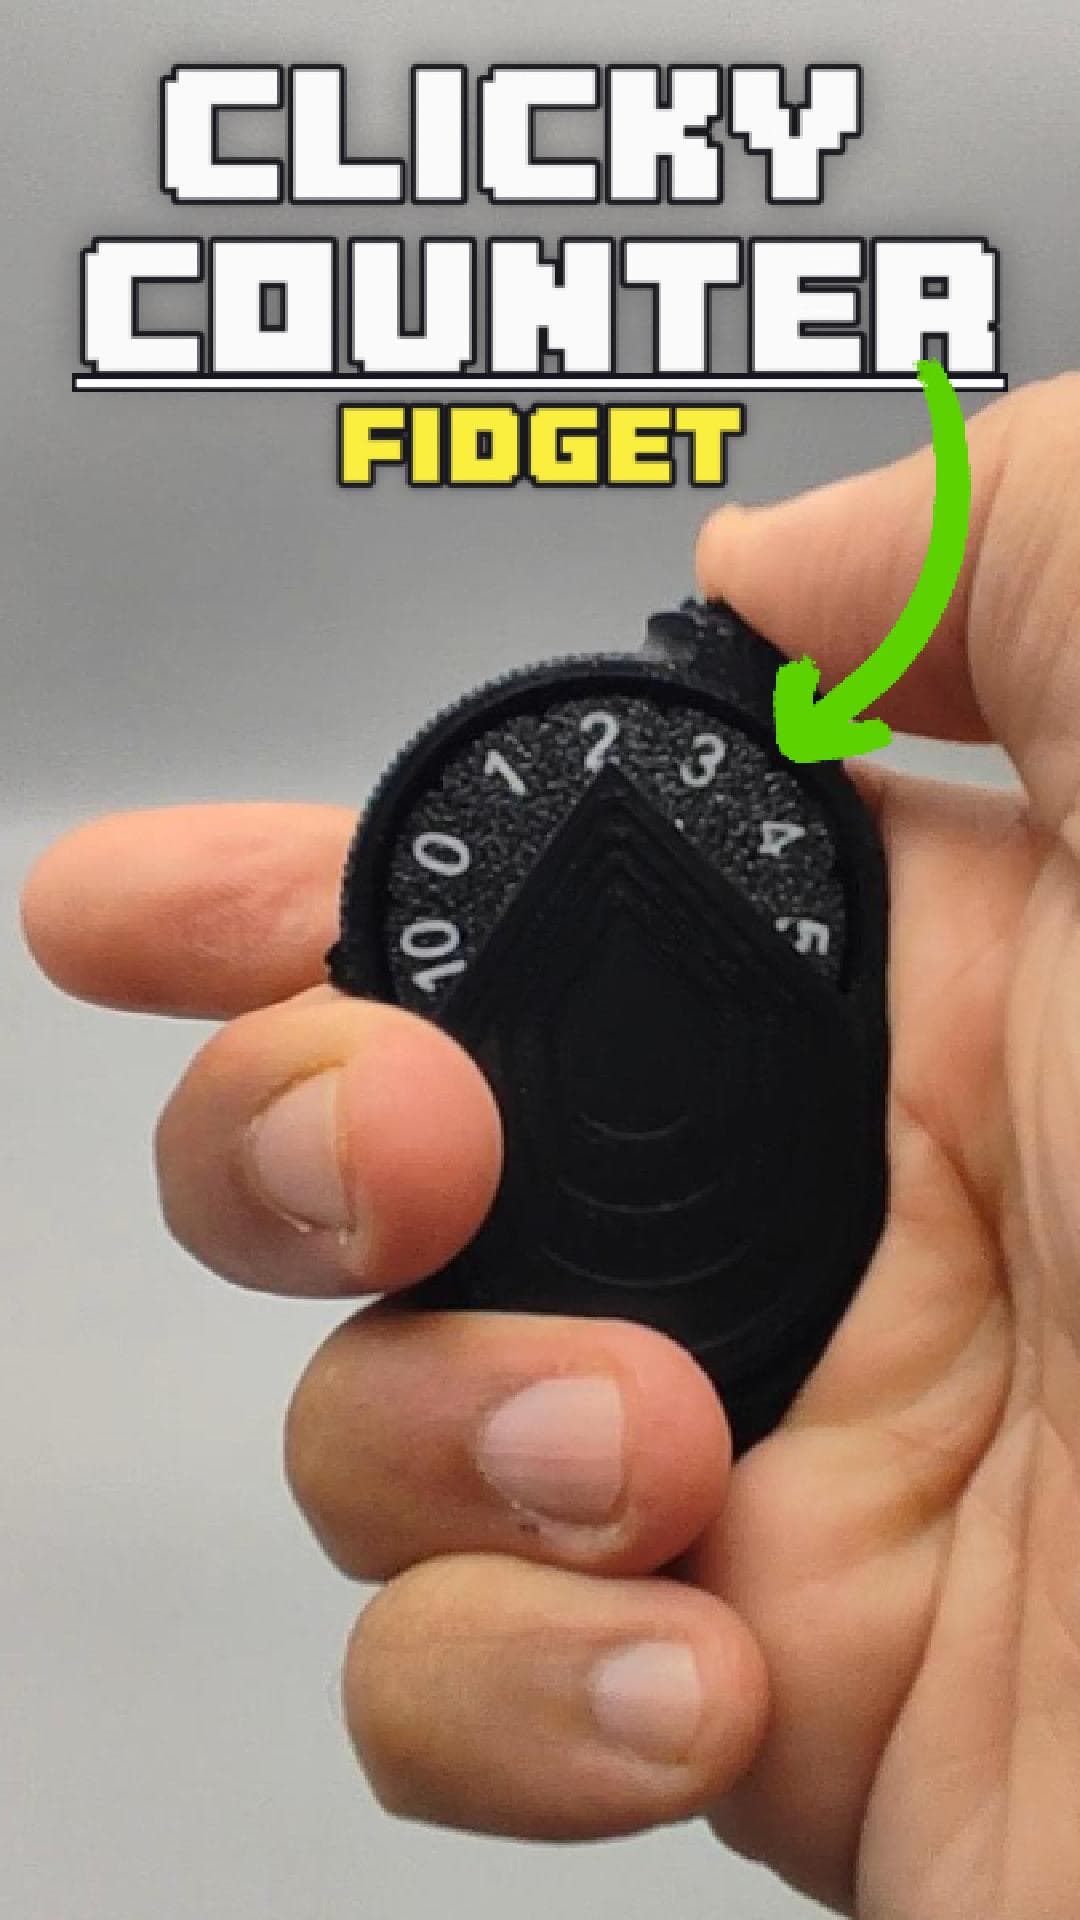
The Mechanical Counter 0-10 is a versatile and fully 3D printable device designed to be used in various daily contexts without the need for external components or glue. This compact and robust counter is ideal for tracking numbers up to 10 in a simple and practical way.
Key Features: Fully 3D Printable: All parts of the counter are designed to be 3D printed, ensuring easy assembly without the use of glue or additional components. Versatile Usage:
-
Counting sets in the gym: Perfect for keeping track of the number of sets completed during a workout, helping to maintain concentration and rhythm.
-
Teaching children to count: An excellent educational tool to help children learn numbers from 0 to 10 in an interactive and fun way.
-
Monitoring work breaks: Ideal for offices and workplaces, allowing you to keep track of the number of coffee breaks or work breaks taken during the day.
-
Managing limited resources: Useful for counting the number of uses of a limited resource, such as the number of times a tool is used before needing to be sharpened or replaced.
-
Counting cigarettes to quit smoking: A valuable support for those trying to reduce cigarette consumption, helping to monitor the number of cigarettes smoked daily.
The 3D Printable Mechanical Counter 0-10 is a practical and useful accessory for anyone needing to keep track of limited counts easily and without complications. Perfect for domestic, educational, and professional use.
REMEMBER THAT ALL MY FILES ARE PROTECTED BY A CC LICENSE AND ARE NOT INTENDED FOR COMMERCIAL PURPOSES UNLESS YOU HAVE SUBSCRIBED TO A MEMBERSHIP PLAN ON THANGS - IF YOU USE MY 3D FILES FOR COMMERCIAL PURPOSES, YOU HARM MY WORK AND MY COLLABORATORS - DON'T DO IT!
Warning: The content in question is protected by a Creative Commons license that does not allow the creation of derivative works or remixes. This means that it is not permitted to modify, transform, or further develop the material in any form. Make sure to comply with the terms of the license to avoid copyright violations.
3D Model done with Rhino8: https://www.rhino3d.com/
How do I take such high-quality photographs? Here's my equipment:
Camera: https://amzn.to/3RPDj2c Lightbox: https://amzn.to/4btNvV0 Tripod: https://amzn.to/3L51fuT


Mechanical Counter 0-10 - V1
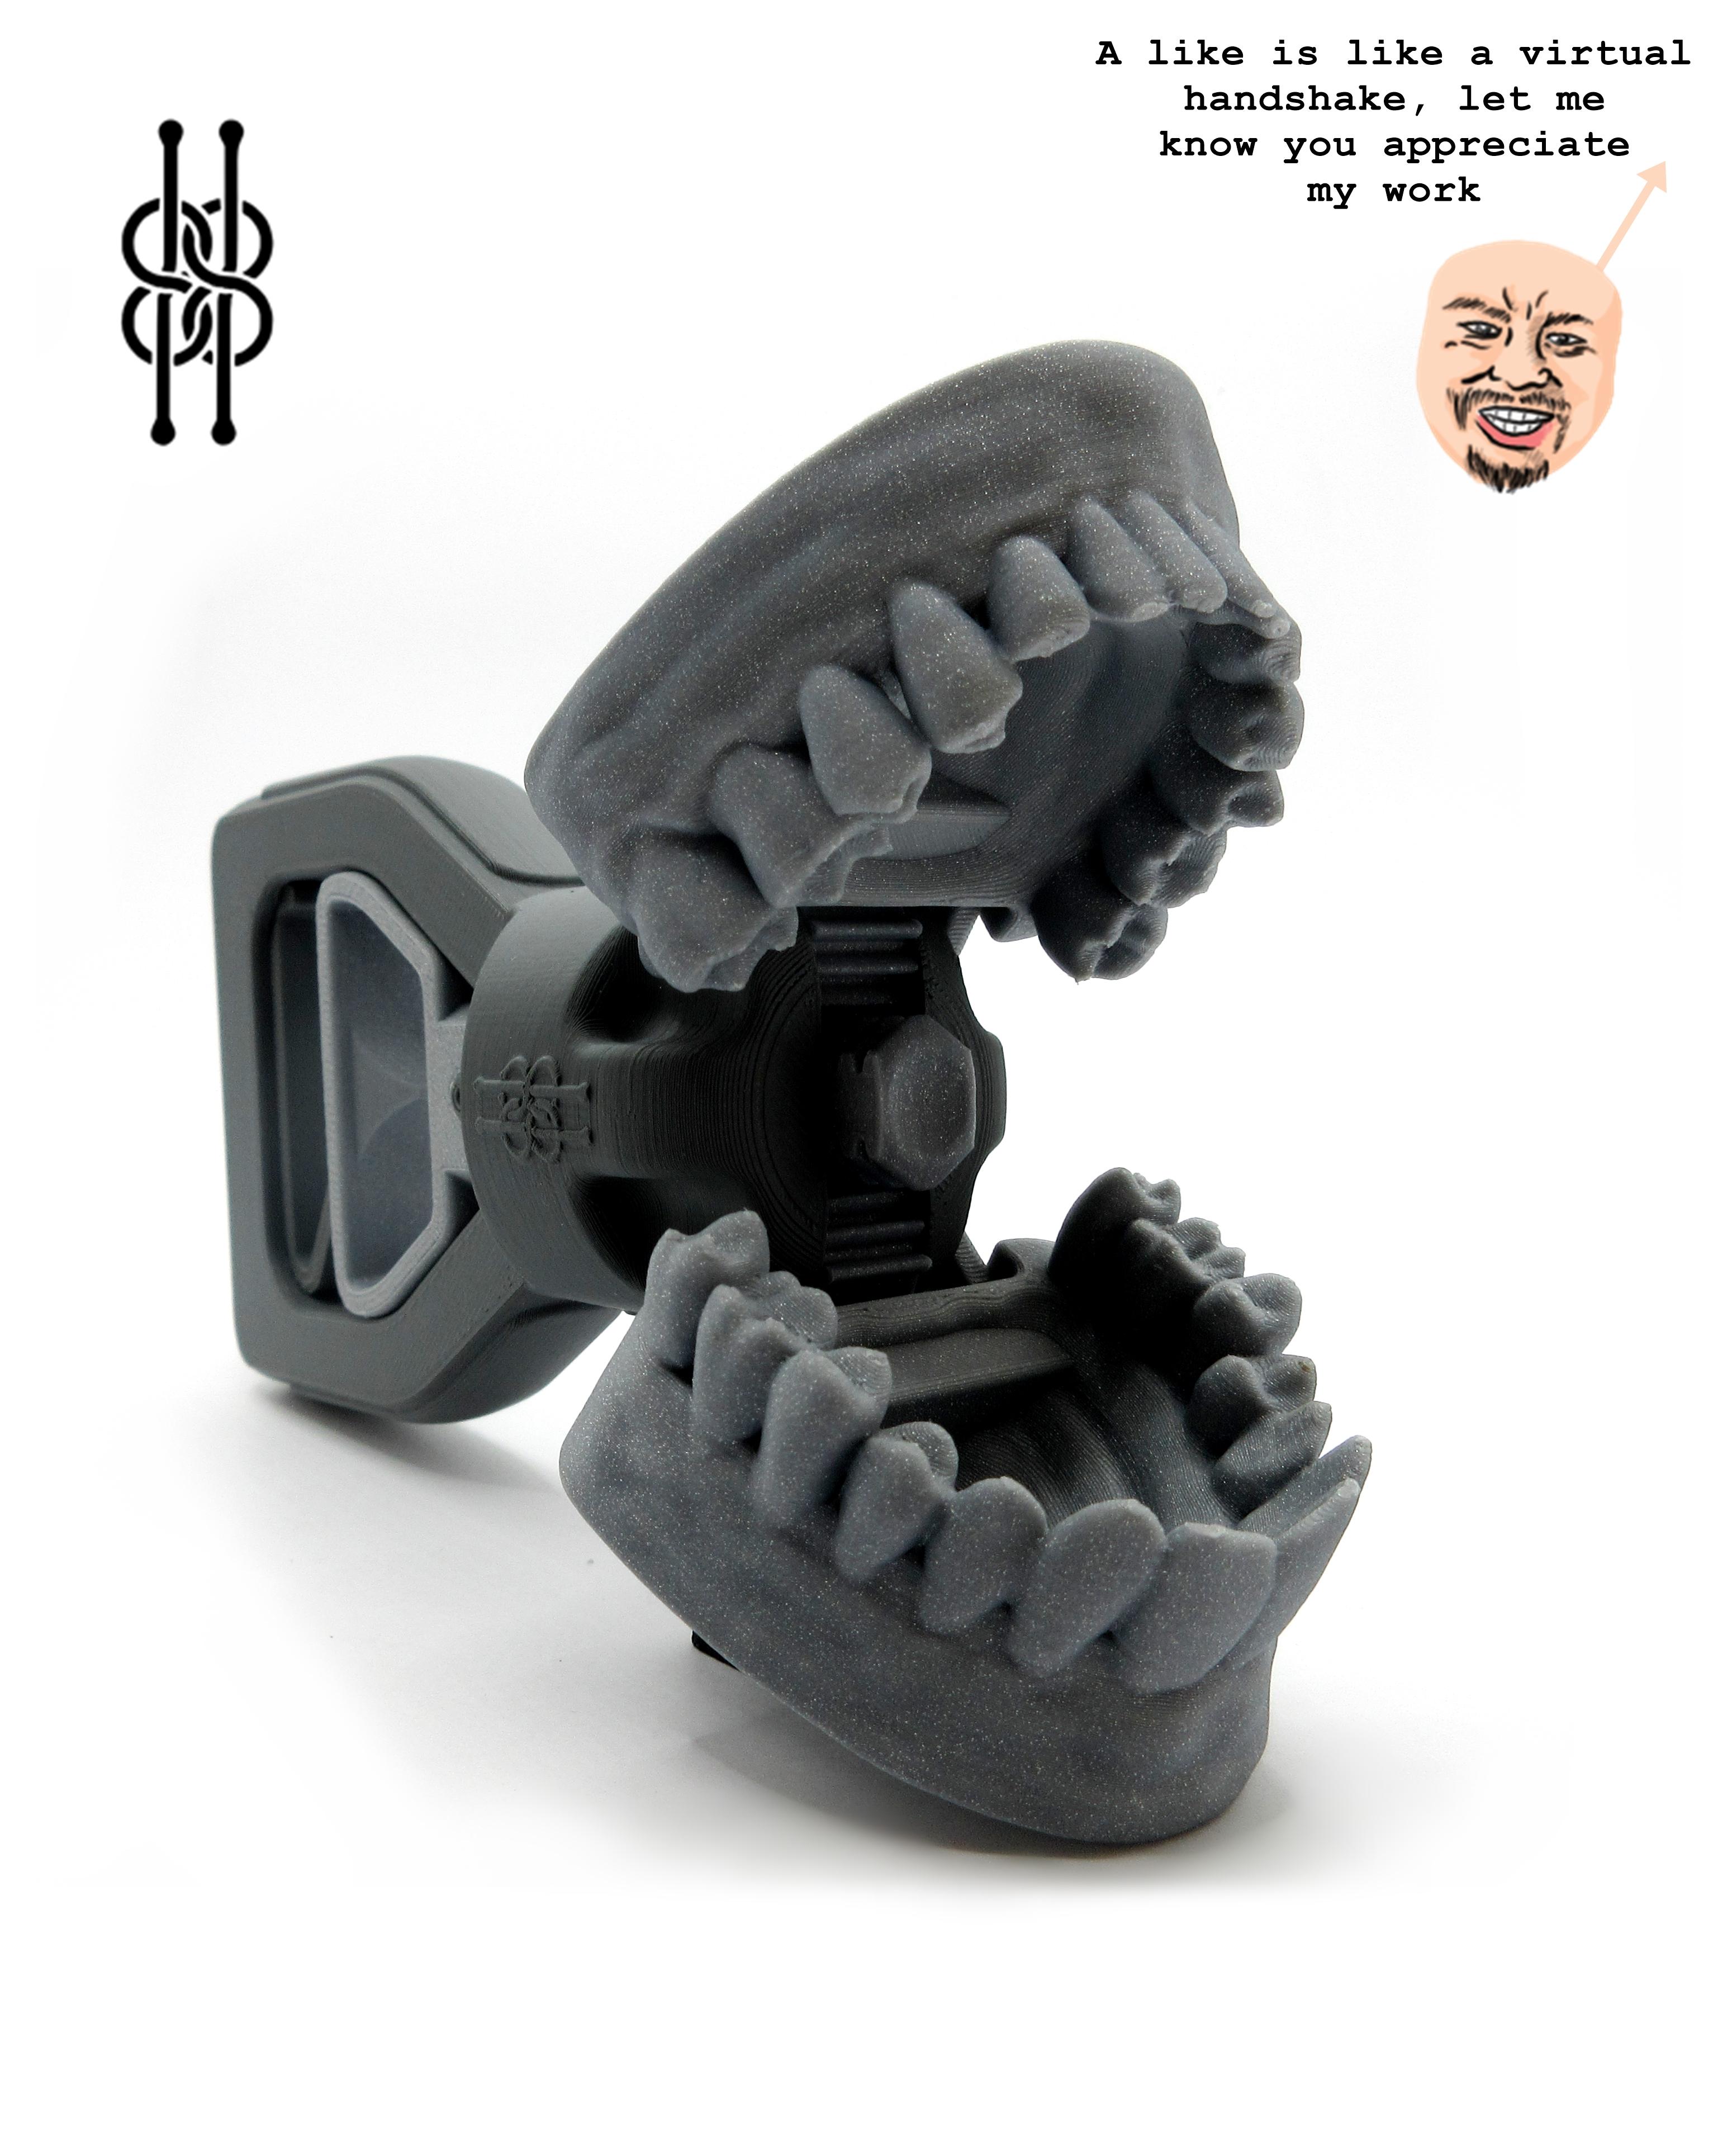
Mouth grabber

Hedgehog Slime

Pug Slime Fidget

Skull Slime Fidget

Knitting Counter - Commercial Version

Cute Monkey Slime

Octopus Slime Fidget

Big Eye Slime

Gold Nugget DK Controller Stand / Amiibo Stand

Water Bottle Drying Stand - Hard / Soft – 2-Piece, Compact & Easy Storage
CHRISTMAS BULB WITH STAND OR HOOK

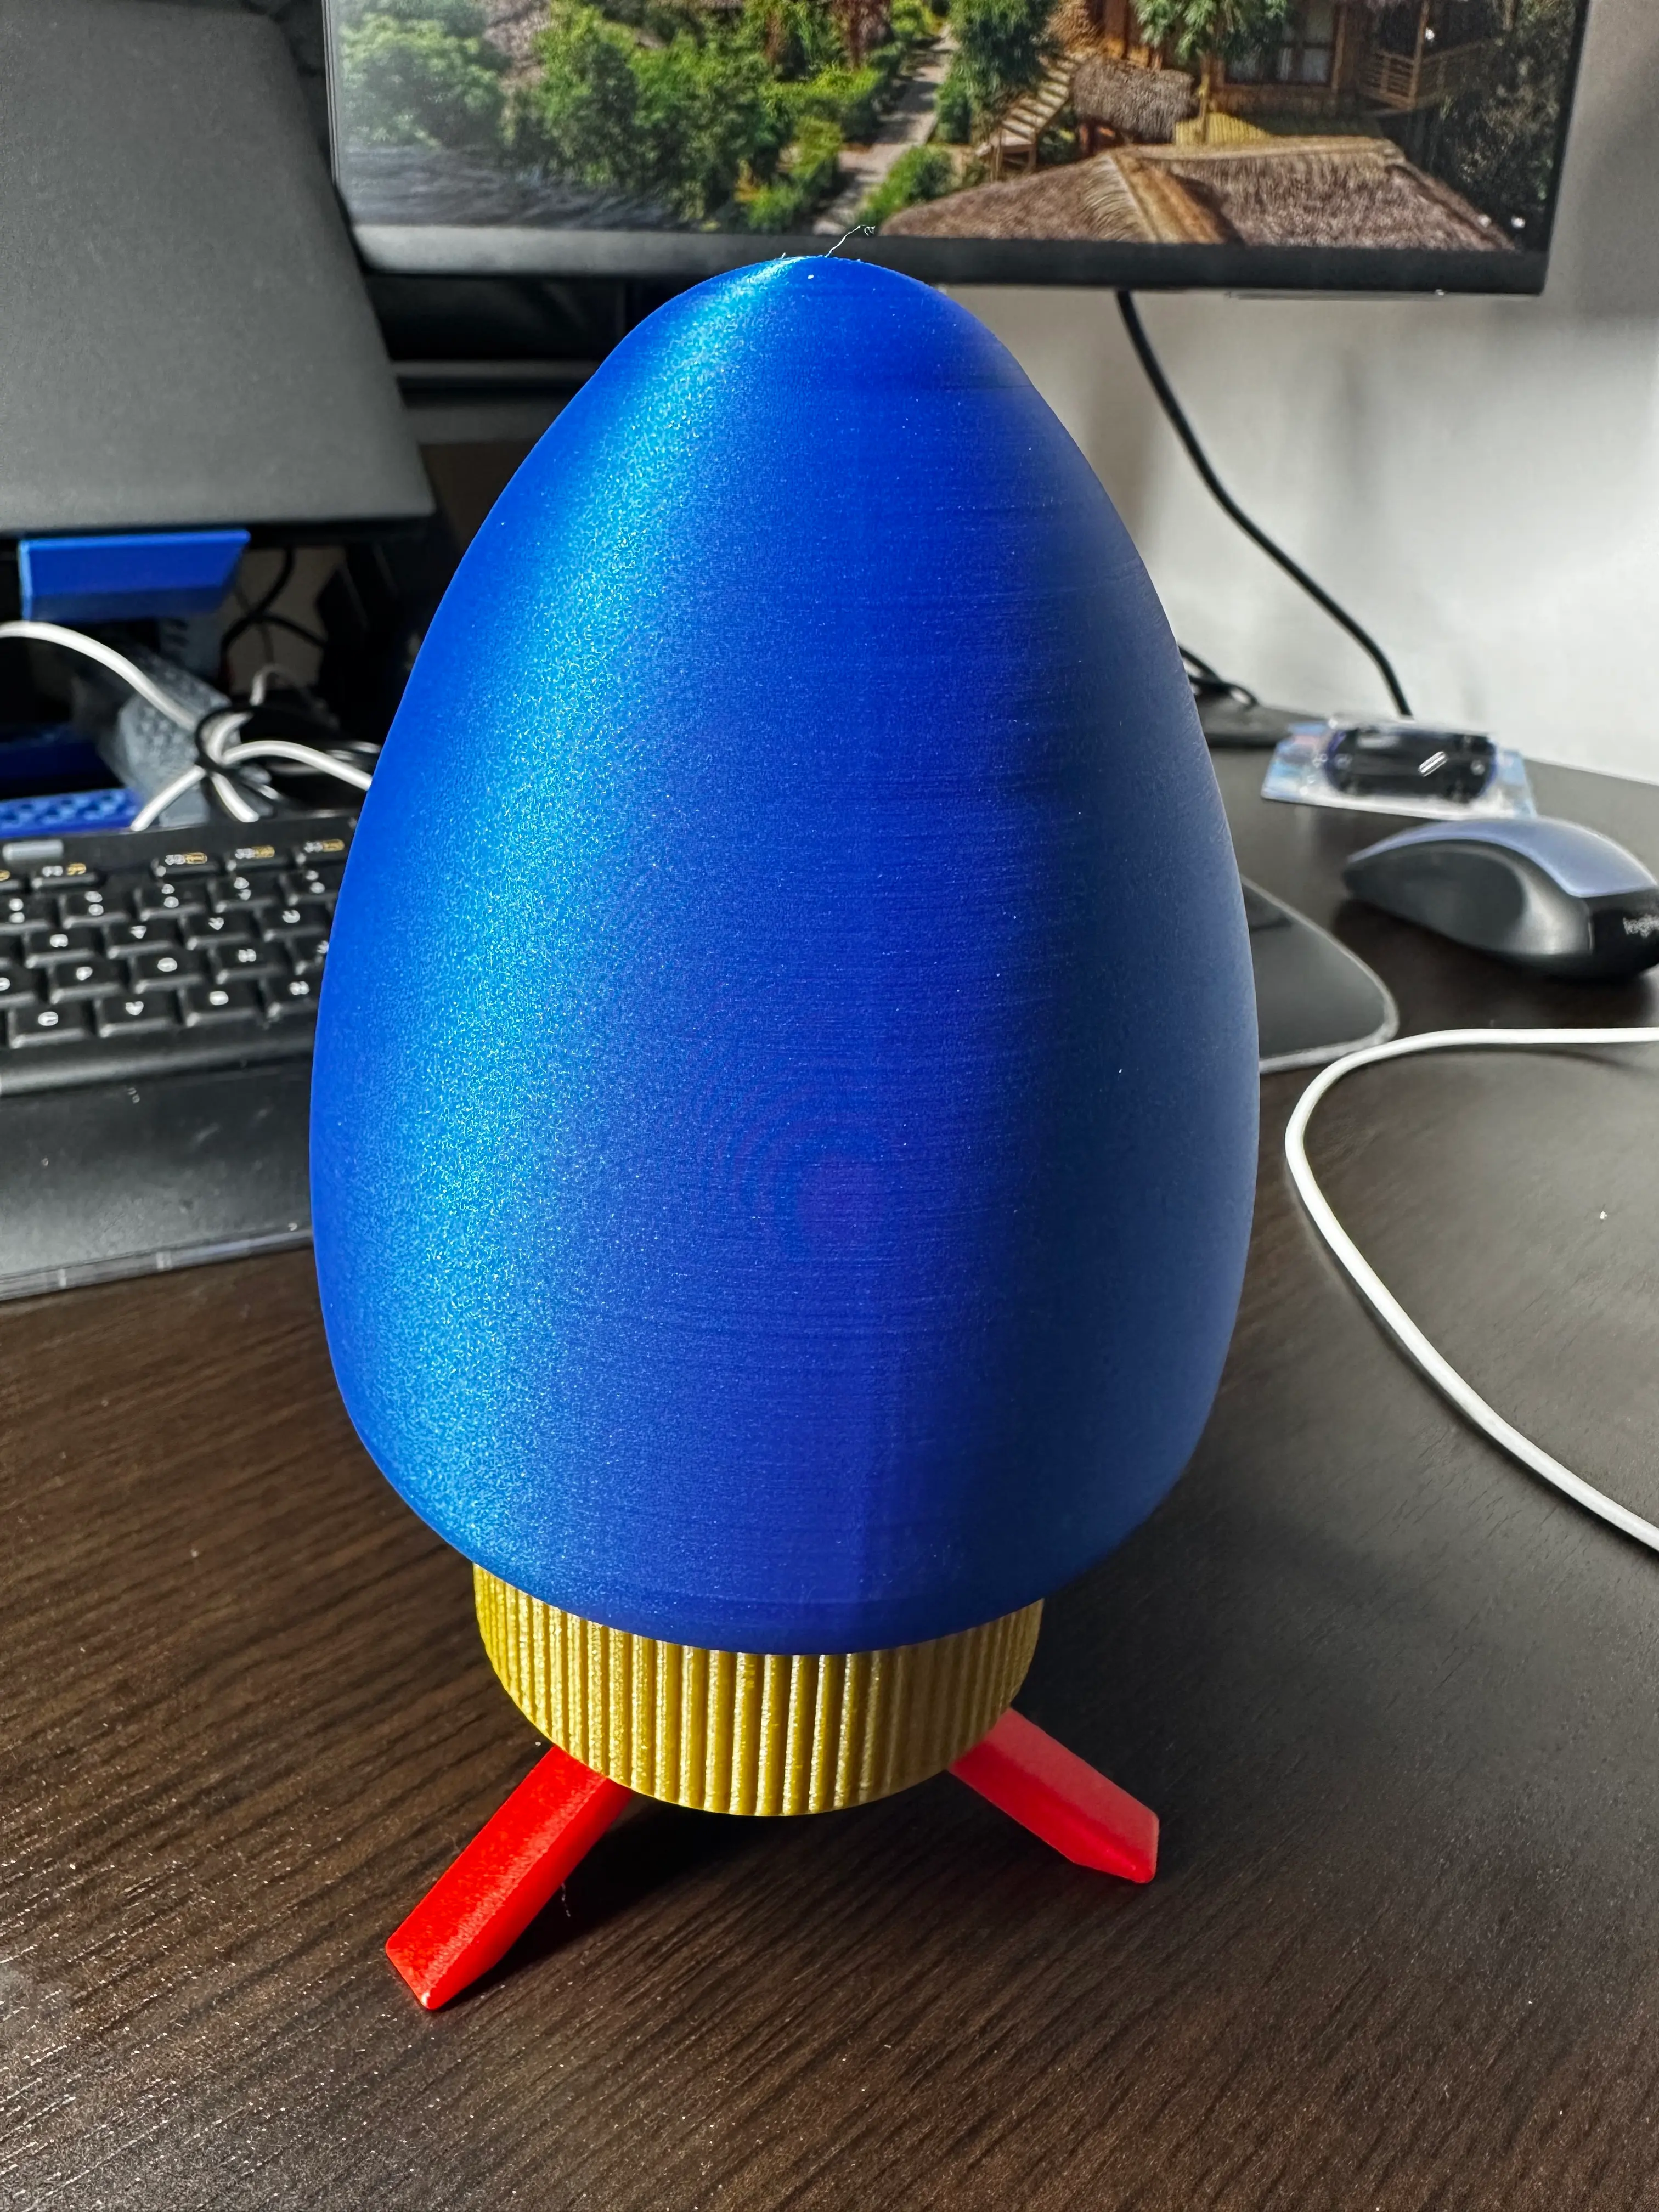
Crackable Easter Surprise Eggs – Emoji Reveal | 3D Printable STL (Single-Use Pop Design)
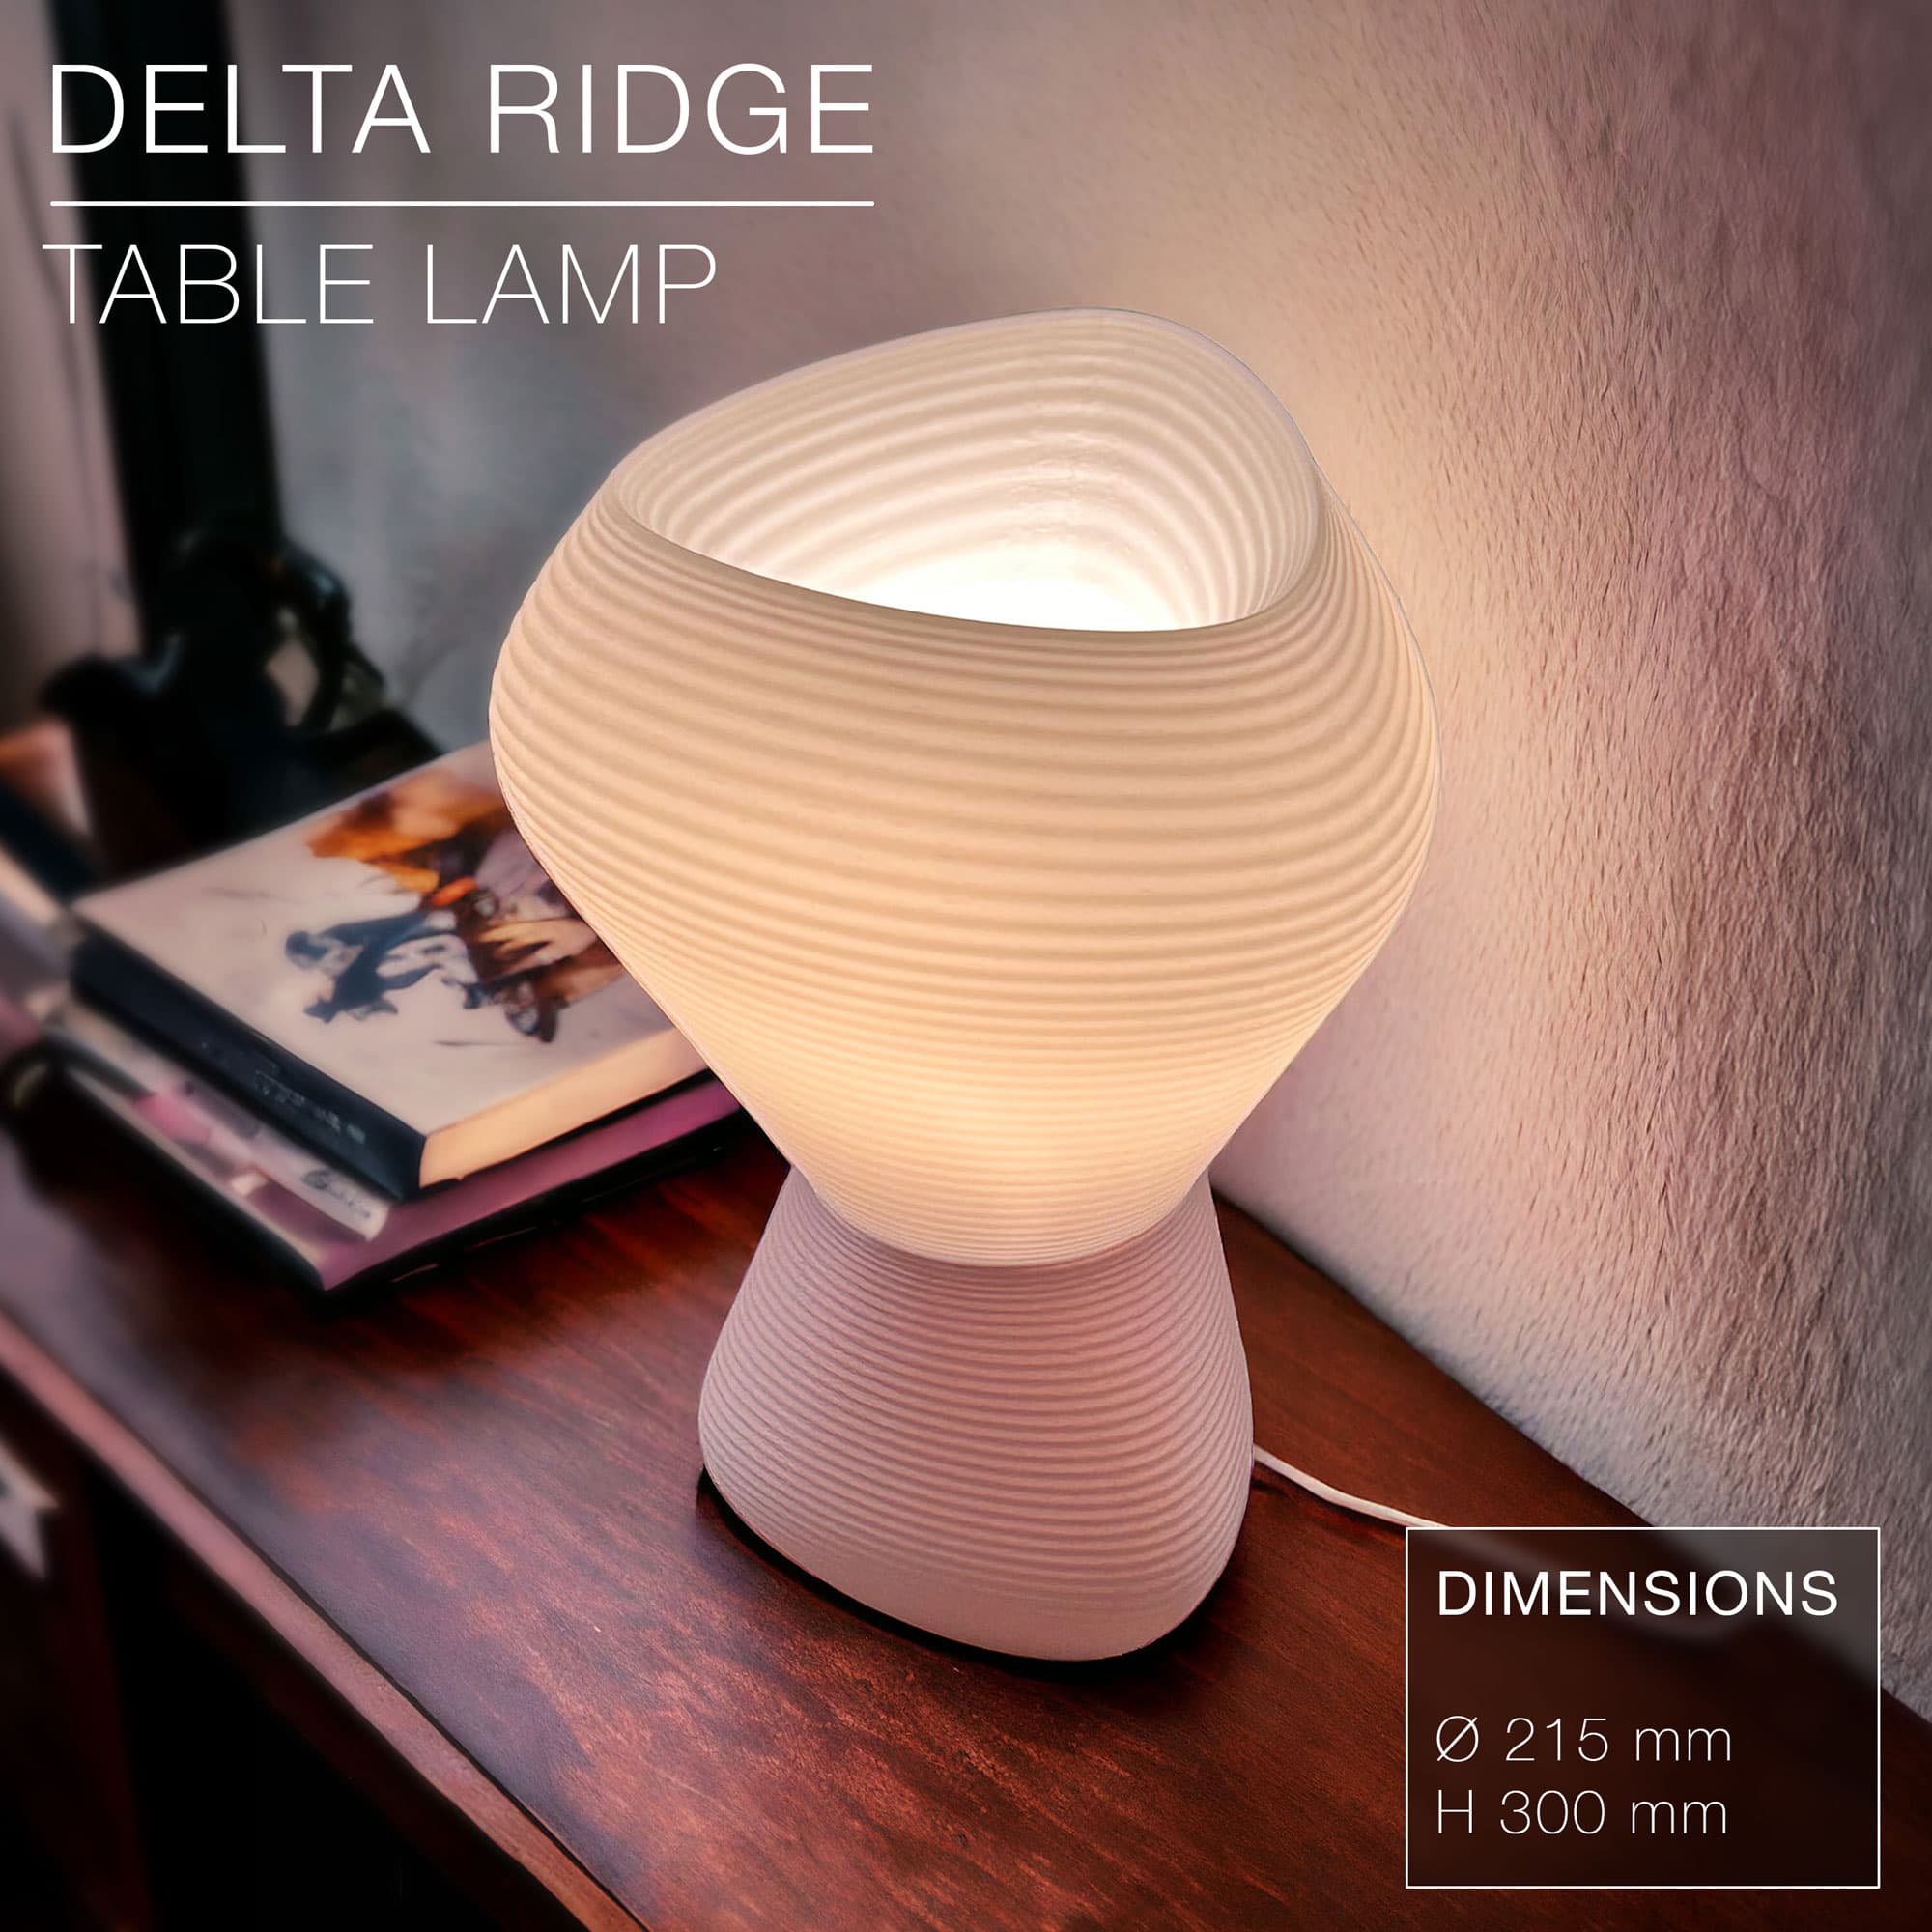
DELTA RIDGE | Table lamp E14 & E27 fast-print

LAMP "CYCLONE" WITH BEAUTIFUL LAMPSHADES / DESIGNER HOMEDECOR / DECOR / LIGHTNING
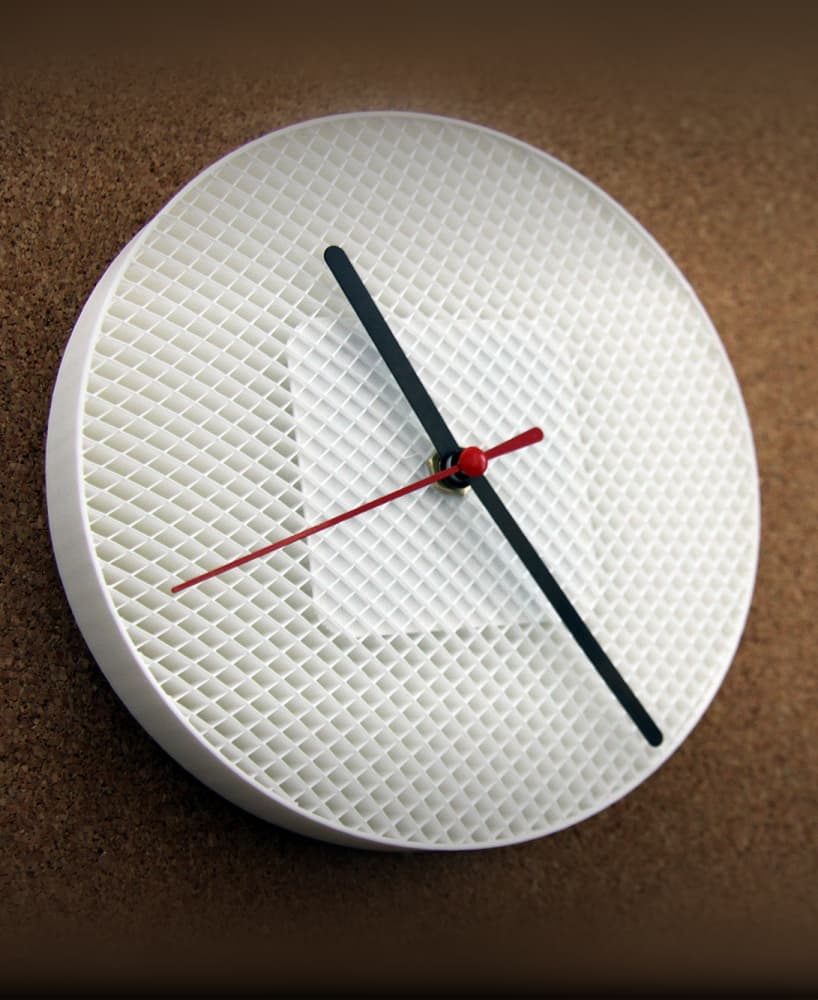
STRUCTURE CLOCK V01
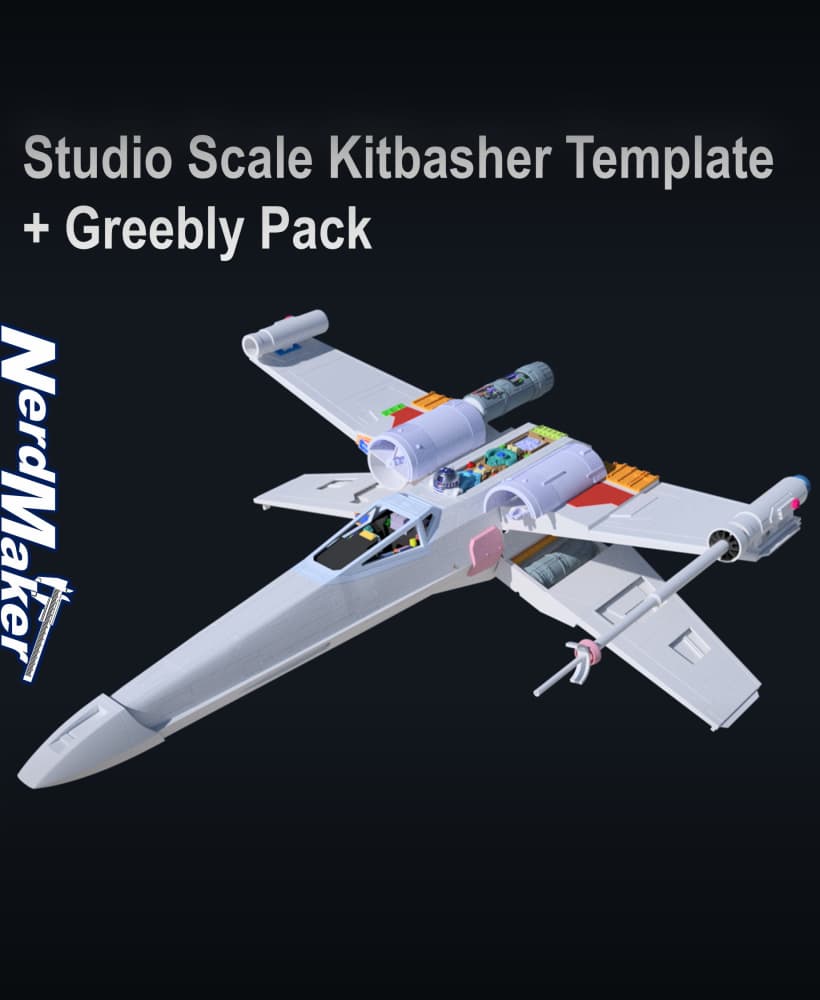
Studio Scale Model-X Kitbasher Template with Greebly Pack

Studio Scale Model-X Kitbasher Template
.png&w=3840&q=75)
SPINNING DESKTOP ORGANIZER
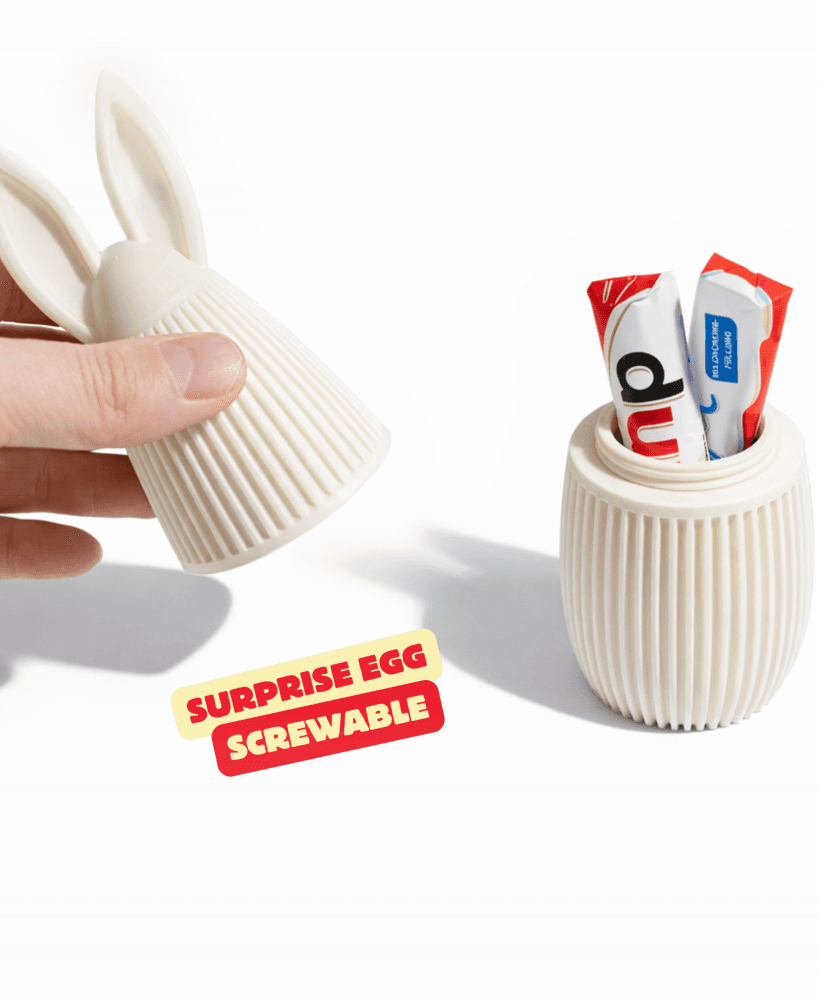
JAPANDI SURPRISE BUNNY - WITH SCREW MECHANISM / SURPRISE EGG / CUTE EASTER GIFT / EASTER DECOR
.jpg&w=3840&q=75)
perhaps some glue instead? Or maybe your printer needs some maintenance?
This design is wonderful! Love your work!!!!
Thank you!! :)
Nice color choices 😁