

240-1W-1H Classic Drawer
| Visit JERRARI3D.com for Instructions and a complete look at the GEN2 collection
The GEN2 Modular System is a 3D printable storage solution offering ultimate flexibility and customization. Perfect for home users, hobbyists, and small businesses, so you can print exactly what you need and customize every piece to fit your space and style.
Unlike store-bought sets, GEN2 lets you print only what you need and expand your setup whenever you want. The drawers snap together seamlessly, giving you endless expansion possibilities. With the unique QuickLock mechanism, rearranging or relocating drawers is quick and effortless, so your storage can grow and adapt with you.
CLASSIC DRAWERS These one-piece drawers print with the handle built in, no assembly needed. They’re quick, simple, and ready to use right off the bed. While they offer convenience, they don’t allow for the same material savings or faceplate customization as the Decor series.
STEP 1: Location
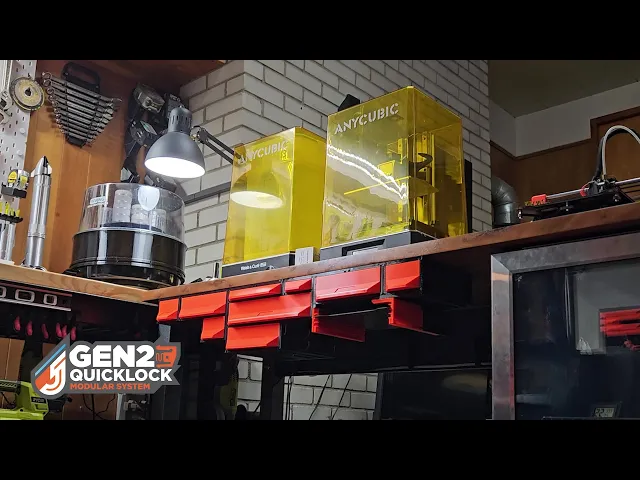
Decide how you would like to use your GEN2 storage. Keep in mind that the drawers are modular and can be easily swapped between under table and table top locations. All drawers are available for mounting under the table using rails, but you can also place them on top of any surface with table top kits.
Find these kits at JERRARI3D.com
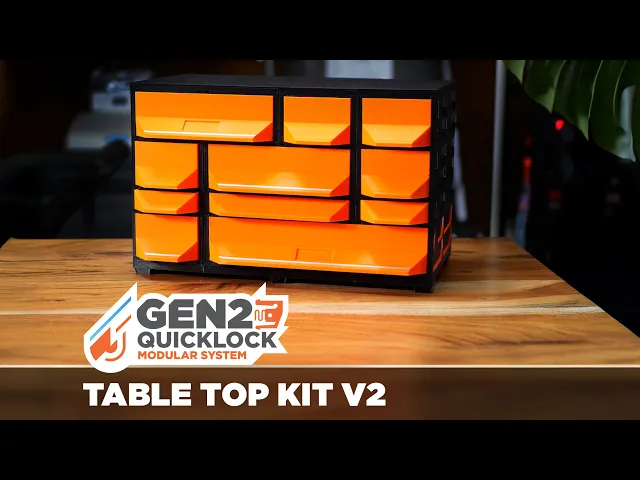
• UNDER TABLE (GEN2 RAILS) Attach GEN2 drawers under any surface by installing the GEN2 RAILS. Once installed drawers can slide and lock into place, they can then be swapped out and rearrange in seconds. • TABLE TOP KITS Table Top Kits include covers and foot rails that when combined with drawer cases create a rigid structure that can be placed anywhere
What You'll Need
Visit Jerrari3D.com for a list of all compatible drawers.
These drawers are completely compatible and interchangeable with any GEN2 drawer systems in 240 length.
Choose a Faceplate Download and customize faceplates HERE
HARDWARE Includes affiliated links to help support my projects • Filament - Black PETG (My go to for the drawer bodies) but PLA can be used as well • Screwdriver • Magnets (Optional): 10x5x2mm or 10x2mm • M3 nuts and screws: Stainless-Steel or Steel
• (*Optional - Under table) Countersunk woodscrews: (Metric: 4x25mm to 4x16mm) or (SAE: #6 or #8 up to 1" long) • (*Optional - Under table) Drill bit that is smaller diameter than the wood screws • (*Optional - Under table) Pen, Marker, or Scratch Awl (for installing under tables)
INSTRUCTIONS
Detailed visual instructions at Jerrari3d.com
INSTRUCTIONS
See attached videos or visit for basic instructions JERRARI3D.com
Please note: The Non-Commercial license refers specifically to selling prints. You're absolutely welcome to use my designs in commercial environments—I actually encourage you to use them anywhere you see fit! 👍
240-1W-1H Classic Drawer

GEN2 PlateStack Case – Prusa – 240-3W-1H
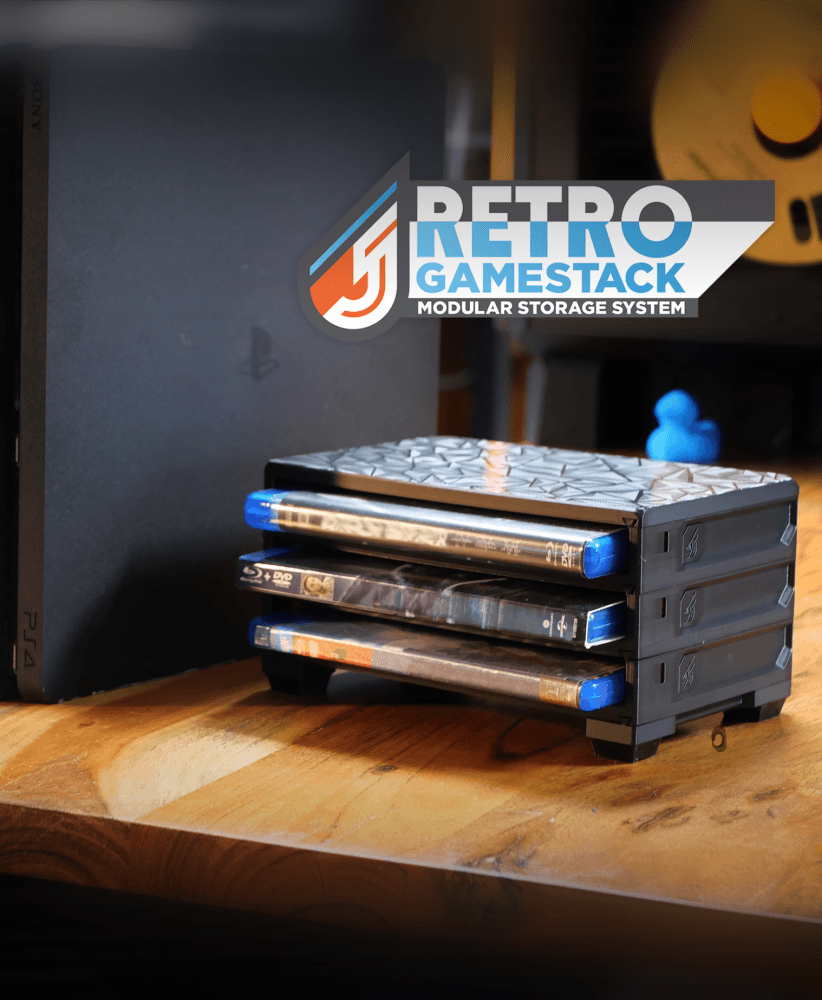
RETRO GameStack - PS5/PS4/PS3/Blu-ray

GEN2 Decor - Faceplates - Classic Pro Series
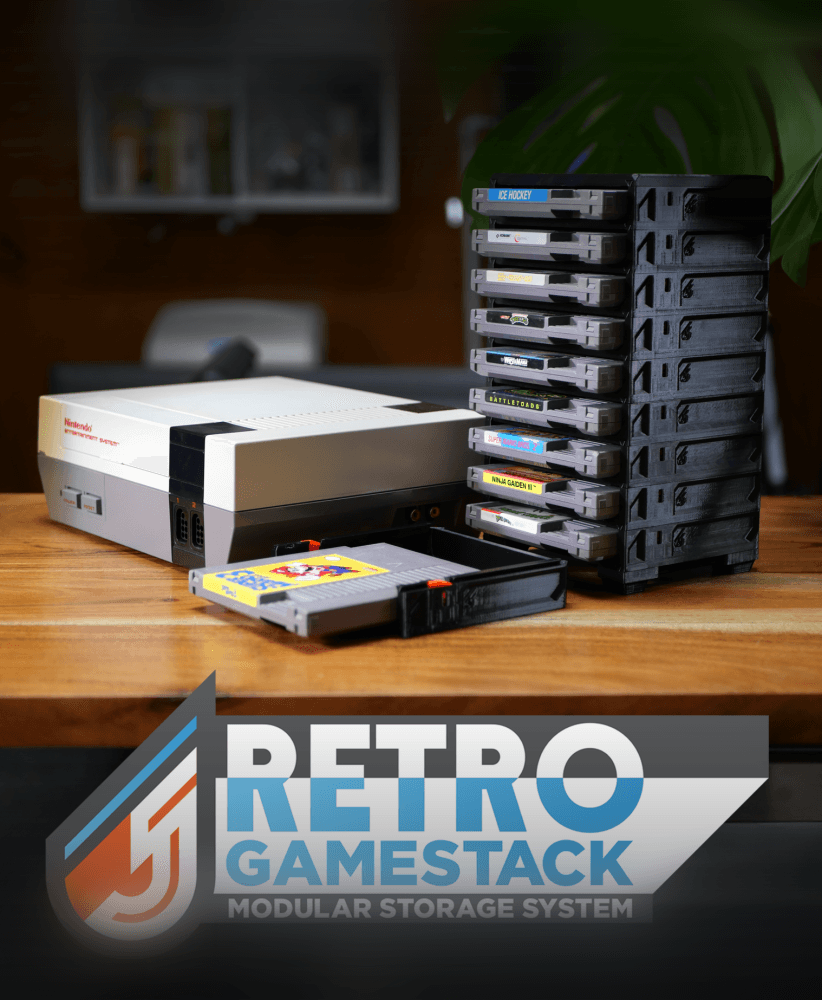
RETRO GameStack - NES

GEN2 Tilt Drawer Pro - 115
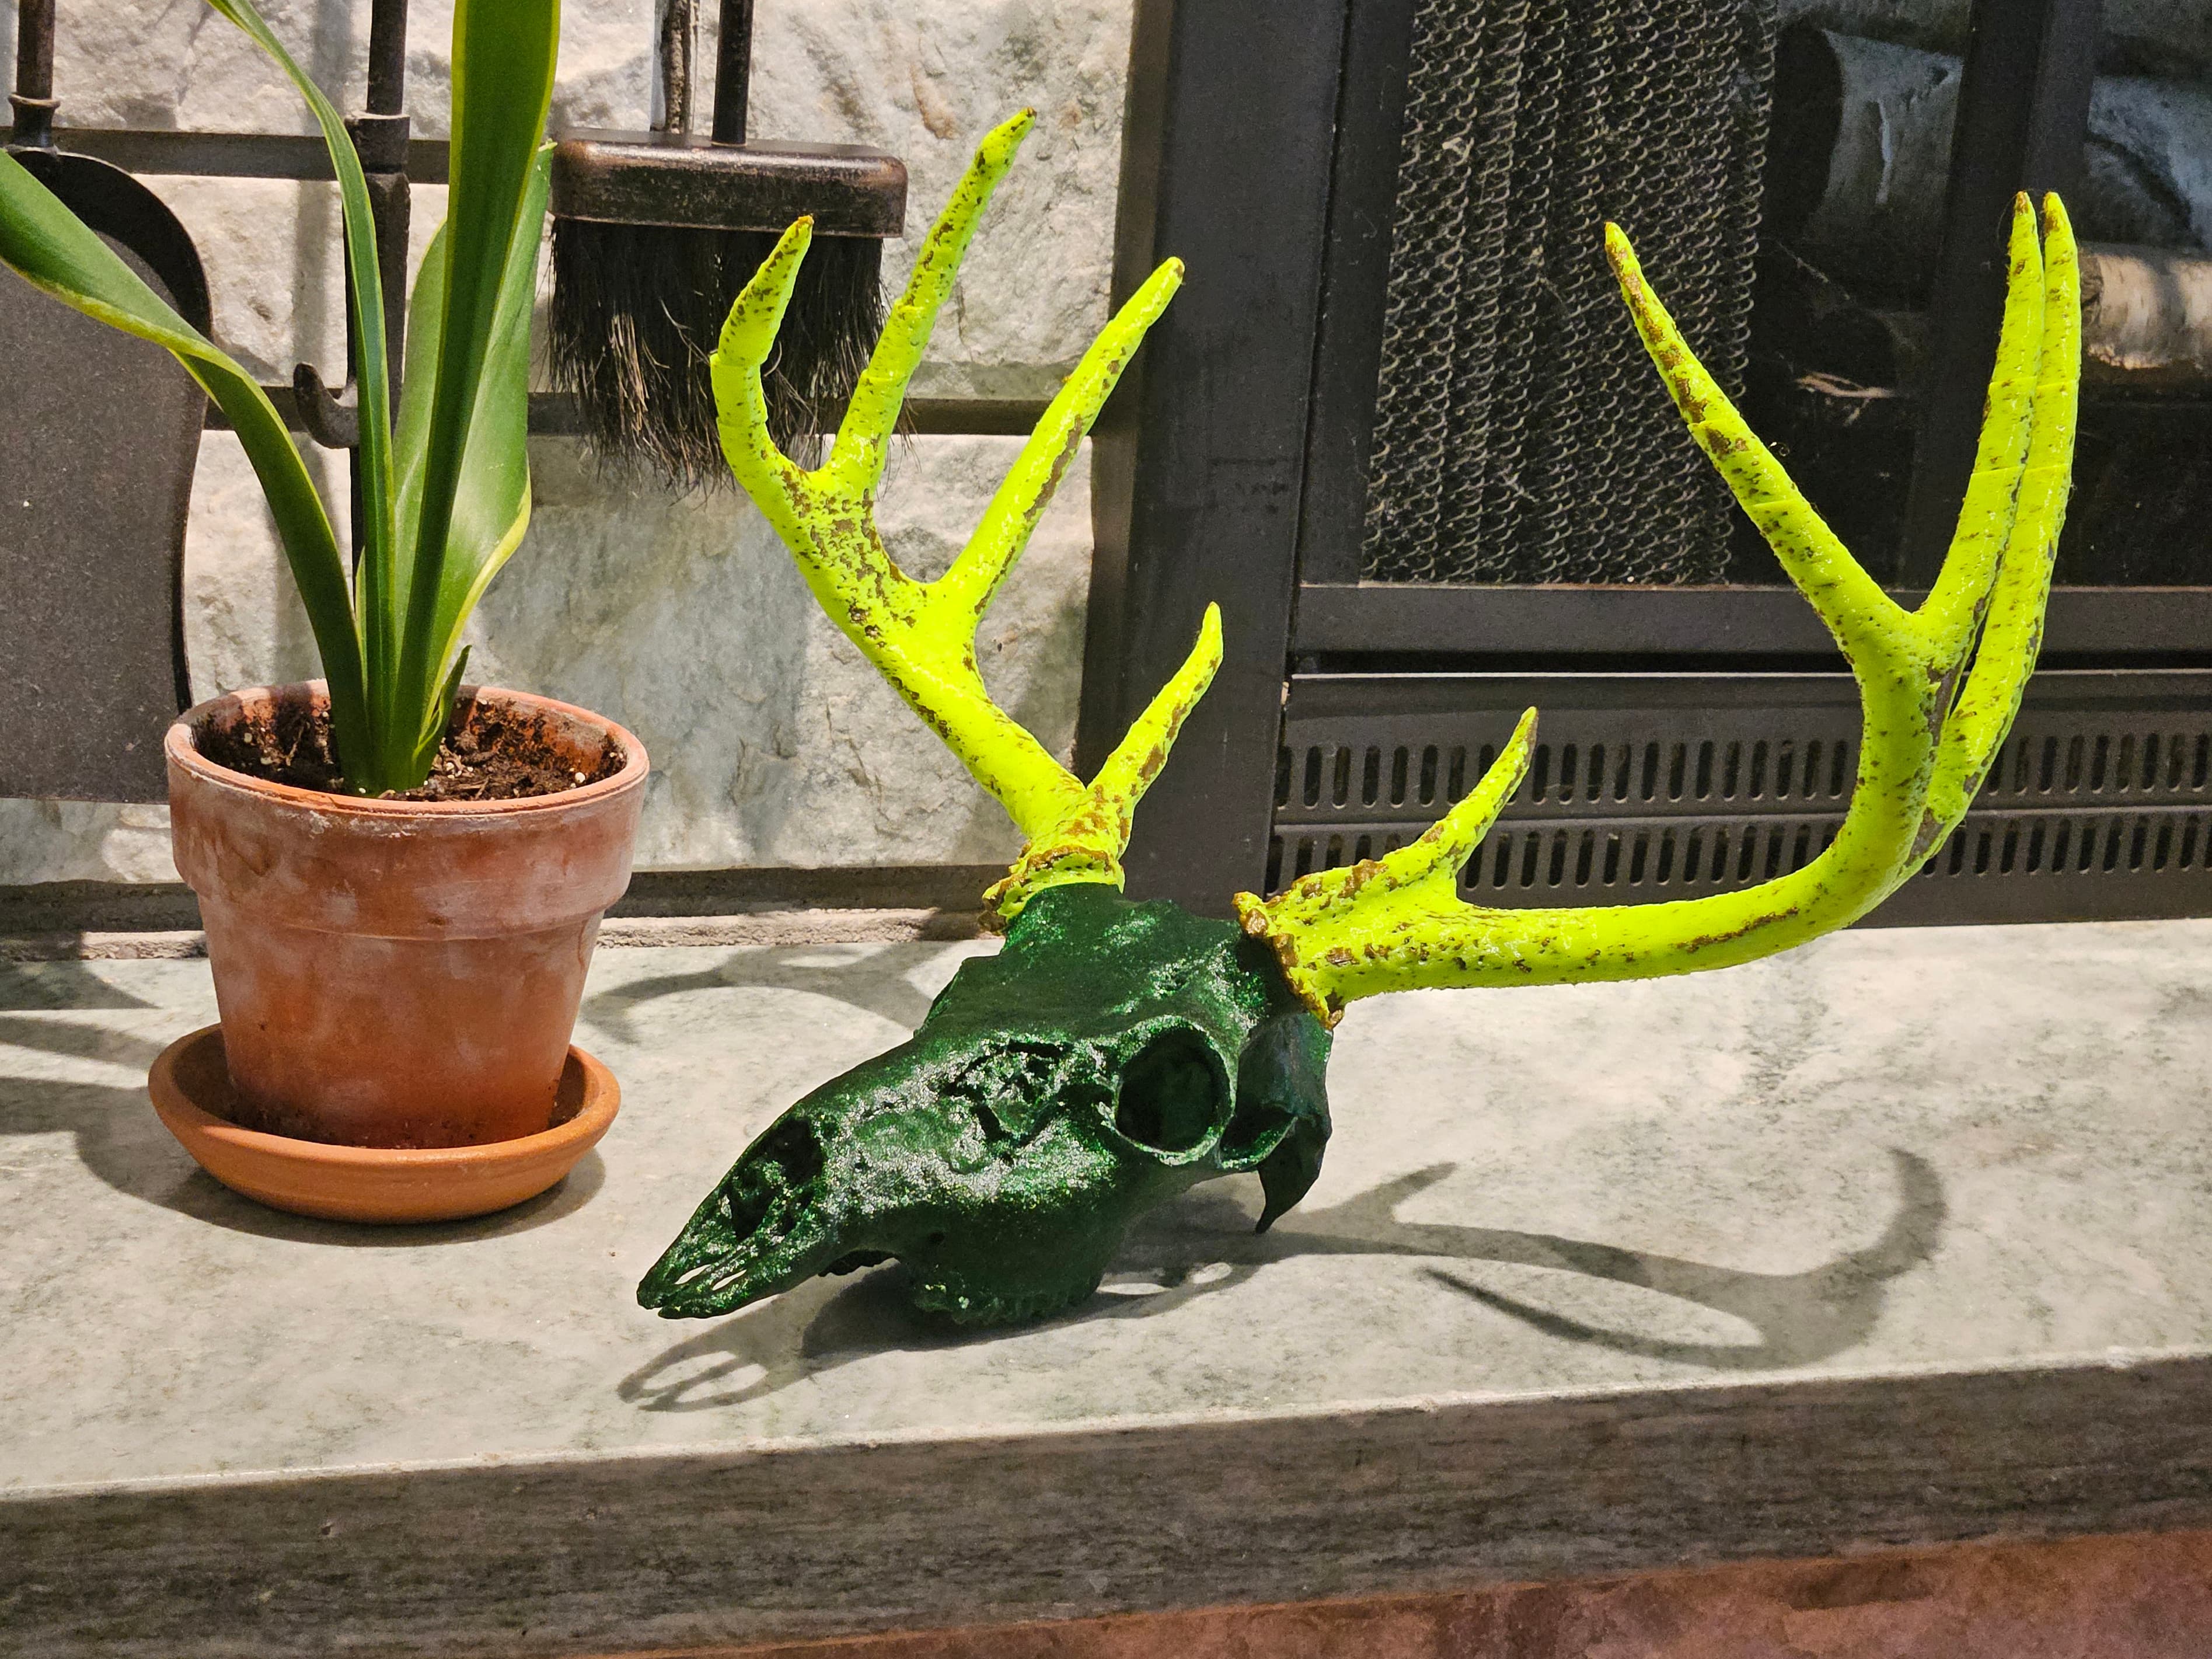
White-tailed Deer Skull - Multi-Part

Mini Toolbox, Print in Place, No Supports, Milwaukee, Real, Miniature

Mini Filing Cabinet
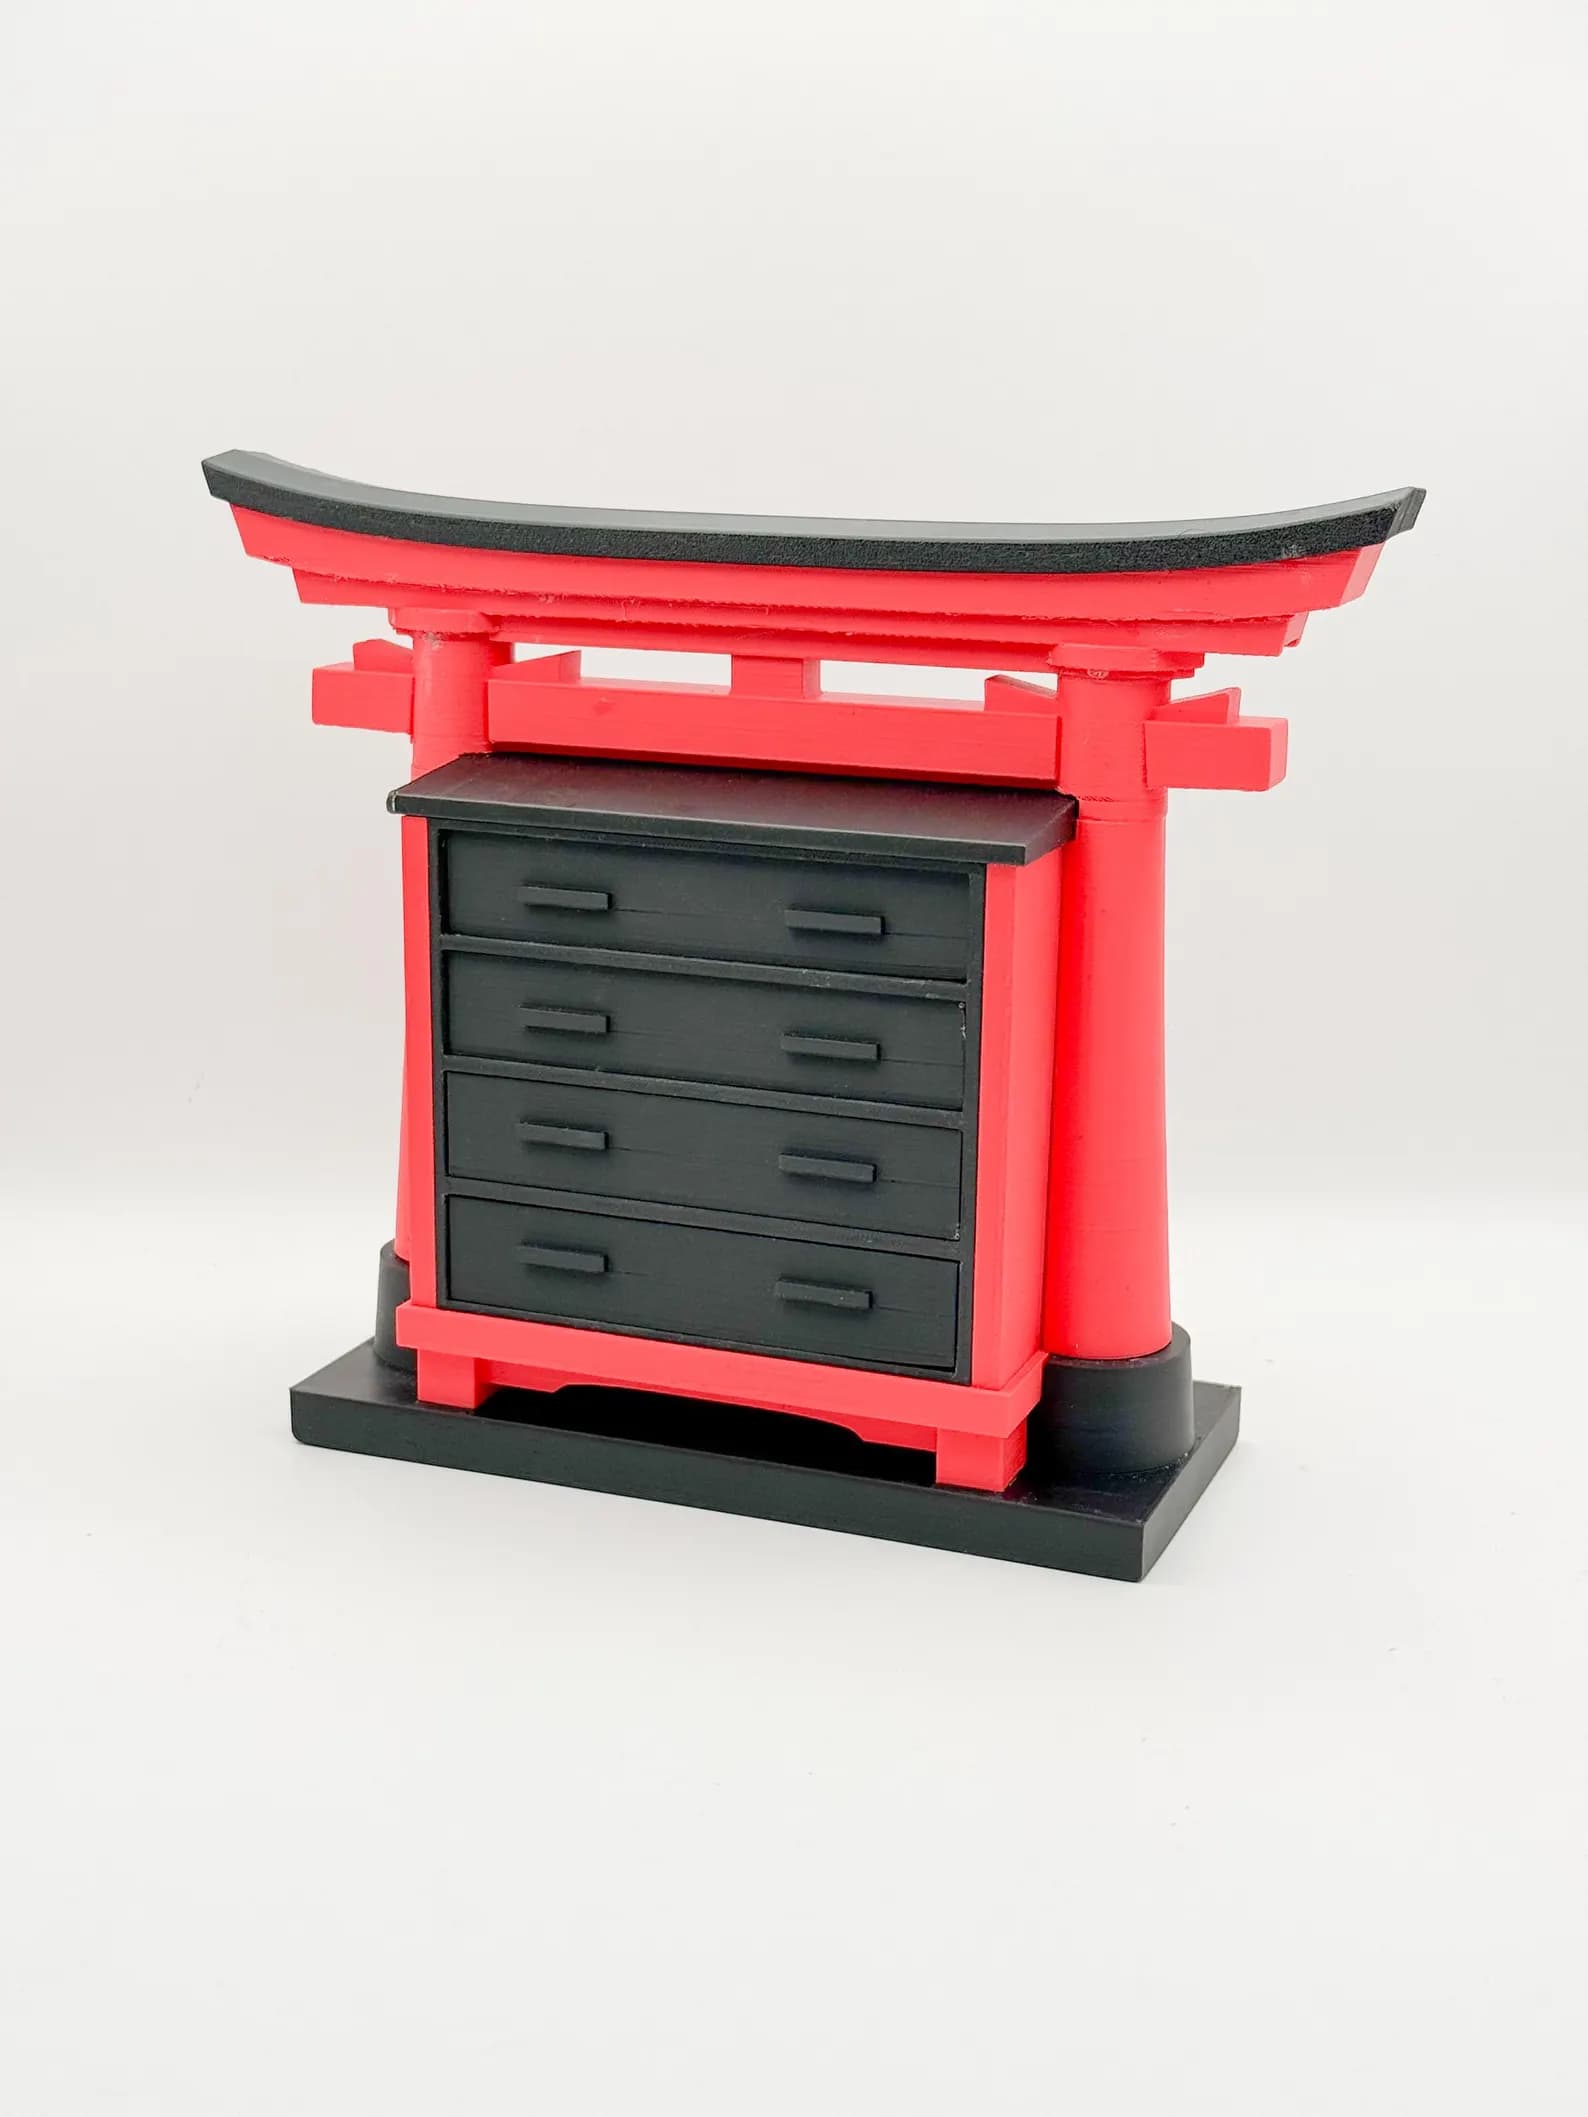
Japanese Torii Dresser

Mini Gothic Coffin Dresser (functional)

Mini Coffin Drawer

Classic Decorative Pull Handle
_1.jpg&w=3840&q=75)
Snowflake Fidget Spinner (Classic Decorated)

The Coil Lamp

Articulated Airless Snake

Bulldog - Wall Decoration

Gizmo Uppies -Secrets of the Mogwai

Pluto STL File – Cute 3D Printable Disney Dog – Chibi Cartoon Puppy Figure for Collectors – Kawaii A
.png&w=3840&q=75)
Adorable Wizard Mouse 3D Printable Collectible Figure - Fantasy Magic Themed