
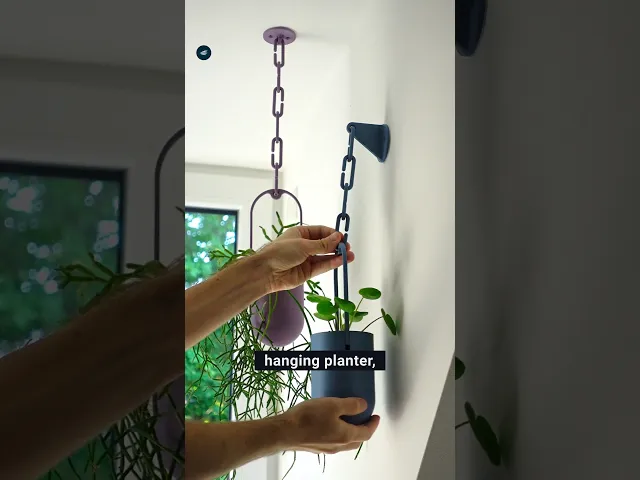


Modular hanging planter
591 downloads · 10 months ago · **A modular hanging planter that you can customize for your needs.**
The design also comes with a cu
This model is restricted by licensing terms.
View license.
A modular hanging planter that you can customize for your needs. The design also comes with a cute version that has a face and little dangling arms!
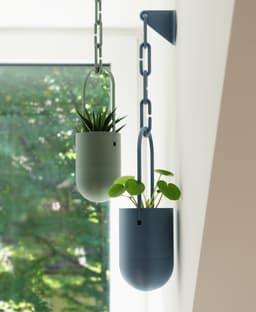
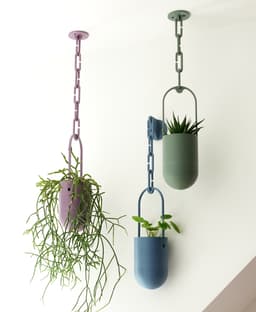
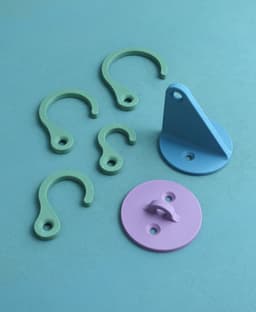
There are several mounting options:
- Four hooks from 20 to 50 mm in diameter for curtain rails
- A ceiling mount to be used with screws or wall mount tape (diameter of the two screw holes 5,5 mm)
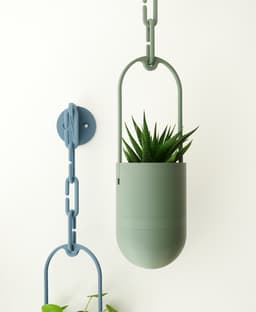
- A wall mount to be used with screws or wall mount tape (diameter of the two screw holes 5,5 mm)
Instructions
- Estimate the length of your chain. One chain element adds about 50 mm of length.
- Decide on your mounting option
- Decide if you want the face and arms on the planter or not.
- Print all parts
- Face option only: Glue in the eyes and mouth. Add some glue to the holes in the side of the top. Place the arm on the pin and proceed to put the pin in the hole. Make sure not to get any glue on the arms!
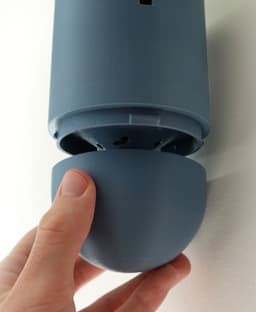
- Add the handle to the top part and pull it up until you hear a click
- Add your plant into the pot
- Water it extensively over the sink
- Wait a little and then add the bottom
- Assemble the rest of the parts
- Mount it
You can always add or remove chain element later if you misjudged the height.
Print settings Required build volume: 160 x 160 x 100 mm Material usage: 160 g
Material: PLA Print direction: files are rotated correctly Support: none Nozzle size: 0,4 mm Line width: 0,4 mm Layer height 0,2 mm Infill: 15% Build plate adhesion type: none

Modular hanging planter
591 downloads · 10 months ago in and
This model is restricted by licensing terms.
View license.

Elegant Leaf Filigree Wall Shelf & Hanging Rod Organizer

Multi-Level Succulent Planter Wall Hanging

Hanging Pots Pack

Happy Hanging Pot

Sculptural Hand Hanging Pot — Unique Home Decor
.png&w=3840&q=75)
Holiday Hangers: Santa, Snowman & Reindeer Trio
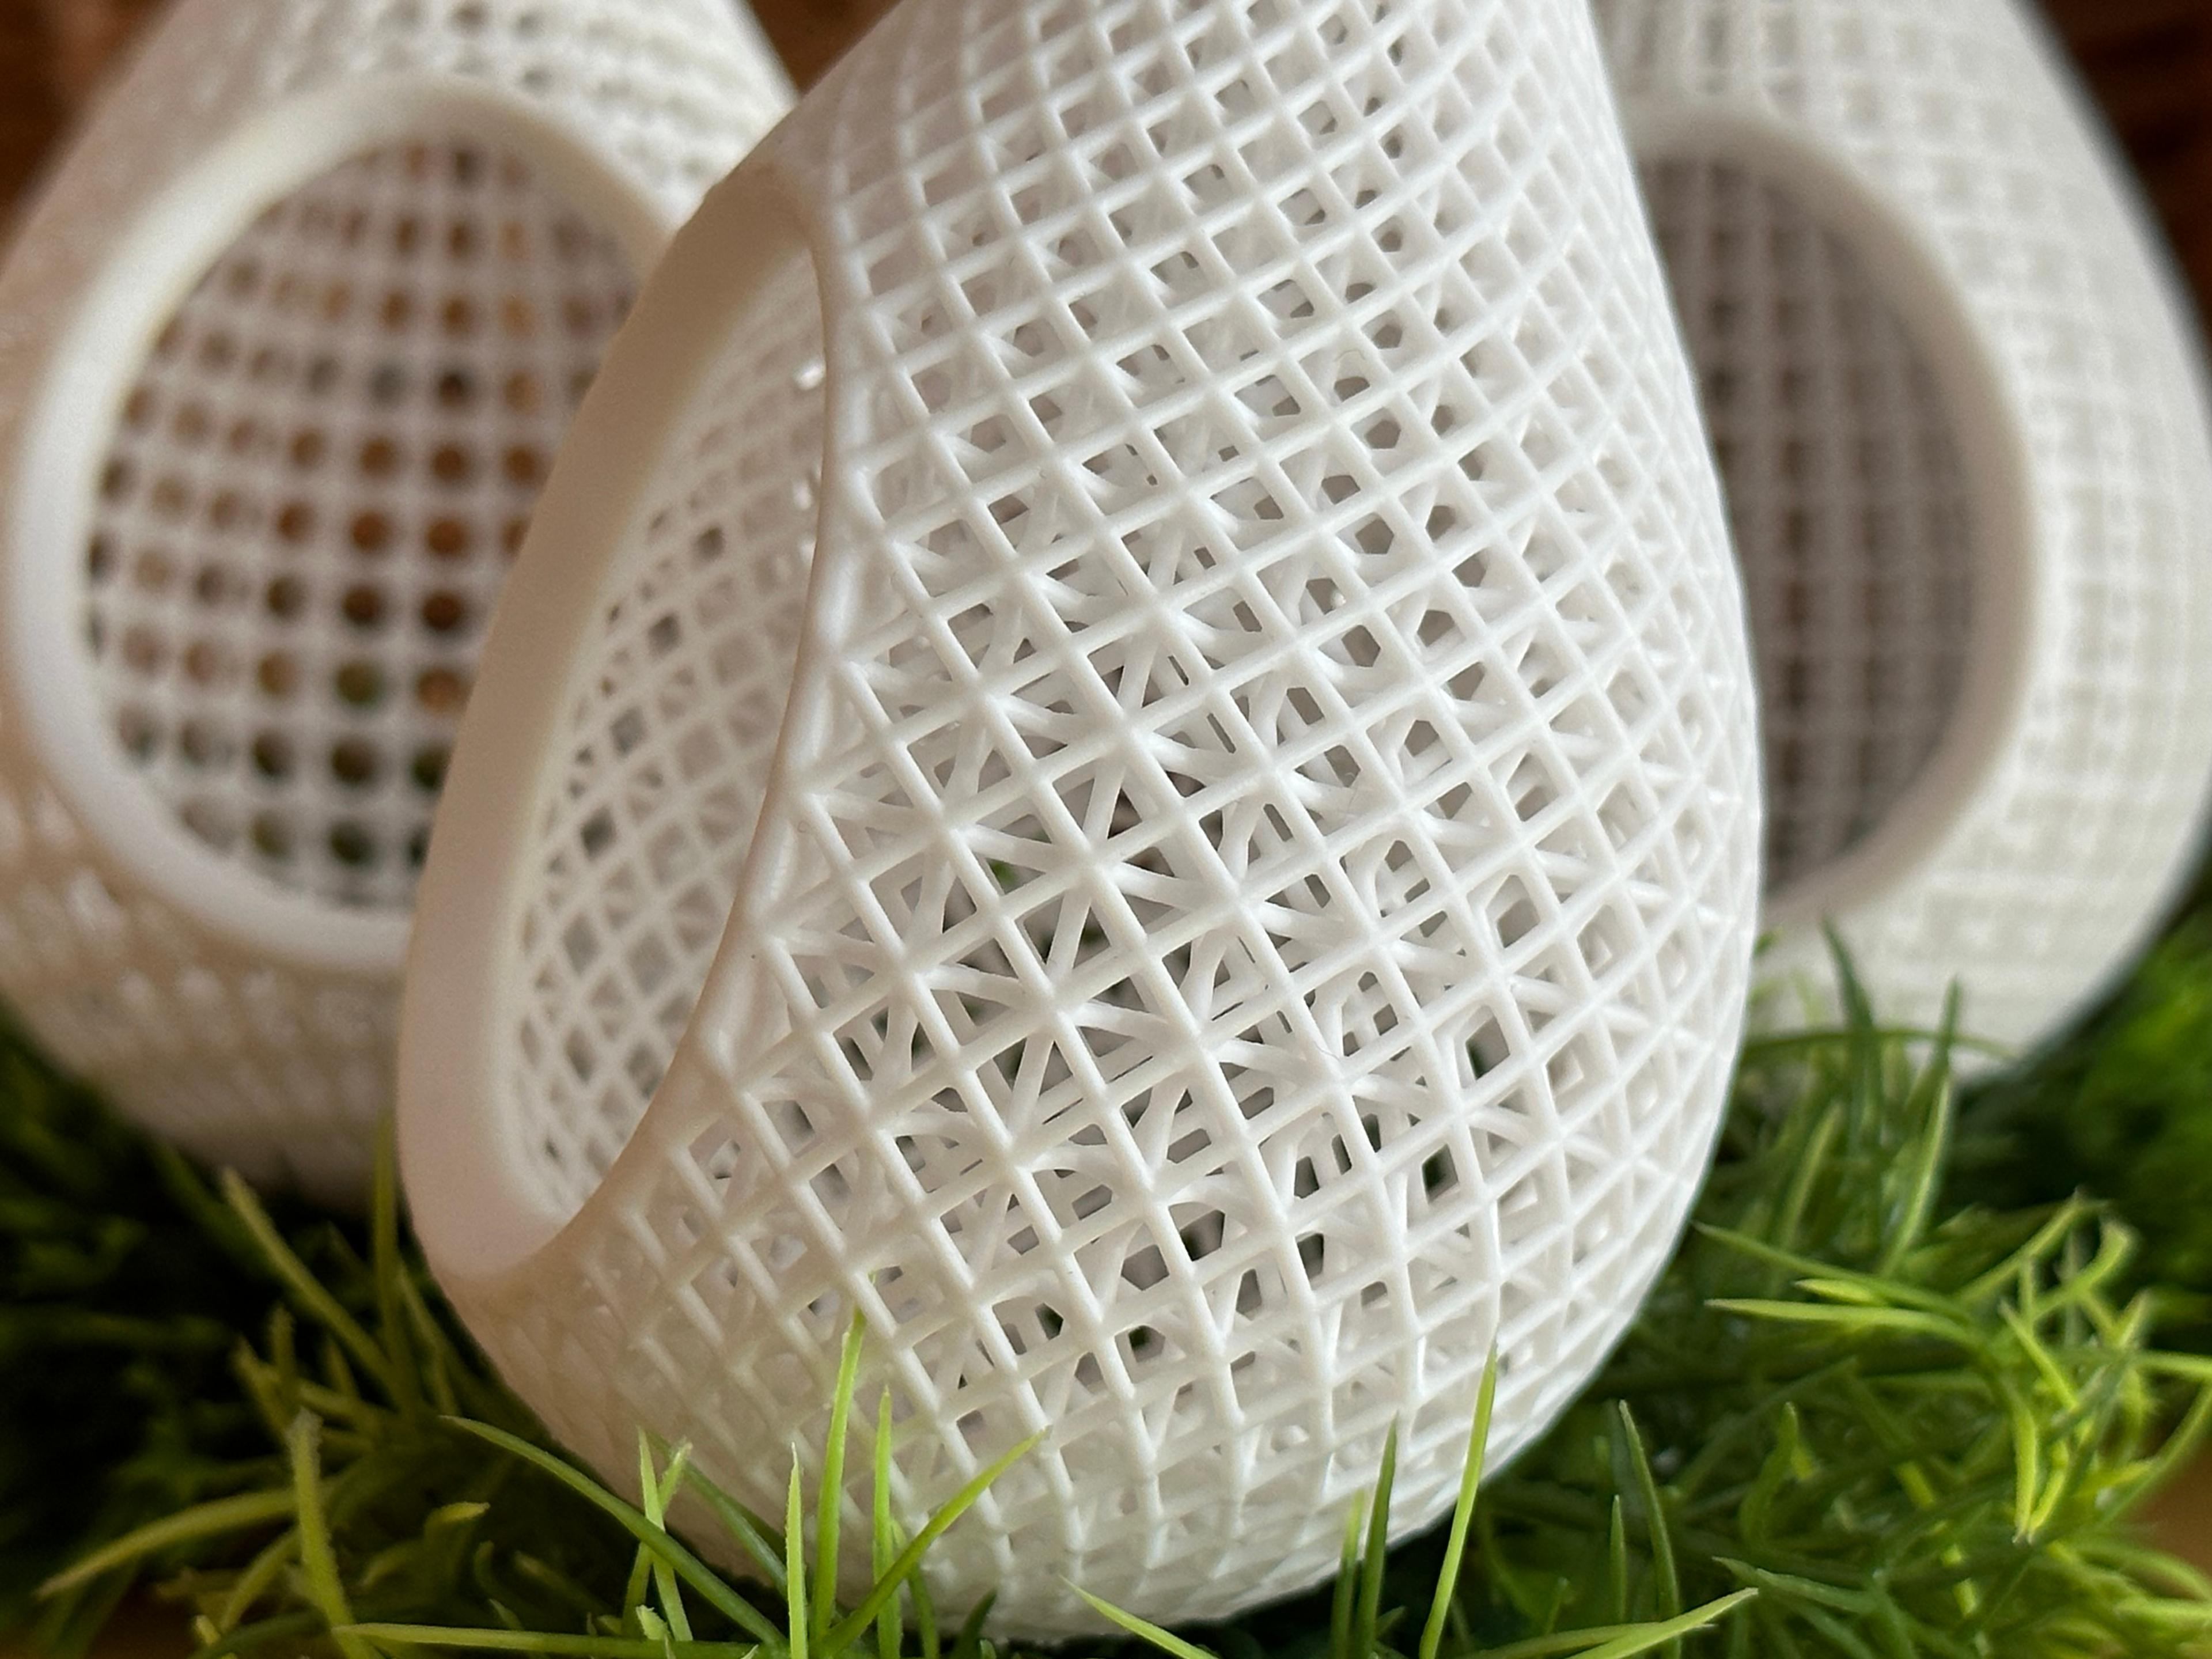
Teardrop Pod (FCC Lattice)
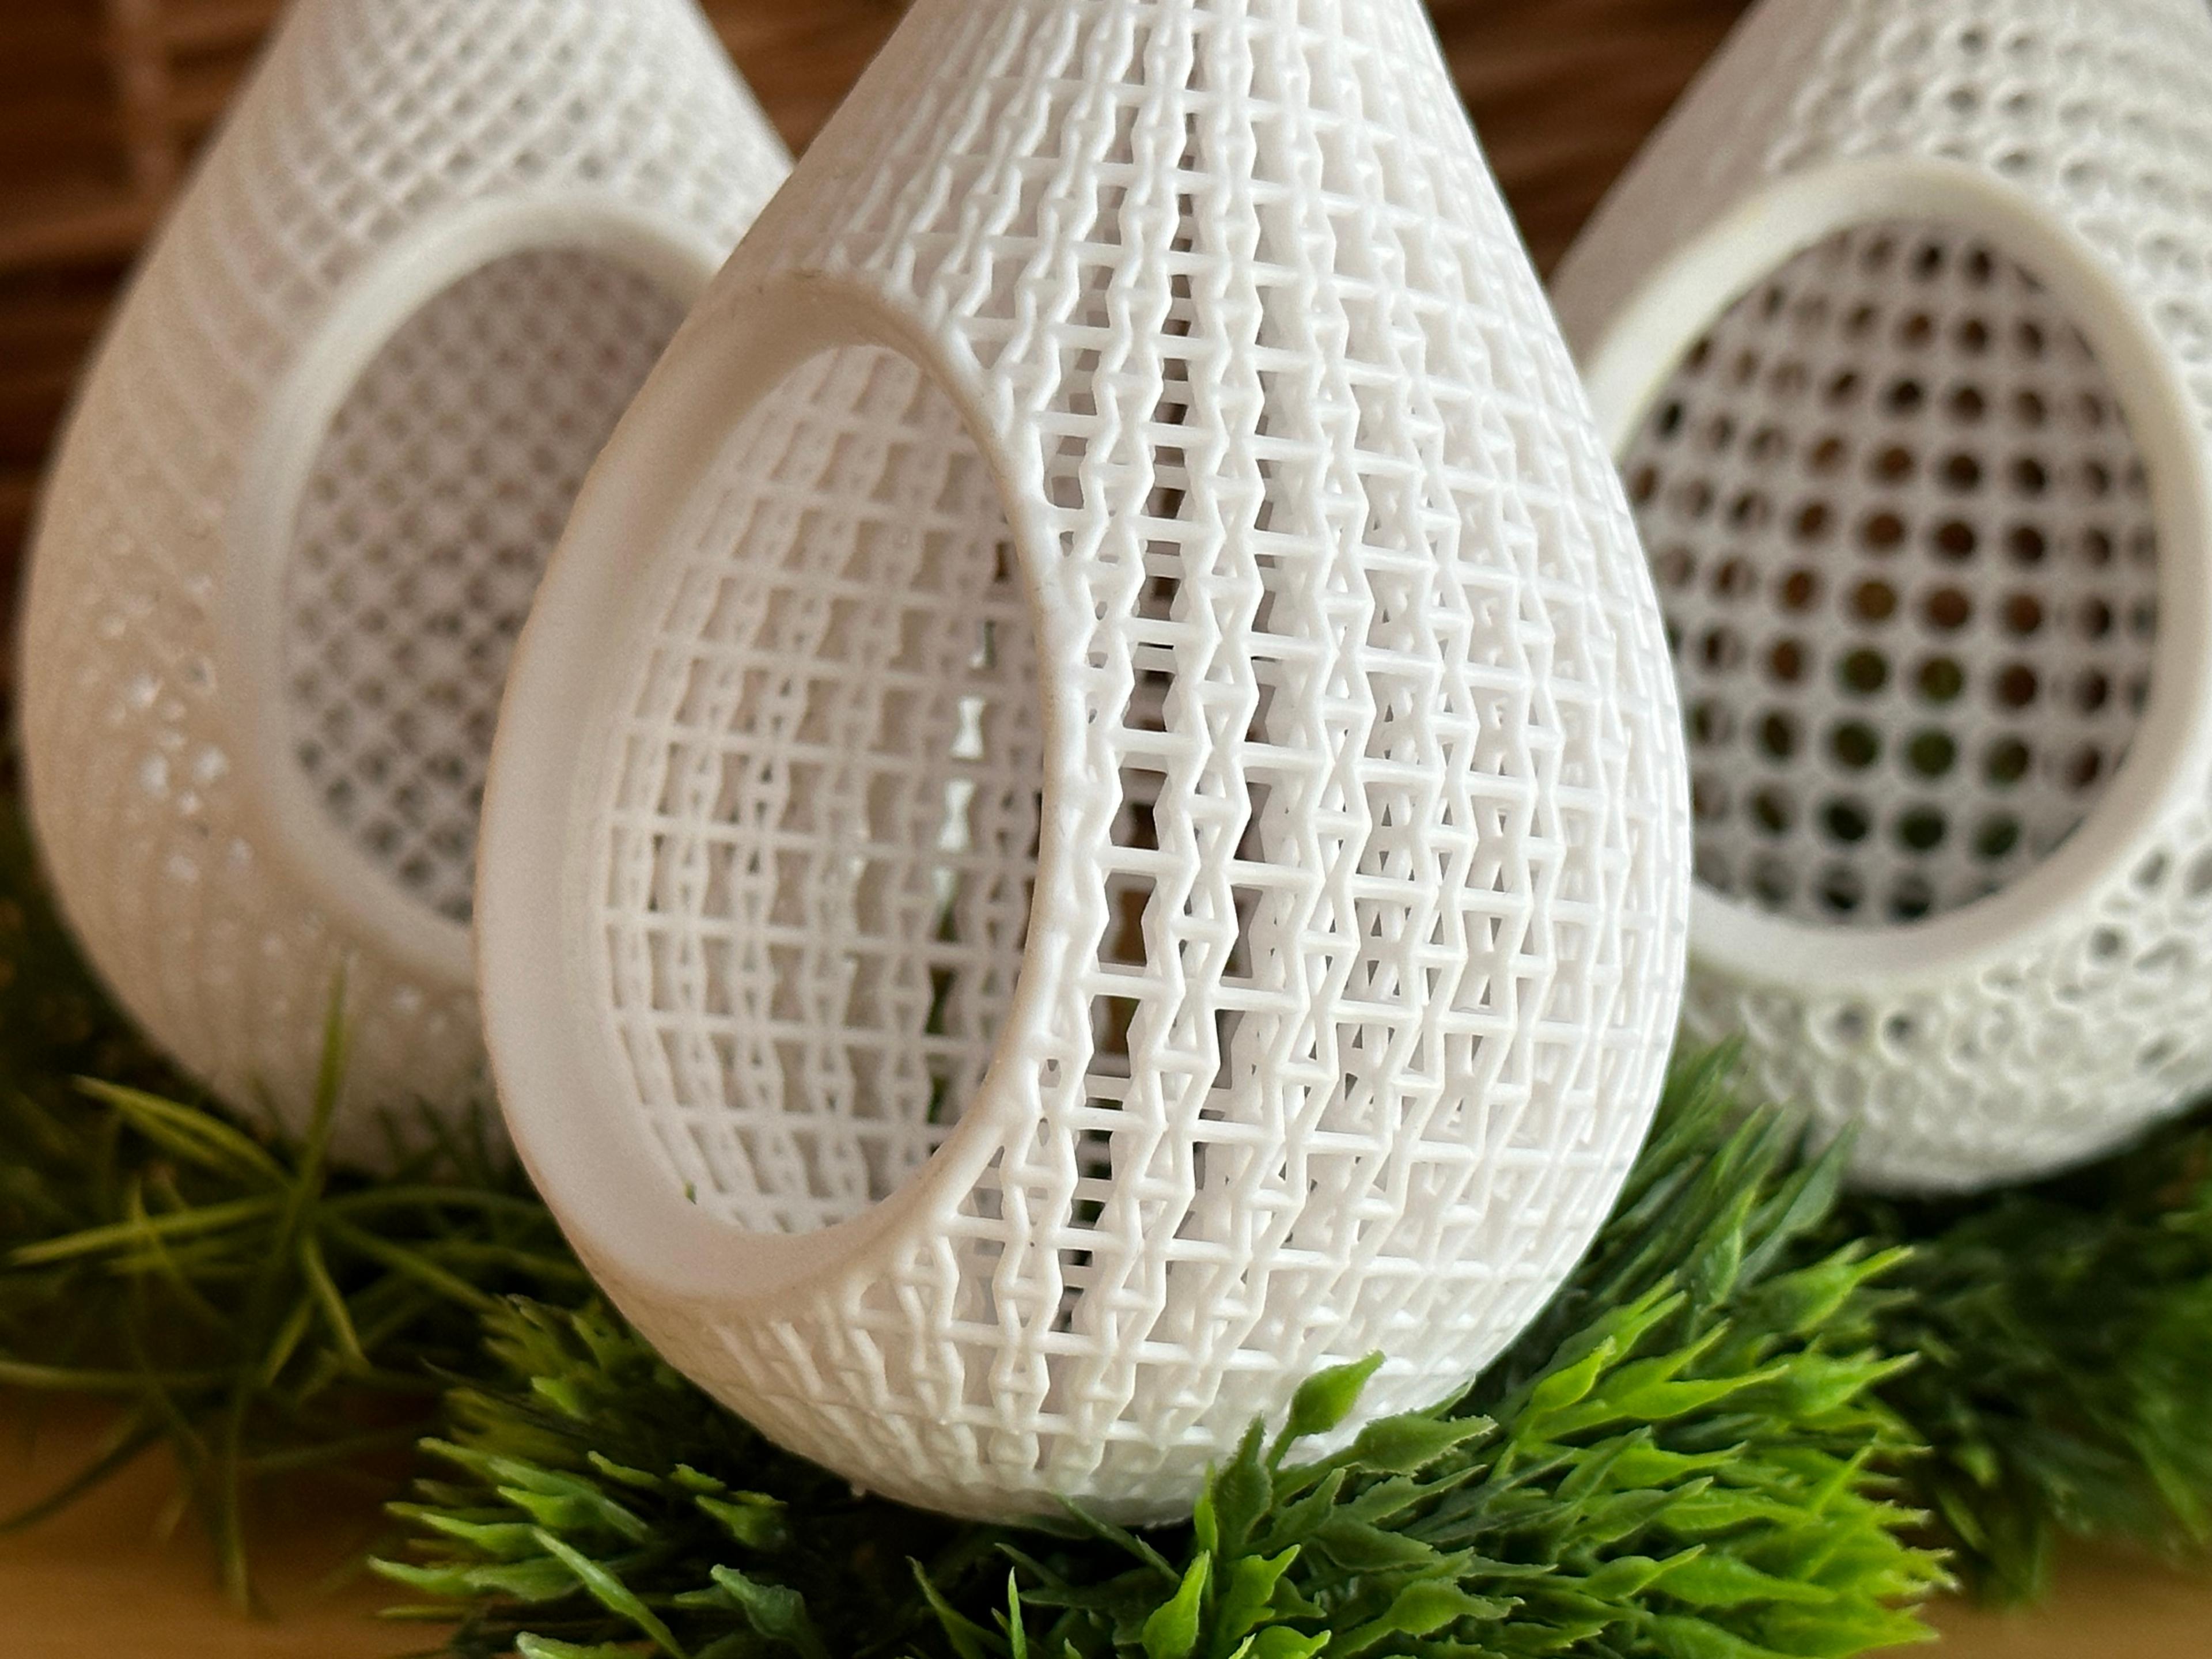
Teardrop Pod (Reentrant Lattice)
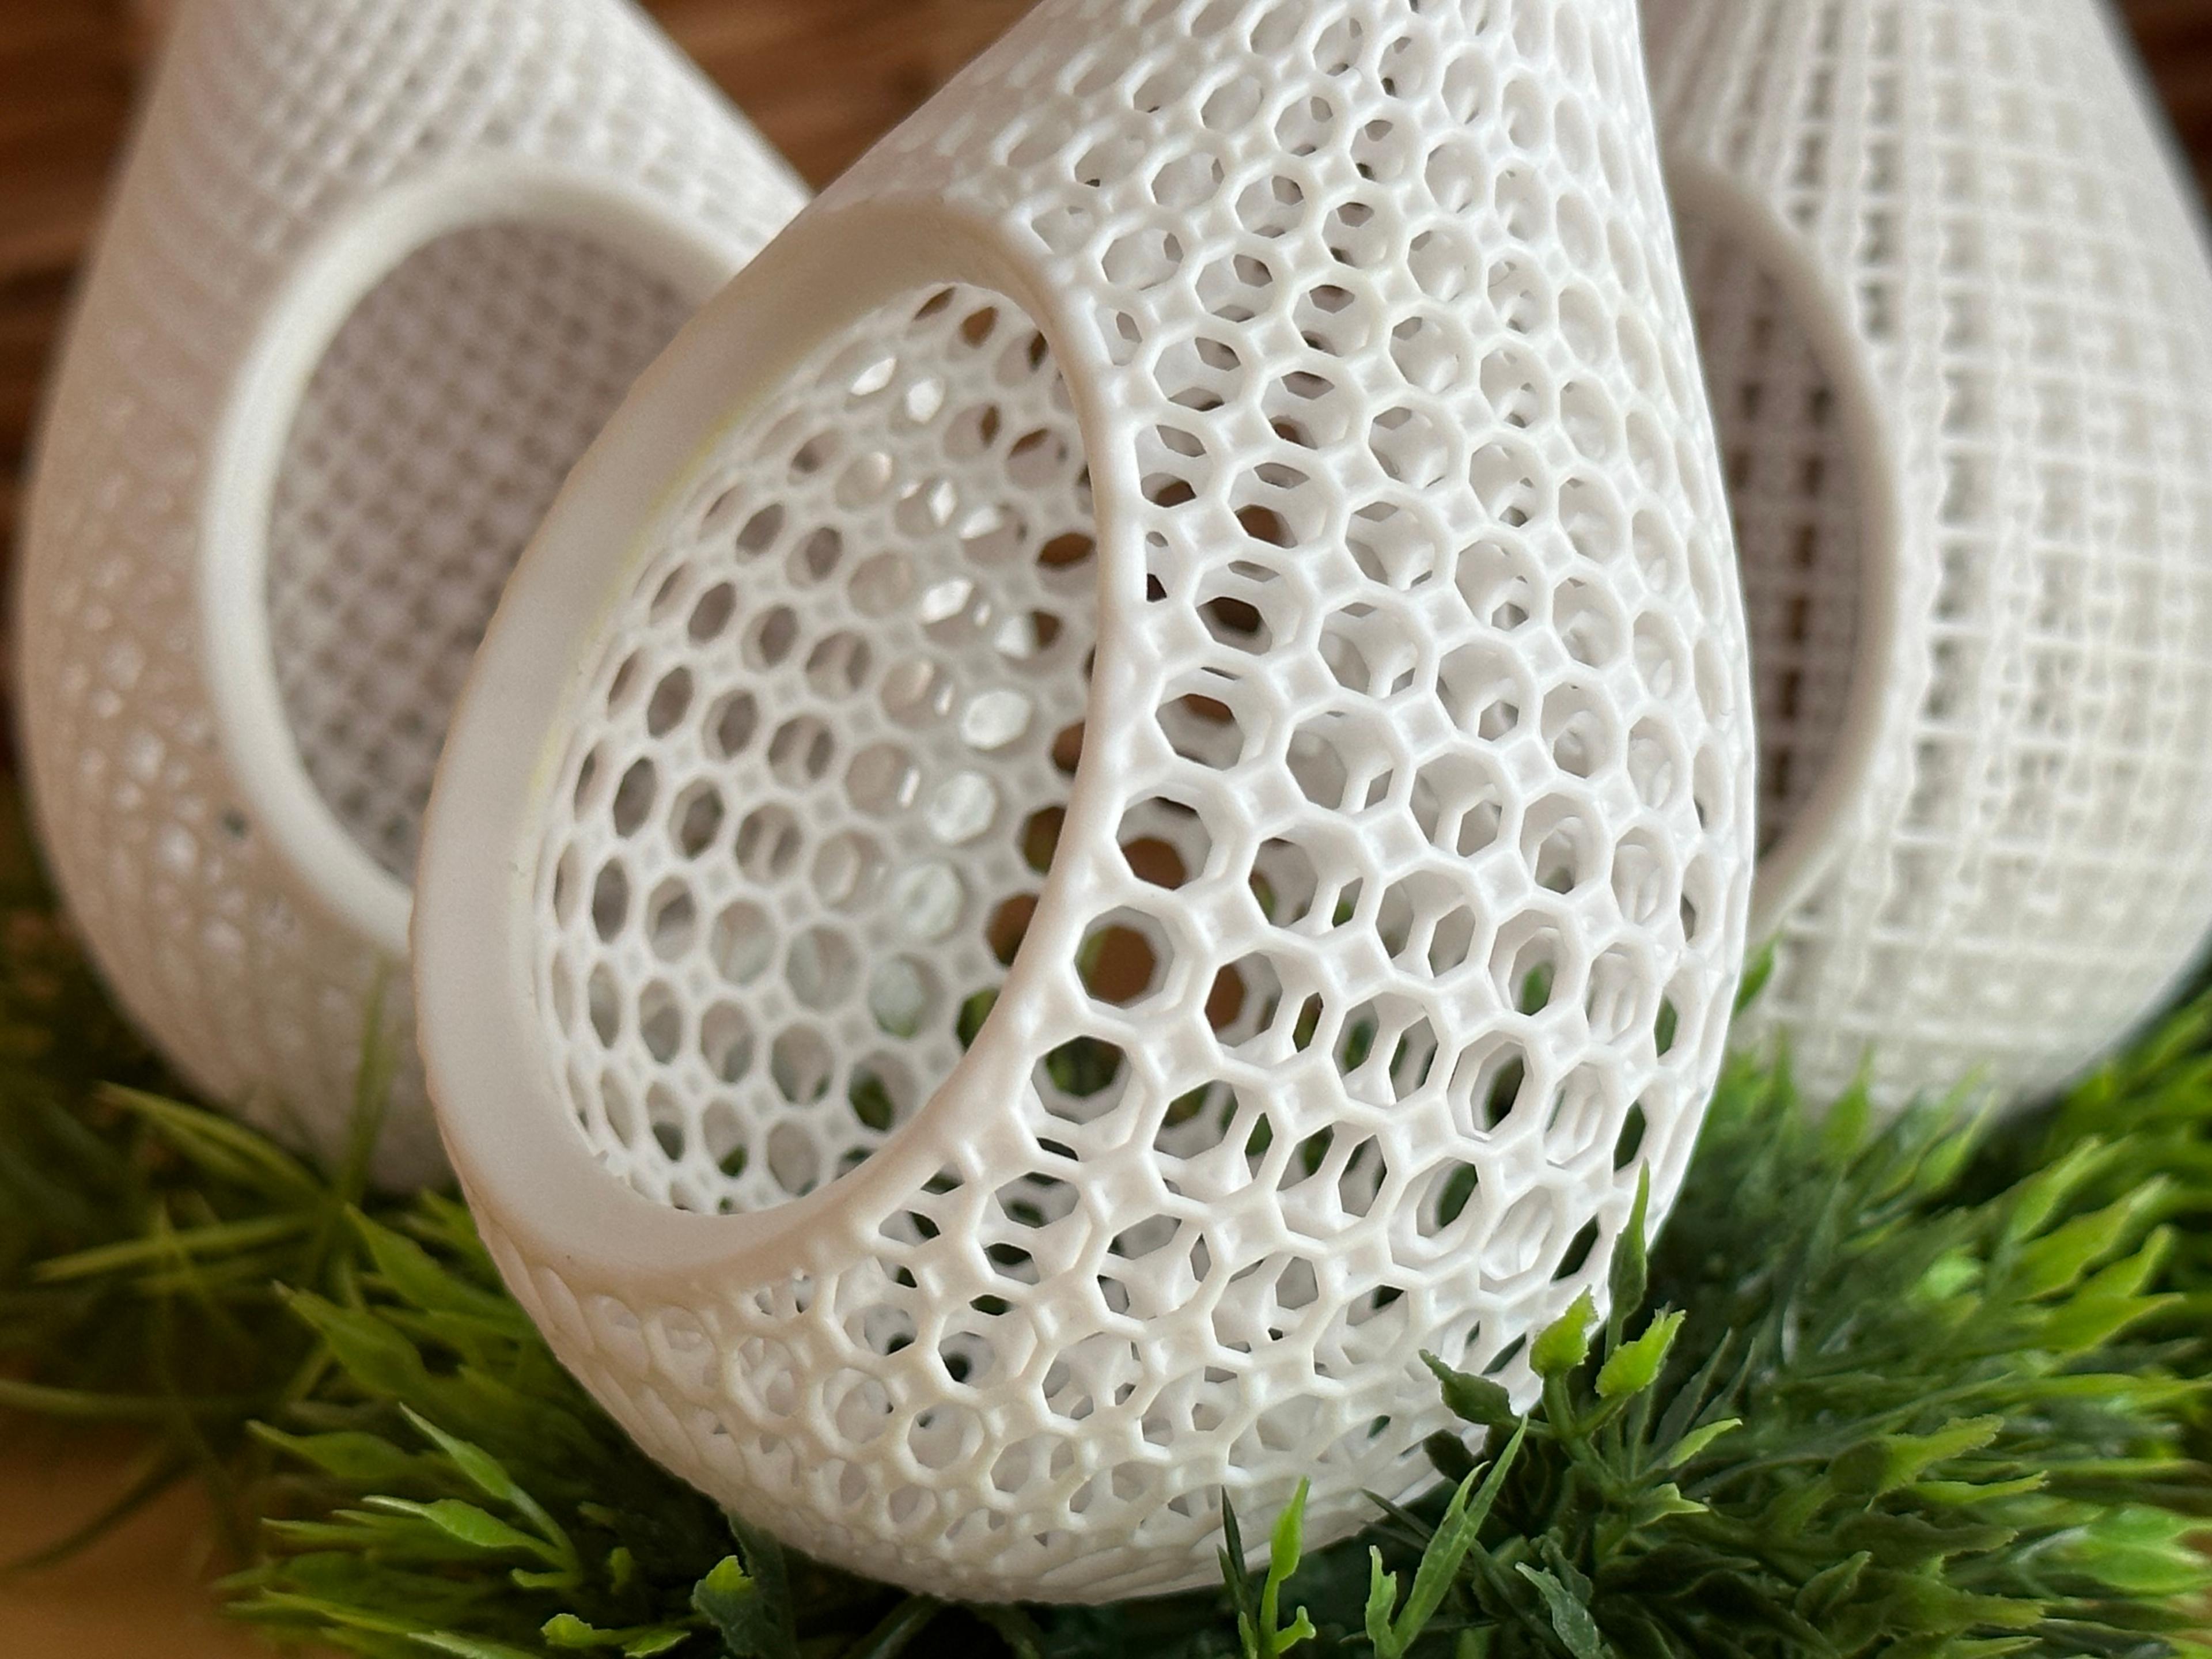
Teardrop Pod (Truncated Cube Lattice)

GEN2 Tilt Drawer Pro - 115

Hanging Mini Vase set
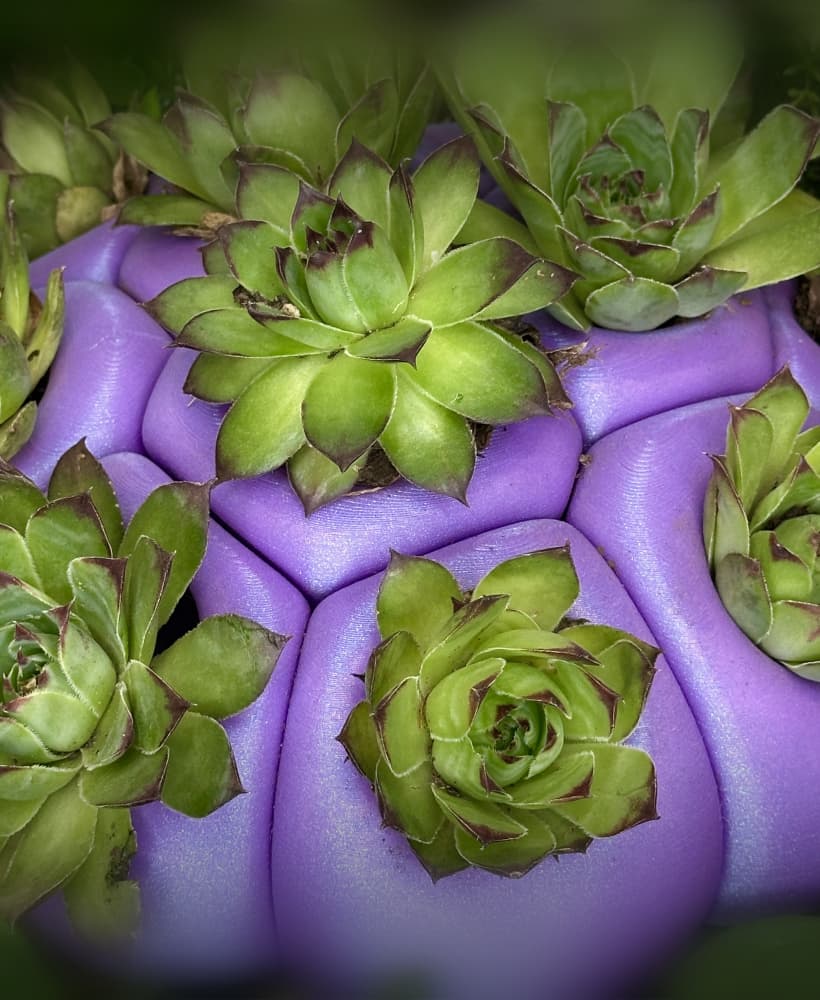
Bio Blob

Geometric Wall Planter & Vase – Modern Home Decor
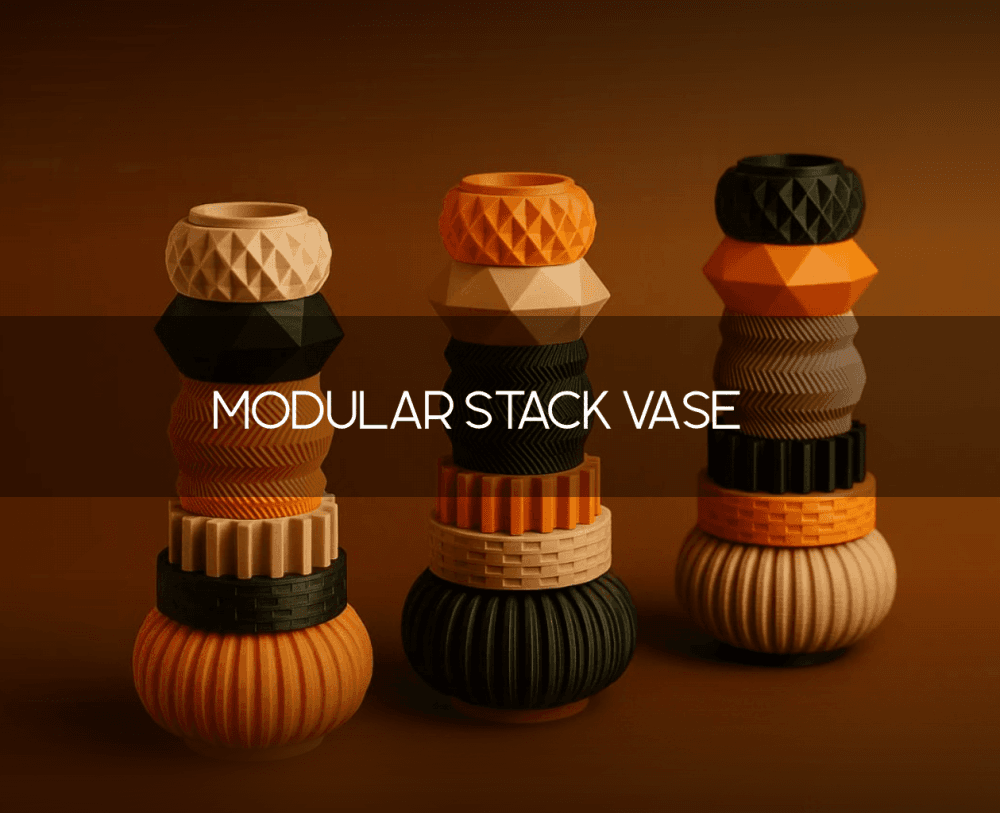
Modular Stack Vase – Customizable Vase in Various Colors and Sizes

Seashell Wall Pot

RETRO GameStack - PS5/PS4/PS3/Blu-ray

JAPANDI PLANT POT WITH STAND (JIMBO) / PLANTER / MODERN HOMEDECOR / DECOR / GARDEN / PLANTS

Highland Cow Wall Planter | STL for 3D Printing

Sleeping Fox Wall Planter | STL for 3D Printing
Could you make an extension for this one? Let me explain the use case. A few weeks ago, I printed some of those, and my plants grew up (yay!). Today, when I removed the bottom part, I saw that the roots of my basil are advancing to the bottom. So, to avoid moving it to another pot, my idea is to just print another part and connect it between the bottom and the pot itself.
while i like the creativity of the idea, you would not be able to ever re-pot it since you would have to riff off the roots that grew into the bottom soil... I think its better to go with a bigger planter right away?
And what if we create a version of the current one with a detachable bottom part, so I can remove it, connect the extension, and then insert the bottom part into the extension? In that way, I will not need to rip off the roots. Just throwing ideas in the air
By bottom I mean the part that has the holes for the water pass
What should the original diameter be inside the pot at the top (place for the plant)? The friend who's going to print it claims the original is only 86 mm inside. If he scale all the elements by the same percentage, will they match?
As my basil (yay for the basil!) grew up, the small pot is not enough anymore, so today I'll print a scaled up version and let you know if it works!
86 seems to be correct, you can scale this i believe, but it is not tested.