
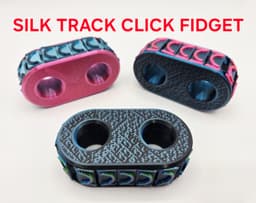


Silk Track Clicker Fidget
3D model description The new improved track fidgets, built from the ground up, now perfectly tuned for strength and looks, improved in everyway possible
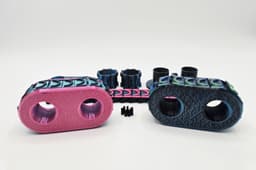
Simple to build requiring no additional parts - 100% 3D printed
Comes with 2 choices, the more rigid version or the faster and easier to spin track version, my fav is the easier to spin edition but both include the clicker and have almost identical print times
Build in approximately 30 seconds & print in multi color with just 1 color change or without the need for an AMS
No supports and with 1 color change the waste is almost non existent
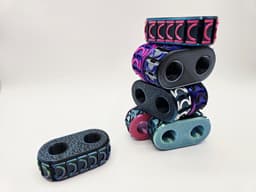
Customise your very own with blank sides and the option for endless color combinations, want a matt single color with glow in the dark tracks, or maybe a silk tri color body with transparent tracks? the choice is up to you without the limits and worries of filament strength
Print in color in approximately 3 hours or less depending on your printer, the intelligent link system on the track allows for faster and easier print orientation making it as strong as possible and with the fastest print times possible
My fav fidget by far, check it out in the video link below
https://www.youtube.com/watch?v=vTWwZbuVJNk
3D printing settings Simple to print requiring no supports & only 1 color change (anyone without an AMS who wishes to print the track in multi color simply pause the print when printing the tracks near the top of the print)
Choose between either the regular or loose version (both require printing 2x cog wheels which are identical for either version
Please feel free to print in any color you wish however it is recommended to print just the spring only in regular PLA (any color as this is hidden inside)
Brim is required only on the top ends of the track, simply paint on using the brim feature (enabled by default in the supplied print profile)
I recommend printing the springs slowly at around 20mm/s, don't worry as the print time is already extremely fast
I recommend printing the sides with the lowest layer using the Hilbert curve pattern (enabled by default in the supplied print profiles) this is purely cosmetic however and completely your choice
Gyroid infill recommended
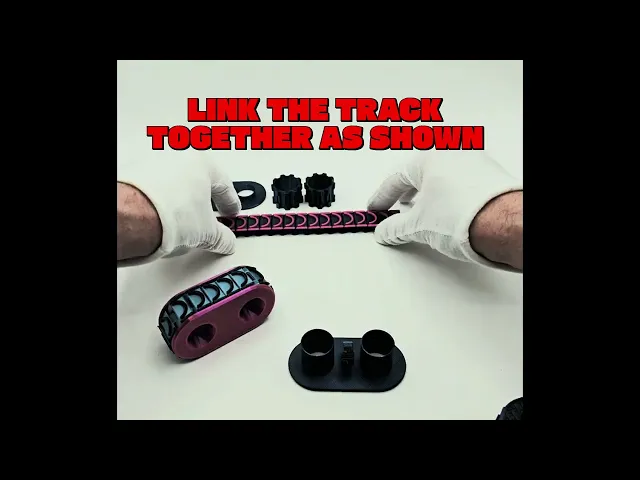
Please see the video in the Youtube link for simple build instructions, it takes less then 1 minute
Silk Track Clicker Fidget

Flexi Pink Fairy Armadillo

FLEXI ELEPHANTS

FLEXI HYBRID SCORPION

FLEXI PIGLET

Flexi Hybrid Lace Monitor

FLEXI SPINY BUSH VIPER

FLEXI SLEEPY KITTY

FLEXI BEAR

Pocket Pets - Flexi Condor

FLEXI HYBRID SKUNK

FLEXI MONKEYS

CUTE FLEXI PORCUPINE

CHIBI MEWTWO FANART KEYCHAIN

Witch Cauldron Double Clicker – Multicolor Halloween Fidget Toy with Eyeball Clicker

D100 fidget Clicker- 100 faces dice clicker

Set of 4 Halloween Cupcake Clikers
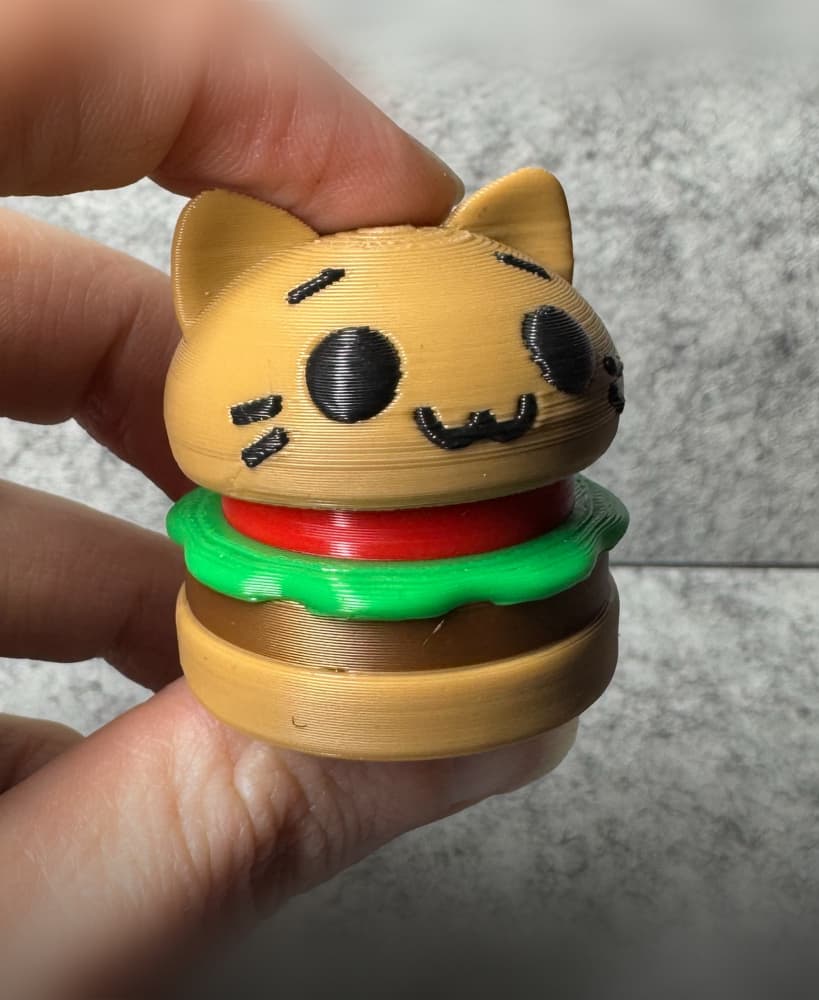
Cat Hamburger Fidget Clicker

Keycap Fidget Clicker – Stress Relief Gadget
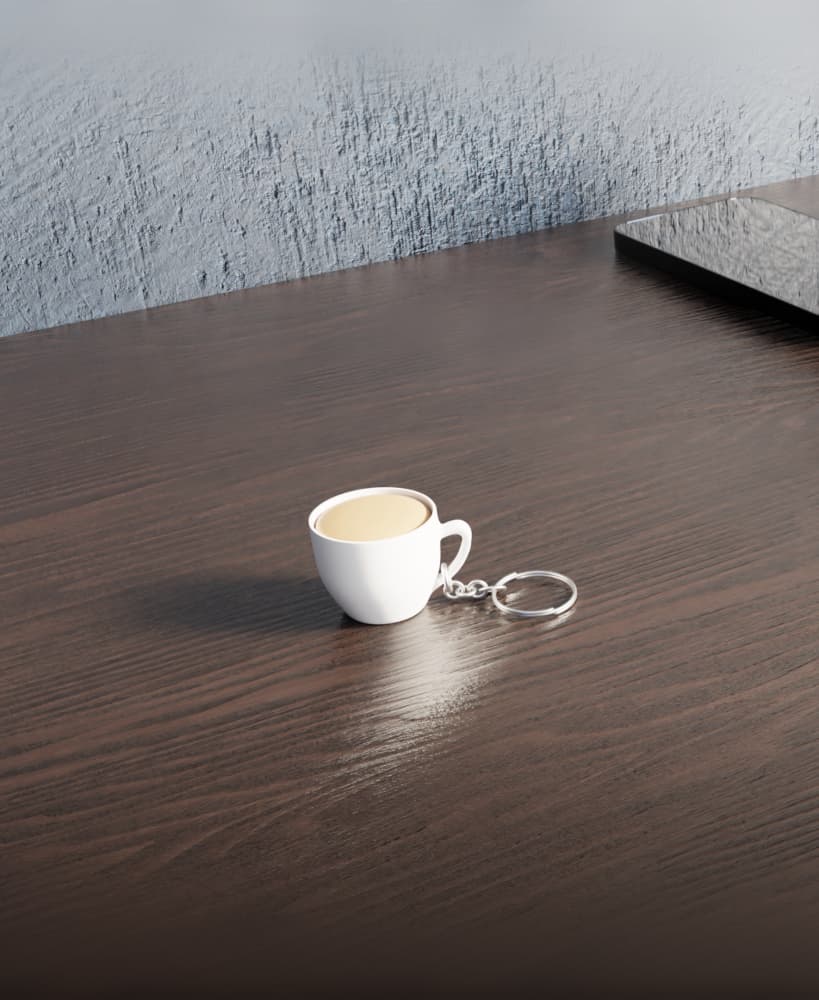
Coffee Mug Fidget Clicker

I am having the same problem. The female end of the track either doesn't adhere properly or pulls up as the print continues. The rest of the track prints great. I've tried multiple filaments with the same results. I am going to try slowing the print speed down, but that is going to cause the print time to triple!
UPDATE: I tried slowing my printer (Kobra 3 v2) down to a max print speed of 250 mm/s and it STILL won't print correctly. Maybe you could create an updated file with the track as a solid piece. After all, we are putting it on the gears before putting the top on. It wouldn't make a difference it was printed as a single piece as the instructions state to make it a whole track before putting in on anyway. Just a thought.
Tried a number of times with different filaments, and two different printers. The loose track end that the pointed bits are supposed to click into, the left side ends up as a ball/tangle of threads :-(
Using the .stl files. (and tried using brims)