


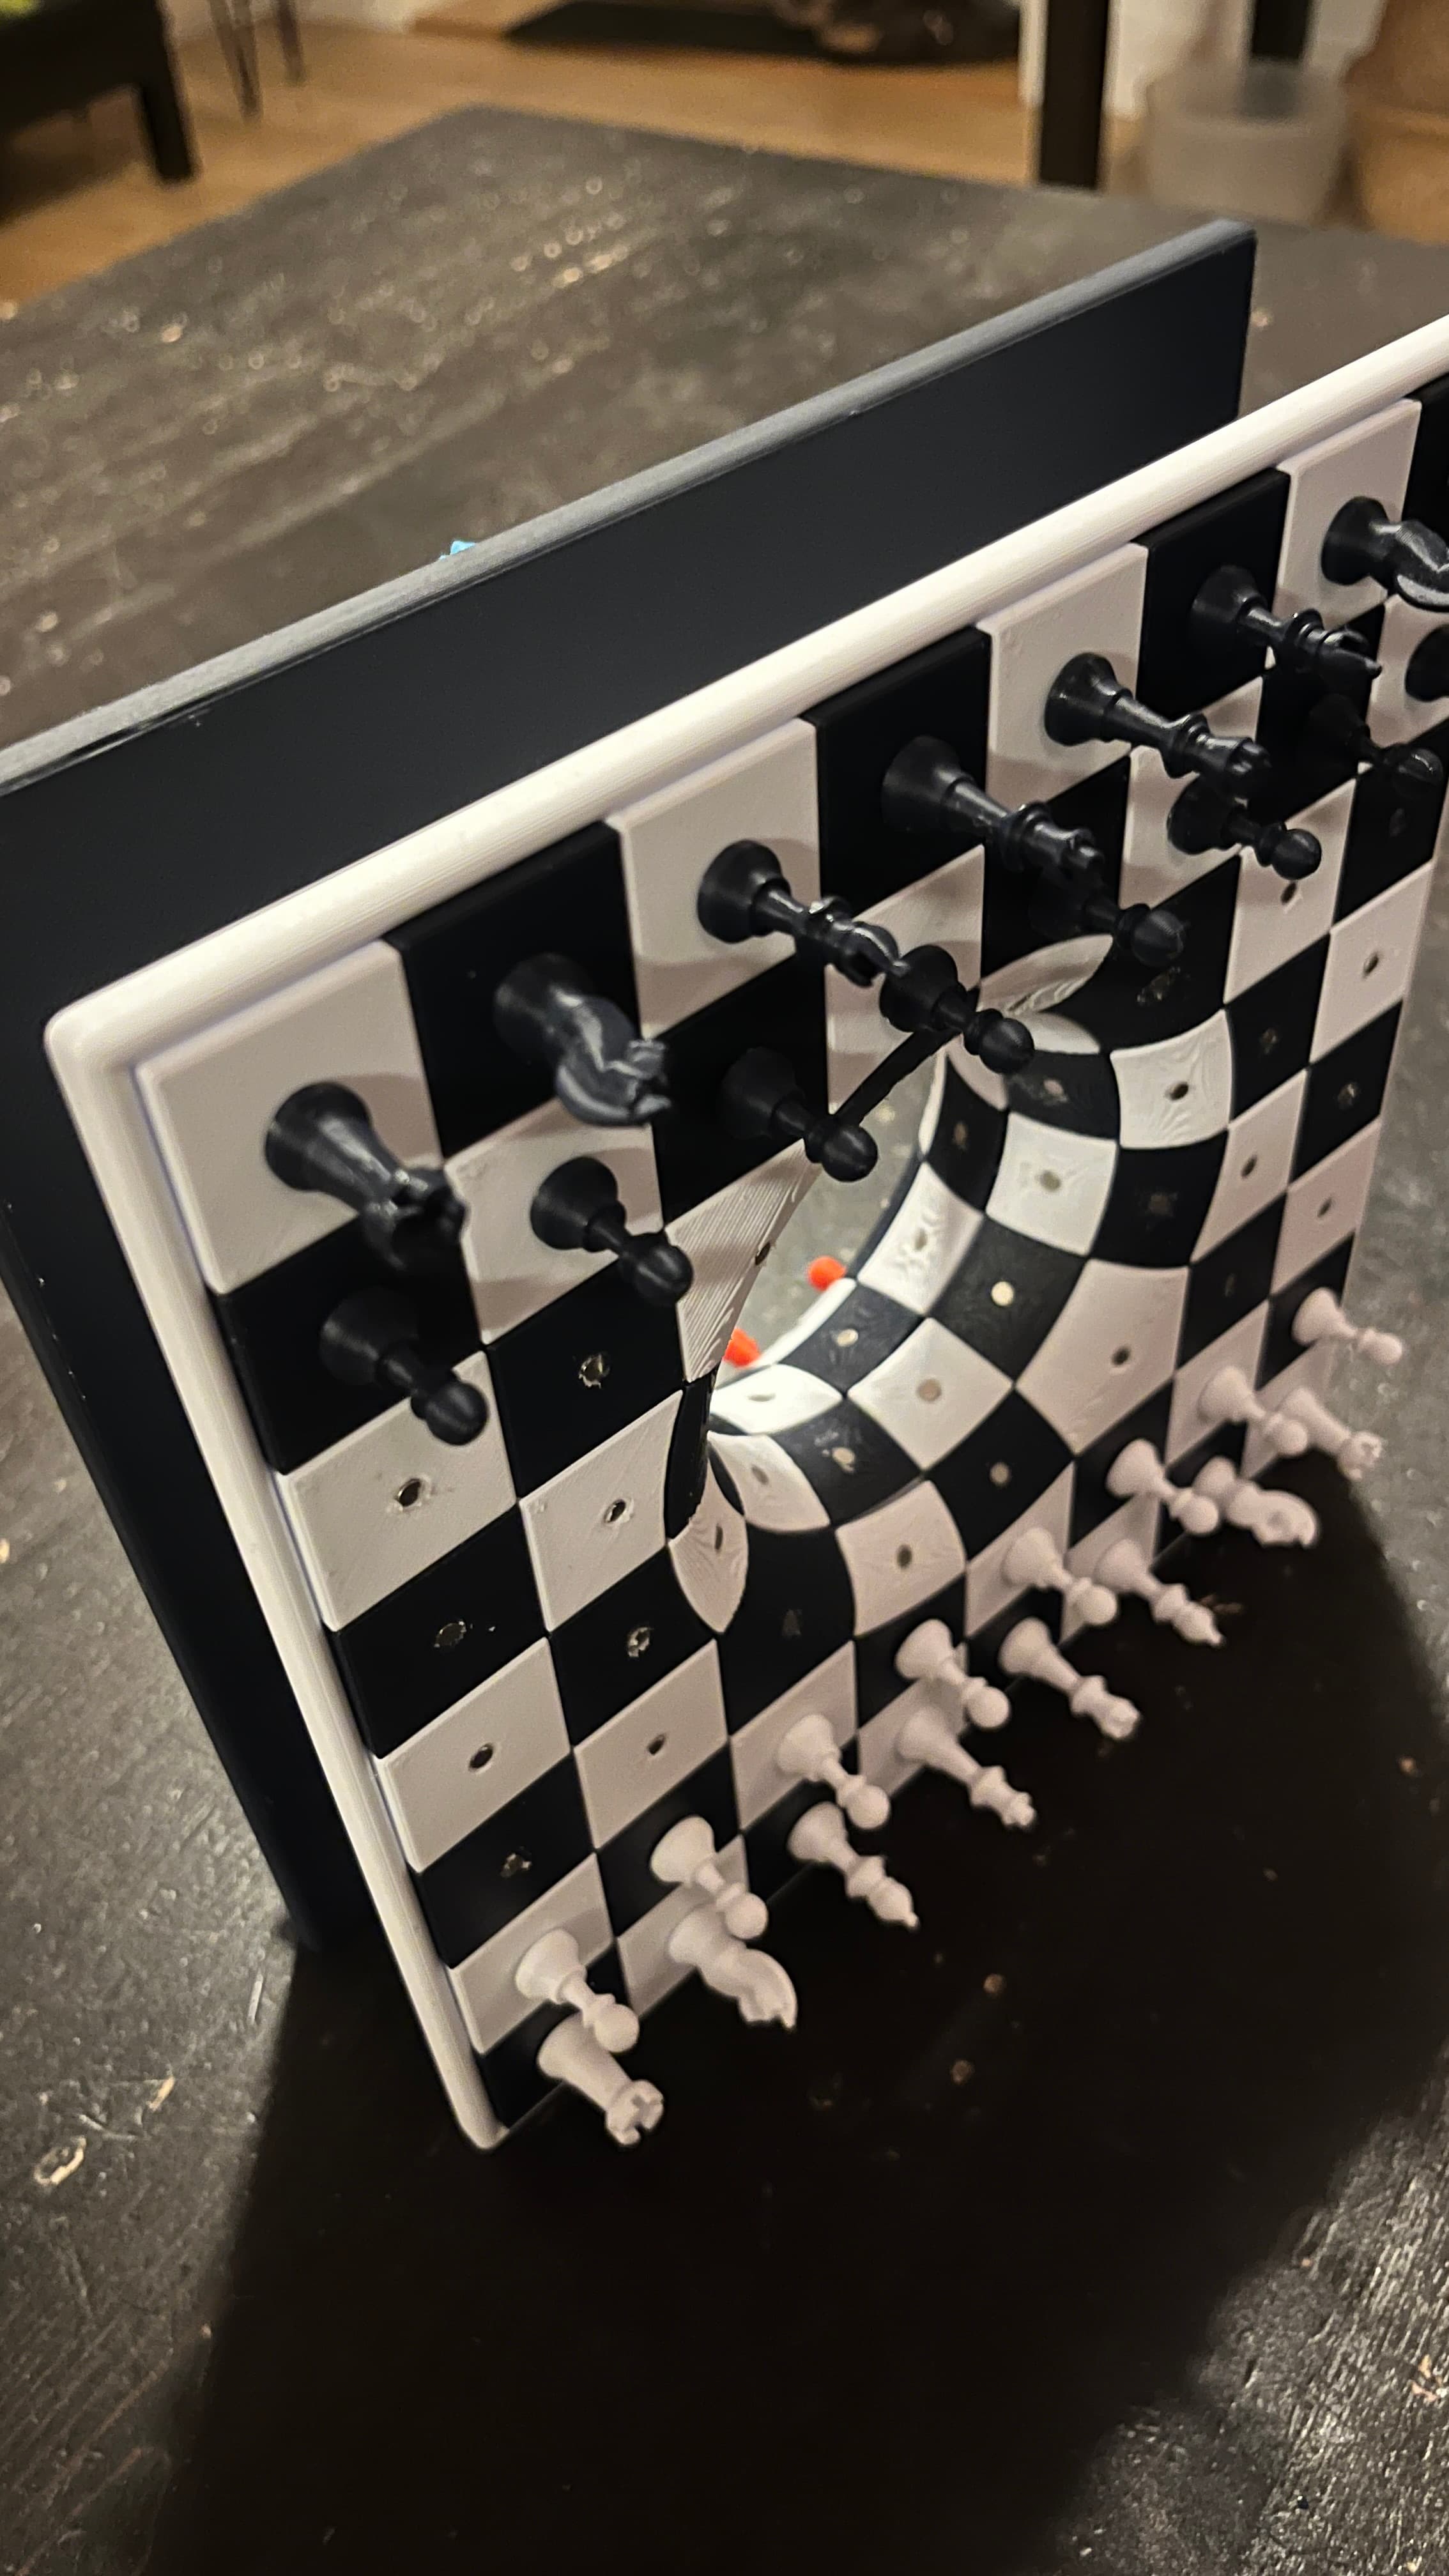
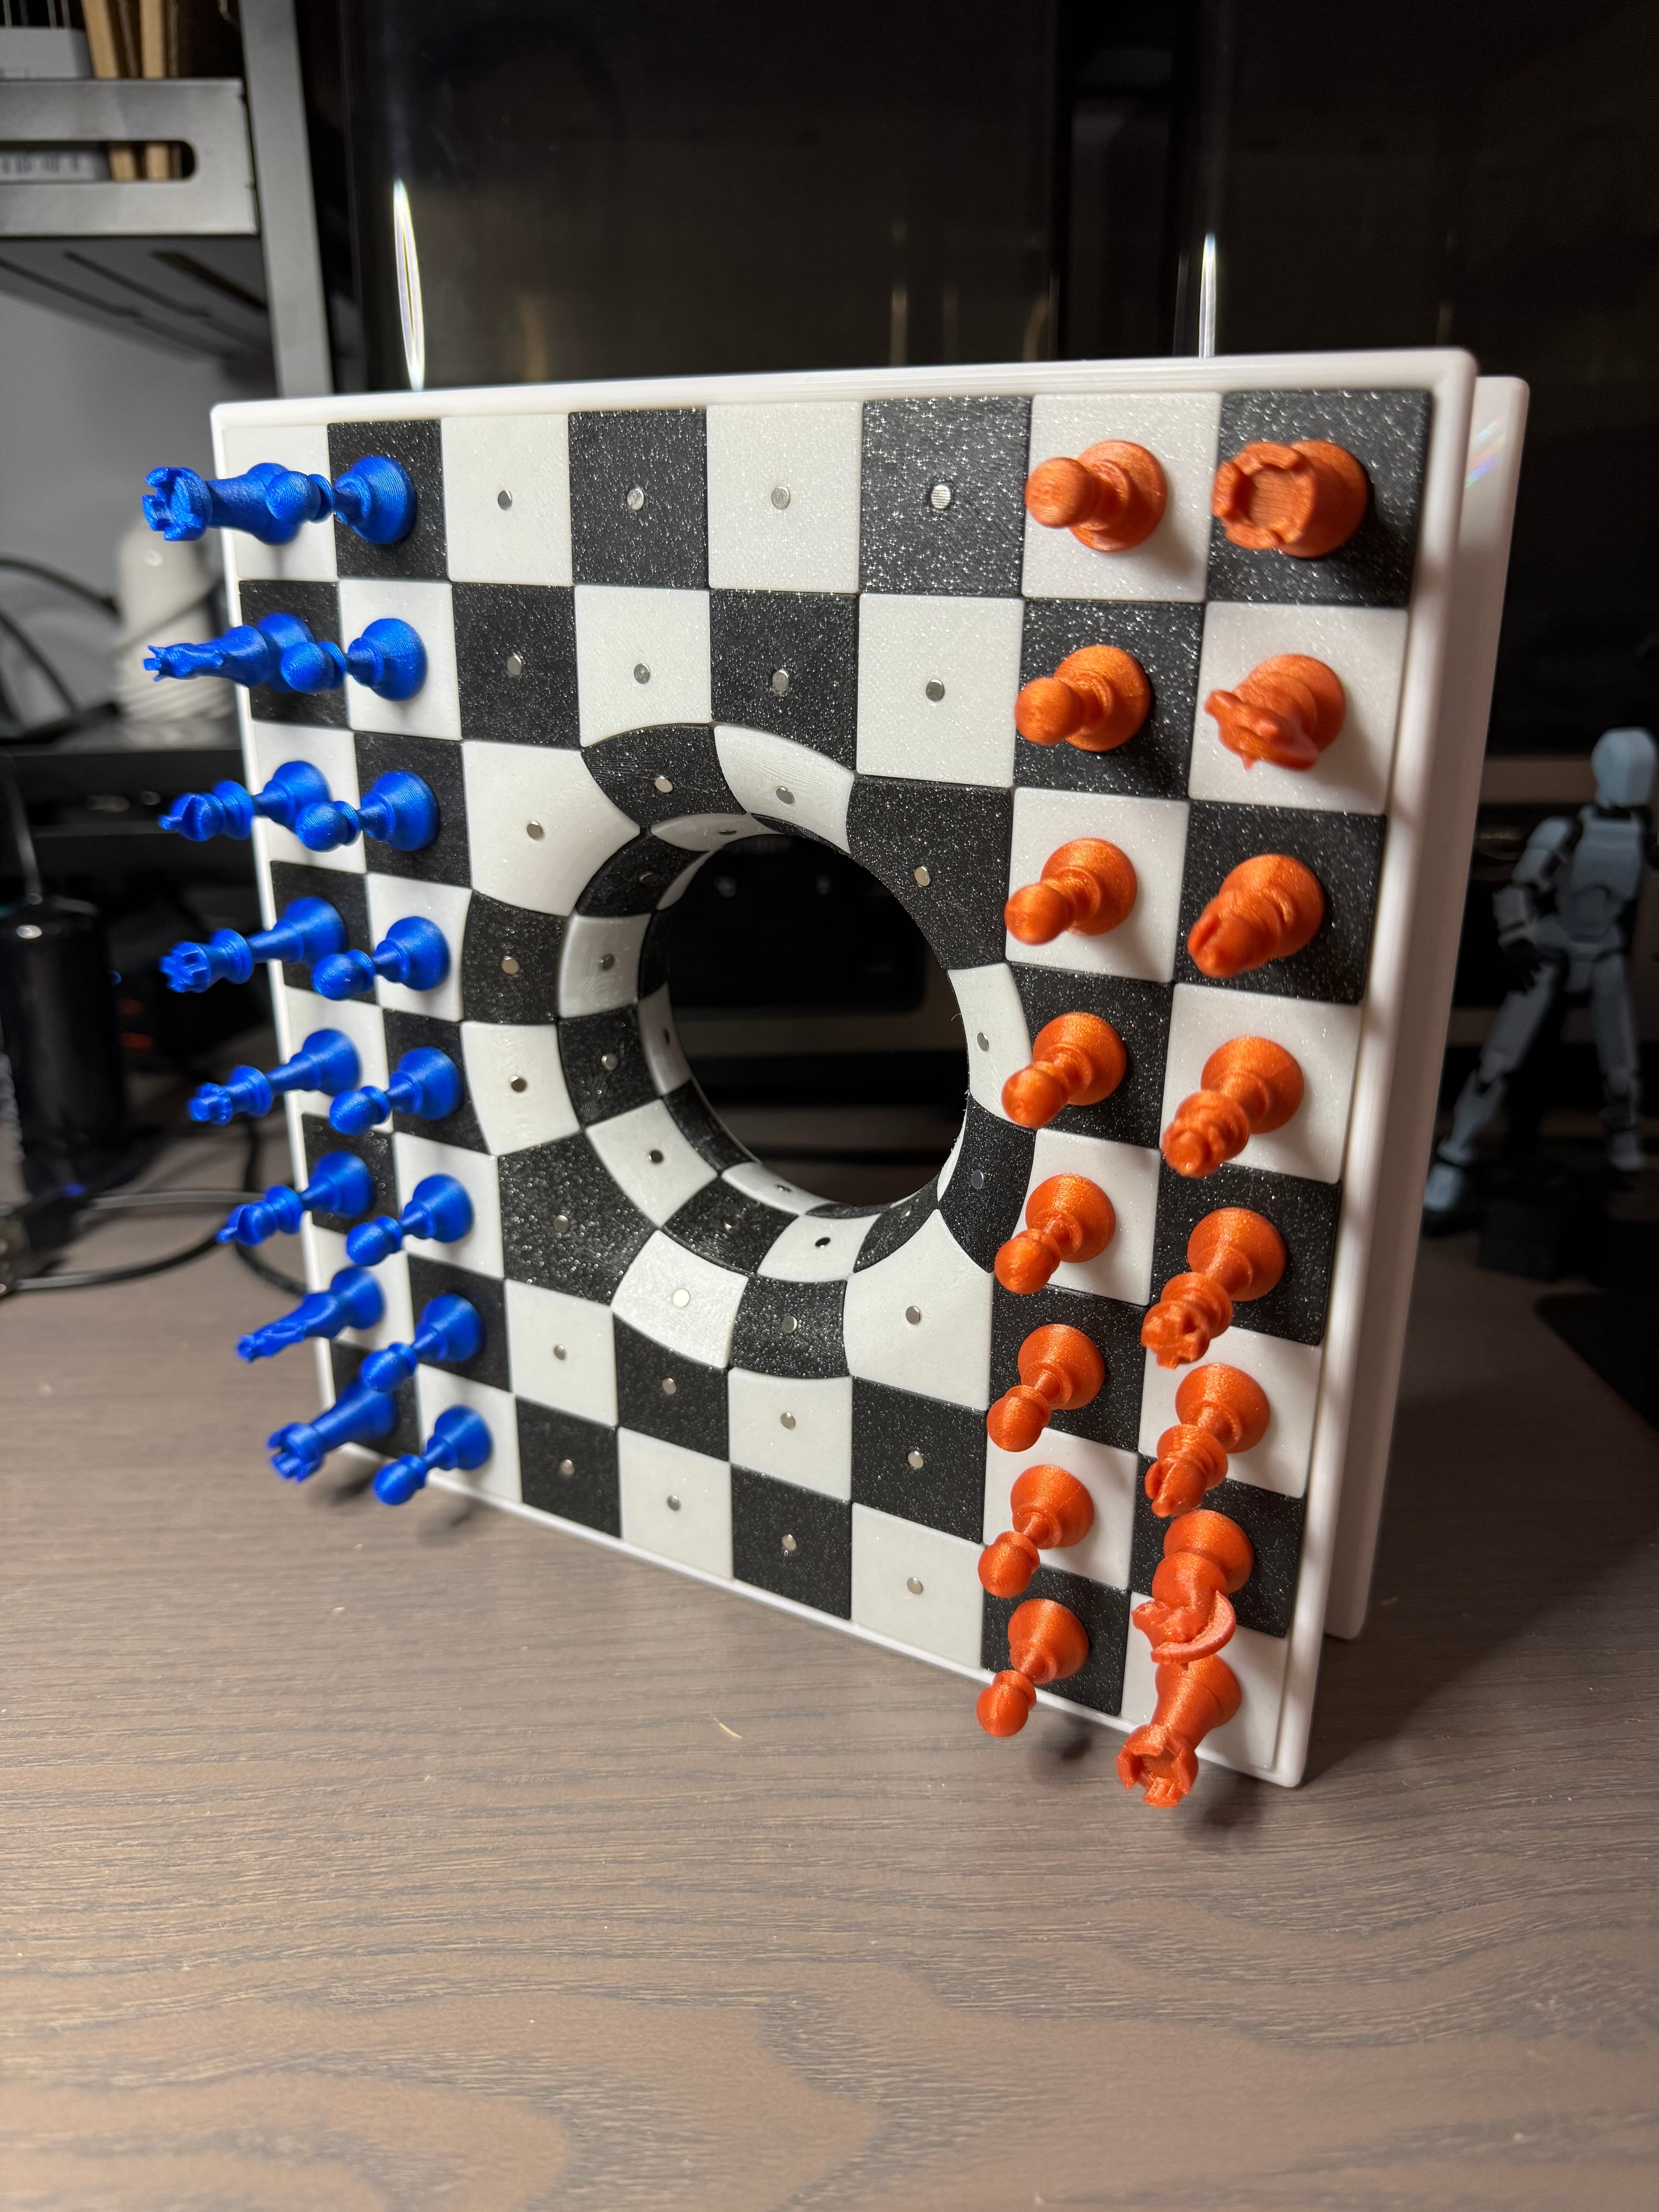
Wormhole Chess Board
This “Wormhole Chess Board” is composed of two back-to-back regular sized chess boards connected by a catenoid surface through the central 4 x 4 grid of squares on each board.
See here for video: https://youtu.be/ohfqQ_8oEoY
Actual game play on this board is beyond challenging so unless you’re a genius, this board is more of an art or conversation piece.
Part of what makes game play so challenging is the presence of the eight pentagons that are required to transition between the flat and curved surfaces.
Here are a few suggestions if you want to try playing.
Moving a piece through a pentagon allows for additional movement options. When entering from a column or row on the flat surface (such as with a rook) there are two exit options, one that allows the piece to remain on the flat surface and another that allows the piece to enter the wormhole. The reverse is true when entering a pentagon from the wormhole. When entering a pentagon from a diagonal (such as with a bishop) there are two options for exiting the pentagon, both of which allow the piece to remain on its own colour.
Because this piece is essentially two chess boards, there are four possible ends from which to start your pieces.
For a two-player game, each player could use a single set or pieces each and leave two ends empty. Alternatively, each player could have two sets of pieces facing each other across the flat surface as well as through the catenoid surface. This means that there would be two kings, which would complicate the end game somewhat!
Another option would be to play as a four-player game with each set of pieces a different colour.
If anyone comes up with a comprehensive set of rules for incorporating the pentagons into game play, please share them!
Here are printing and assembly instructions:
For the board, print two of each of the “Flat Board Half” and “Wormhole Half” files. No supports needed. Glue together carefully.
For the squares, you will need a total of 4 “Quadrant of Squares” for each colour. Note that there are small reference dimples on the bottom of the curved pieces. When properly positioned, the dimples will point towards the pentagonal piece.
Two standard sets of playing pieces are included, each with holes for 1/8” by 1/8” magnets. The larger size looks better, but pieces may collide when passing through the wormhole. Pieces in the smaller set won’t collide while passing through the wormhole.
You will need a total of 208 1/8” cylindrical magnets, one for each board piece and each playing piece (assuming you’re using two full sets of playing pieces). This model uses 1/8” length magnets, but 1/16” length would probably work fine.
Insert the magnets into the square tiles before gluing them on to the frame. Make sure you get the polarity right so that all the pieces stick to all the squares! The magnets used in the design and assembly of this model were purchased through www.kjmagnetics.com.
Once you’ve inserted the magnets and determined the correct orientation of each piece, go ahead and glue them in place. CA glue works well.

Wormhole Chess Board

Industrial Construction Set - FDM

Bouali Strange Attractor Sculpture

Aizawa Strange Attractor Sculpture
Bio Blob
Flame Lamp
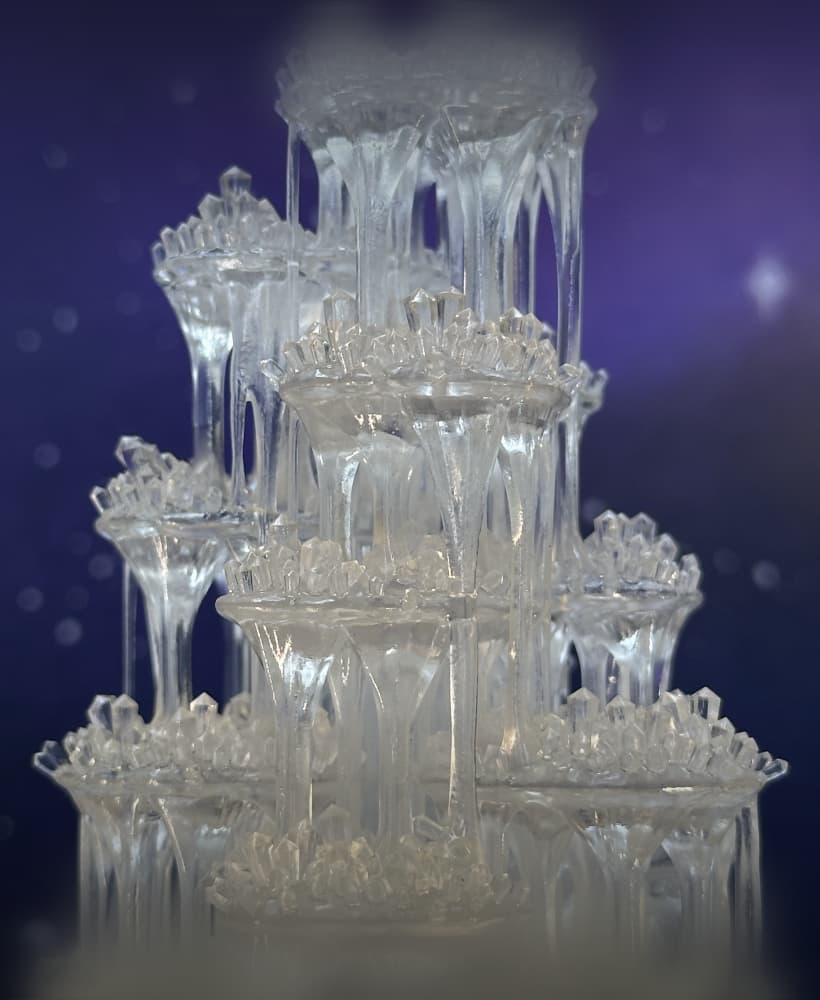
Crystal Lamp
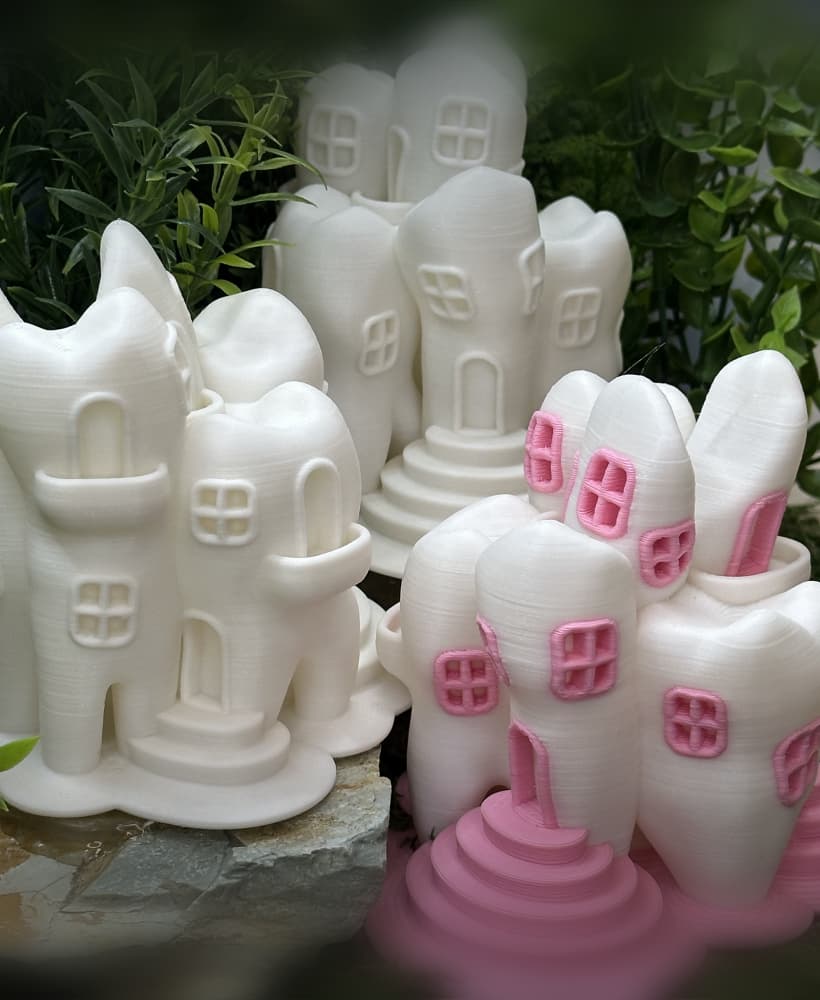
Tooth Fairy House
Crystal Citadels

Shack Pack - Sober
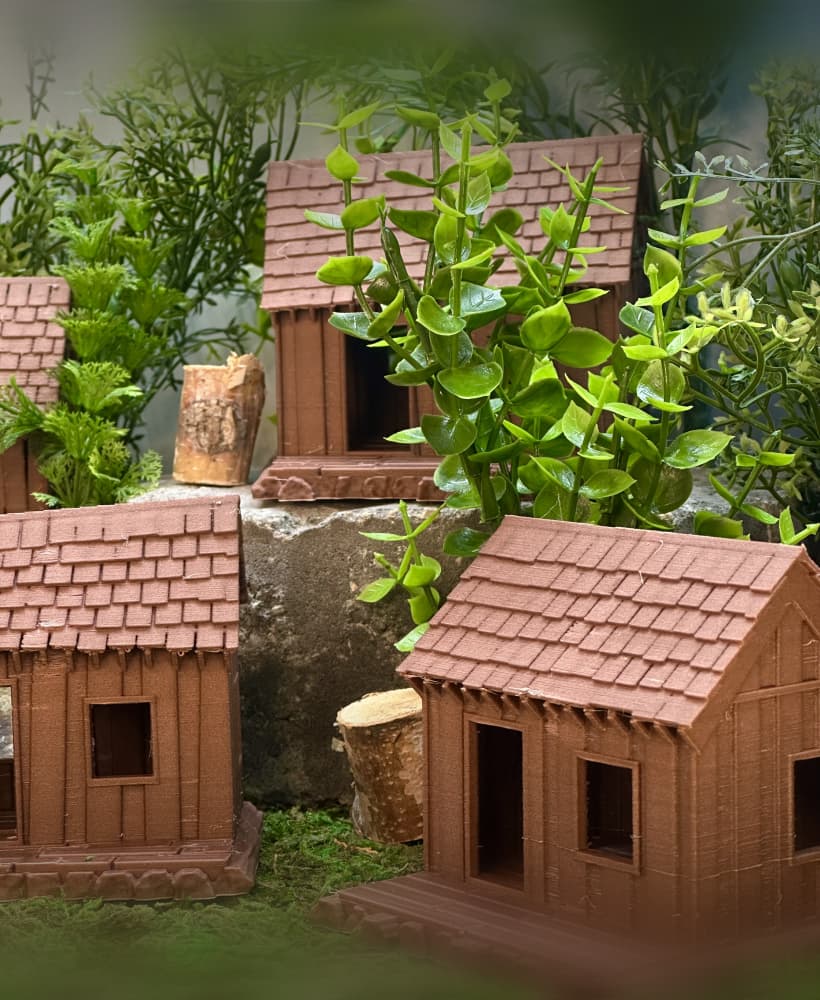
Shack Pack - Tipsy

Shack Pack - Plastered
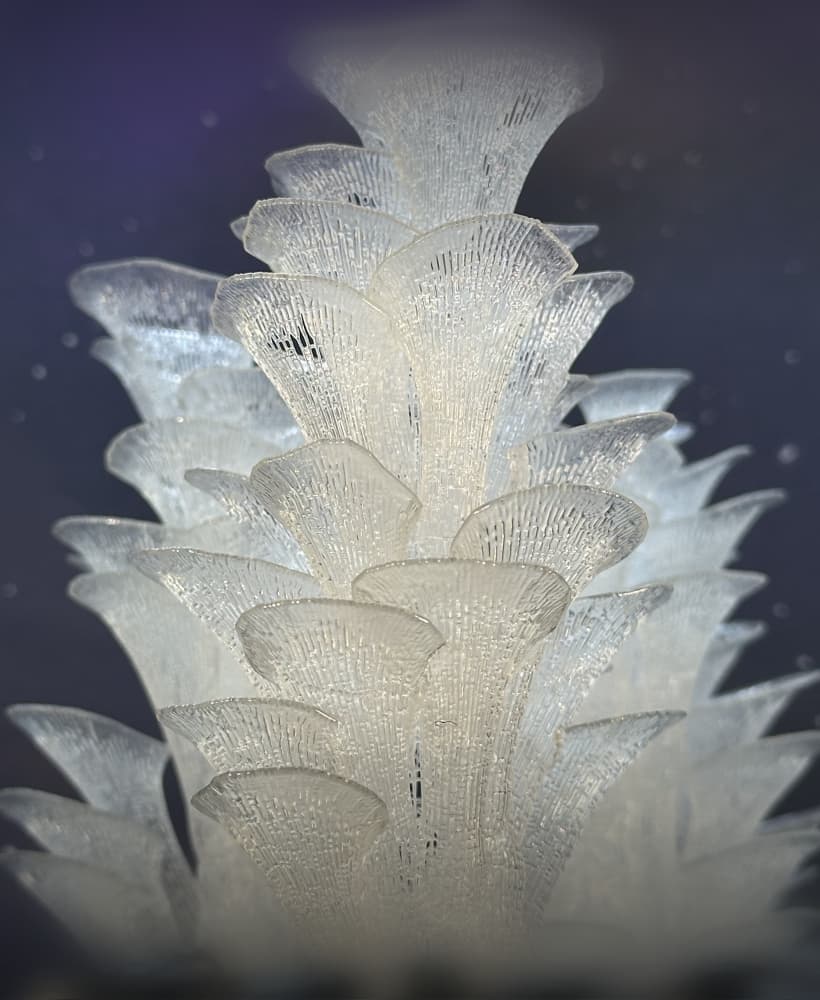
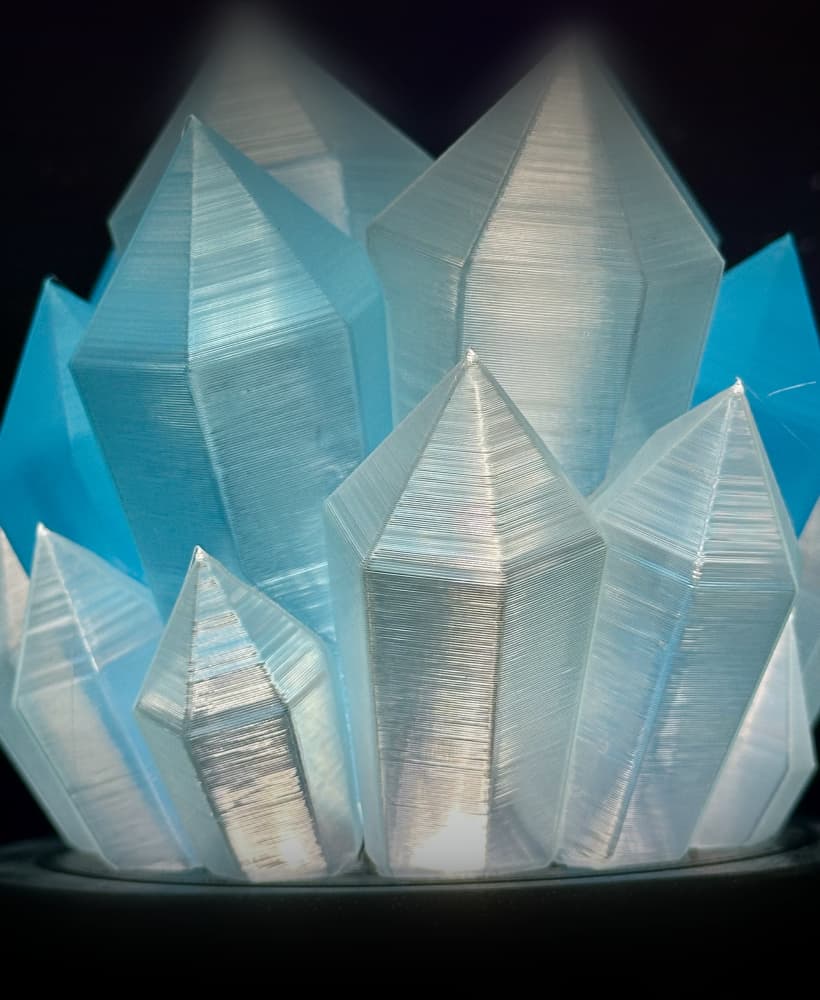
Stellar Blooms
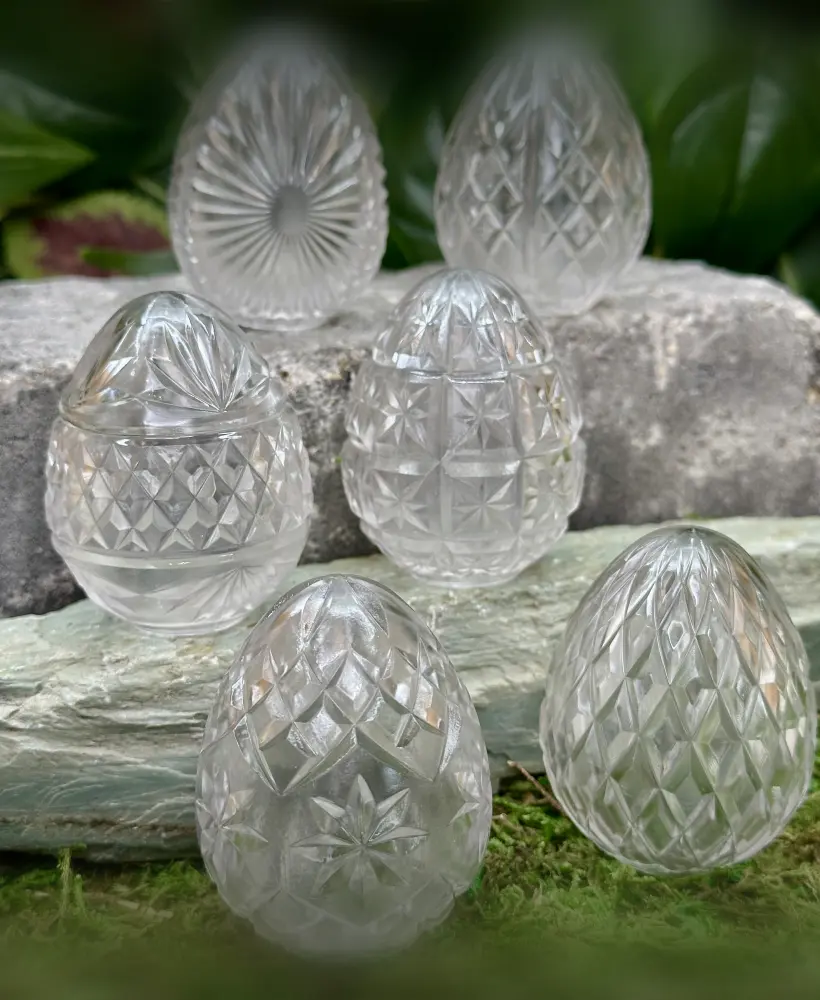
Cut Crystal Eggs - Set 2
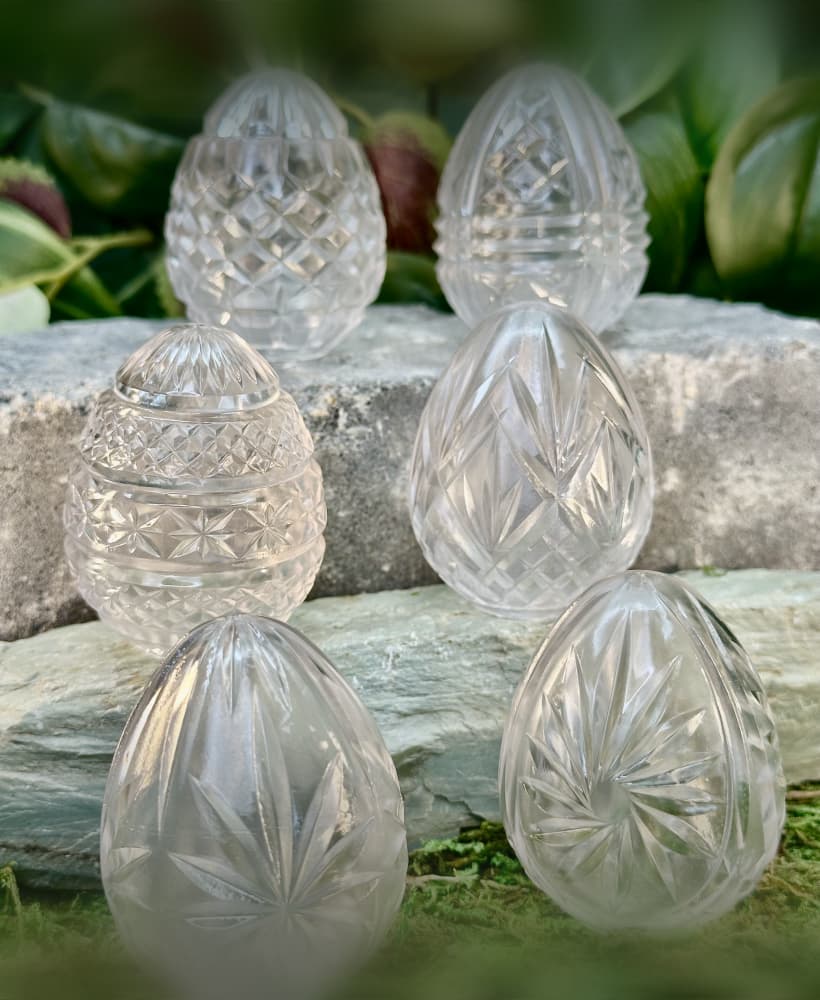
Cut Crystal Eggs - Set 1

Holly Berry Clusters

Holly Berry Branches

Poinsettia

Spruce Branches

Fir Branches

Hi APT3D, How did you get the tiles to look so sooth? I have a Bambu A1 and it looks like the stock pics with lines everywhere. I want to make this for my son but would like it to be smoother. Thanks for your help.
he printed them face down in the print bed
Did you use 3x2 mm magnets or 3x1 mm magnets? Also, did you print at exactly 95%?
Super cool idea and really easy to print. However, I would like to see a version 2 with some sort of locating pins for the wormhole halves and board halves. As it is right now it is hard to align the parts correctly between the board and the wormhole.
the smaller set of pieces has a warning of a /ton/ of non-manifold edges (2696), do you see this in your version?
The wormhole pieces are hard to fit into the center, I found that if I just take a knife and shave down one of them I can fit it in and it doesn't look any different
Working on building this now, did you have to do anything special for the magnets? I printed one color and ordered my magnets (1/8"x1/8"), but they aren't fitting the holes. Fairly new to 3D printing so I think I may have to modify my settings but figured I would ask and see if you had to do anything outside of what you mentioned in the description
I was struggerling to see the dimples to help with positioning, so I printed without a bottom layer to help.
I'm having difficulty getting all the tiles to fit into the wormhole circle spots. I'll get about halfway around and then because each one is slightly off they start to not fit. :(