


Knitted Pumpkin
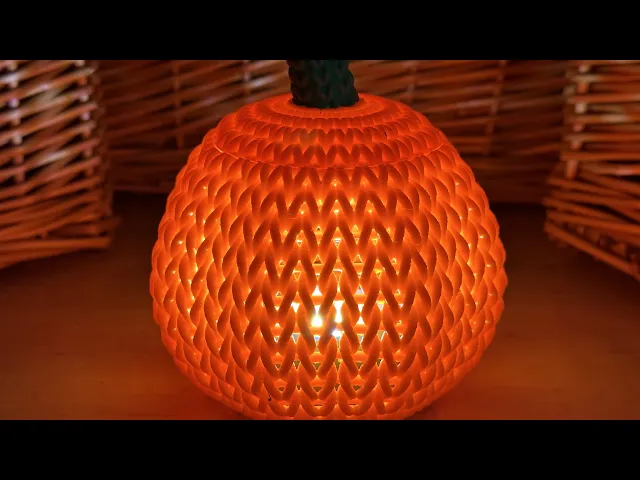
Why go in for scary Halloween decorations when you can cozy up with a warm knitted pumpkin? Put a light inside to highlight the detailed modelling of the knitted “yarn.”
See here for video: https://youtu.be/yyMAPUWyMJw
This knitted pumpkin features full modelling of the knit geometry. It is not just a surface texture! The full modelling of the “yarn” creates interesting lighting and visual effects.
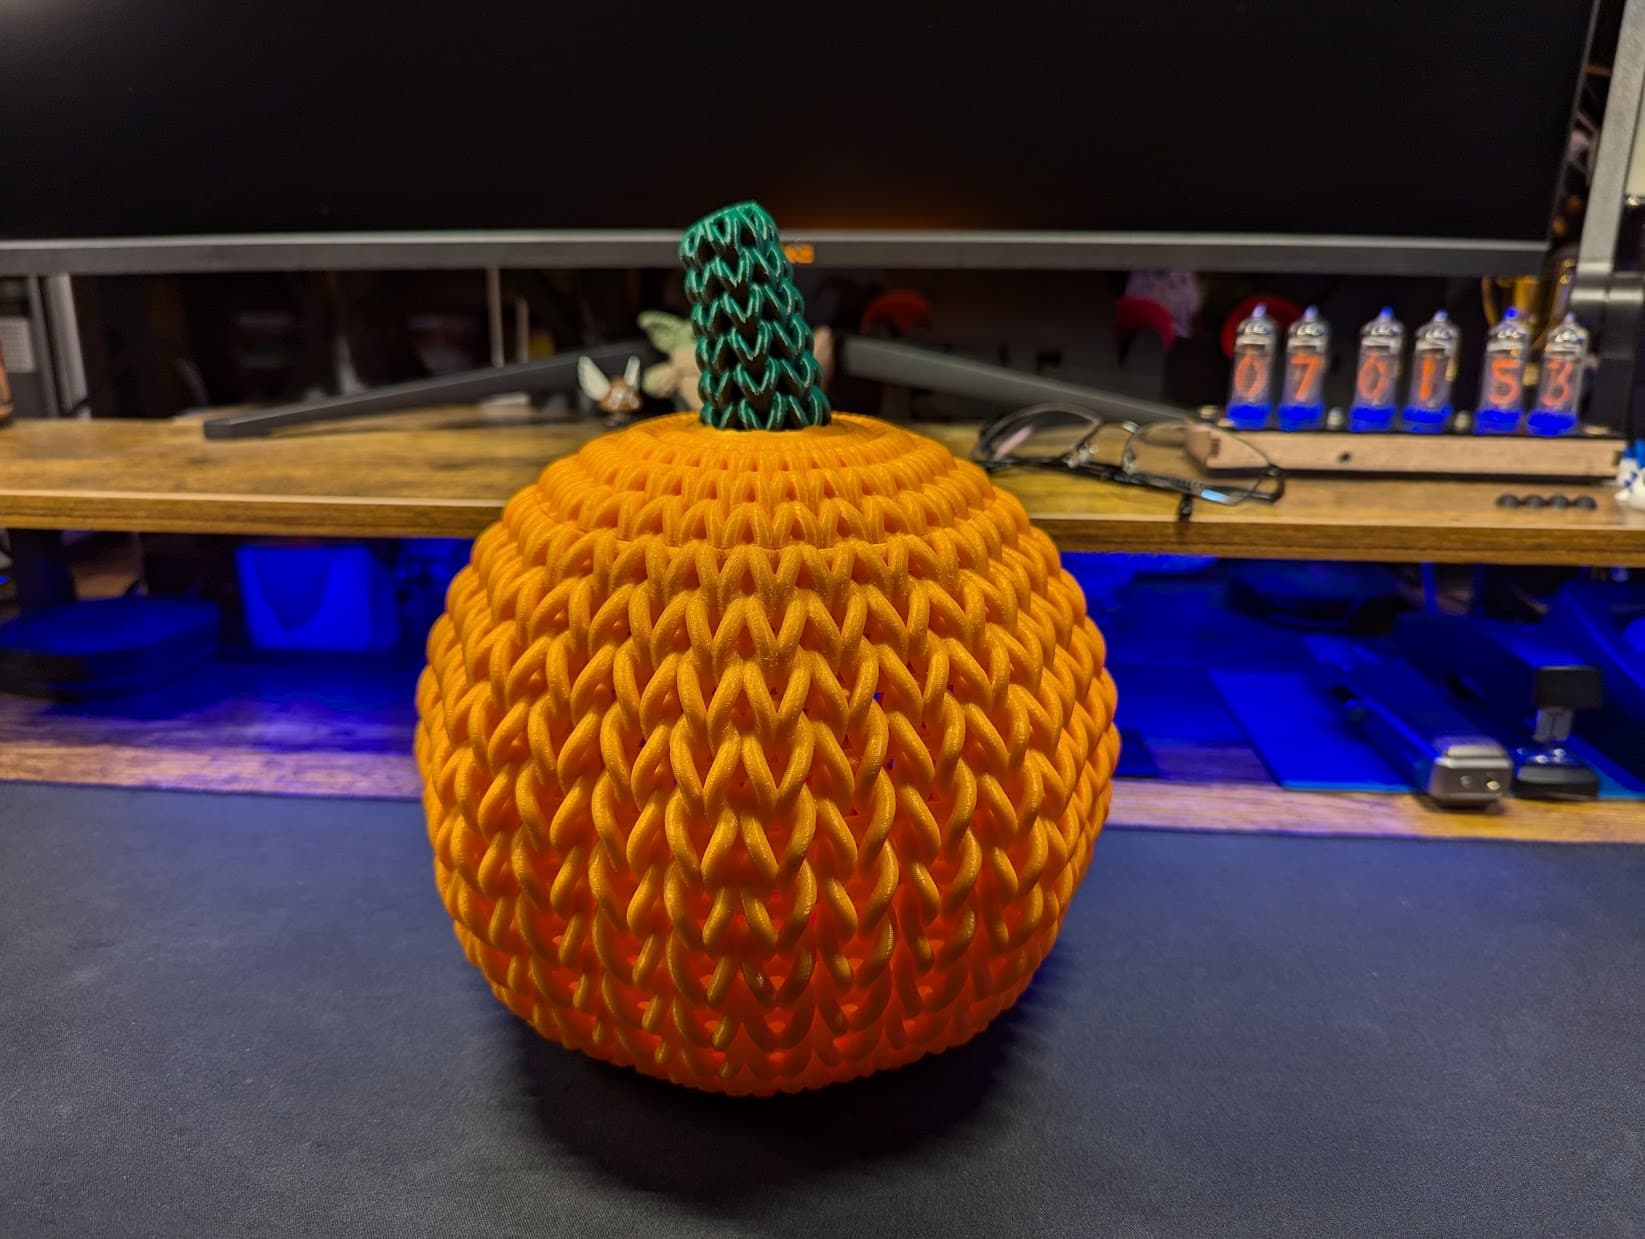
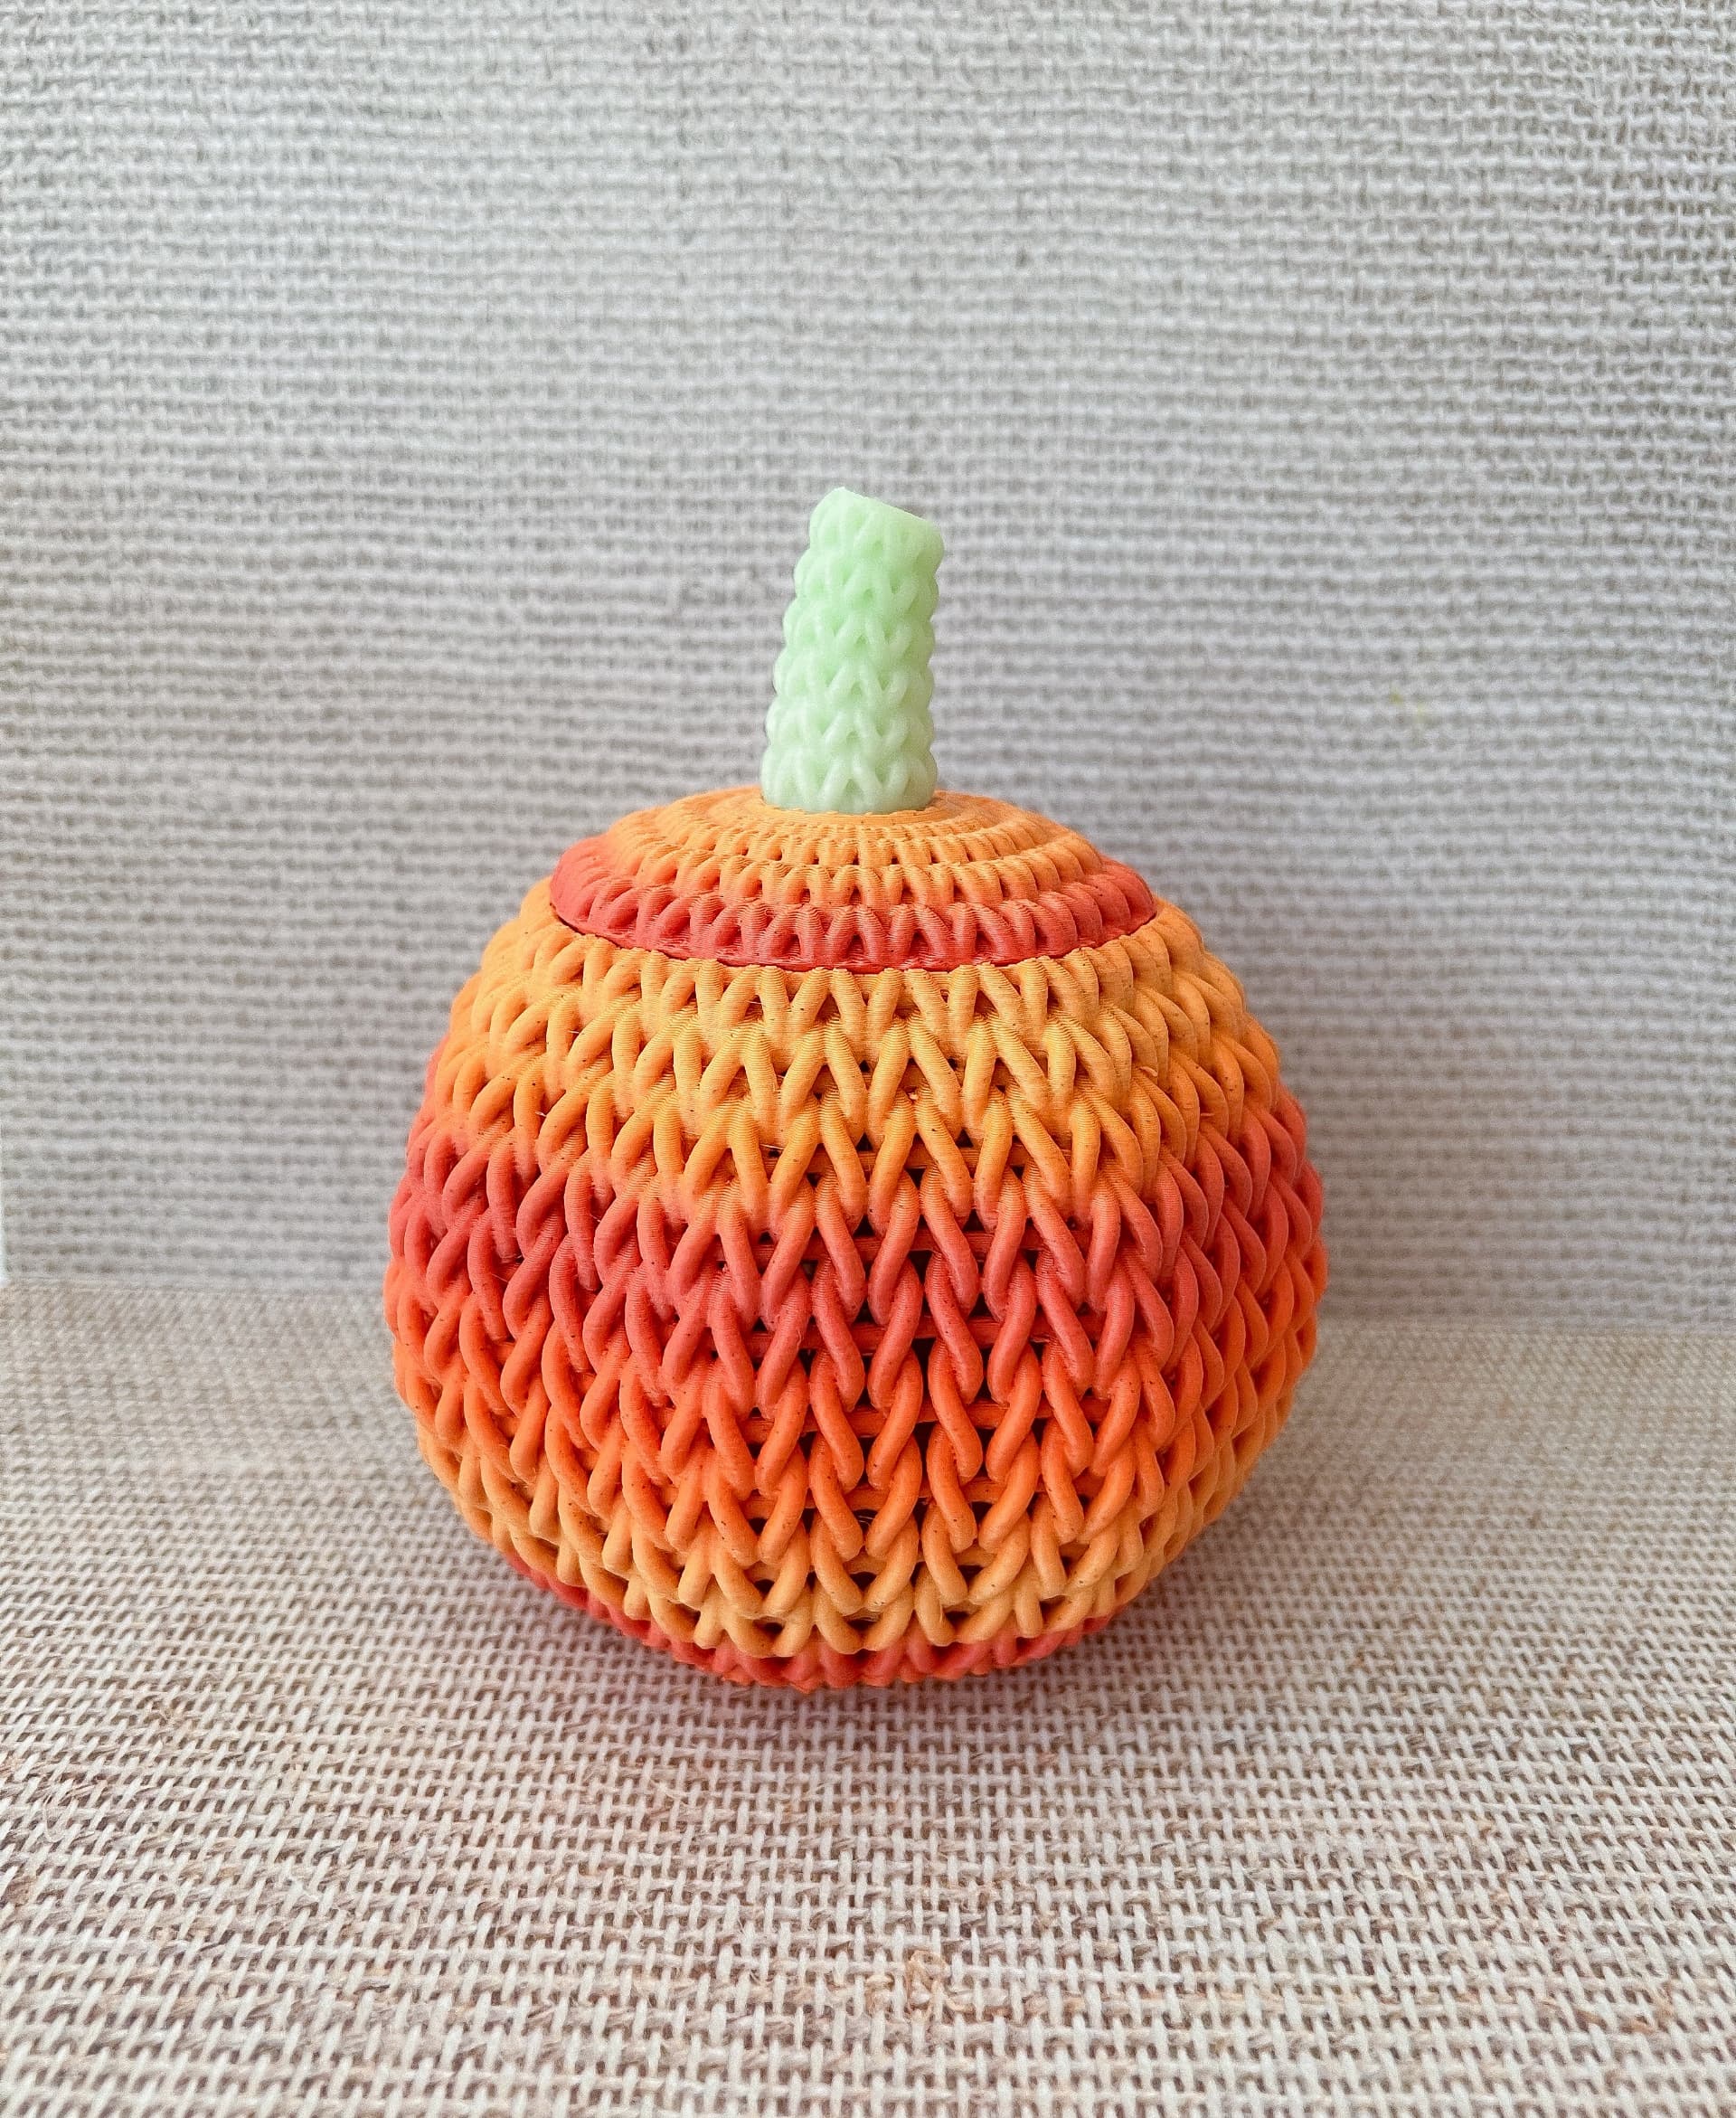
Files are provided for printing the lid with either a single or dual colour printer. The dual colour files allow the stem to be printed a different colour than the body of the pumpkin. Orange and green work well!
AI generated descrioption:
Discover the comforting appeal of this unique 3D model: a knitted pumpkin available on thangs.com. Expertly crafted by DaveMakesStuff, the model replicates the detailed geometry of knitted yarn, providing a sense of cosy, homely charm. Far from just a surface texture, this carefully modelled knitted pumpkin offers mesmerizing visual and lighting effects, adding a delightful touch of warmth to any home and garden decor.
This 3D model comes with files strictly intended for either single or dual-colour printers. Make use of the dual-colour files to print the pumpkin's stem in a different colour - green and orange are recommended - to offer an extra dash of autumnal charm. Illuminate your home decor by placing a light inside this 3D knitted pumpkin. Experience firsthand the inviting, alluring glow emitted from this detailed model, setting a relaxing, serene atmosphere ideal for quiet, cozy evenings.
Why opt for scary Halloween decorations when you can bring home this delightful 3D knitted pumpkin? This unique find at thangs.com belongs to Home & Garden category, promising a novel touch of design aesthetics to your space. Browse for more details today!
Knitted Pumpkin

Industrial Construction Set - FDM

Bouali Strange Attractor Sculpture

Aizawa Strange Attractor Sculpture
Bio Blob
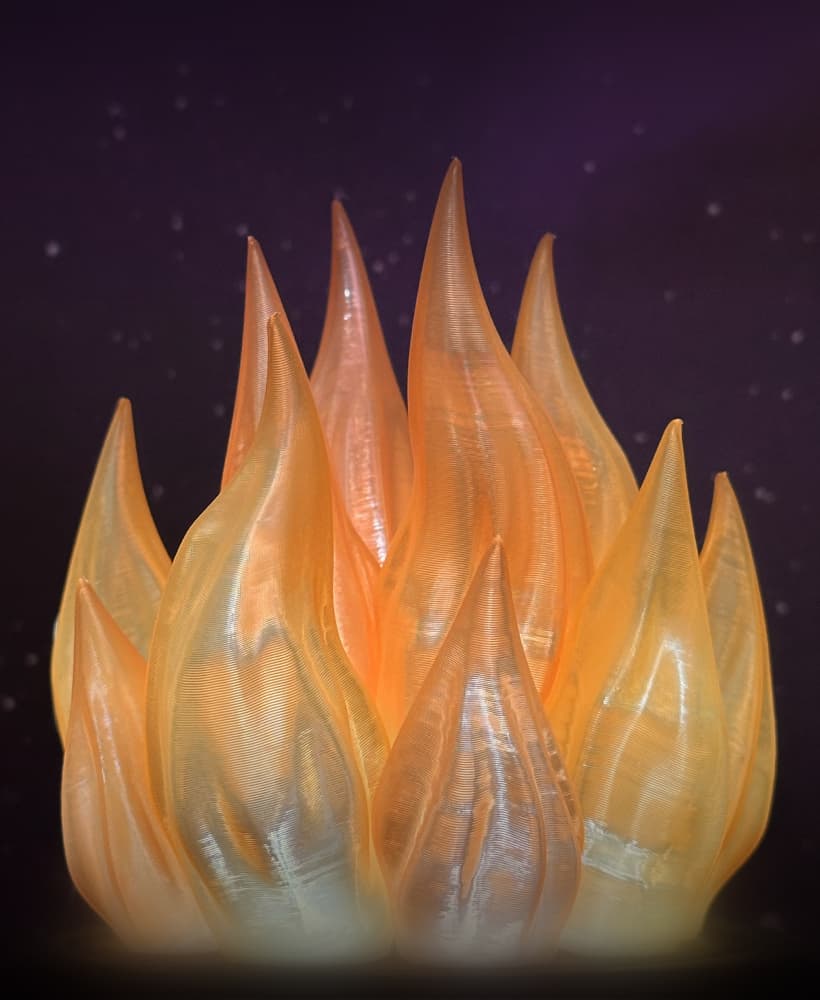
Flame Lamp
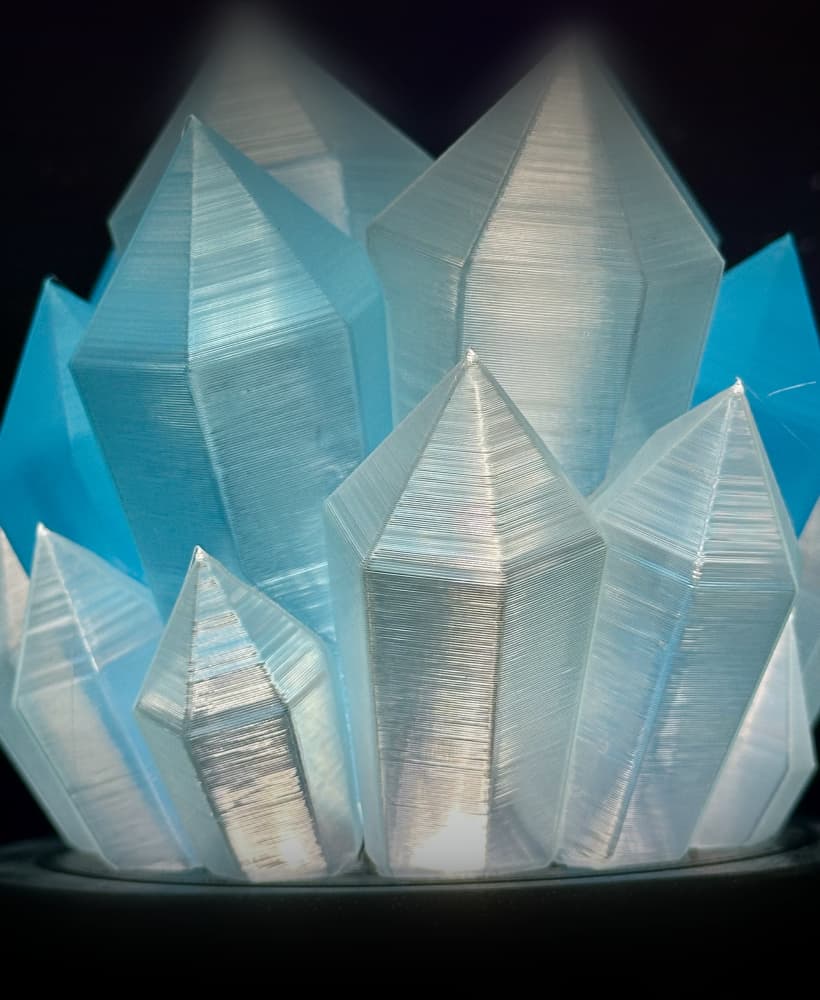
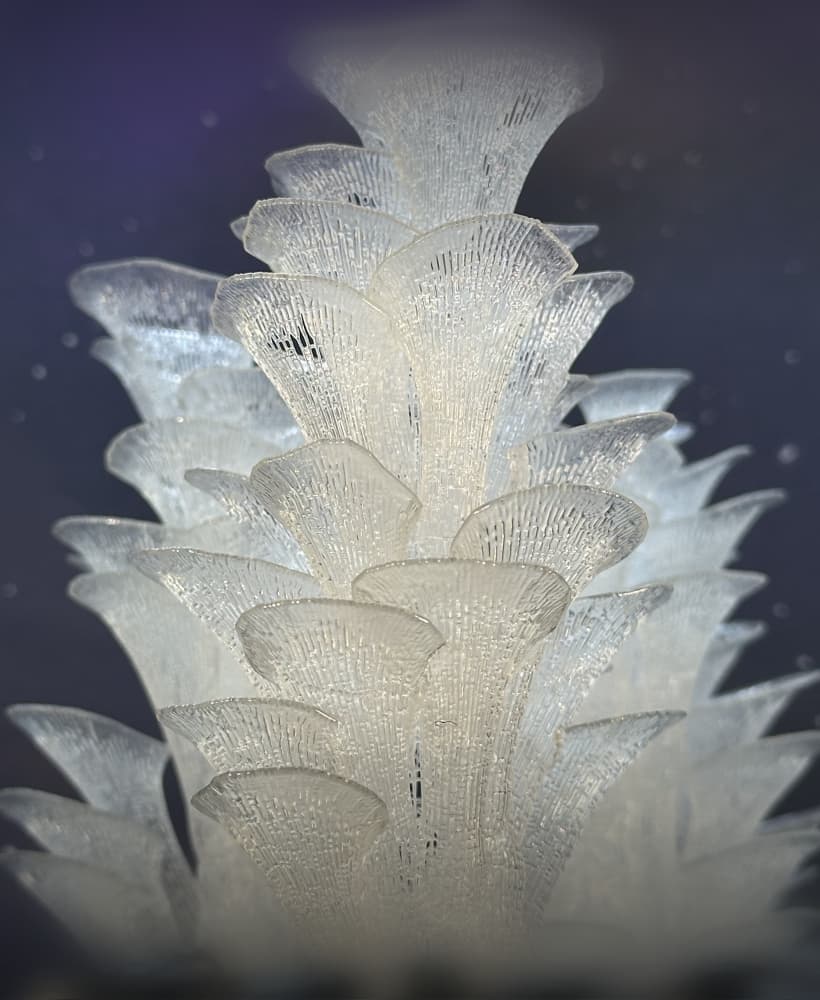
Crystal Lamp
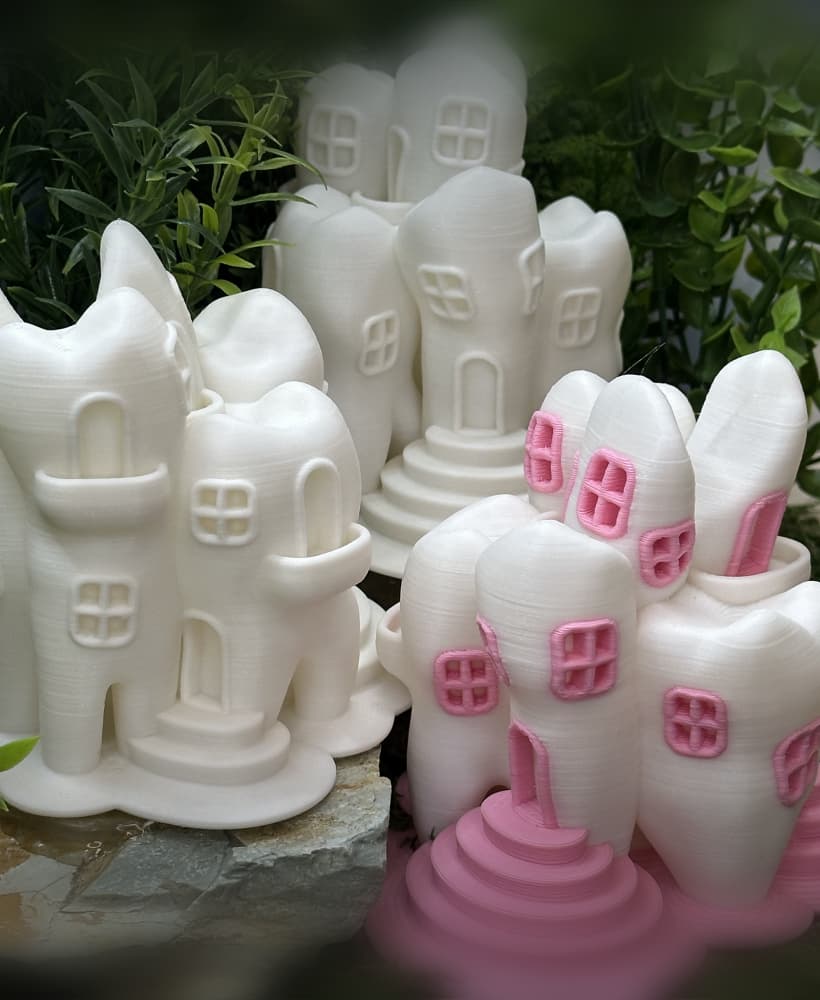
Tooth Fairy House
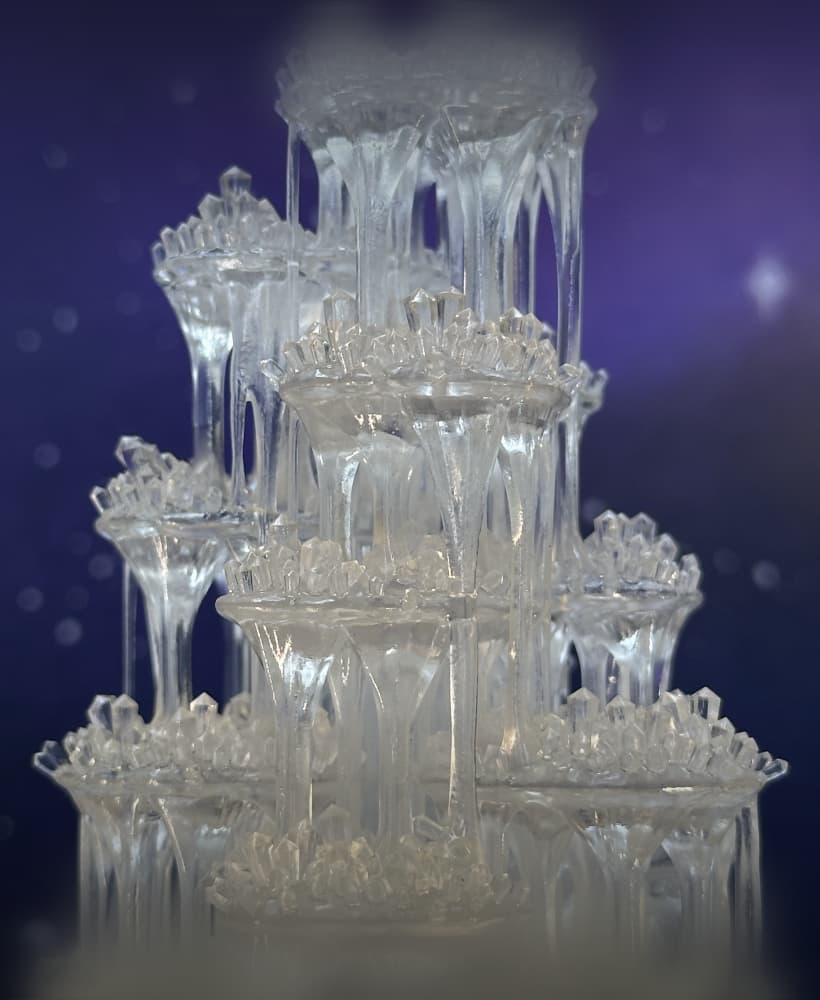
Crystal Citadels

Shack Pack - Sober
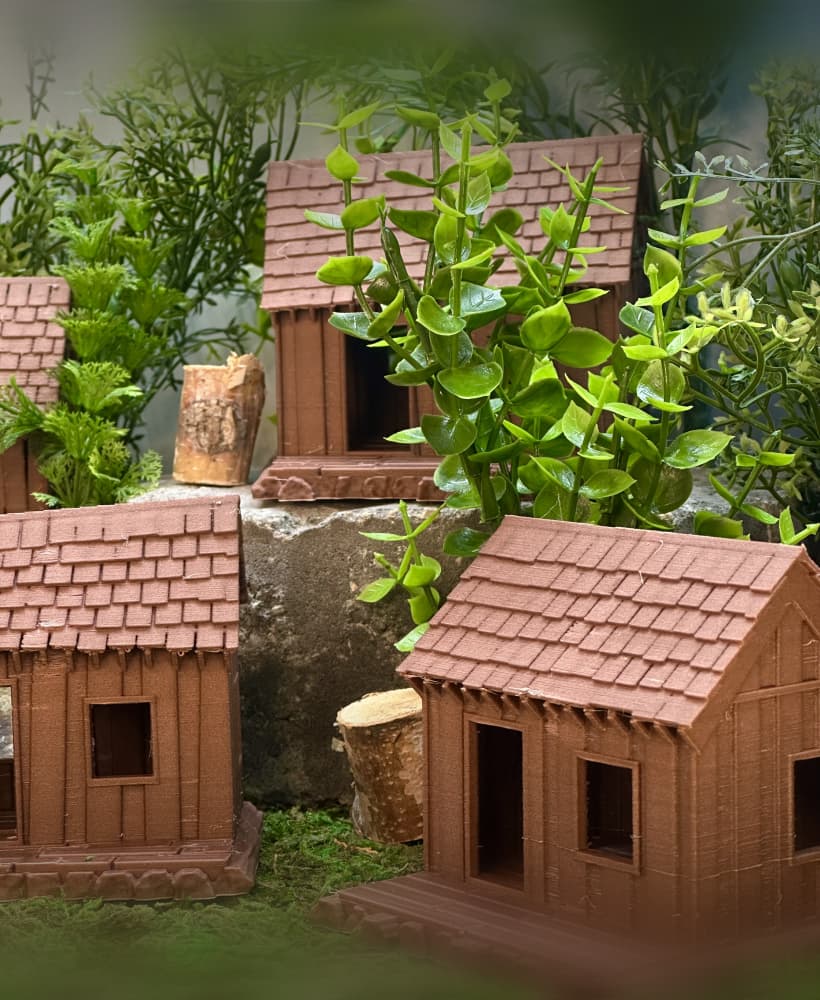
Shack Pack - Tipsy

Shack Pack - Plastered
Stellar Blooms
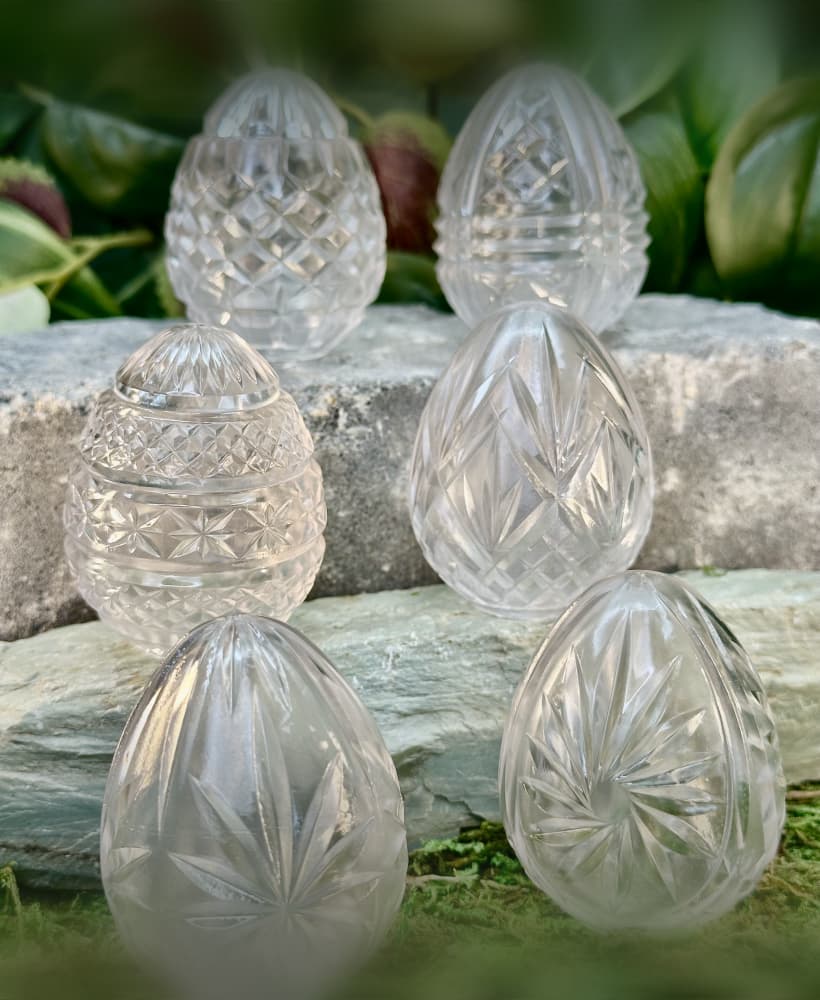
Cut Crystal Eggs - Set 2
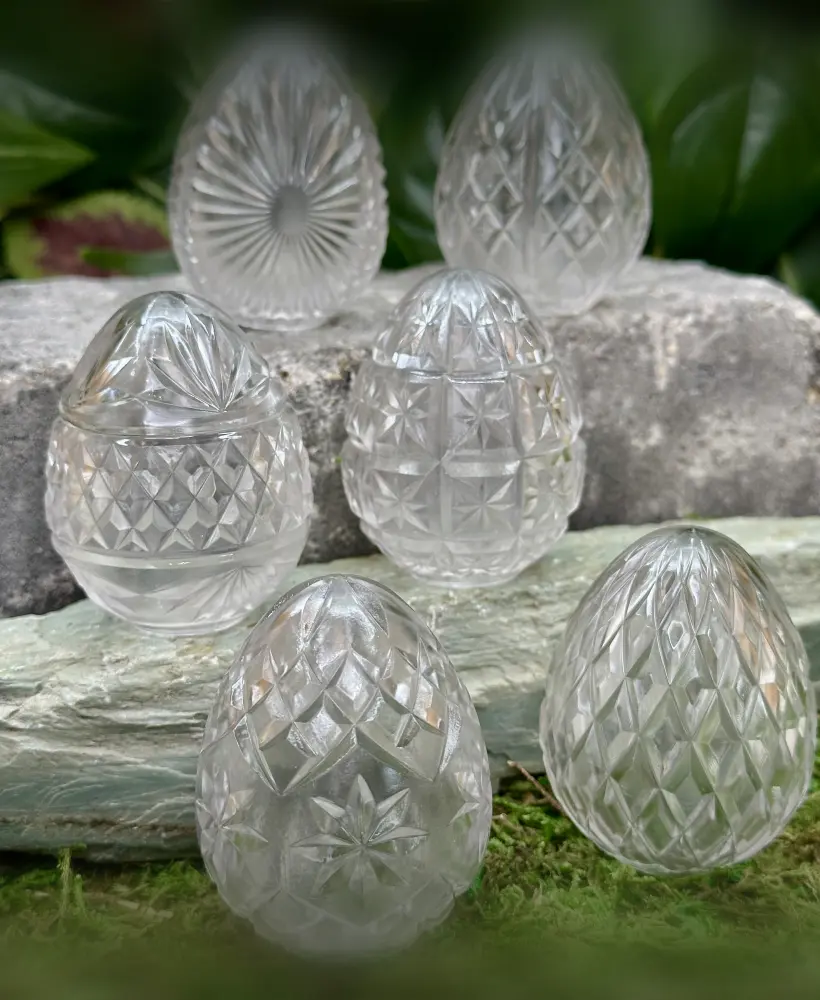
Cut Crystal Eggs - Set 1

Holly Berry Clusters

Holly Berry Branches

Poinsettia

Spruce Branches

Fir Branches

I printed on Bambu Labs X1 Carbon and it came out great with one small change. I printed stem separately from lid and it didn't sit well or lock into place. There were several "knobs" that stuck out from lid into stem attach area. I thought these were maybe to lock stem into place, but no such luck. Stem had a lot of daylight holes where it mated to lid. So I used needle nose pliers and removed all those knobs and stem fit perfectly. Then just super-glued stem onto lid and all is great.
Next question for you is how in the world does the stem go into the lid. From what I've printed it doesn't look like it will snap in there any which way. Should it look like this on the top ?
https://imgur.com/tK2iGJi
I'm sure you made the individual pumpkin stem the way you did for a reason but, is there a trick to make sure that all those little 30+ dots do their job to stick and hold it to the build plate through the whole printing process ? Also Dave what slicer do you use ? I use Cura and I wanted to find out if it was just me but slicing the body of the pumpkin took for ever. Is that kind of normal for a stl file like this ?
Oh, the lid didn't have in issue sitting flat on the build plate that one turned out very nice. It was the stem and this is how it looked. It doesn't come into Cura flat on the build plate so I had to snap it flat and this is what I ended up with. https://imgur.com/aSmY5PK
Hi! The pumpkin lid should sit flat on the build plate and just print as a solid surface... I'll look into why you might be getting those dots, but in the mean time you could going into setting and turn of "lower model automatically to build plate" and then lower the model slightly below the build plate. That should get you a better first layer.
I use Cura too and it does take a long time, but I have had trouble with Version 5.4.0 and sometimes go back to 5.0.0 to get something to work :)