MakerChip Starter Pack - Make your Own Maker Chip
byK2_Kevin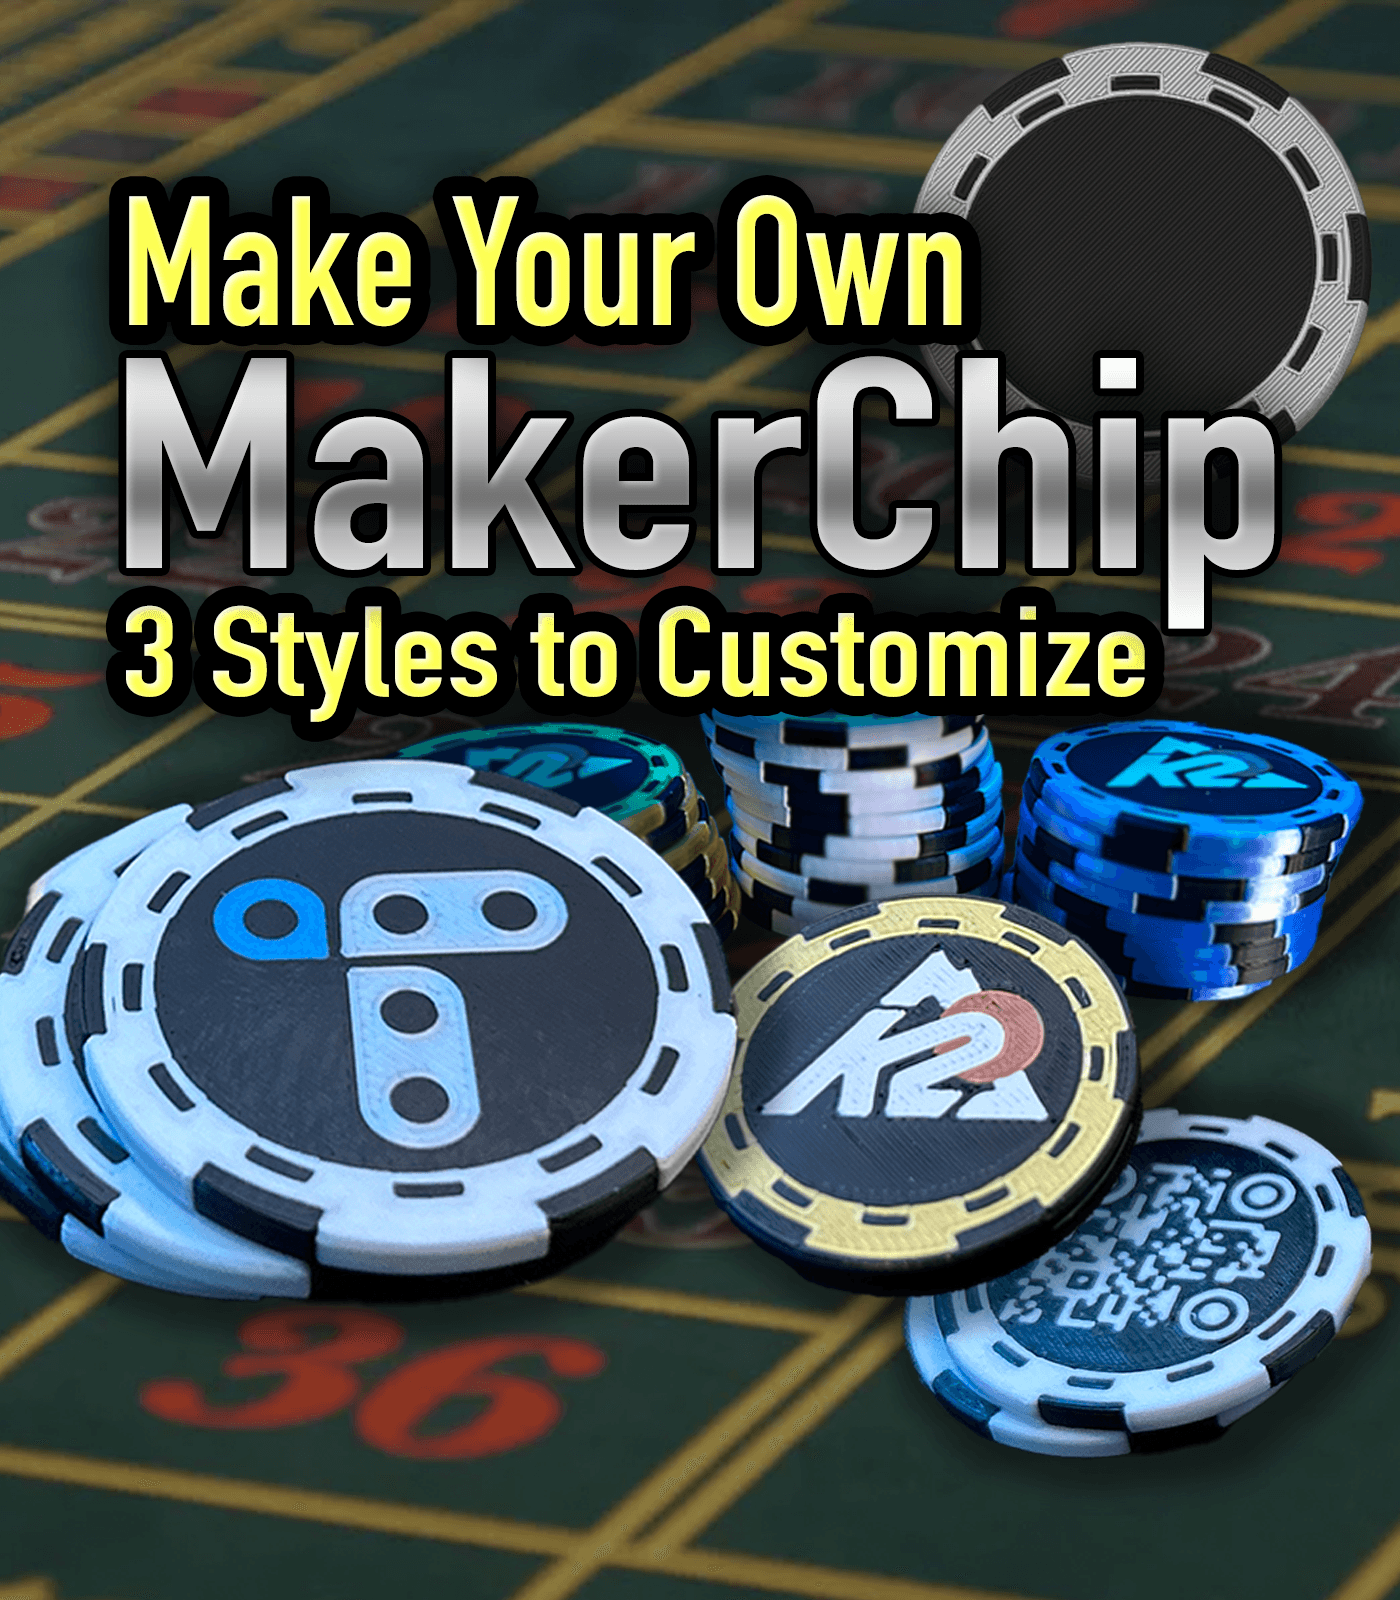
UPDATED 3mm height Maker Chips.
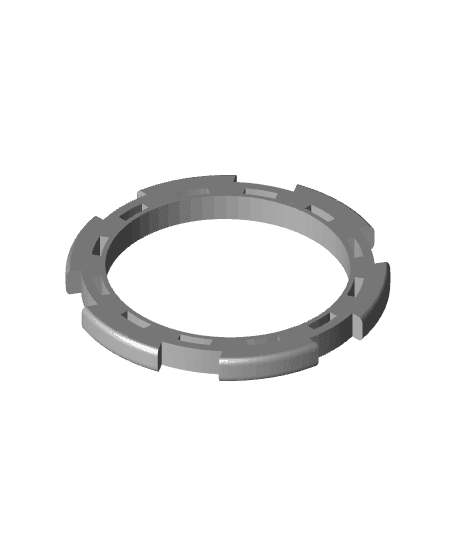
K2_MakerChip_v1-Back.stl - Base Circle K2_MakerChip_v1-Decoration_3mm.stl - Chip Decoration K2_MakerChip_v2-Decoration_3mm.stl - Chip Decoration K2_MakerChip_v3-Decoration_3mm.stl - Chip Decoration K2_MakerChip_v4-Decoration_3mm.stl - Chip Decoration K2_MakerChip_v5-Decoration_3mm.stl - Chip Decoration Sample_MakerChip-BambuStudio.3mf - Sample Bambu Studio
Instructions:
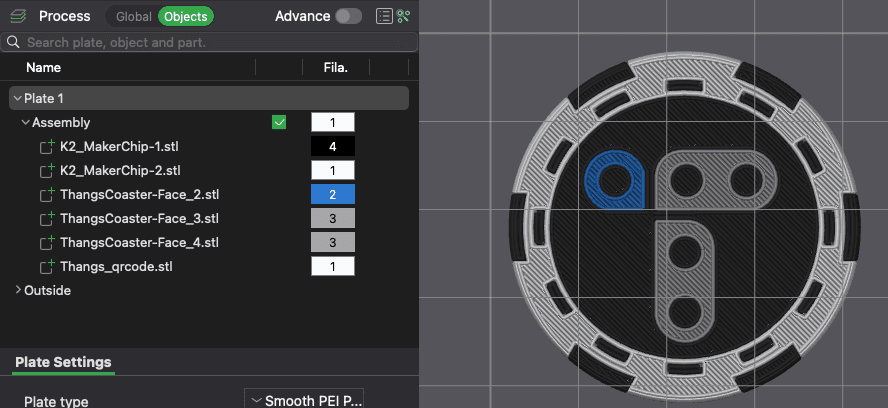
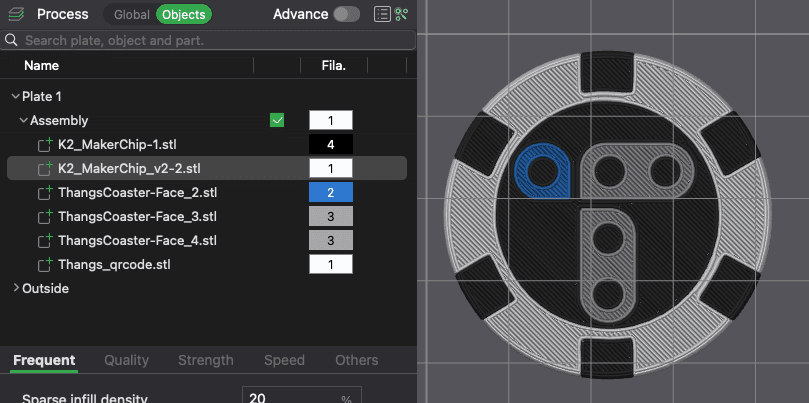
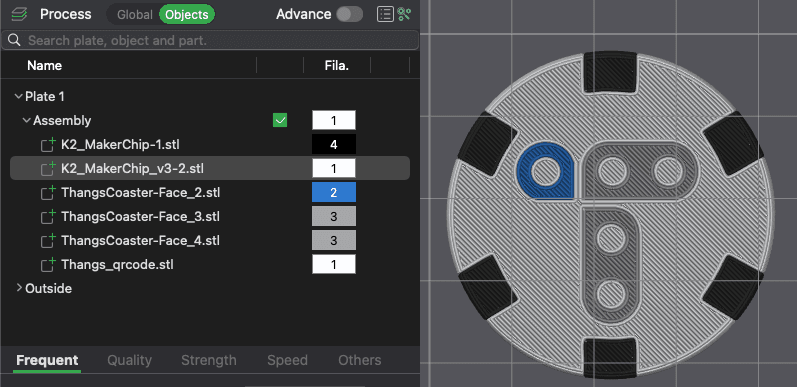
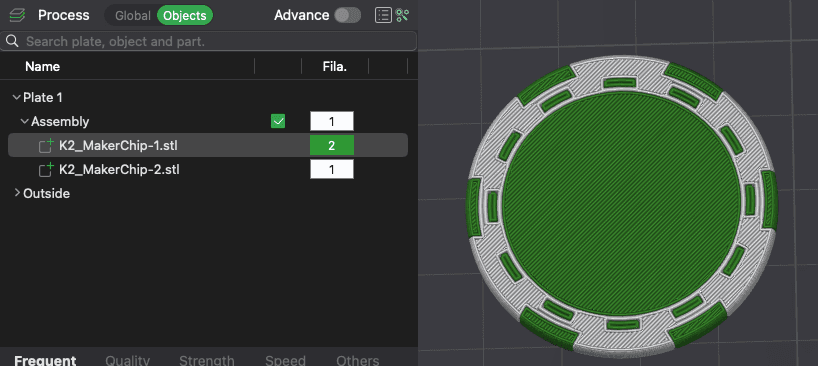
Open Bambu Studio or Orca Slicer Drag/Drop the Base Circle into slicer - K2_MakerChip_v1-Back.stl. Add the version of Chip Decoration you want to use v1 - v3. Center the Chip decoration Switch to Objects view (In the Process dialog box in the slicer - Photo Included) Select objects, right click and Assemble. Slice to check your MakerChip! Adding your own logo:
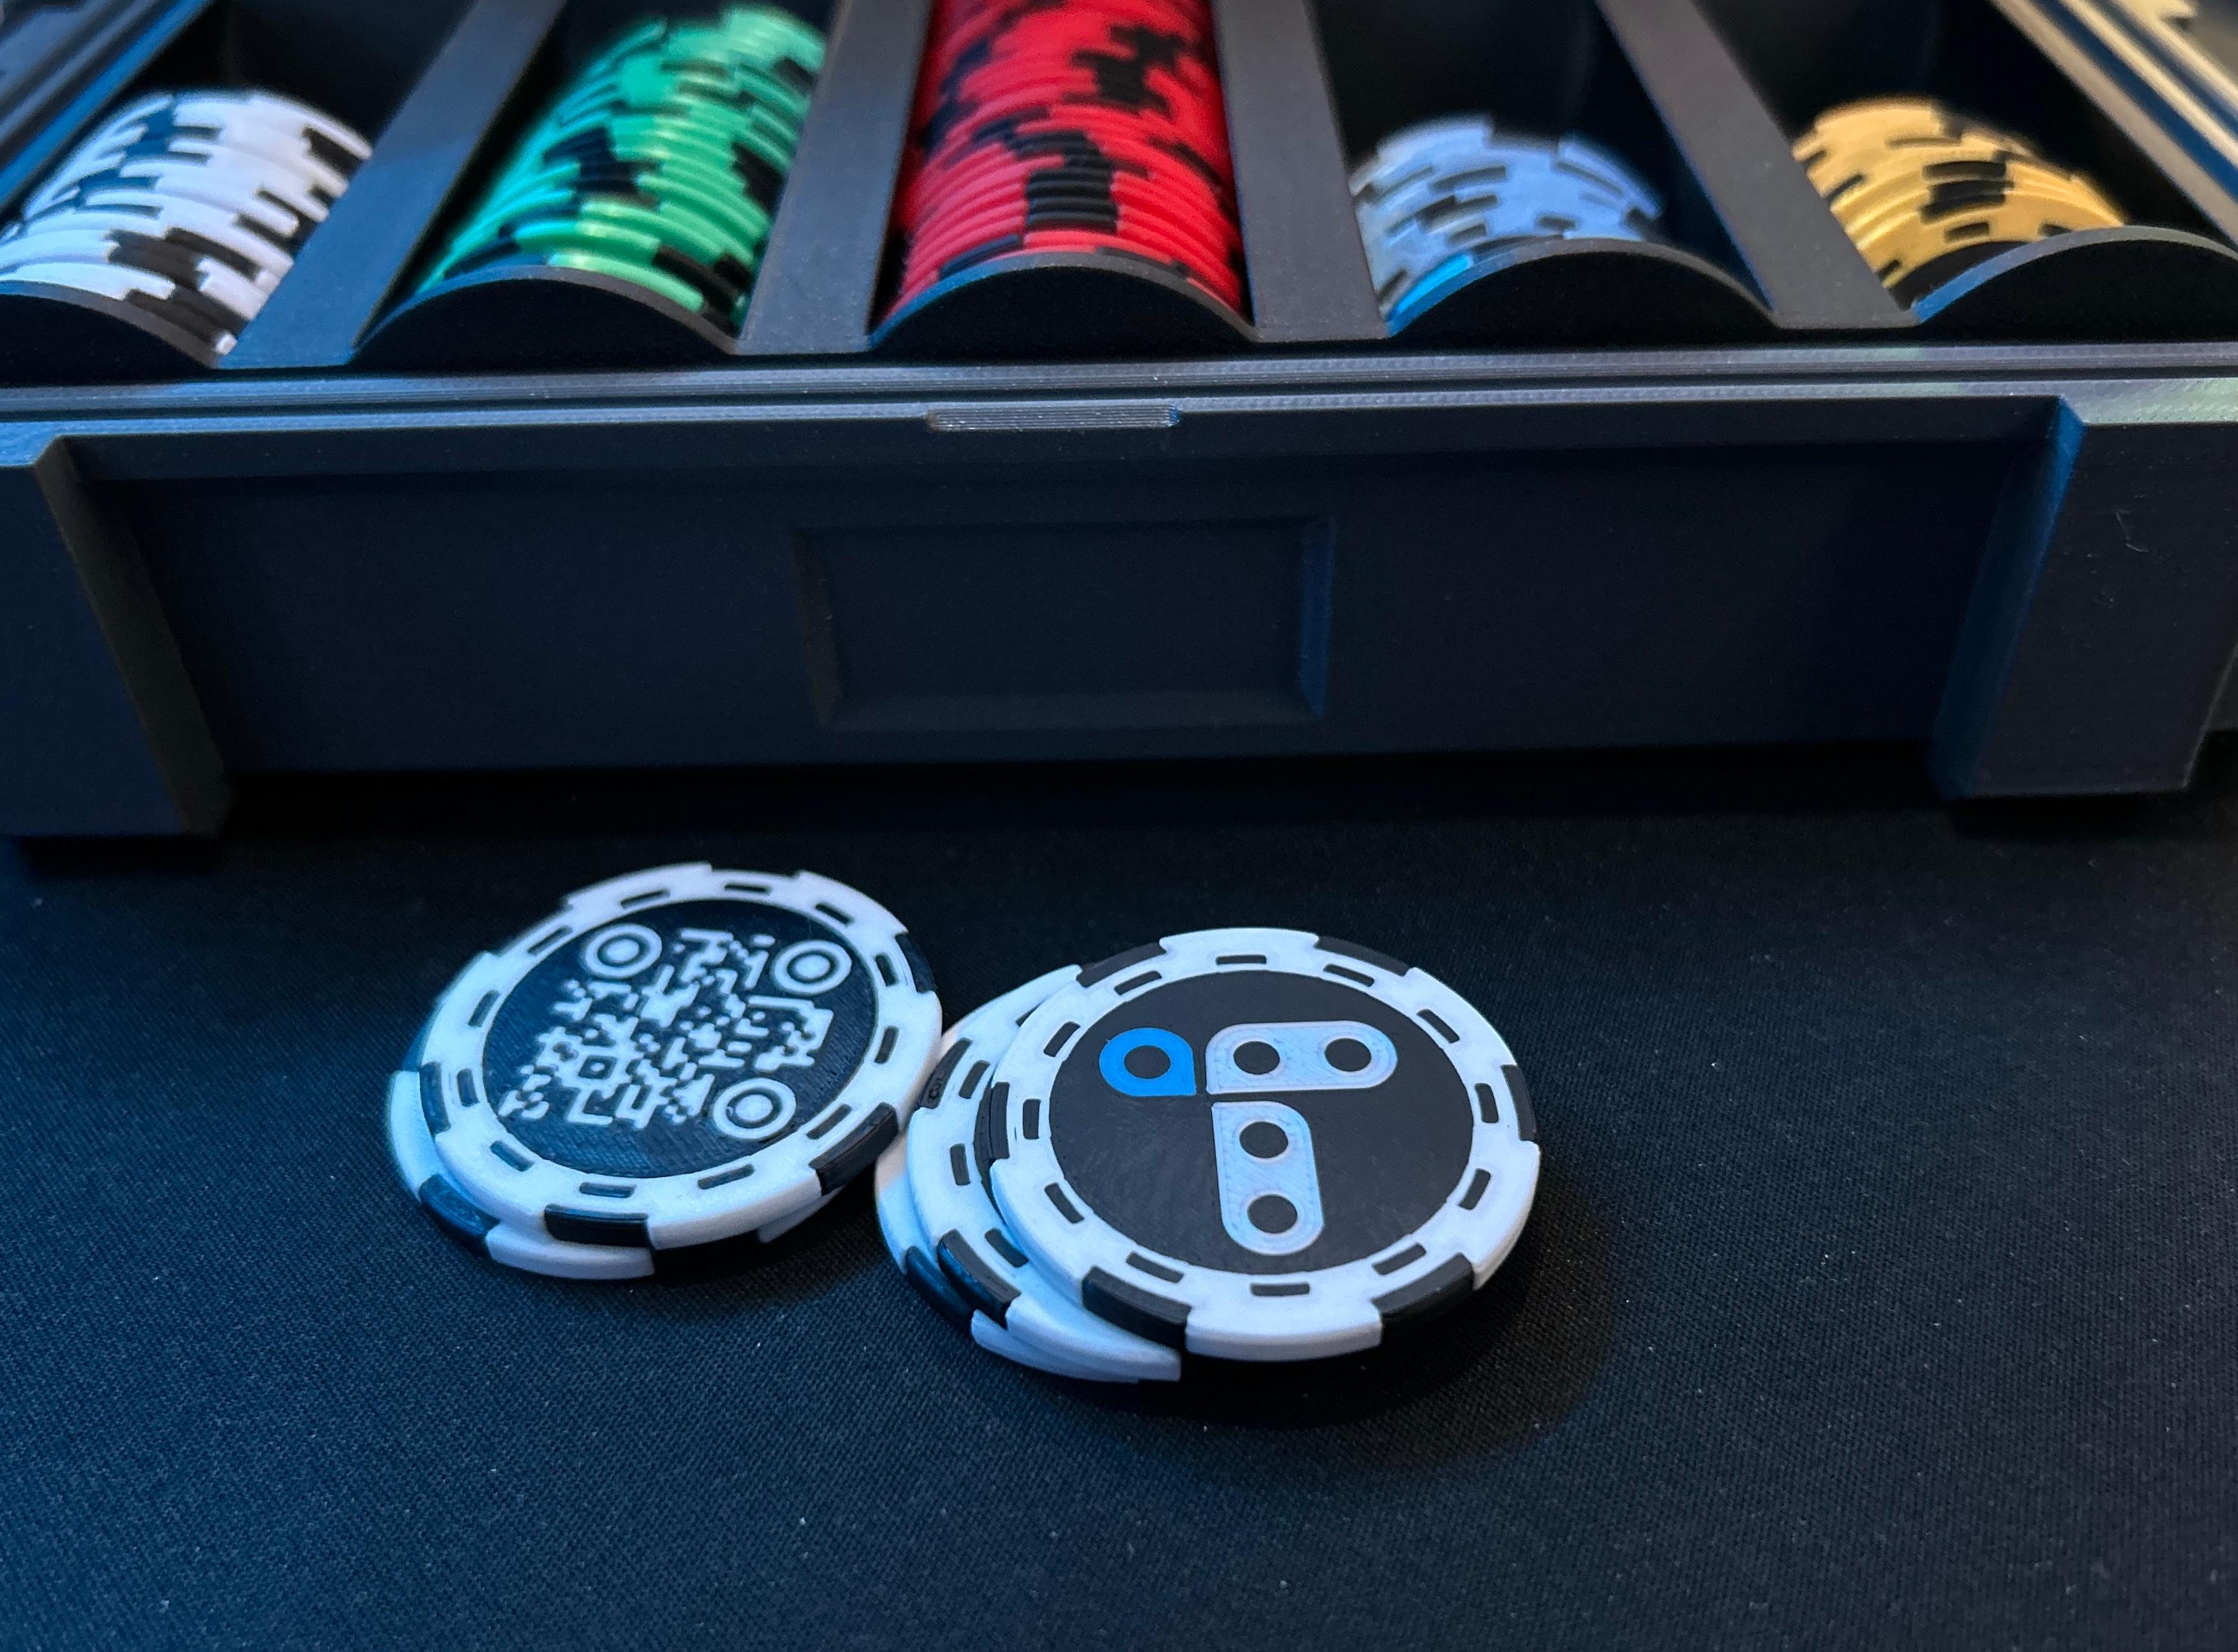
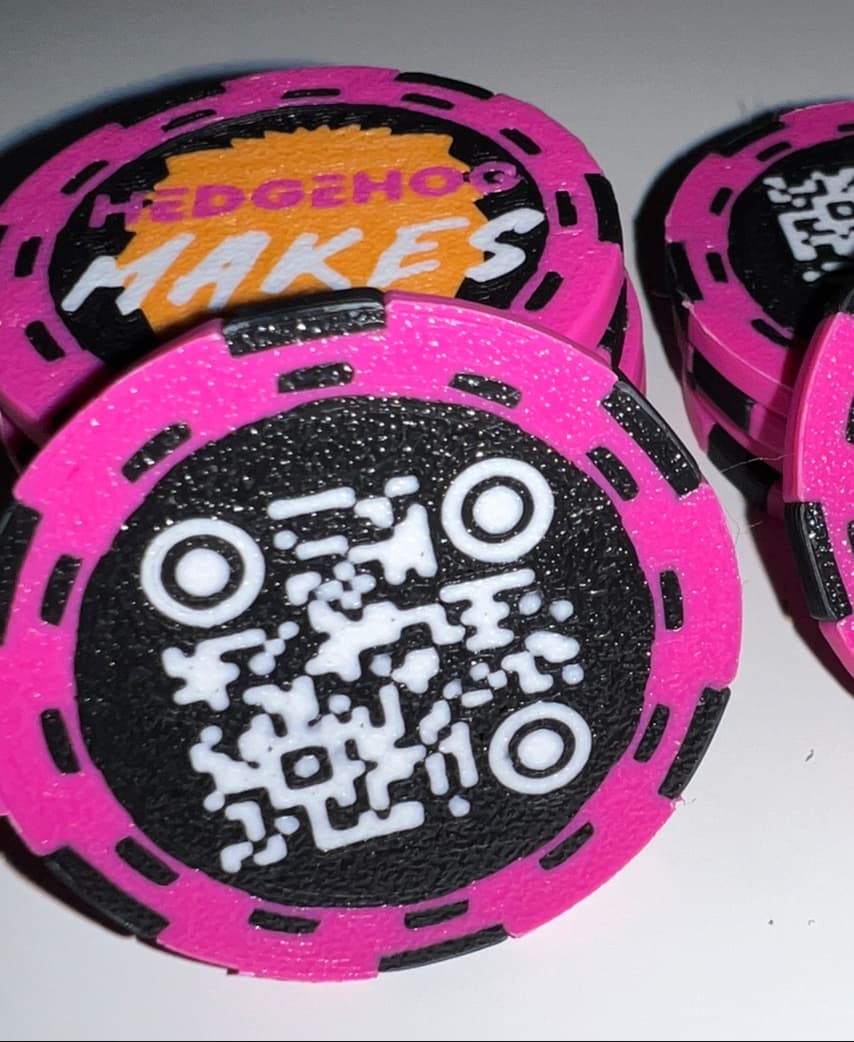
Create your logo as STL, Logo z-height only need to be 0.6mm to 0.8mm. Size your logo to fit your Maker Chip. You can scale, but be sure to maintain your .8mm height. In the Objects view, select your logo and select the assembly and combine. Slice to verify you completed this correctly, and Print! Adding your own QR Code:
I've had great success using: https://genqrcode.com/generator/stl to create QRCodes. Create your QR code as STL, QR-Code z-height only need to be 0.6mm to 0.8mm. Size your logo to fit your Maker Chip. You can scale, but be sure to maintain your .8mm height. In the Objects view, select your QR-Code and select the assembly and combine. Now use the MOVE option in slicer to move the QR code up until its just peaks through the top layer. Slice to verify you completed this correctly, and Print!